DIY Guide to Replace Samsung Galaxy A52 Screen
Duration: 120 min.
Steps: 38 Steps
If your screen is looking like it went a few rounds in a boxing match, grab some parcel tape and give it a good wrap! This way, you can dodge any potential boo-boos while you work your magic on the repair.
Now it’s time to give that screen a brand-new look! In this awesome photo guide, we’ll walk you through each step of the process to make it as smooth as possible.
Step 1
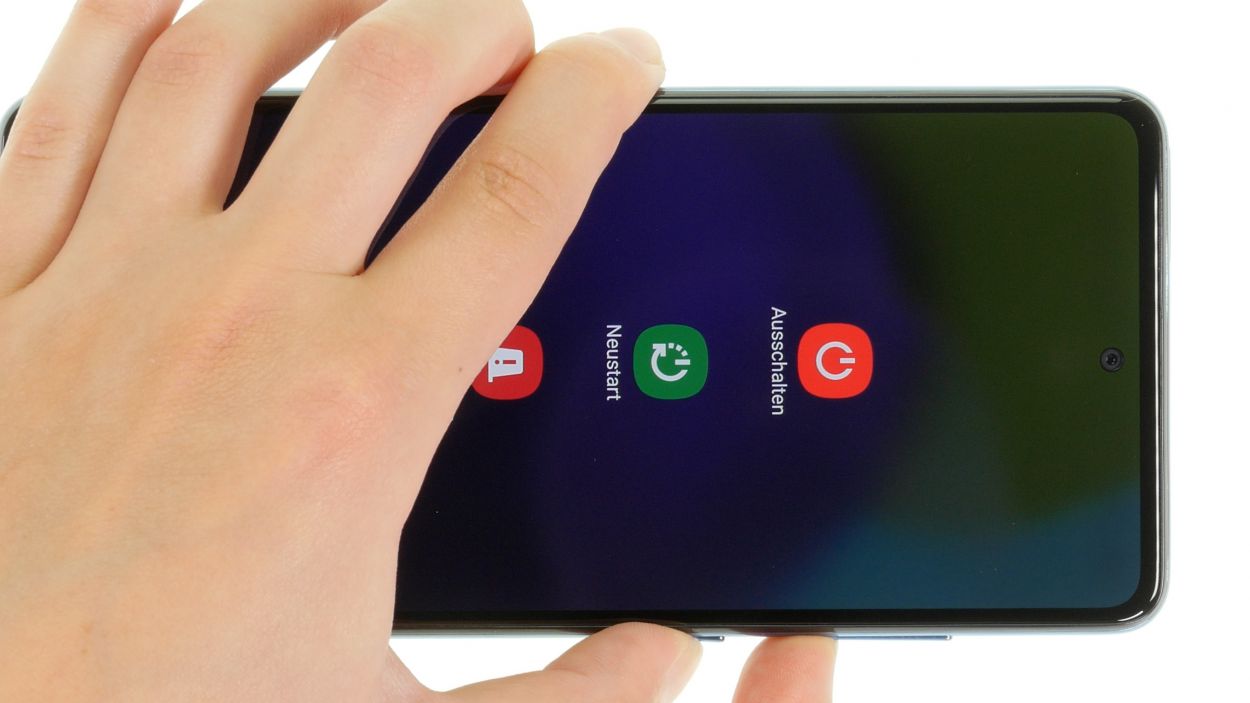
Before diving into the repair, why not give our handy checklist a whirl? It’s a great way to check the basic functions of your phone and make sure nothing got a little too adventurous during the repair process. Once you’re all set, don’t forget to power off your A52 to keep it safe from any unexpected short circuits!
– First, give the side and volume down button a good squeeze together for a few seconds.
– Next, tap on ‘Switch off’ from the menu that pops up.
– And just like that, your phone will be powering down completely in just a few moments!
Step 2


– For this next part, it’s time to give that SIM tray a little nudge! Grab your trusty SIM tool or any pointy object you have lying around, and gently press it into the tiny round hole right next to the tray. Out it comes!
Tools Used
- SIM card slot. This tool is designed especially for ejecting the SIM card from all iPhones and iPads, and fits perfectly into the appropriate opening.” rel=”noopener nofollow”>SIM Tool
Step 3
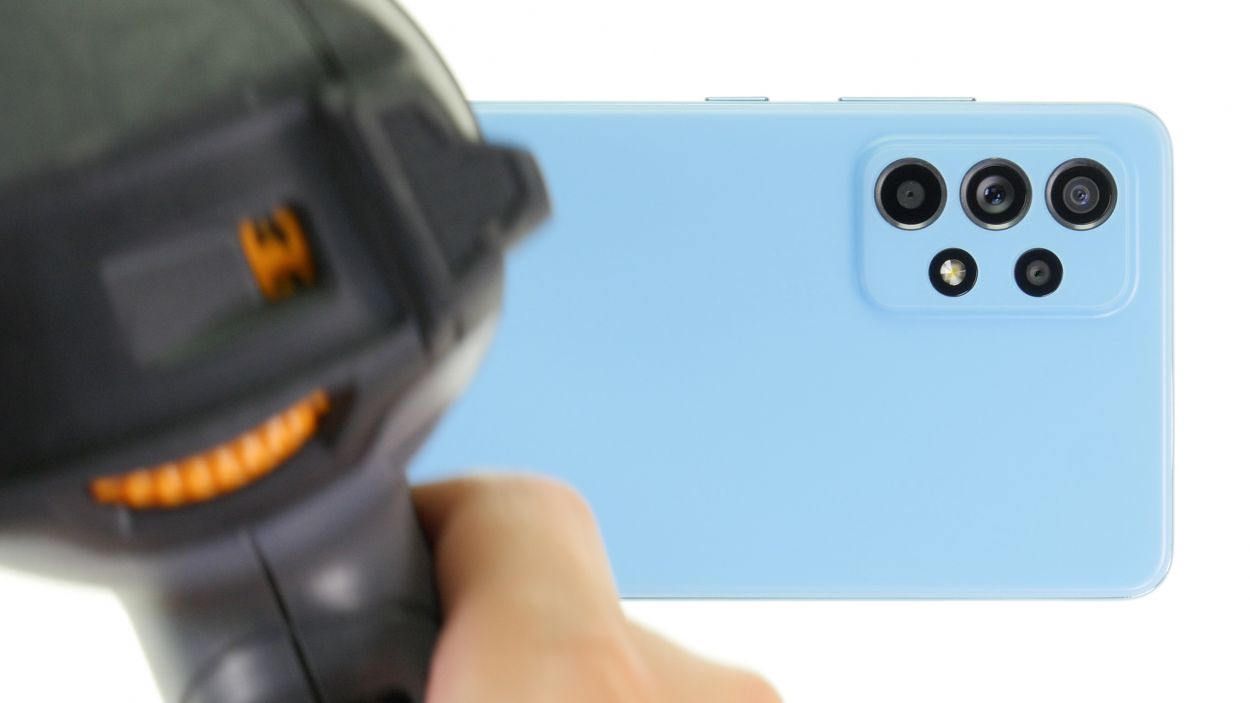
– Warm up that glue by gently waving a hot air tool around the edge of the back cover. Let’s get that adhesive nice and toasty for a smooth lift-off!
Once you pop open your device, it’s like waving goodbye to its IP68 certification. So, let’s be careful out there!
To get into your Galaxy A52, we need to tackle that stubborn plastic back cover first! Start by giving the adhesive a little warmth with some hot air. Grab your trusty heat gun or even a hair dryer will do the trick. Let’s make that adhesive nice and cozy for a smooth removal!
Tools Used
- heat gun to heat parts that are glued on so they’re easier to remove.
In most cases, you can also use a hairdryer.” rel=”noopener nofollow”>Heat gun
Step 4

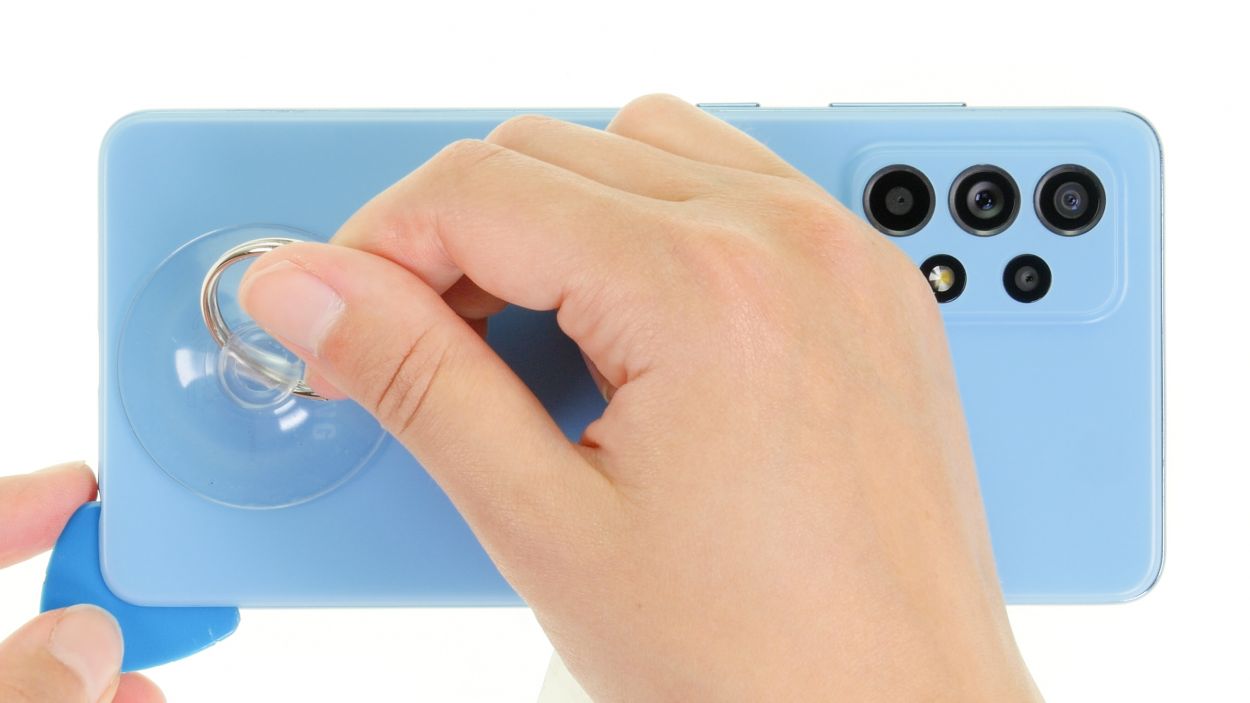
To pop off that back cover, grab a thin but tough tool like the iFlex. Its sharp edges make it a breeze to slide in and get the job done!
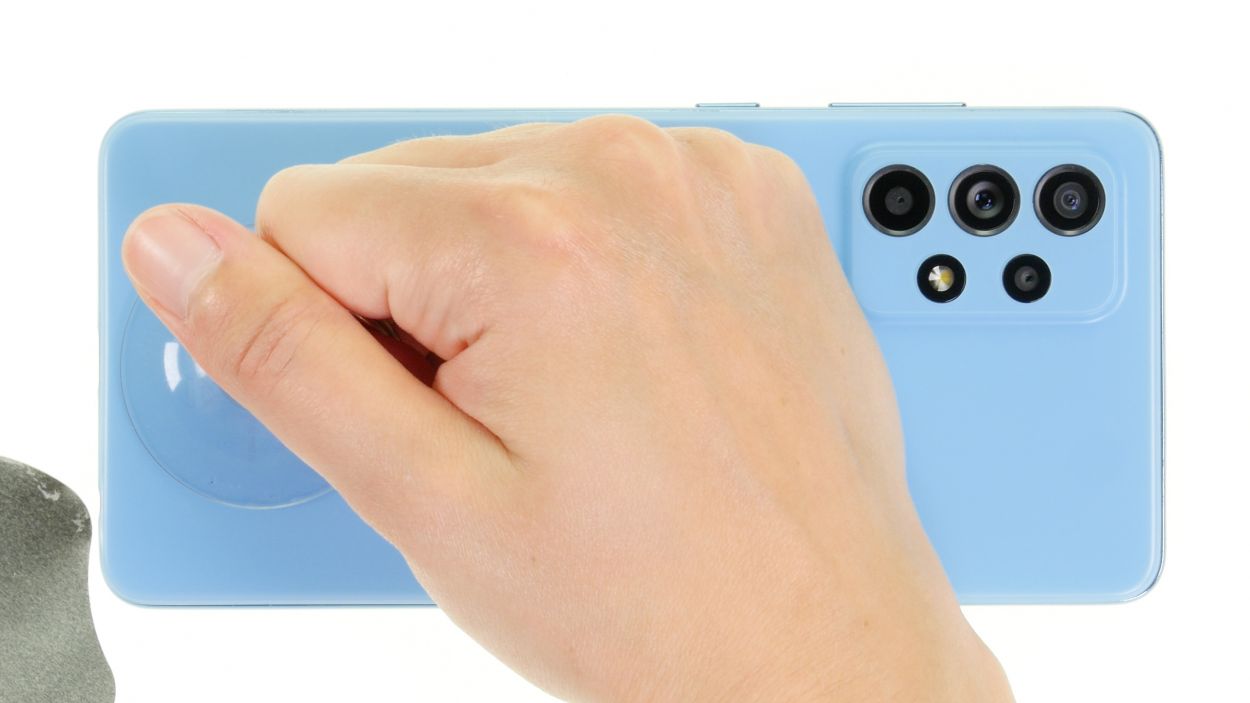
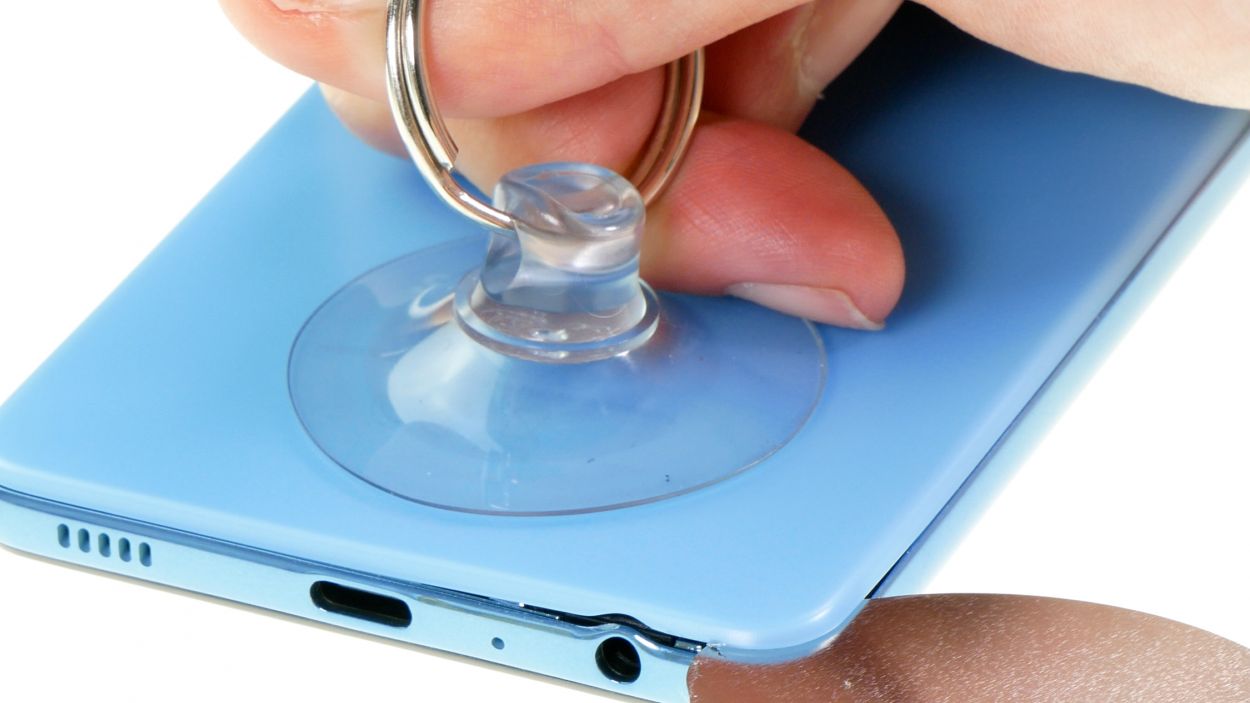
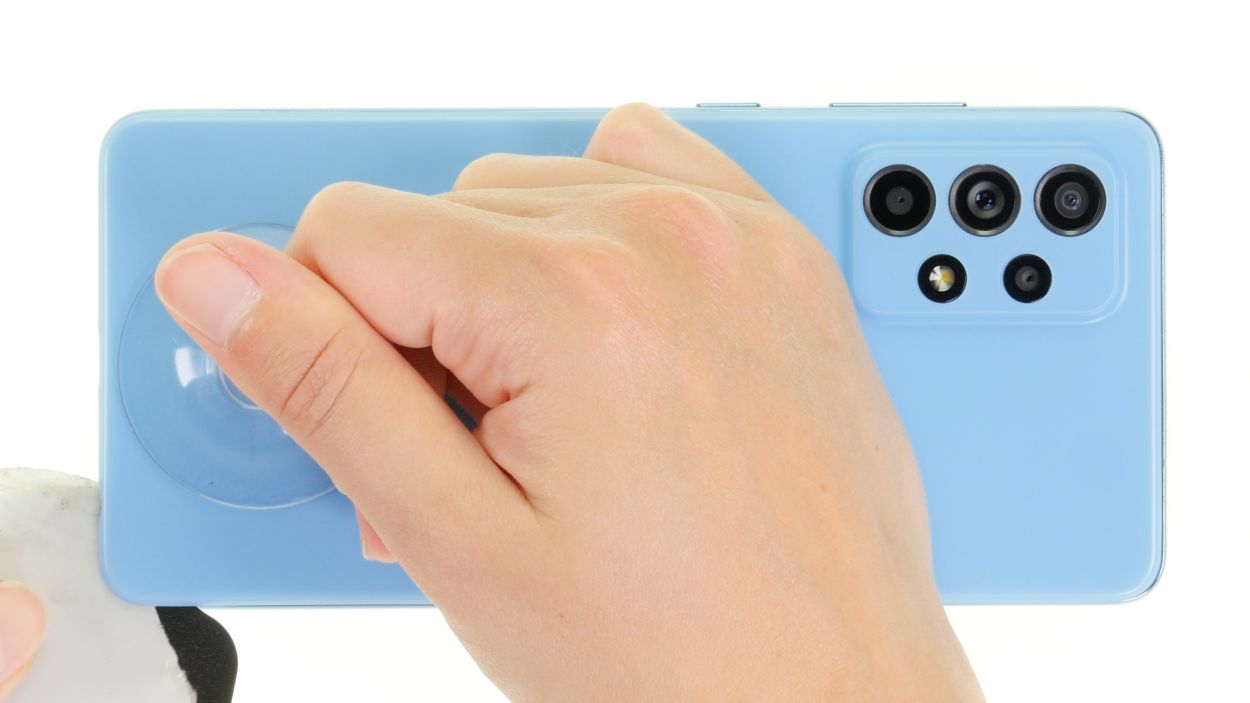
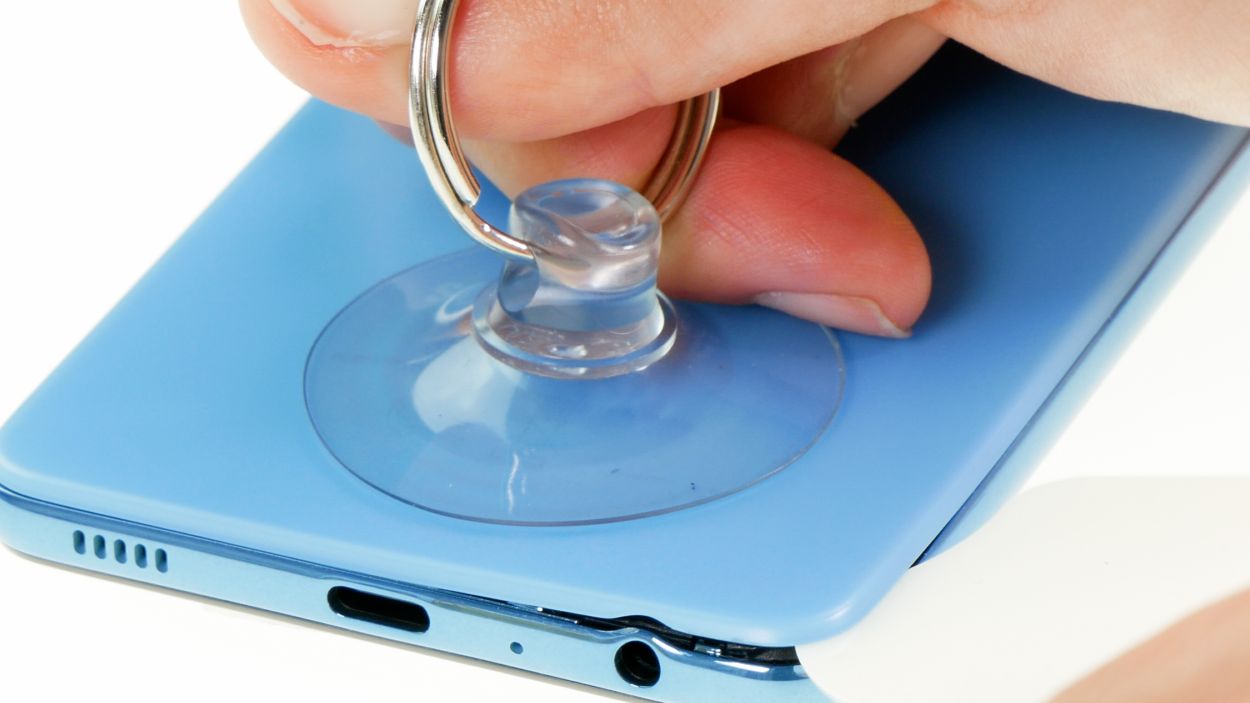
– Grab a suction cup and stick it to the bottom edge of the back cover. Give it a gentle tug upwards to create a little gap. While you’re at it, slide that iFlex tool between the screen and the back cover. You’re doing great!
Tools Used
- screen and the frame. The practical iFlex is made of stainless steel and sits comfortably in the hand. This makes it the perfect assistant for every smartphone repair.” rel=”noopener nofollow”>iFlex Opening Tool
- VAKUPLASTIC Suction Cup
Step 5
– Go ahead and run your tool all the way around the back cover’s edge to gently loosen it up, piece by piece. Don’t forget to warm up that adhesive in between for a smoother ride!
– Slide those flat picks under the back cover at regular intervals to keep the glue from getting too cozy again.
When you’re loosening up near the camera module, just remember to treat it like a delicate flower! Handle with care so your tools don’t accidentally give it a rough time.
To keep your case looking sharp and avoid any unwanted nicks from the iFlex’s edges, switch it out for a plastic tool like the iPlastix as soon as you can. Your device will thank you!
Tools Used
- heat gun to heat parts that are glued on so they’re easier to remove.
In most cases, you can also use a hairdryer.” rel=”noopener nofollow”>Heat gun - Flat Picks
- battery? Then the iPlastix with its large blade will help you. The practical assistant is made of flexible, especially sturdy plastic and lies comfortably in the hand. Thanks to its design, you can even get into smaller gaps, for example to lift the screen or to prevent it from sticking together again.” rel=”noopener nofollow”>iPlastix Opening Tool
Step 6

10 × 4.4 mm Phillips
We totally suggest using a nifty screw storage solution while you tackle this repair. It’ll help you keep track of those pesky screws and tiny parts, ensuring nothing goes missing in action. Our high-quality magnetic pad is a perfect option for this!
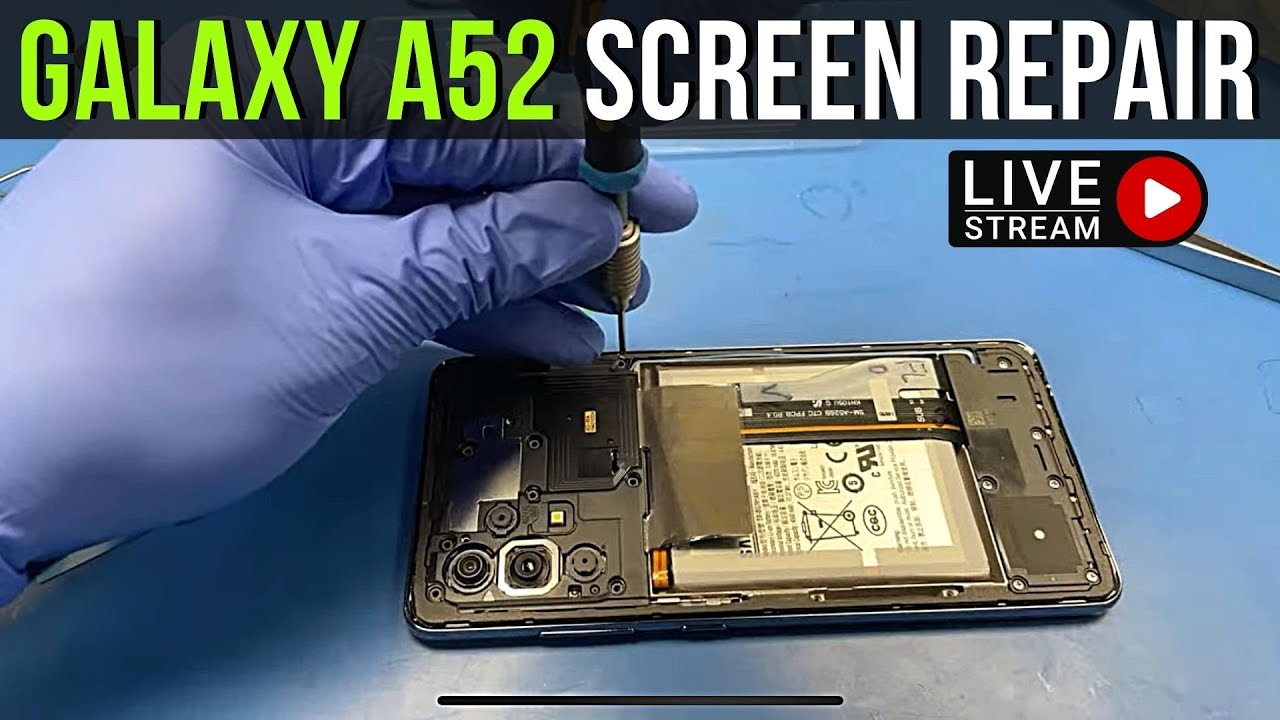
– Time to tackle those 10 Phillips screws hanging out above the motherboard! Let’s get them out of there.
– Once you’ve wrangled them free, make sure to pop them onto the magnetic pad so they don’t go wandering off!
Step 7
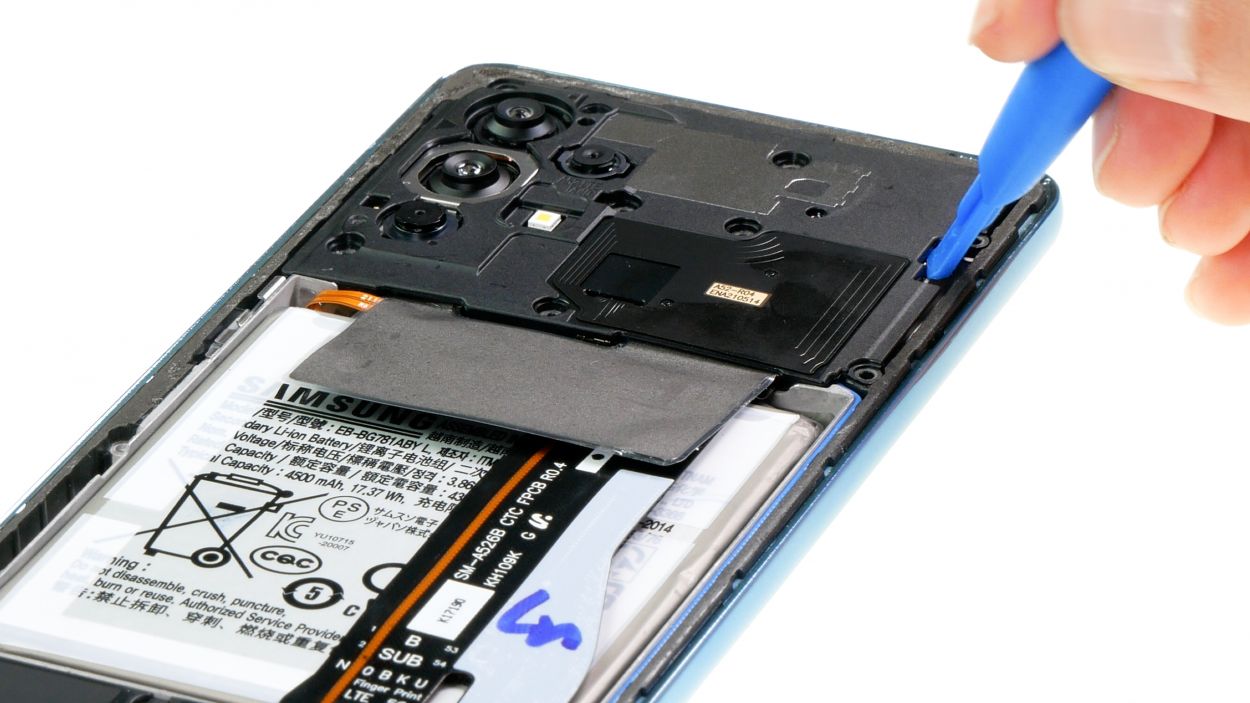
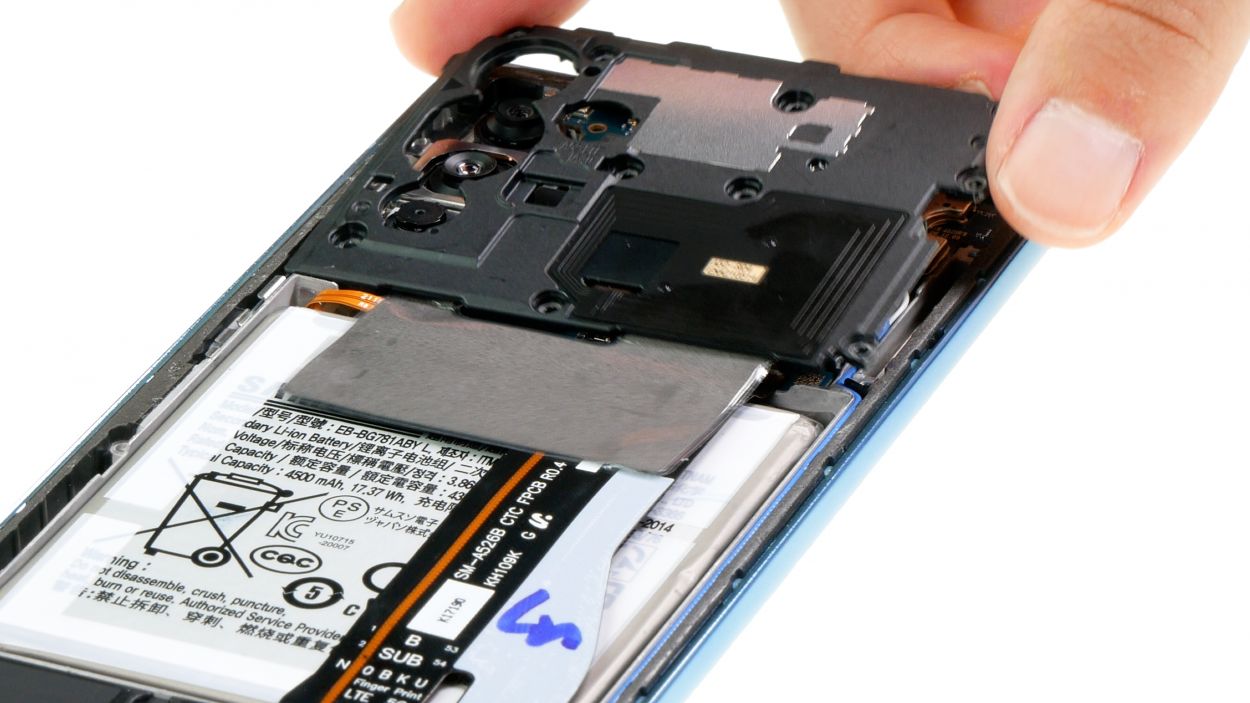
Look for the handy notch in the board cover—it’s your best buddy when deciding where to place your tool. It’s like a little guide to help you get the job done right!
– Grab your trusty prying tool, like a spudger, and gently coax that unscrewed cover out of the case. You’re doing great!
– Now, just set it aside for a moment while you continue your repair adventure.
Tools Used
Step 8
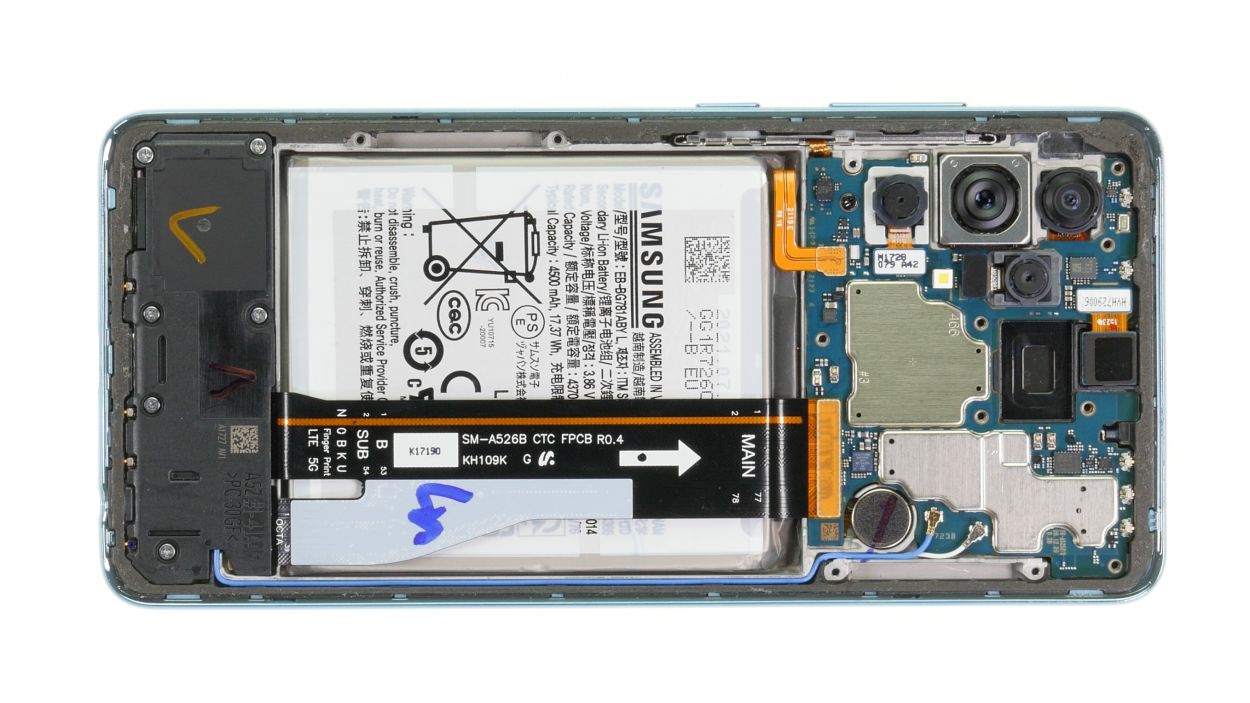

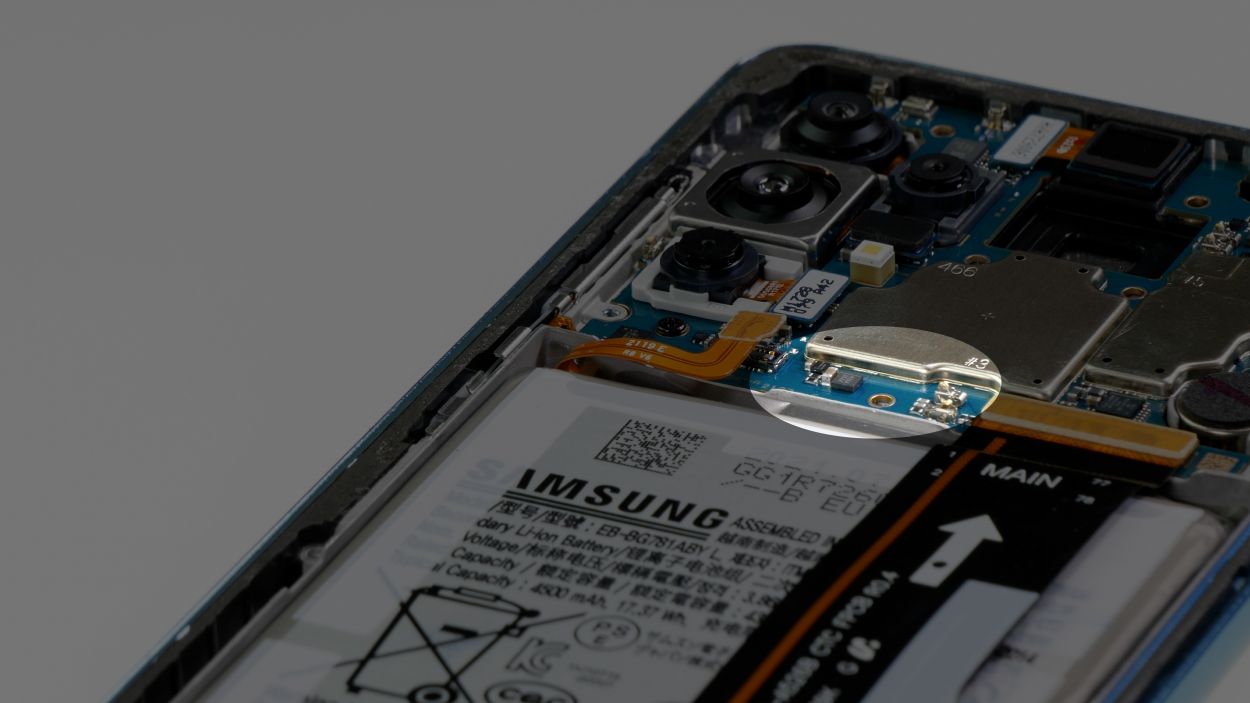
Be sure to disconnect that battery connector pronto to keep any sneaky short circuits at bay!
– Gently wiggle the battery connector free from the motherboard using a