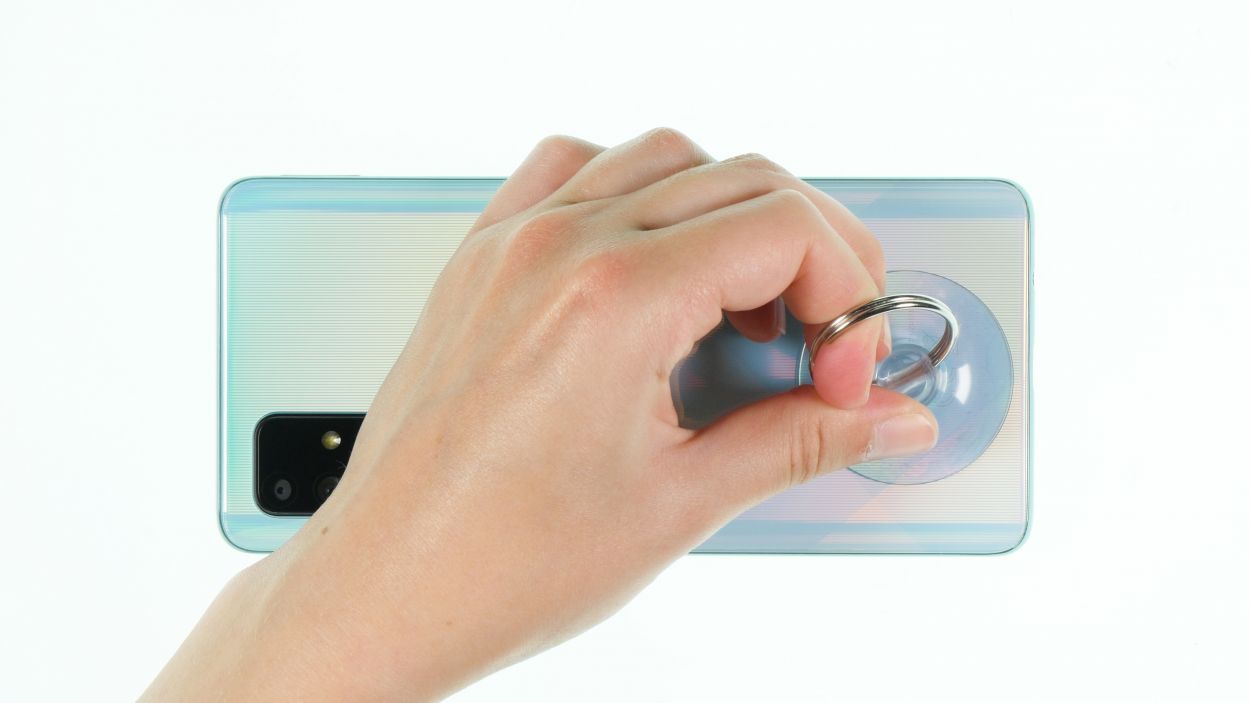
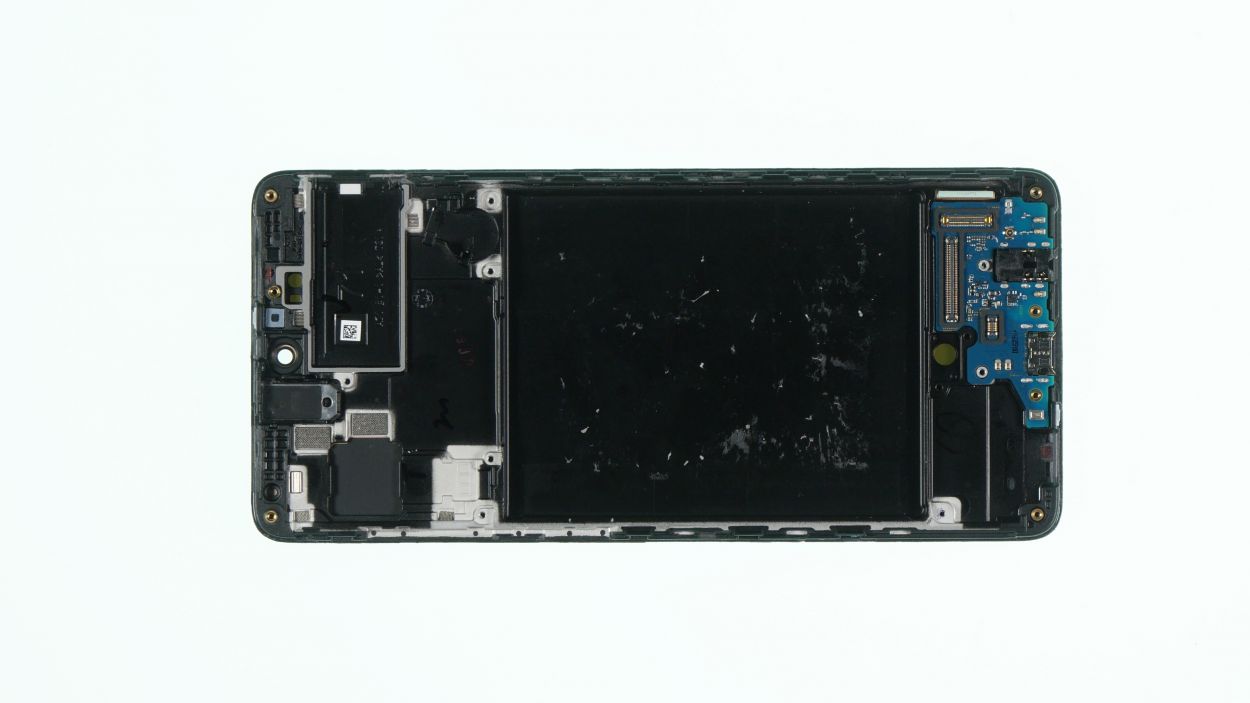
DIY Guide to Replace Samsung Galaxy A71 Screen
Duration: 75 min.
Steps: 28 Steps
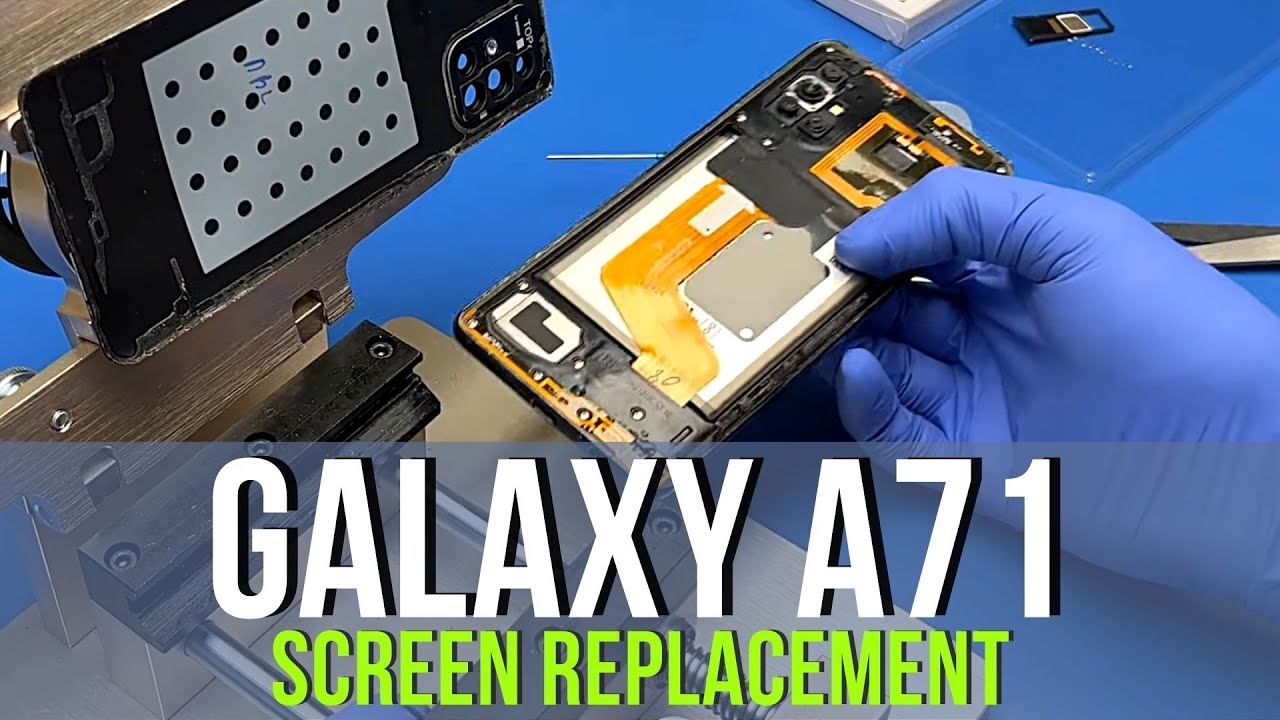
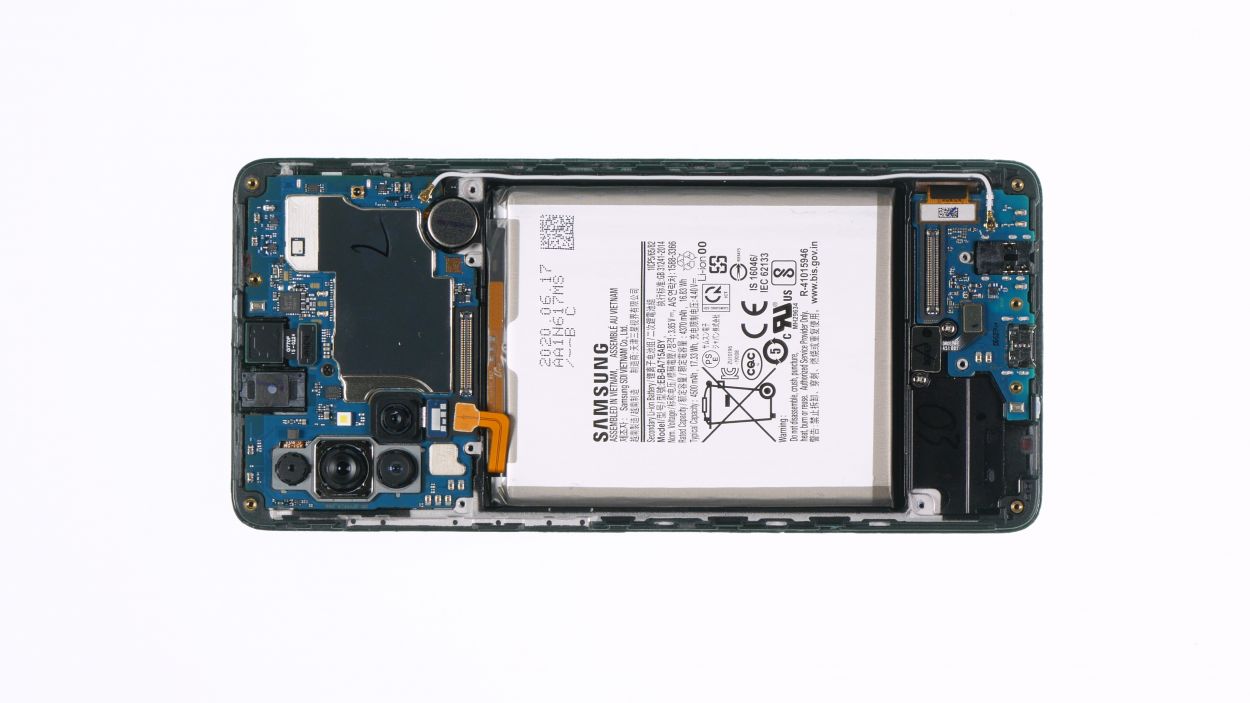
No worries! In this fun and easy-to-follow guide, we’re here to help you swap out that pesky cracked screen on your Galaxy A71 all by yourself. Just a heads up, replacing the display on the A71 can be a tad tricky since the back cover and battery are really stuck together. So, make sure to carve out enough time for this project. Good luck with your repair! And if you’re on the hunt for the perfect original replacement screen or a handy Samsung tool kit, check out our online store at schedule a repair.
Step 1
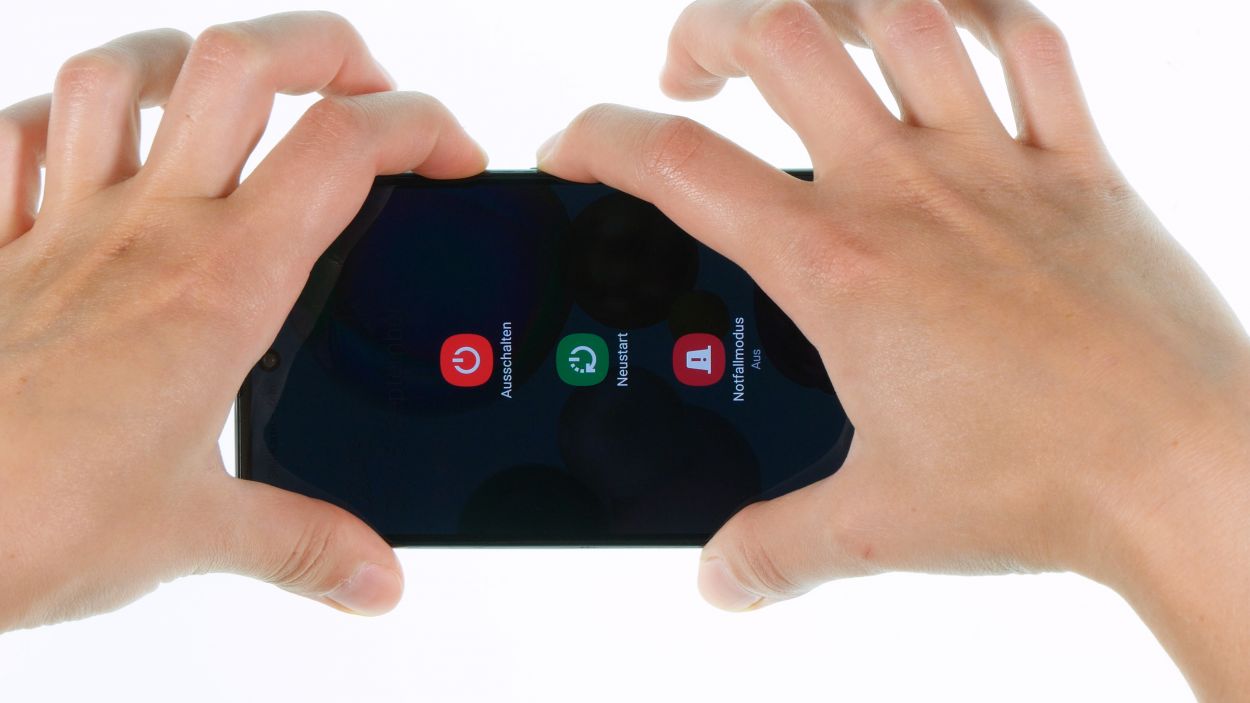
– First up, press and hold the side and volume down buttons together for a few seconds. You got this!
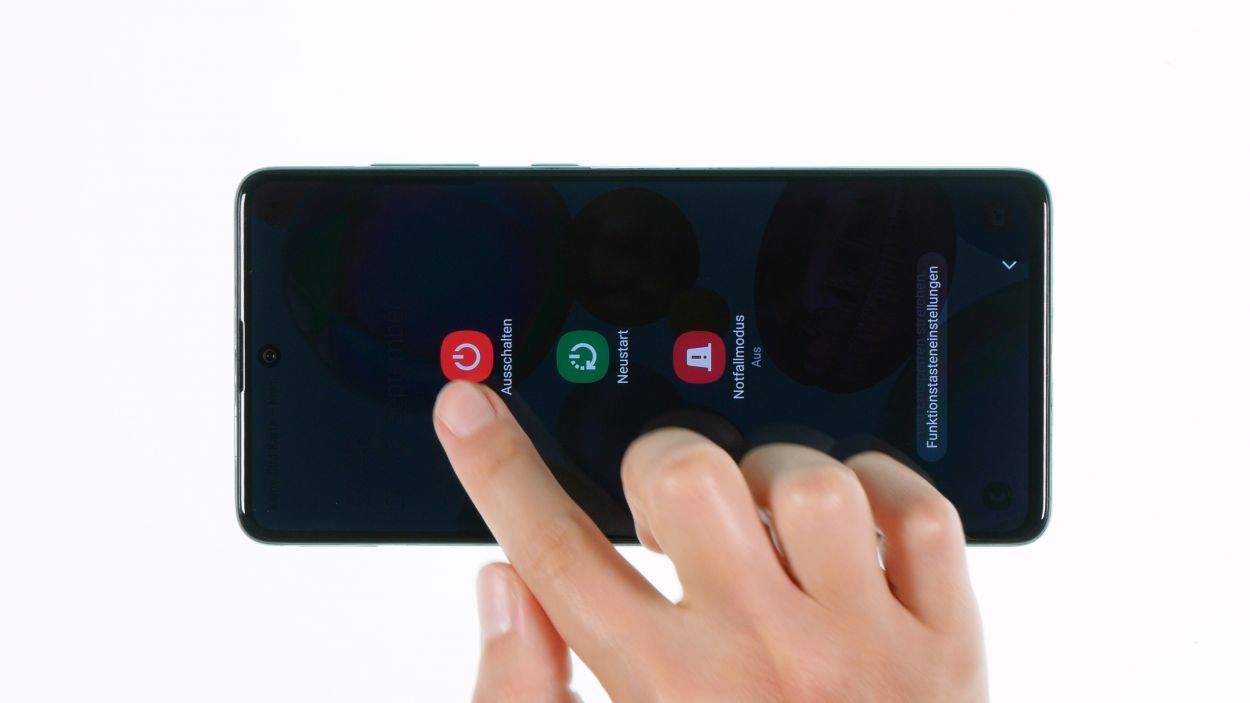
– Next, tap on ‘Switch off’ in the menu that pops up. Easy peasy!
– Your phone will take a quick moment to shut down completely. Just a few seconds and you’re all set!
Step 2
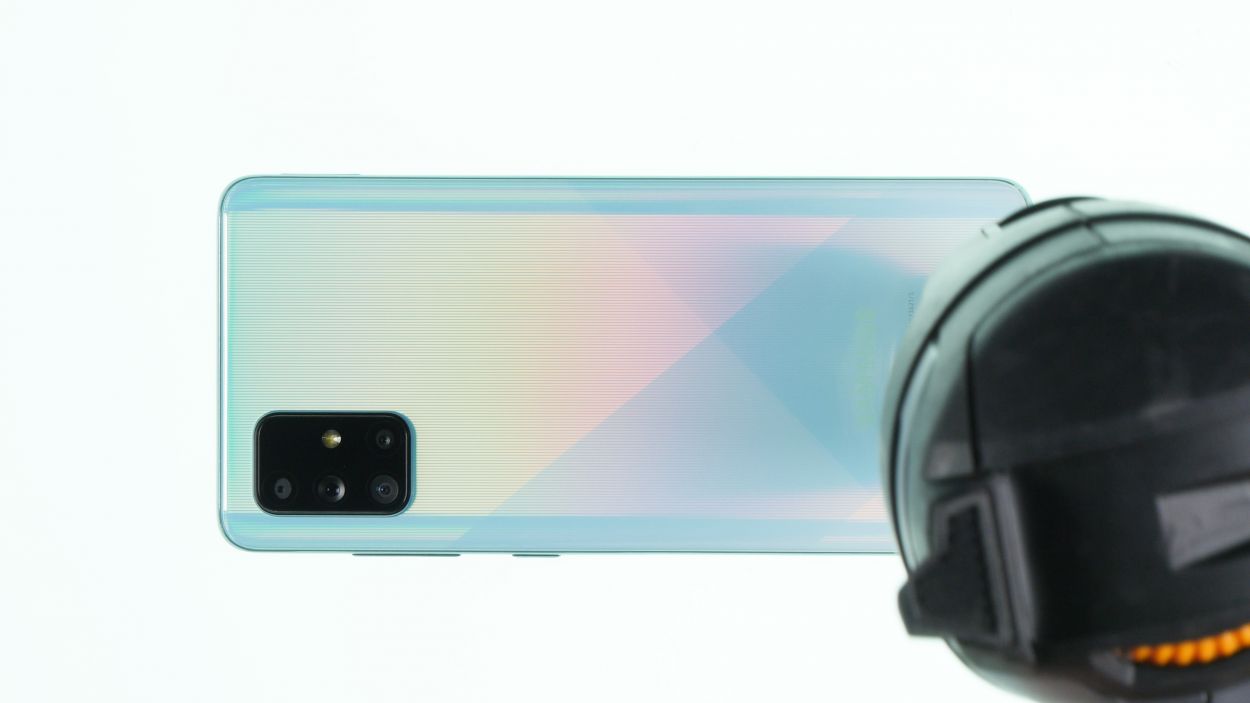
Here’s a handy tip: Heat the edge of the back cover just enough so that you can comfortably touch it without feeling like you’ve just shaken hands with a fire-breathing dragon.
– First, flip your phone over so the screen is facing down on a soft, clean surface. Treat it gently!
– Next, take your hot air tool and glide it smoothly around the edge of the back cover. Keep it moving to avoid overheating!
Tools Used
- heat gun to heat parts that are glued on so they’re easier to remove.
In most cases, you can also use a hairdryer.” rel=”noopener nofollow”>Heat gun
Step 3
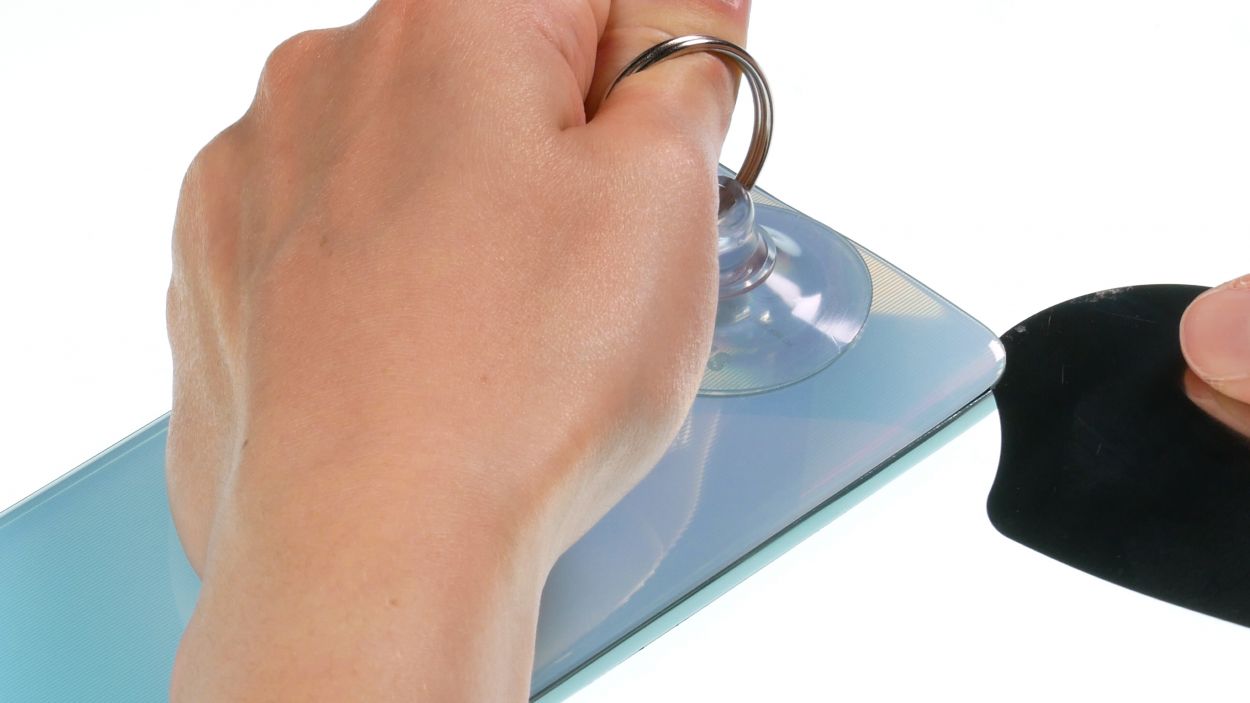
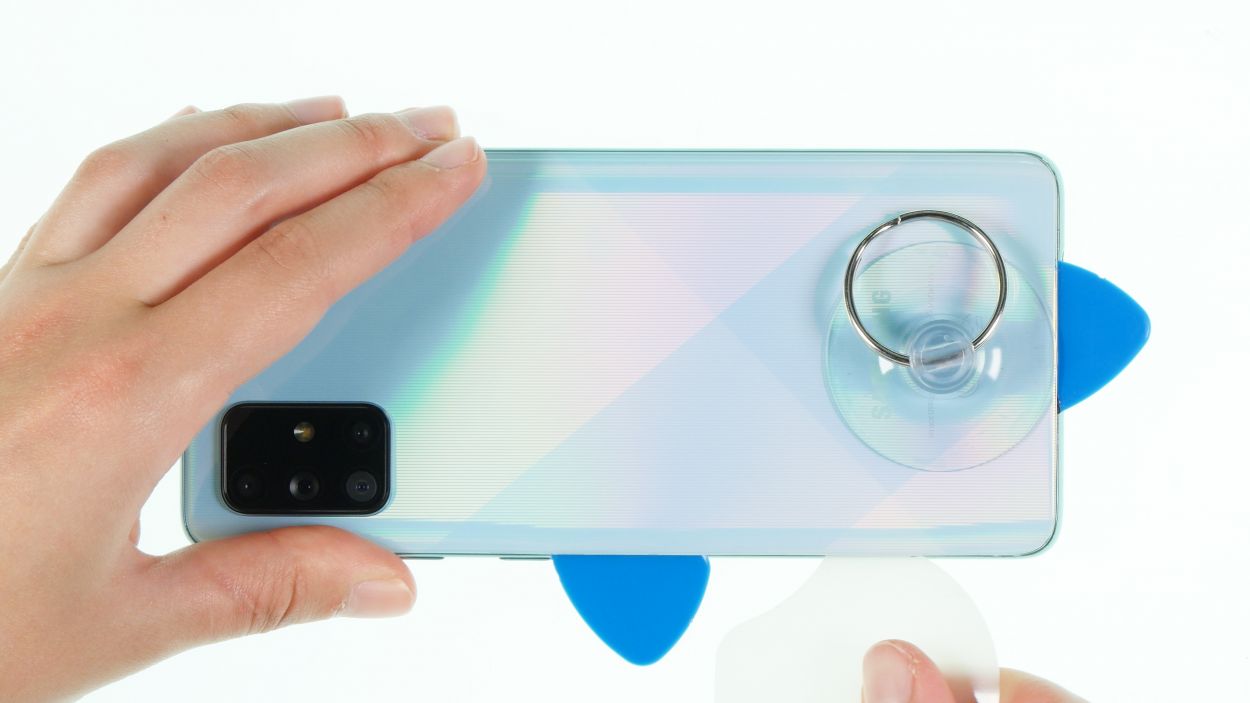
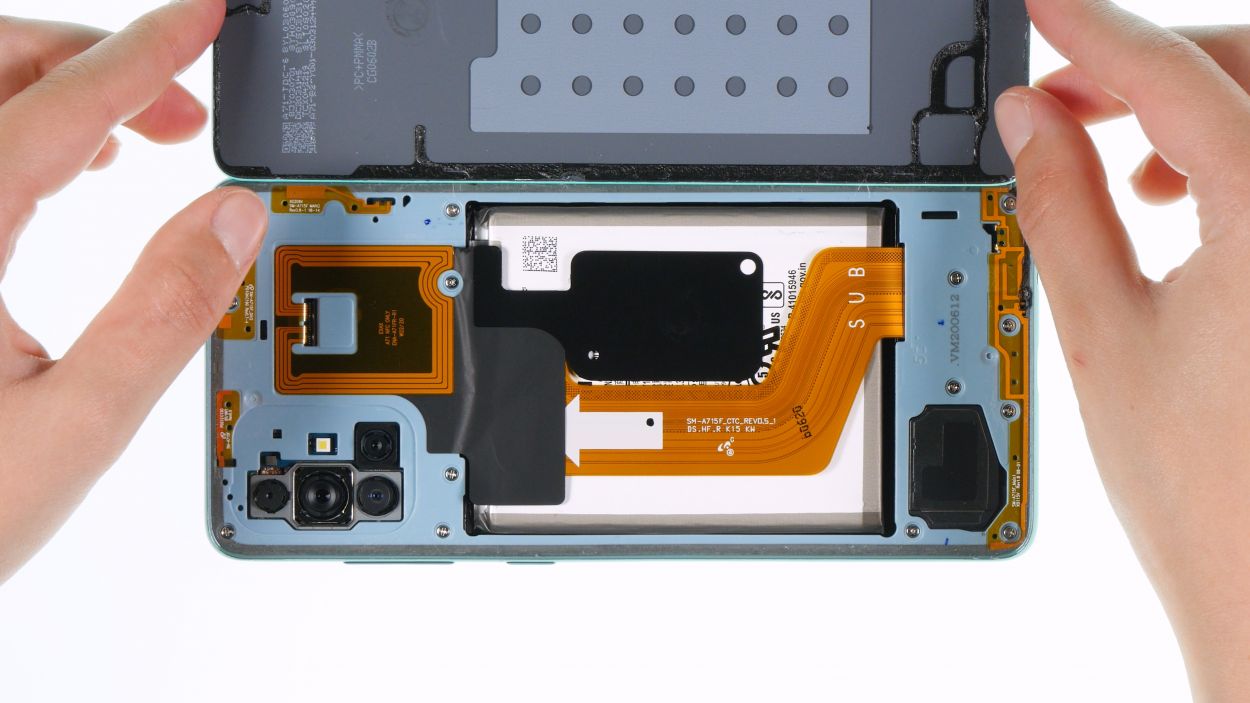
– Grab a suction cup and stick it to the lower part of the back cover. Give it a gentle pull upwards to create a tiny gap between the back cover and the middle frame – you’re doing great!
– Now, while you’re at it, slide a flat, sturdy tool into that gap to help widen it. The iFlex is a solid choice for this job!
Opening up your Galaxy A71 is a one-way ticket to waving goodbye to that manufacturer warranty. So, tread carefully, my friend!
The iFlex is crafted from ultra-thin, sturdy metal and has some pretty sharp edges. To keep your device’s frame looking fresh and scratch-free, we suggest starting with the iFlex and switching to a plastic tool as soon as you can. You’re doing great, keep it up!
Tools Used
Step 4
Watch out! Don’t let your tool dive too deep into the device, or you might accidentally tickle some components that prefer their personal space.
The iPlastix is a lightweight, bendy buddy made of flexible plastic. Unlike its sharper counterpart, the iFlex, it’s all about those smooth edges. Perfect for your repair tasks!
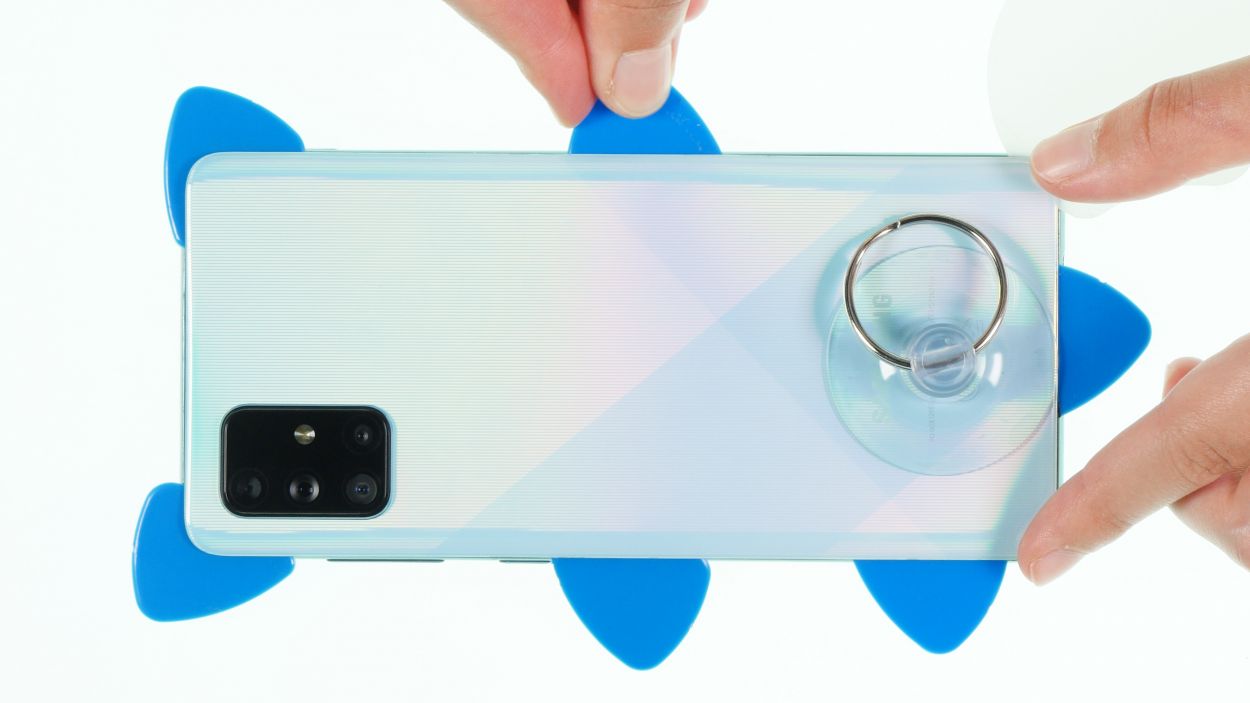
– Gently detach the back cover from the middle frame, piece by piece, using a plastic tool to glide along the edge. The iPlastix is your trusty sidekick for this task!
Tools Used
- heat gun to heat parts that are glued on so they’re easier to remove.
In most cases, you can also use a hairdryer.” rel=”noopener nofollow”>Heat gun - Flat Picks
- battery? Then the iPlastix with its large blade will help you. The practical assistant is made of flexible, especially sturdy plastic and lies comfortably in the hand. Thanks to its design, you can even get into smaller gaps, for example to lift the screen or to prevent it from sticking together again.” rel=”noopener nofollow”>iPlastix Opening Tool
Step 5
14 × 3.4 mm Phillips
To keep those pesky screws and tiny parts from going rogue, grab yourself a screw storage box! Our magnetic pad is a fantastic option for this. It allows you to lay out all the removed bits just like they were in your phone, making reassembly a breeze!
– To start, grab your trusty Phillips screwdriver and loosen all the screws holding the middle frame to the display unit. You’ve got this!
Step 6
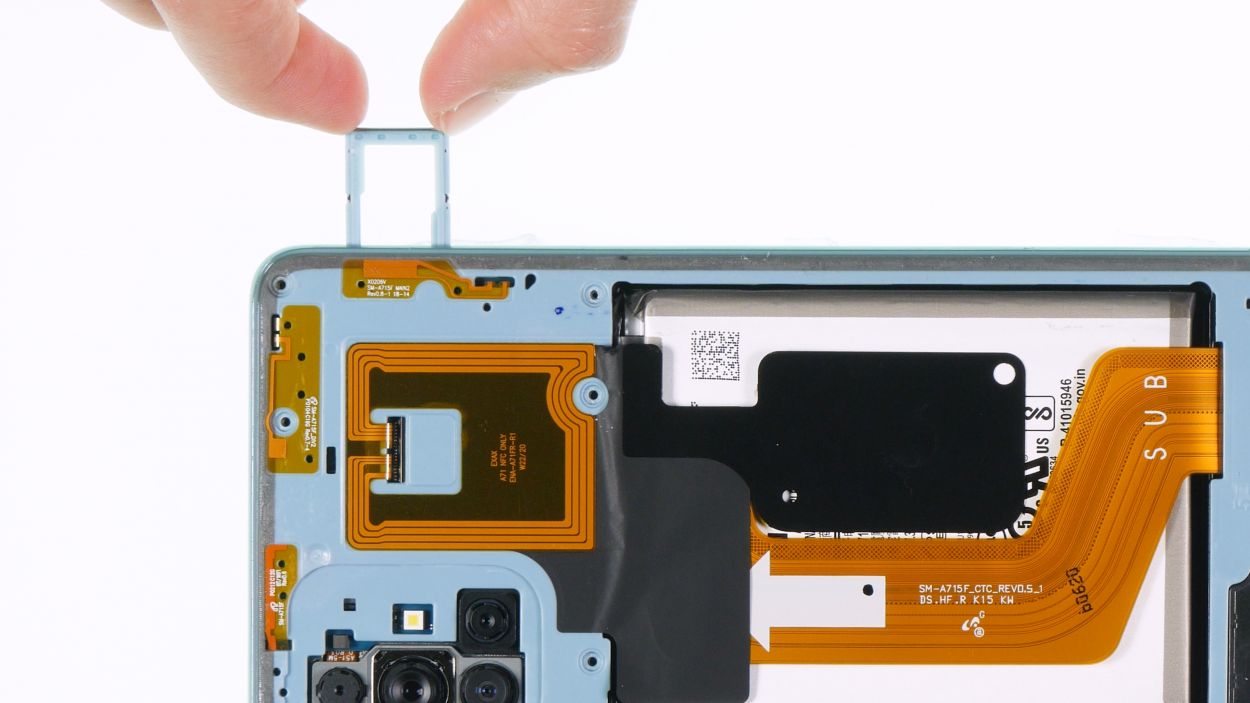
Hey there! Just a friendly reminder to take it easy around the keys and the SIM slot. The middle frame can get a bit wobbly in those areas, so gentle touches are the way to go!
The hard plastic pick is designed to be super easy to hold thanks to its clever shape. Made from durable plastic with narrow edges, it slides in smoothly without going too deep, so you can avoid any accidental mishaps while working on your phone. Just the right tool for the job!
Tools Used
Step 7
When you’re about to detach the battery connector, start from the side that’s free of any tiny components on the board. This little tip will help you avoid any unintentional mishaps!
– Grab a sturdy plastic lever tool and slide it gently under the battery connector. With a little care, lift it off with ease! A handy plastic spudger works wonders for this task.
Tools Used
Step 8
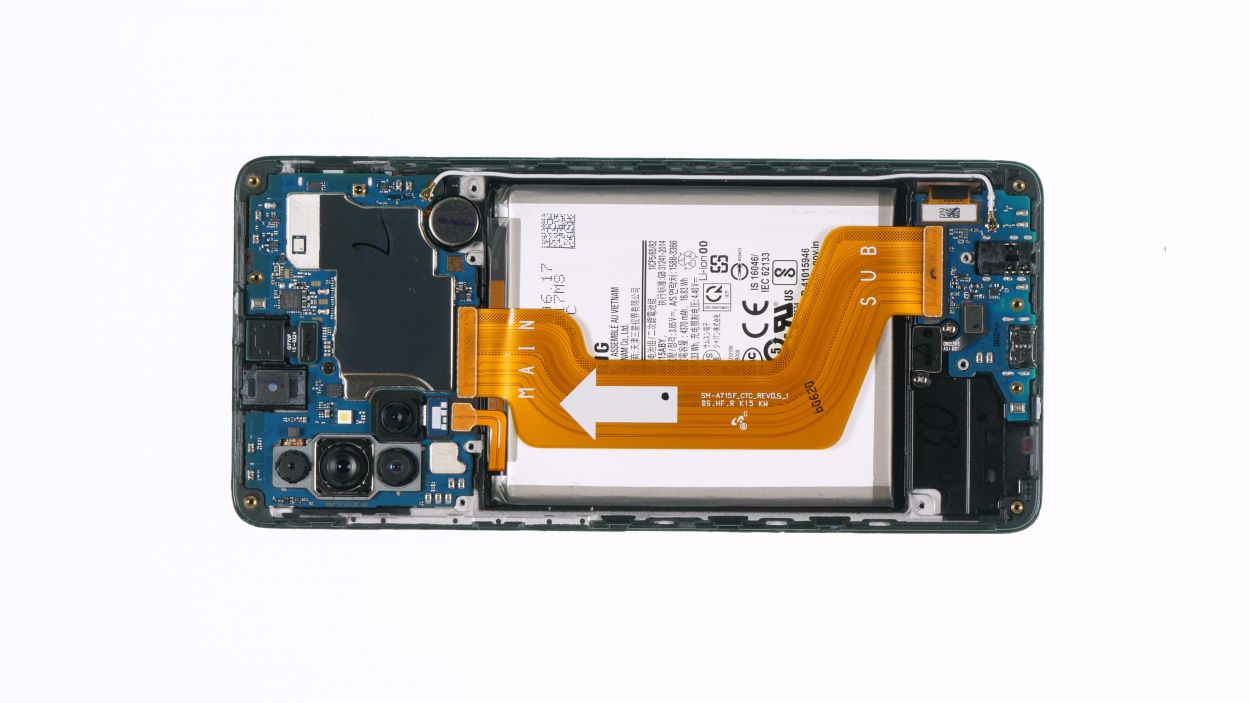
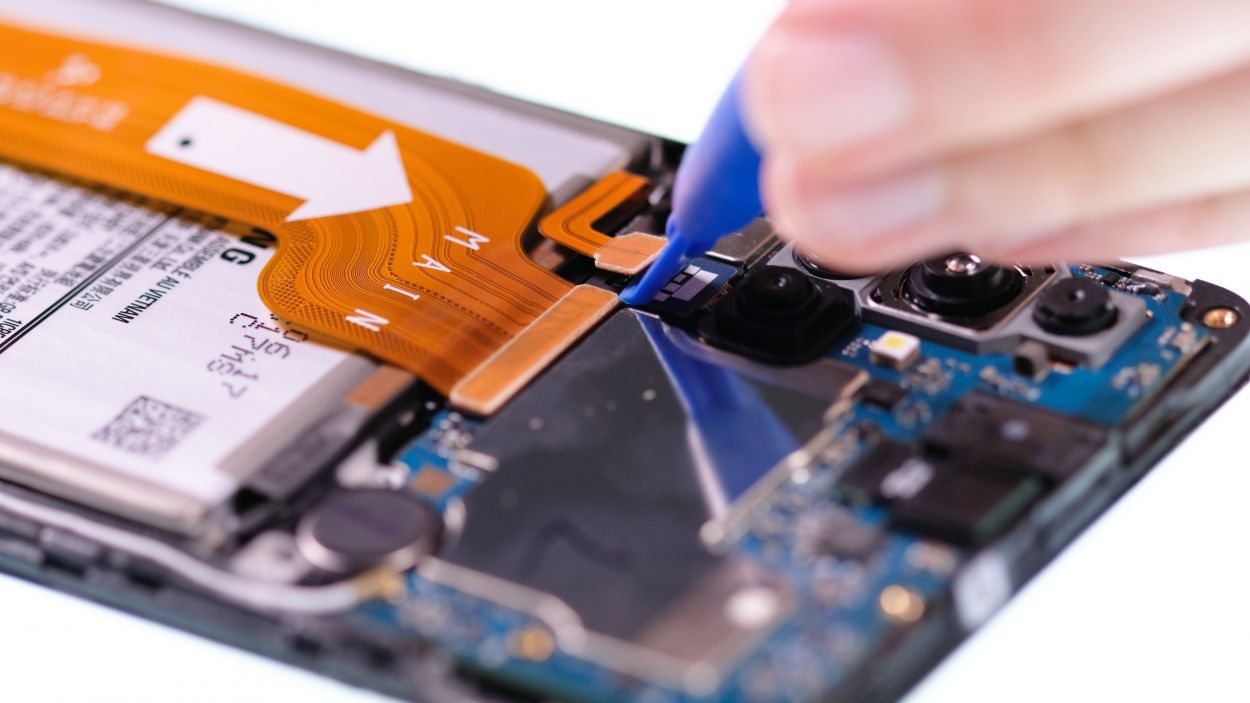
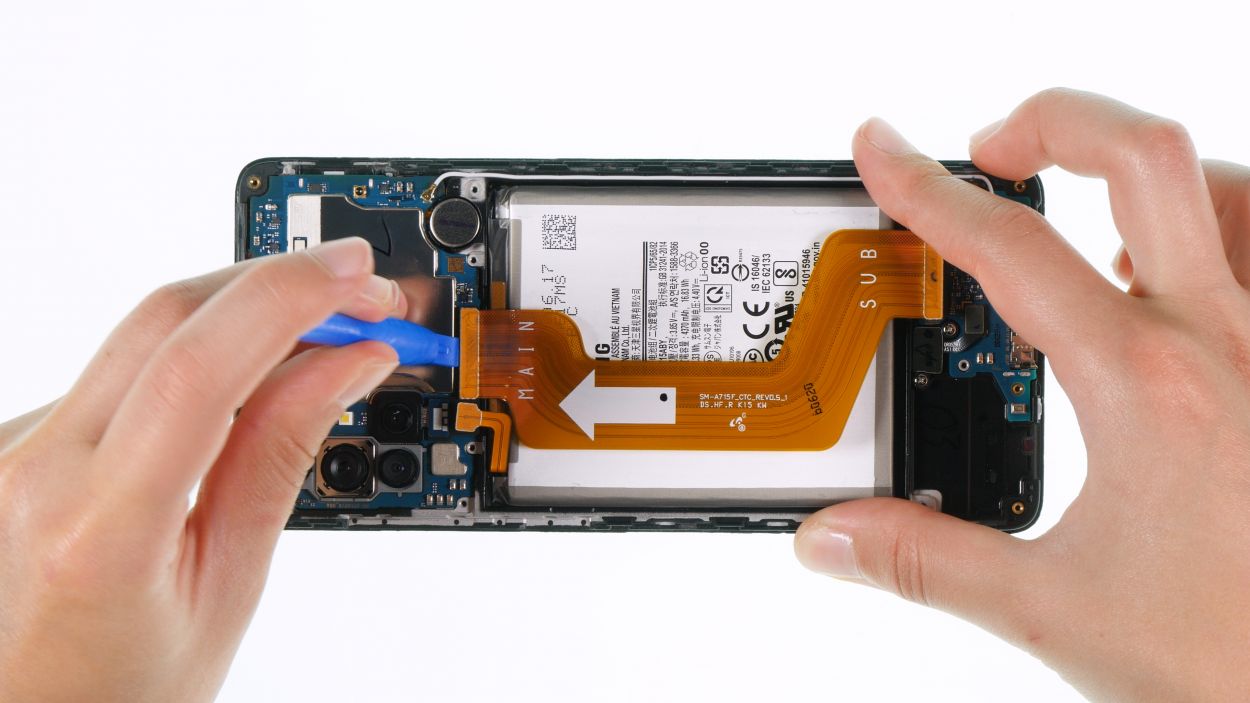
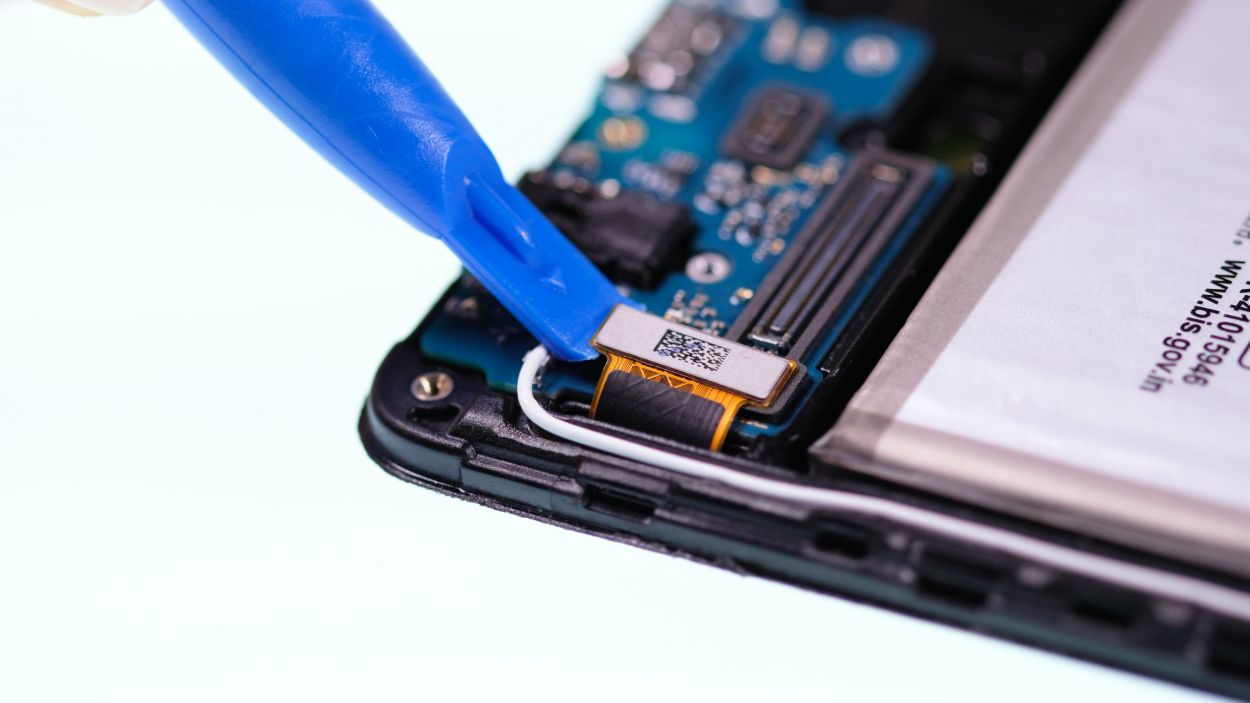
When you’re about to detach the flex cable connectors, kick things off from the side where the board is free of those tiny components. This little trick will help you steer clear of any accidental mishaps!
– Grab your trusty plastic spudger and gently slide it under each flex cable connector, one by one, lifting them off with care. You’re doing awesome!
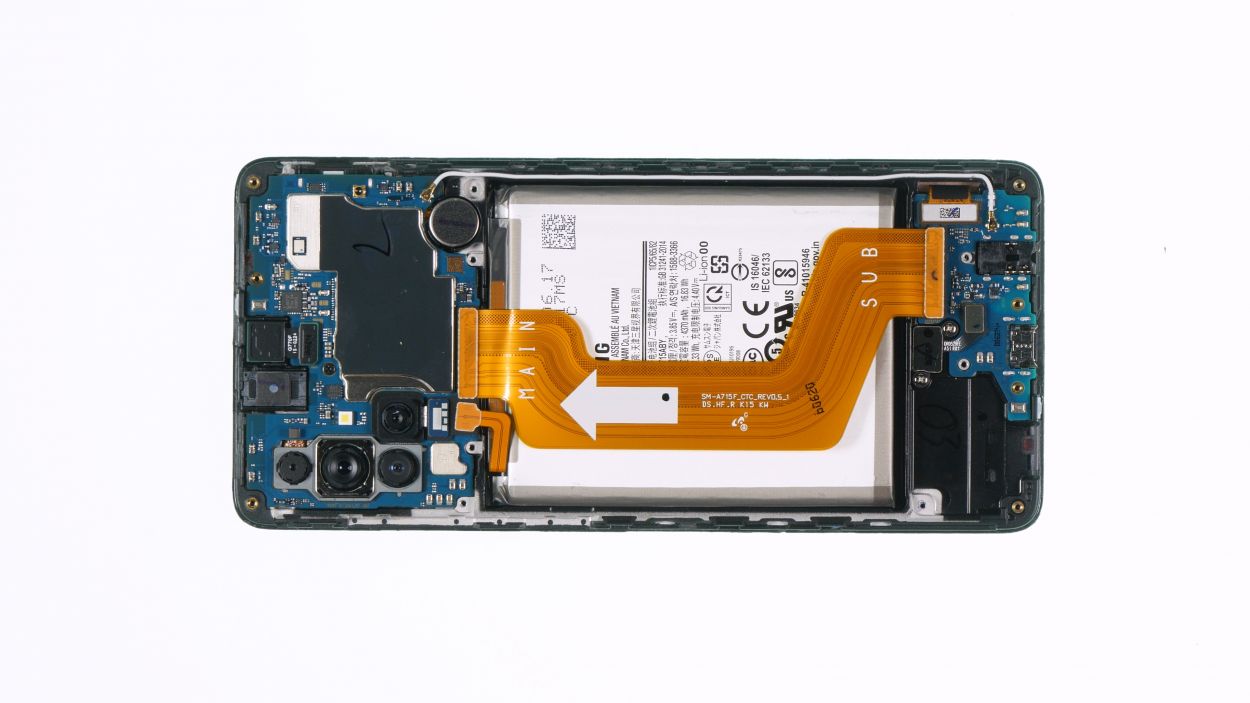
– Once you’ve got them all off, set that detached flex cable aside like a pro.
Tools Used
Step 9
1 × 2.9 mm Phillips
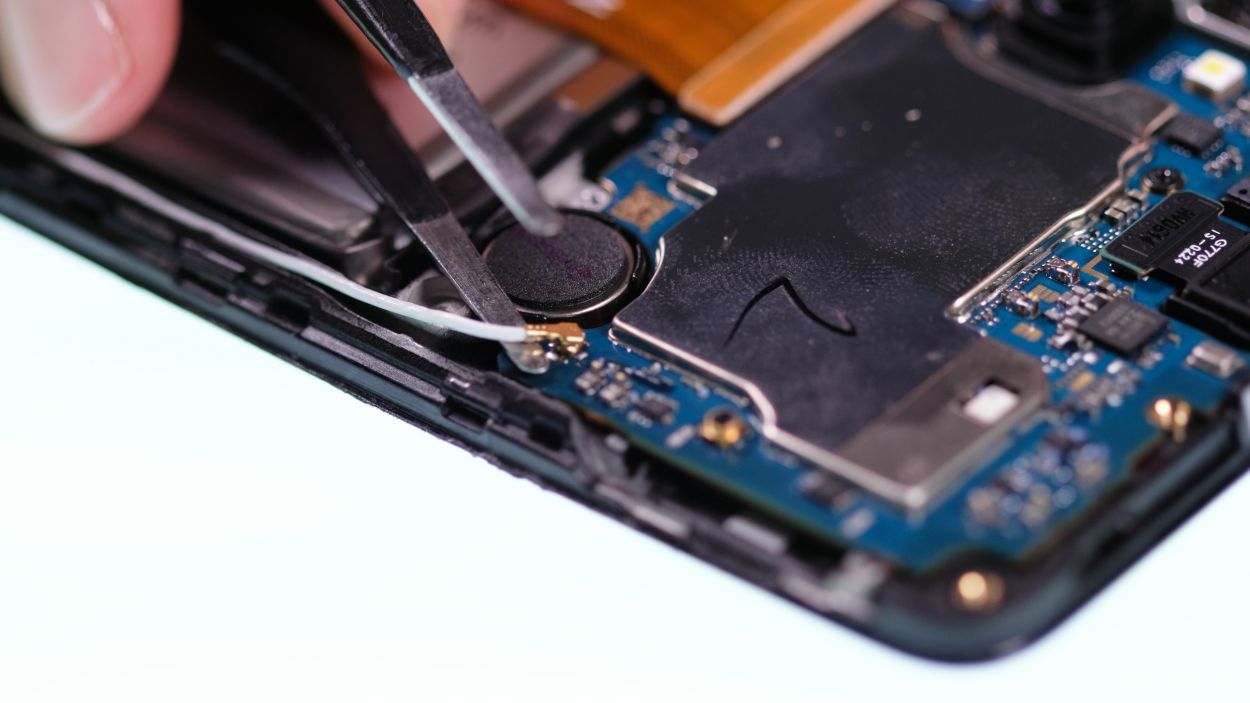
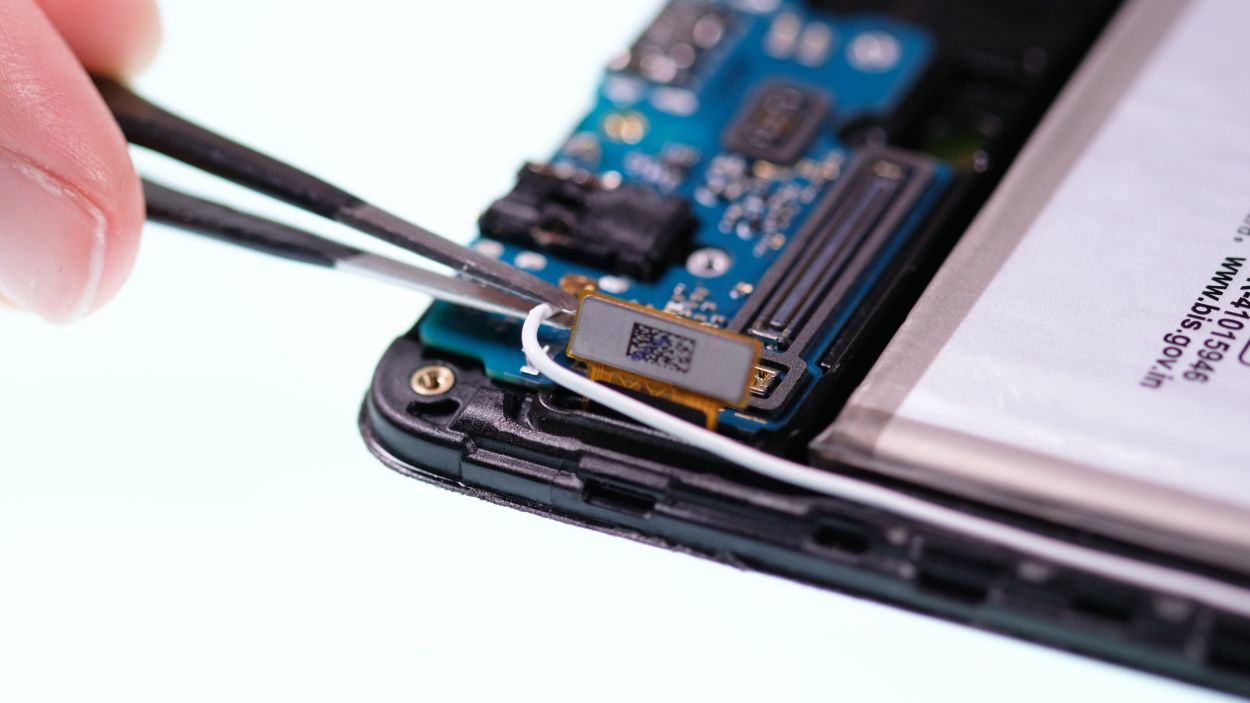
When you’re about to disconnect the antenna connector, kick things off from the side that’s free of any little components on the board. This nifty tip will help you dodge any potential mishaps!
Step 12
2 × 2.9 mm Phillips
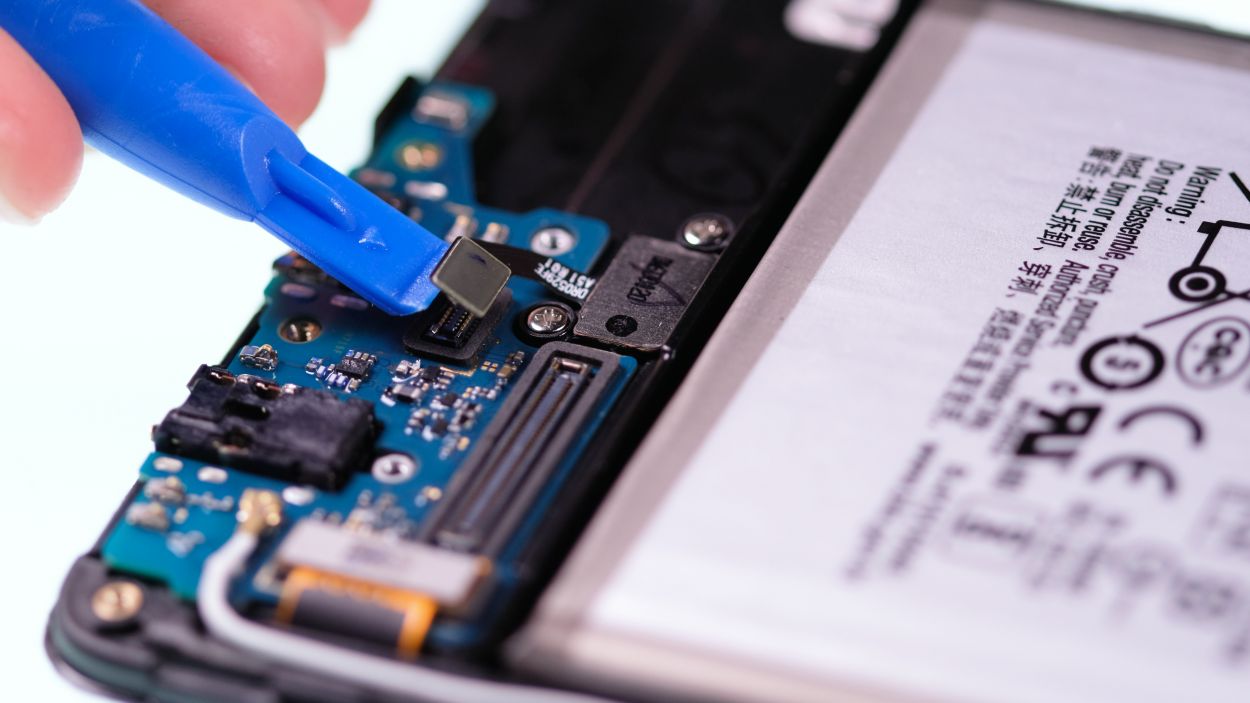
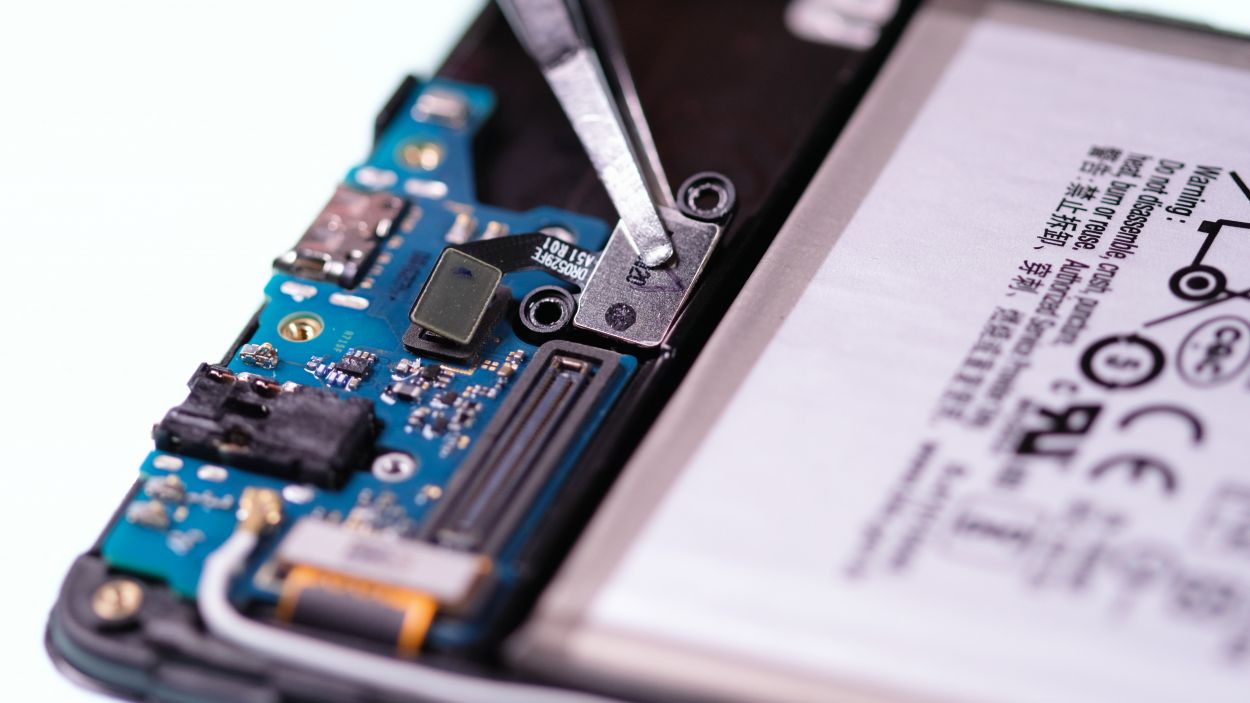
When you’re about to detach the connector for the fingerprint sensor, start from the side that’s free of any tiny components on the board. This little tip will help you avoid any accidental mishaps!
– Grab your trusty plastic spudger and gently pry the fingerprint sensor connector away from the USB board. You’re doing great!
– Next up, use your Phillips screwdriver to remove the two screws holding the sensor to the USB board. Once that’s done, carefully lift it out with your tweezers. Easy peasy!
Step 13
When you’re about to detach connectors, kick things off from the side where there aren’t any tiny components hanging out on the board. This little tip will help you avoid any unintentional oopsies!
A nifty little notch at the edge of the USB board is your go-to guide for placing your tools just right. Follow its lead and you’ll be golden!
– First, use a spudger to gently detach the display connector from the USB board. You’ve got this!
– Next, carefully lift off the mobile phone cable connector from the board using tweezers. Easy does it!
– Now, take that completely loosened mobile phone cable out of its guide and set it aside like a pro.
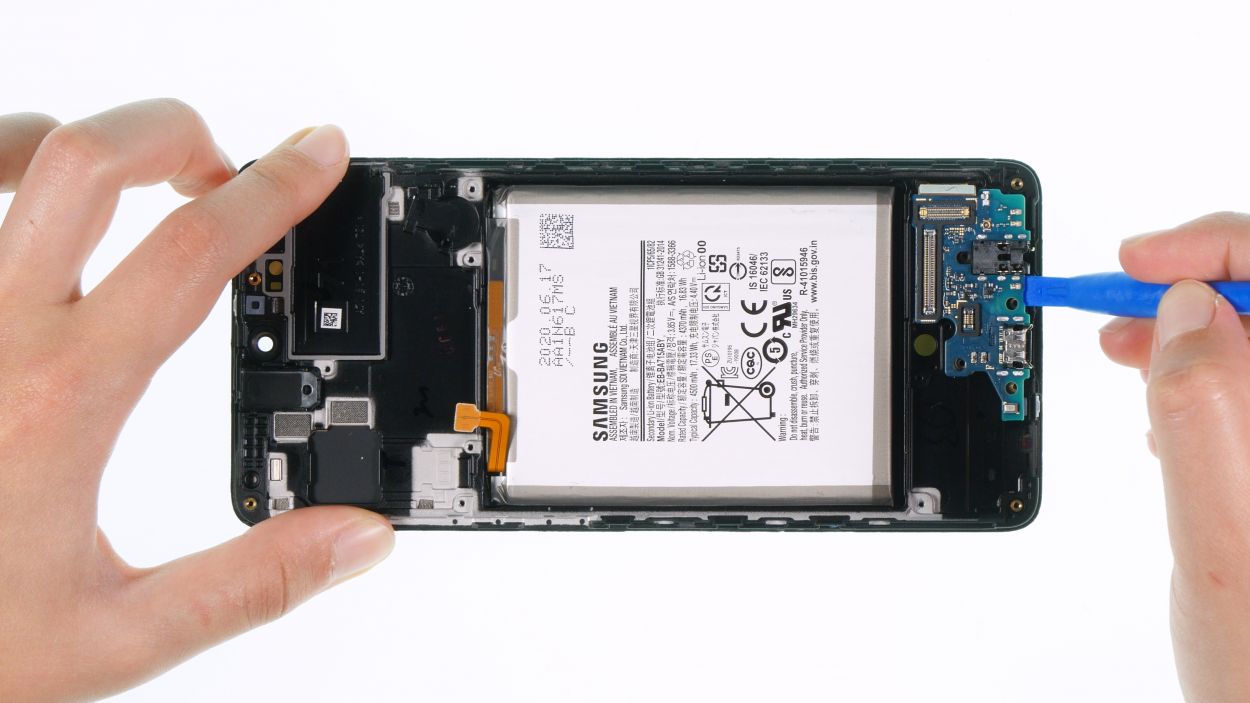
– Finally, with a little leverage from your spudger, pop the USB board out of the display unit and place it aside. You’re doing great!
Tools Used
Step 14
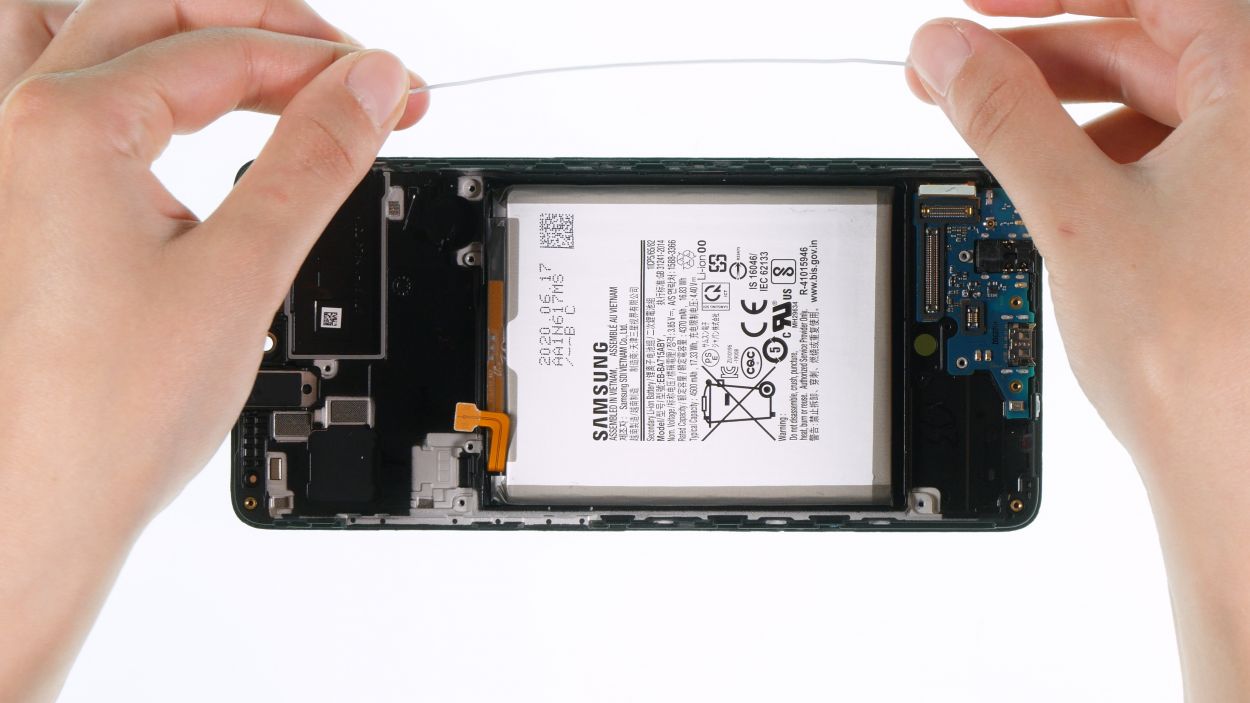
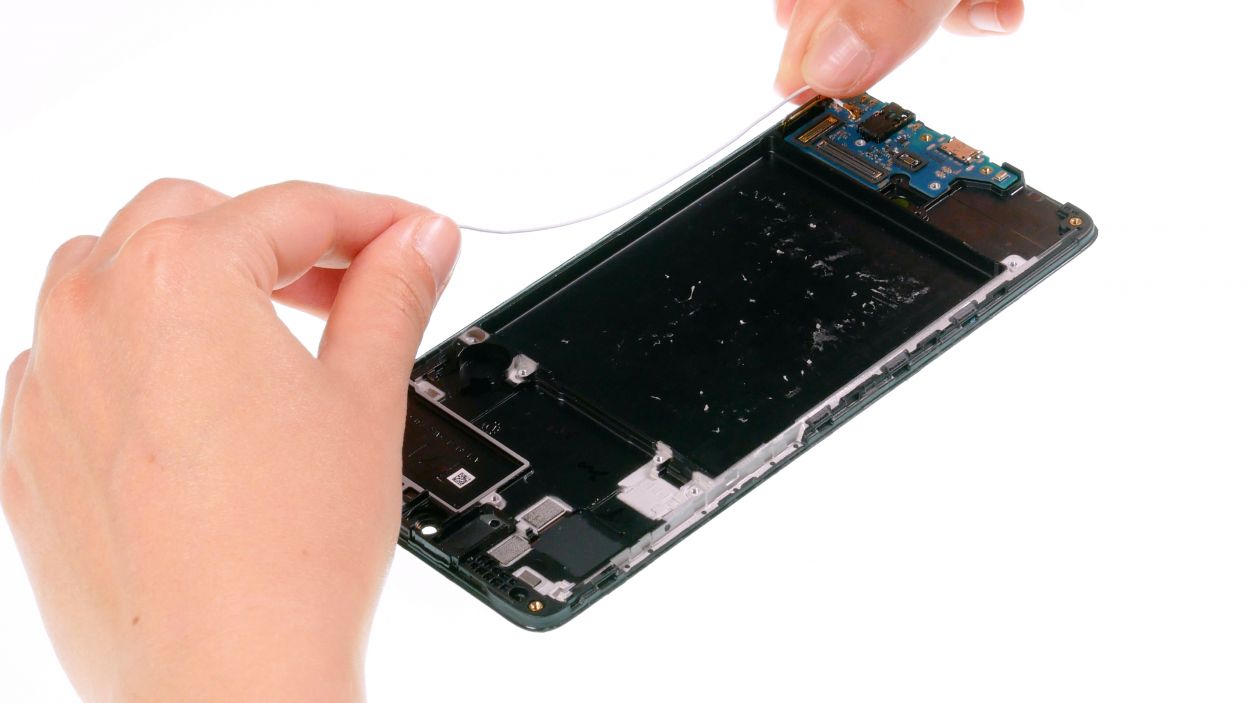
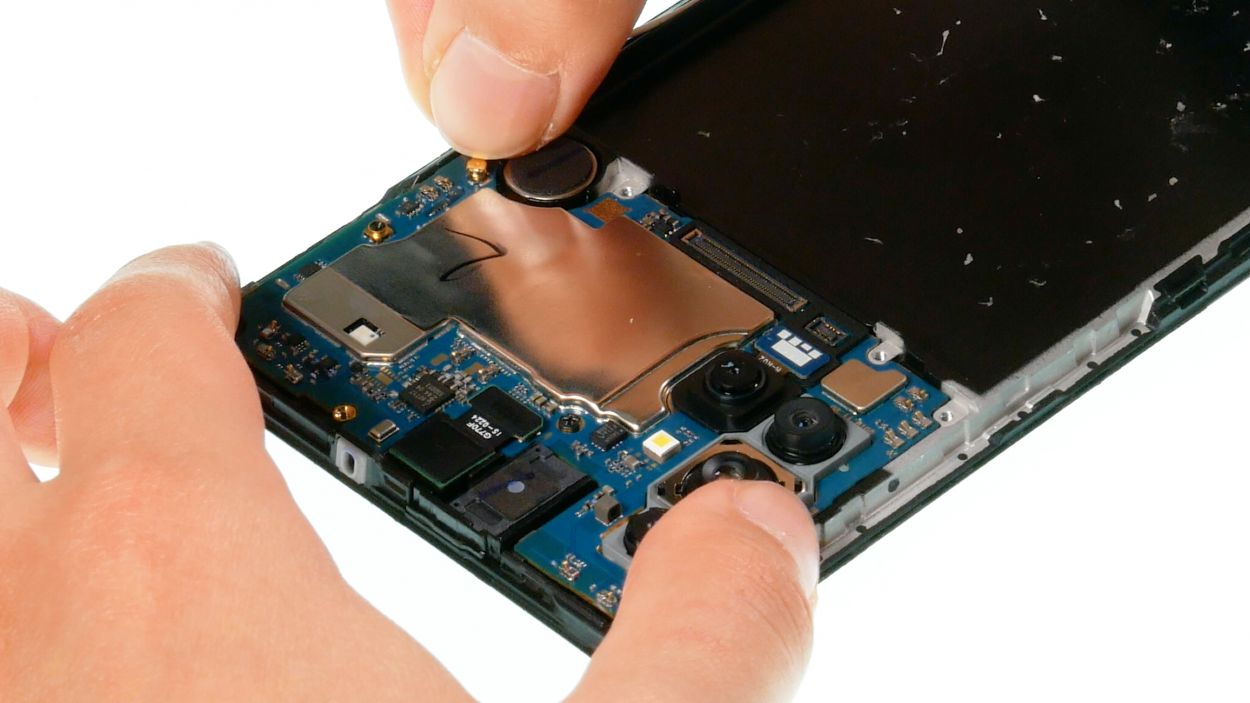
– Flip your phone over so the screen is looking up at you, and let that warm air dance evenly over the battery area. Nice and gentle!
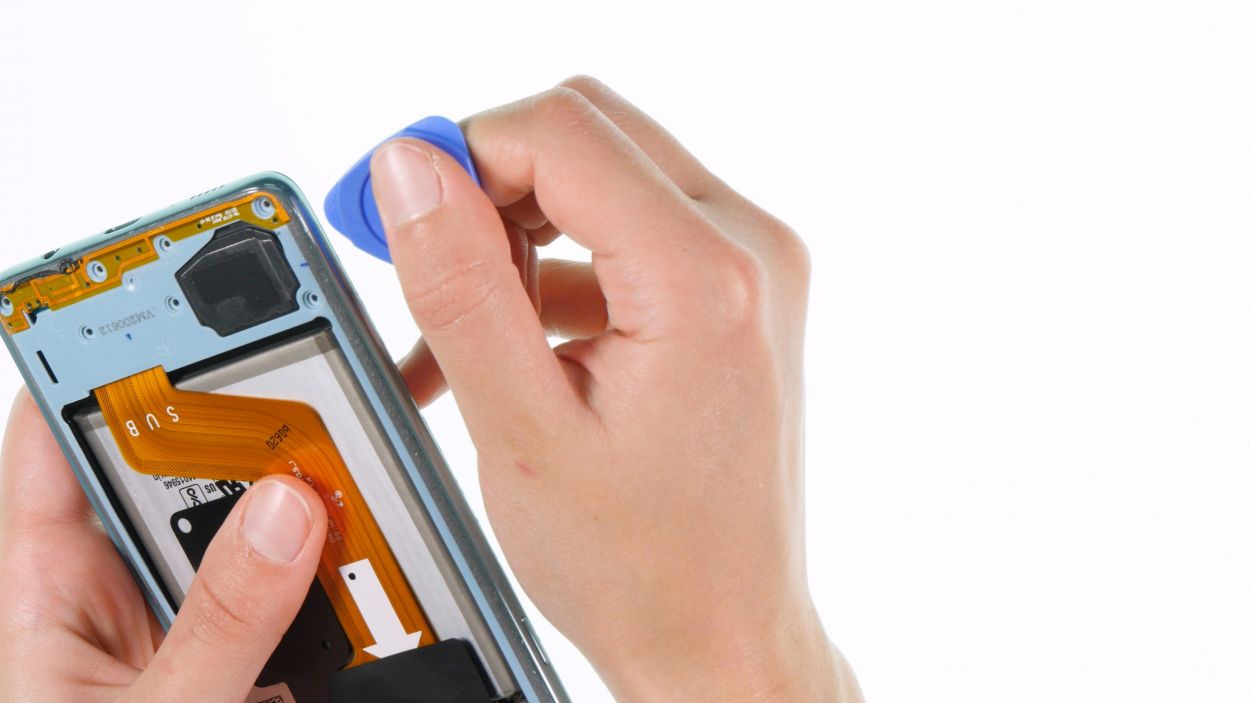
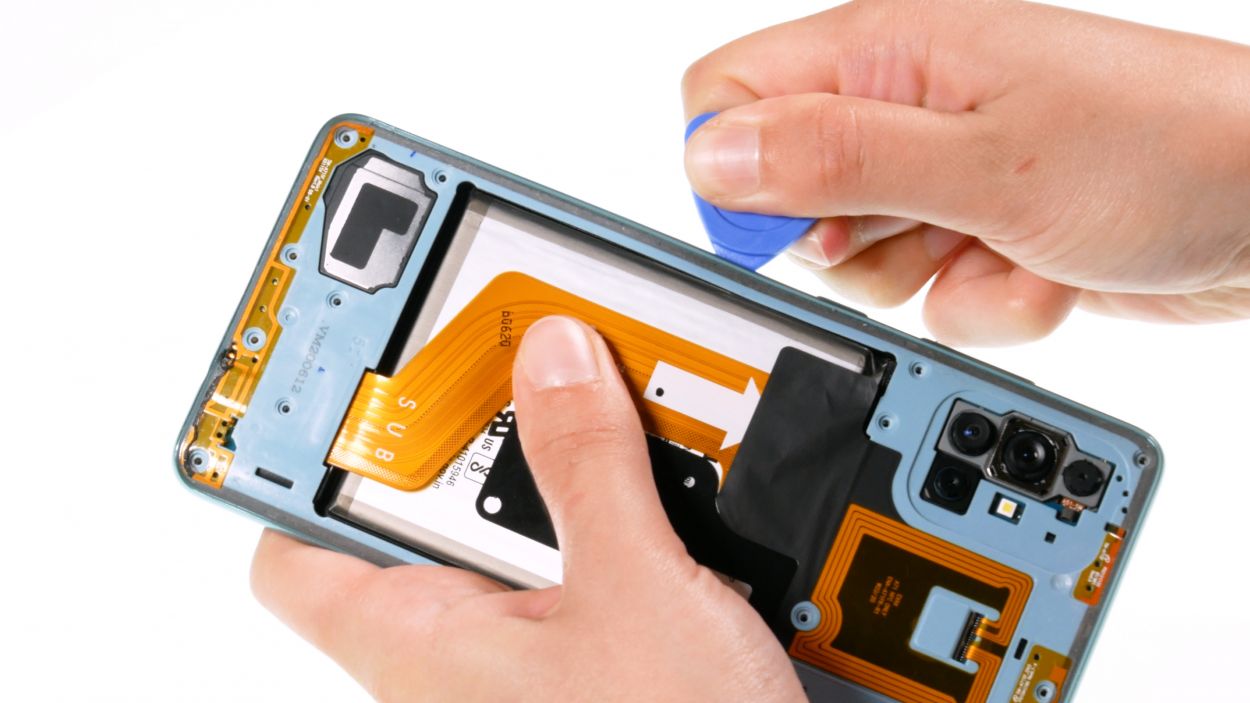
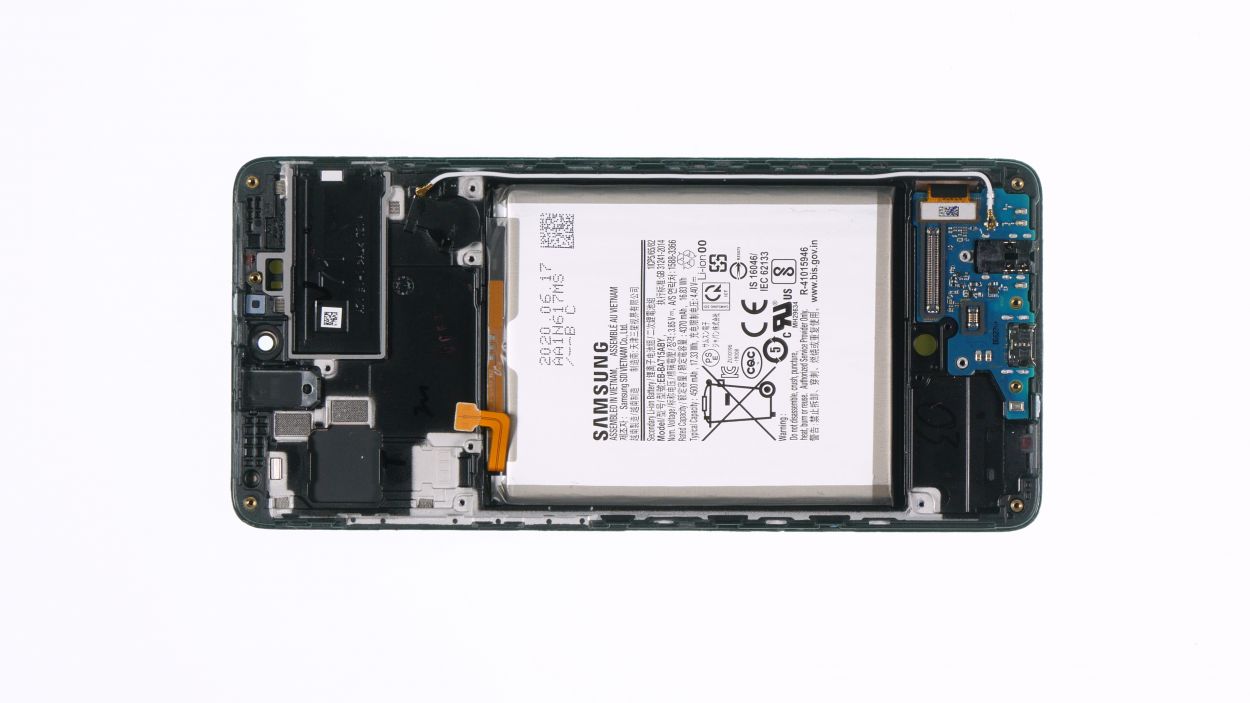
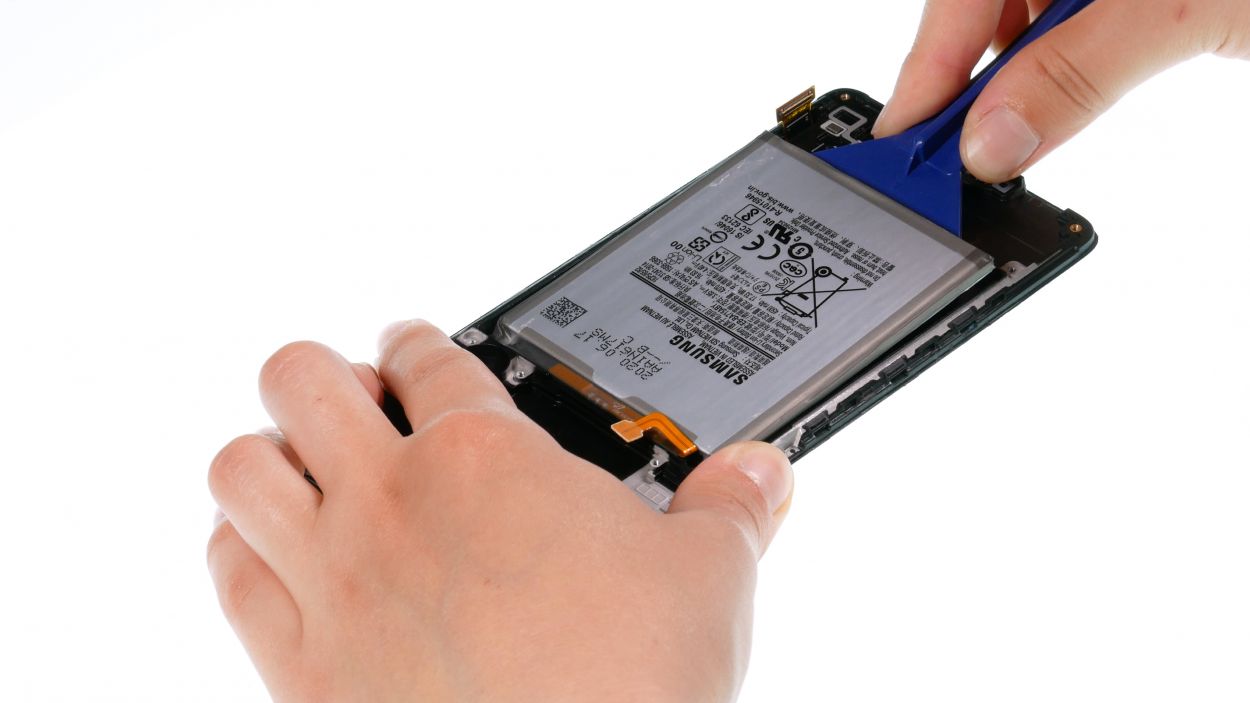
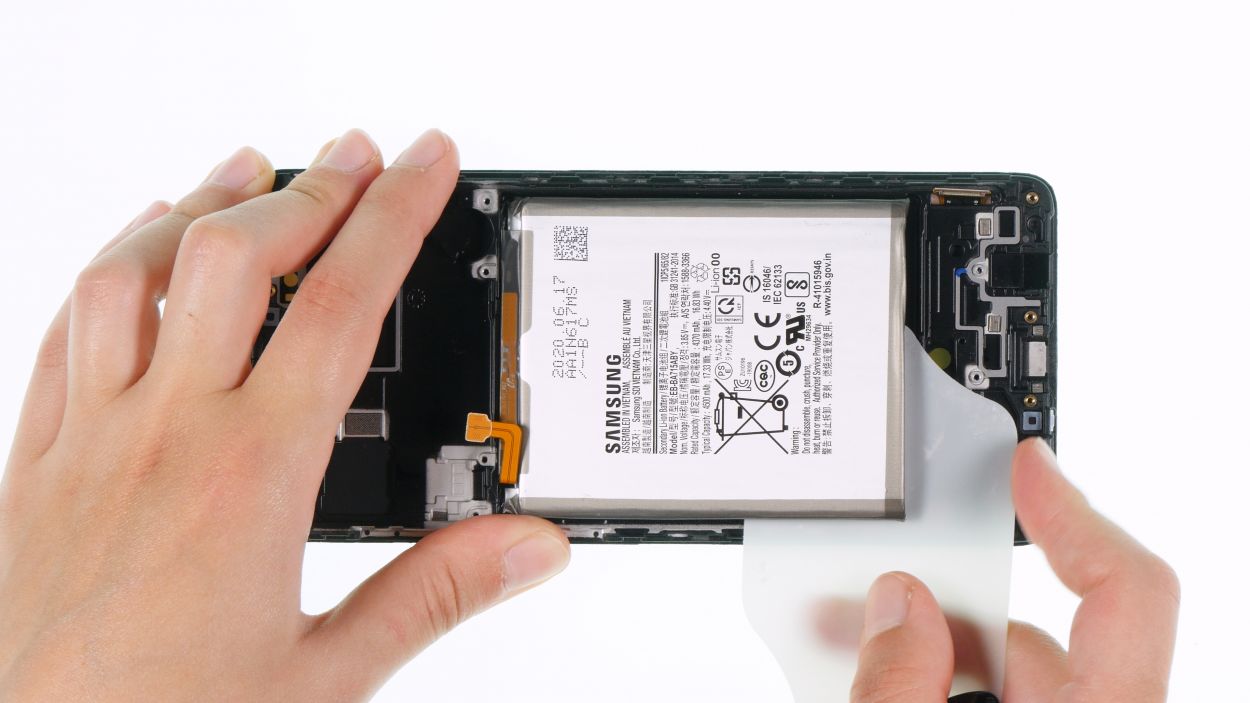
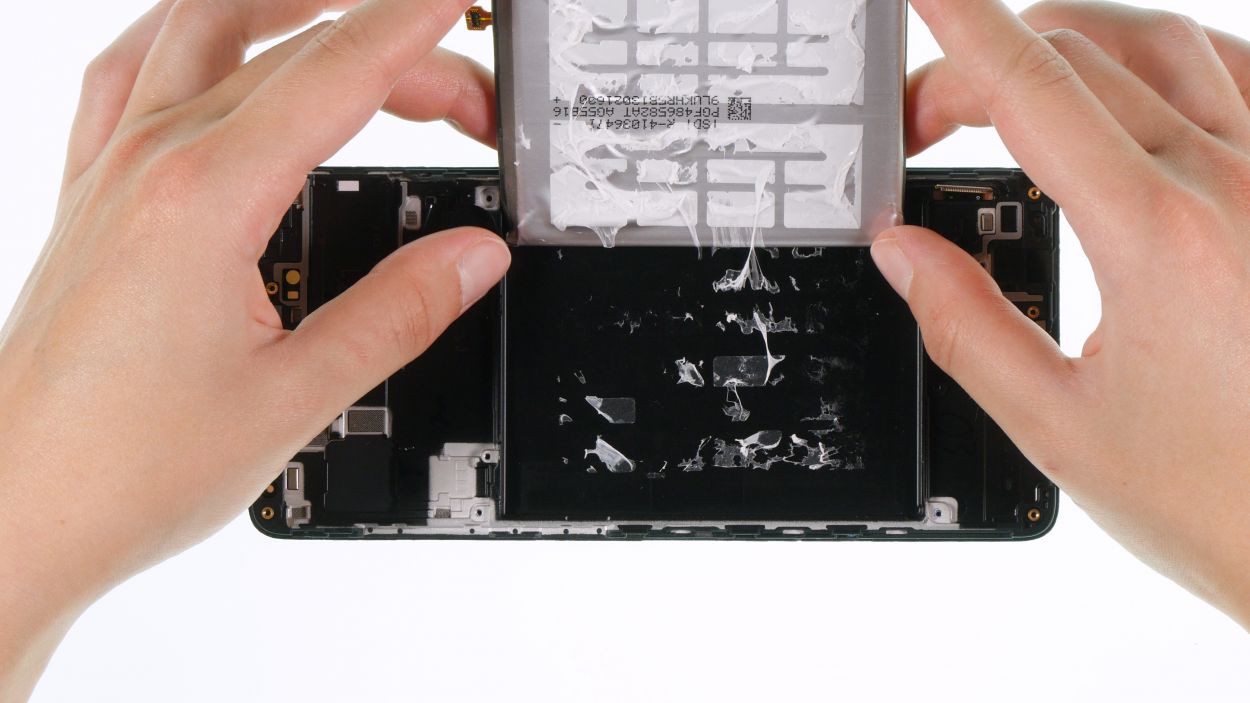
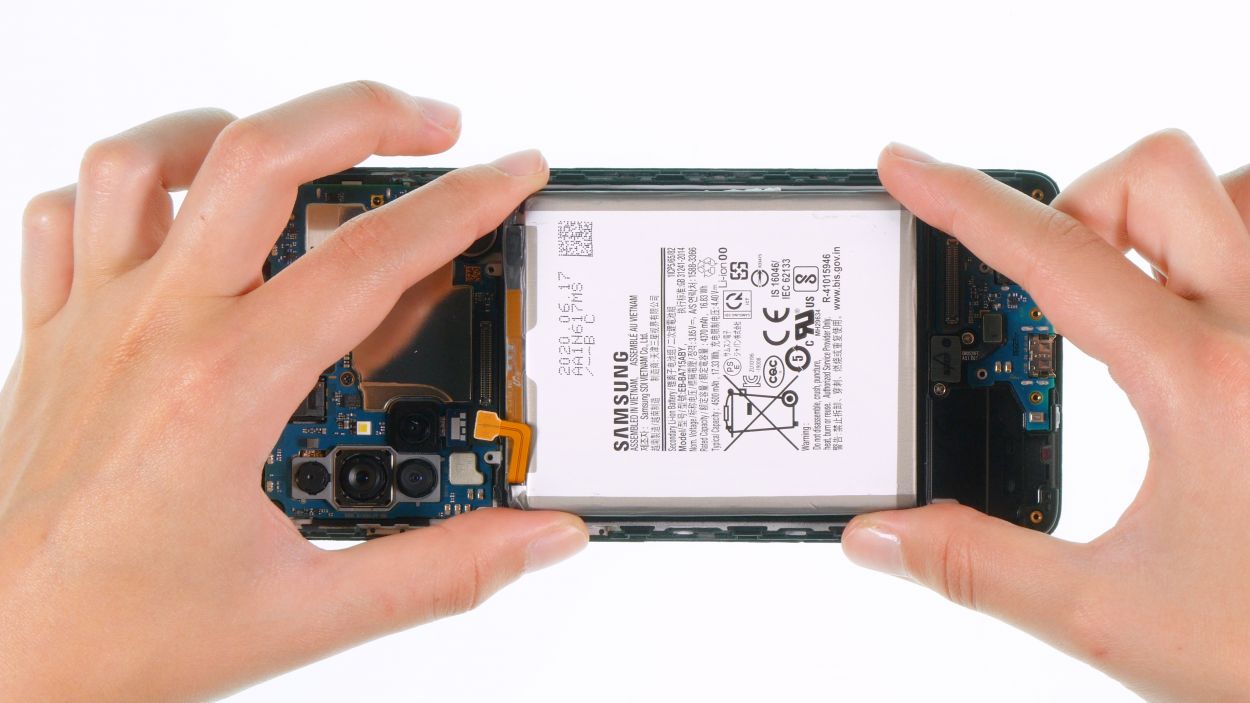
– Now, flip the display back over and grab a sturdy plastic tool to slide under one edge of the battery and lift it up with care. The battery spudger is your best buddy for this job!
– If the battery is feeling a bit loose, grab a flat, flexible tool like the iPlastix and slide it underneath to completely free it from the display unit. You’ve got this!
Tools Used
- heat gun to heat parts that are glued on so they’re easier to remove.
In most cases, you can also use a hairdryer.” rel=”noopener nofollow”>Heat gun - battery? Then the iPlastix with its large blade will help you. The practical assistant is made of flexible, especially sturdy plastic and lies comfortably in the hand. Thanks to its design, you can even get into smaller gaps, for example to lift the screen or to prevent it from sticking together again.” rel=”noopener nofollow”>iPlastix Opening Tool
- Battery Spudger
Step 15
Protective film
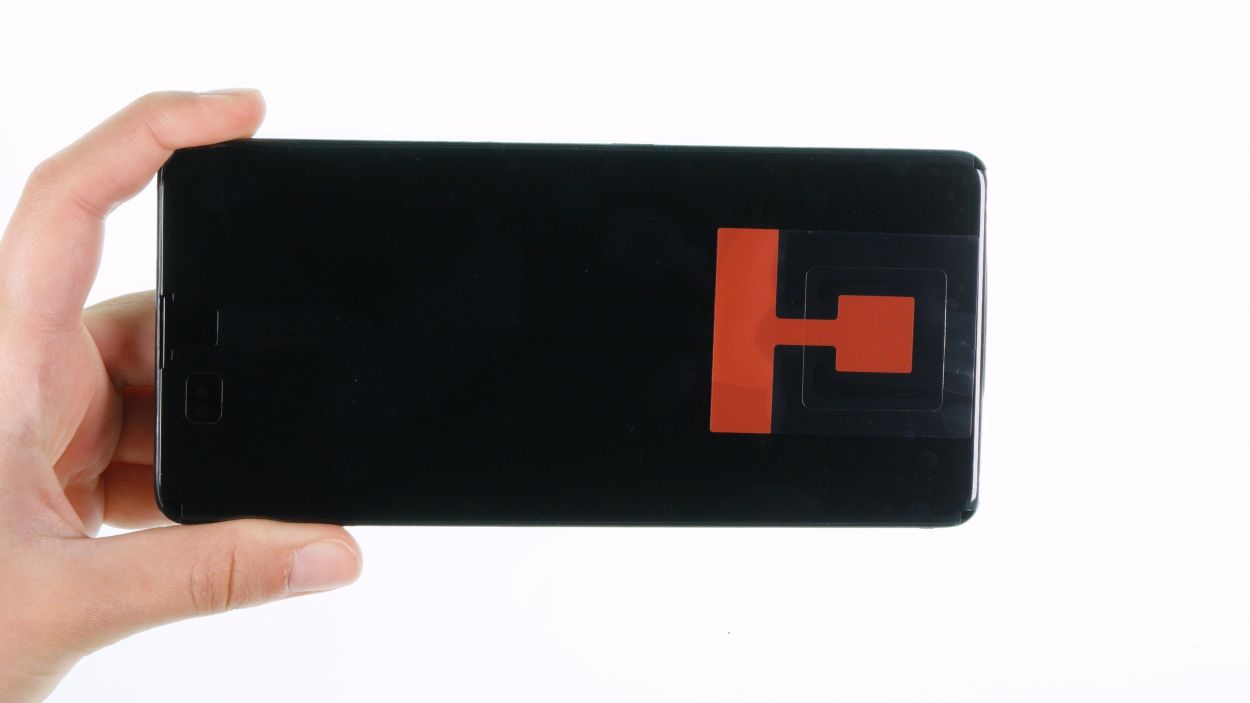
– First, let’s peel off all those pesky protective foils and seals from your shiny new screen. It’s like unwrapping a gift!
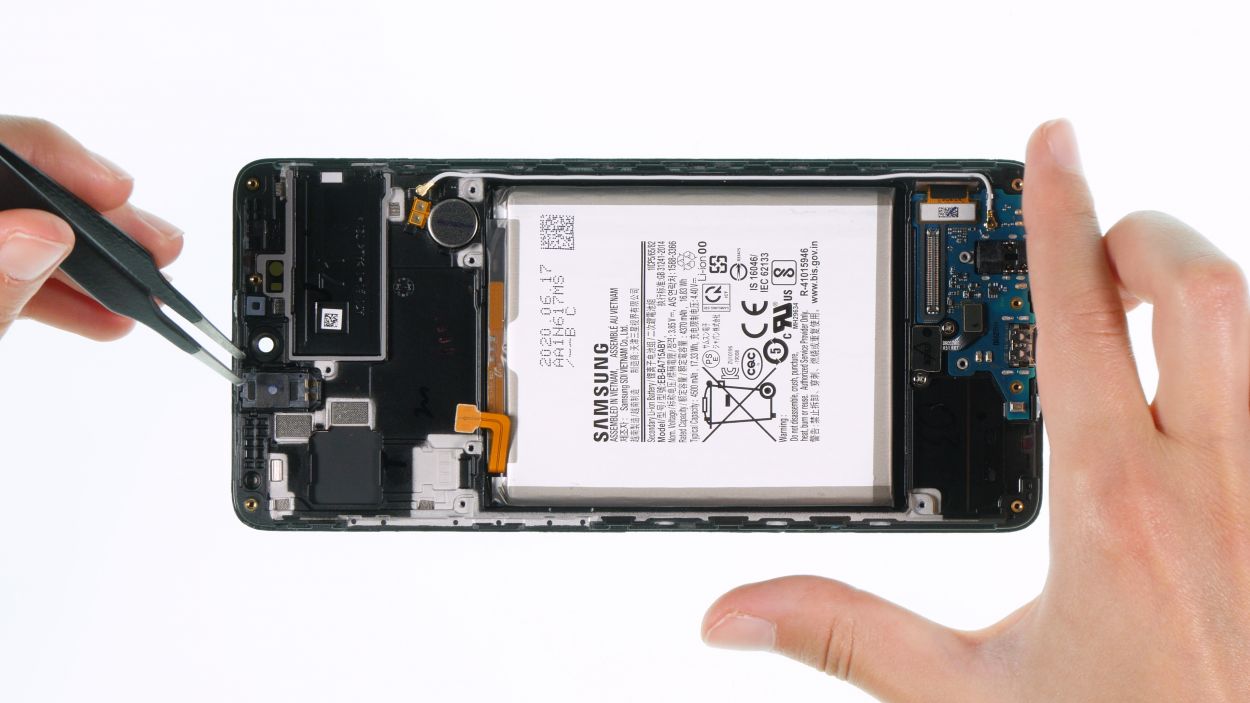
– Next up, take a moment to compare your replacement screen with the old one. Check if there are any tiny components that need to be transferred over. You’ve got this!
Tools Used
Step 16
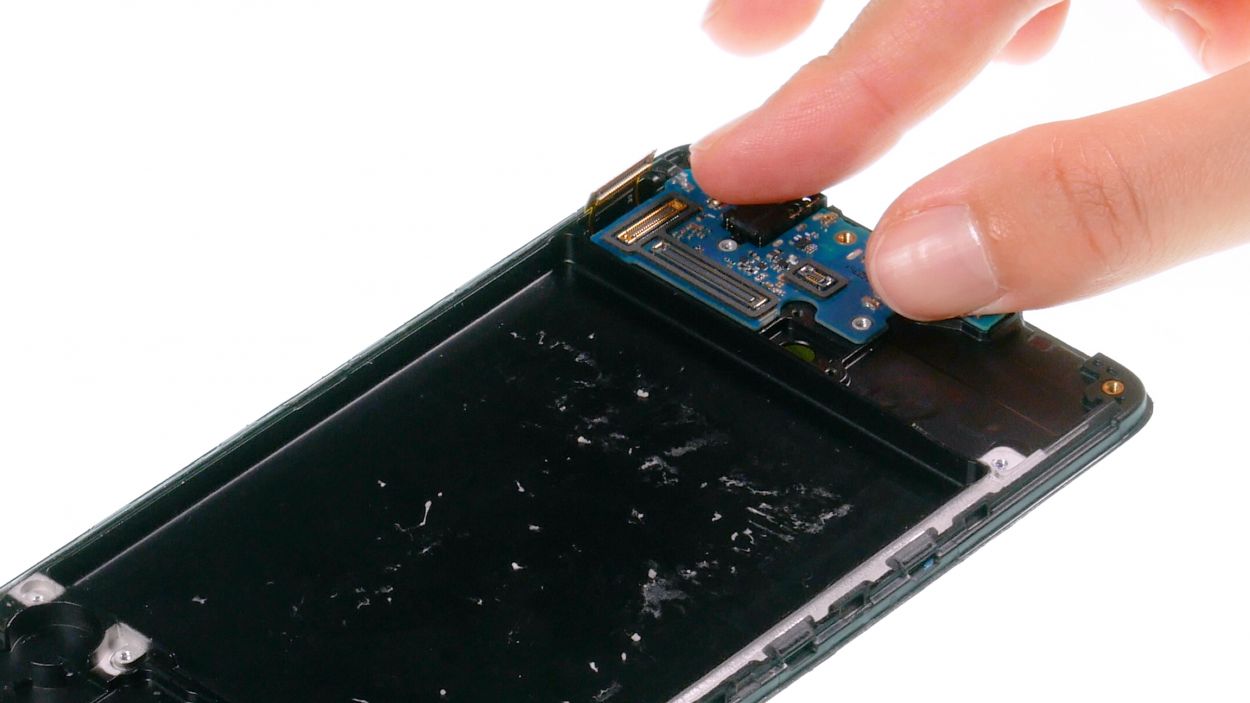
– Start by placing the USB board back in its cozy spot and give it a gentle press. You’re on the right track!
Hey there! Just a friendly reminder: when it comes to attaching connectors, take it nice and easy. Forcing them can lead to some serious damage, and nobody wants that! Let’s keep everything working smoothly!
Tools Used
Step 17
2 × 2.9 mm Phillips
Hey there! Just a friendly reminder: when it comes to attaching connectors, take it nice and easy. Forcing them can lead to some serious damage, and nobody wants that! Let’s keep everything working smoothly!
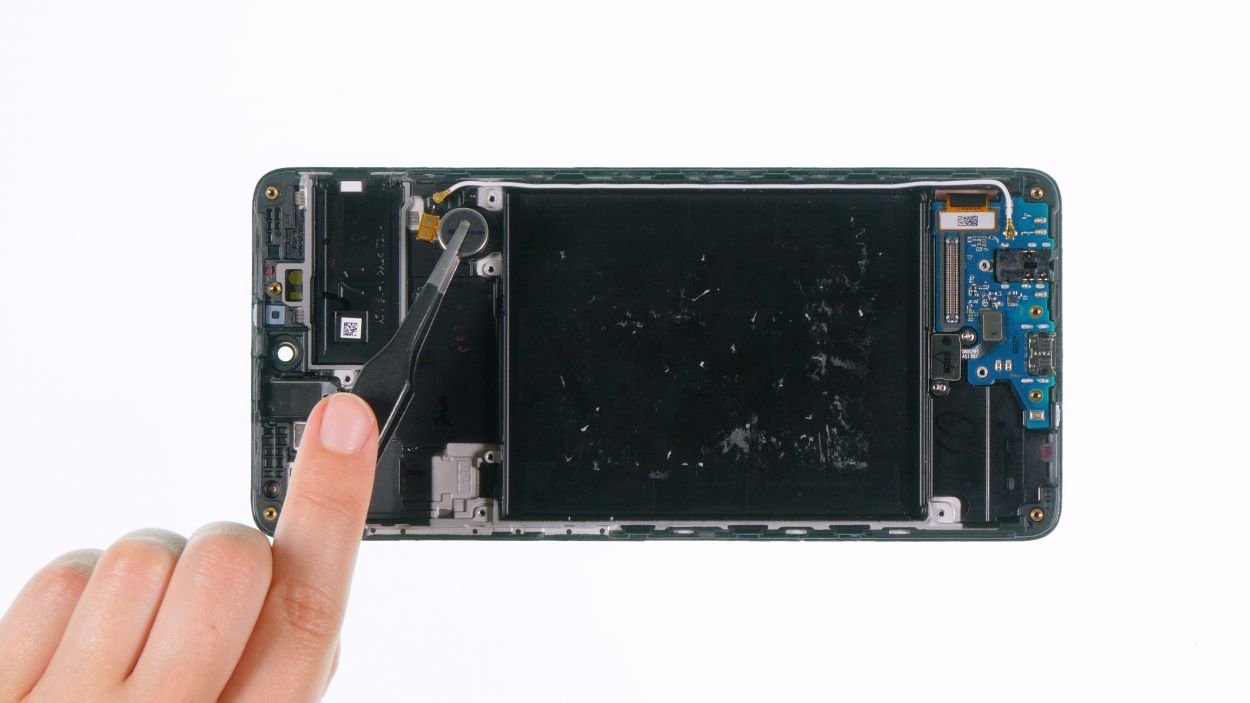
– Carefully place the sensor back in its original spot on the USB board. You’re almost there!
Step 20
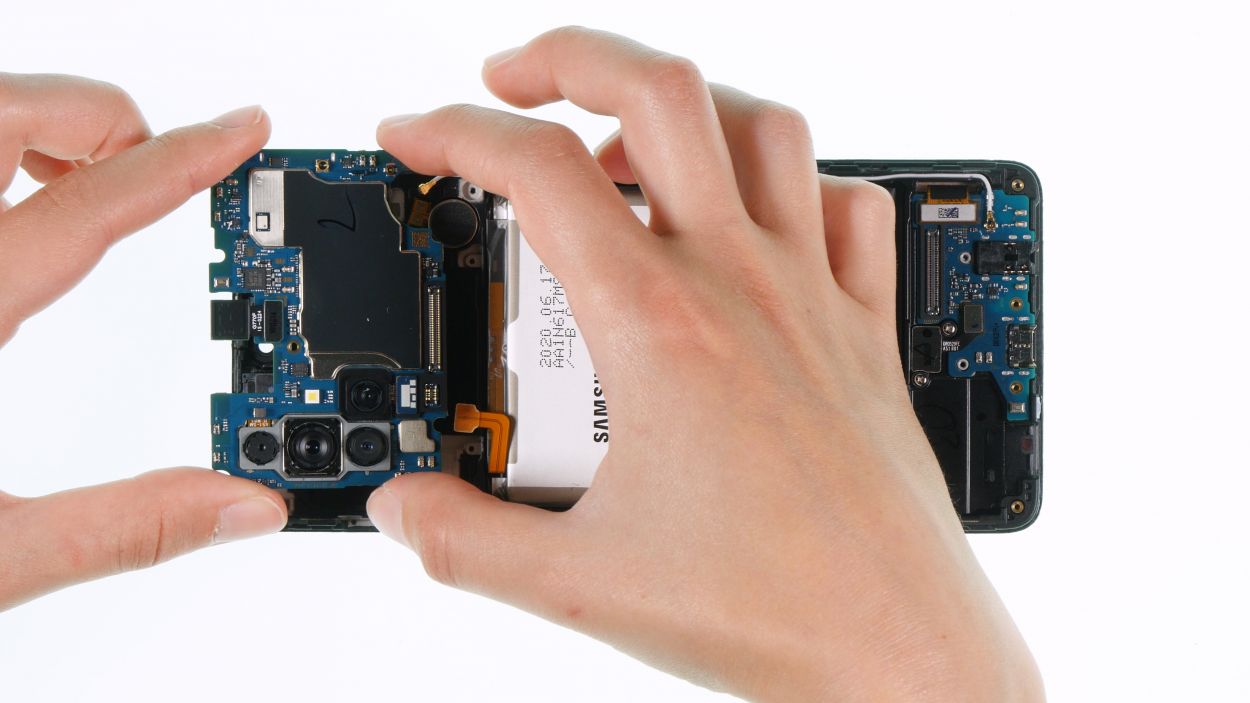
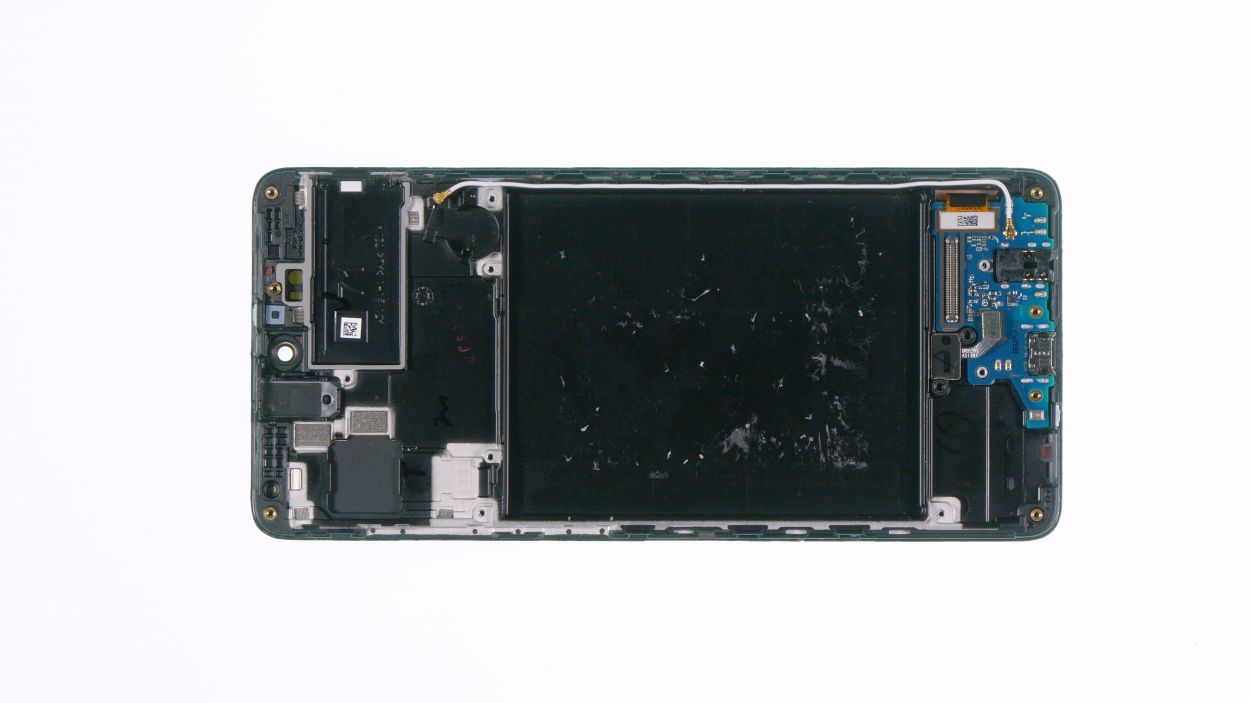
– Carefully place the board back into the display unit and give it a nice, firm press to make sure it fits snugly. You’re doing great!
1 × 2.9 mm Phillips
Hey there! Just a friendly reminder: when you’re connecting those connectors, take it nice and easy. Forcing them can cause some serious damage, and nobody wants that! Let’s keep everything running smoothly!
Be super careful not to crinkle that antenna cable when you’re sliding the board back in. We want everything to fit just right!
Step 21
– If you find any sticky remnants hanging around, give them the boot and apply a fresh adhesive surface. Our universal
