DIY Guide to Replace Samsung Galaxy A80 Back Cover
Duration: 45 min.
Steps: 2 Steps
In hindsight, maybe a protective cover would have been a smart move, but here we are with a broken back on your Samsung Galaxy A80! No worries! This guide will walk you through the process of fixing that rear glass in just two easy steps. The back cover is glued on pretty tightly, so you’ll need a bit of finesse to get it off, but with the right tools, you’ll be just fine. Take your time, stay patient, and work carefully—you’ll have that back cover swapped out before you know it! Good luck with your repair, and enjoy your newly fixed Samsung Galaxy A80!
Step 1

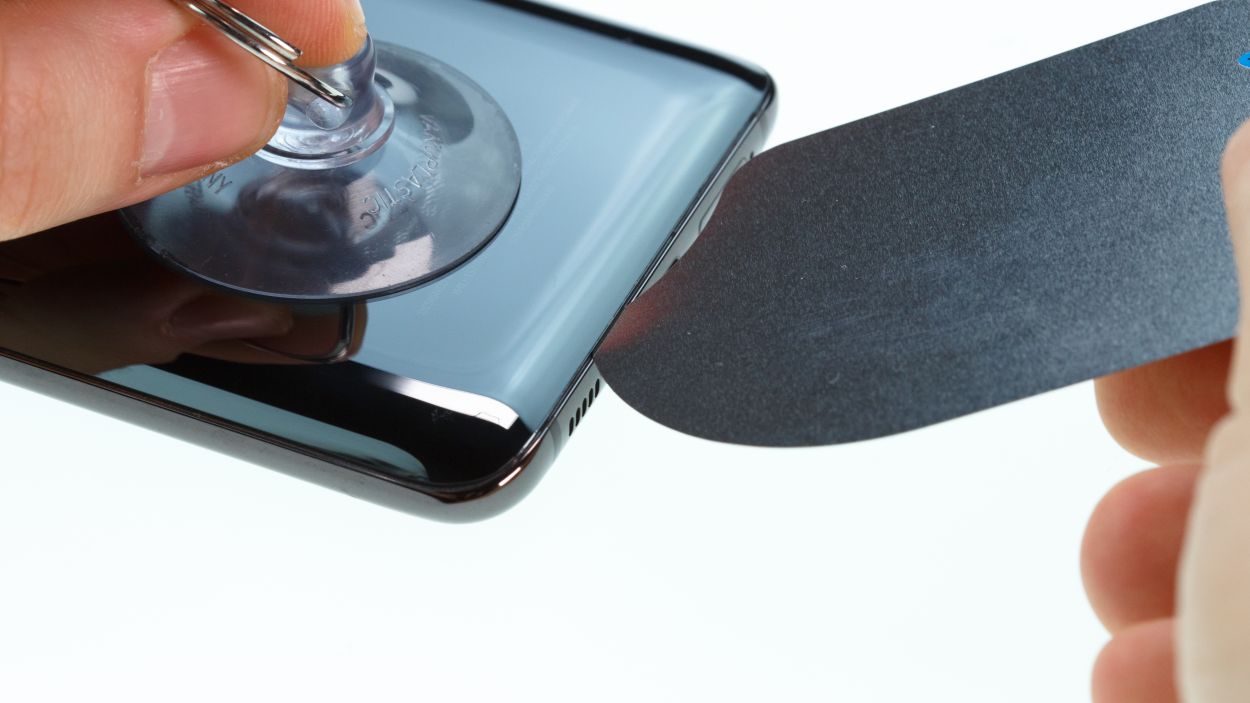
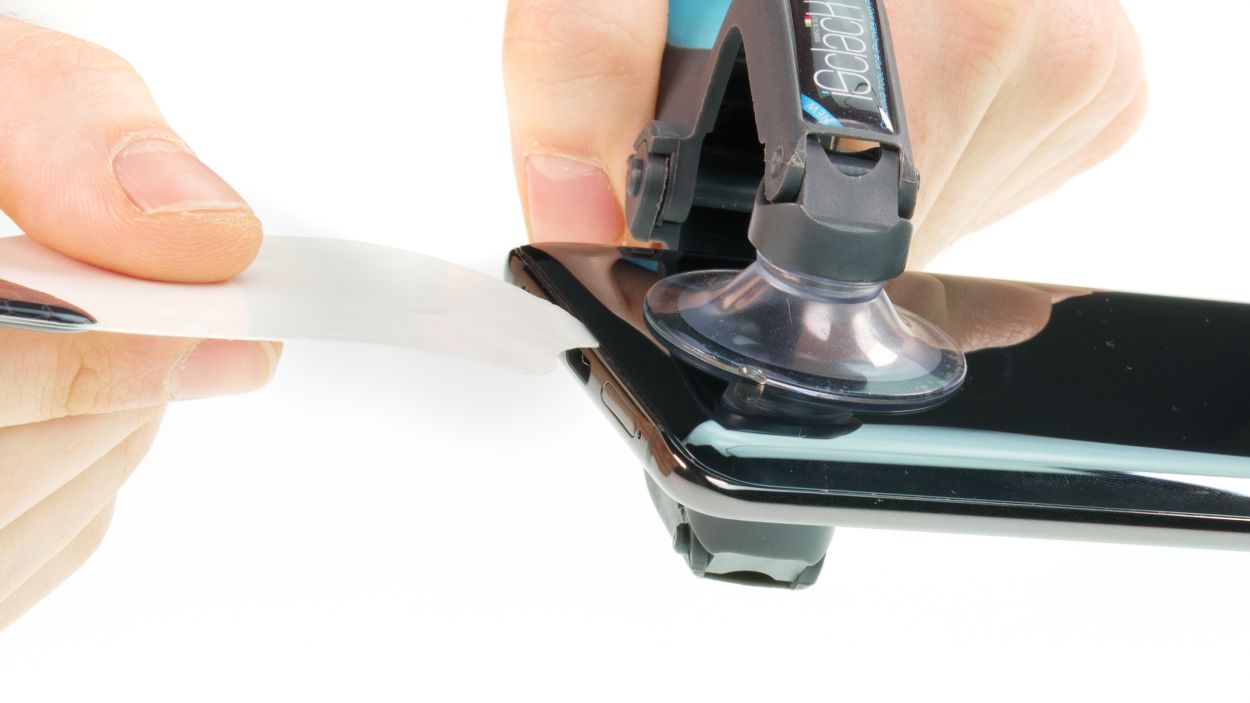
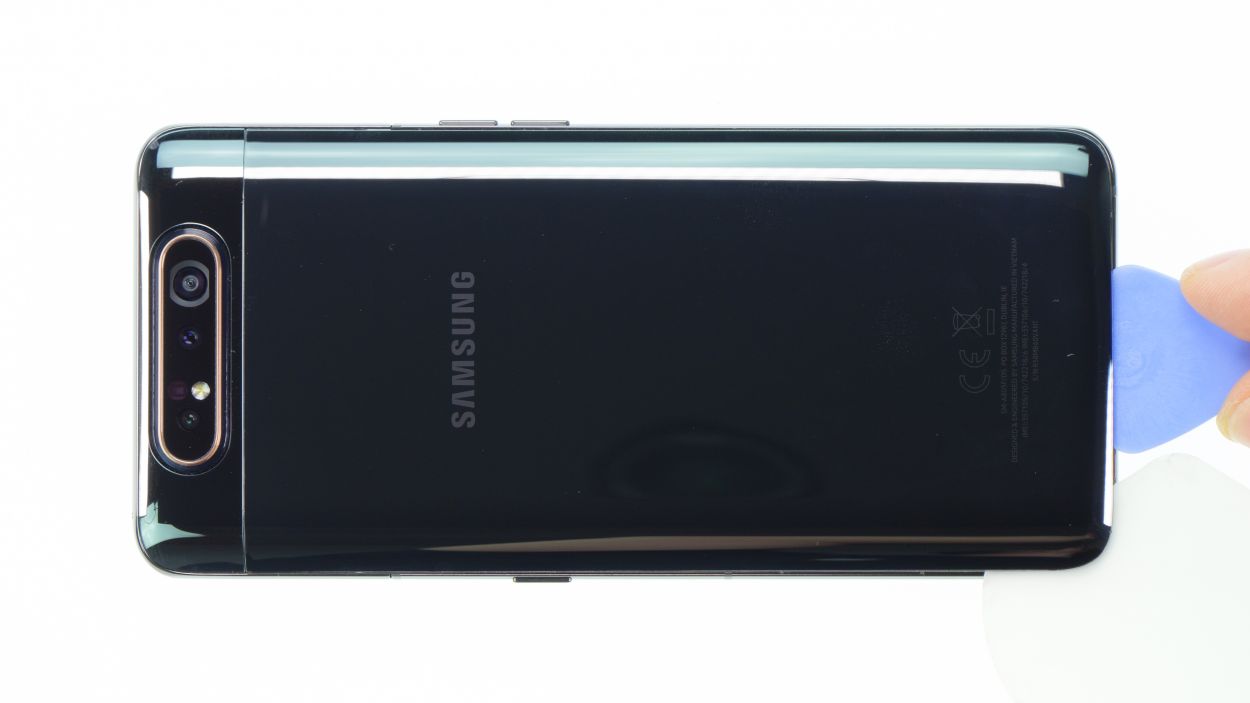


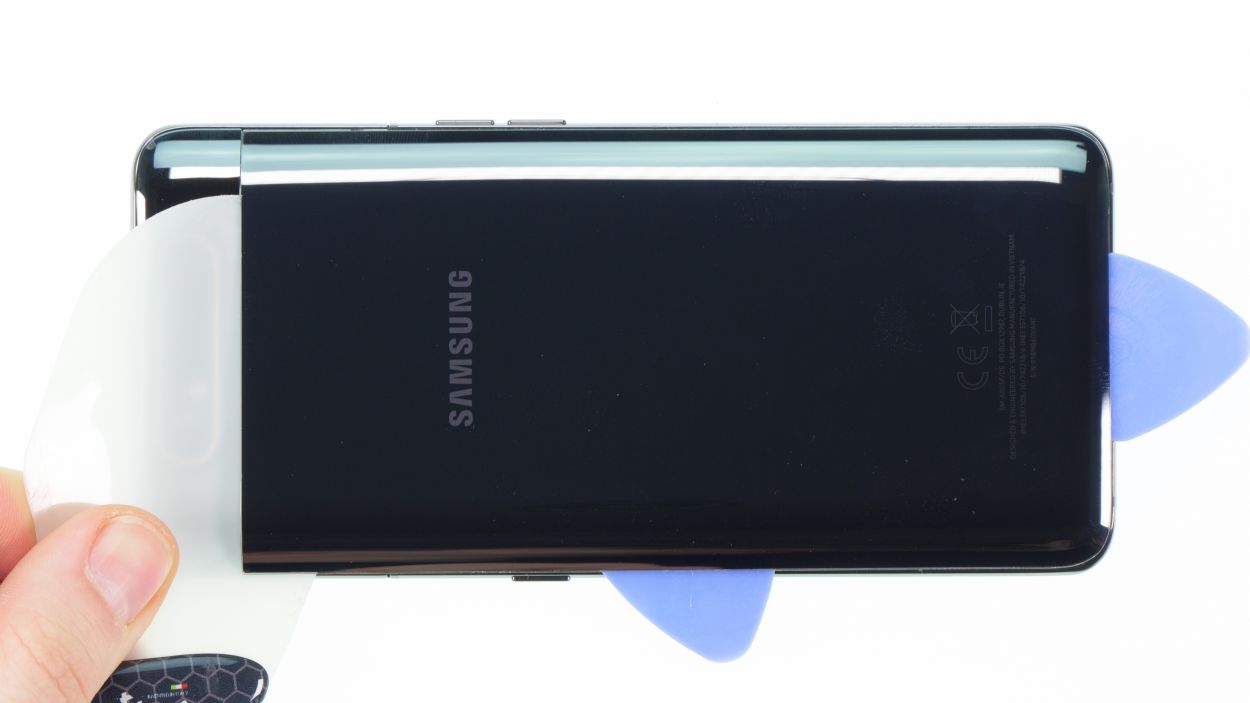


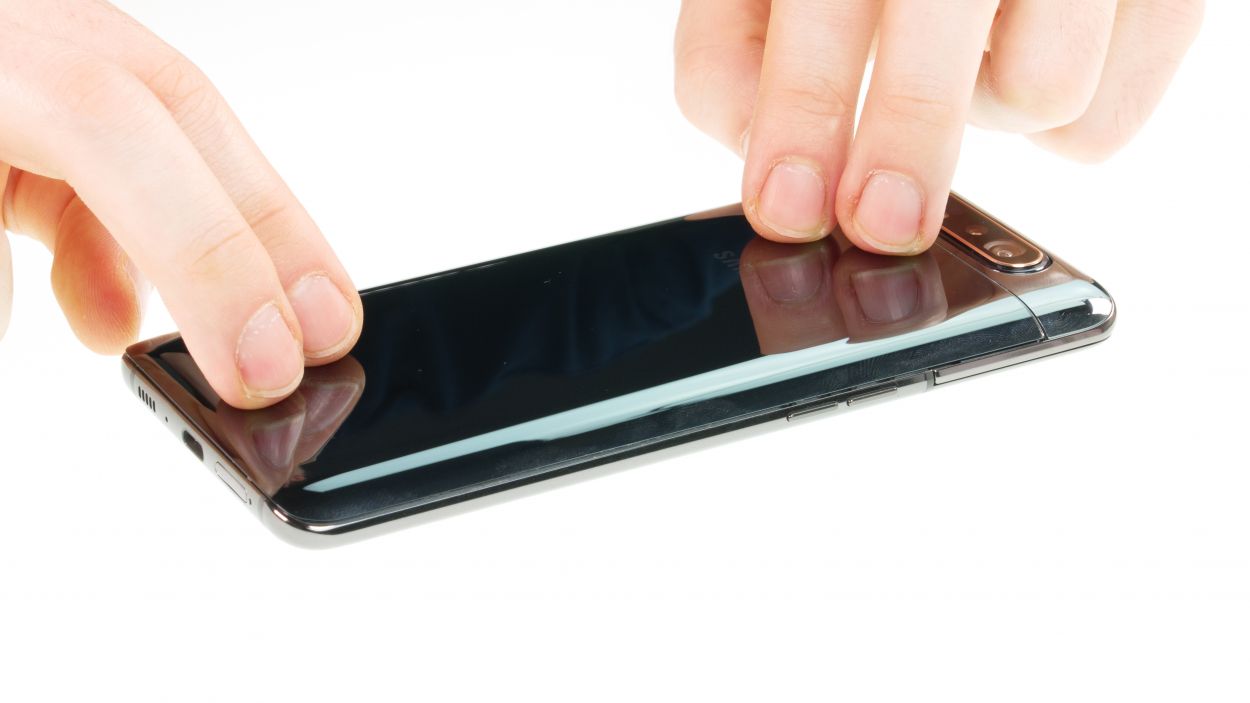
– Once the adhesive is warmed up, grab a suction cup and stick it at the bottom of that back cover. Gently pull on the suction cup while sliding your trusty opening tool, like the iFlex or iPlastix, into the gap that’s starting to form between the back cover and the frame.
– If you’re looking for a little extra help, the iSclack is a great buddy to have around for lifting the back cover just a tad. With suction cups on both sides, it pulls the display and back cover up evenly like a pro.
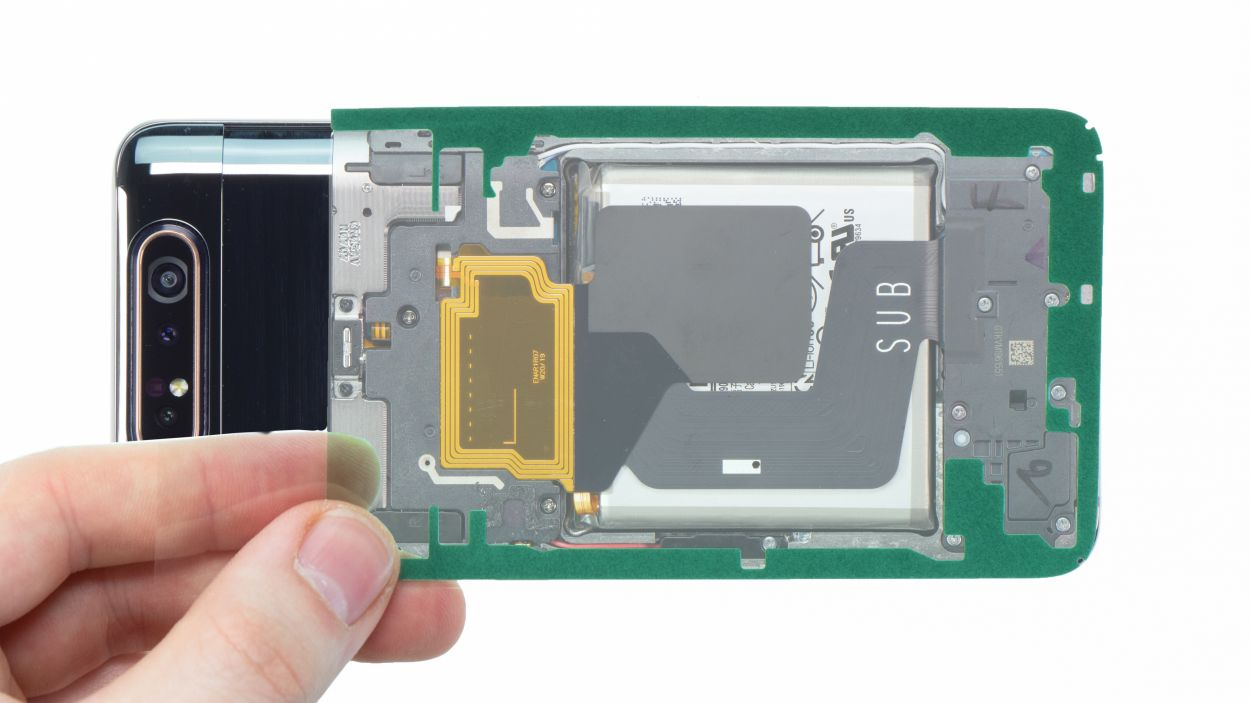
Hey there! When you’re working on the left edge of the back cover, remember to be gentle with your tool—don’t go too deep! There’s a flex cable hiding in there that would really appreciate your kindness. And up top near the camera module? Treat it like a delicate flower; no scratches allowed! That back cover is glued on super tight in that spot, so take it slow and steady.
The iFlex is crafted from a sleek yet sturdy metal, making it a breeze to slide into those tight spaces. Just a heads up, though—while it’s super handy, it can also be a bit of a troublemaker when it comes to scratching the back glass or the frame of your device. So, handle it with care!
Step 2
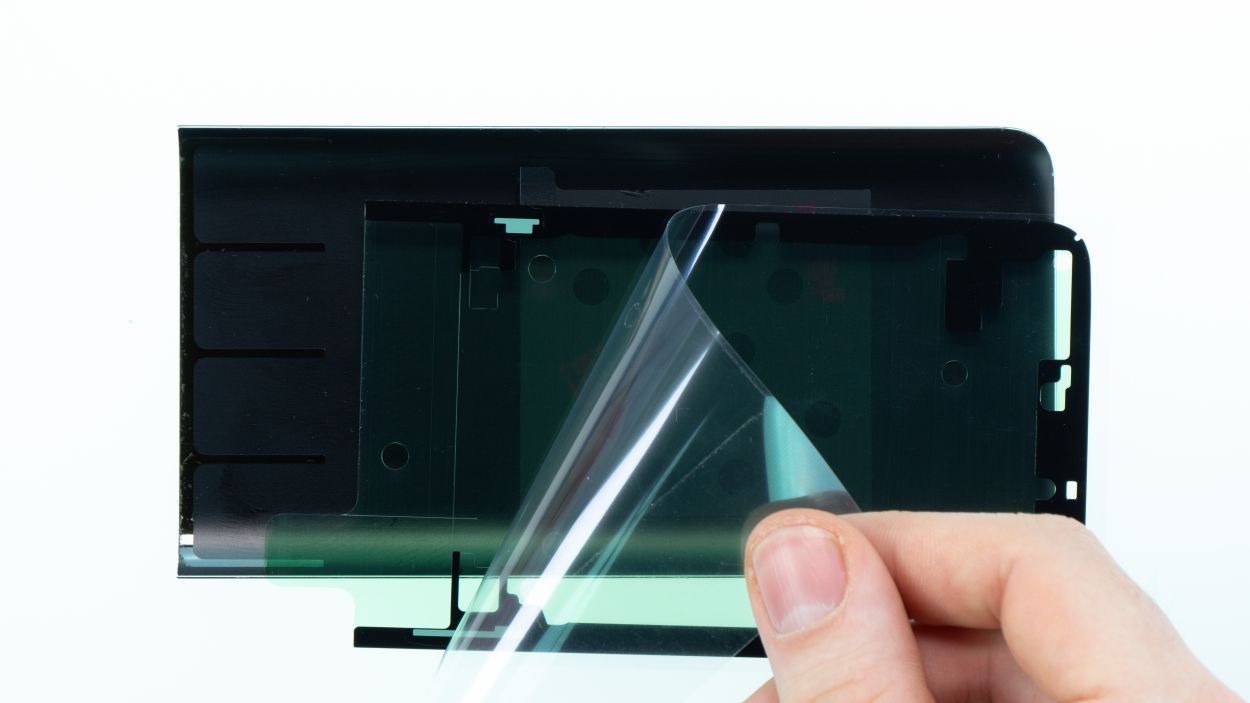
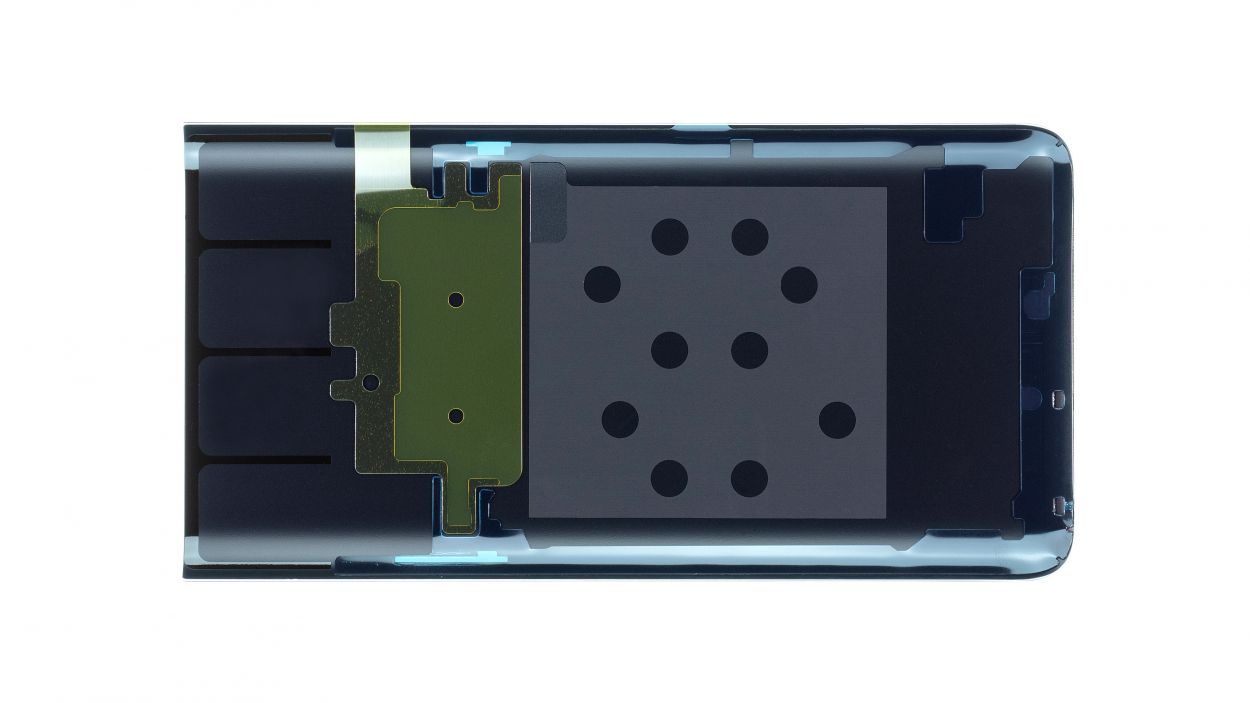
If your shiny new back cover is missing those sticky surfaces, don’t sweat it! Just grab an adhesive frame to help you out.
– Grab that adhesive frame and make sure it’s lined up just right. Use those nifty recesses and screw holes as your guide!
– Peel off the first white protective film and stick that adhesive onto the frame, ensuring it fits snugly without any overhang.
– Next up, remove the green protective foil. If any glue decides to wander off the frame, just give it a gentle nudge back into place with your spudger.