DIY Guide to Replace Samsung Galaxy S5 Neo Screen
Duration: 30 min.
Steps: 9 Steps
Welcome to our handy repair guide! Here, we’ll guide you through the process of replacing the faulty display unit of your Samsung Galaxy S5 Neo all by yourself. If your screen’s got cracks, the touchscreen’s being a bit unresponsive, or your LCD is stuck in a permanent blackout or flicker mode, it’s time to roll up those sleeves and get to work! If you need help, you can always schedule a repair.
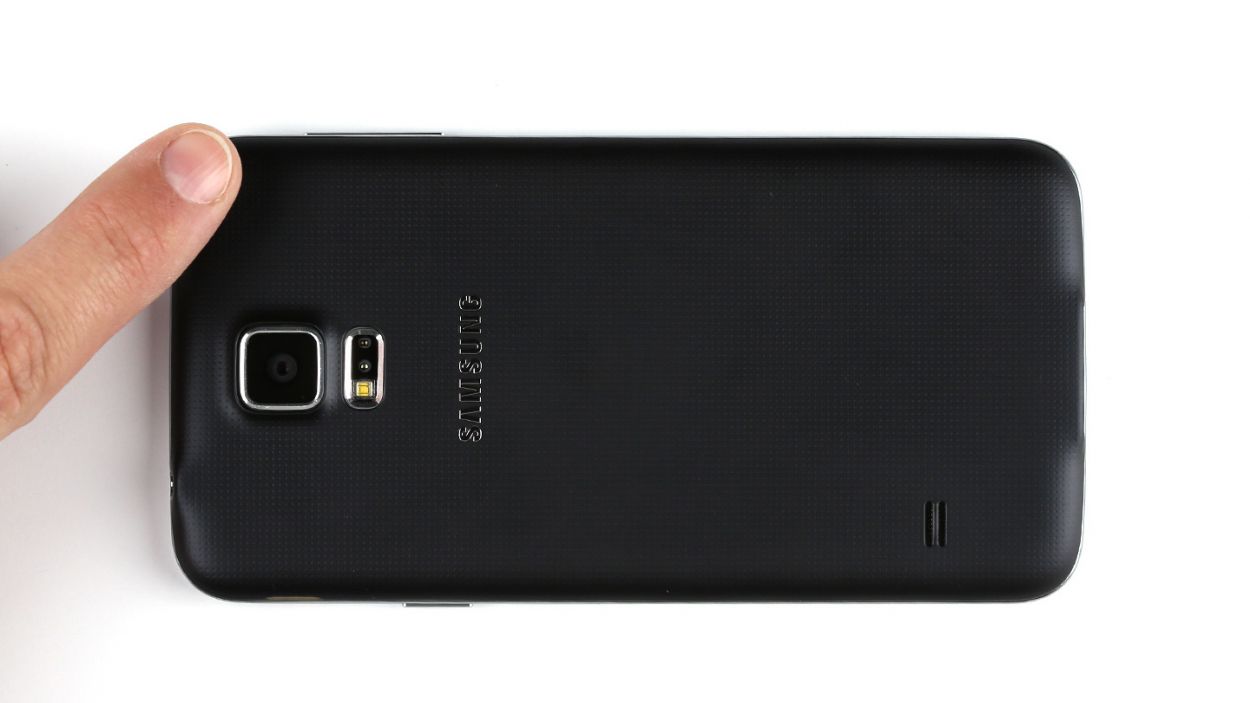
Step 1
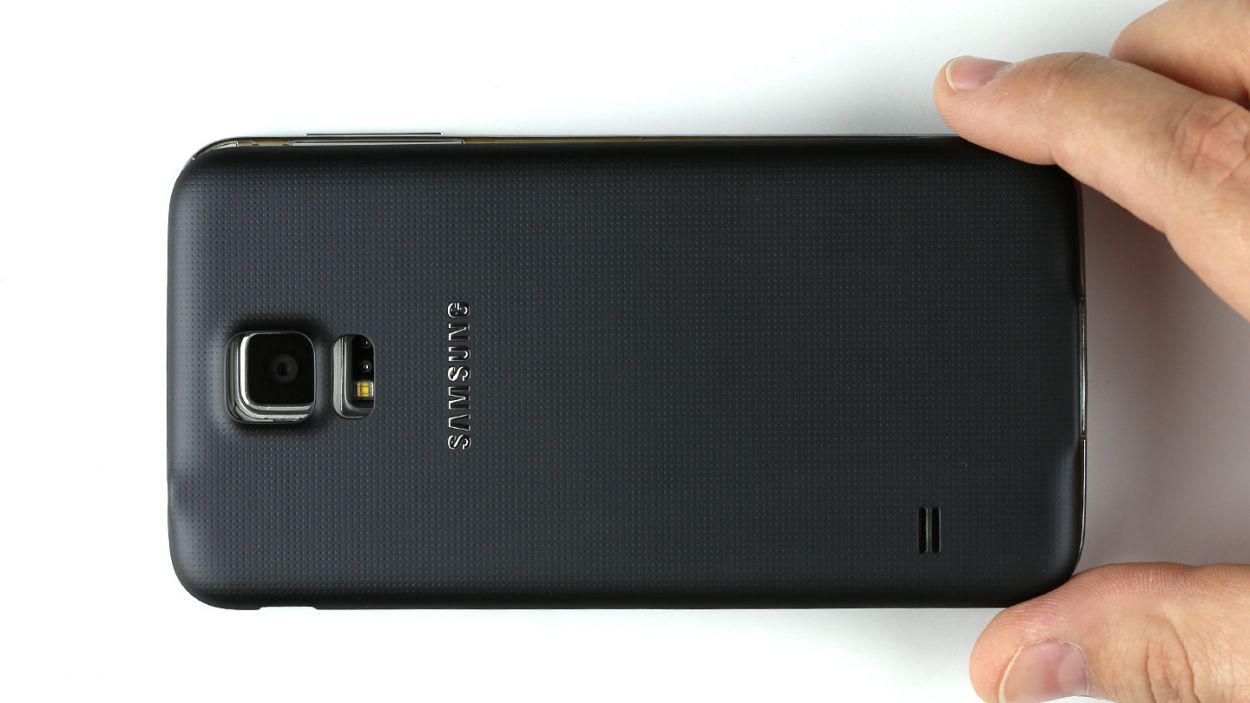
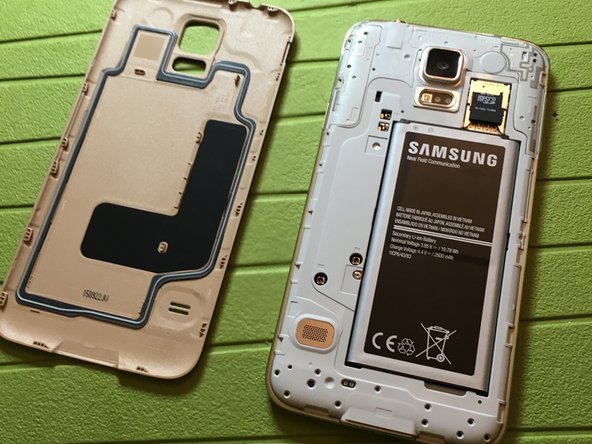
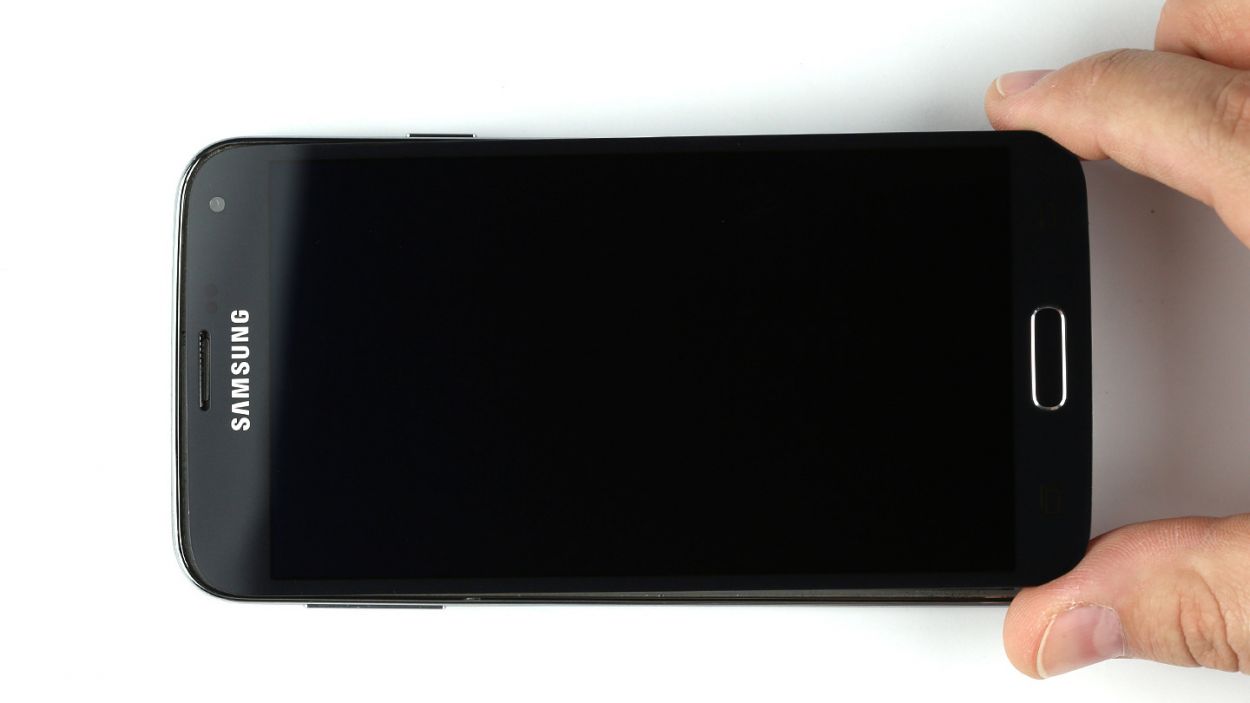
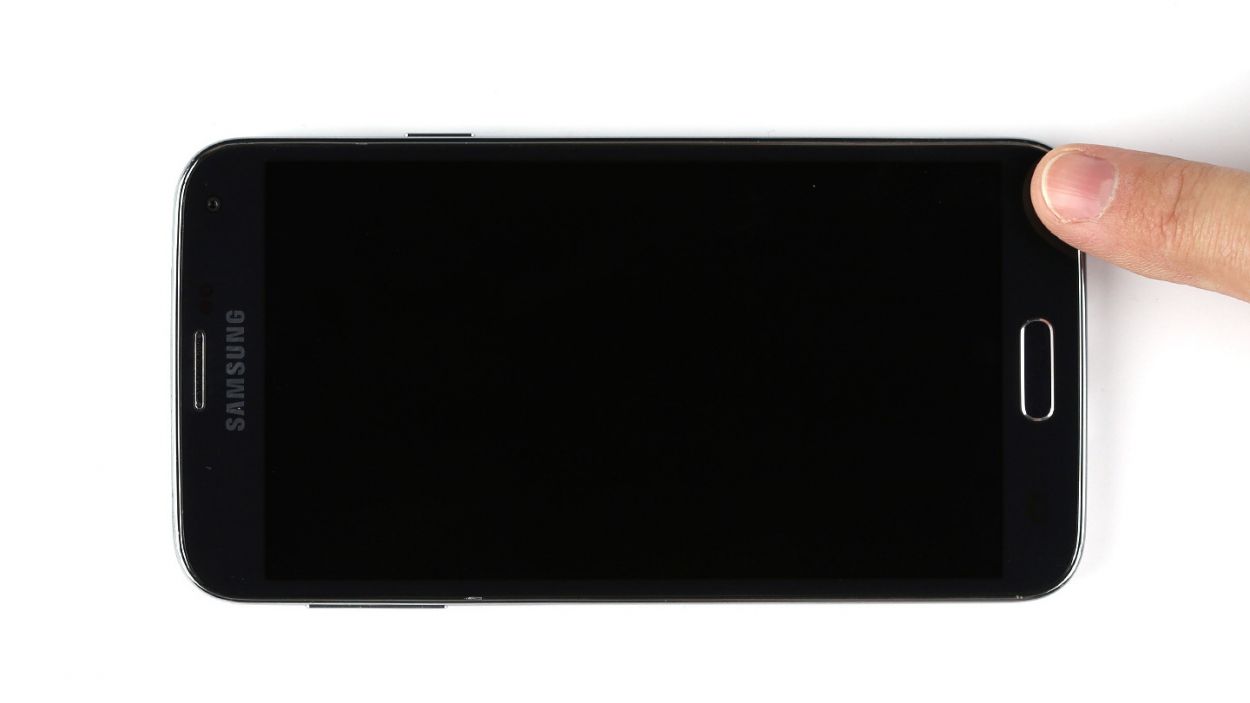
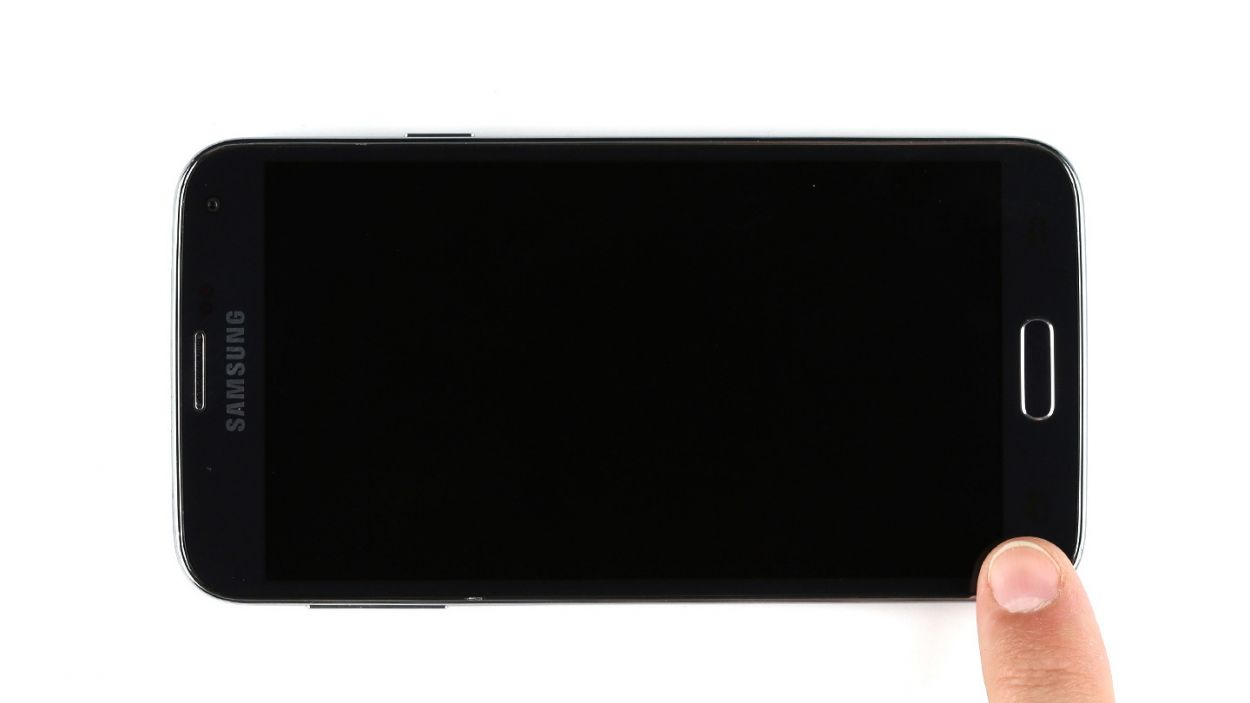
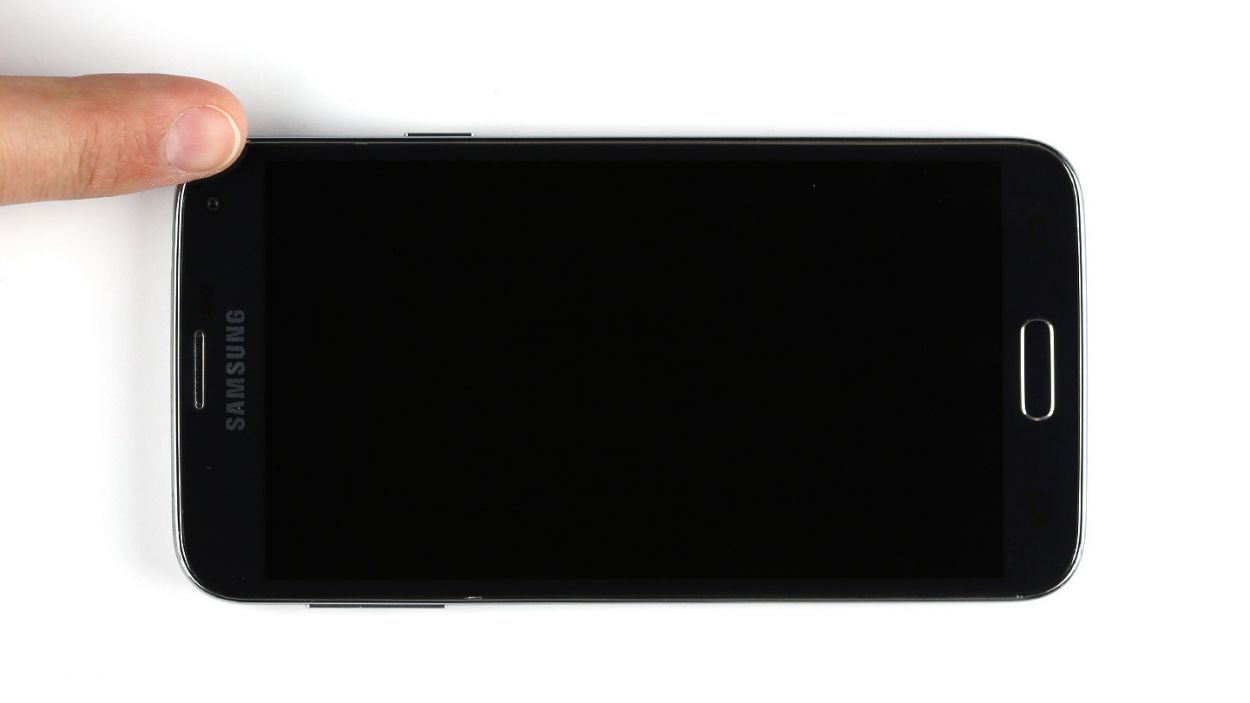
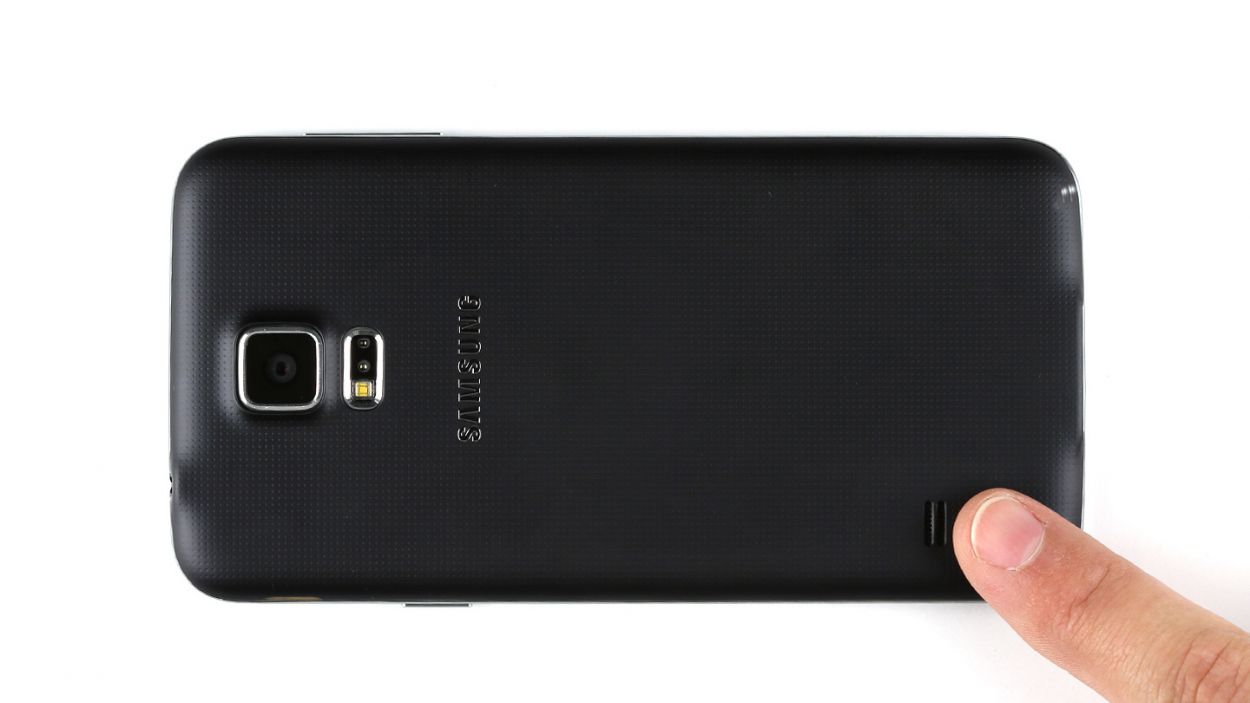
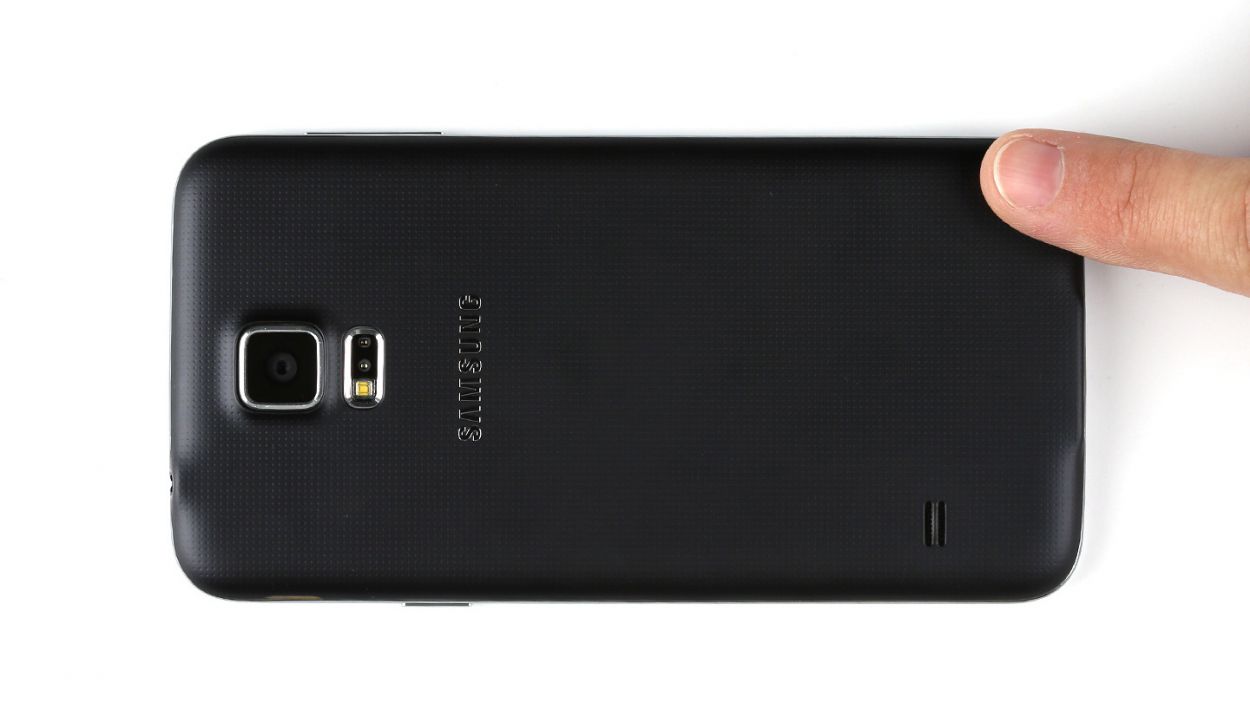
– Slide your finger into the nifty little groove just above the standby button to pop off the back cover from the chassis. It’s like a little secret handshake to detach it, since the cover is snugly hooked on.
– Now, go ahead and lift off the back cover like a pro!
Step 3
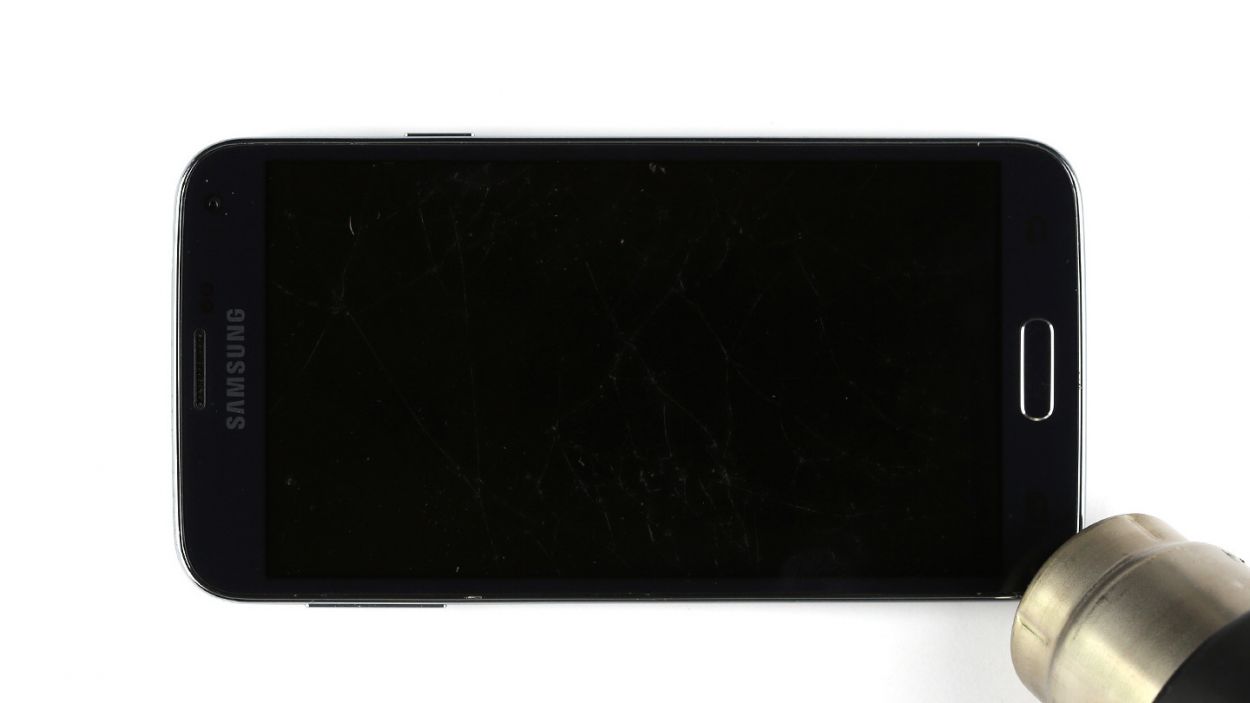
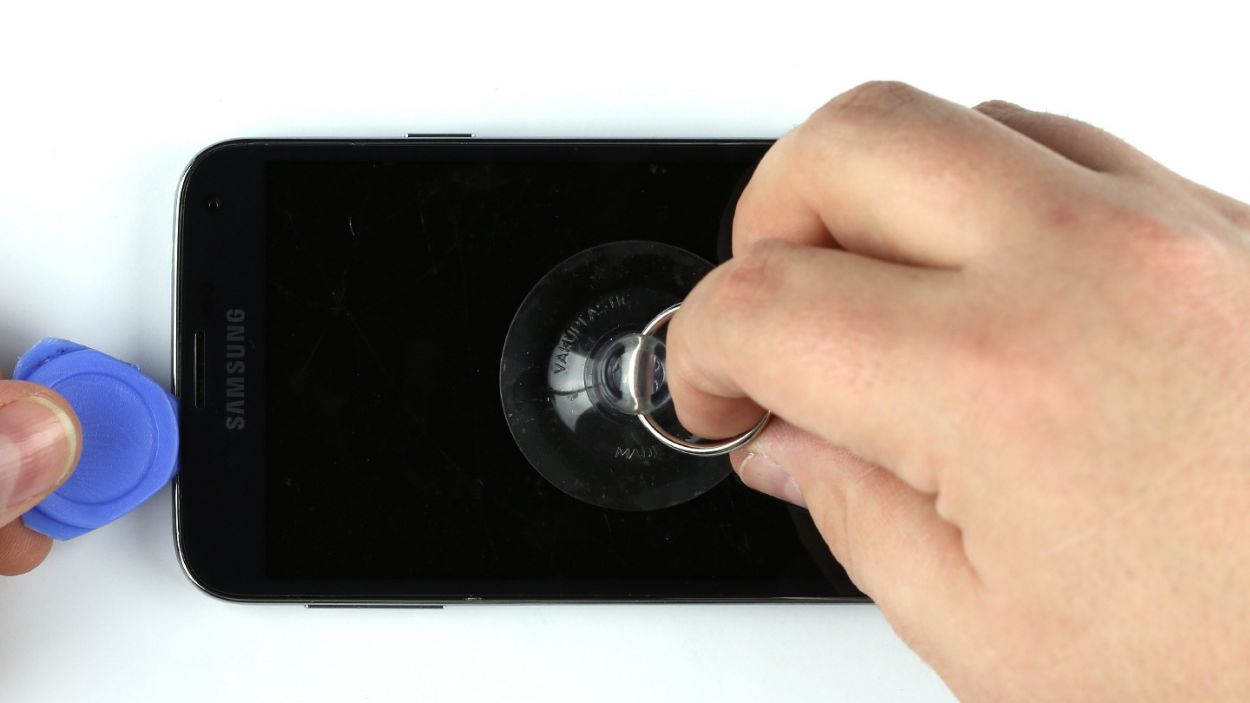
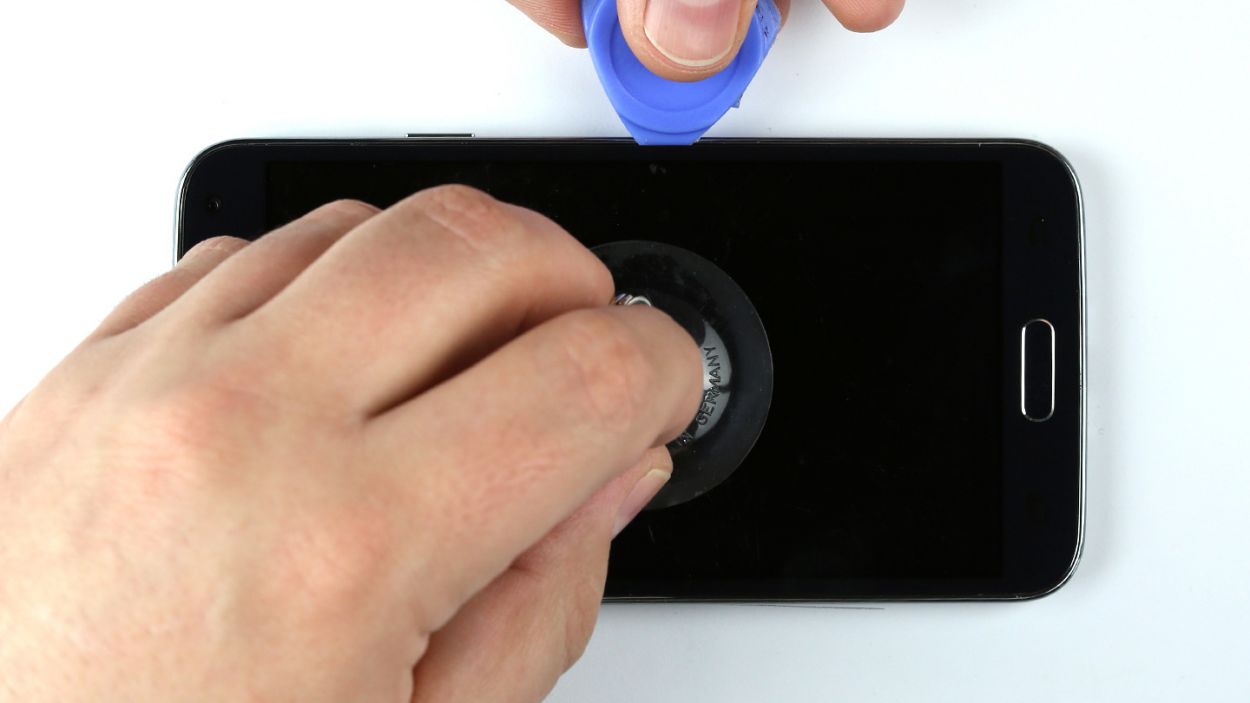
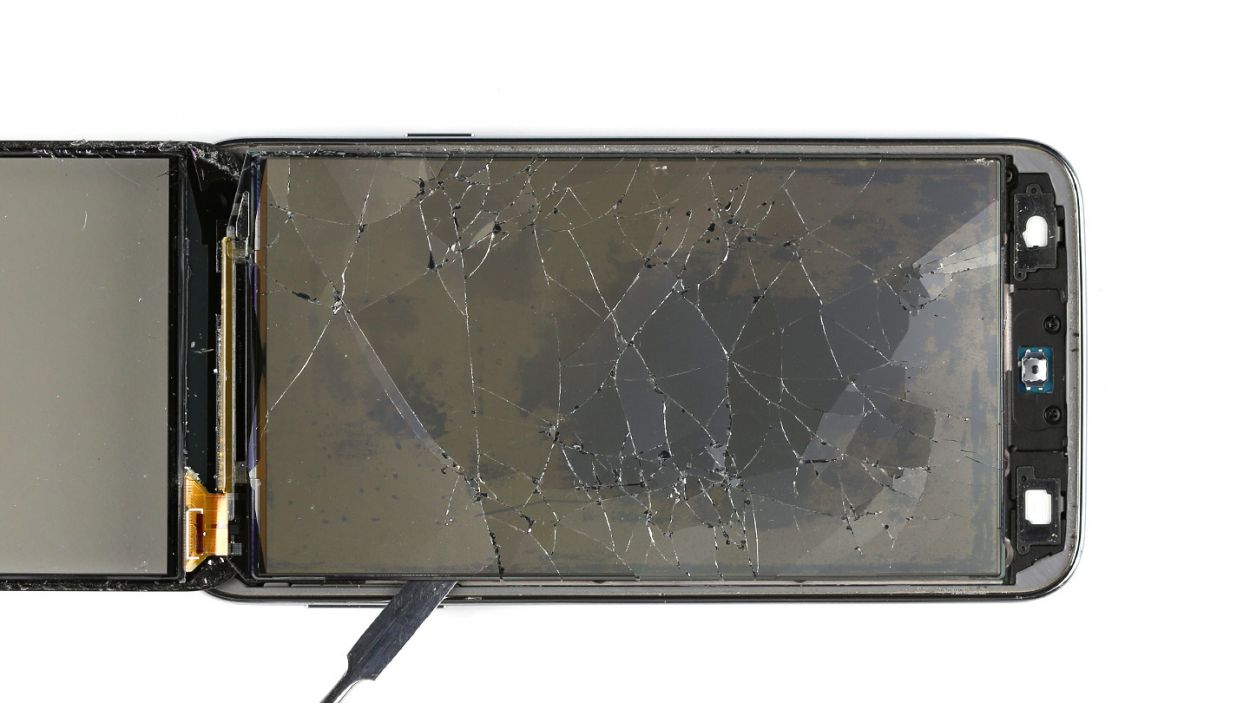
– First up, let’s tackle that display glass! It’s stuck to the chassis with some serious adhesive. Give it a warm-up with some hot air to loosen things up a bit. Trust me, it’ll make your life easier when it’s time to remove it.
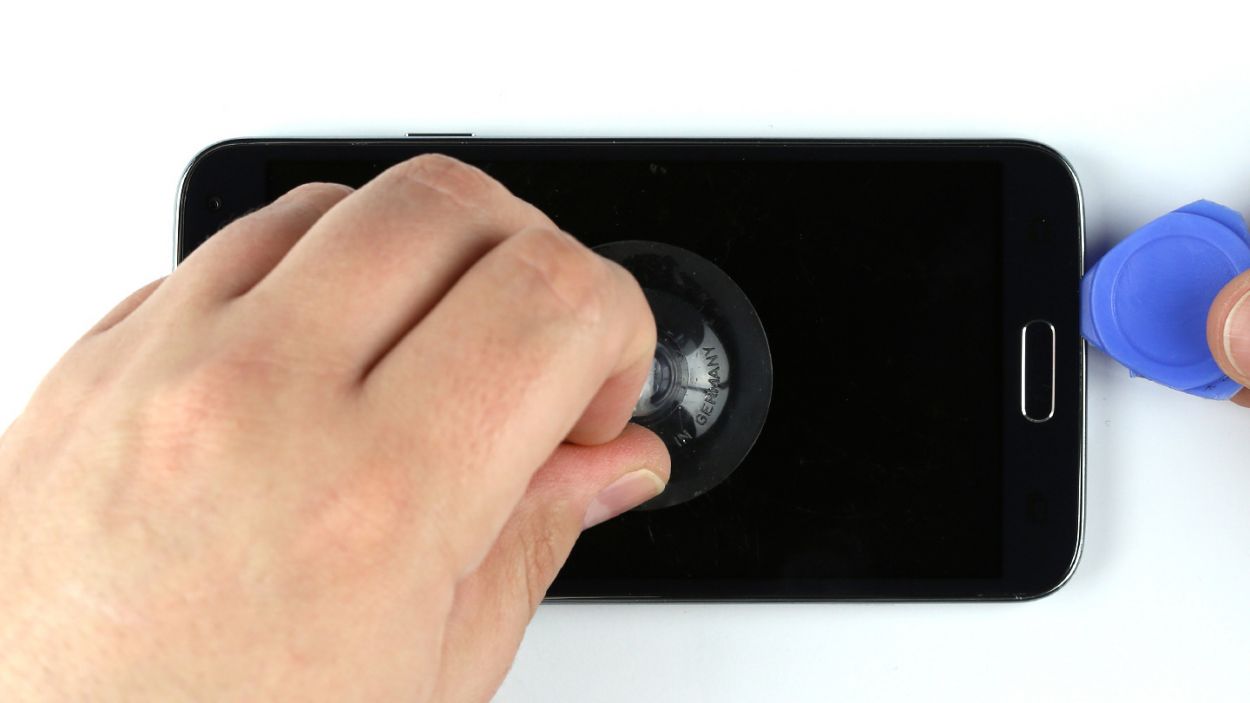
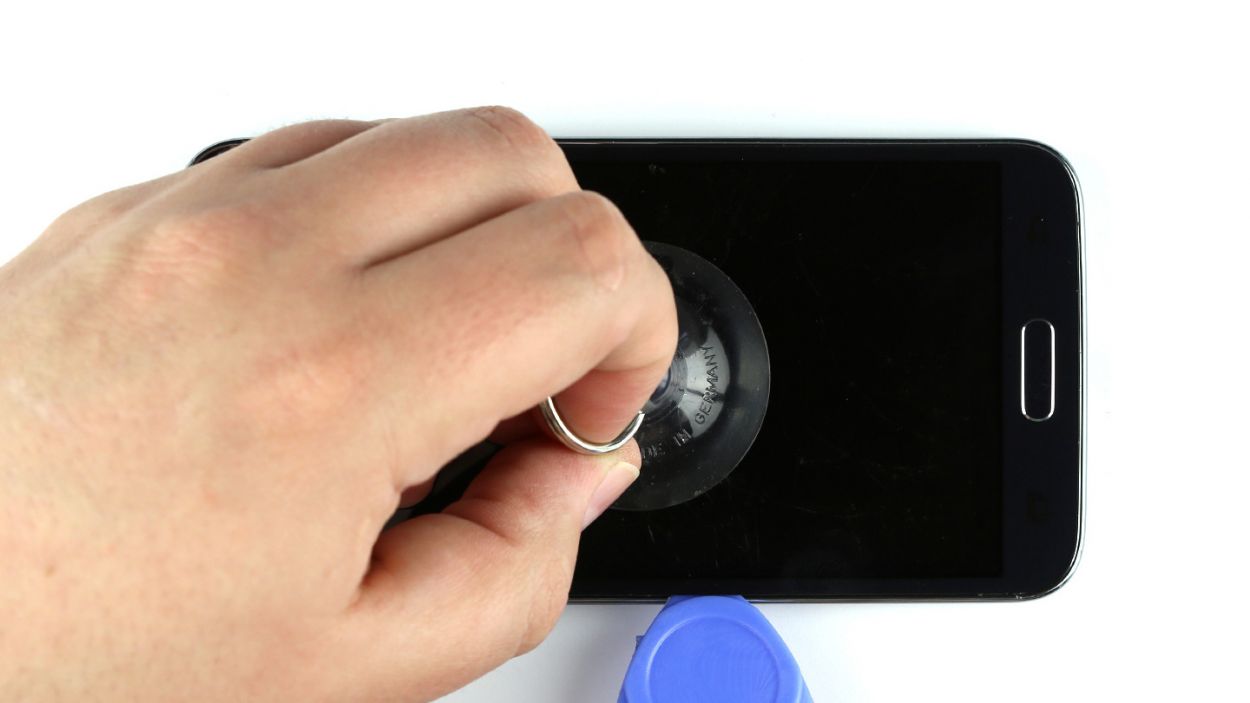
– Now, grab a pick and slide it between the display and the chassis. Use a suction cup to gently lift the display as you go. Keep this groove going all around the device. If you hit a stubborn spot, don’t hesitate to give it another blast of heat. You’ve got this!
Step 4
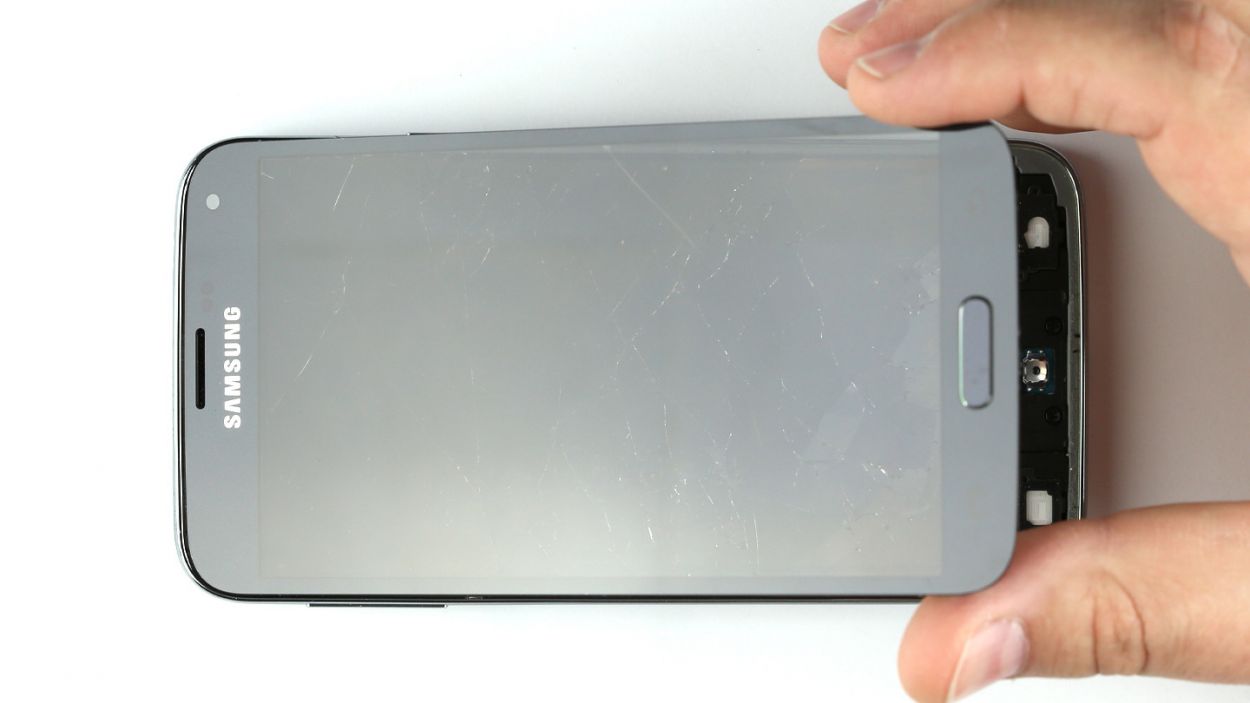
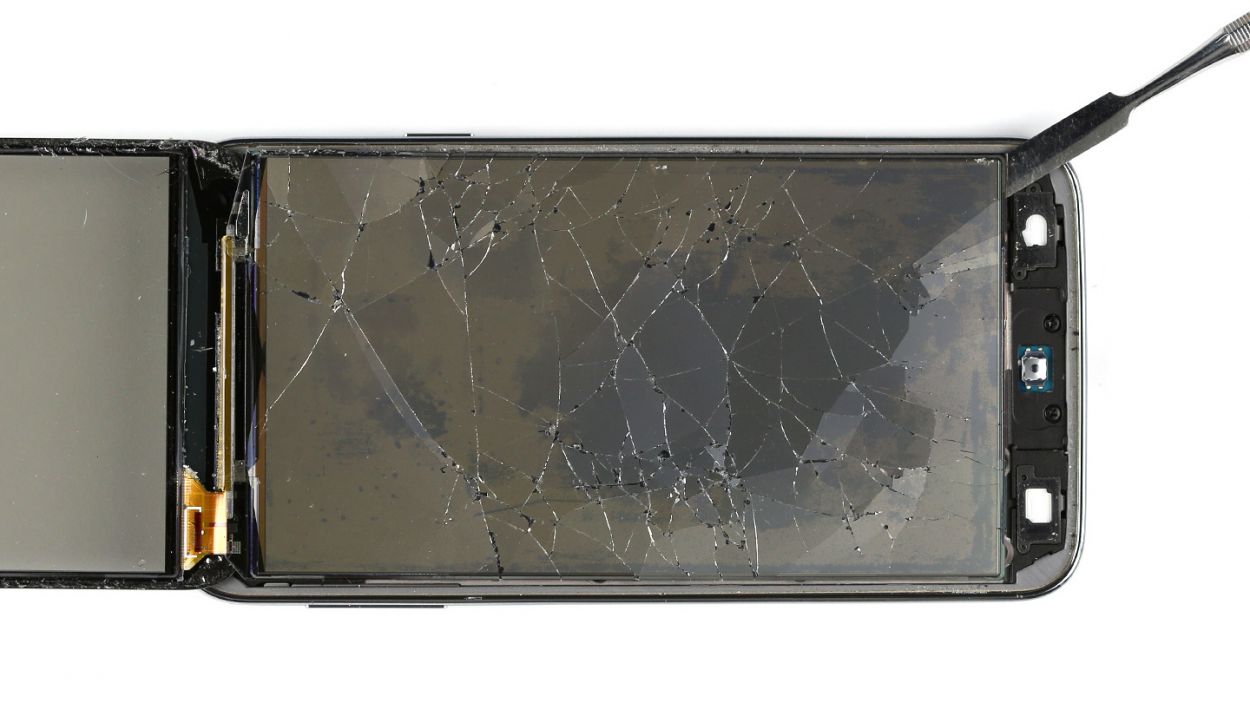
– Let’s kick things off by lifting the display glass and giving it a cool 180° spin at the top of the device.
– Now that the display is out in the open, it’s all snug with the chassis. Time to give it some warmth with hot air before we move on to the next step.
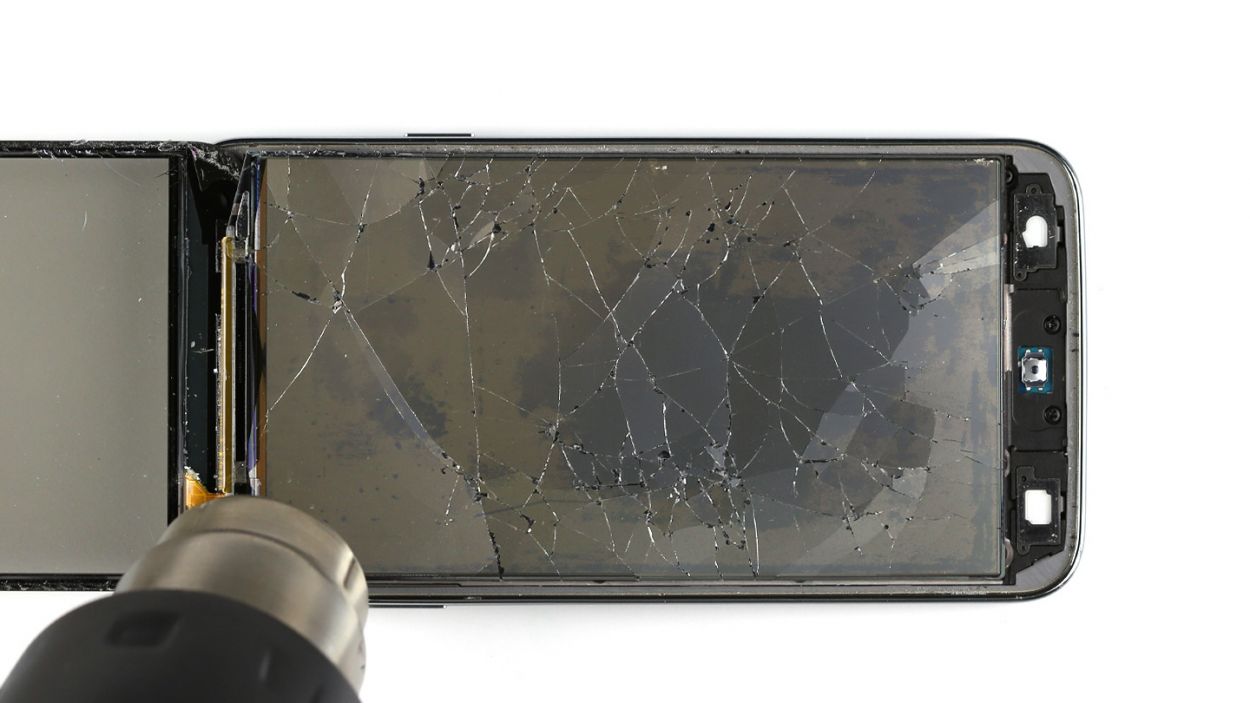
– Grab the trusty steel laboratory spatula and gently separate the display from the chassis. Slide the spatula between the display and the chassis with finesse.
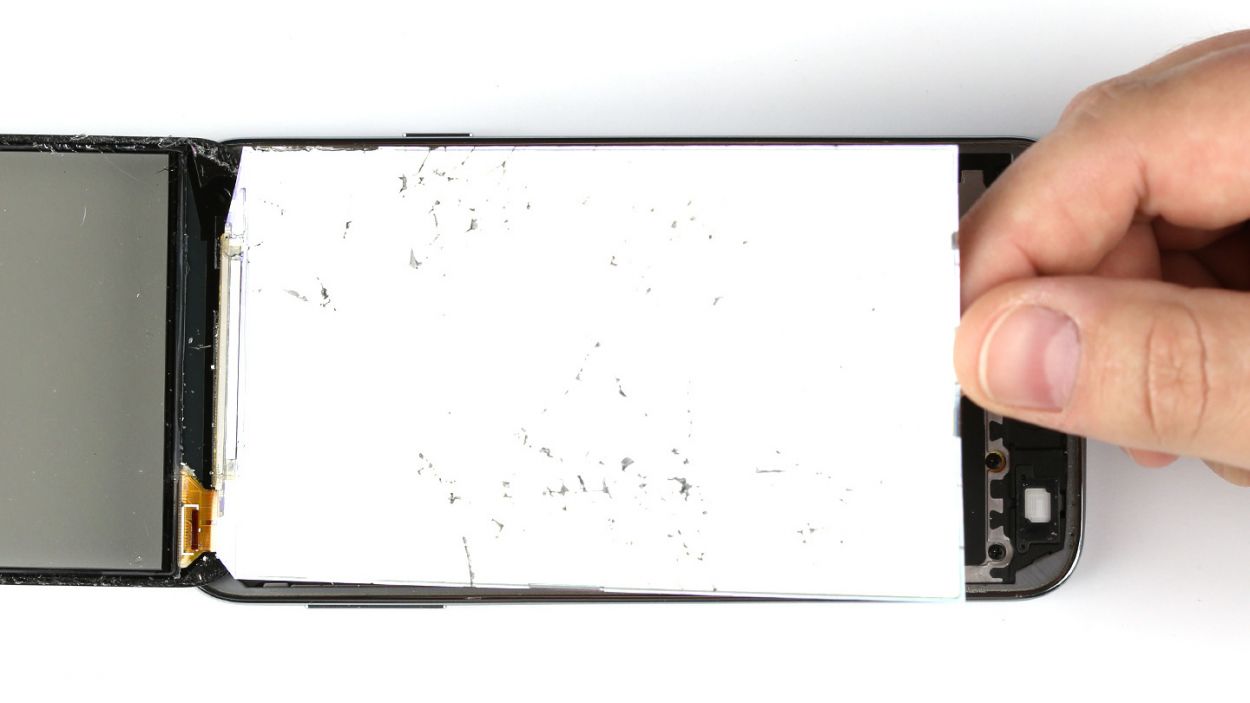
– Once the display is free, let’s carefully do a 180° flip just like the fancy display glass. Remember, the display unit is buddies with the device under the display.
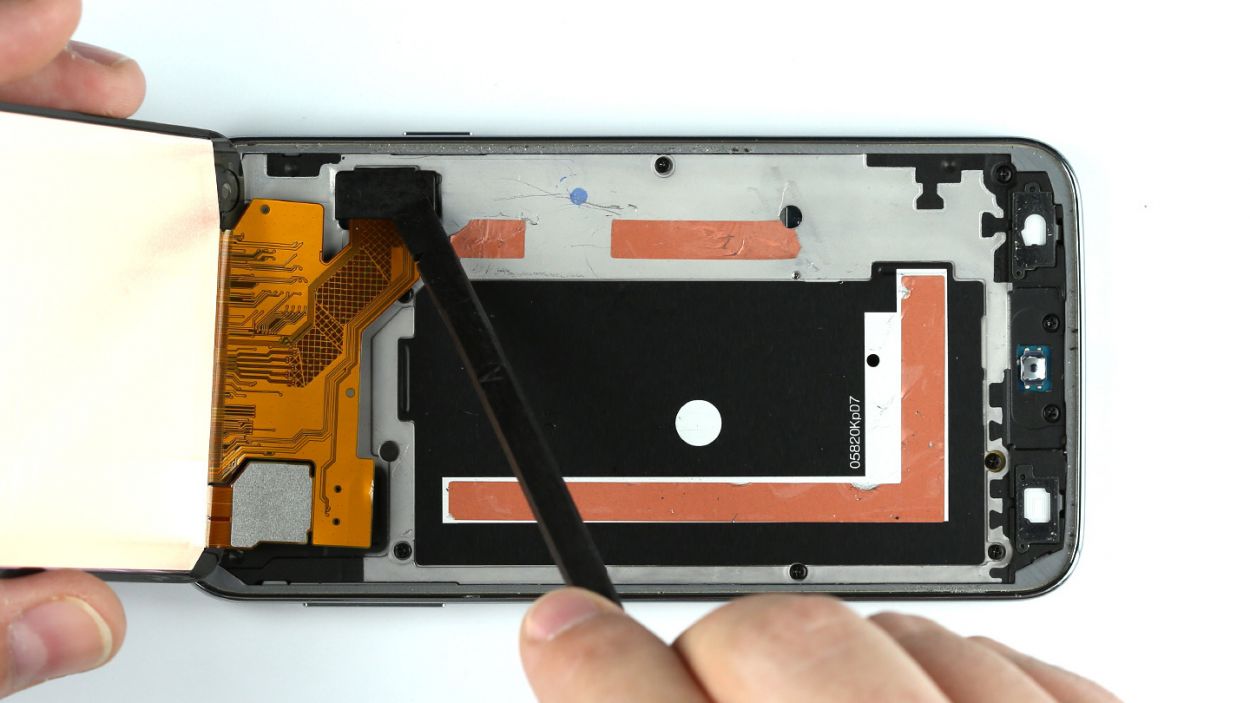
Step 5
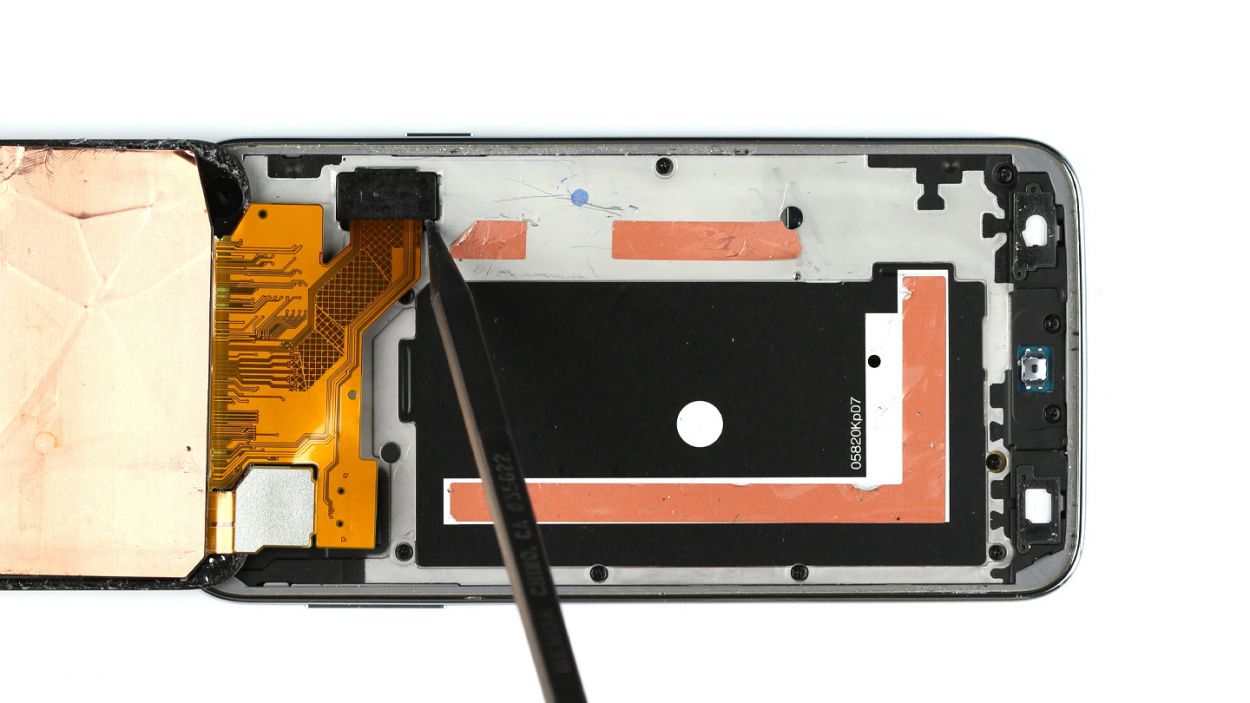
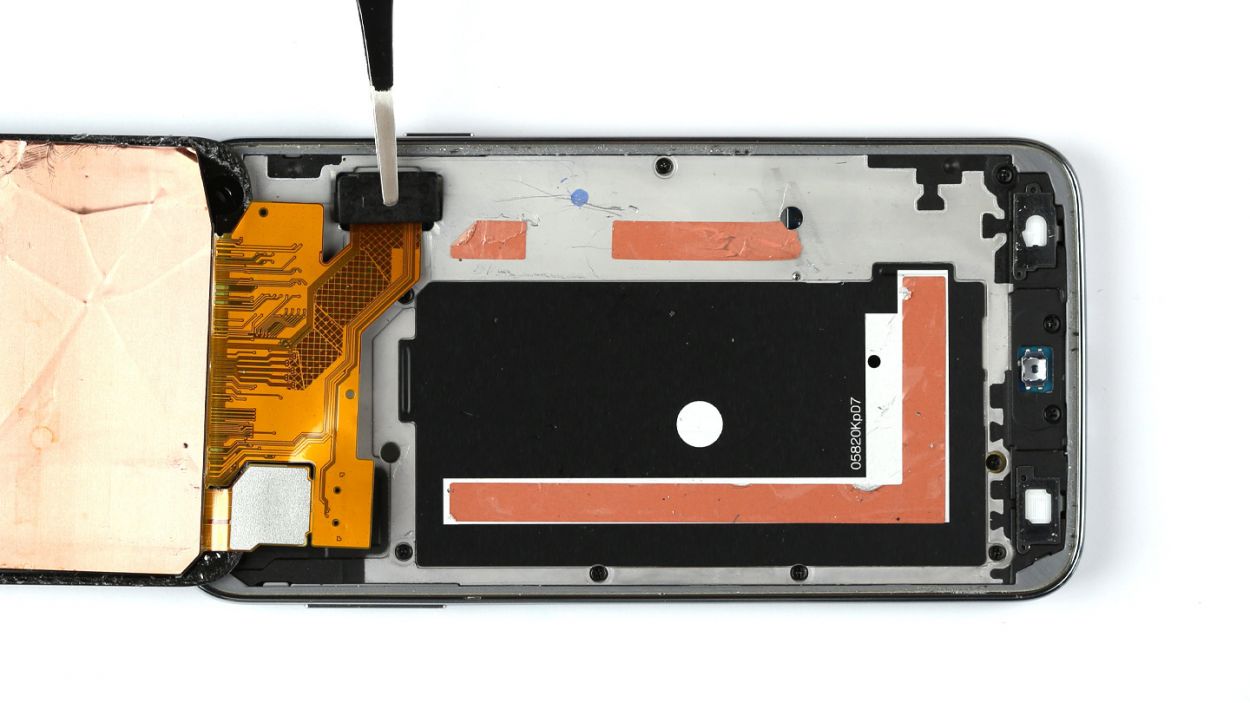

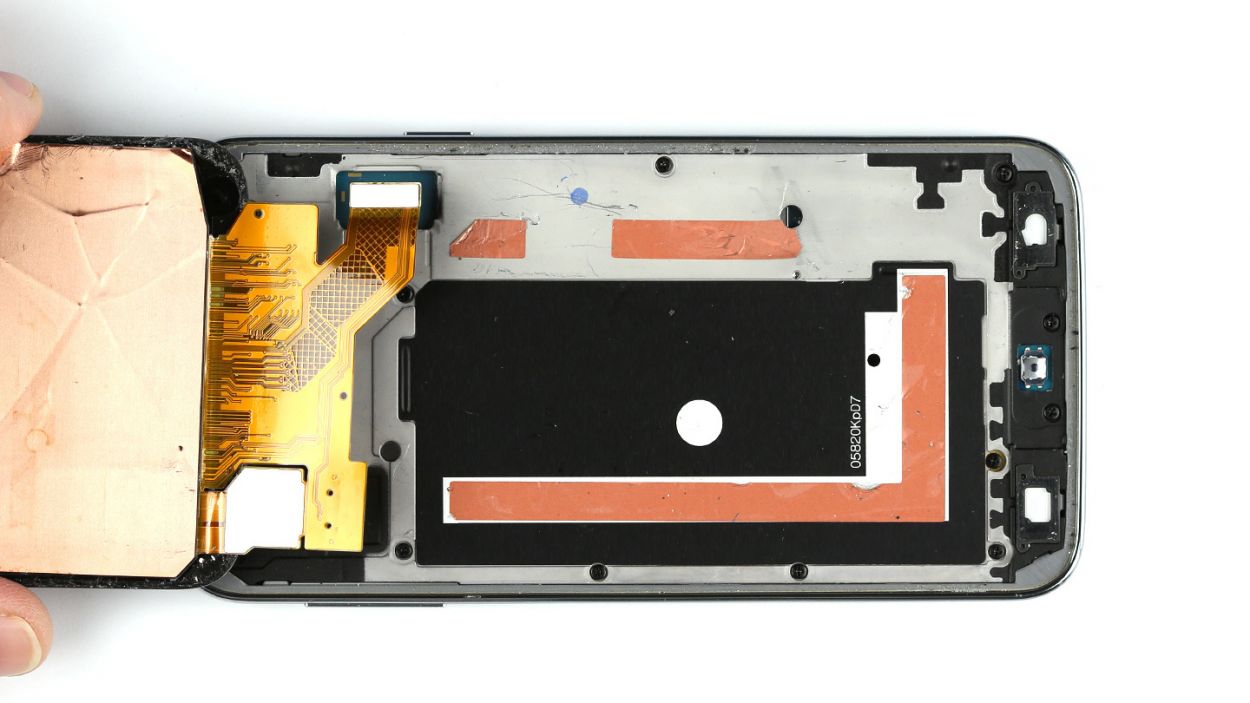
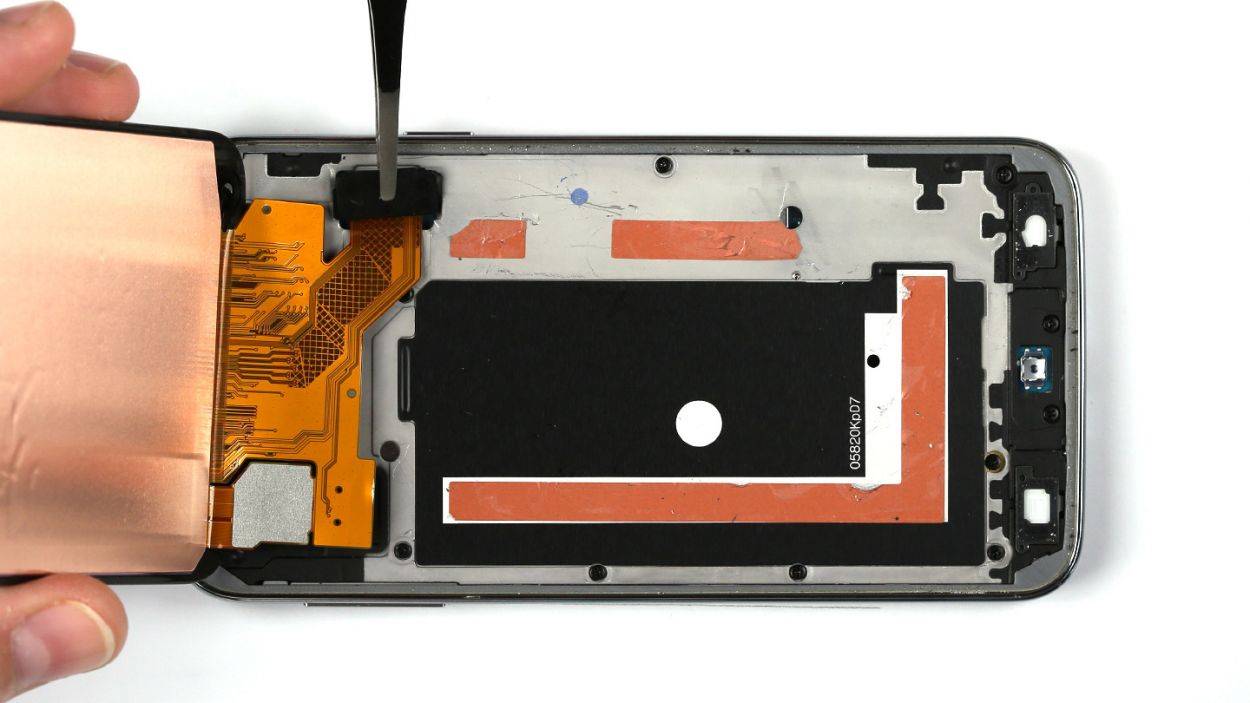
– Hey there! First off, let’s deal with the plastic part that’s holding the display’s flexible flat cable. Remove this bar with care.
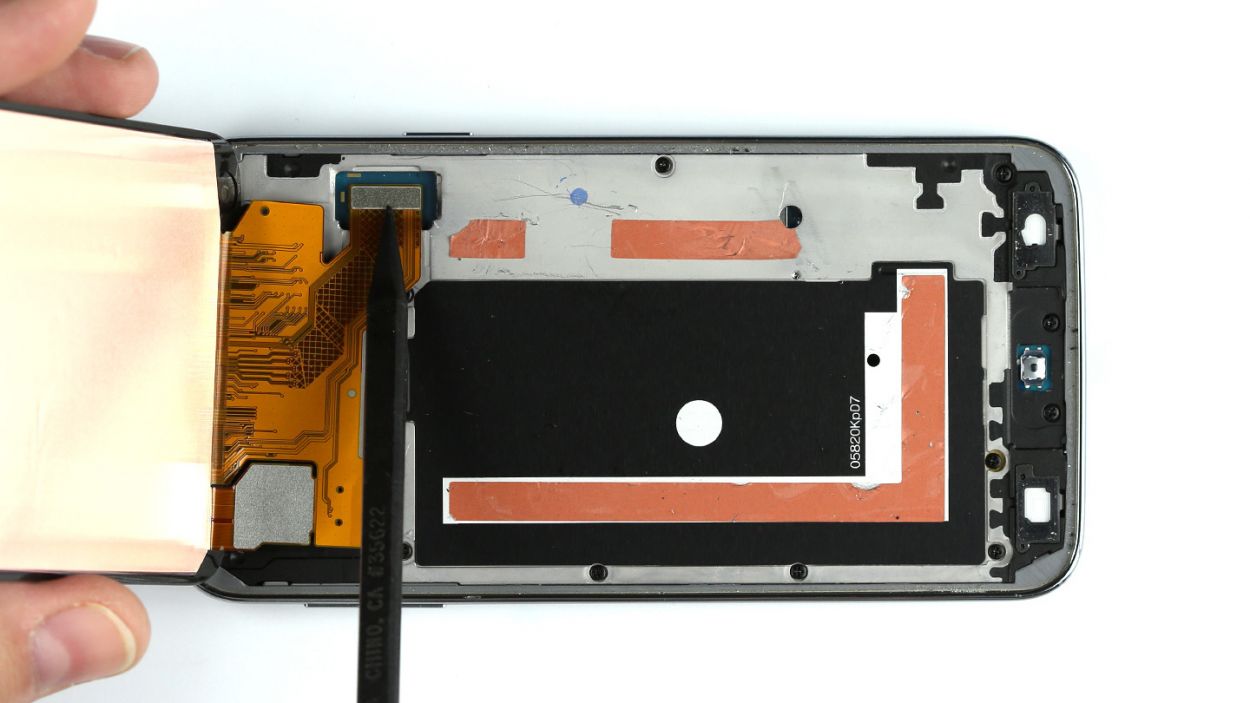
– Next step, grab the spudger’s pointed tip and gently unplug it from the logic board.
– Time to say goodbye to the display. Remove it like a pro!
Step 6
– Plug in the new display to the logic board like a pro.
– Carefully place the bar back over the plug connection and fasten it securely.
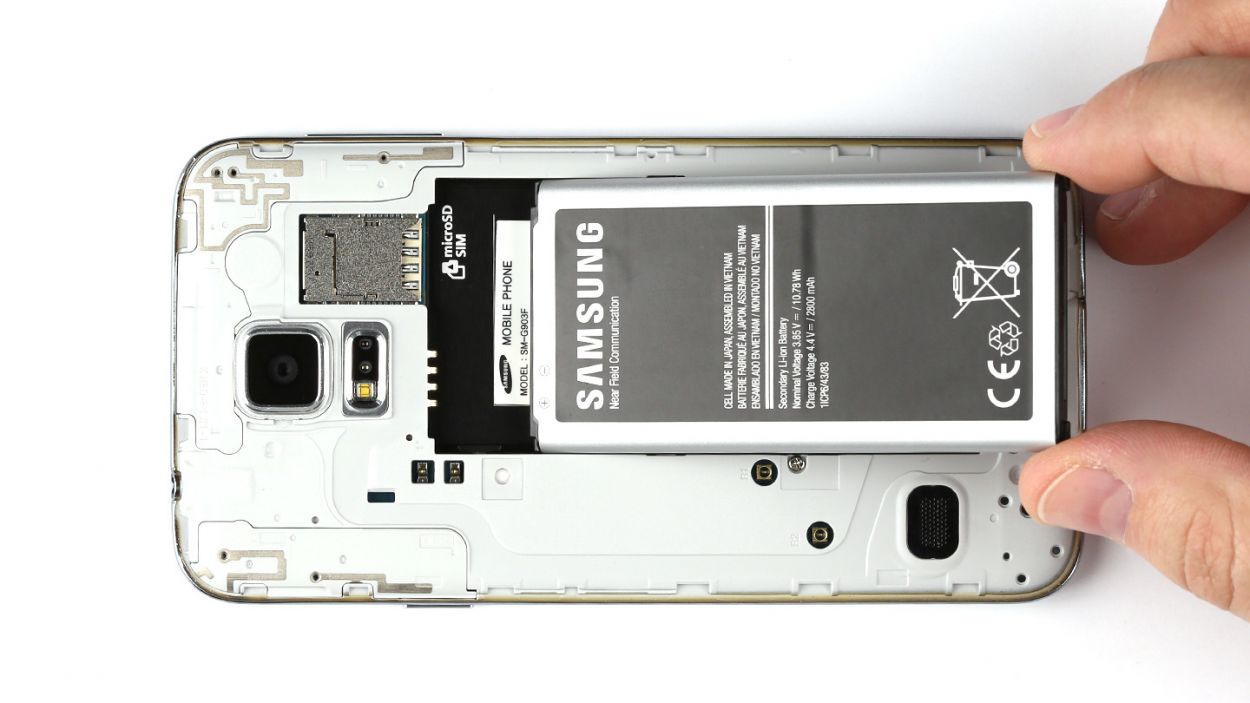
Step 8

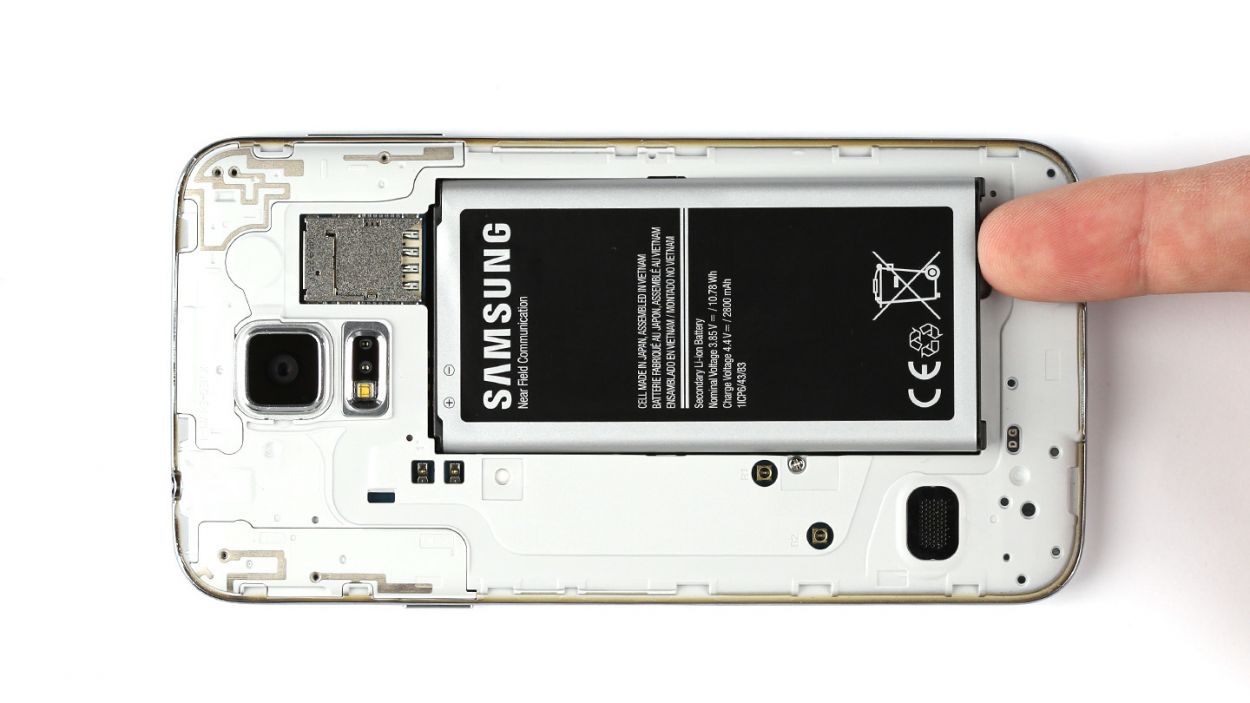
– Slide the battery into its cozy spot in the chassis. Just make sure those four shiny gold contacts are making good friends with the four gold springs in your device.
Step 9

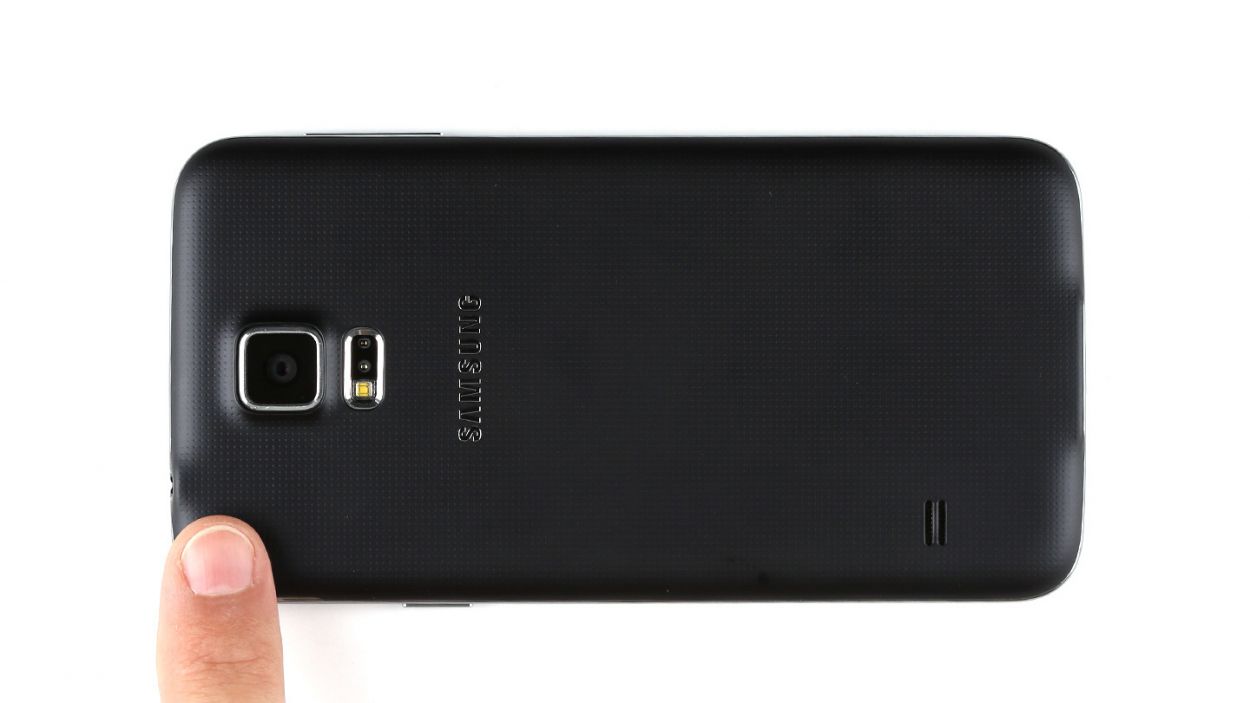
– Let’s get that back cover snug on the chassis! Position it just right.
– Now, use your finger to give the back cover a gentle but firm press all around the device. It should hook onto the chassis perfectly, and you’ll hear a satisfying click when it locks into place!