DIY Guide to Replace Samsung Galaxy S6 Components Step-by-Step
Duration: 60 min.
Steps: 10 Steps
The new Galaxy S6 from Samsung is all about pushing the boundaries of style. Naturally, we’re super curious about the inner workings of this flagship device and how simple it is to get it back in shape. If you find yourself needing a hand, you can always schedule a repair.
Step 1
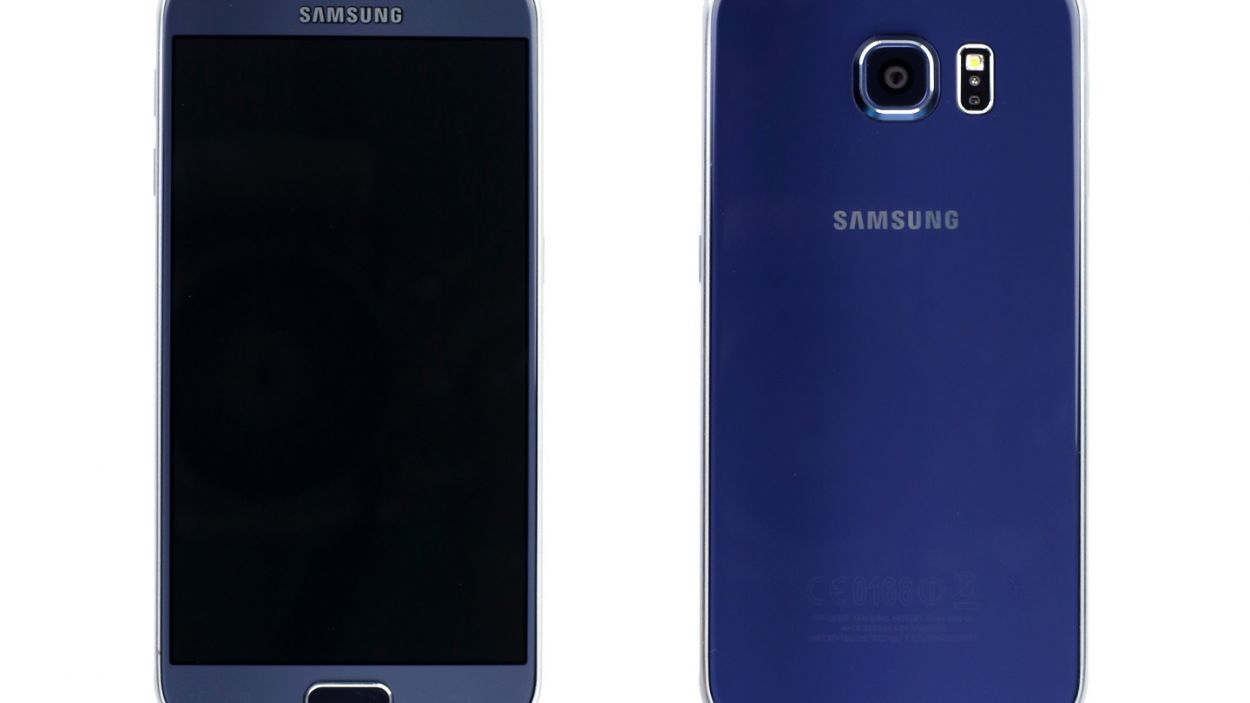
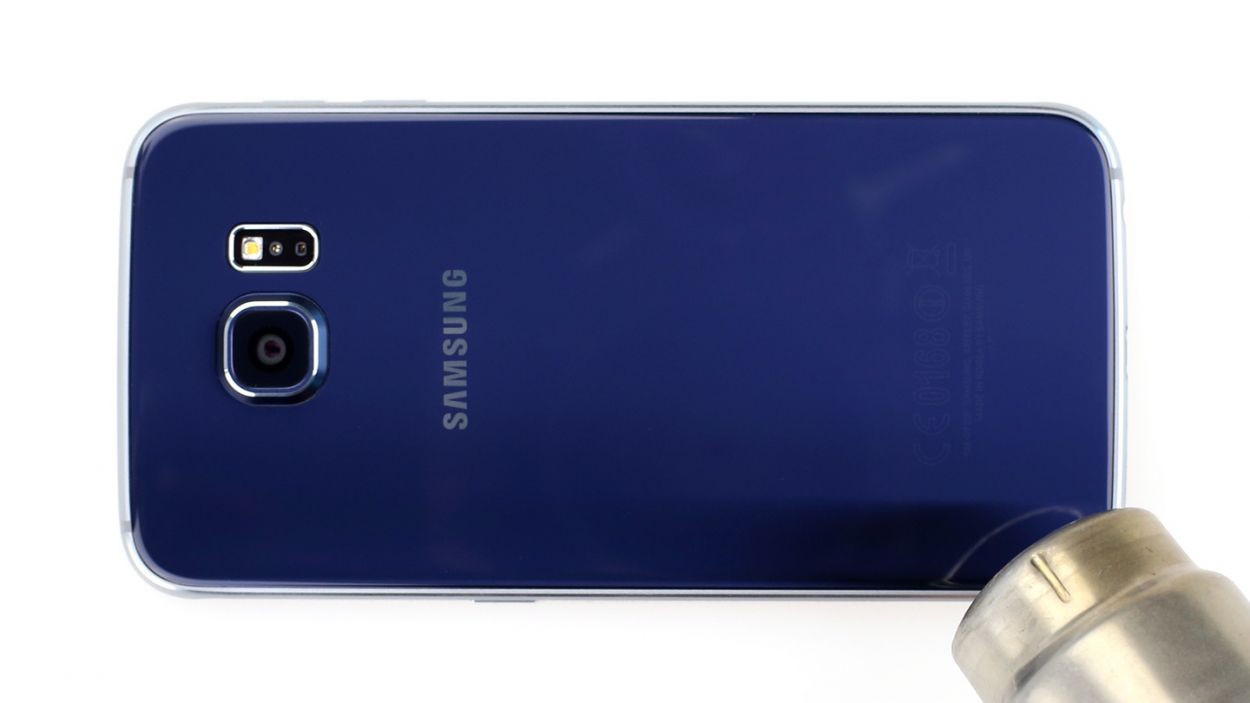
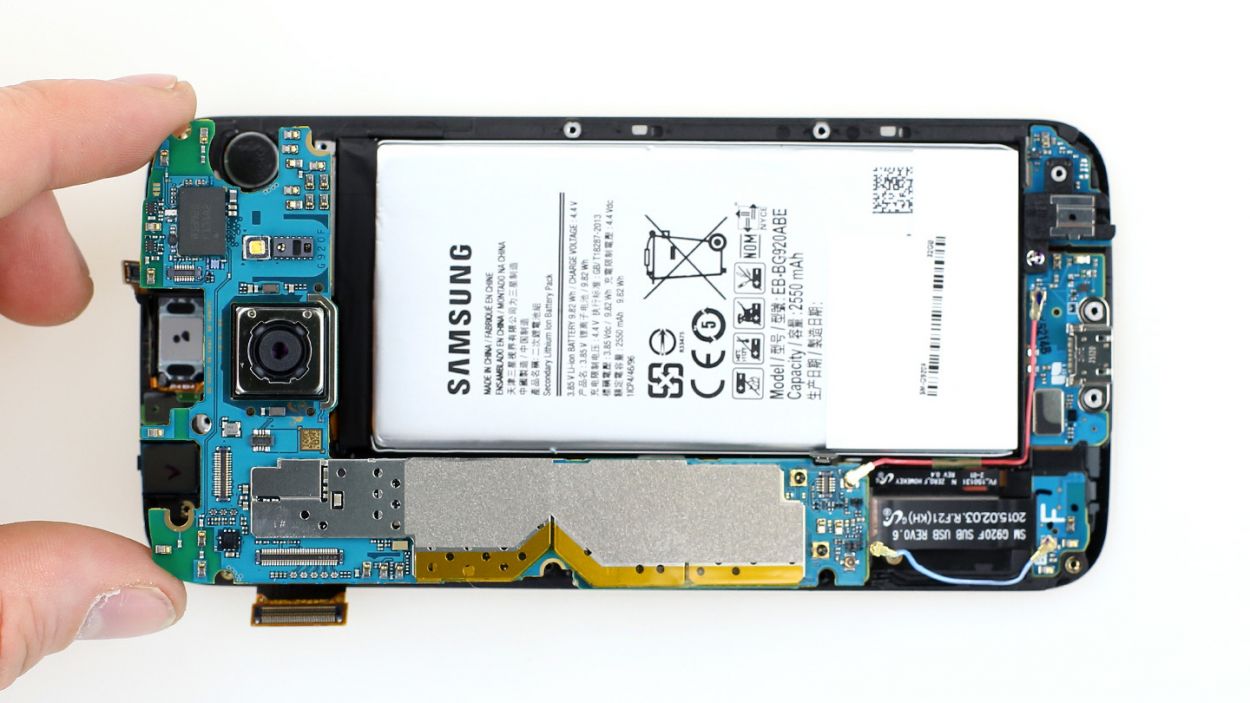
– Guess what? The brand-new Samsung Galaxy S6 is now up for grabs! With this flagship beauty, Samsung is stepping up its game in the premium price range. We’re here to give you a sneak peek of what’s packed inside the Galaxy S6 and find out if fixing it is easier than in past models.
– OS: Android 5.0 (Lollipop)
– Dimensions: 143.4 x 70.5 x 6.8 mm, 138 g
– Display: 5.1″ FHD Super AMOLED (2560 x 1440), 576 ppi
– RAM: 3 GB
– Memory: 32/64/128 GB
– Rear camera: 16 MP (3840 x 2160 pixels)
– Front camera: 5 MP
– Battery: 2550 mAh
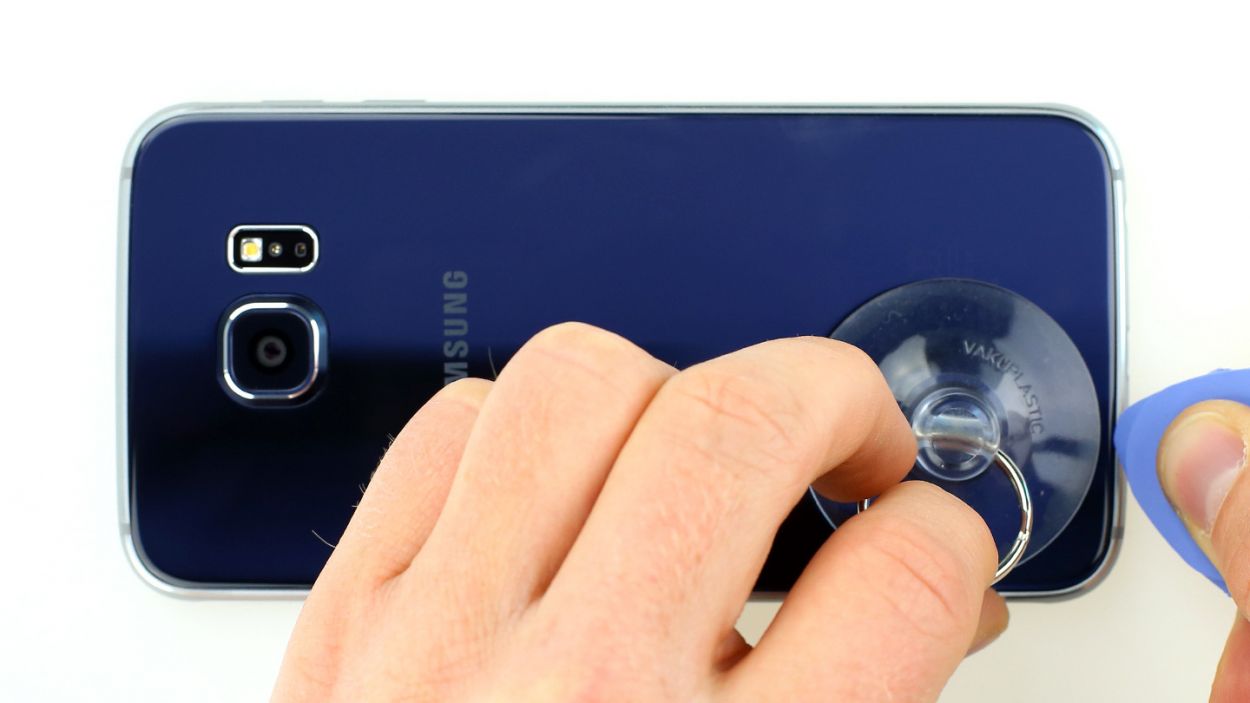
Step 2

Step 3
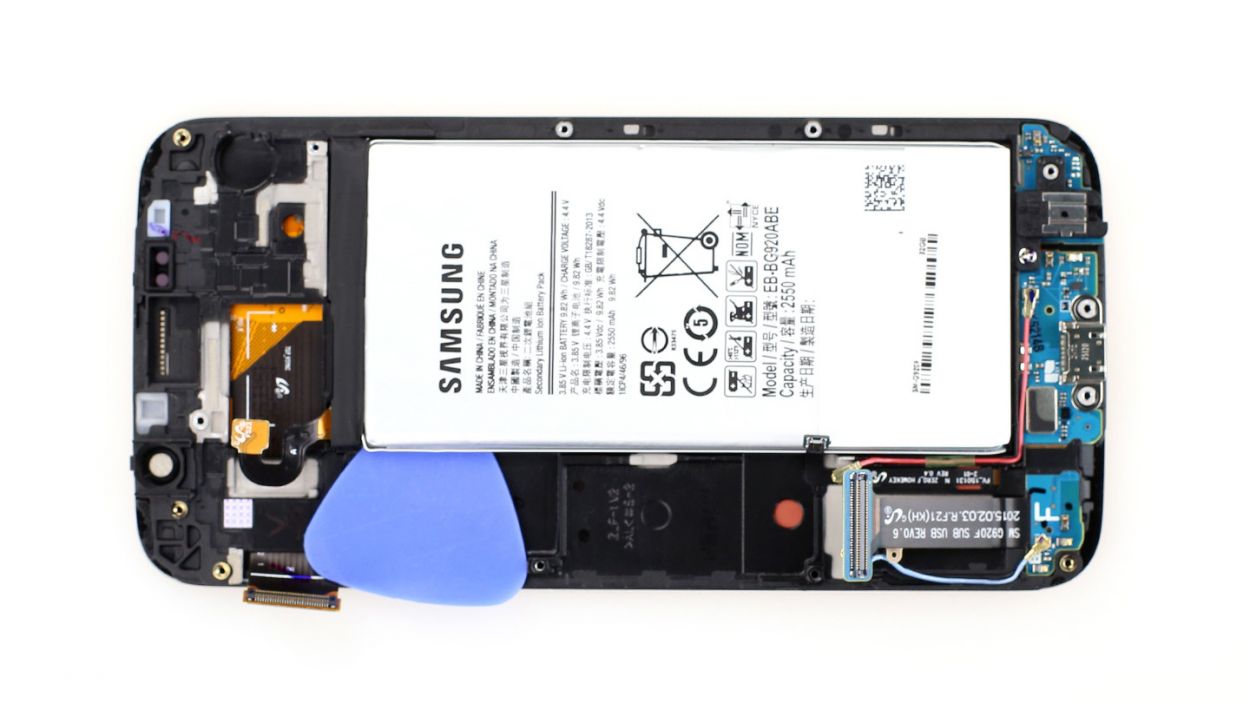
Take your time and be super gentle! Those tools can be a bit tricky and might poke the battery, causing some unwanted goo to escape. Let’s keep everything neat and tidy!
– Samsung isn’t done scoring minus points for repairs on the Samsung Galaxy S6. Not only is the battery’s capacity lower than in the previous model, but the battery’s also really glued in place. While we can use removable adhesive strips to take the battery out of an iPhone, we have to play Hercules again to get it out of this model.
Step 4

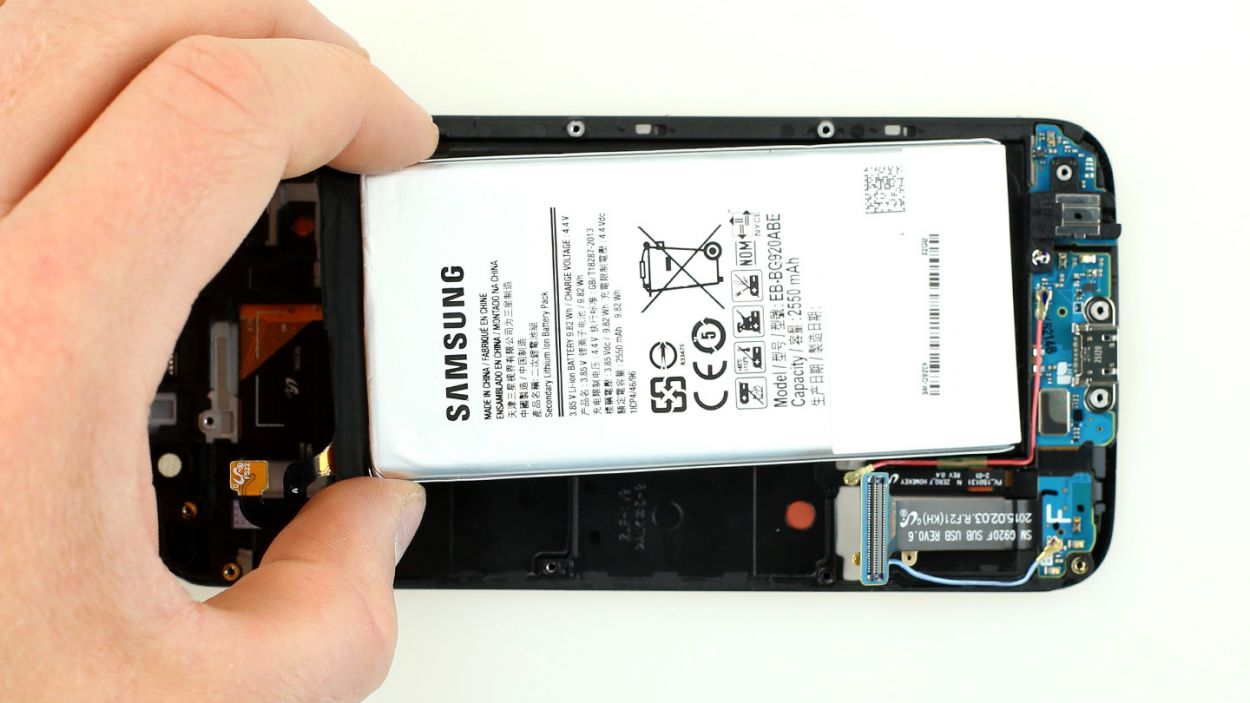
– In other Samsung Galaxy models, you’d be able to remove the battery now. But Samsung has made some more changes. This is another minus point. More on that in step 7.
Step 5
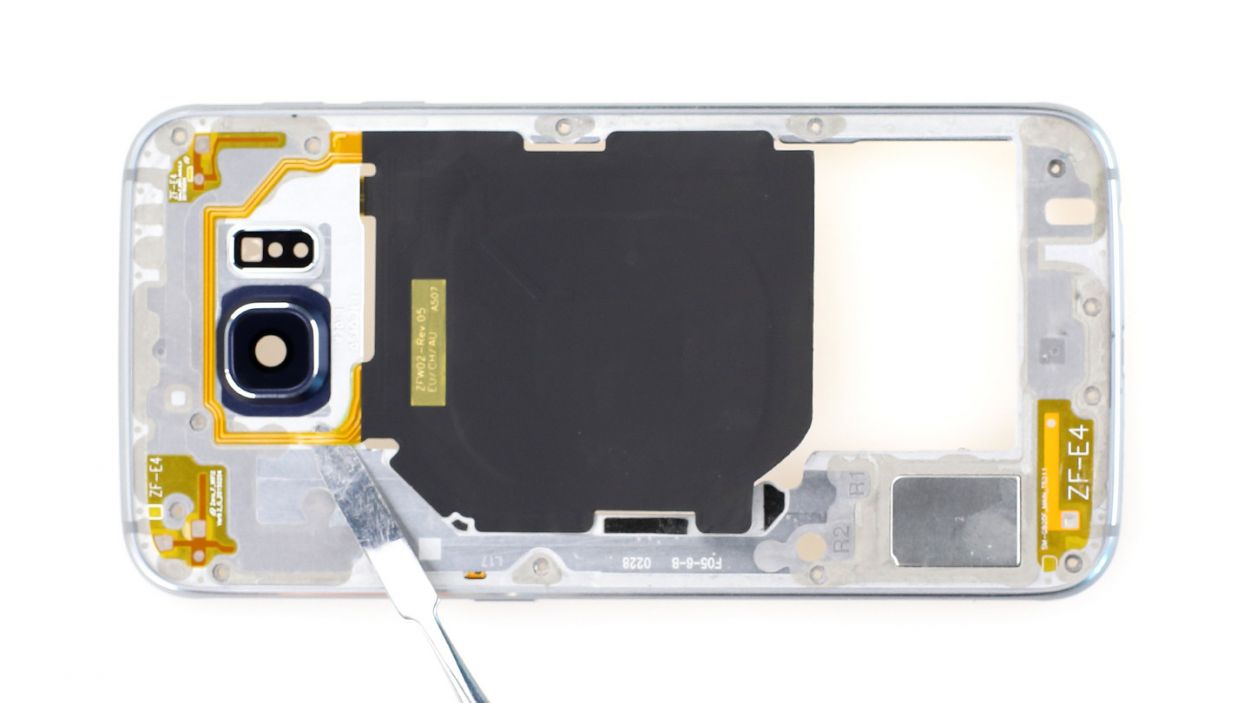
– You can also disconnect various buttons, the charging pad and the speaker from the midframe. The charging pad’s cables are very thin. Removing the speaker is pretty tough and takes a lot of patience.
Step 6

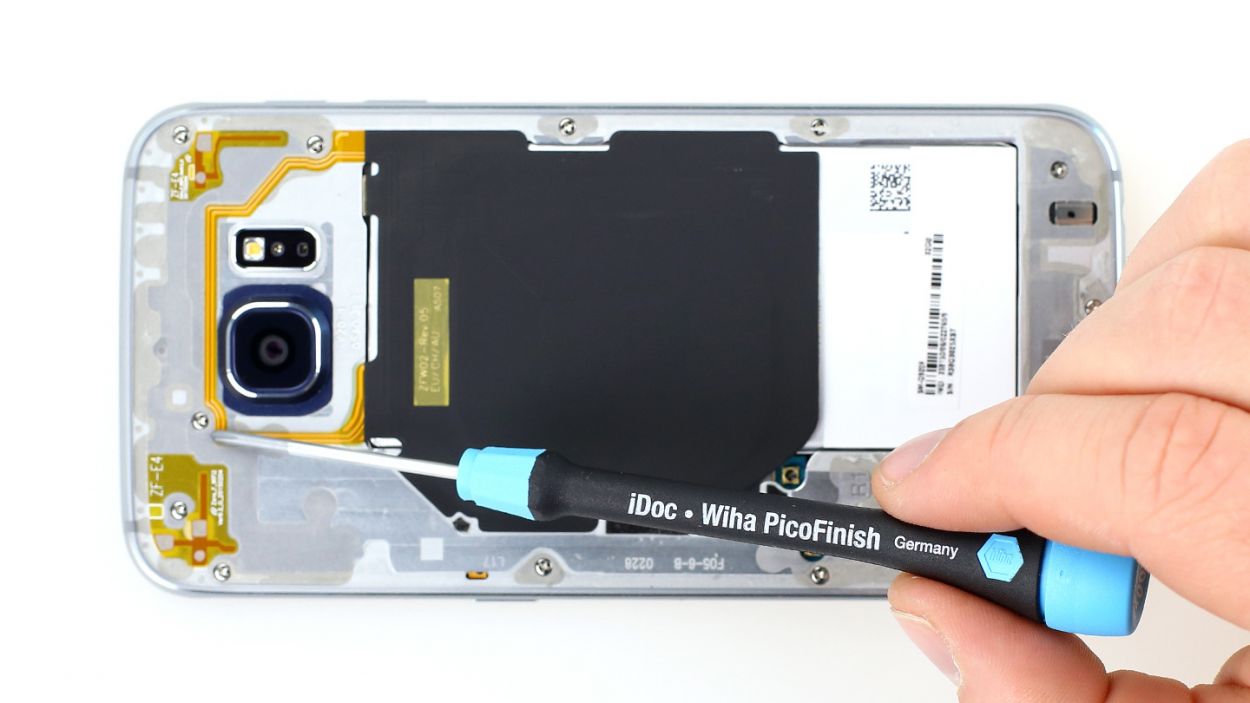
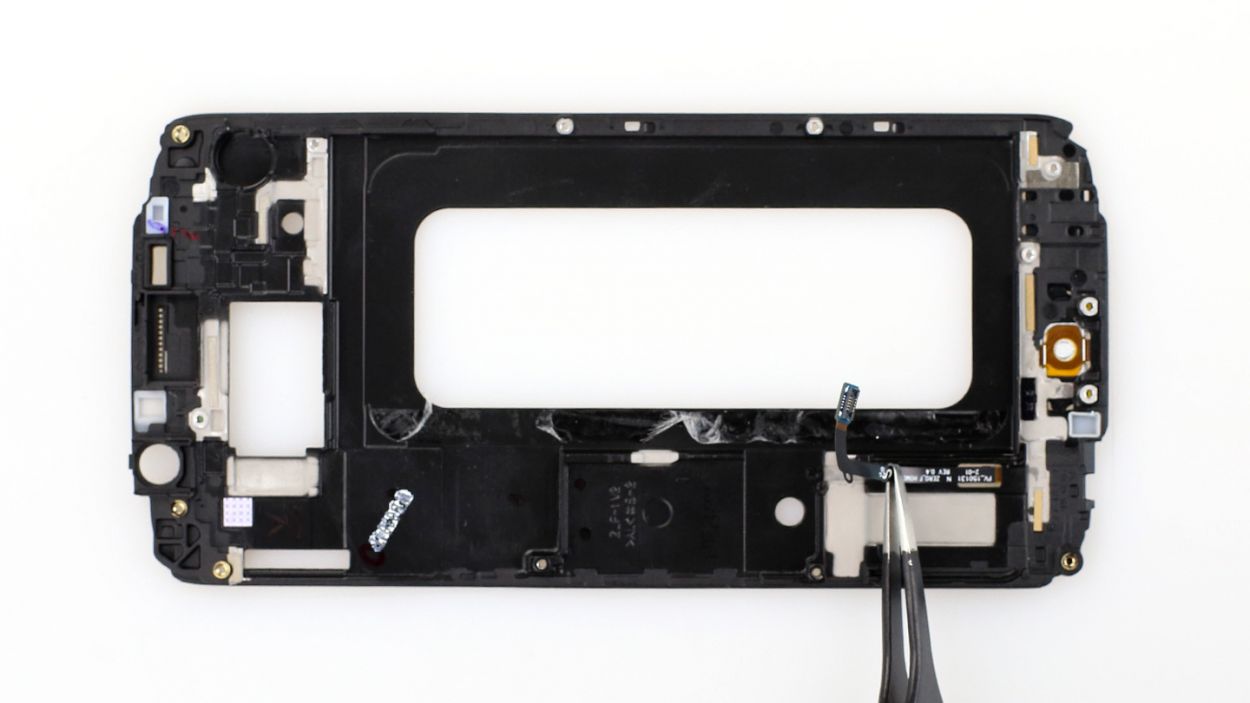
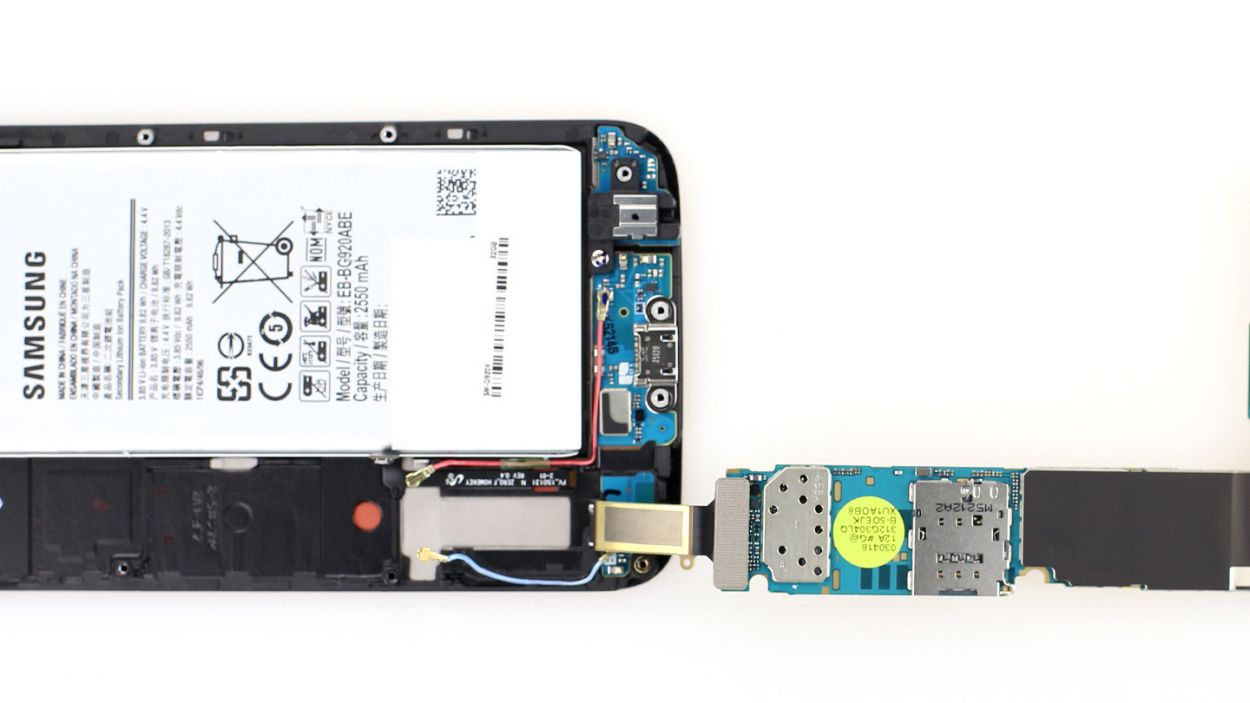
– As in the iPhone 6, the dock connector and the headphone jack are an integrated unit, which is fastened by a screw. Unfortunately, you can’t just remove the dock connector because the navigation buttons extend from it and are under the front panel, so you have to remove that first.
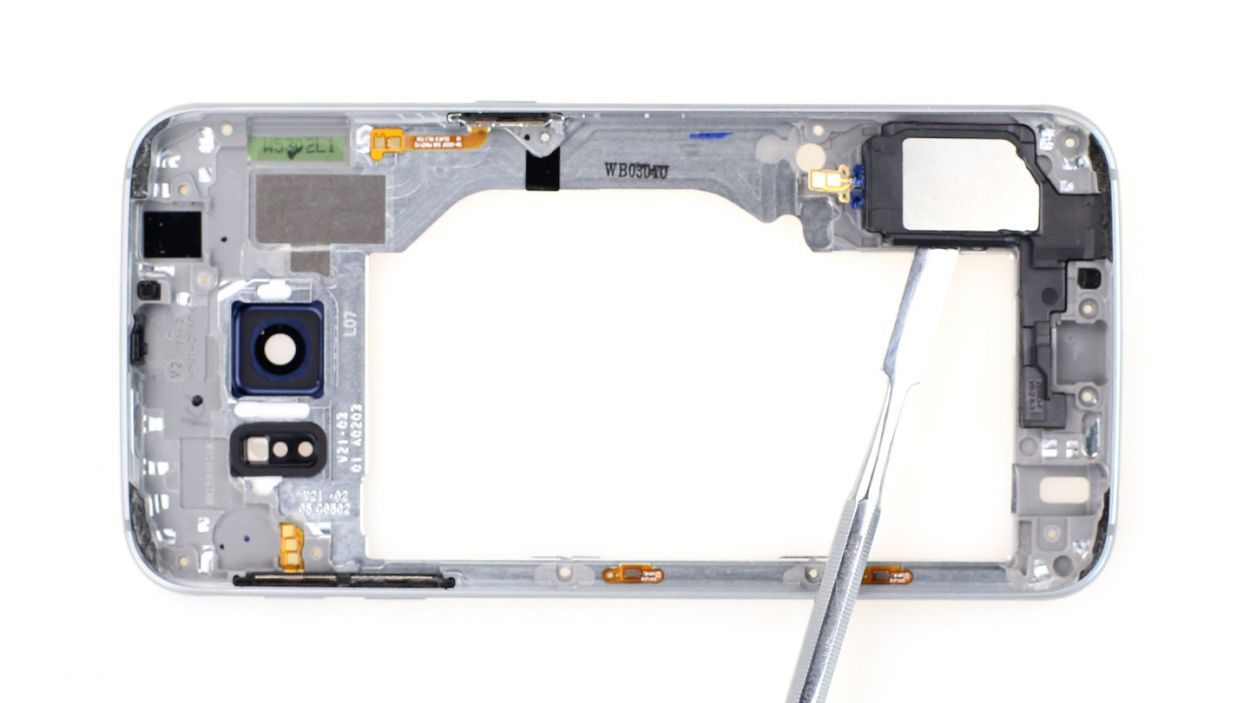
Hey there, repair champ! Just a heads-up: don’t go shoving that pick haphazardly between the frame and the display to break the glue seal. There are some super tiny resistors hiding in those little gaps, and you definitely don’t want to accidentally knock them off. If you’re swapping out a screen that’s already seen better days, it’s not as big of a deal, but let’s play it safe!
Step 7
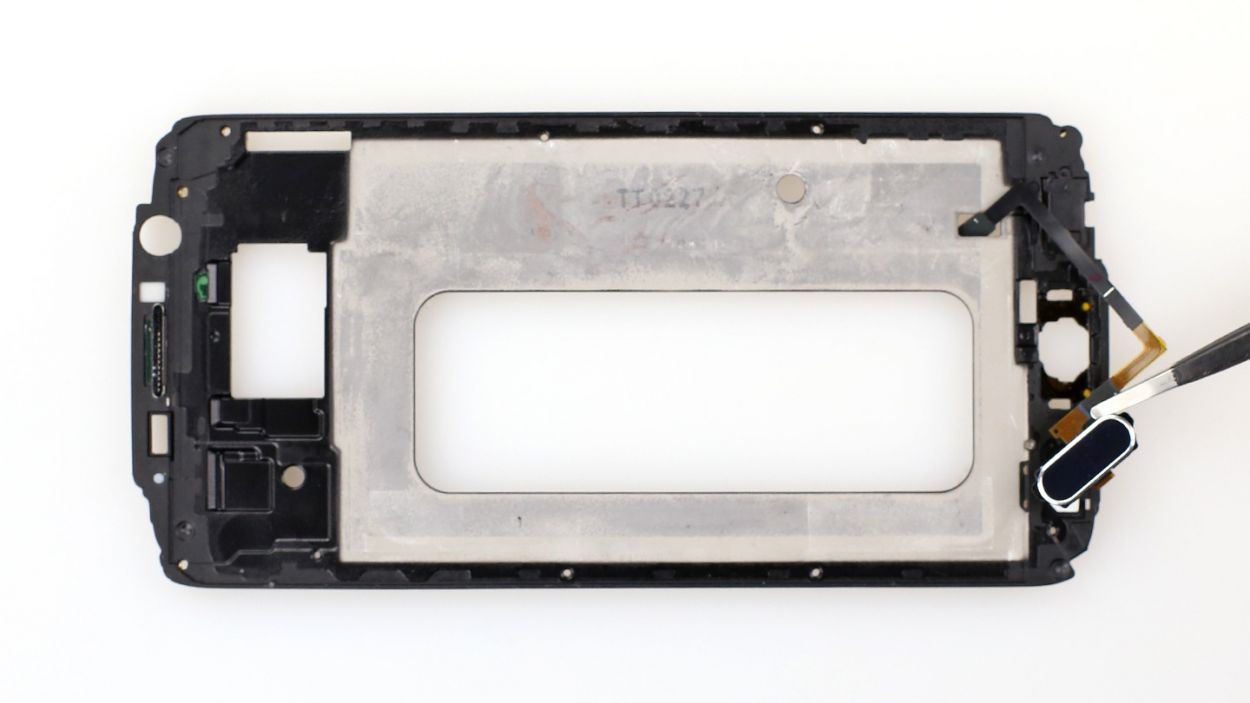
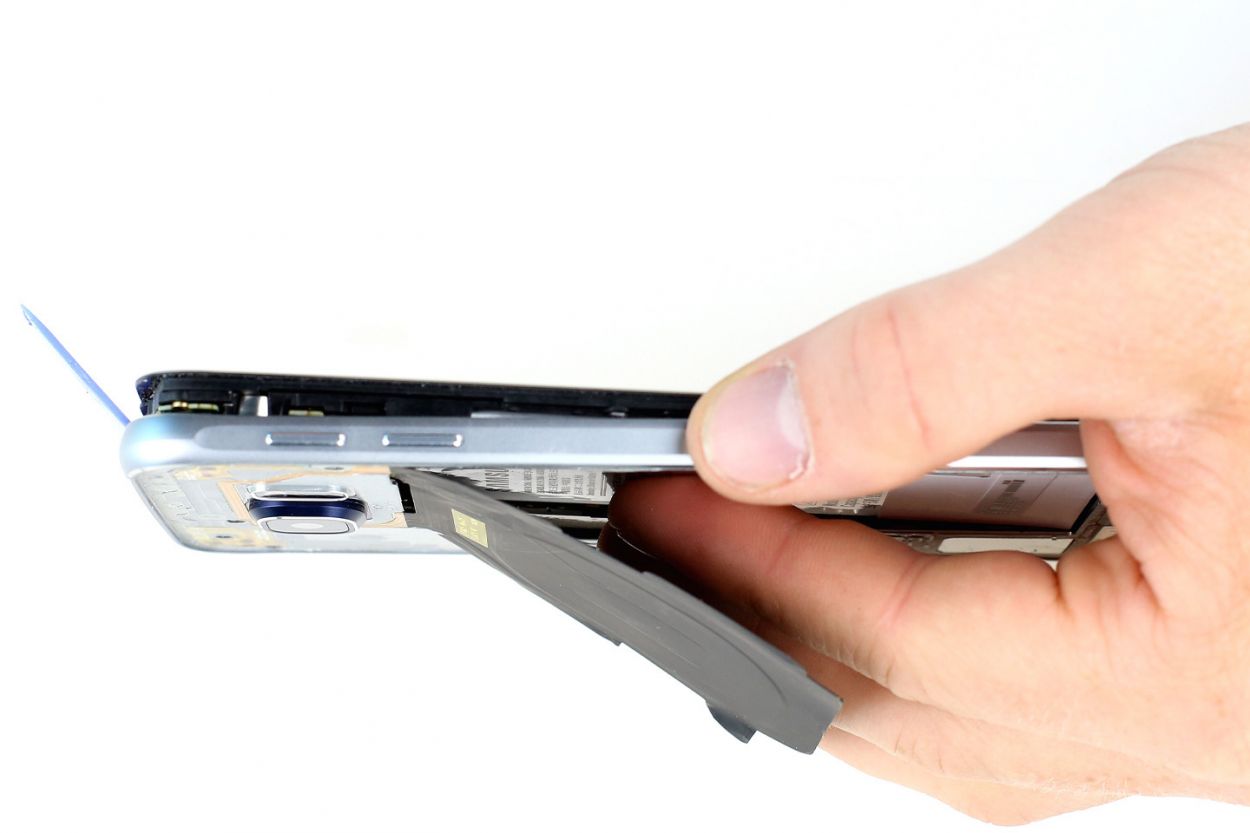
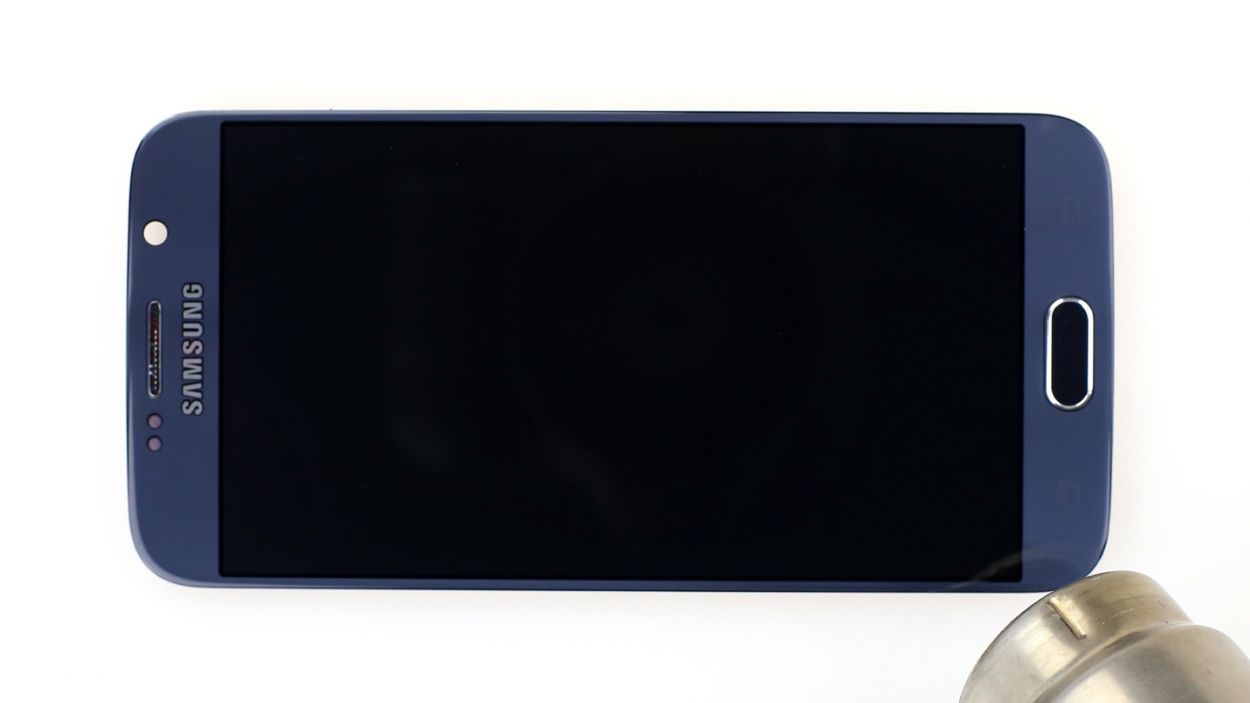
– The Home button is snugly stuck to the display frame, but don’t worry, it’s a breeze to pop off!
Step 8
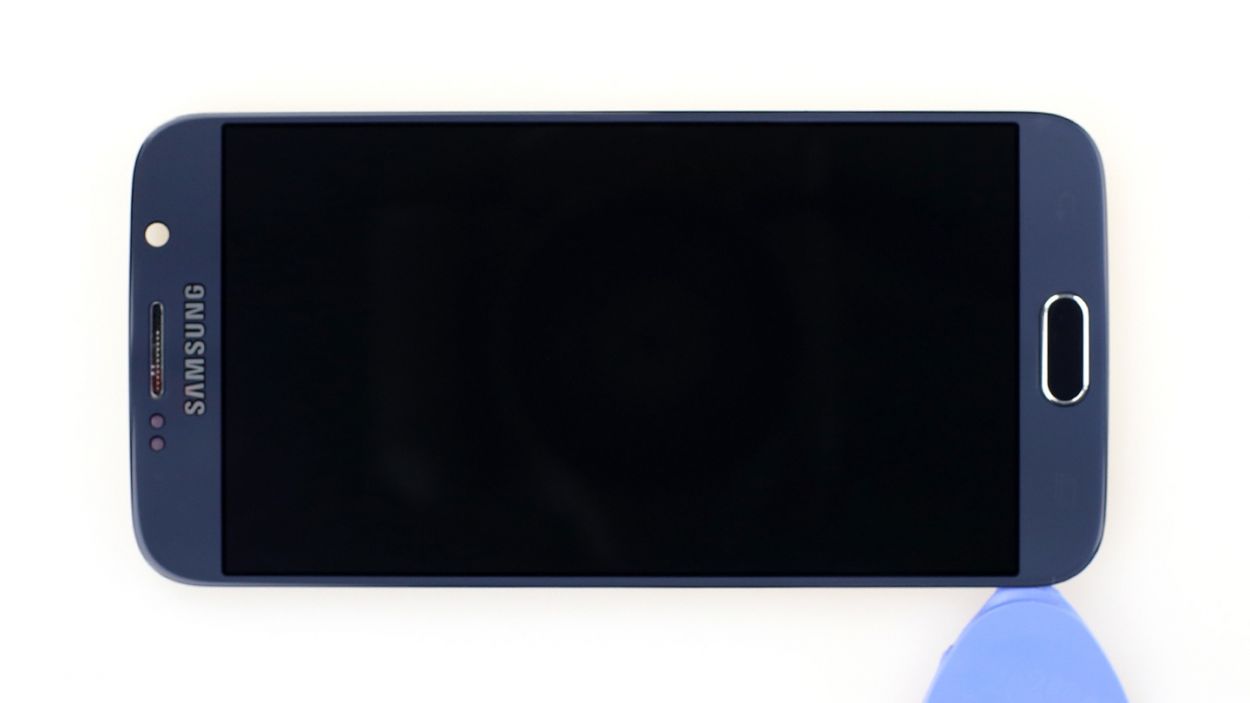
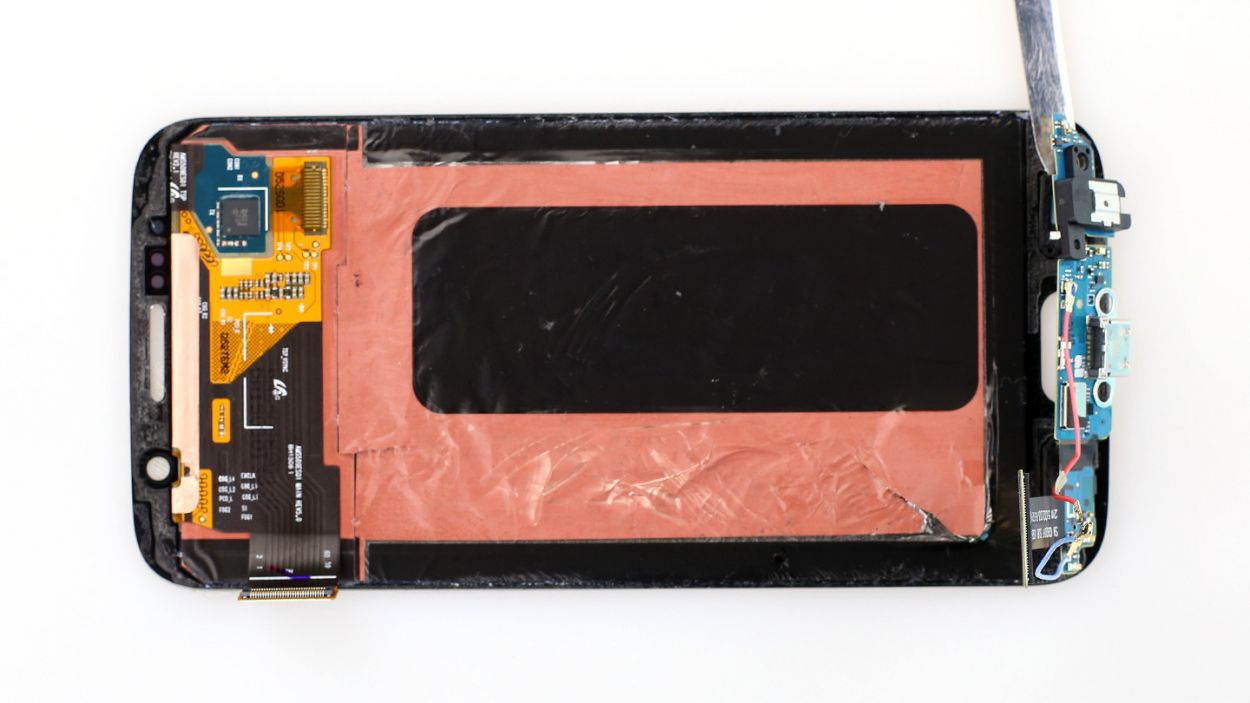
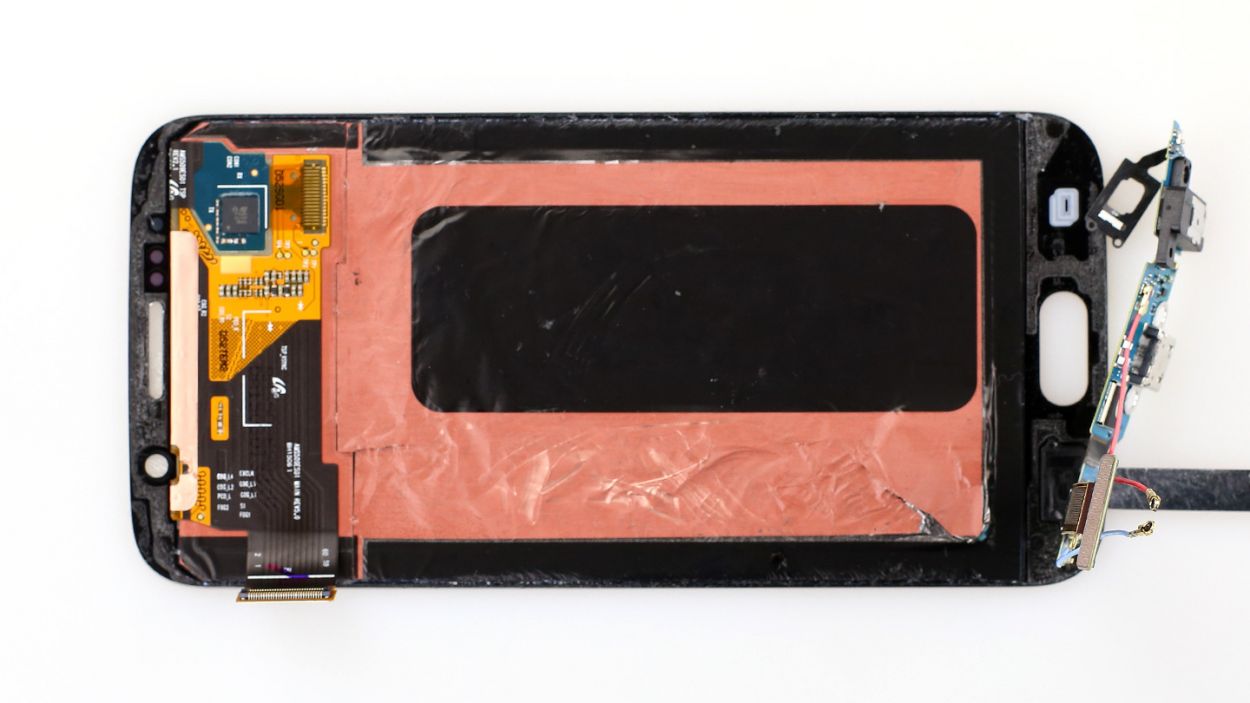
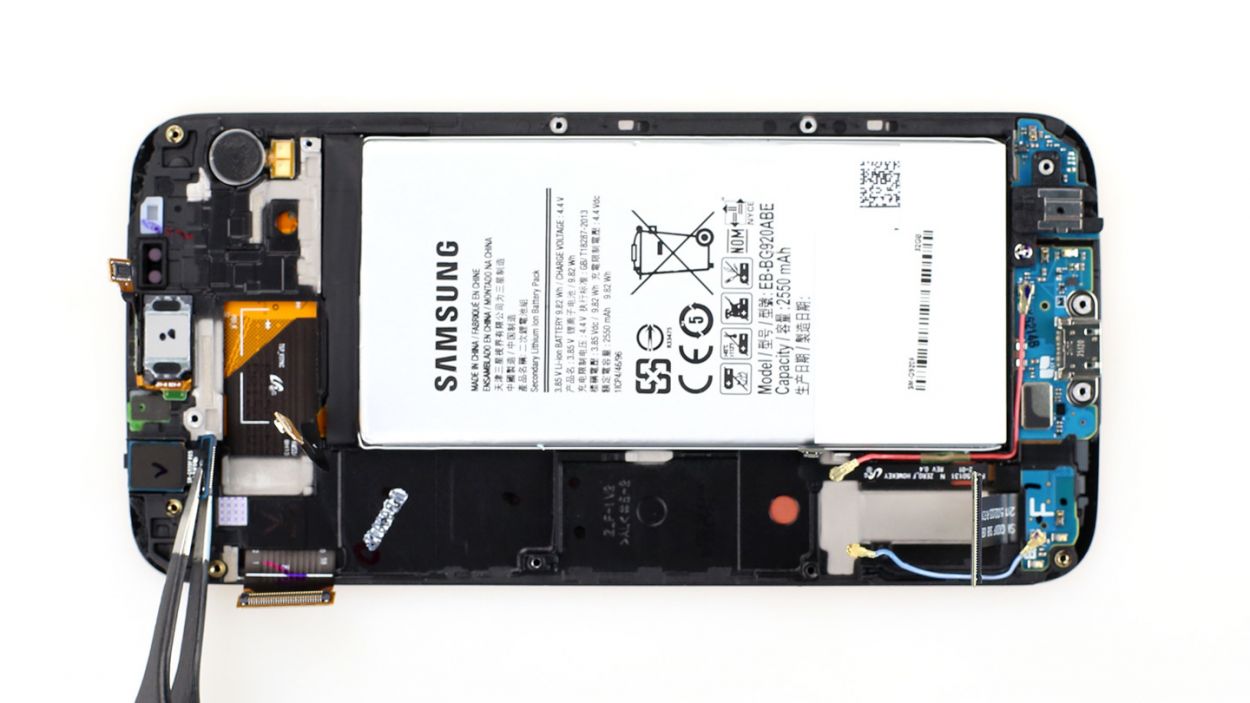
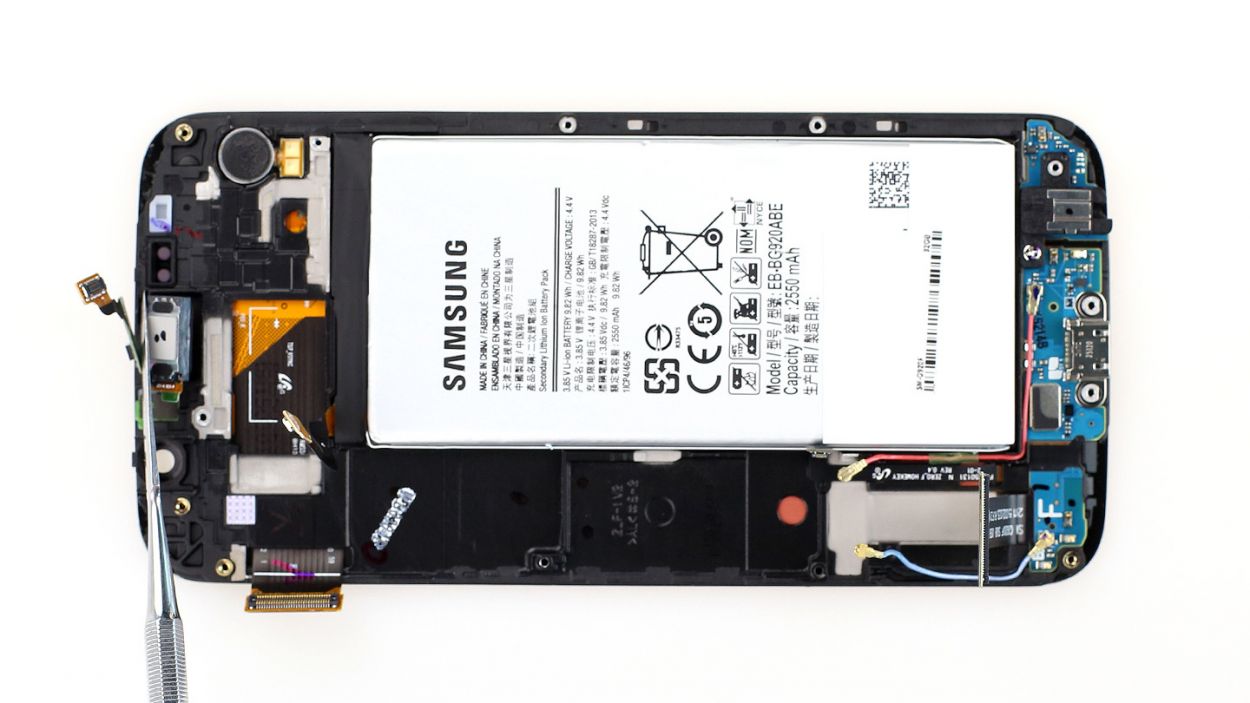
– Alright, let’s make this a breeze! It’s time to unplug all those connectors.
– Display
– Front camera
– Battery
– Earpiece
– Home button
– Antenna cable
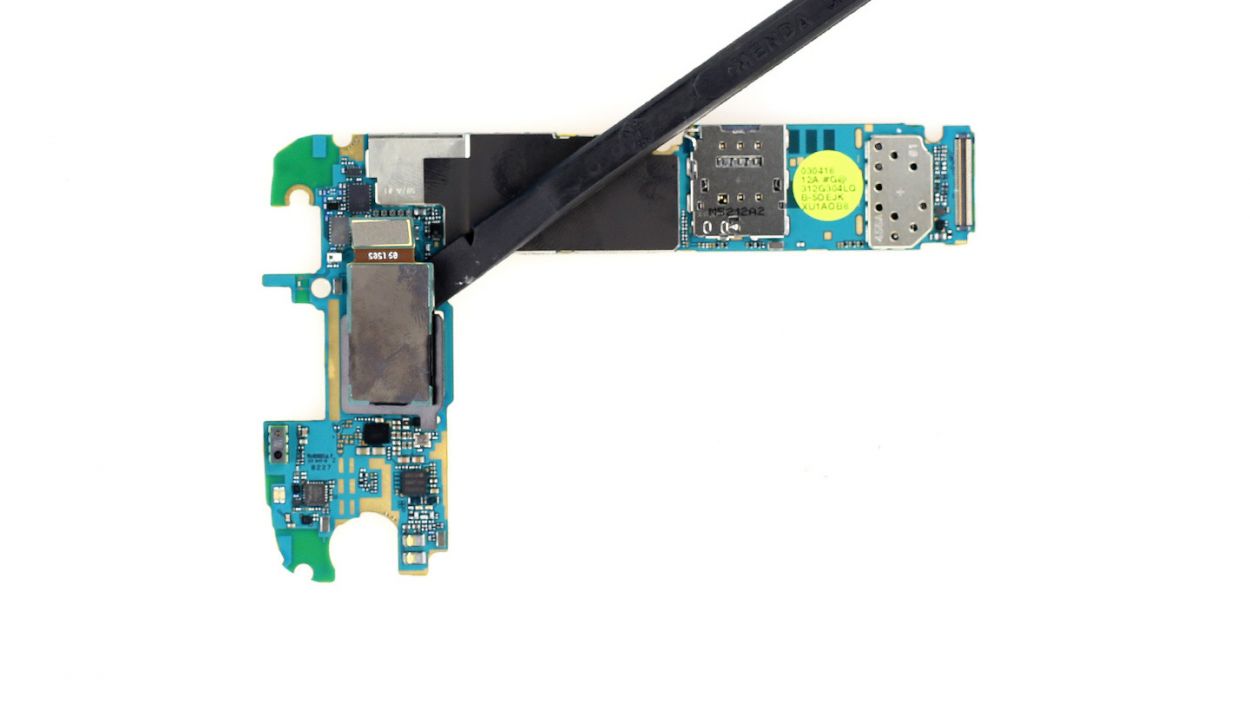
Step 9
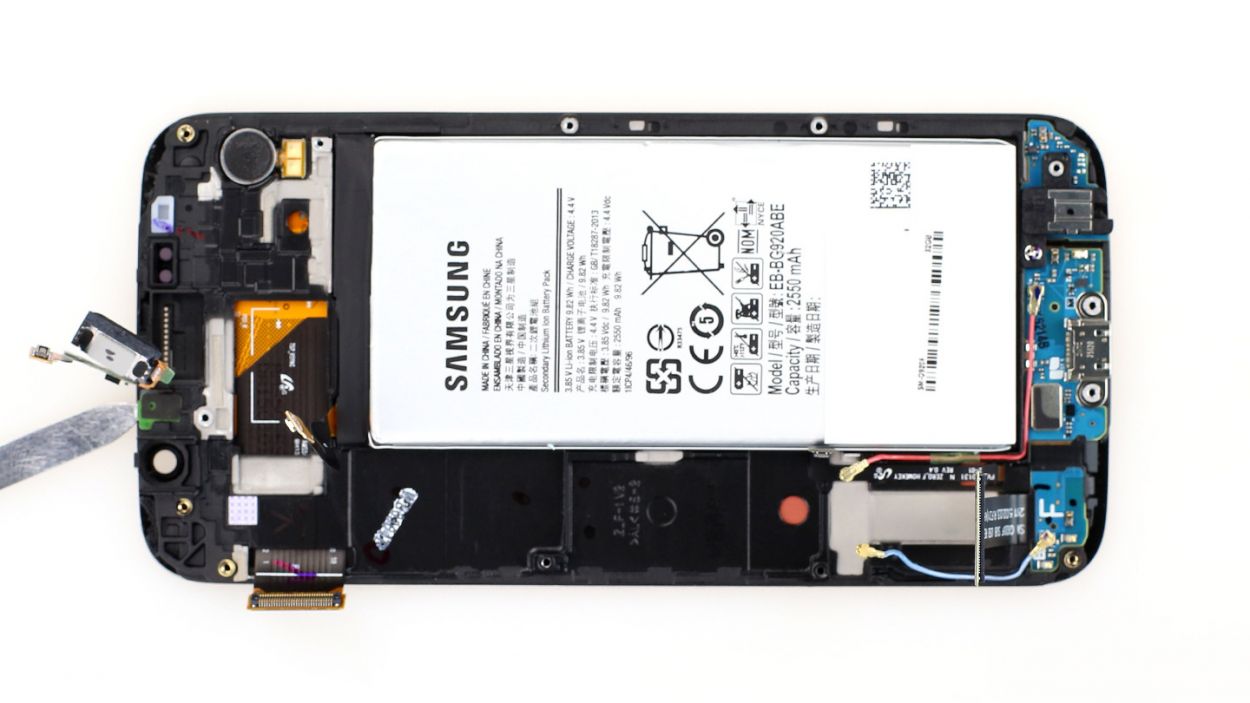
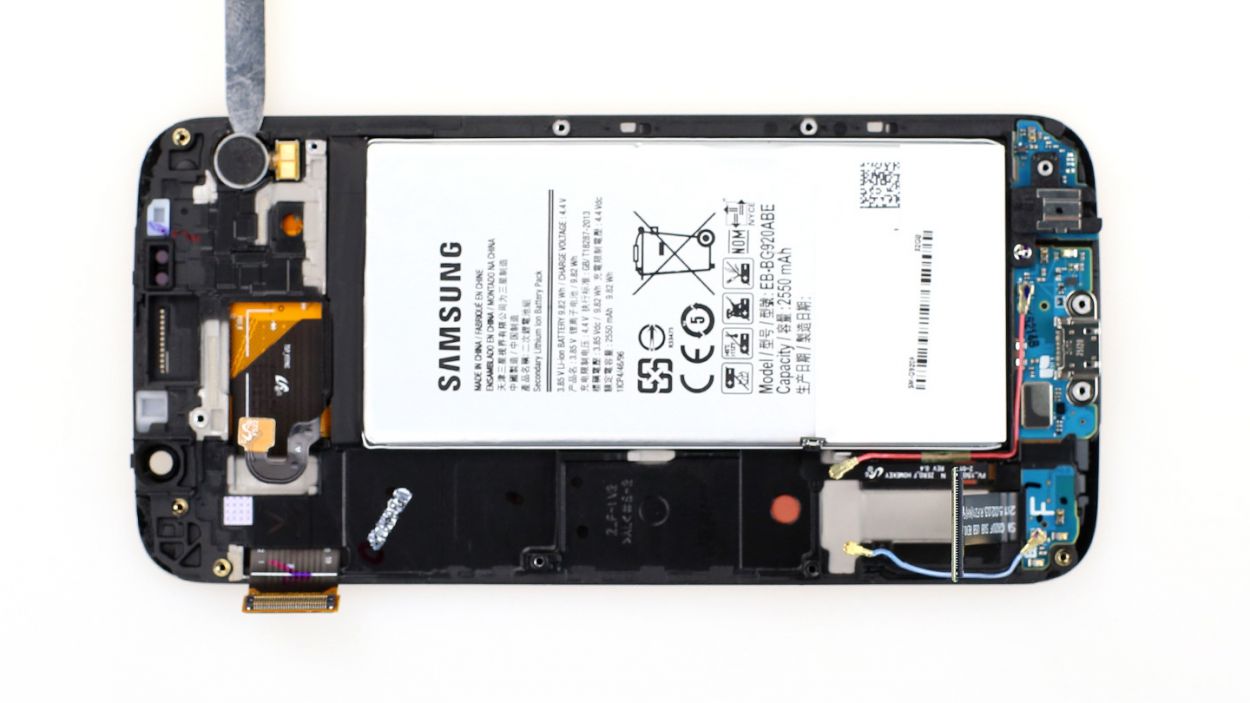
– Great news! The tricky parts are behind us, and now we’re cruising through the easy stuff. Let’s tackle the removal of these components without a hitch:
– Front camera
– Earpiece
– Vibration motor
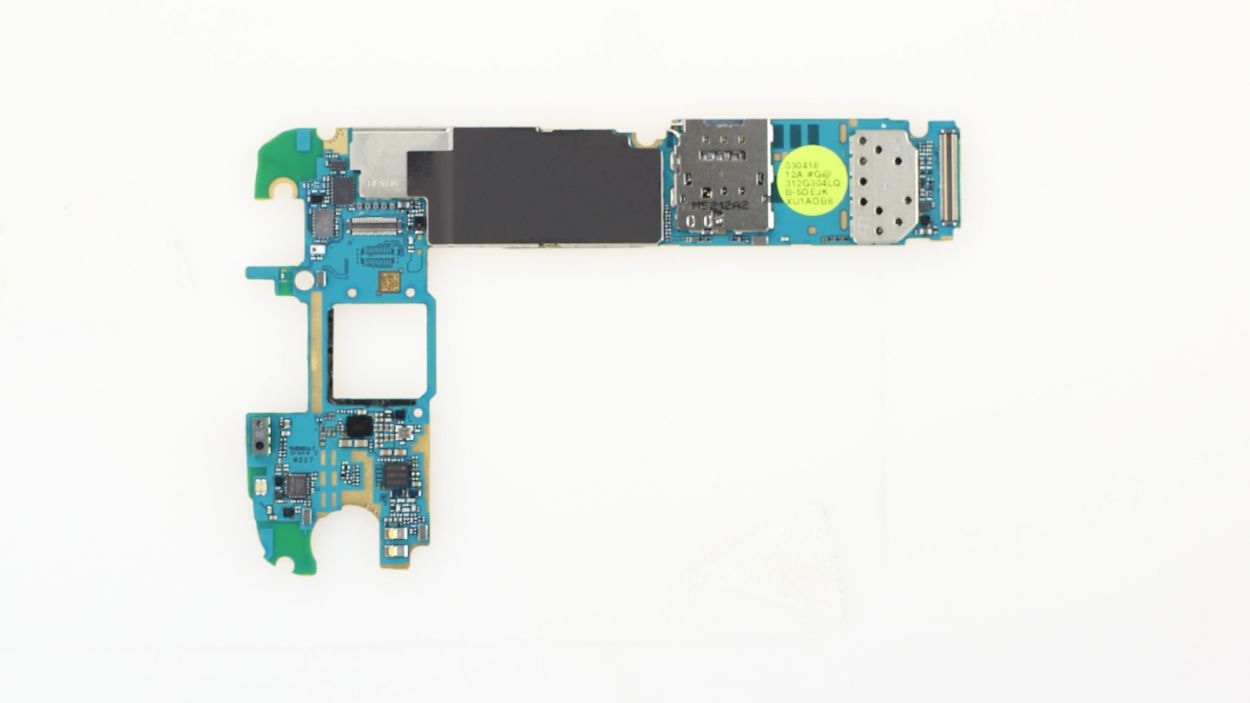
Step 10
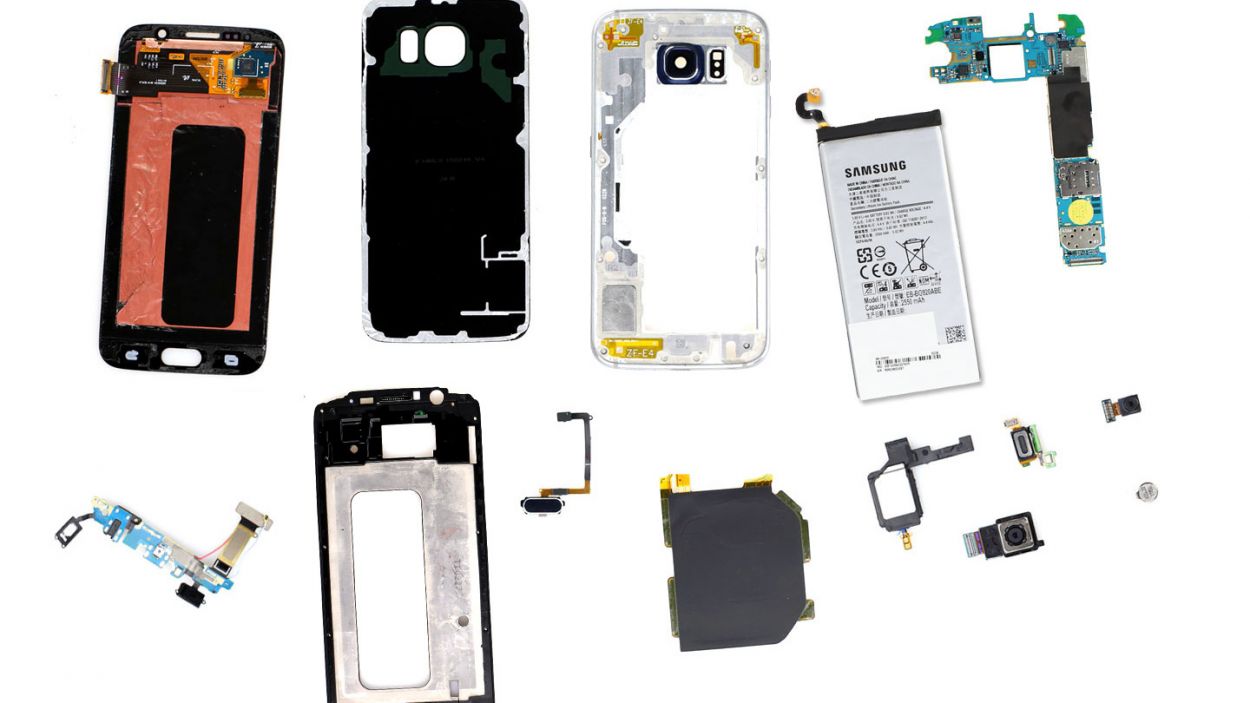
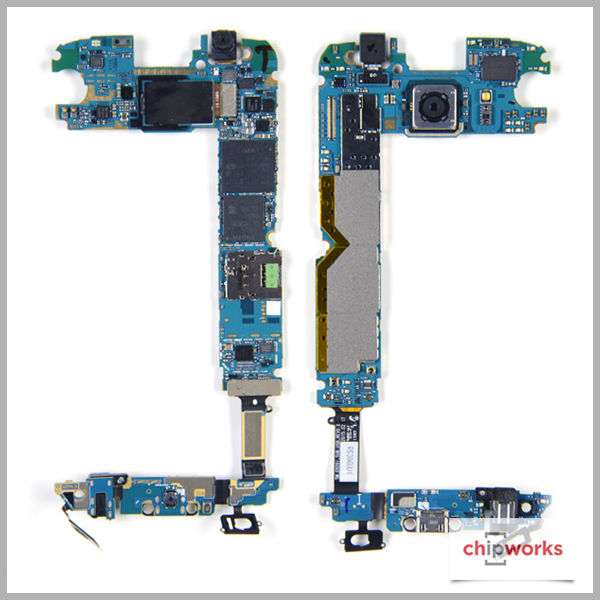
– Samsung decided to break new ground with the Galaxy S6. Not only did Samsung use new materials on the outside, but there are also a lot of changes on the inside, partially due to the new design. But what does that mean for repairing this smartphone?