DIY Guide to Replace Samsung Galaxy S6 Edge Components
Duration: 60 min.
Steps: 9 Steps
Samsung’s latest smartphone, the Galaxy S6 Edge, is pushing the boundaries of design with its sleek, curved display that wraps around the sides. It’s not just about looks, though; we’re also diving into the inner workings of this flagship device to see how repair-friendly it really is. So, let’s get ready to explore and discover just how easy it is to bring this beauty back to life. If you need help, you can always schedule a repair.
Step 1
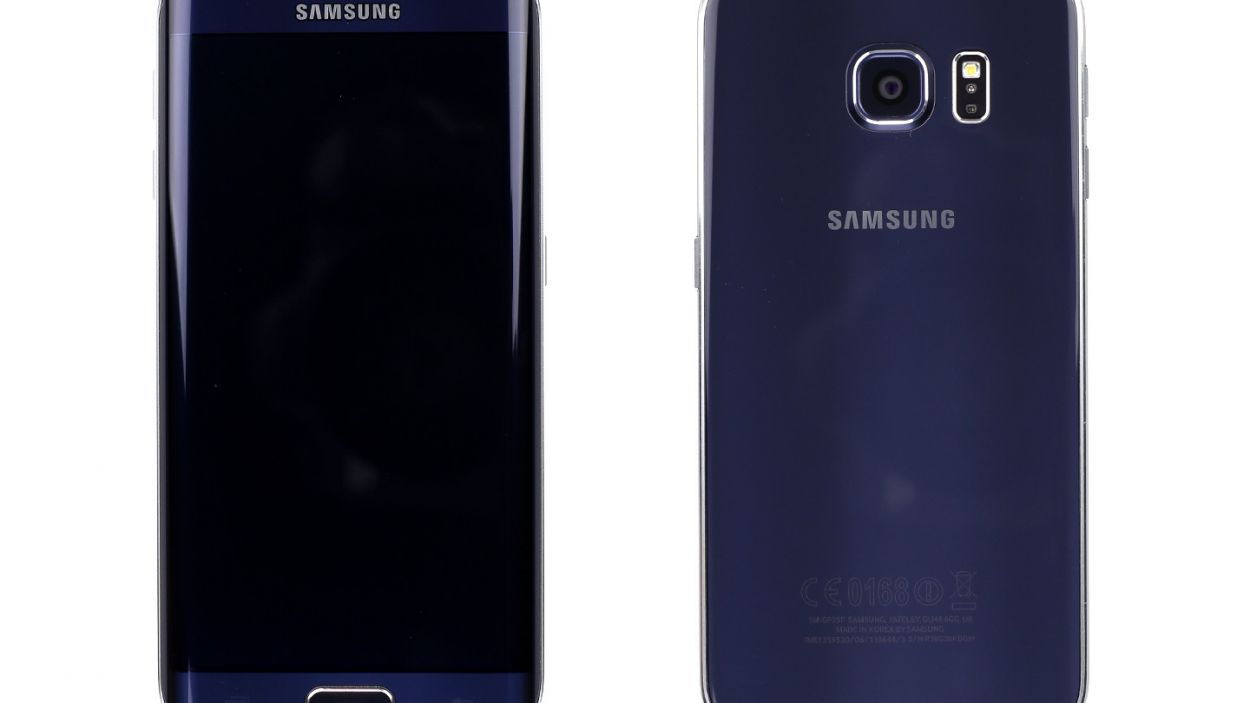
– With the Galaxy S6 Edge, Samsung is taking things up a notch in the premium price range. Let’s dive into what’s inside this beauty and find out if fixing it is a walk in the park compared to earlier models.
– OS: Android 5.0 (Lollipop)
– Dimensions: 142.1 x 70.1 x 7 mm, 132 g
– Display: 5.1″ FHD Super AMOLED (2560 x 1440), 576 ppi
– RAM: 3 GB
– Memory: 32/64/128 GB
– Rear camera: 16 MP (3840 x 2160 pixels)
– Front camera: 5 MP
– Battery: 2600 mAh
Step 2
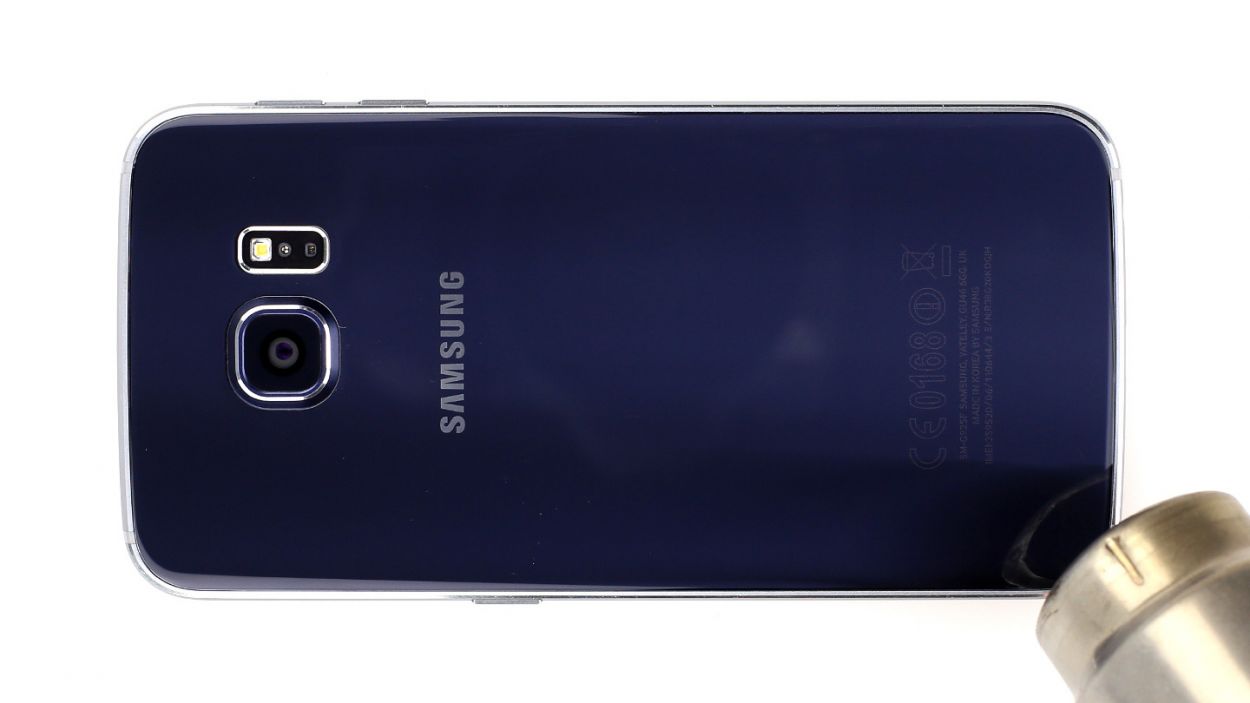
– Like on most popular Samsung models, you have to remove the back cover of the smartphone first.
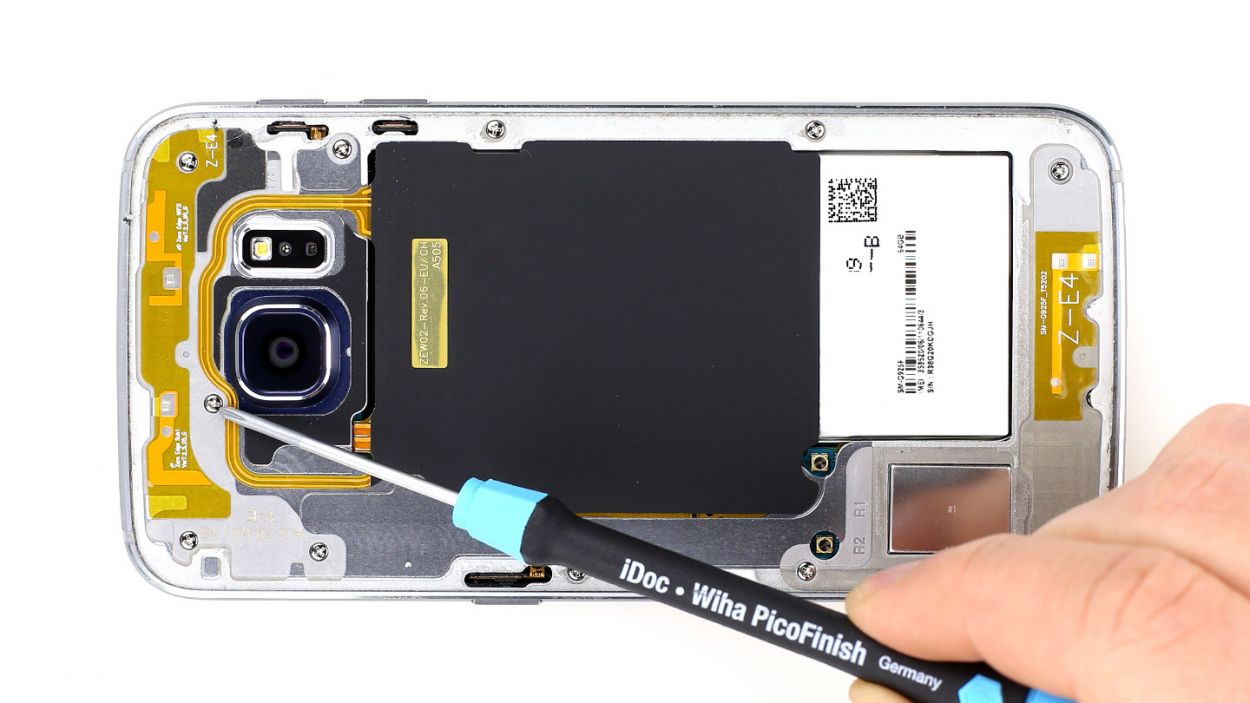
Step 3
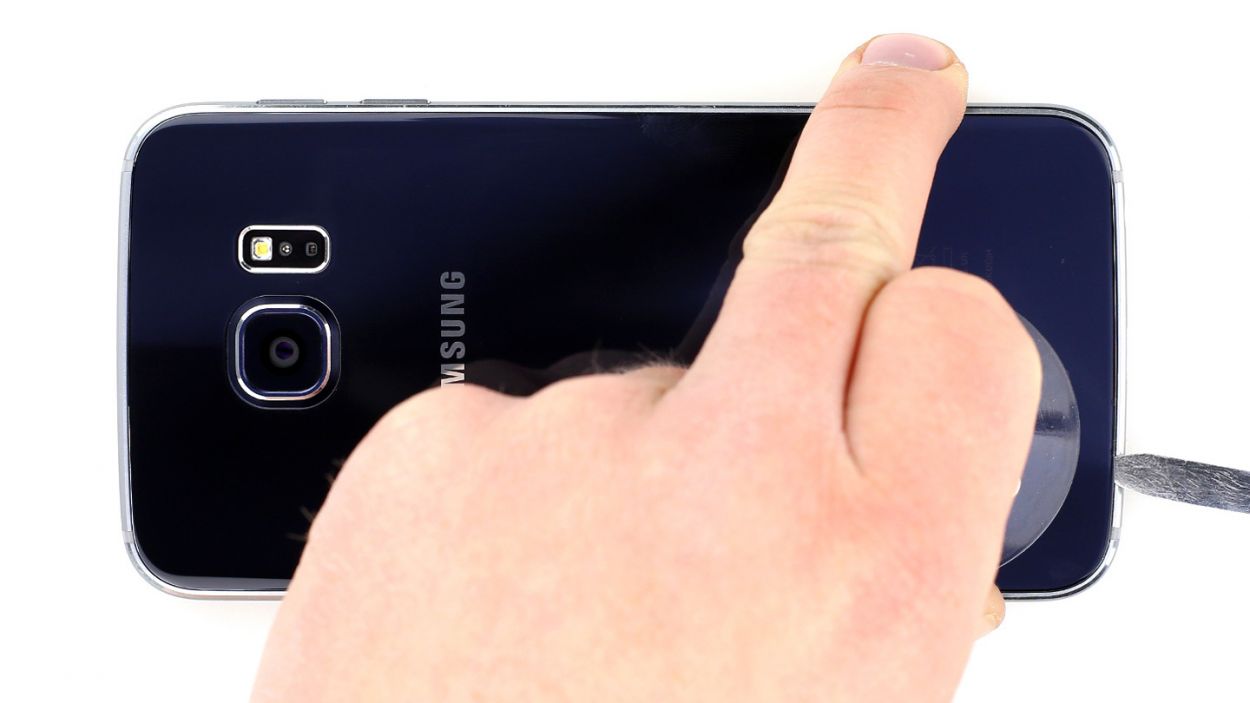
Take your time and be super gentle! The tool can be a bit tricky and might poke the battery, which could lead to some fluid escaping. Just keep it cool and steady!
Step 4
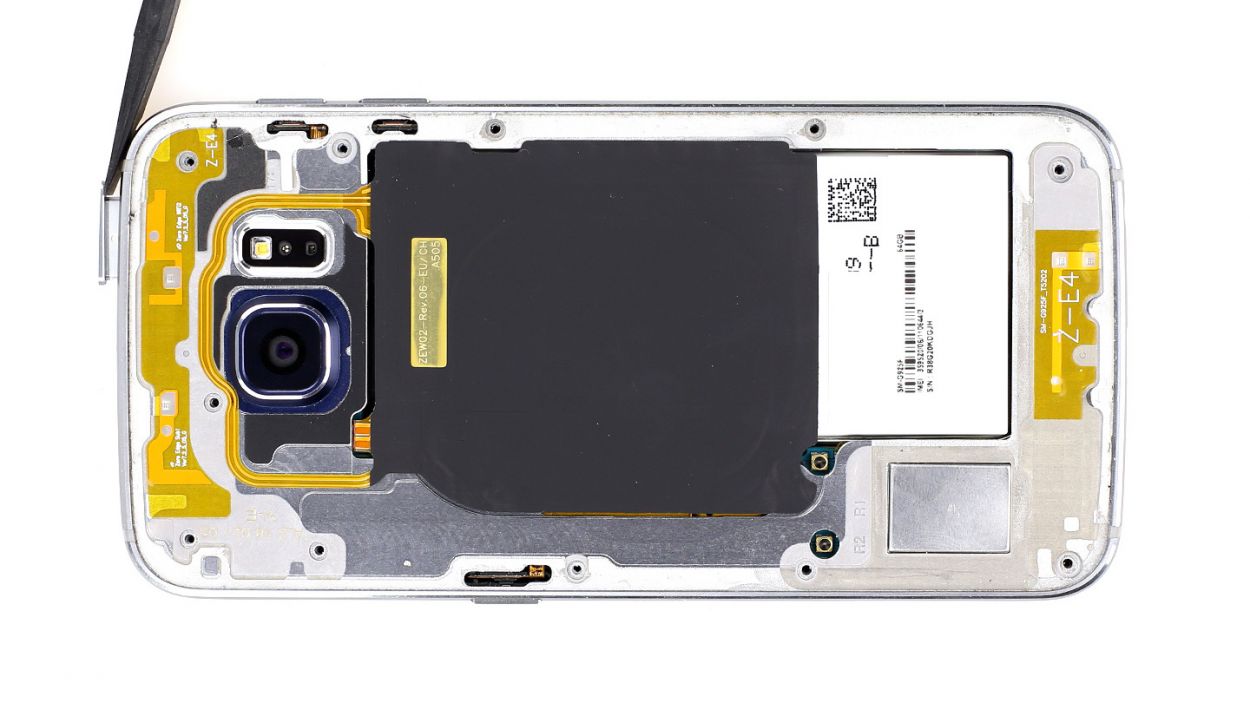
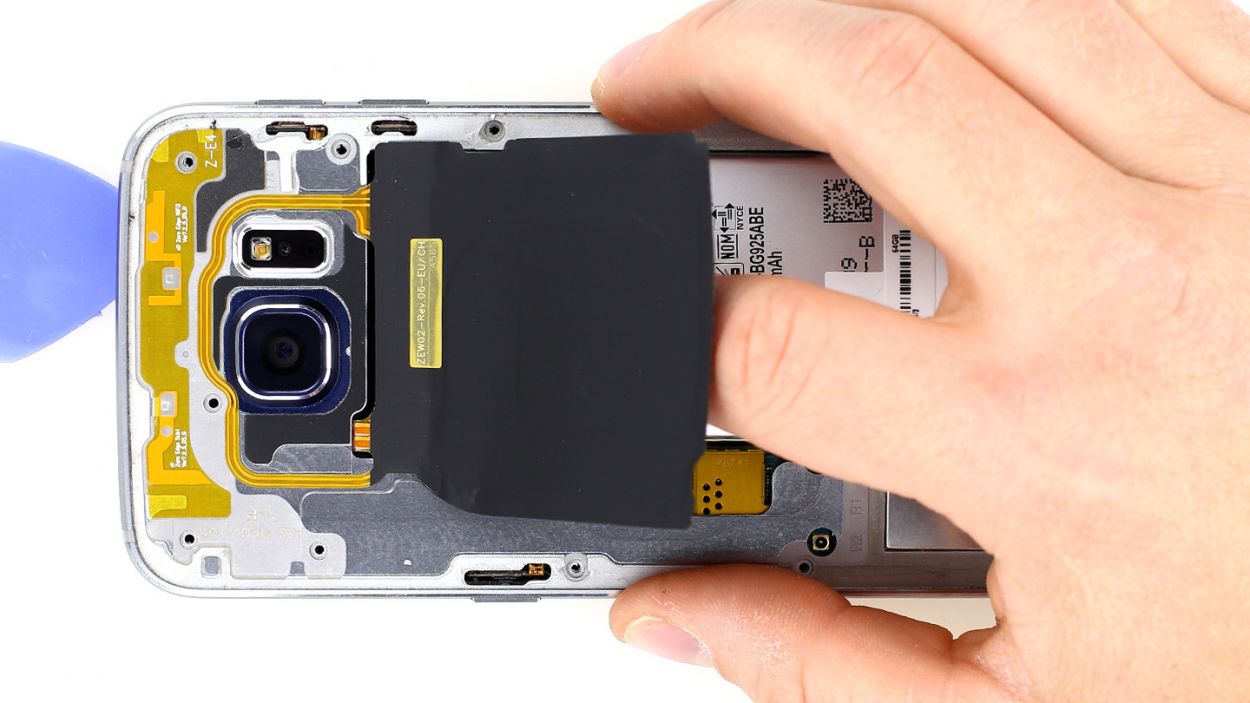
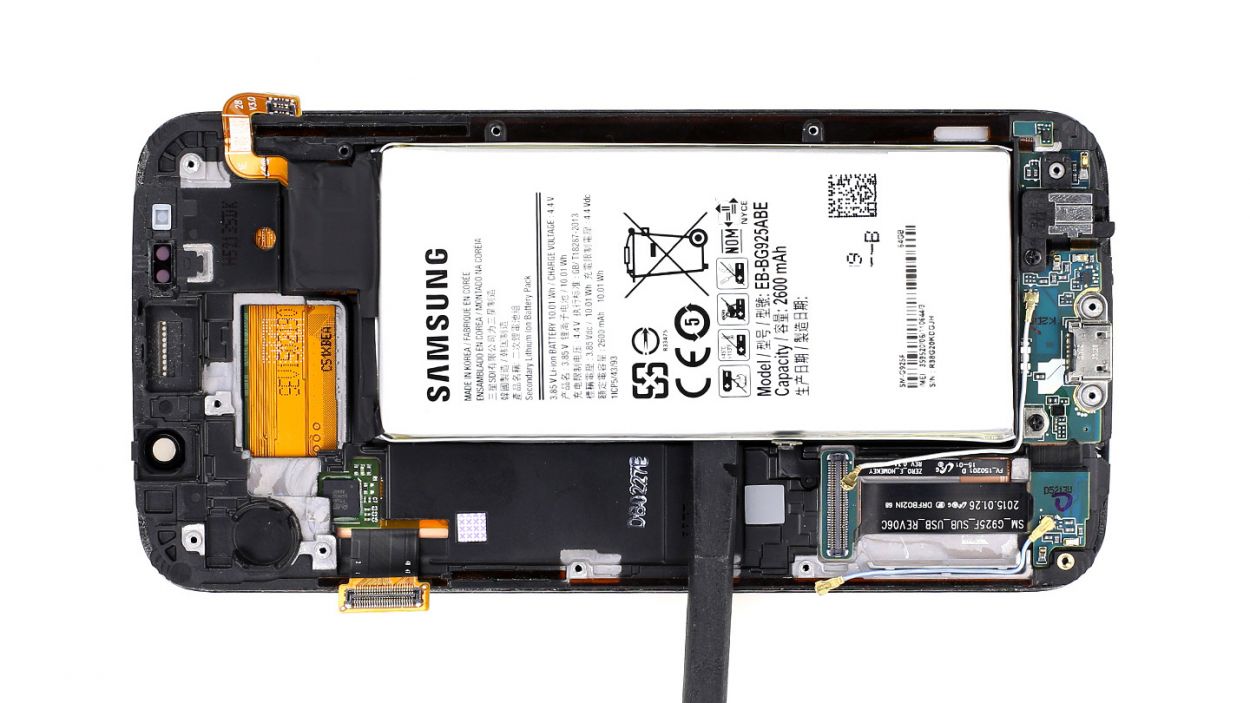
– Once again, both S6 versions have the same structure here. The battery is firmly glued to the back cover of the smartphone. In older models, you didn’t need any tools to take out the battery. This is another minus point. More on that in step 7.
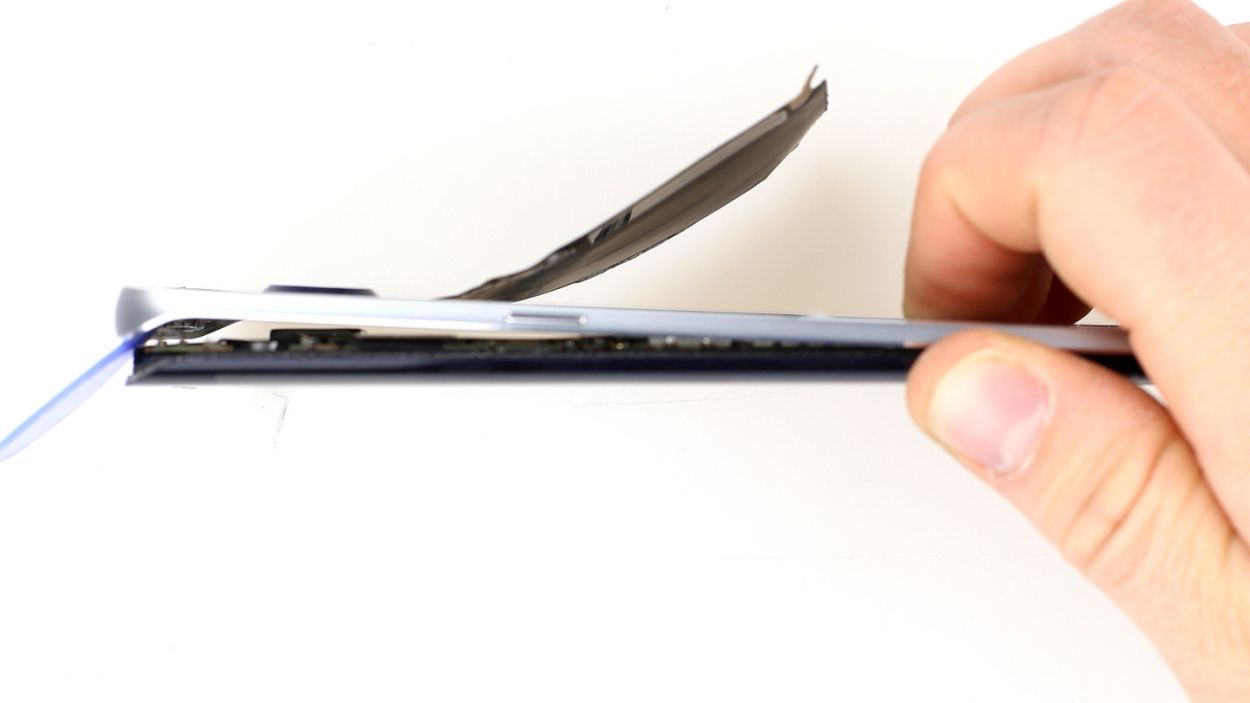
Step 5
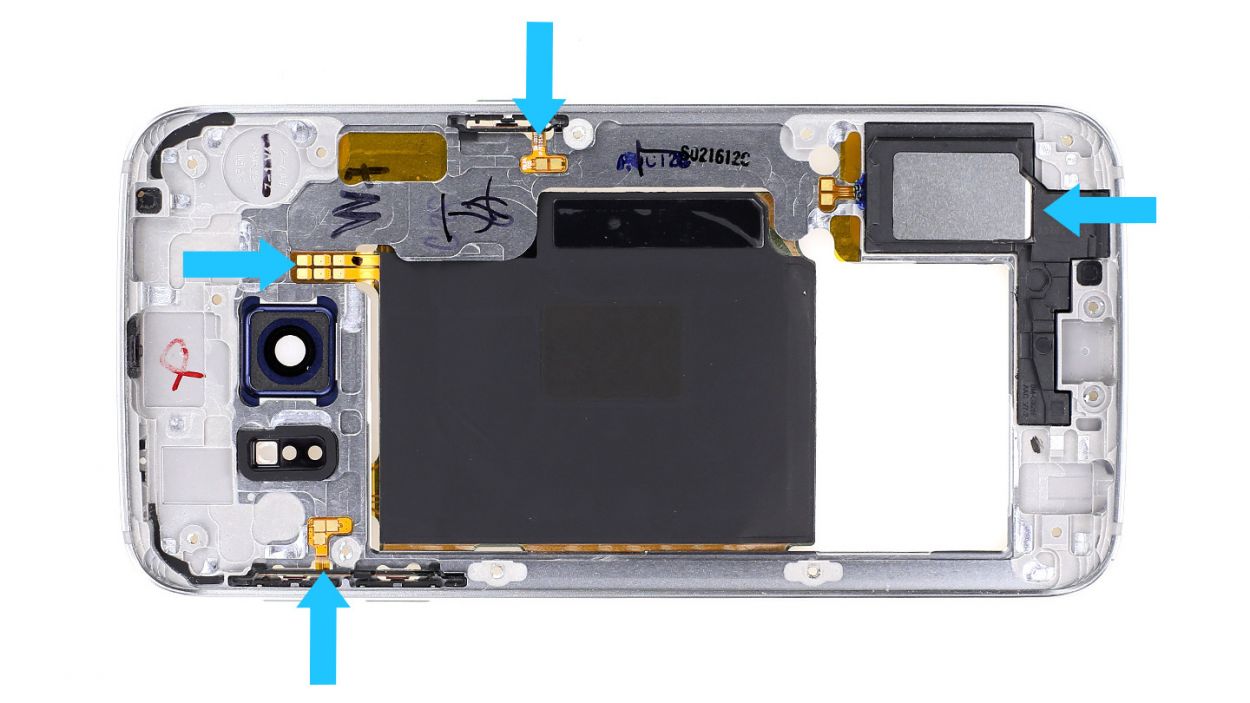
– You can also disconnect various buttons, the charging pad and the speaker from the midframe. The charging pad’s cables are very thin.Removing the speaker is pretty tough and takes a lot of patience.
Step 6
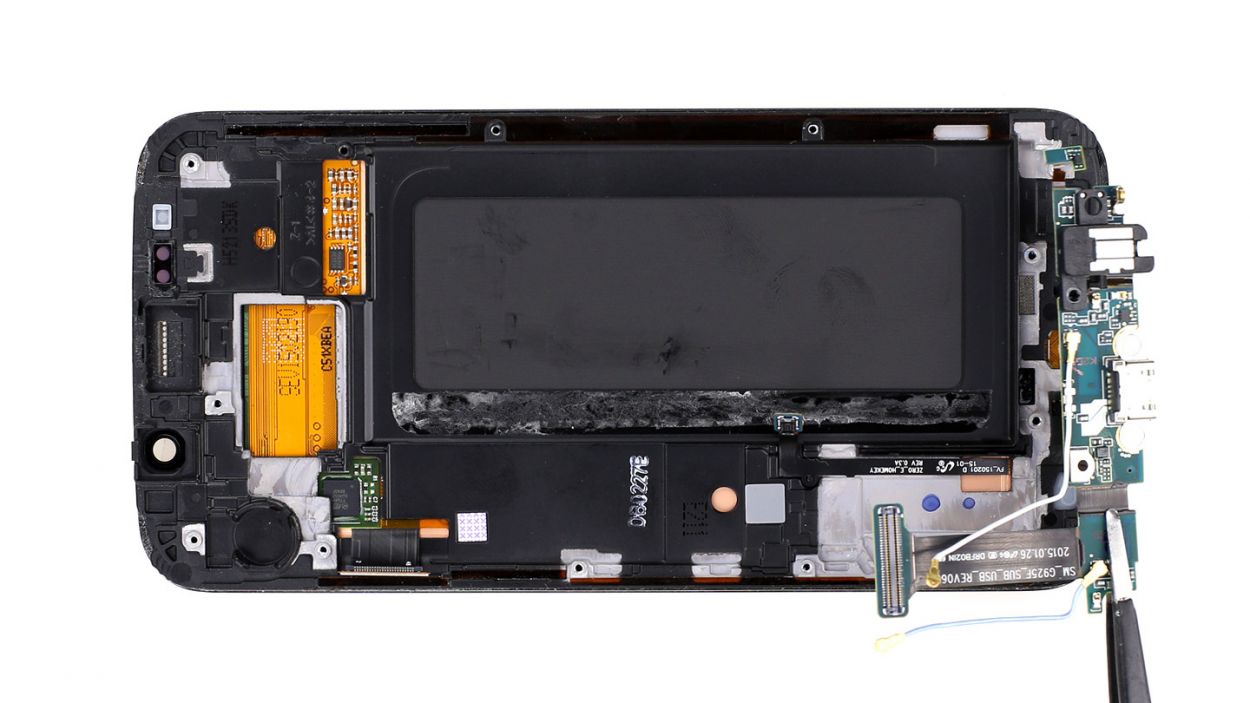
Hey there! Just a heads-up – it’s best to keep the frame attached to the back of the display. The LCD is super delicate and might not appreciate the separation. Stay cool!
– The dock connector bears quite the resemblance to the one found in the Galaxy S6, but there’s a remarkable twist. This time, those navigation buttons aren’t snugly attached to the dock connector, which means you just need to unscrew two screws to free the connector. Unlike the Galaxy S6, where you had to wrestle with the entire back frame to detach the navigation buttons, the Galaxy S6 has made things a bit easier on you. So, give it a go, but remember, no back frame gymnastics here! Hands off the back frame for the Galaxy S6.
Step 7
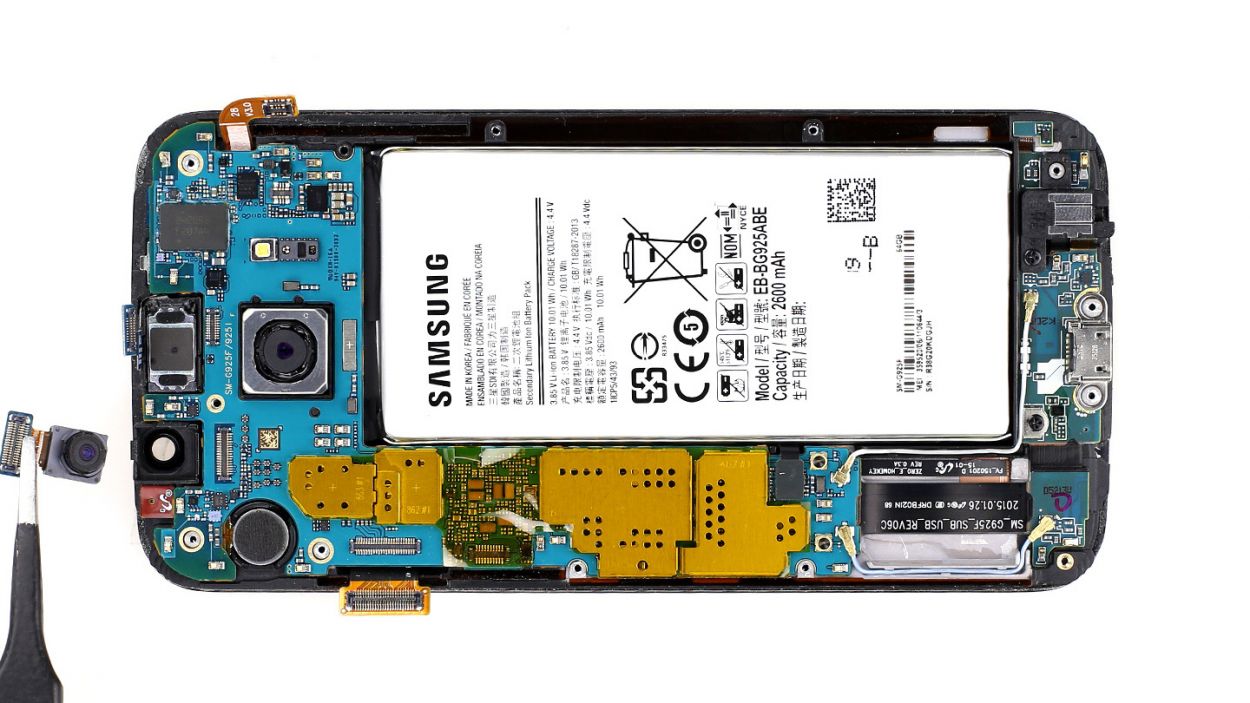

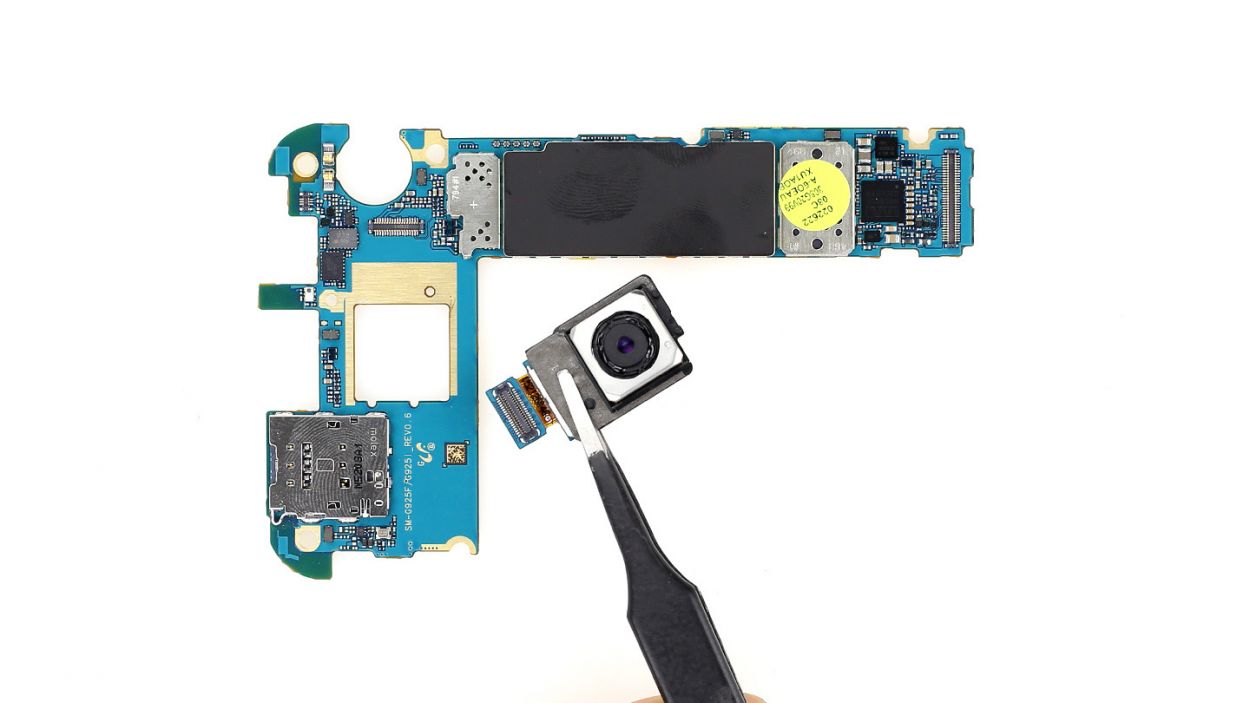
– Alright, let’s kick things off by gently taking out the front camera. After that, it’s time to unplug some connections—let’s get those wires disconnected!
– Battery
– Display
– Earpiece
– Home button
– Antenna cable
Step 8
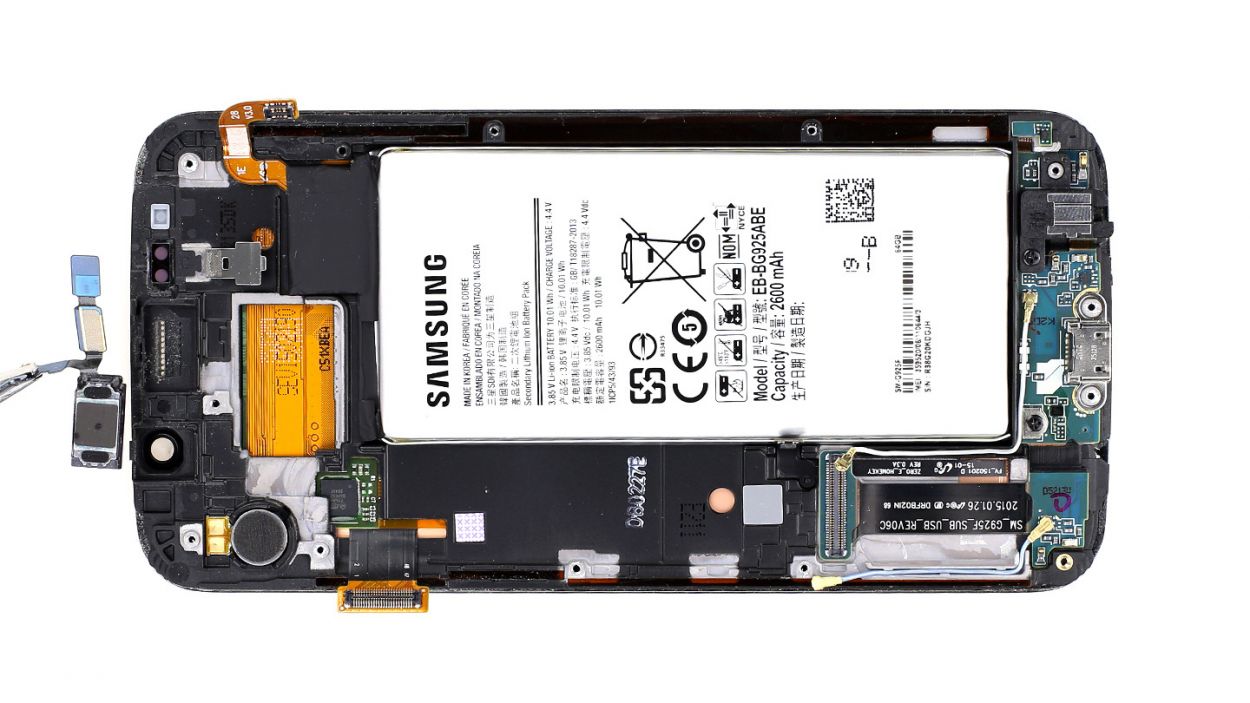
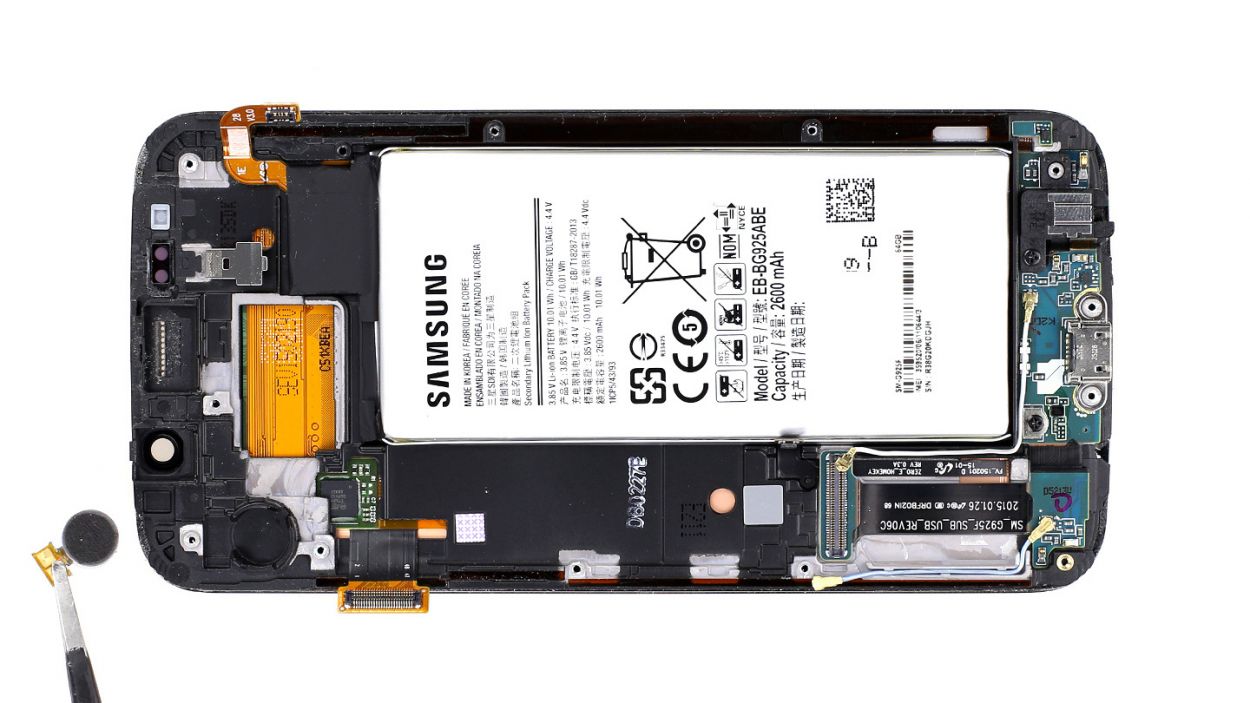
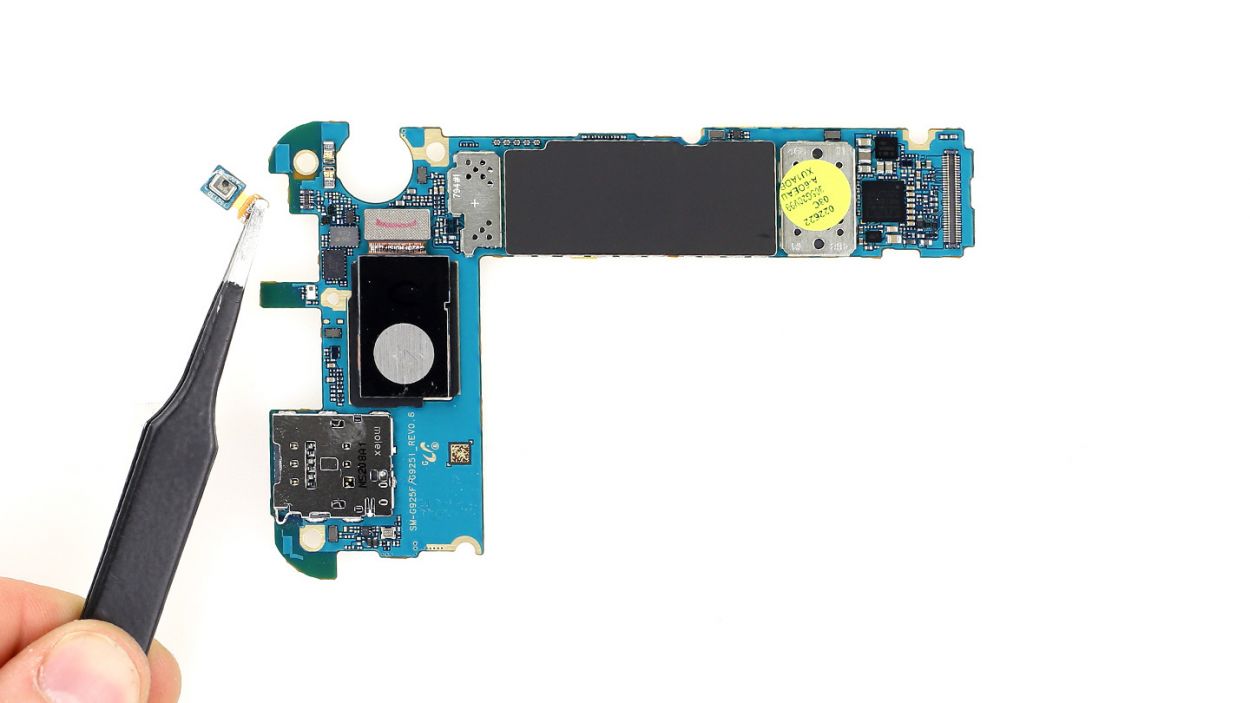
– Let’s keep it rolling with some easy-peasy steps! You can pop out the earpiece and vibration motor without breaking a sweat. They’re just sitting there with a light touch of glue, ready to be freed!
Step 9
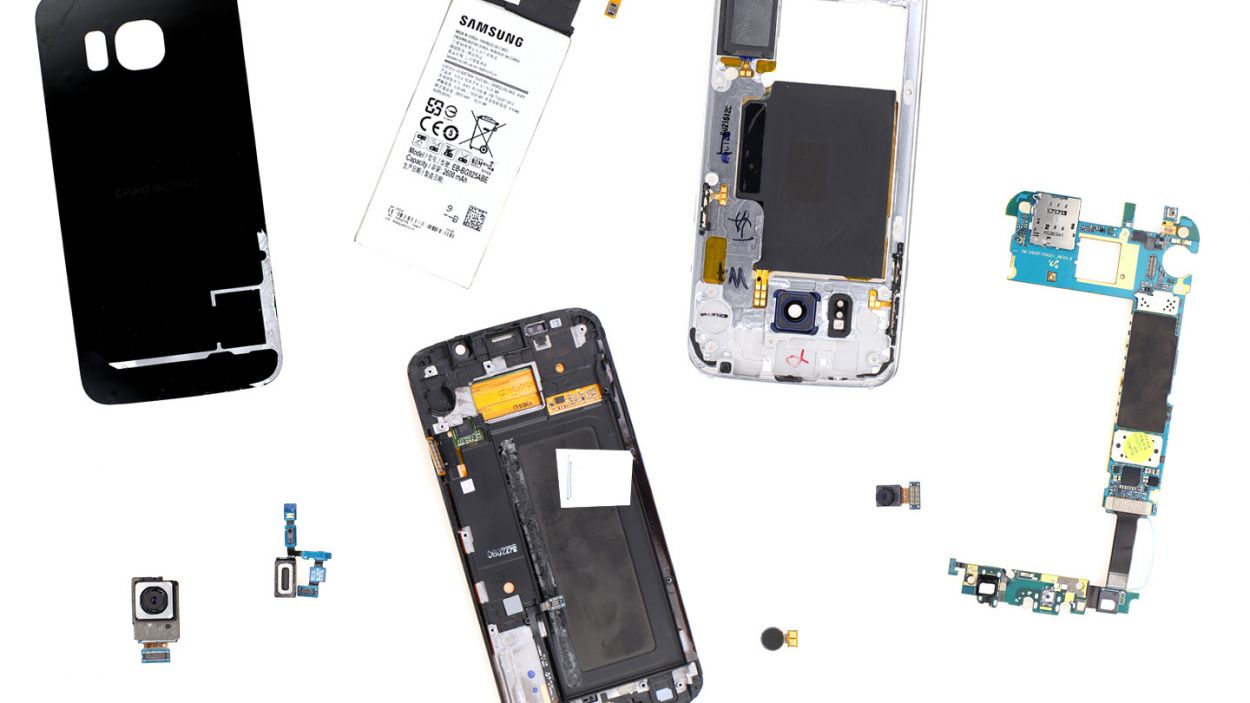
– The Samsung Galaxy S6 and the Galaxy S6 Edge may look quite similar on the inside, but when it comes to swapping out their displays, there are a few quirks to keep in mind. Let’s dive in and tackle this together!