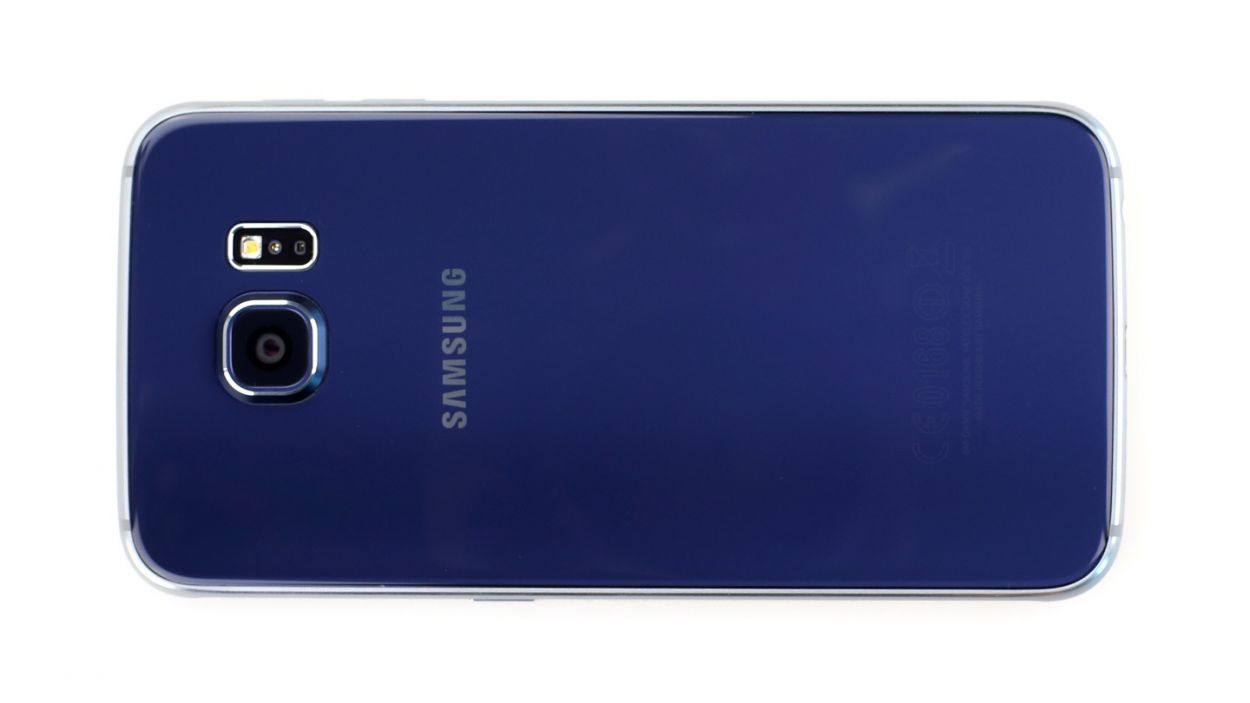
DIY Guide to Replace Samsung Galaxy S6 Rear Camera
Duration: 45 min.
Steps: 11 Steps
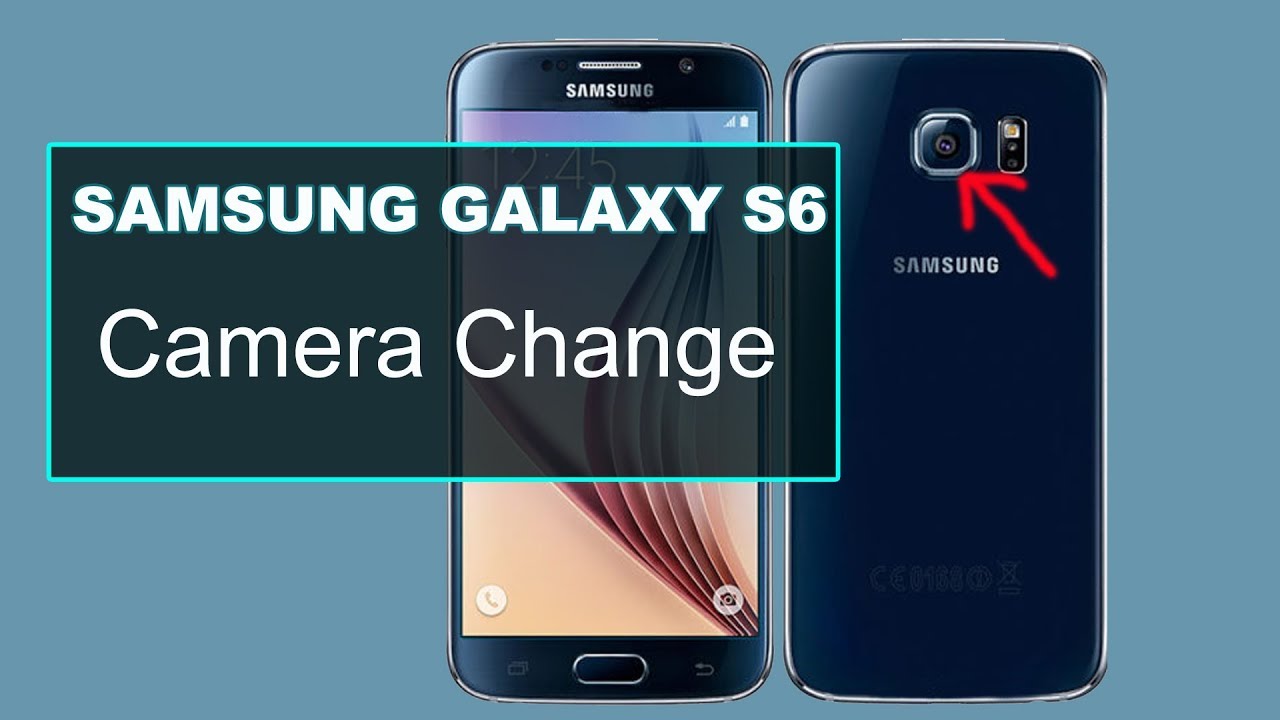
Got a rear camera that’s playing hide and seek? If your photos are coming out blurry or your camera just won’t focus, it’s time for a little TLC! In this guide, we’ll walk you through the steps to replace the faulty rear camera on your Samsung Galaxy S6 all by yourself. Let’s get that camera back in action!
Step 1
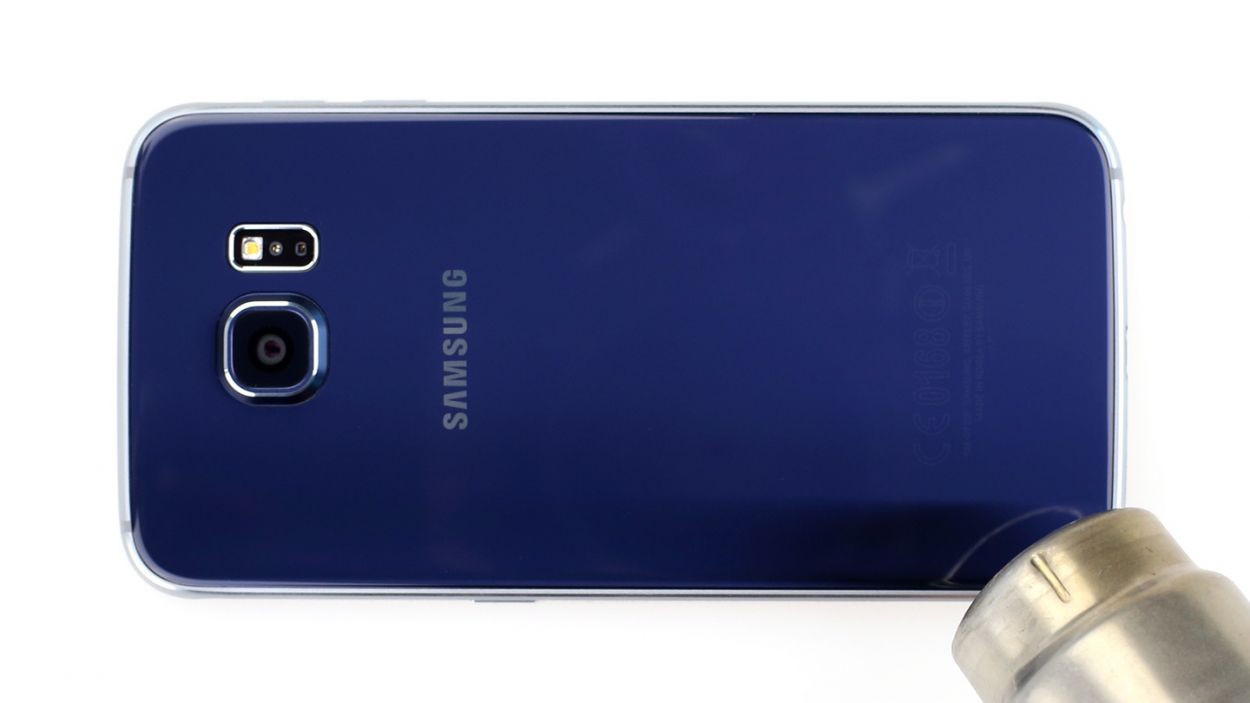
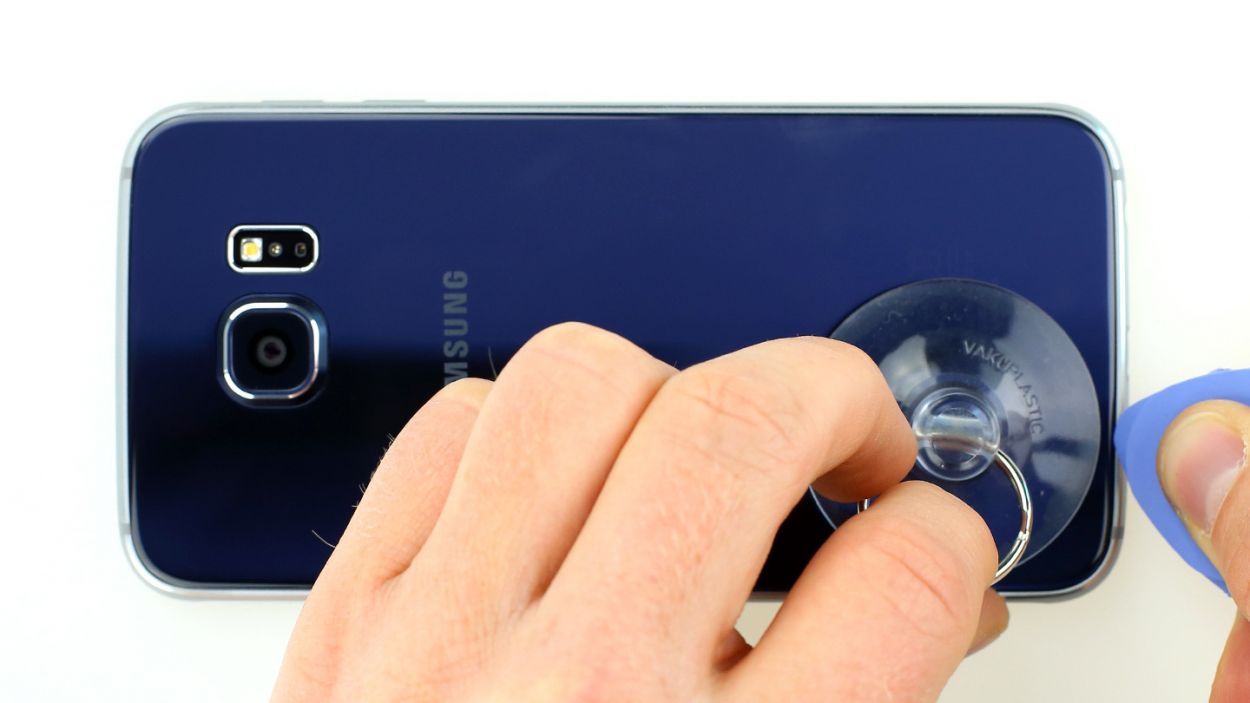
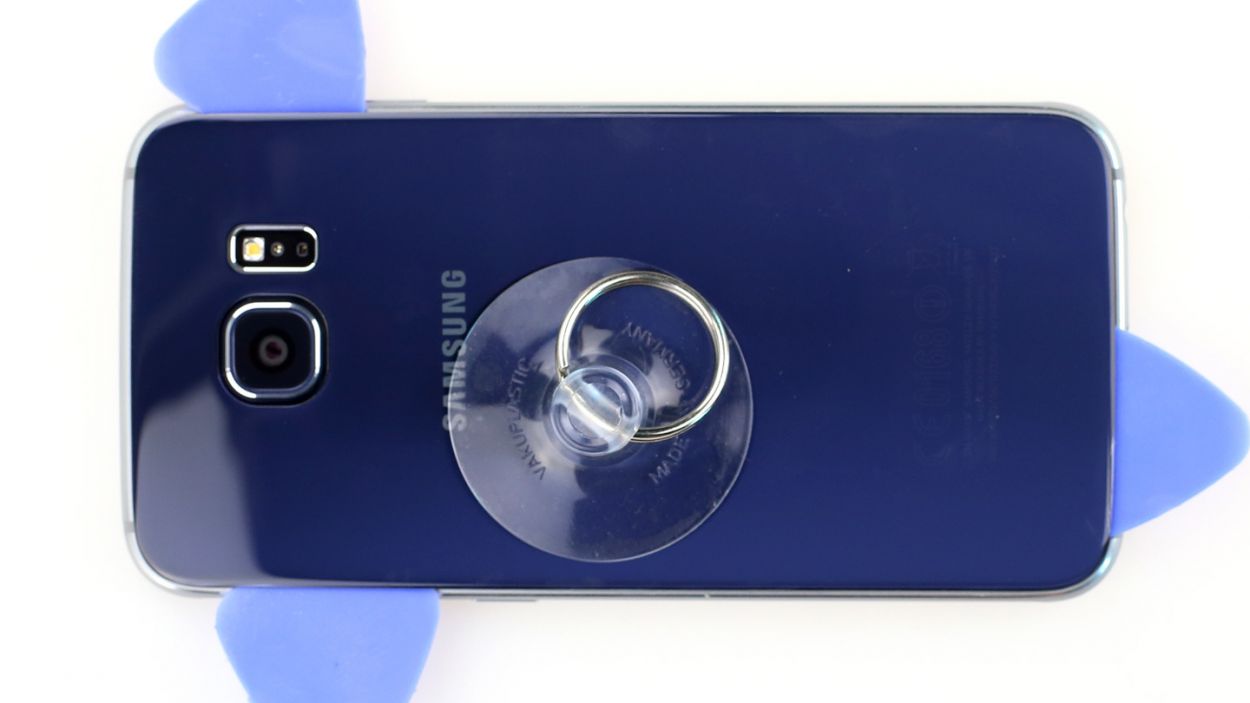
– That stubborn Samsung Galaxy S6 back cover? Don’t worry, we’ve got this! Time to warm things up with a heat gun – think of it as a spa day for your phone. Get that glue nice and soft.
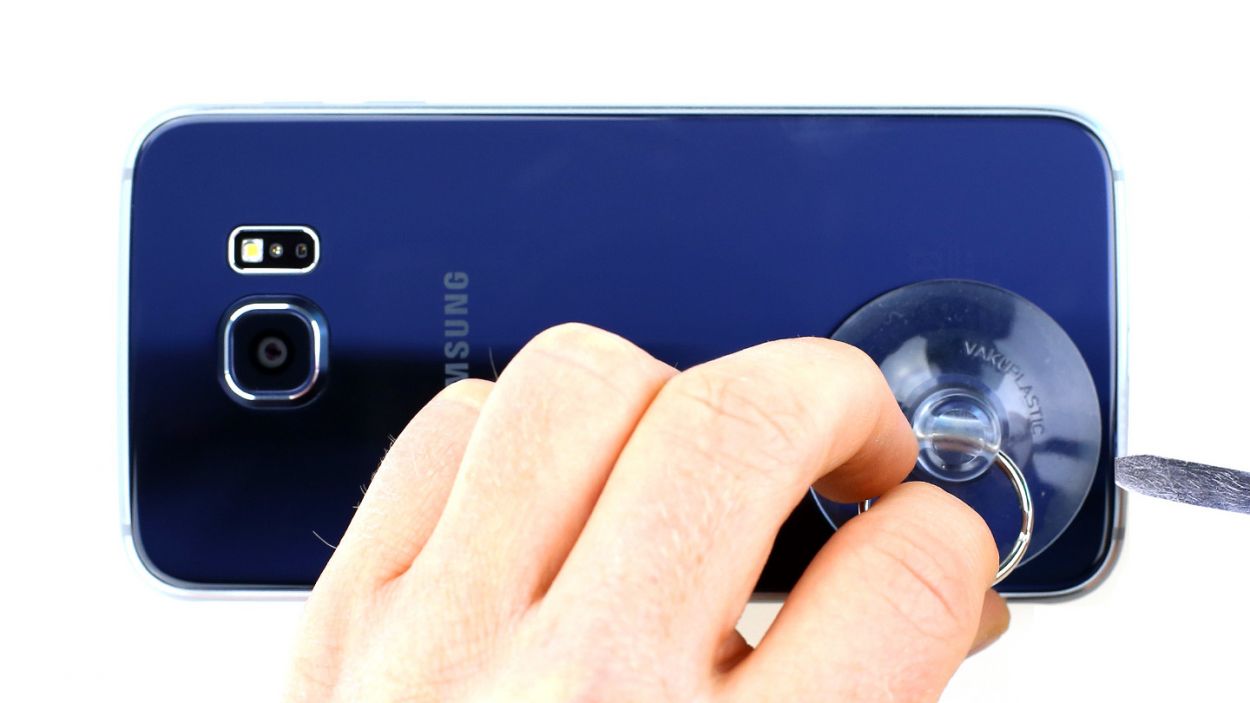
– Next, you’ll need a super-thin, strong tool (like a plastic pick) to gently wiggle between the phone’s frame and glass. It’s a tight squeeze, but you’ve got this!
– Grab a suction cup and carefully lift the back cover. Slow and steady wins the race!
– Once you’ve created a tiny opening, slide that plastic pick in to keep things safe and sound. Avoid any aluminum-bashing mishaps, okay?
Step 2
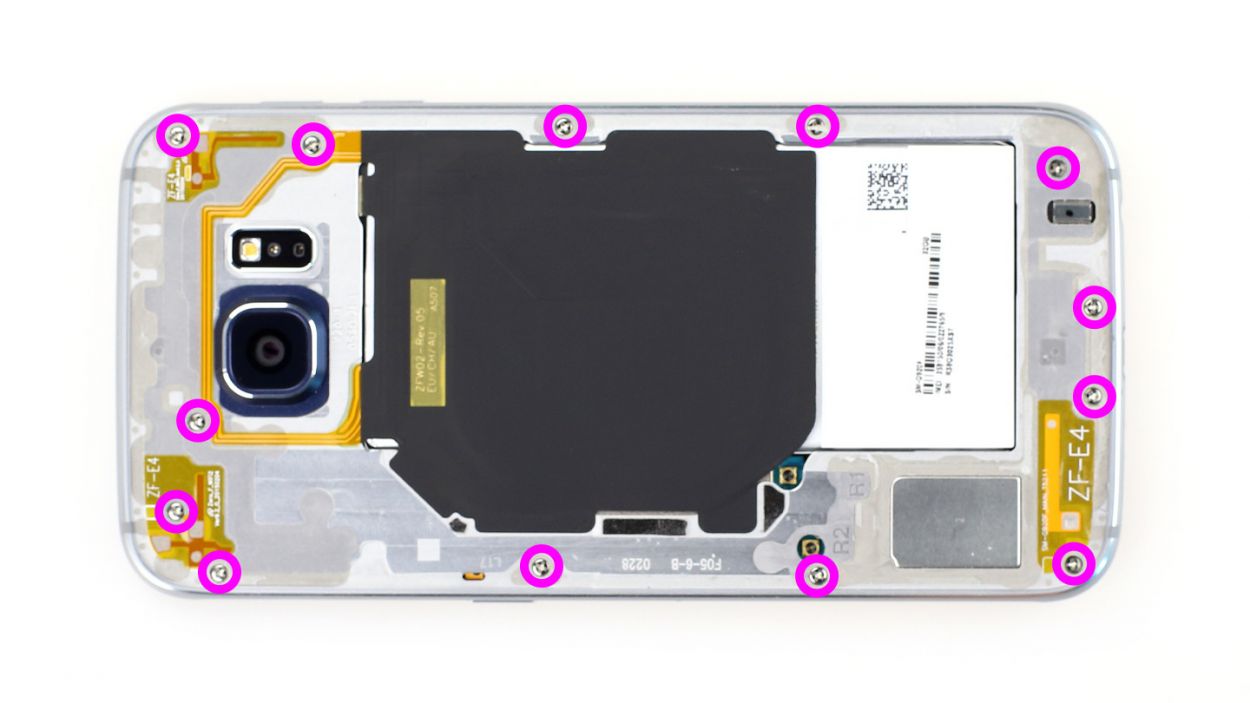
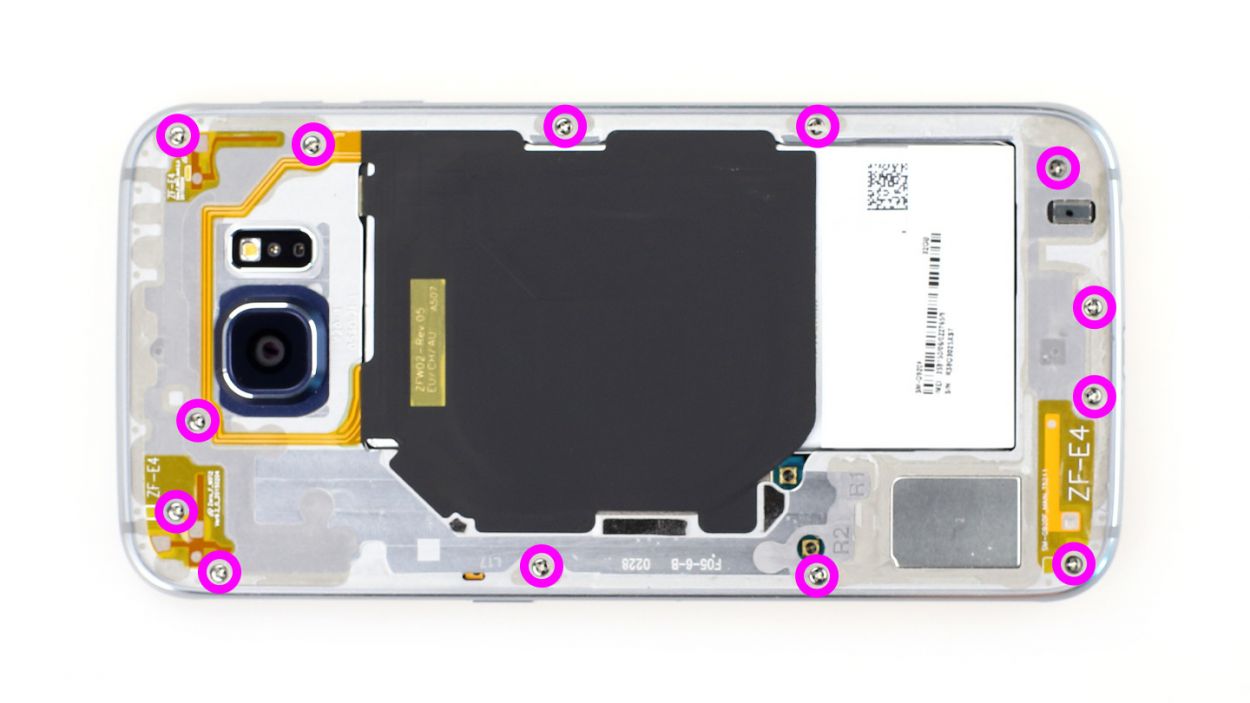
– First things first, let’s get those pesky 13 Phillips screws out of the way that are keeping the plastic cover snug as a bug. These little guys are 13 x 3.3 mm Phillips screws, so grab your trusty screwdriver and let’s do this!
– Next up, it’s time to pop out the SIM card tray. Give it a gentle tug and it should come right out.
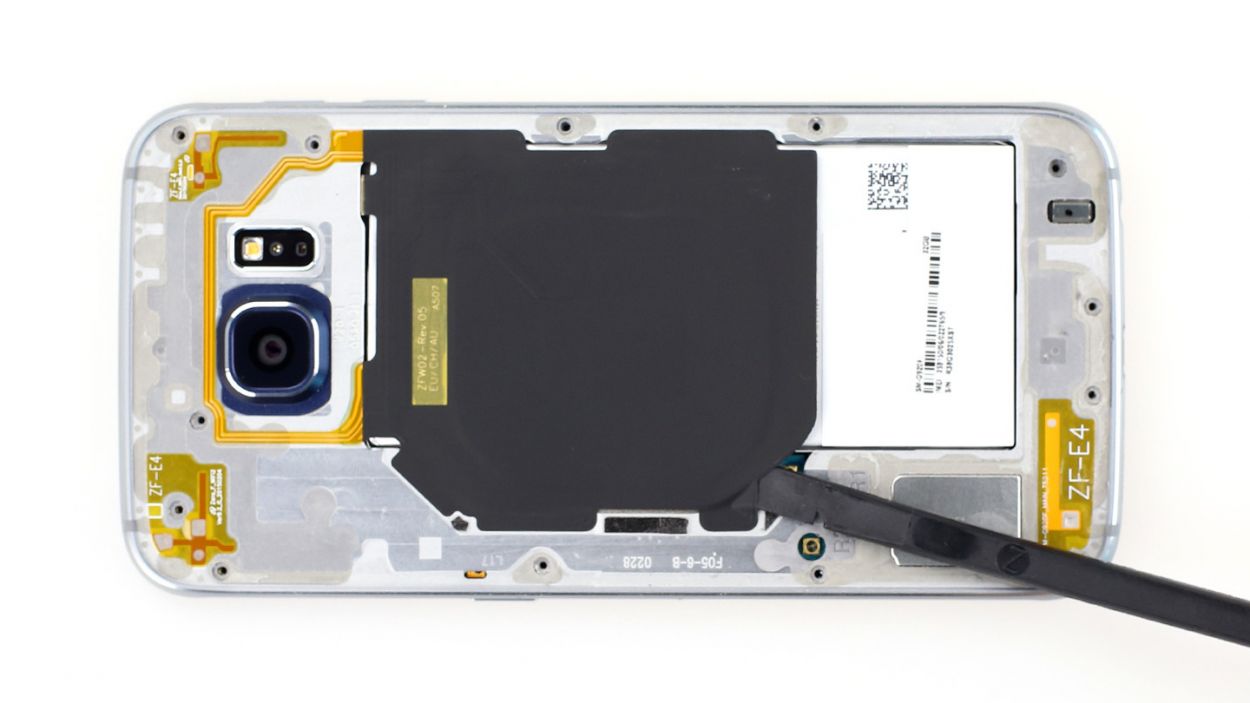
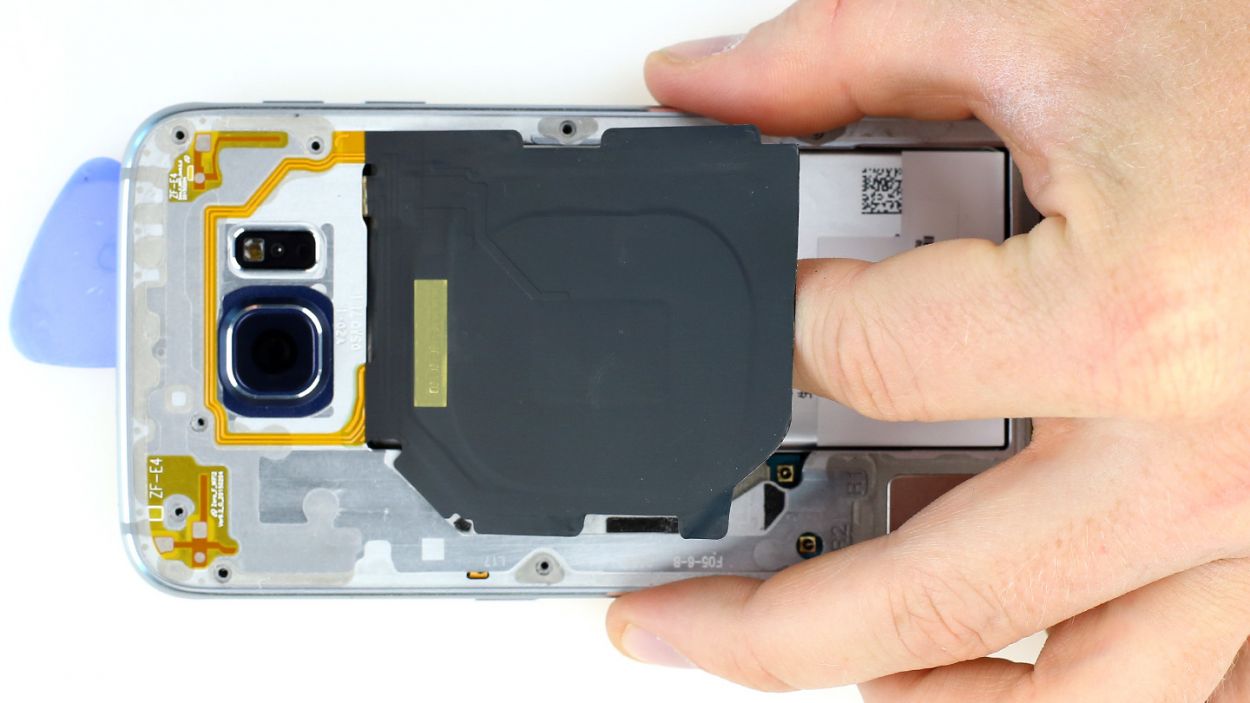
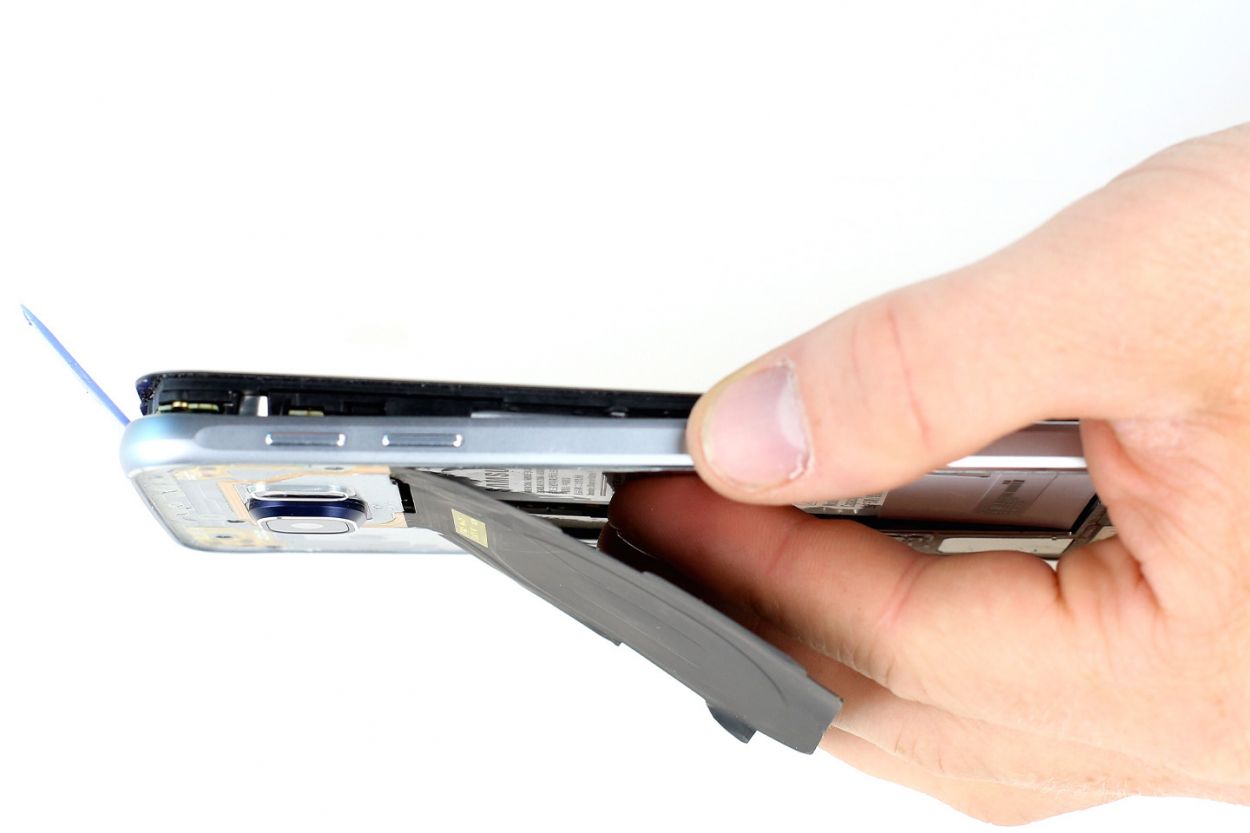
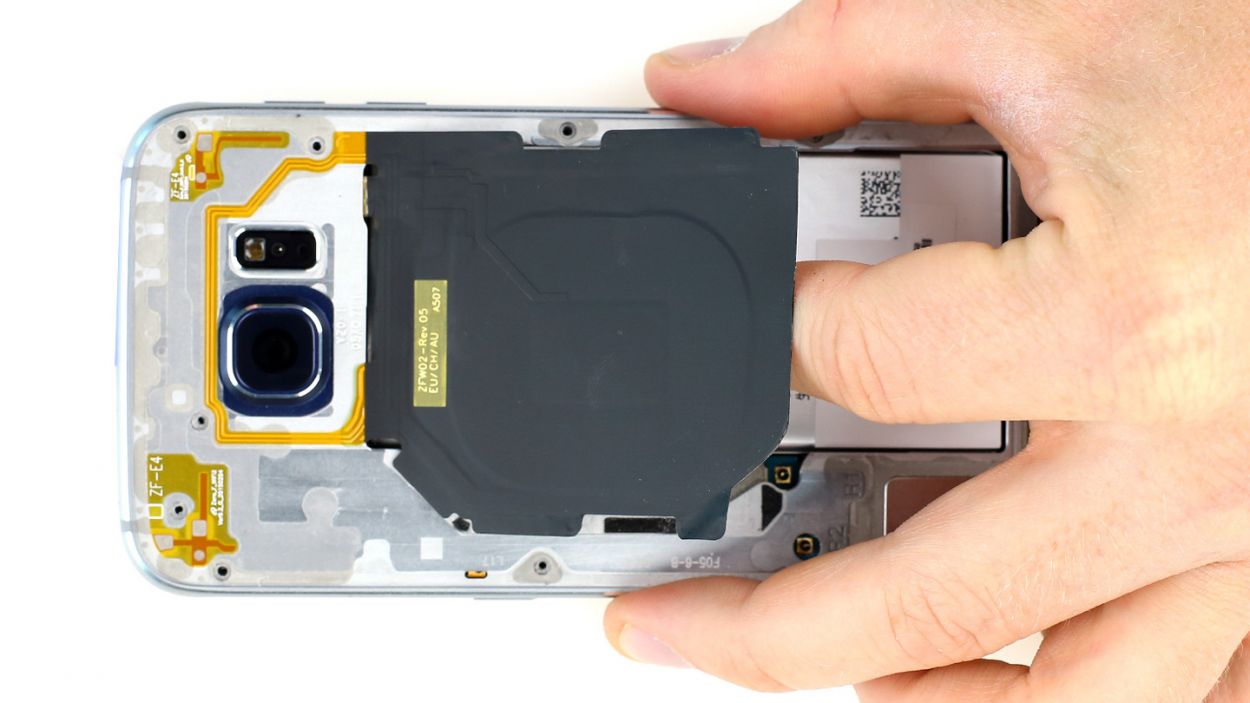
– Now, let’s lift that charging pad for wireless charging. It’s just a tad glued to the midframe, so a little nudge should do the trick.
– To remove the midframe, you’ll want to gently push down on the battery and the rest of the smartphone. With your other hand, give the frame a little upward push. If it’s feeling stubborn, don’t hesitate to slide a pick between the display and the frame and give it a little upward nudge. You got this!
Step 3
The inside of the back cover has a fresh coat of paint! Gently remove any sticky residue to keep it looking sharp and avoid any scratches or cracks.
– Gently slide the pick just a few millimeters between the back cover and the frame—this way, you’ll keep everything inside safe and sound!
– The back cover of the Galaxy S6 is glued all around its outer edge. Take your pick and glide it around the phone like you’re on a leisurely stroll! Just a heads up, the inside of the back cover is painted, so be careful and remove any adhesive leftovers with a gentle touch to avoid any scratches or cracks.
– Once you’ve tackled all that glue, you can carefully lift off the back cover and reveal the magic inside!
Step 4
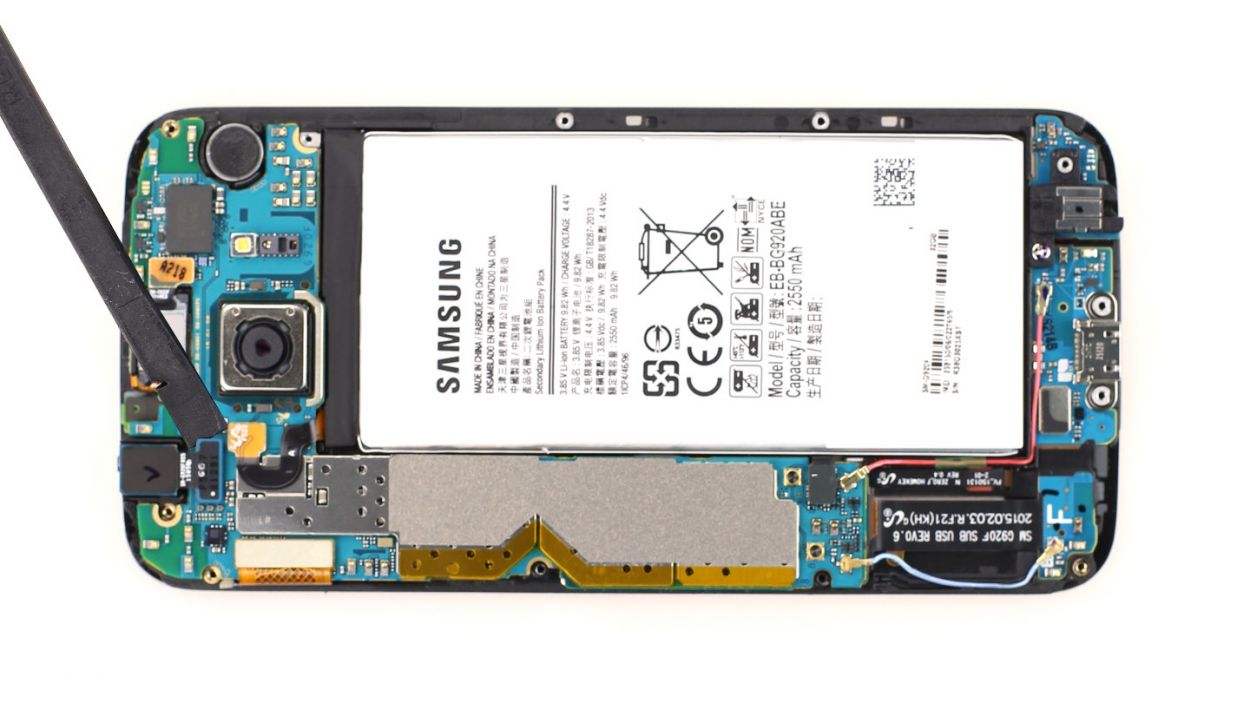
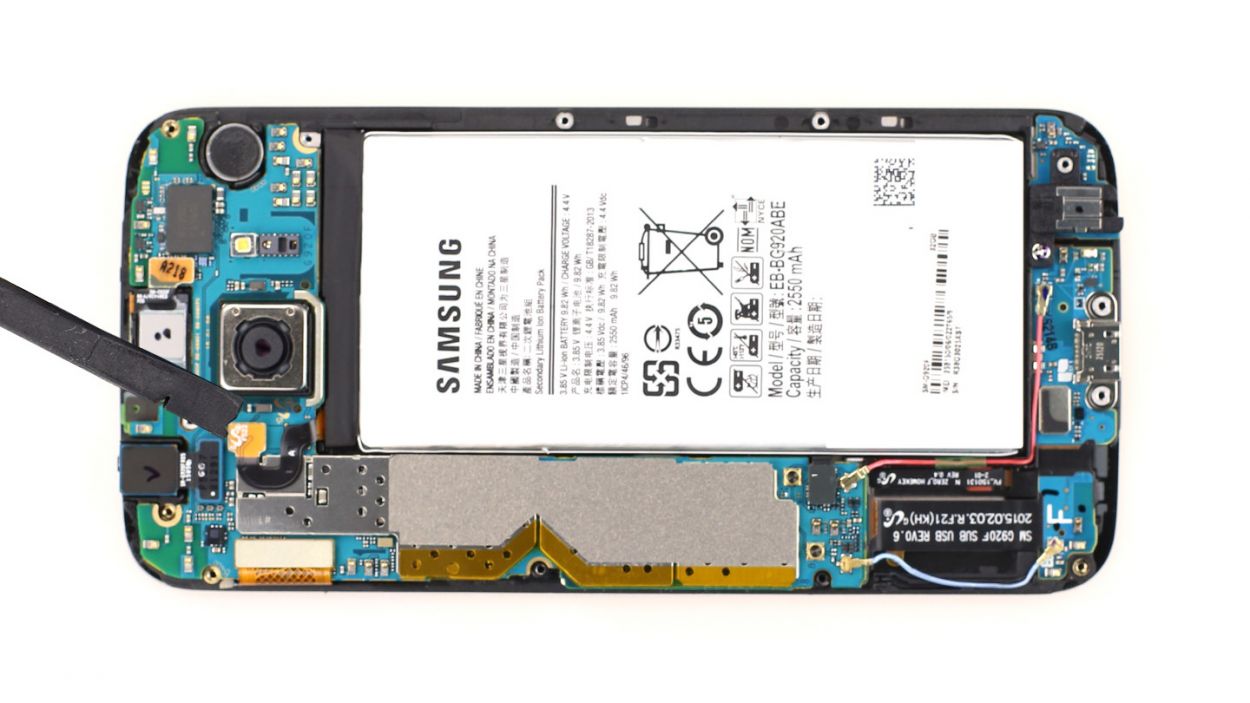
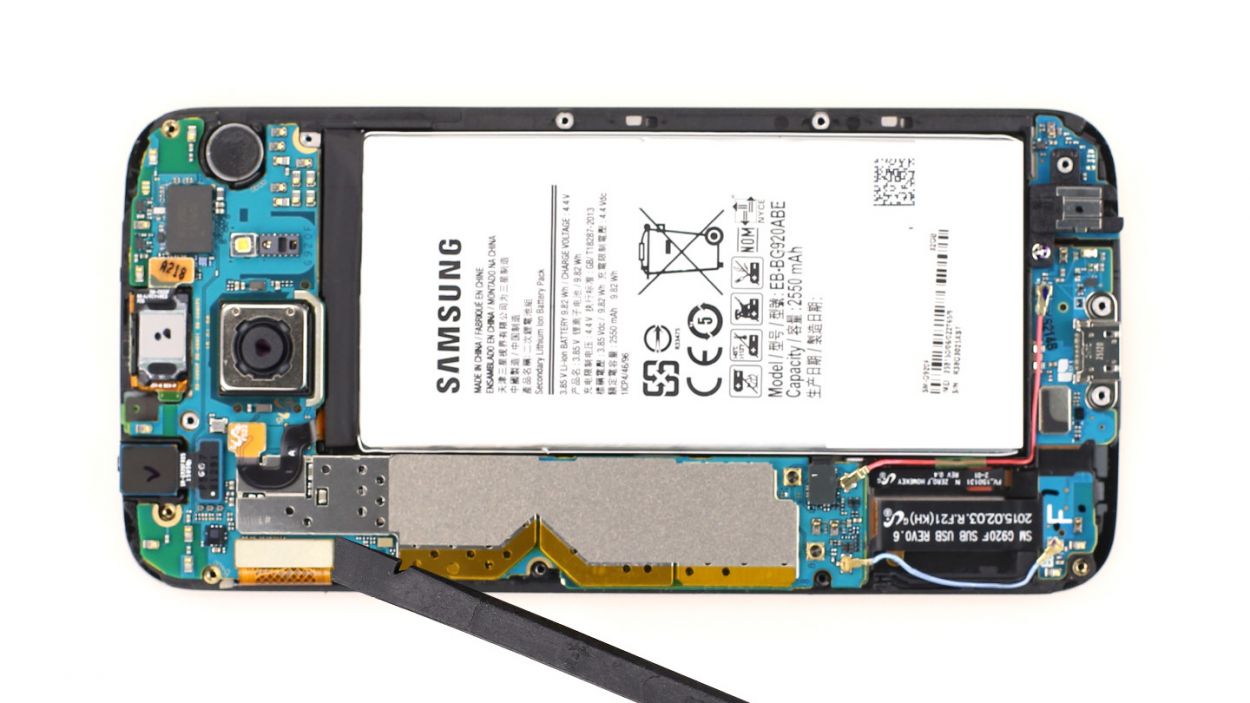
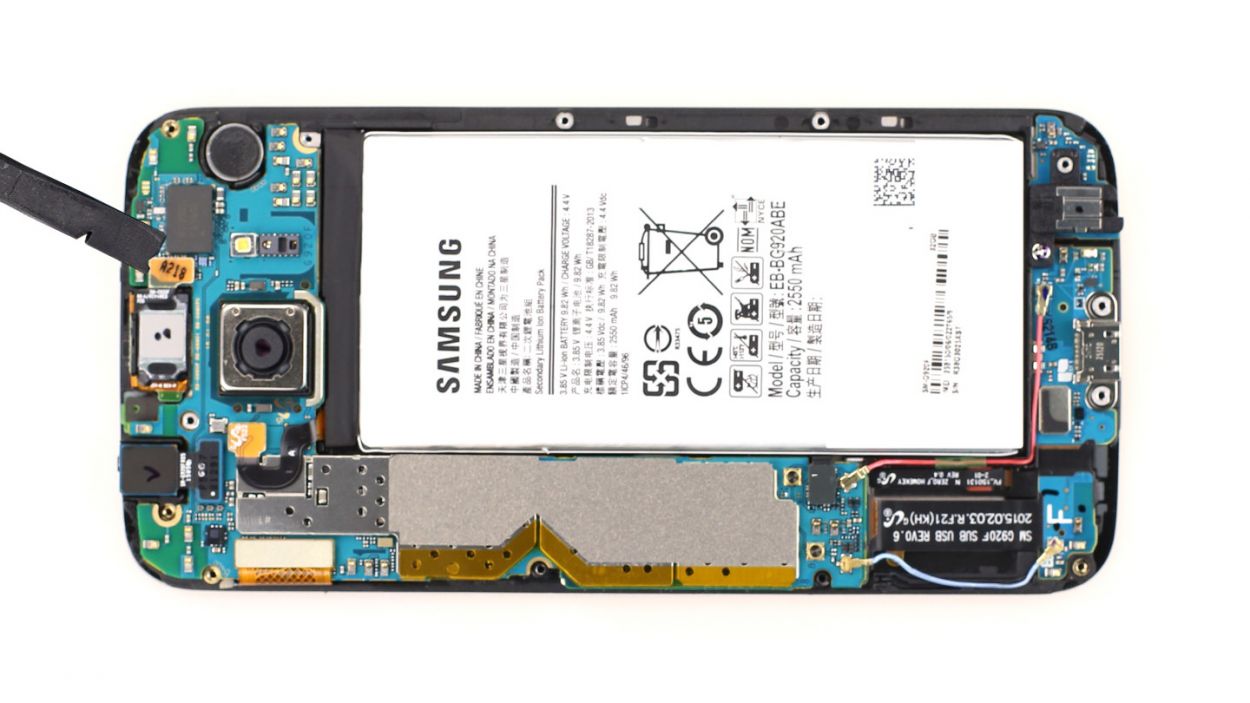
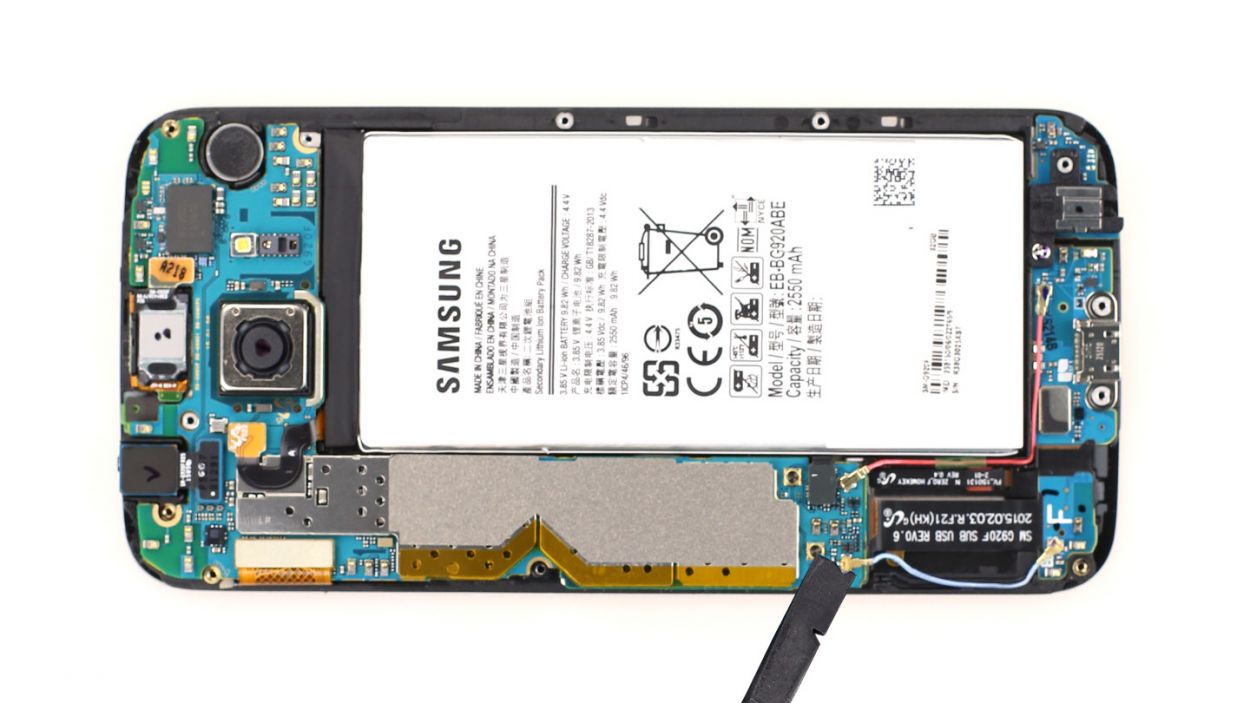
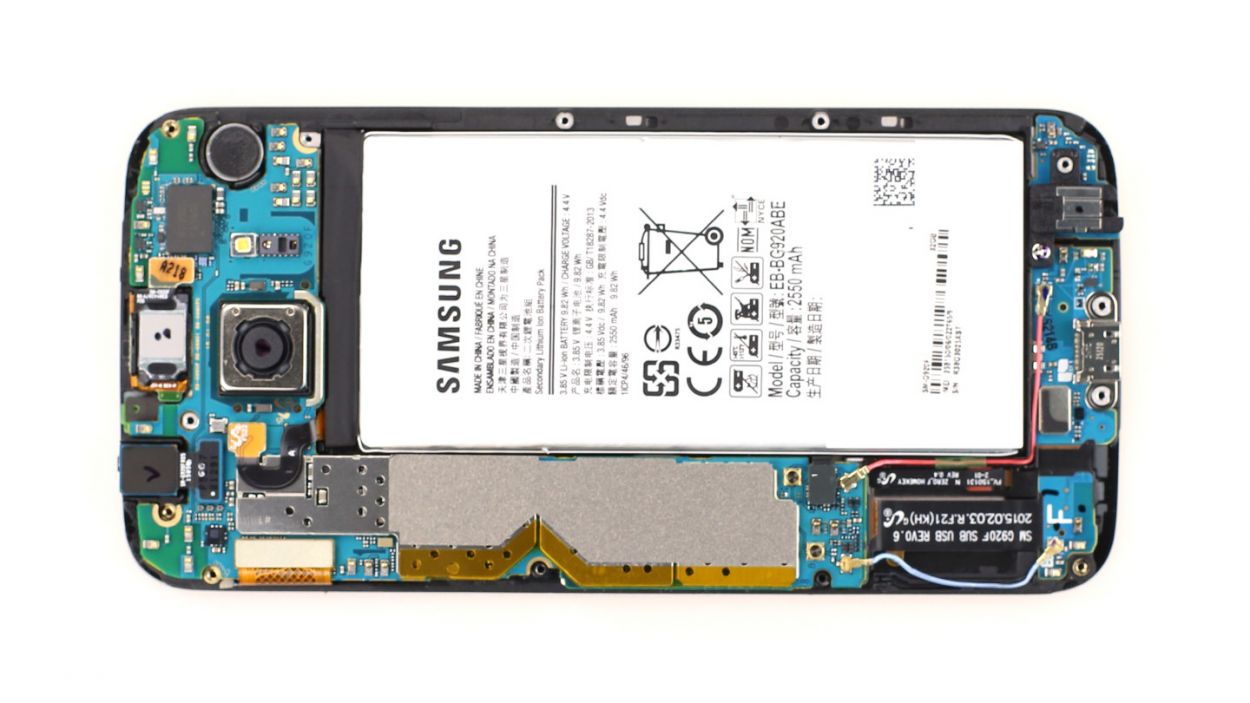
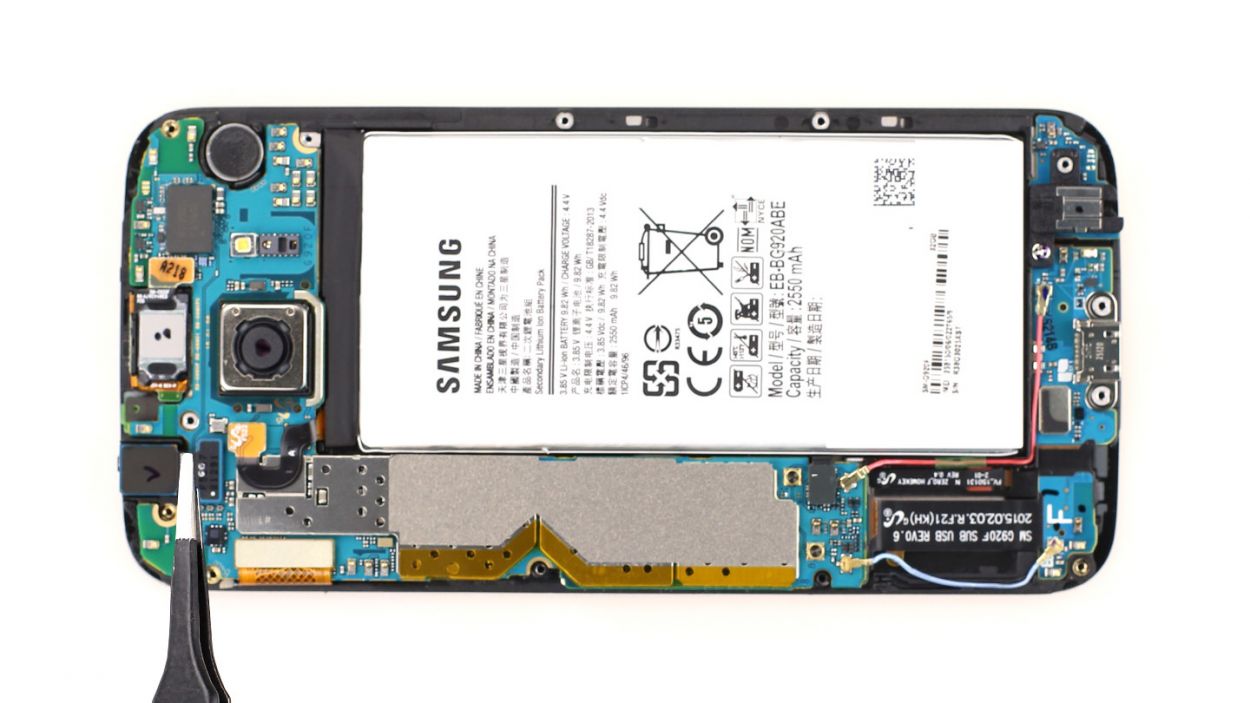
– Gently slide the pointed tip of your spudger just beneath the contact and give it a little lift. Remember, we’re aiming for precision here—let’s keep those resistors on the logic board intact!
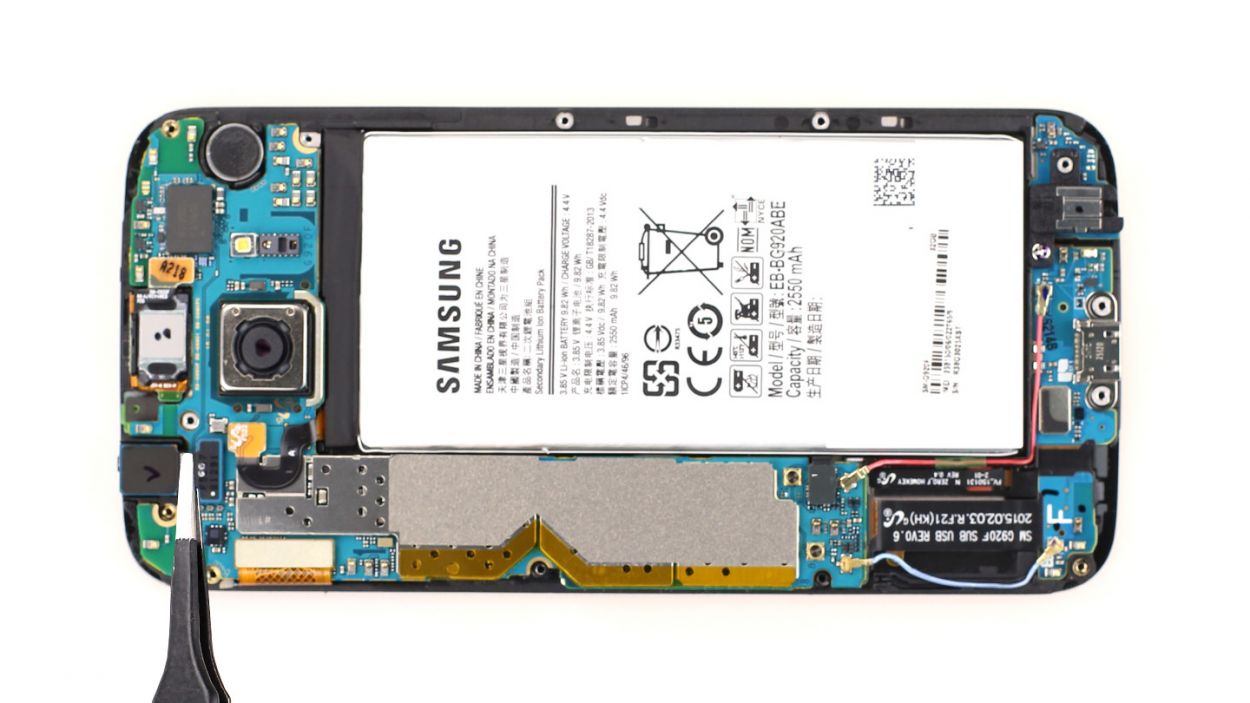
– Now, it’s time to disconnect the front camera connector. Take your time and be super careful with this step.
Step 5
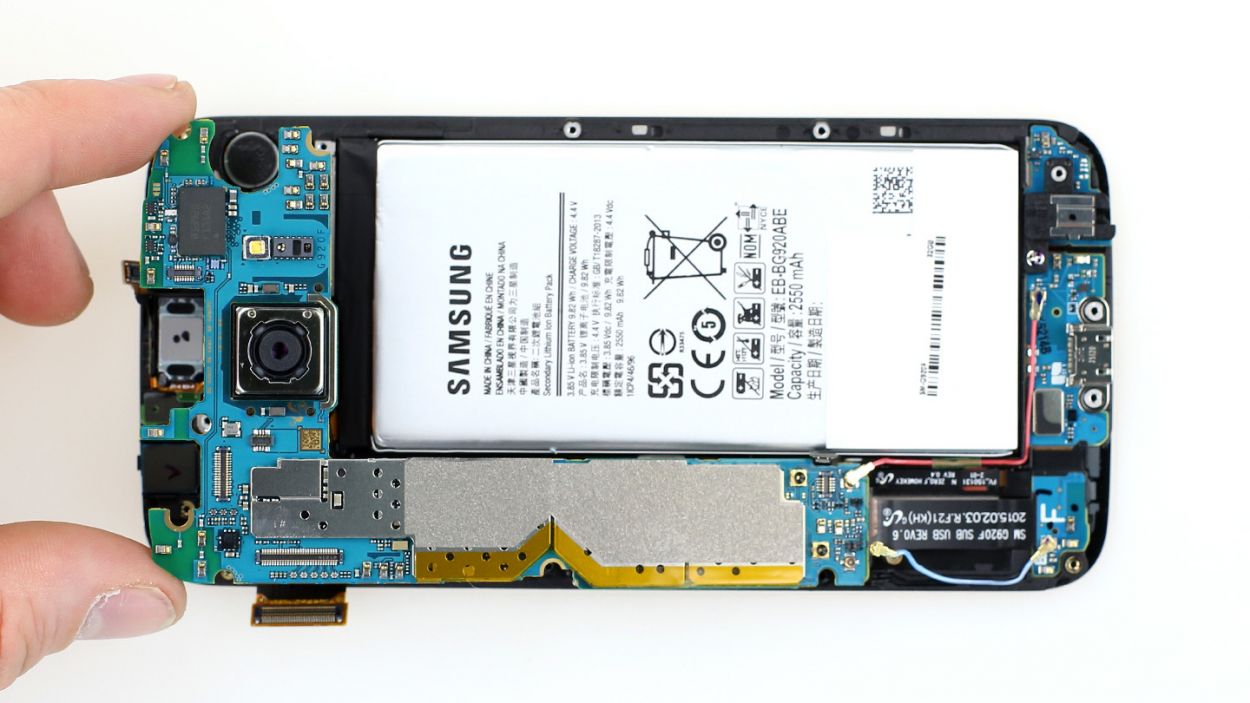
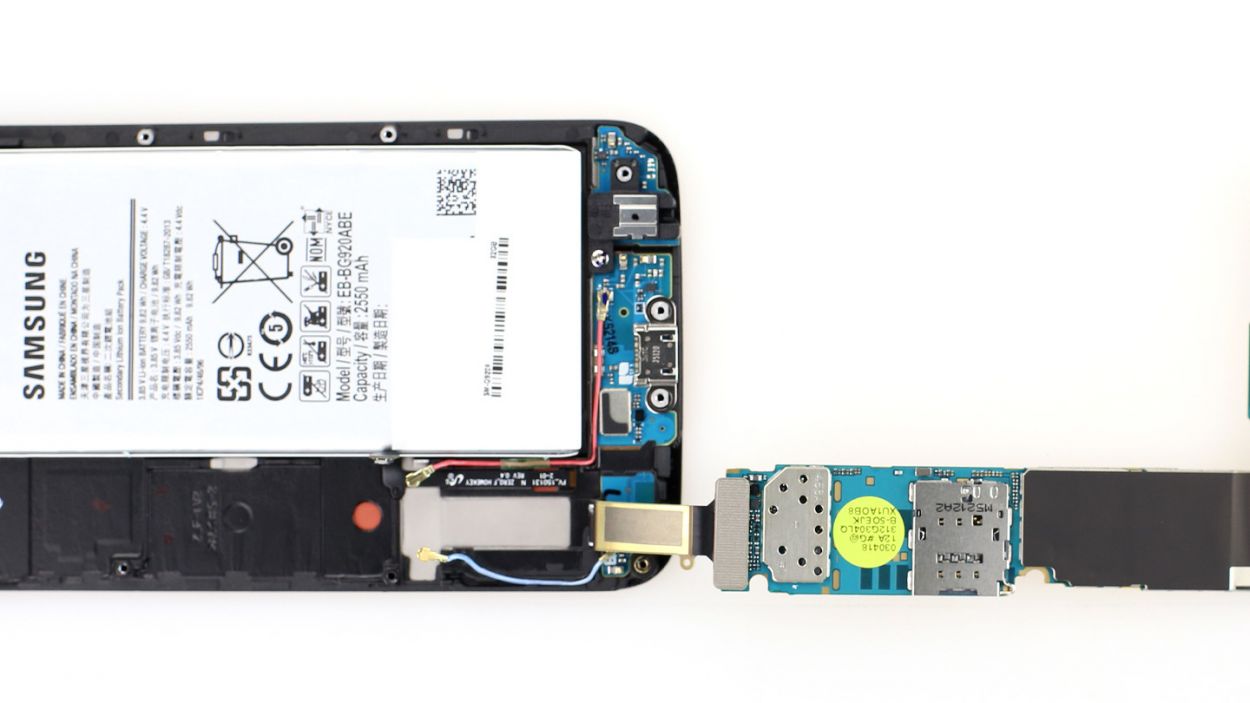
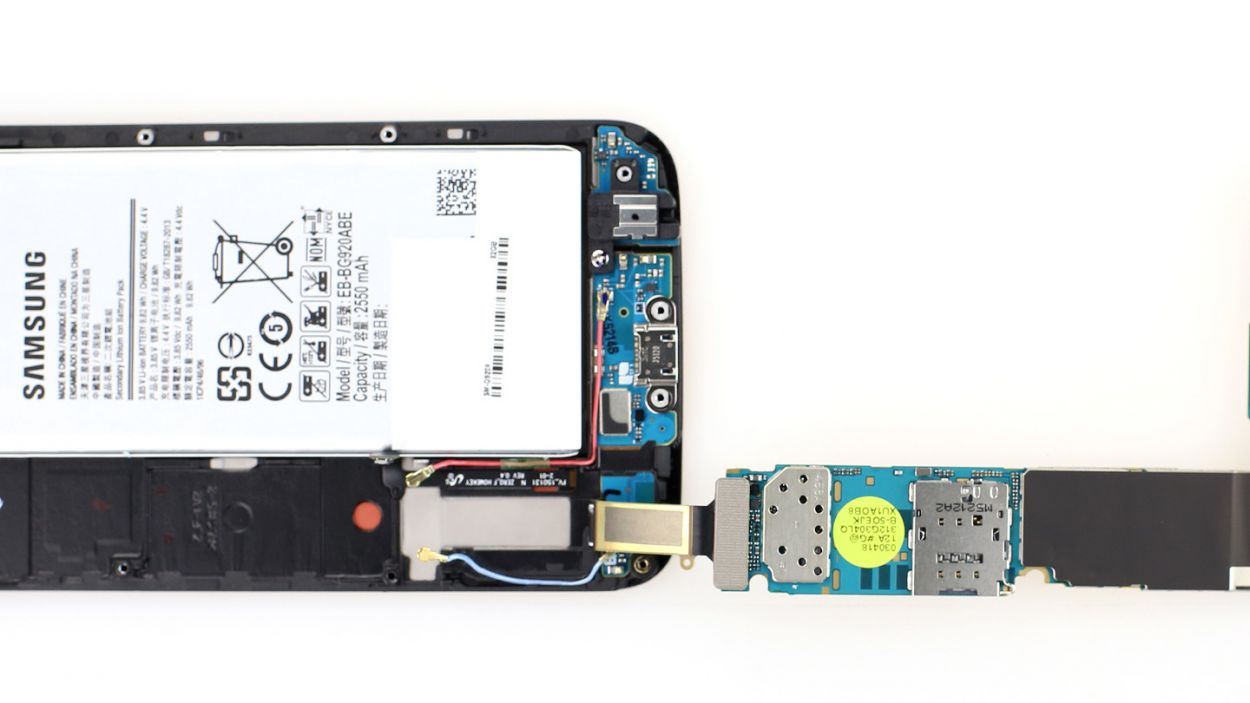
Hey there! Just a heads up: the back of the logic board is still snugly connected to the dock connector. Make sure to take care when working around this area!
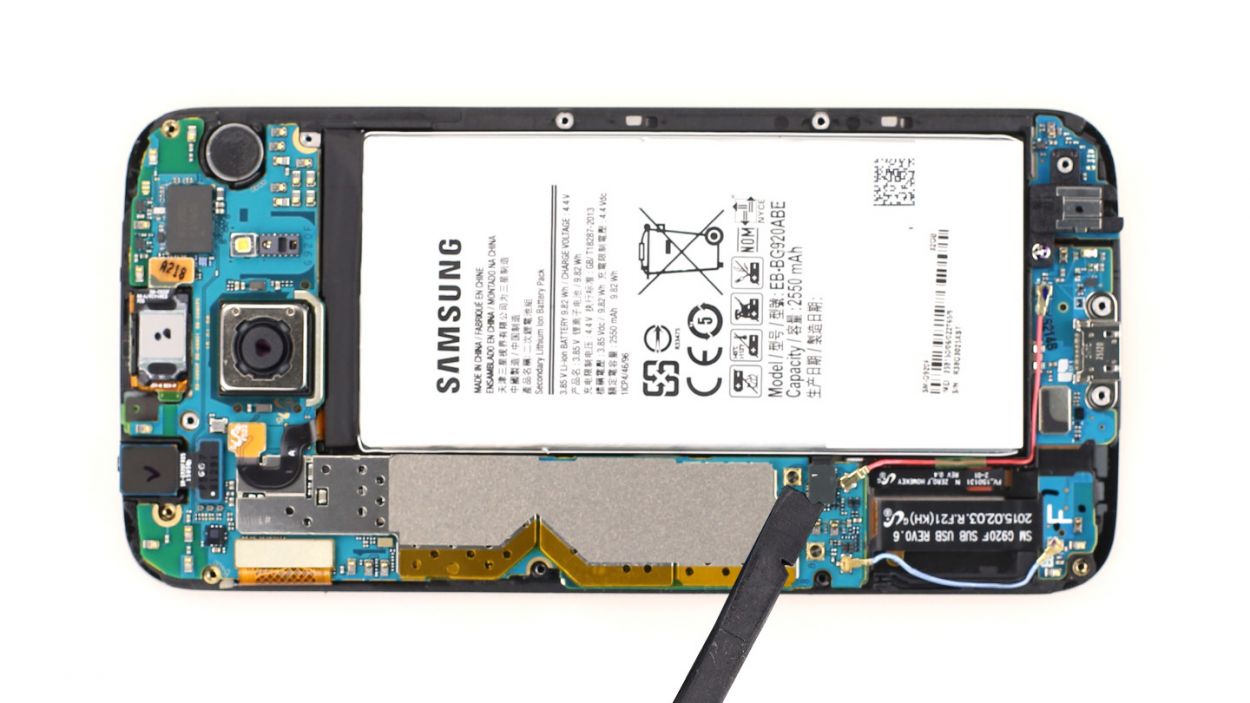
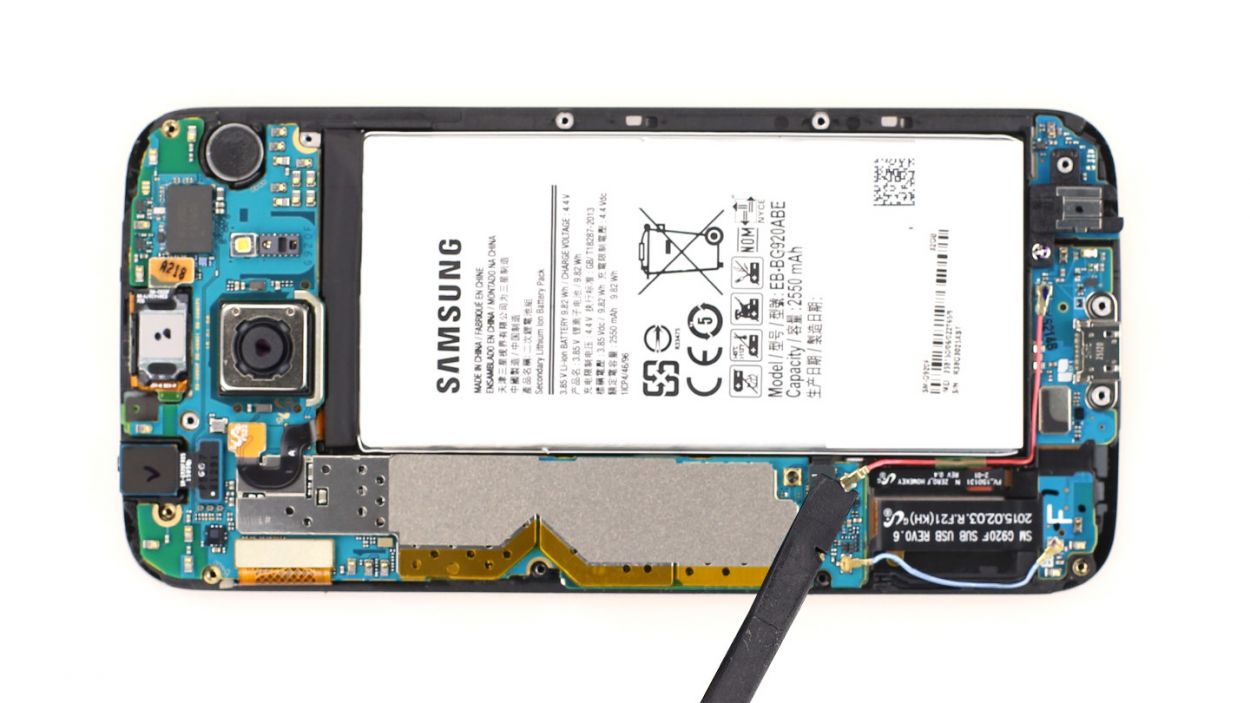
– Alright, let’s get those contacts disconnected! Gently slide the flat end of your spudger just below the contacts and give them a little lift. We’re talking about the Battery, Display, Earpiece, Home button, and those two antenna connectors.
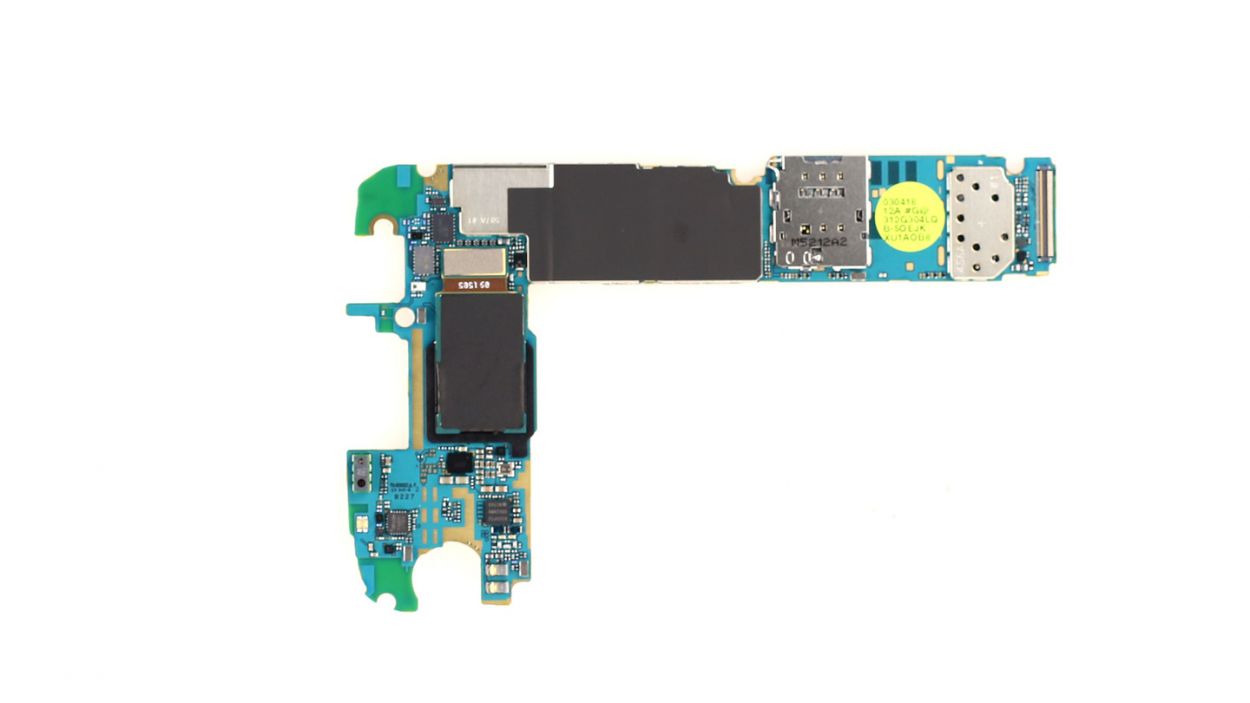
– Now, it’s time to lift the logic board right at the back camera area and gently fold it to the side. Just a heads up, the back of the logic board is still hanging on to the dock connector, so keep that in mind!
Step 6
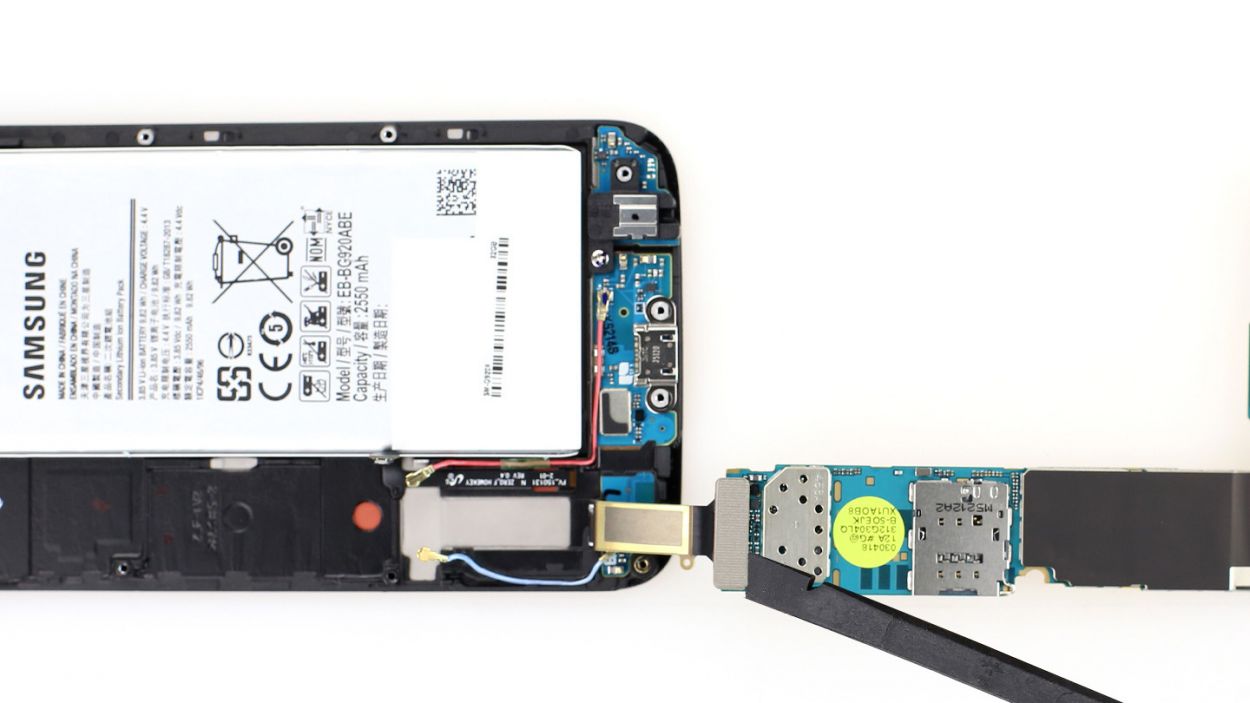
– After you’ve gracefully folded over the logic board, grab that trusty spudger and gently disconnect the connection. You’ve got this!
Step 7
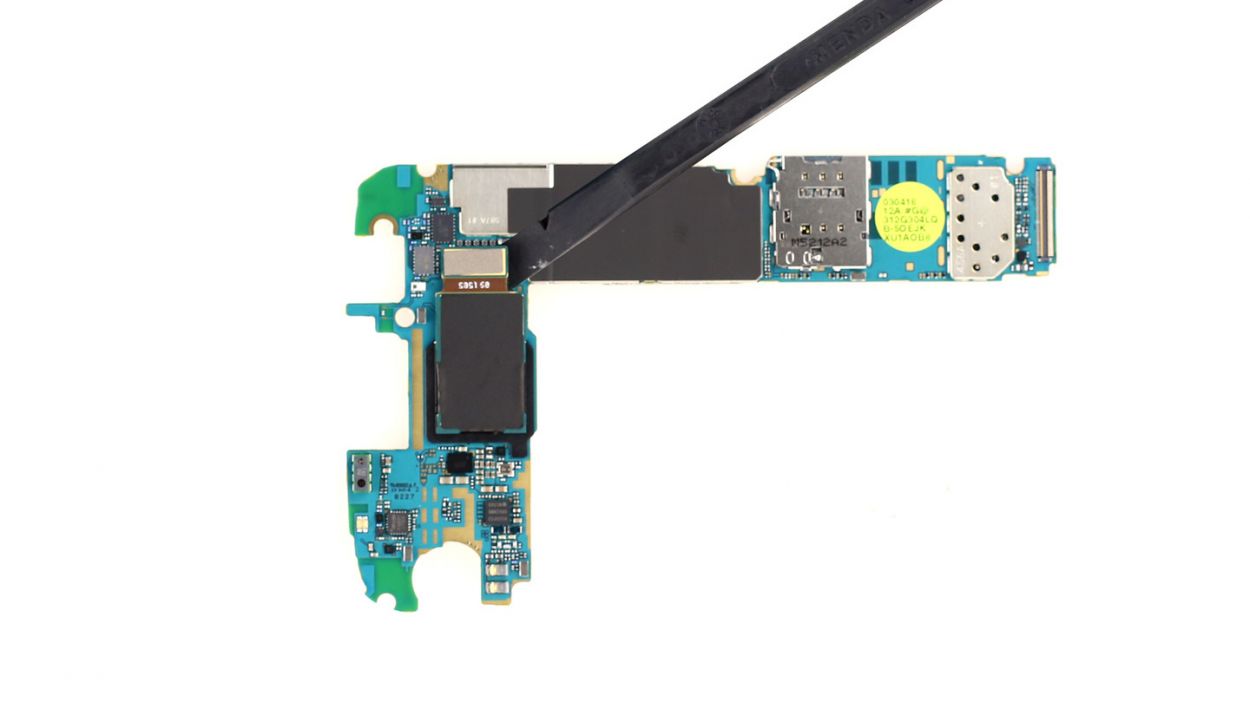
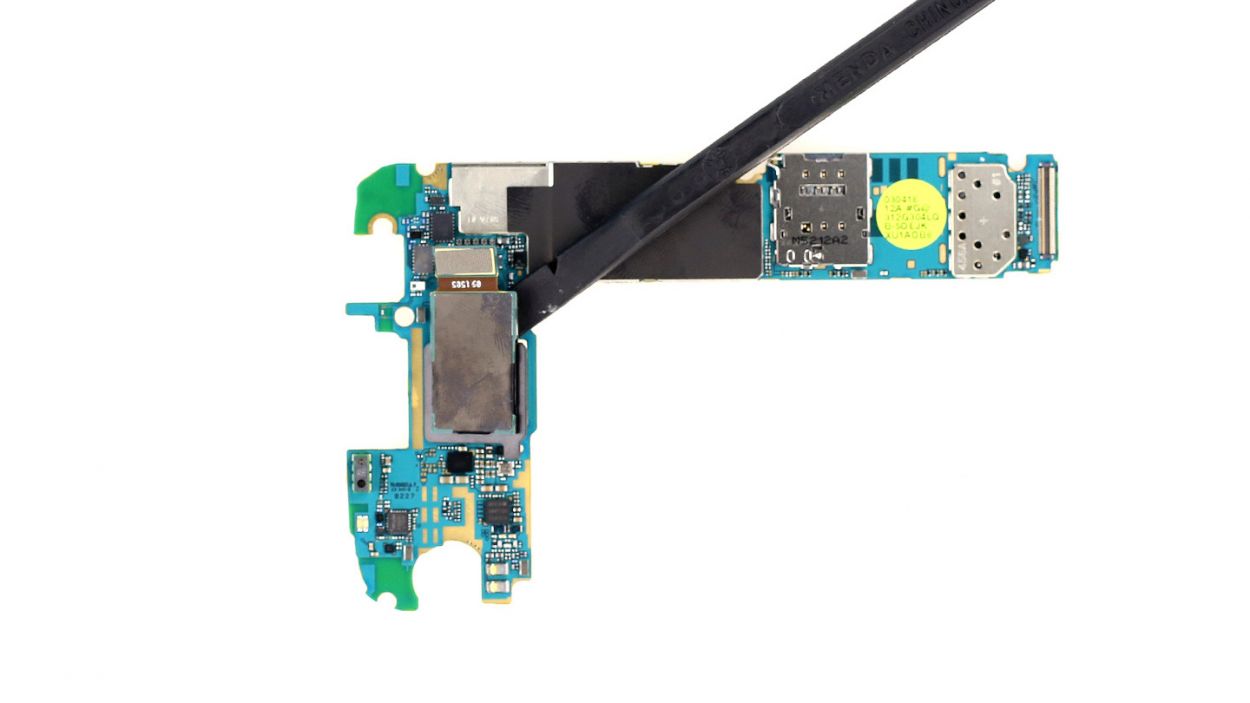
– Alright, let’s disconnect that rear camera connector. Just take it easy and be gentle.
– The camera is still holding on a bit with some light glue. Carefully wiggle it free.
– Now, it’s time to plug in the new rear camera’s connector. Use your finger to press it into place, just enough for it to click in nicely. No need to go overboard with the pressure!
Step 8
– First things first, let’s reconnect that dock connector to the logic board like a pro.
– Next, fold it over and gently place it back into the frame.
– Be sure to keep those cables from slipping under the logic board. Check the picture to ensure your logic board is sitting pretty.
– Now, it’s time to reconnect all the connectors: Battery, Display, Earpiece, Home button, and Antenna connectors. You’ve got this!
Step 9
– First, gently place the front camera back in its cozy little spot.
– Next up, connect the connector to the logic board like a pro!
Step 10
– Let’s get that outer frame back on the main component! Start at the dock connector and press those two frame pieces together like you’re giving them a high-five.
– Once they’re snug, it’s time to secure them with some screws. Grab your 13 x 3.3 mm Phillips screws and tighten them up!
Step 11
– To wrap things up, it’s time to pop that back cover on again.
– Chances are, the old glue is still hanging in there just fine.
– Gently place the back cover back on, give it a little warmth, and then apply some pressure for a moment to make sure it sticks snugly to your smartphone.
