DIY Guide to Replace Samsung Galaxy S6 Screen
Duration: 45 min.
Steps: 10 Steps
Ready to tackle that troublesome display on your Samsung Galaxy S6? In this guide, we’ll walk you through the steps to replace that faulty screen all by yourself! Whether you’re dealing with a cracked glass, an unresponsive touchscreen, or an LCD that’s gone dark or is flickering like a disco ball, we’ve got you covered. Let’s get to it and bring your device back to life! And remember, if you need help, you can always schedule a repair.
Step 1
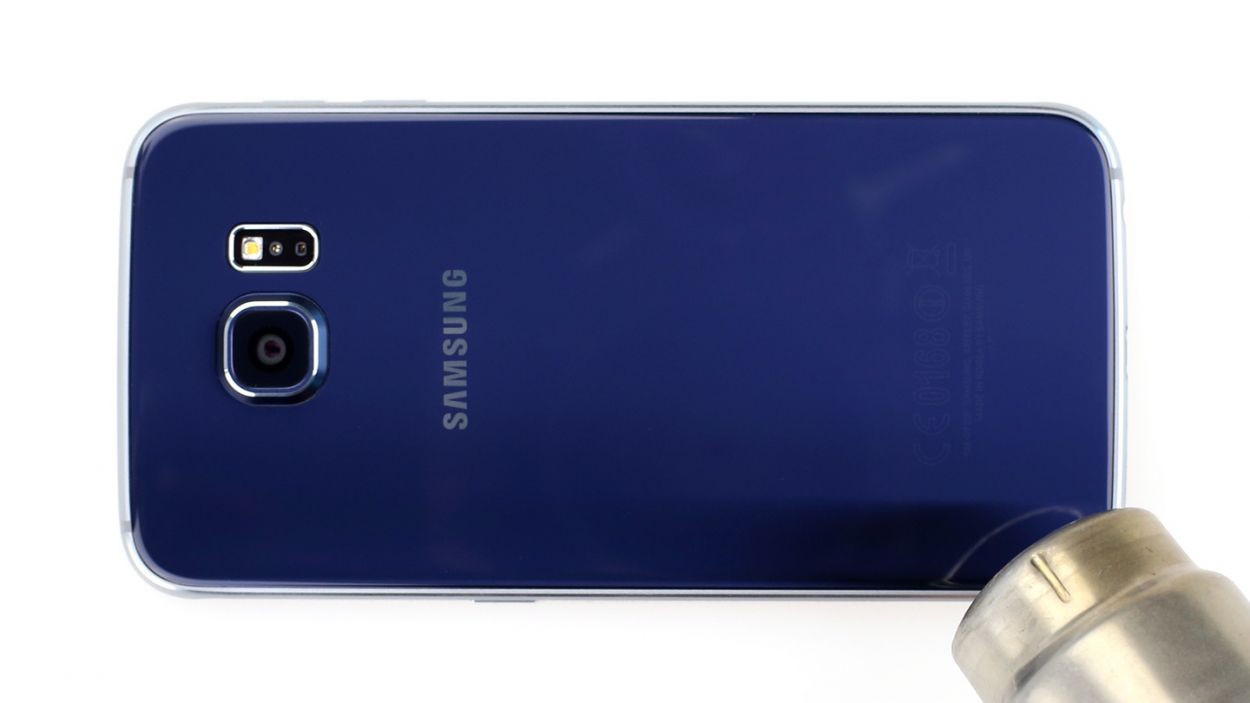
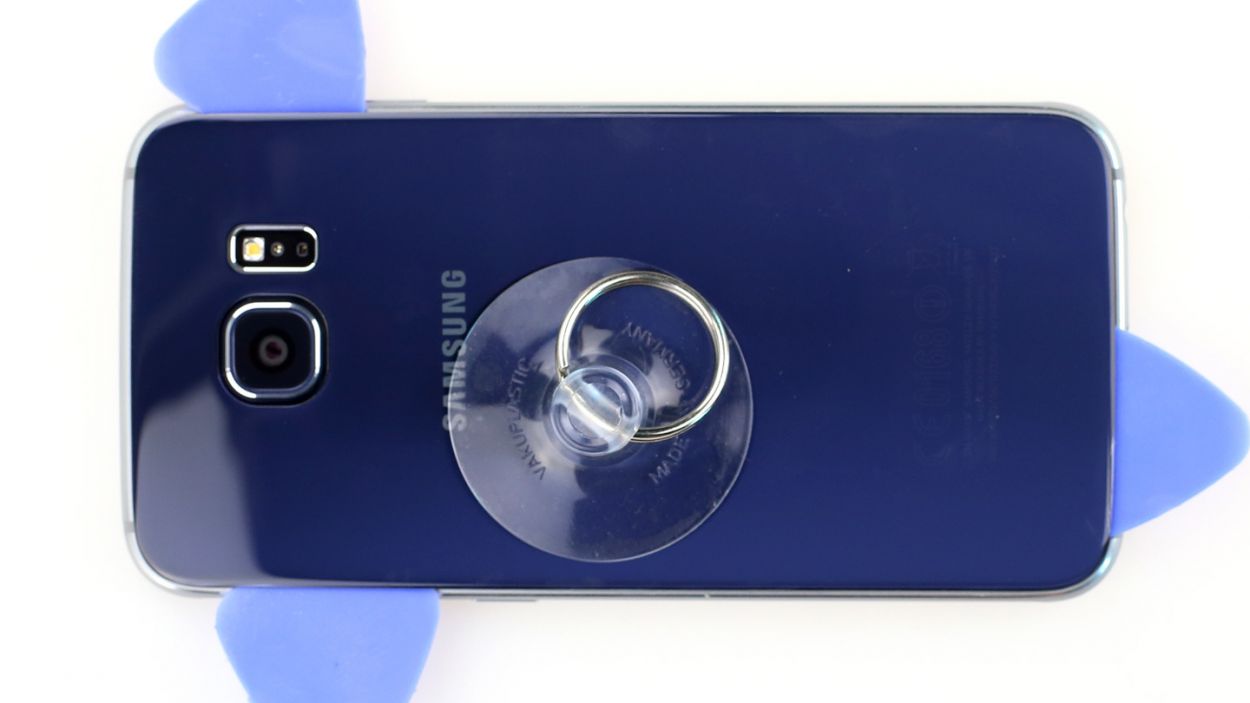
– Alrighty then! The back of the Samsung Galaxy S6’s enclosure is stuck down real tight. Time to give it some heat with a heat gun to soften that glue. Then slide in a plastic pick between the frame and glass to loosen the adhesive.
– Hey there! The space between the aluminum frame and glass is super tiny. We suggest using a nice flat, strong object to separate them.
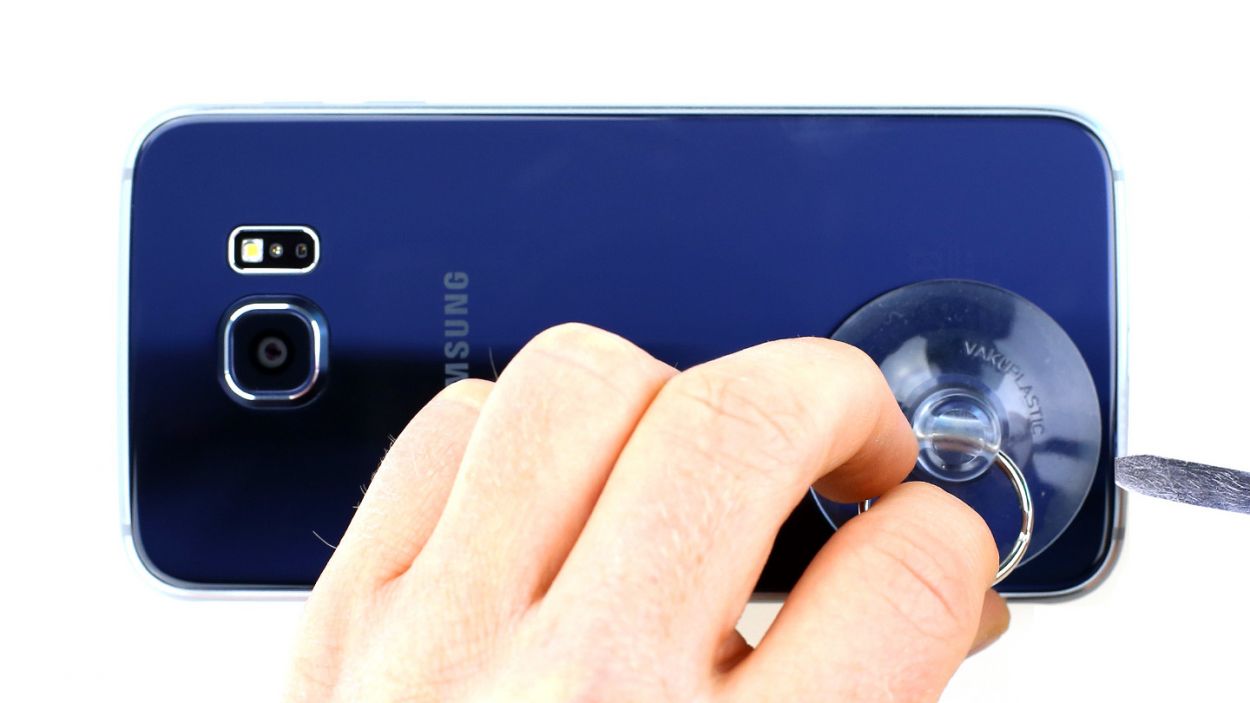
– Gently lift the back cover while using a suction cup.
– Once you see a small gap, grab that plastic pick to avoid any scratches on the aluminum.
Step 2
Hey there! The back cover has a slick paint job on the inside. When you’re removing any sticky residue, take it easy to keep those scratches and cracks at bay. You’ve got this!
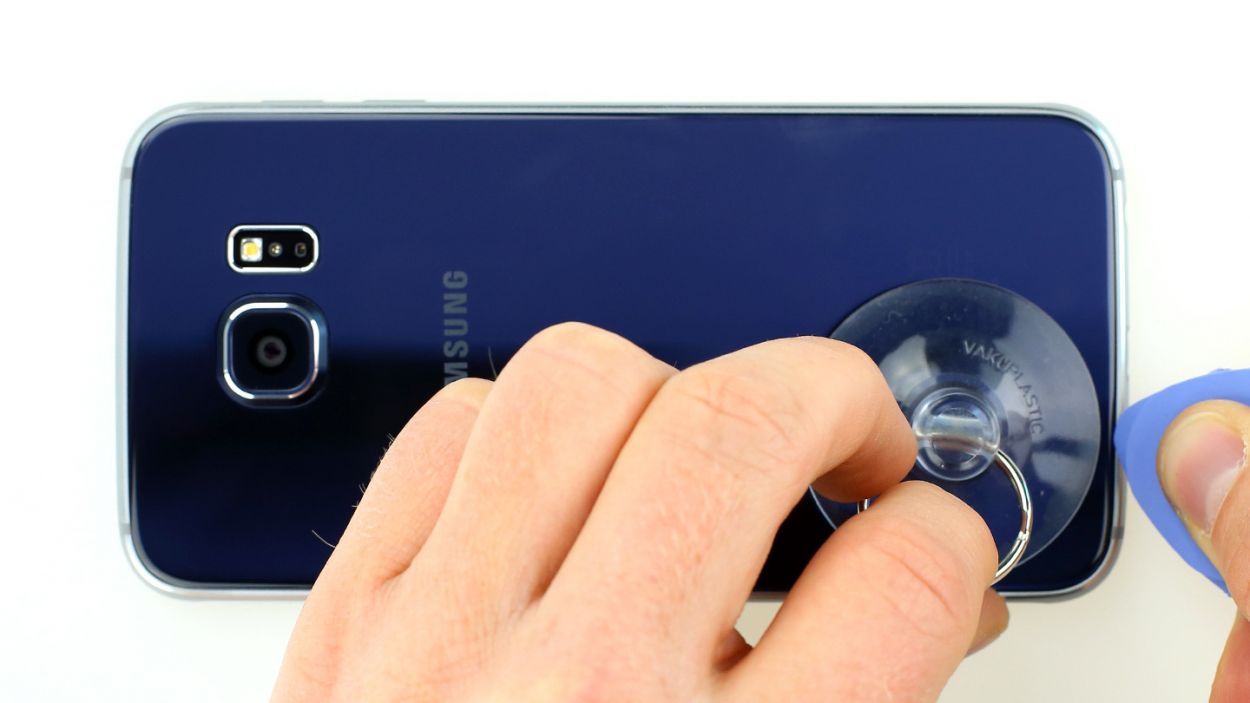
– Hey there! To keep things smooth and dandy, gently slide the pick a few millimeters between the back cover and the frame. This little trick helps avoid any sneaky damage inside the enclosure.
– Now, here’s the deal with the back cover – it’s totally glued to the whole outer edge of the Galaxy S6. Take your pick for a spin around the entire phone. Oh, and fun fact – the back cover is actually painted on the inside. Make sure to bid farewell to any sticky residue like a pro to steer clear of scratches or cracks.
– After you’ve bid adieu to all that glue, it’s time for the grand finale – lifting the back cover with care. Ta-da!
Step 3
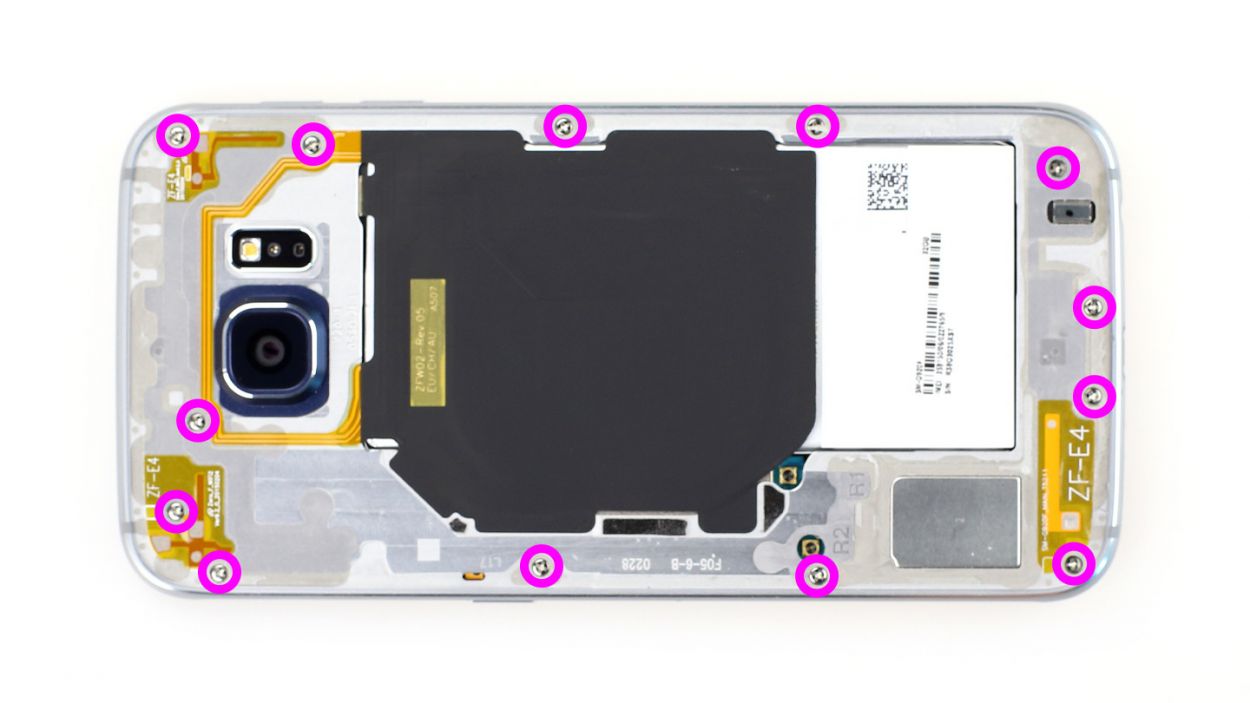
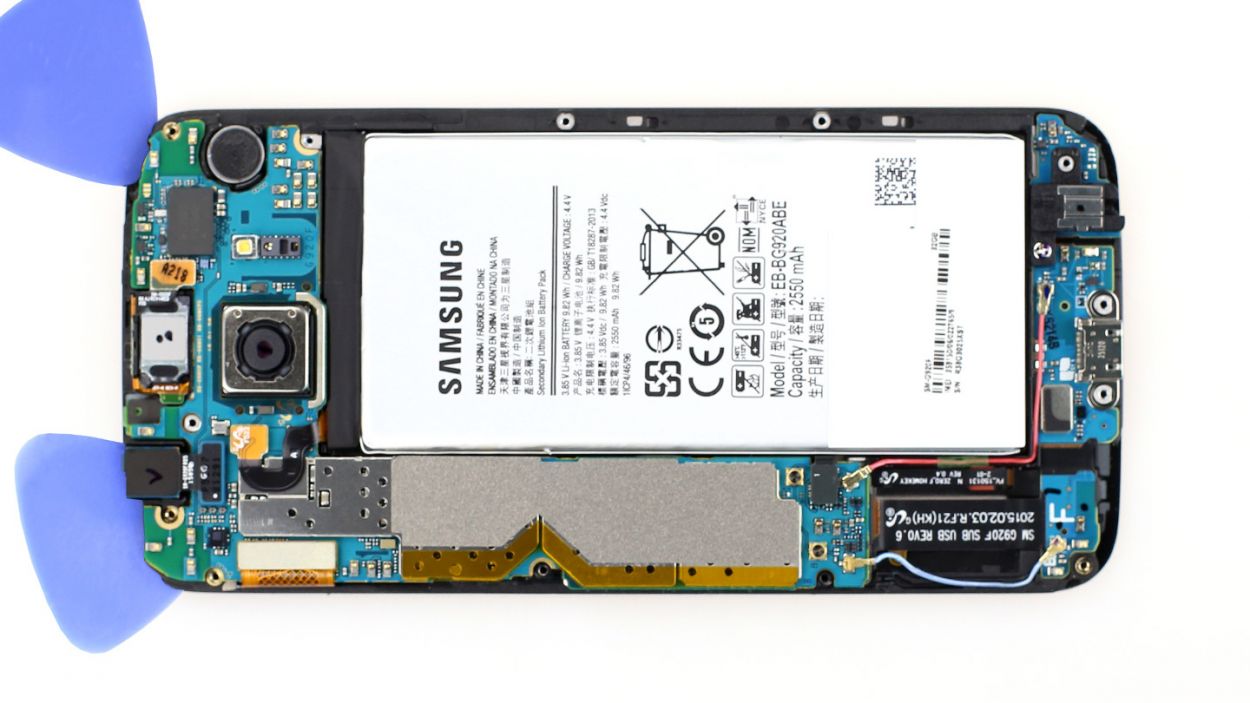
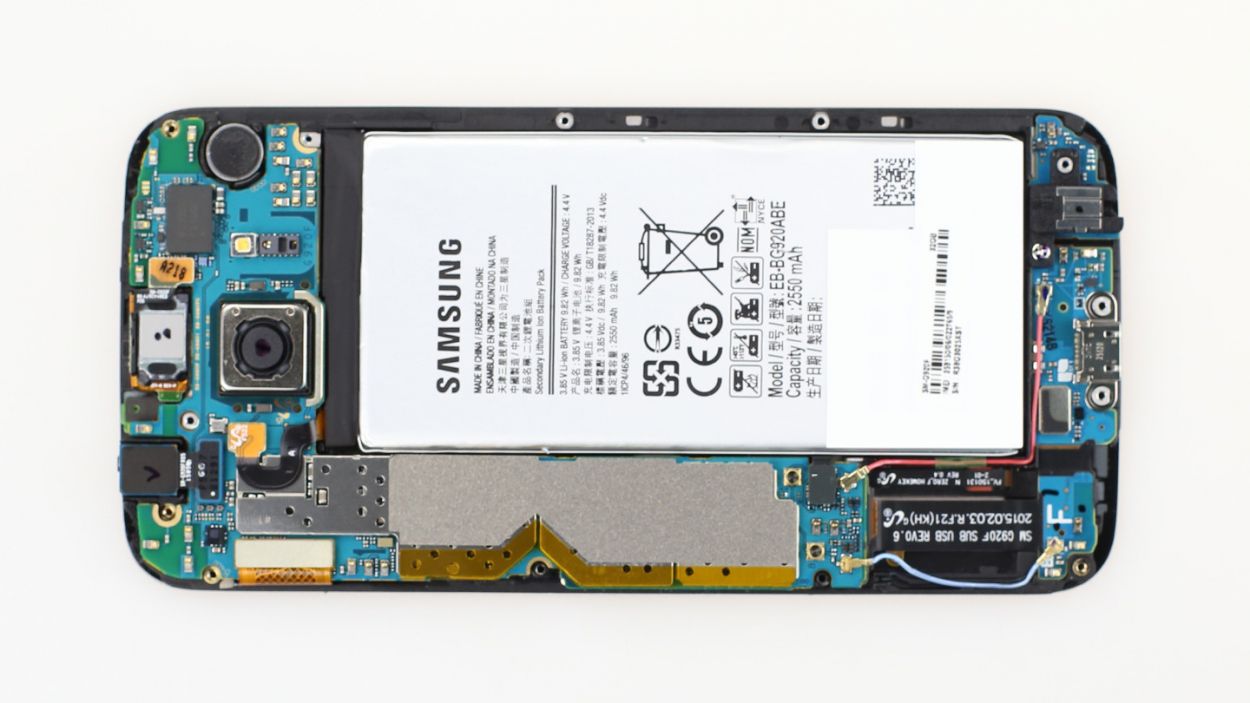
– Let’s kick things off by unscrewing those 13 Phillips screws that are keeping the plastic cover snug as a bug. They’re 13 x 3.3 mm Phillips screws, so grab that screwdriver and get to it!
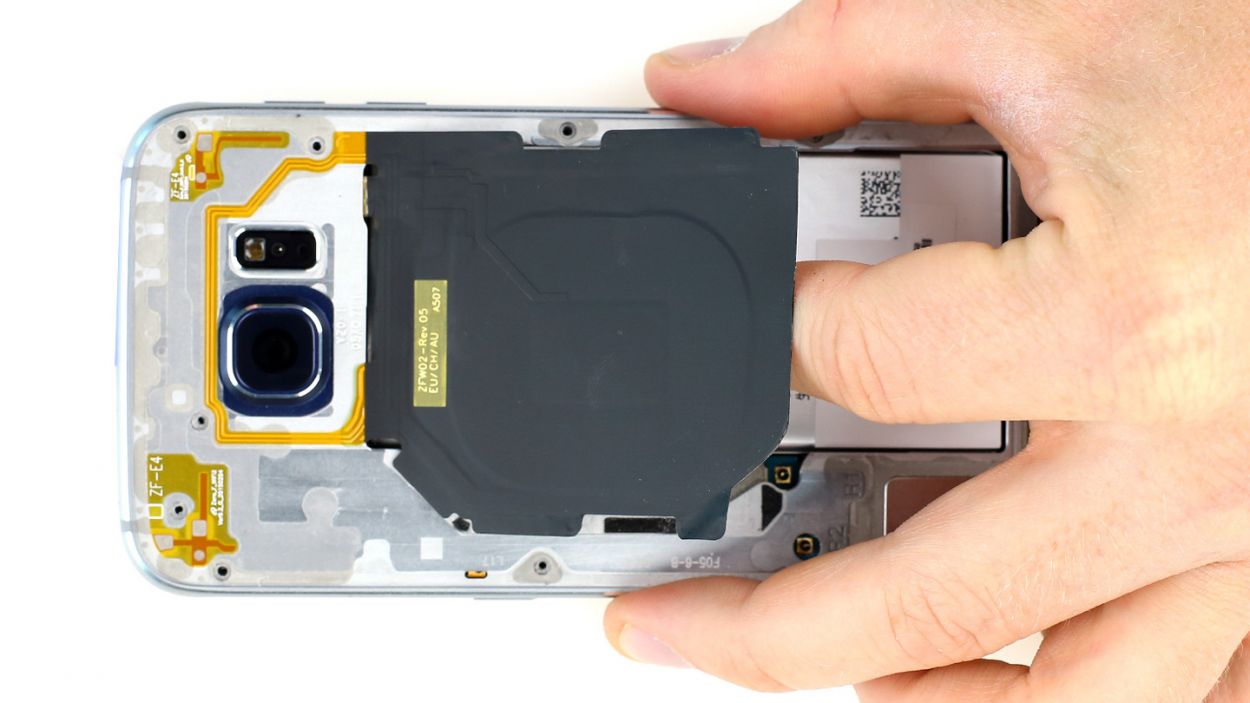
– Next up, pop out the SIM card tray. It’s like giving your device a little breather!
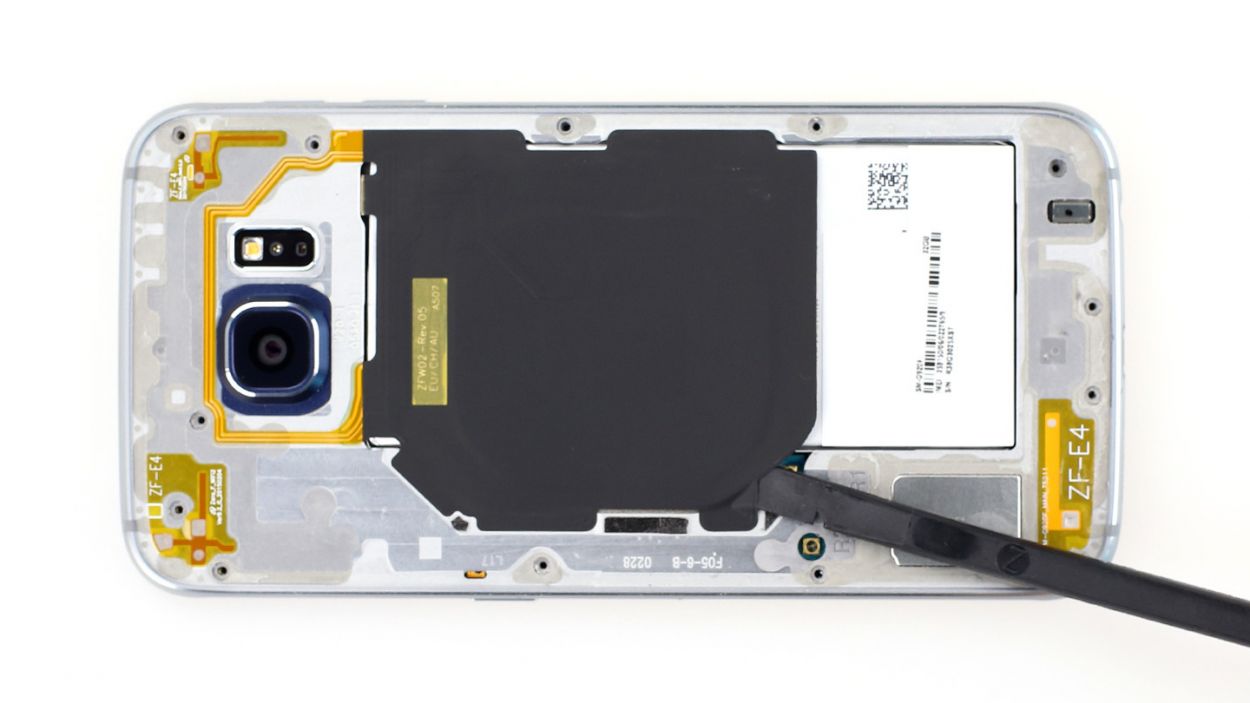
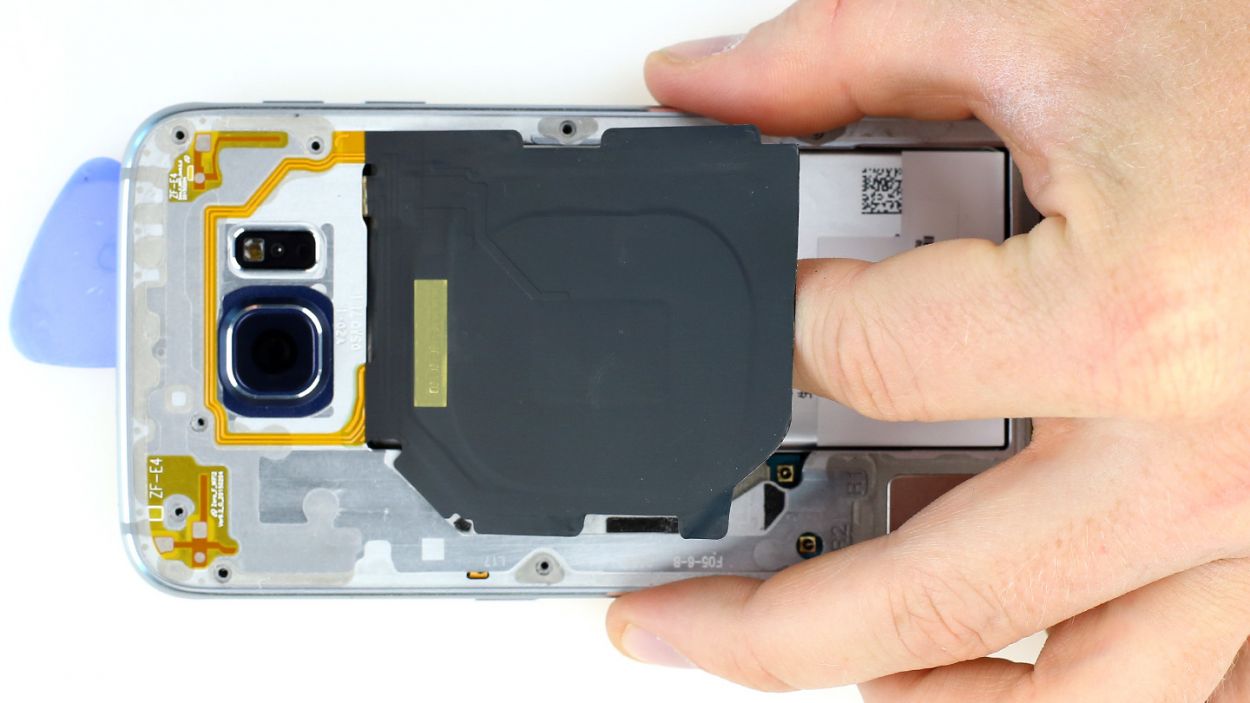
– Now, gently lift the charging pad for wireless charging. It’s just a tad glued to the midframe, so be careful not to pull too hard.
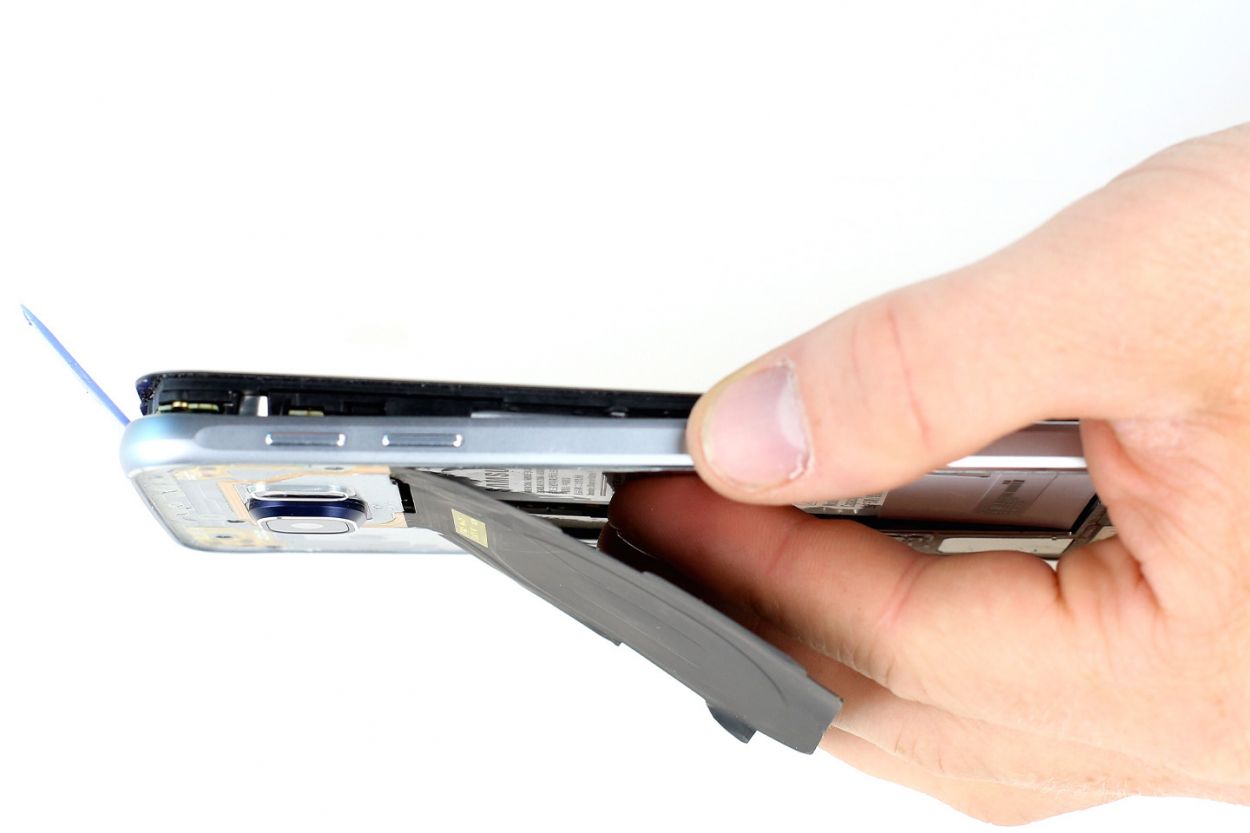
– To free the midframe, you’ll need to give the battery a little nudge downwards while pushing the frame up with your other hand. If it’s being stubborn, slide a pick between the display and the frame and give it a gentle upward press. Patience is key!
Step 4
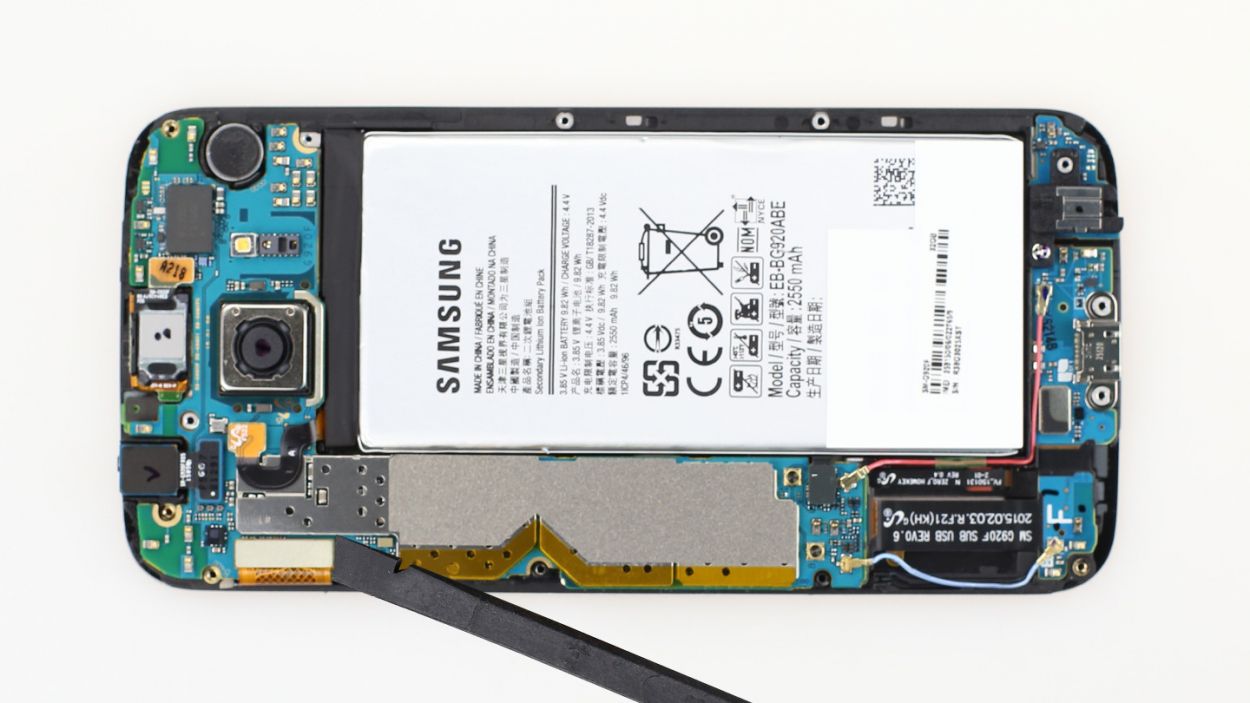
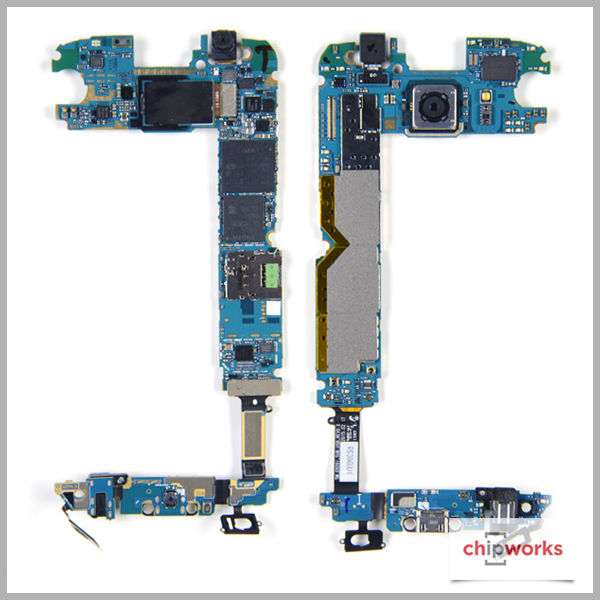
– Gently slide the flat end of the spudger just beneath the contact and lift it up carefully. Watch out for those tiny resistors soldered onto the logic board – they’re delicate little guys!
Step 5

Gently slide the pick in just 2 millimeters near the Home button and navigation buttons. Remember, those navigation buttons are stuck to the back of the display, so be careful not to push too hard or they might just decide to take a vacation!
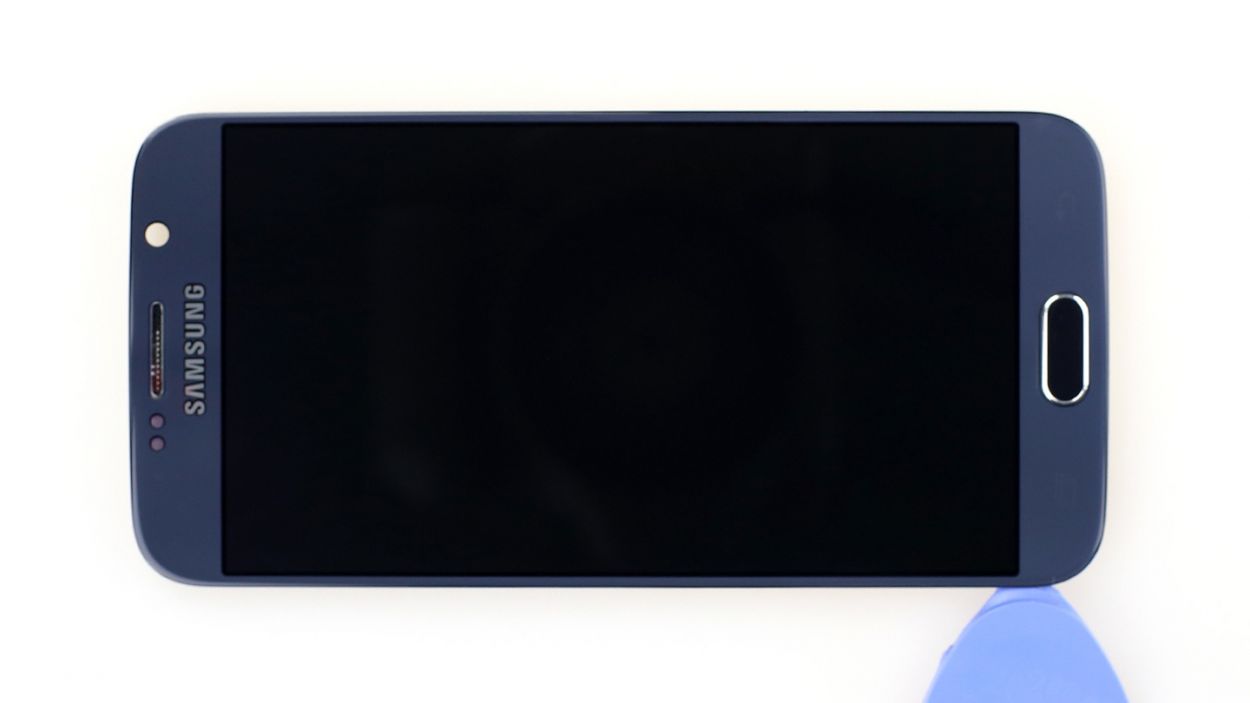
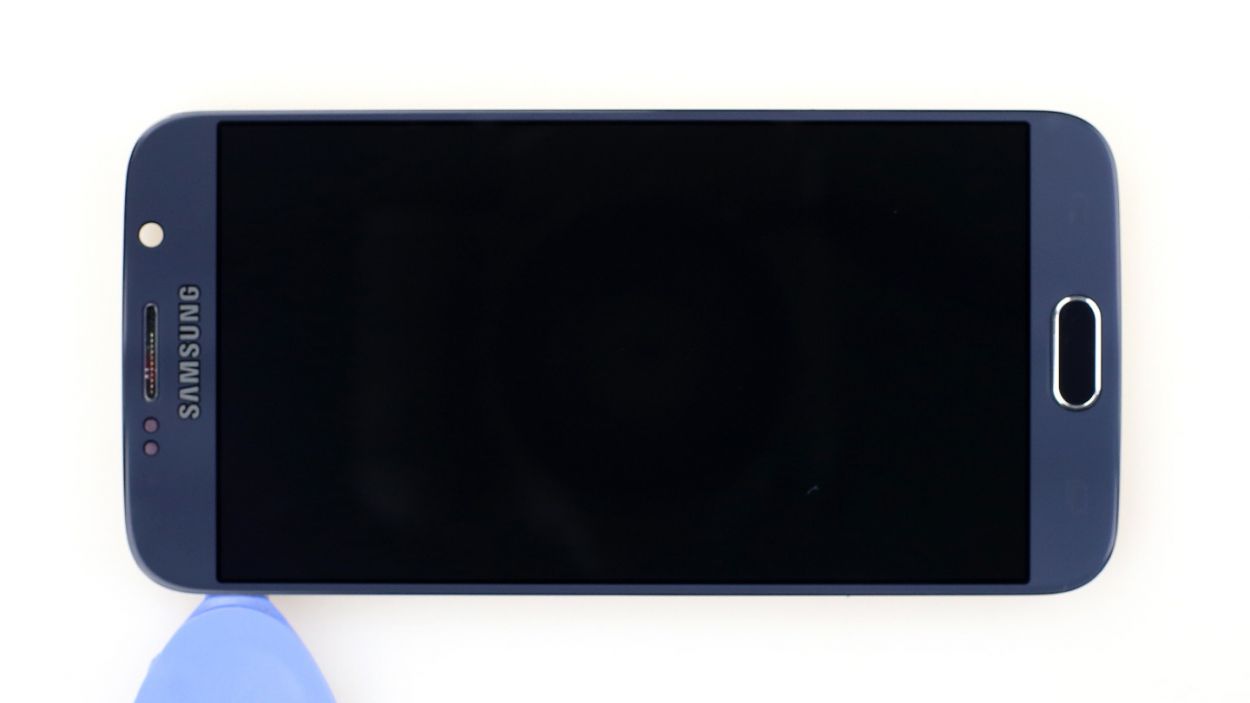
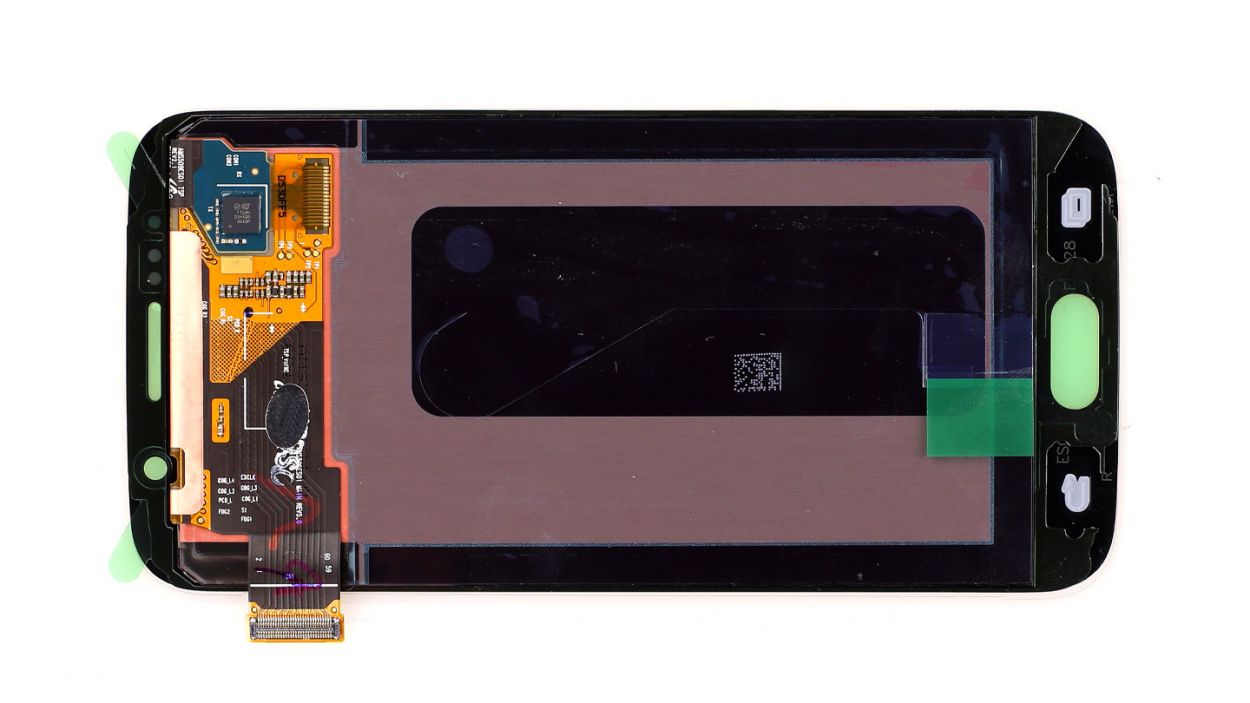
– Alright, let’s tackle that Samsung Galaxy S6 display! It’s stuck on there pretty well, so you’ll want to give it some love with a heat gun to warm up that stubborn glue. Once it’s feeling nice and toasty, grab a plastic pick and gently slide it into the little gap between the frame and the display to break that adhesive seal.
– Now, with a gentle touch, lift the display starting at the camera area. Flip it up near the Home button, but hold on a sec! Before you completely detach it, make sure those navigation buttons are still connected to the display. We wouldn’t want any surprises!
Step 6
– First off, let’s peel away that transparent film in the center using the handy green flap. You’ve got this!
– Now, gently tug at those upper and lower transparent covers—there’s a little glue party happening underneath each one. Don’t worry, it’s all part of the fun!
Step 9

– Let’s get that outer frame back on the main component! Start at the dock connector and give those two frame pieces a nice, firm press to bring them together.
– Now, it’s time to secure them with some screws. Grab your 13 x 3.3 mm Phillips screws and tighten them up!
Step 10
– As a last step, you have to attach the back cover again.
– The old glue is usually still sticky enough.
– Put the back cover back on, heat it slightly and then use a little force to press it onto the smartphone for a while.