DIY Guide to Replace Sony Xperia Z2 Screen
Duration: 45 min.
Steps: 10 Steps
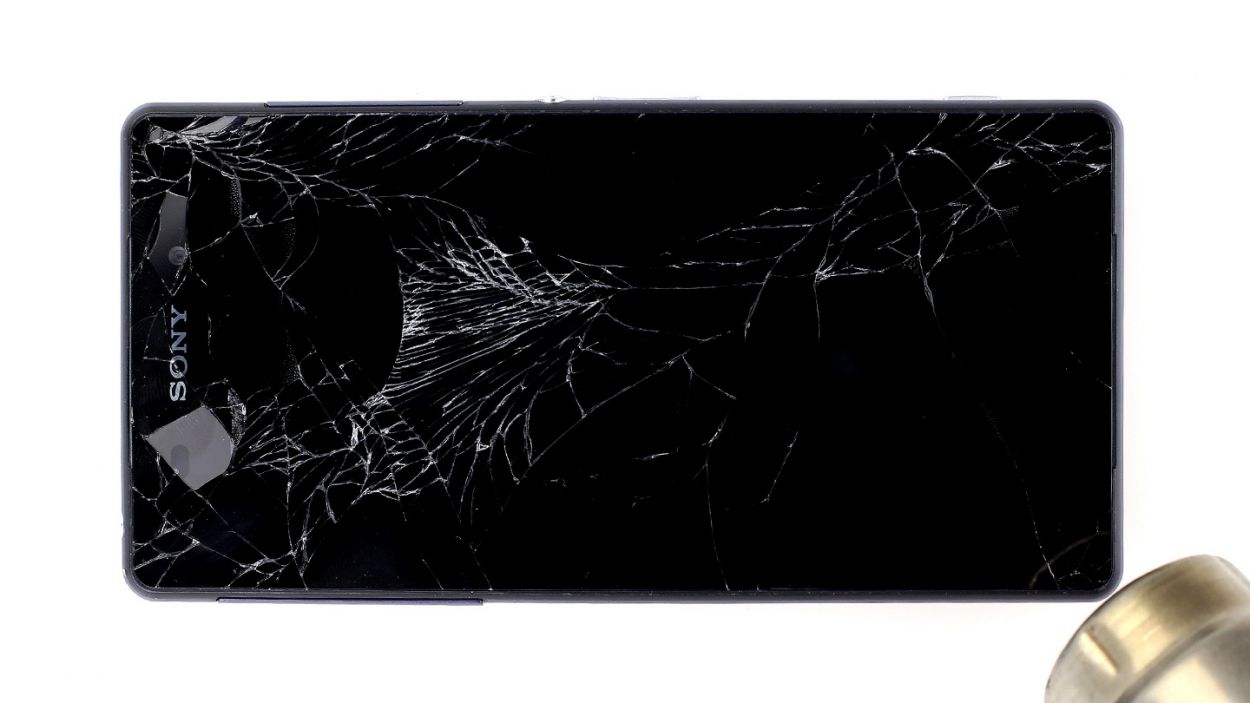
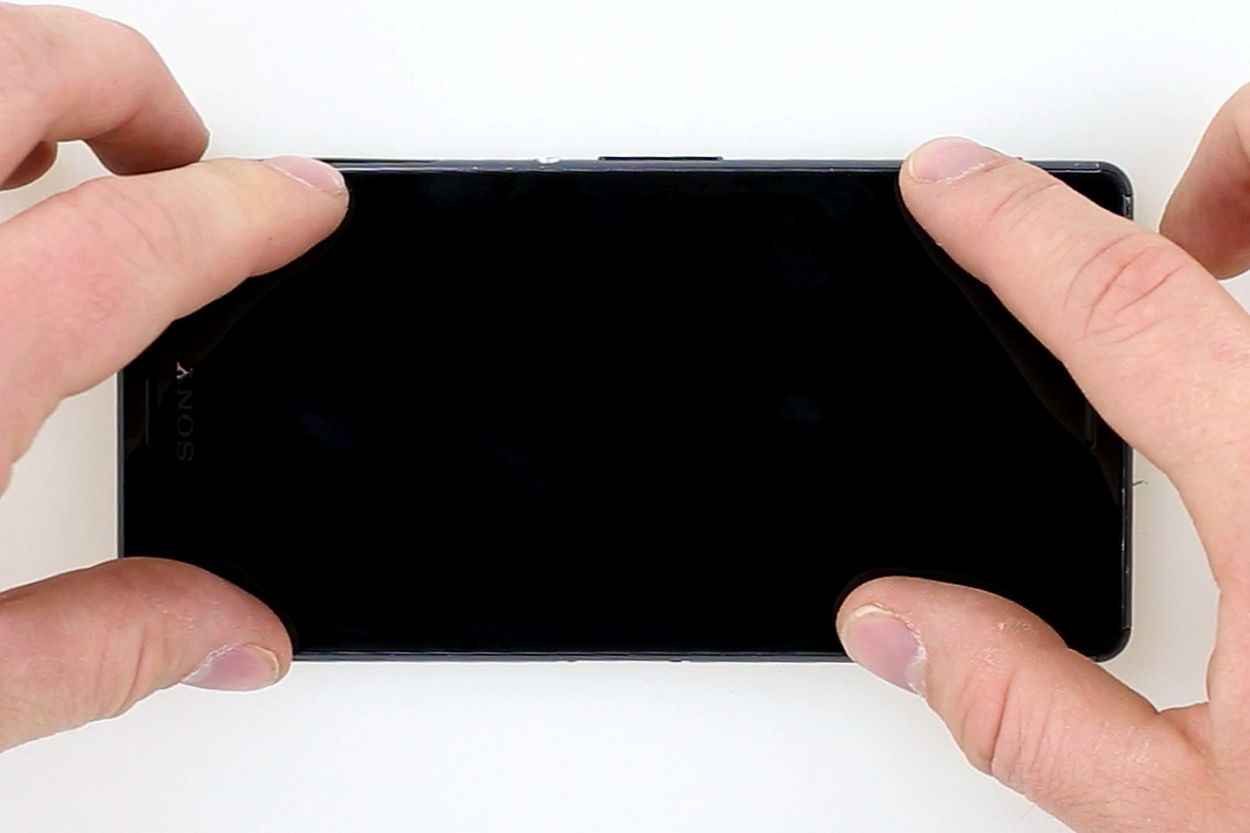
In this handy repair guide, we’ll walk you through the process of swapping out the faulty display unit on your Sony Xperia Z2 all by yourself. This repair comes in handy if your screen is cracked, the touchscreen has decided to take a break from responding, or if your LCD is playing hide and seek by staying black or flickering. Let’s get started!
Step 1
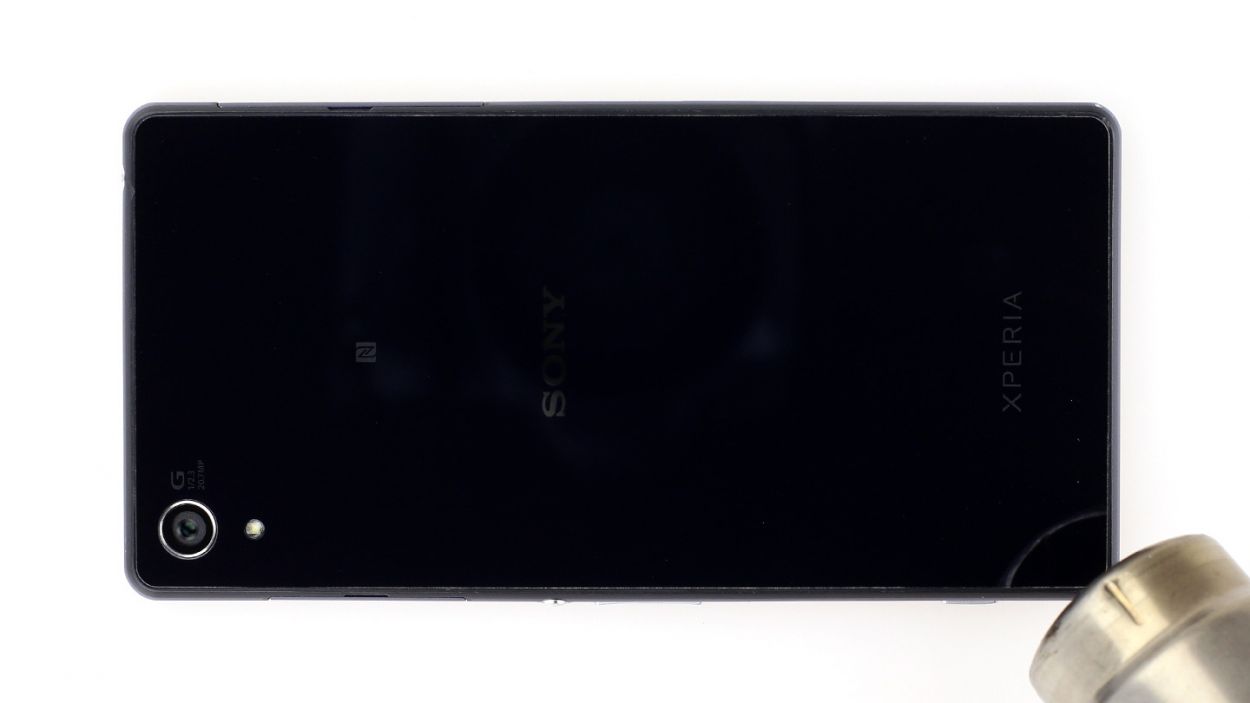
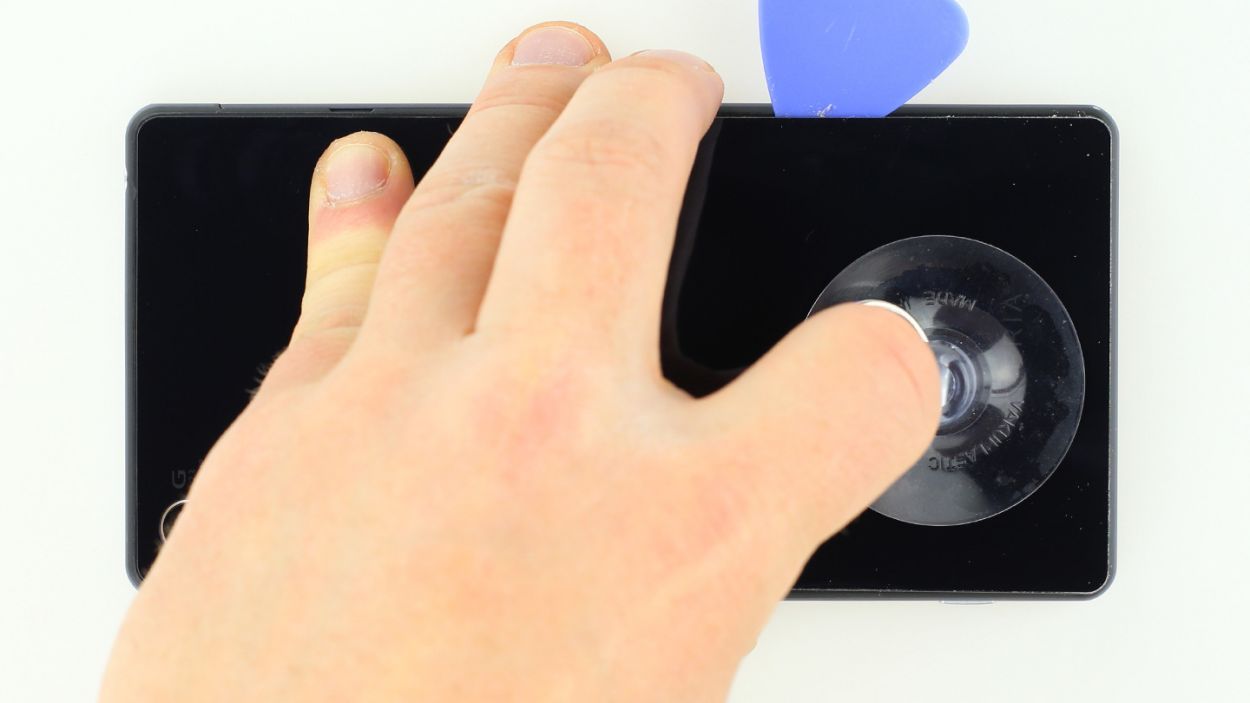
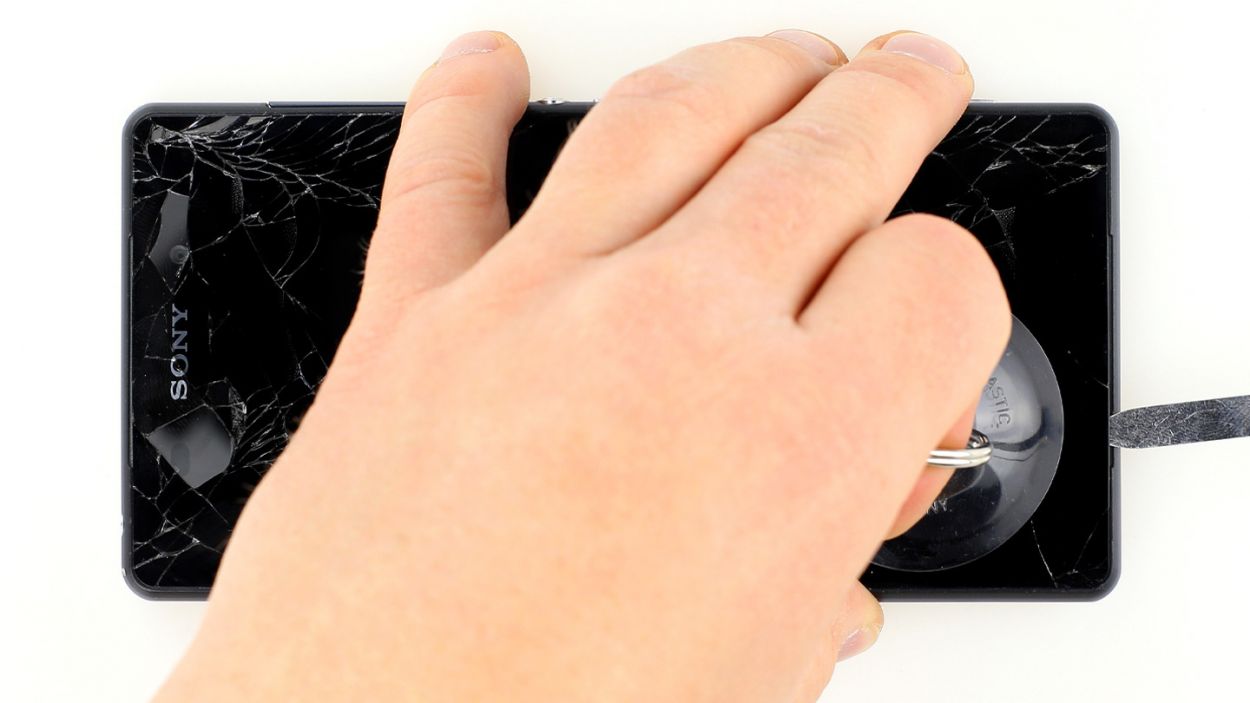
– The back of your Sony Xperia Z2 is glued on tight, but don’t worry! Just warm it up with a heat gun to loosen that adhesive. Once it’s nice and toasty, grab a plastic pick and gently slide it into the tiny gap between the frame and the glass to start detaching it.
– That gap between the aluminum frame and the glass is pretty snug. A flat, sturdy tool will be your best friend here—make sure to pick one that can get in there without a fuss.
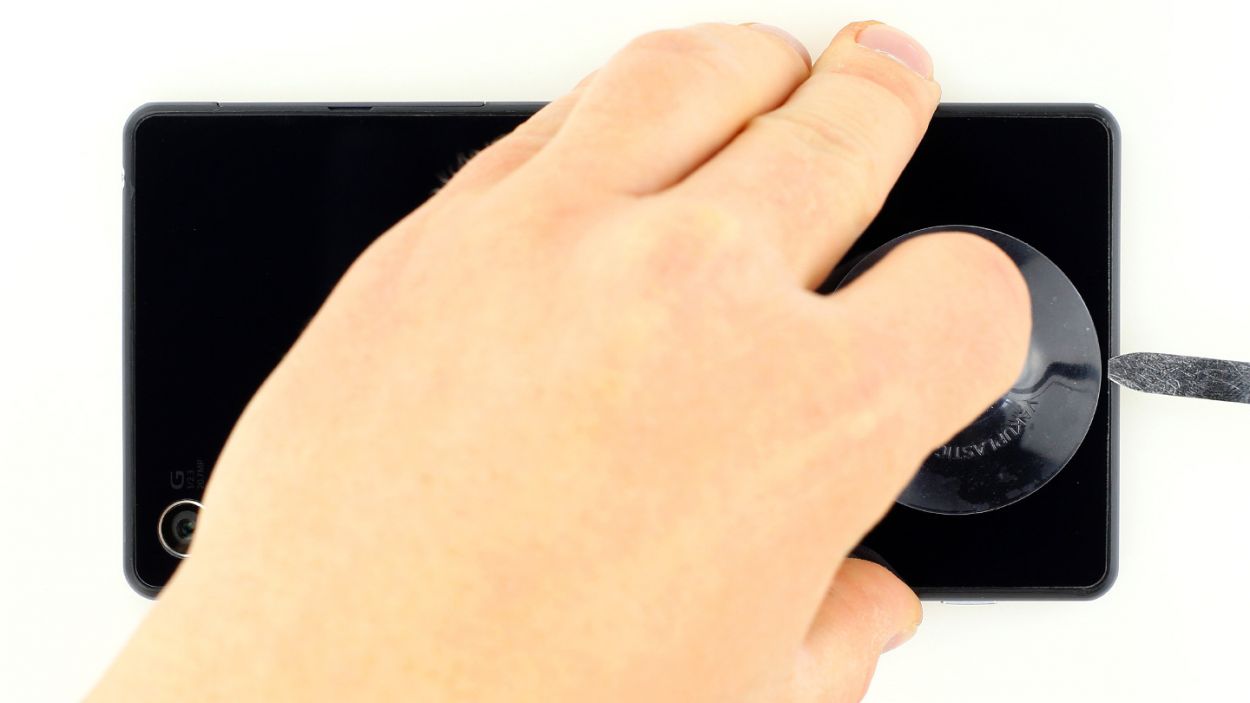
– Now, with a suction cup in hand, carefully lift the back cover. Take your time; we want to keep everything safe and sound!
– Once you see a little opening, slide in that plastic pick to keep the aluminum safe from any accidental damage. You’re doing great!
Step 2
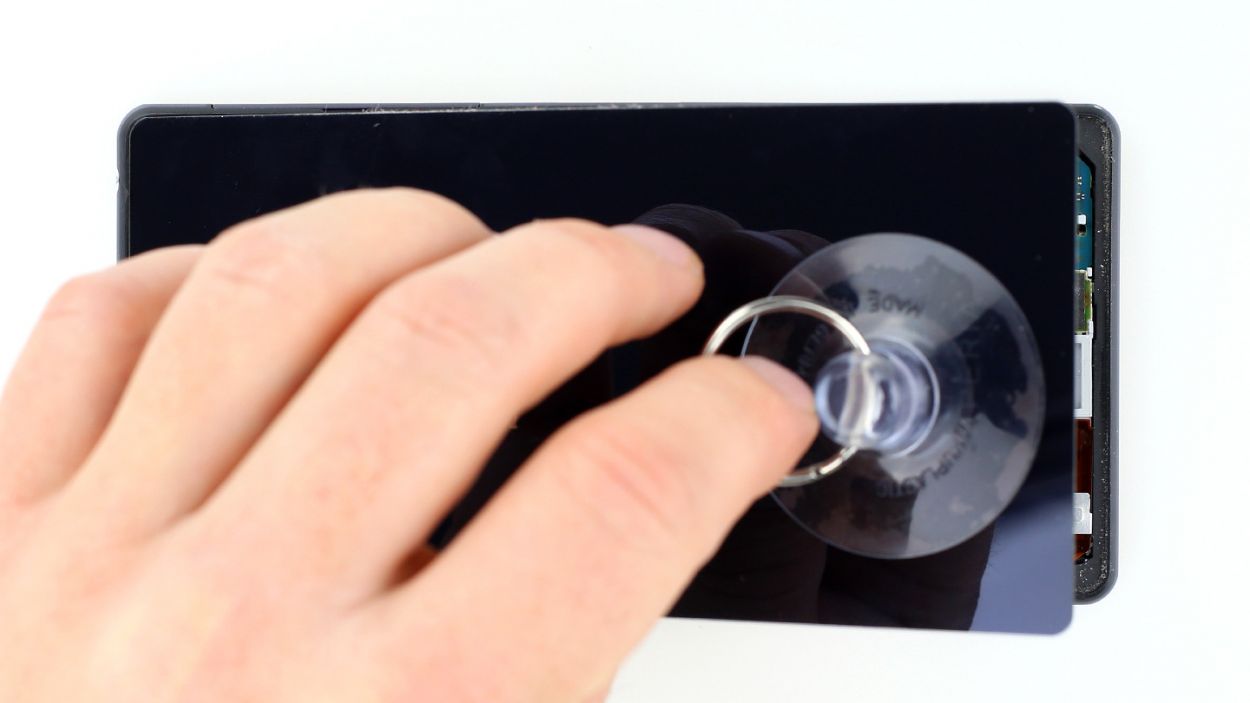
Hey there! The back cover has a little paint party going on inside. Make sure to gently remove any sticky leftovers so you don’t end up with scratches or cracks. You got this!
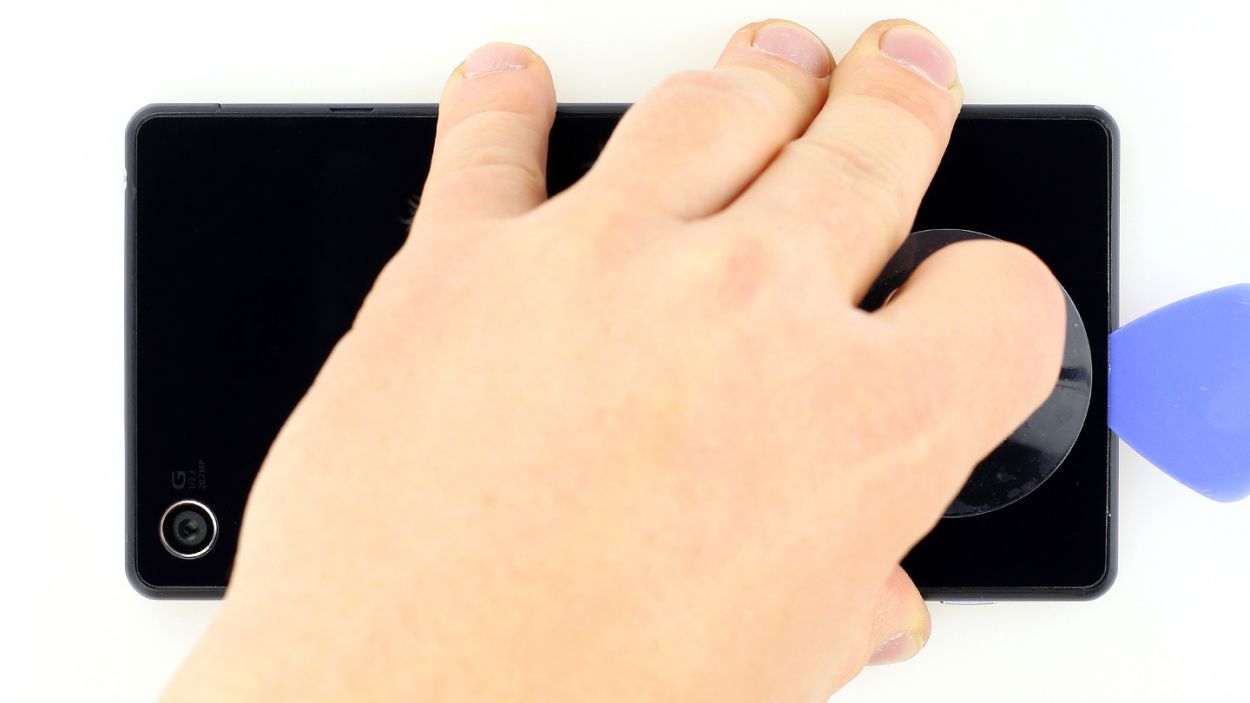
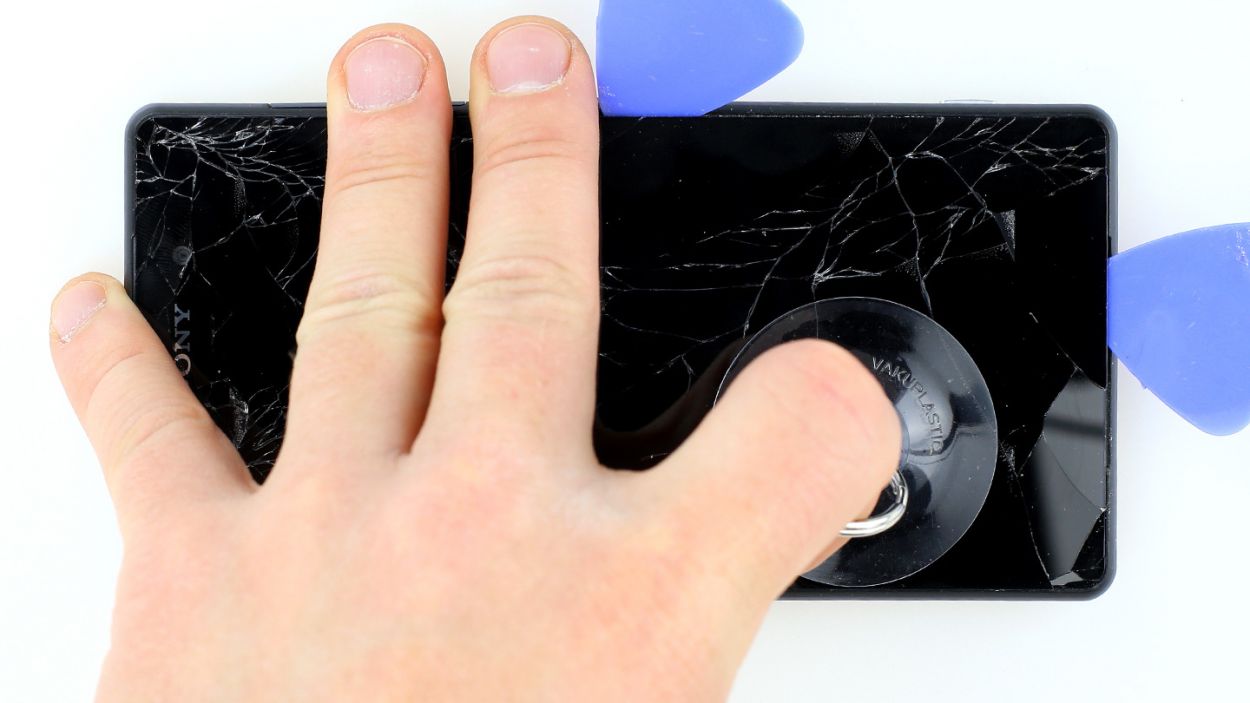
– Gently slide the pick just a few millimeters between the back cover and the frame—this will help you avoid any mishaps inside the enclosure. Remember, the back cover has a paint job on the inside, so be careful when removing any sticky residue to keep it scratch-free and crack-free!
– The back cover is glued all around the outer edge of the Sony Xperia Z2. Just take your pick and glide it around the entire phone like you’re tracing a fun path!
– Once you’ve successfully loosened all that glue, you can carefully lift off the back cover. You’re doing great!
Step 3
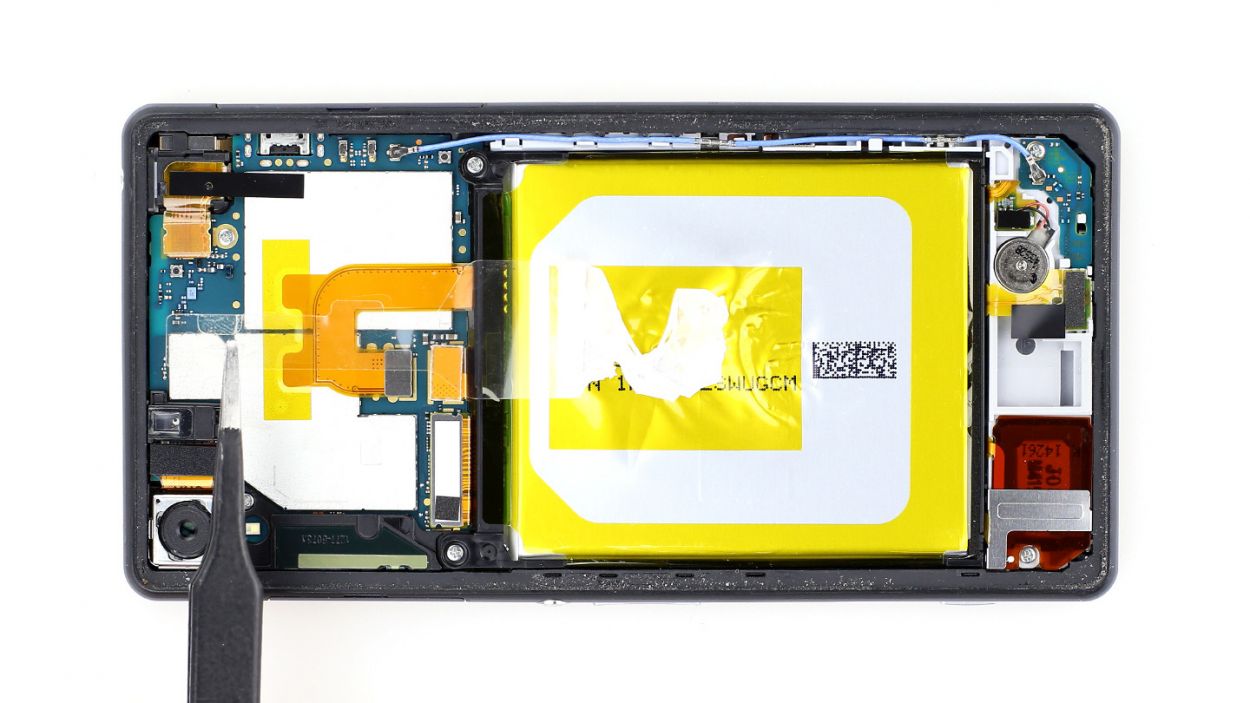

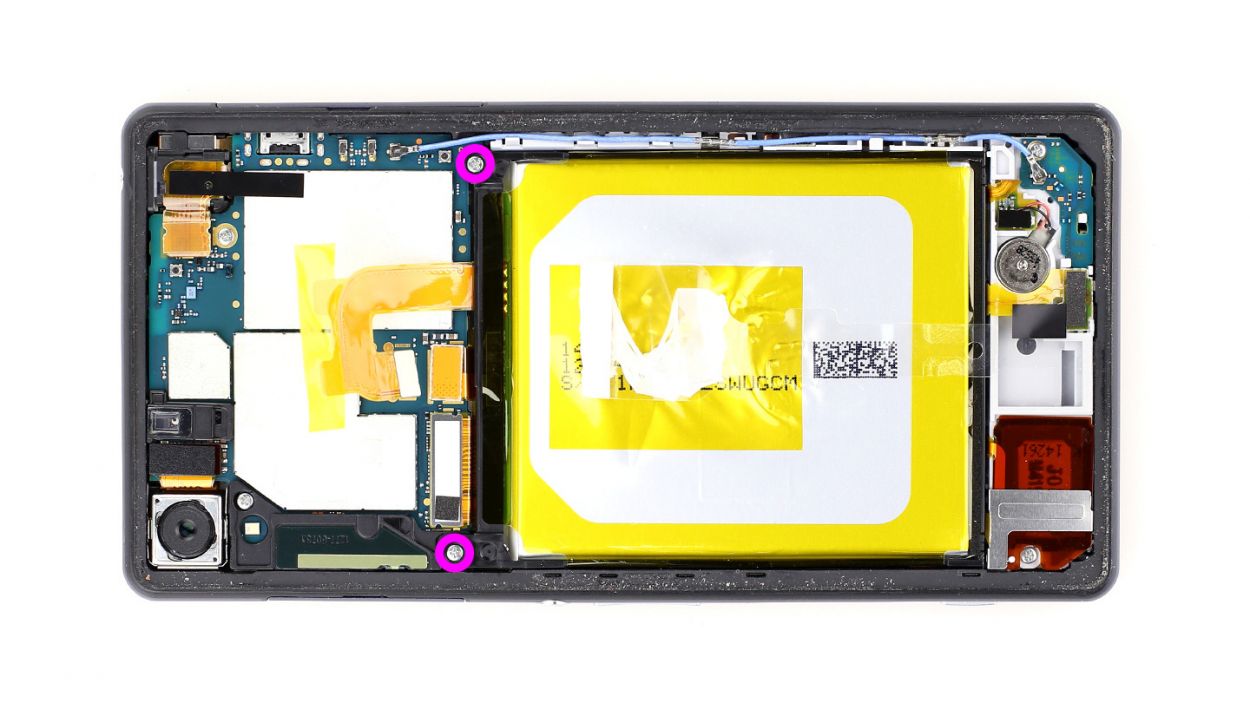

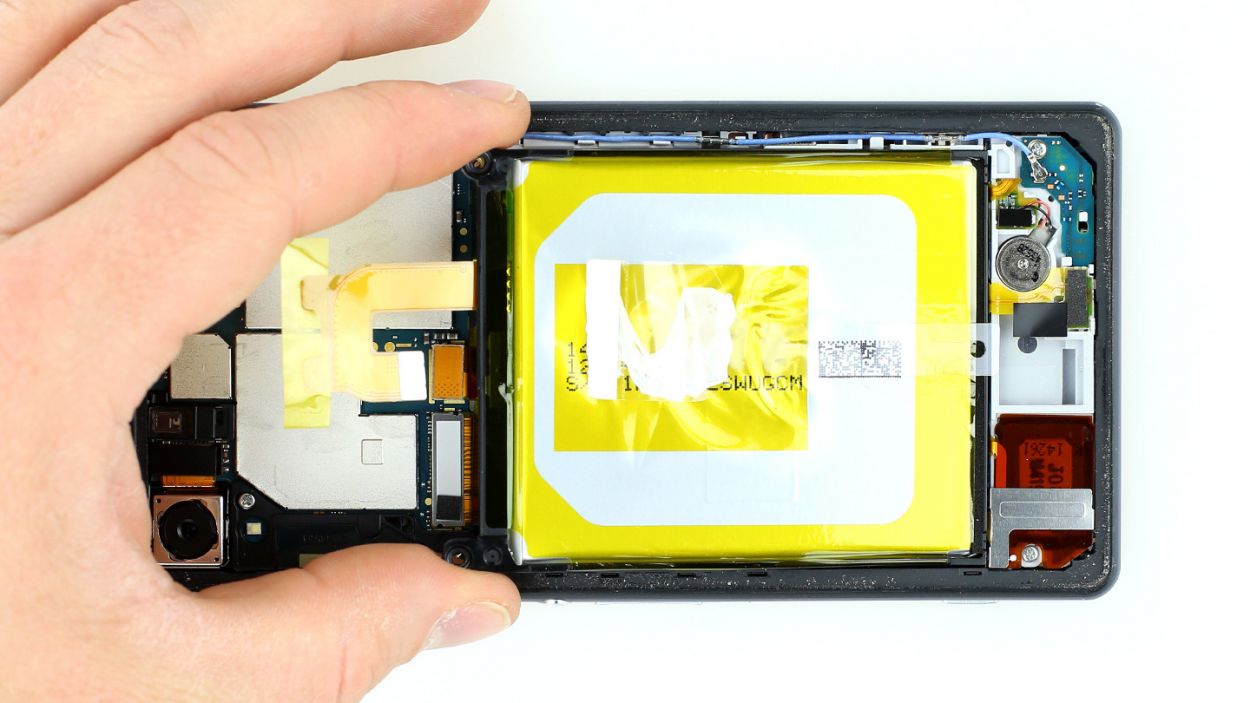
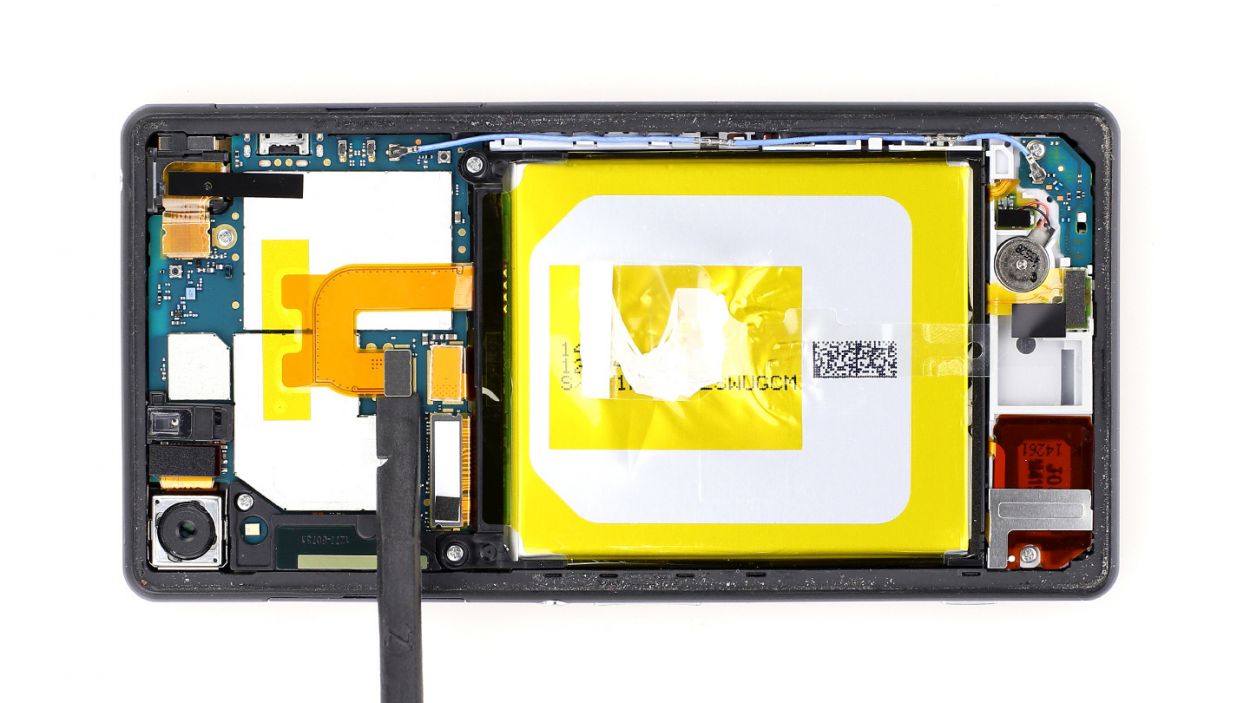
– Alright, let’s kick things off by peeling away that clear plastic strip covering the battery connection cable.
– Next, grab your trusty spudger and gently slide the flat end just underneath the contact, giving it a little lift. Just a heads up—be careful not to knock off those tiny resistors soldered onto the logic board.
– Now, it’s time to disconnect the cable set from the silver plate. It’s just a little sticky, so a gentle tug should do the trick.
– Go ahead and unscrew those two Phillips screws—2 x 3.3 mm Phillips screws, to be exact. You got this!
– Finally, let’s remove the battery and wrap this up!
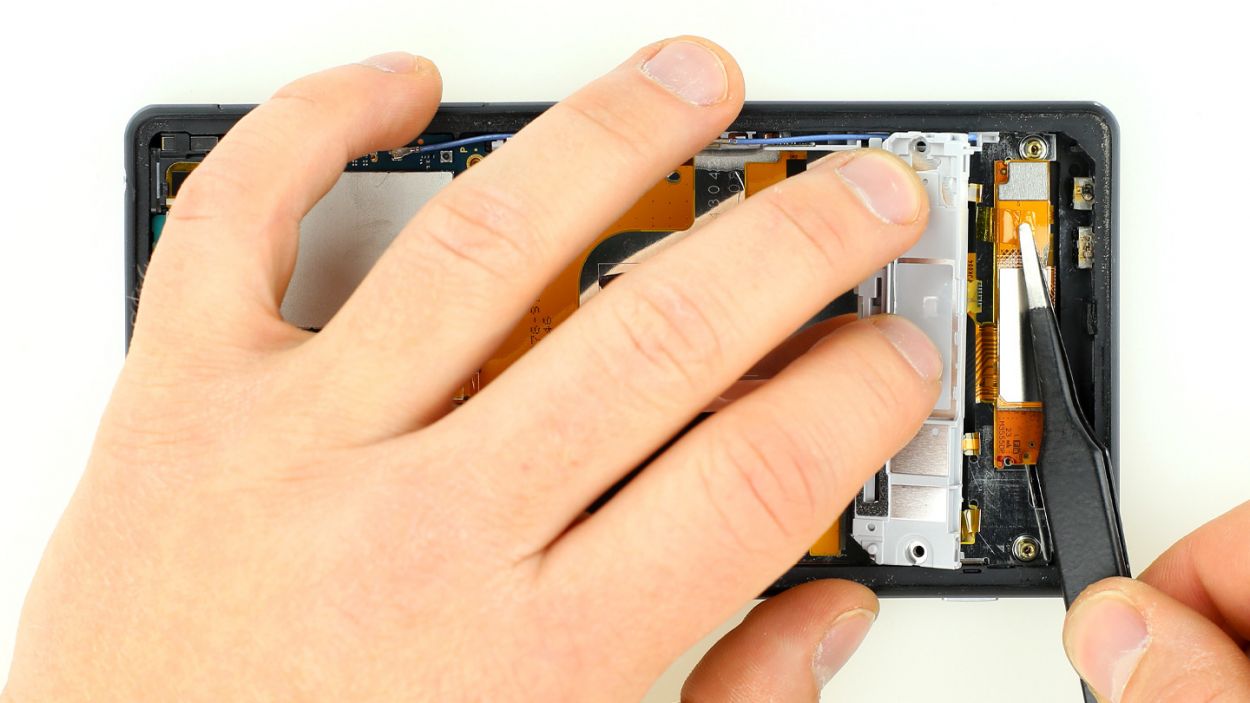
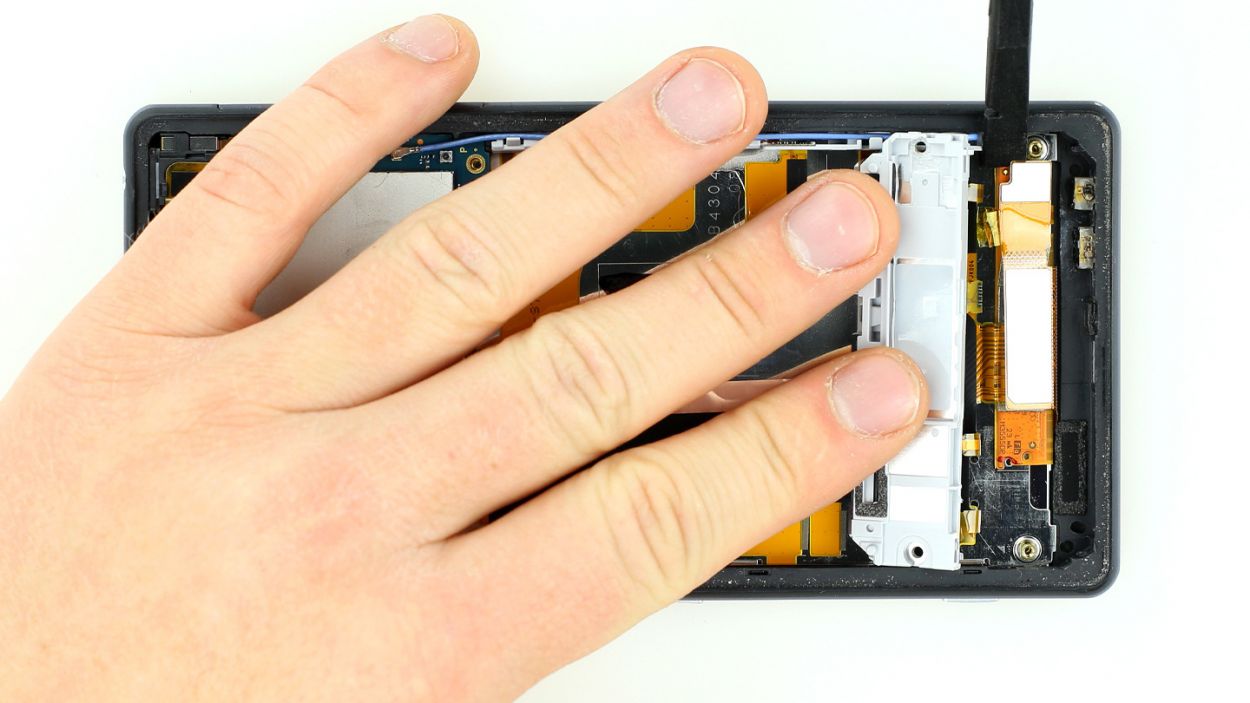
Step 4
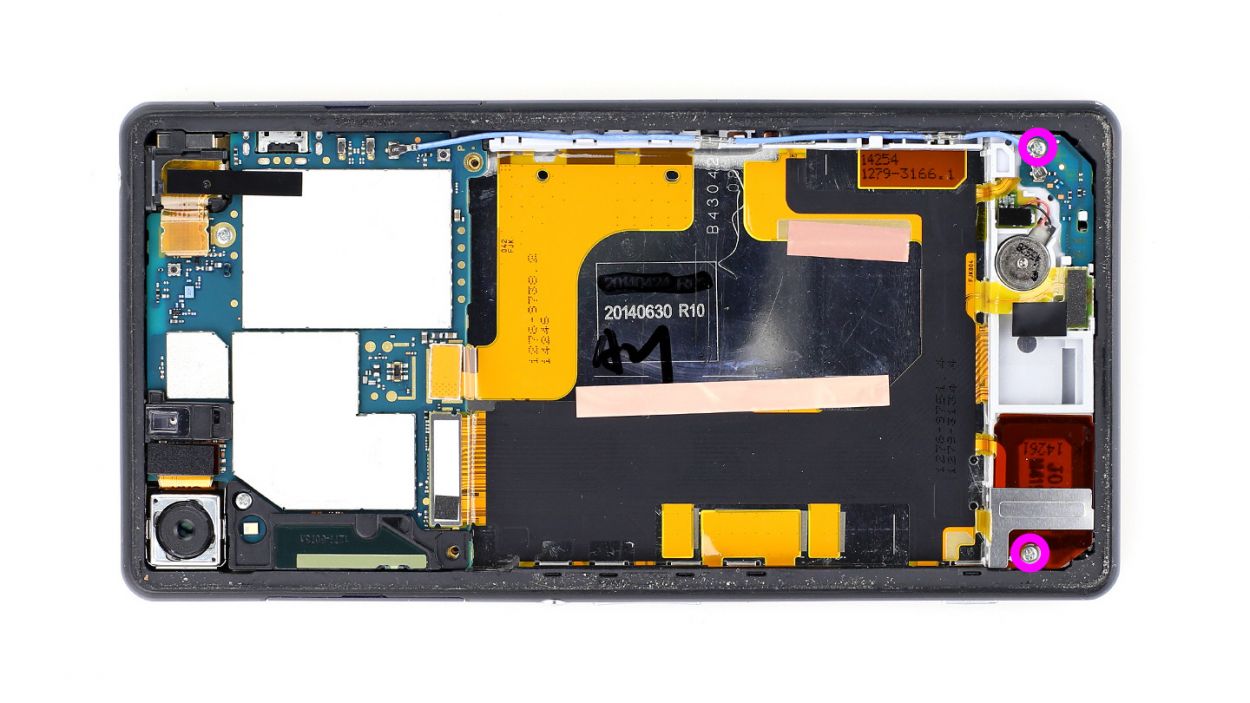


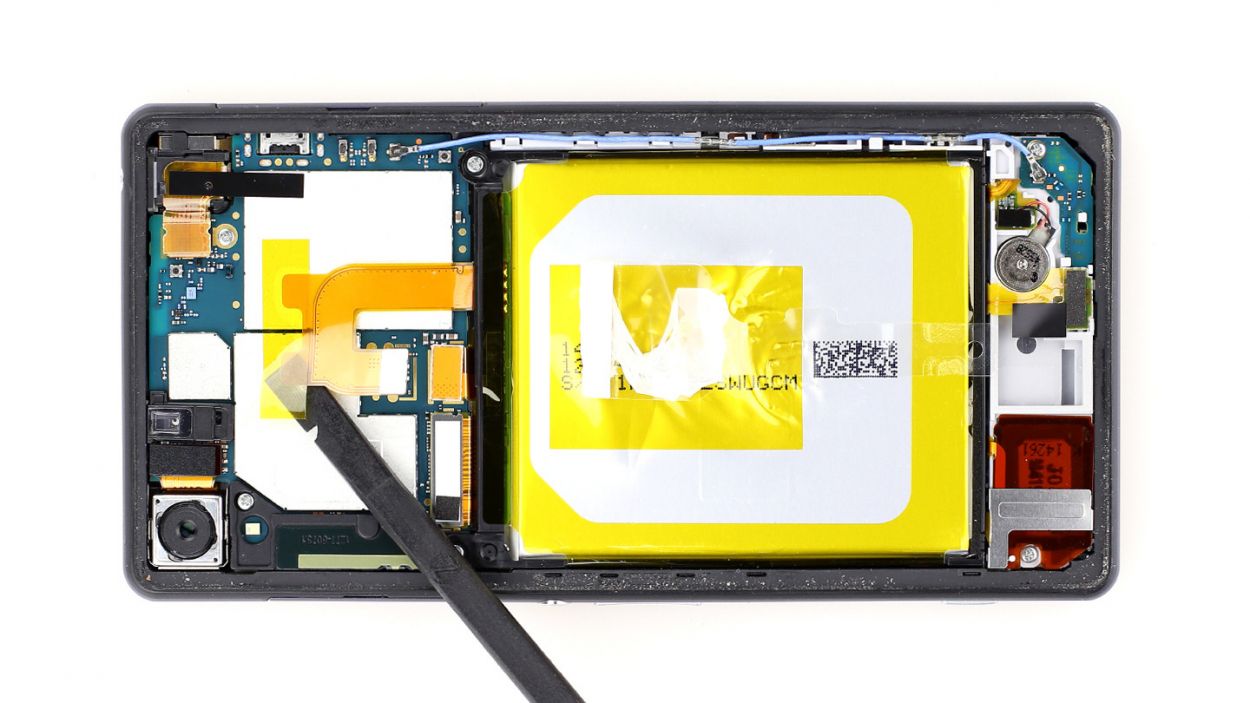
– First up, there are two Phillips screws keeping the sub-board with the integrated speaker snug as a bug. Go ahead and take those two Phillips screws out.
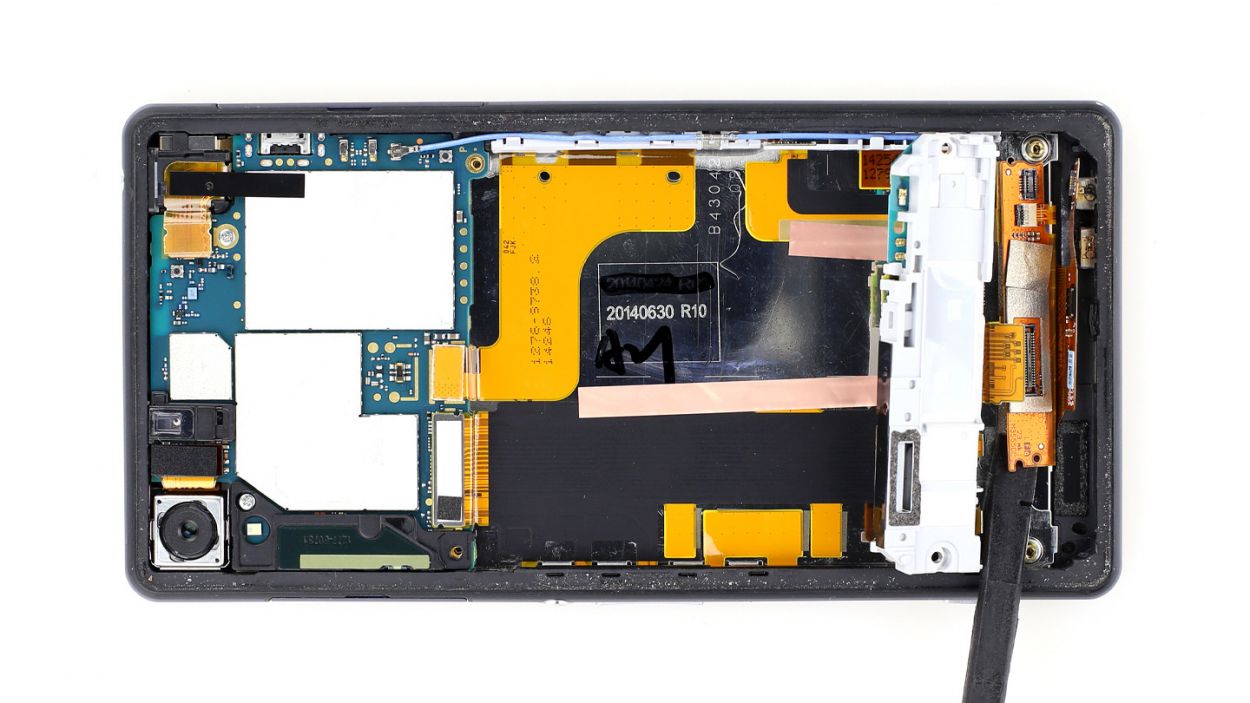
– Next, there’s a shiny silver bracket holding the sub-board right above the speaker. It’s got a little hook to it, so give it a gentle nudge.
– Now, the sub-board, which includes the speaker all cozied up in a plastic frame, is held tightly in place. We need to free it up!
– Grab your trusty ESD spudger and gently lift at several points, then fold it off to the side. You’re doing great!
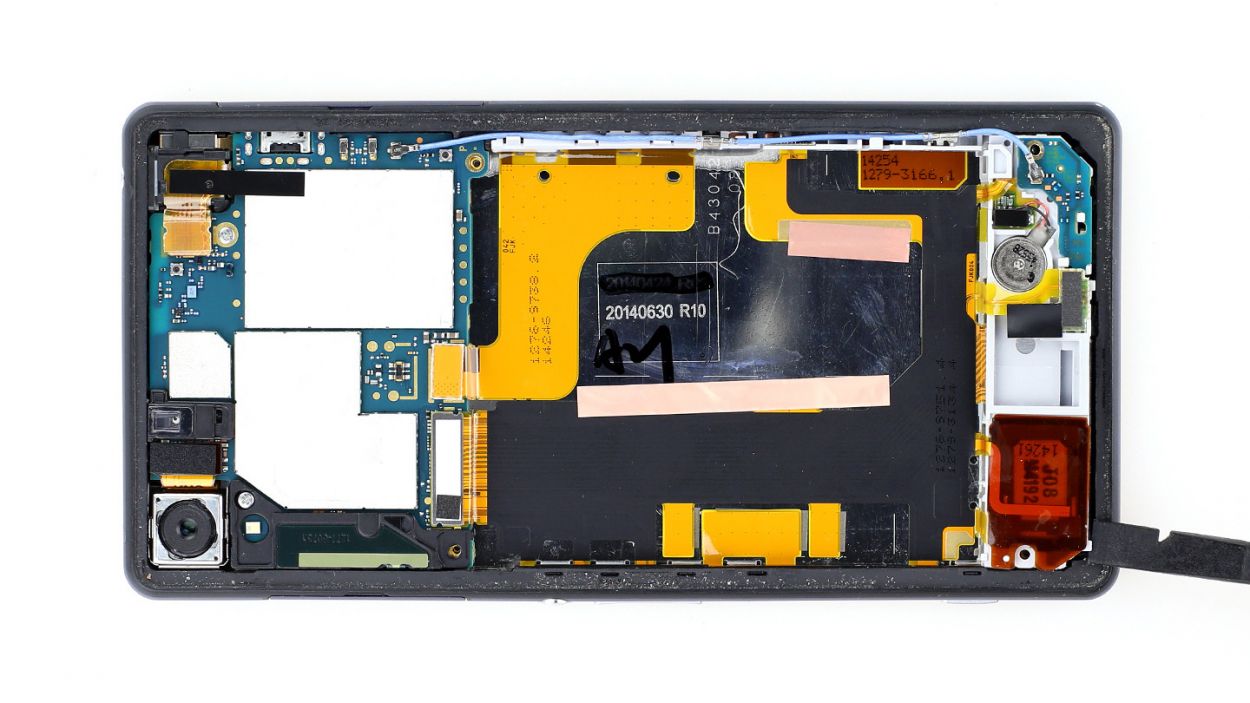
Step 5

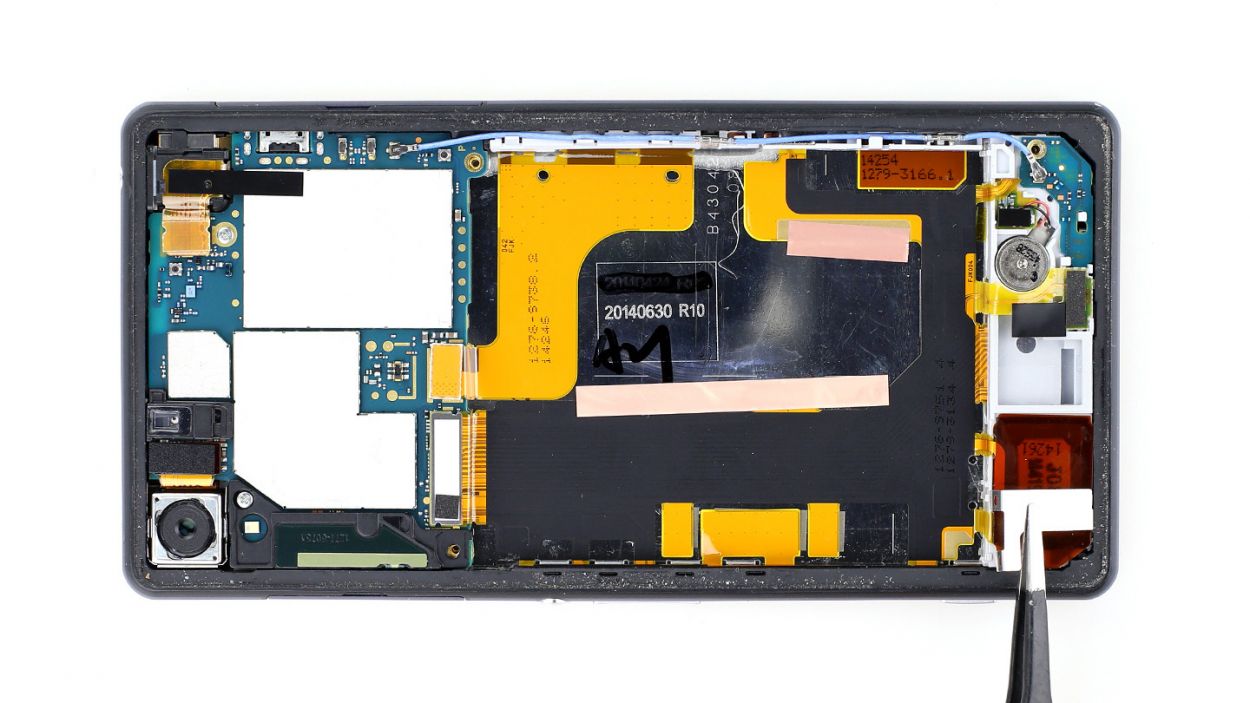
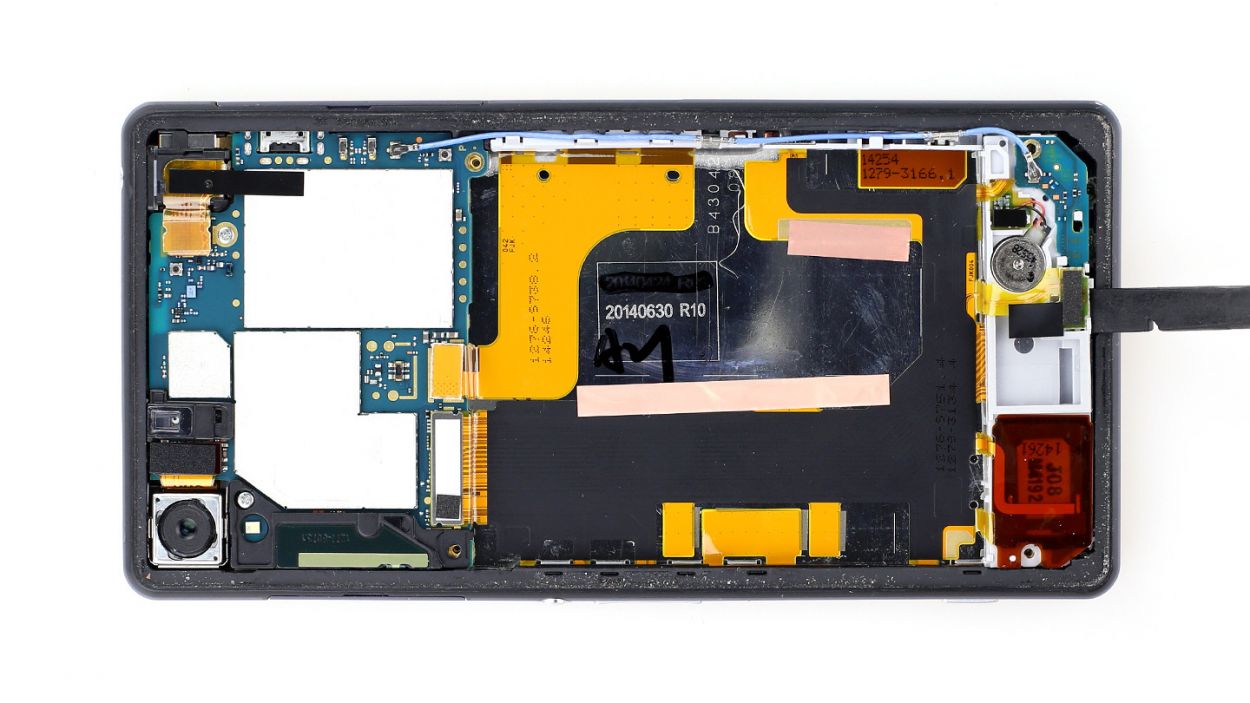
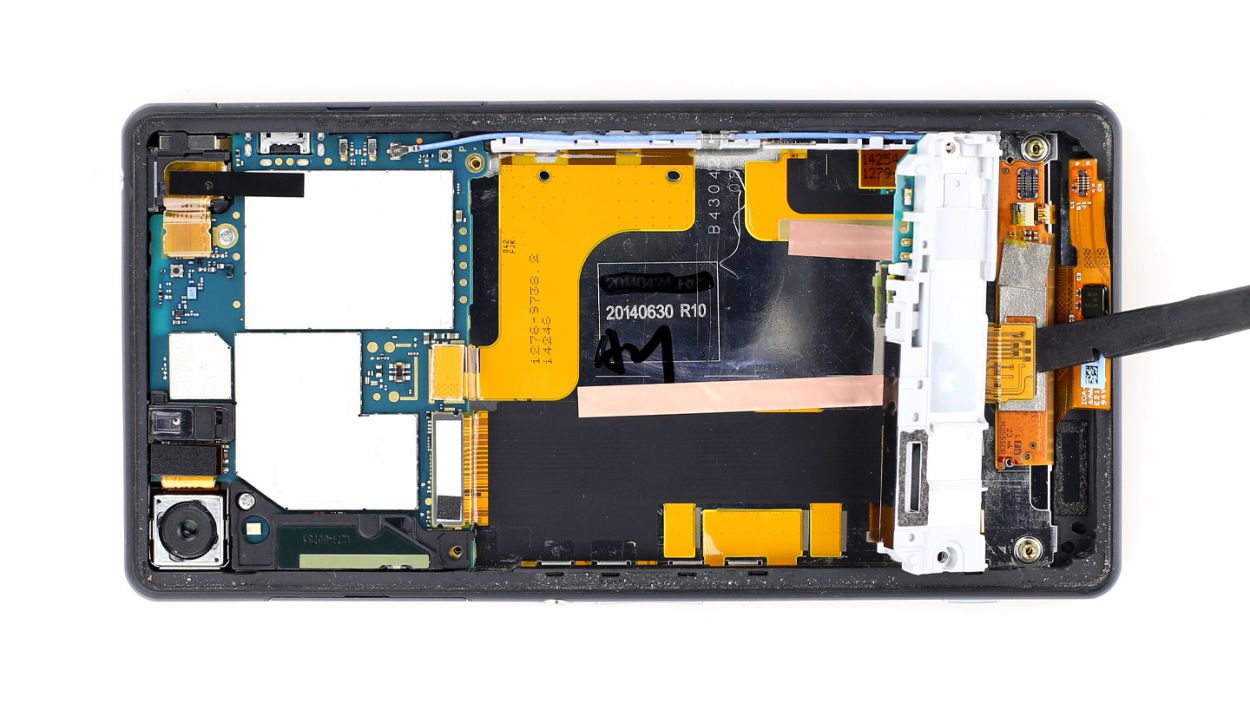
– First things first, let’s peel off that transparent protective film. It’s like unwrapping a gift!
– Next up, gently disconnect the first part of the display cable. Use the flat end of your spudger to slide it just below the contact and give it a little lift.
– Now, it’s time to disconnect the display connection cable from the logic board. Carefully slide the flat end of the spudger under the contact and lift it up. Just a friendly reminder: watch out for those tiny resistors that are soldered on—they’re delicate!
– Lift the display’s connector board, which is stuck on there pretty well, by placing the flat end of the spudger underneath and lifting it gently. You’ve got this!
– Once it’s fully detached from the frame, tilt the board up. It’ll fit through that gap in the frame much easier this way. Smooth moves!
Step 6


– Alright, let’s get that Sony Xperia Z2 display off! First things first, we need to warm it up a bit. Grab your heat gun and gently heat the edges to soften that stubborn glue. Once it’s nice and toasty, slide a plastic pick into the tiny gap between the frame and the display to break the adhesive seal. If you’re having a tough time, a metal spatula can give you a hand—just be careful not to scratch the frame!
– Now, let’s lift that display! Start from the area where it says ‘Sony.’ As you lift, make sure to guide the display’s connector board through the opening in the frame. We want to keep everything intact, right?
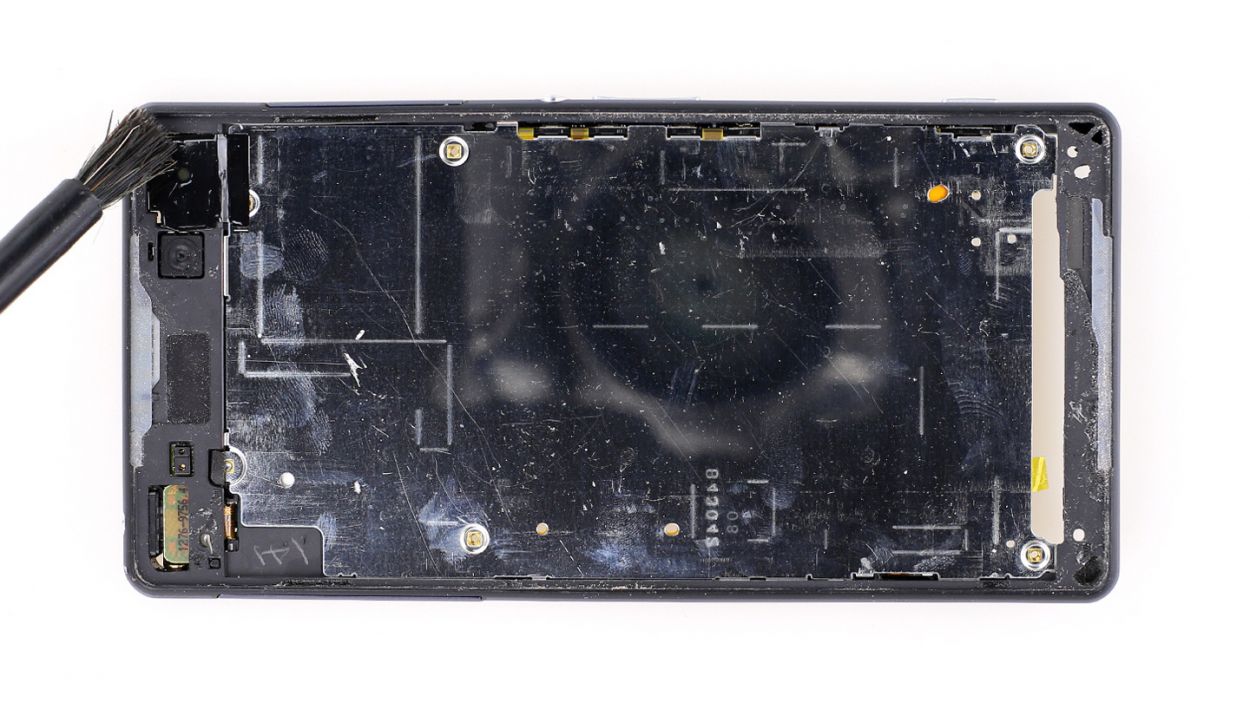
– Before we move on, take a moment to remove any old glass pieces that might be hanging out on the frame. A clean surface is key for a smooth repair!
Step 7

– First things first, let’s get that frame squeaky clean! Once it’s ready and spick and span, it’s time to lay down that brand new adhesive film like a pro.
– Next up, gently guide the new display’s connector board through the magical gap in the frame. Once that’s done, place the display snugly onto the frame and give it a little press. Hang tight for a moment—this is where the magic happens!


Step 10
– Time to wrap things up! Simply place the back cover back on your device.
– No worries if the old glue still has its stick – it’s ready to hold things together.
– Give the back cover a cozy little heat-up, then apply a gentle push to seal the deal for a bit.