DIY Guide to Replace Sony Xperia Z5 Compact Antenna
Duration: 15 min.
Steps: 10 Steps
Ready to tackle your Sony Xperia Z5 Compact’s antenna woes? In this guide, we’ll walk you through replacing that pesky main antenna yourself! If your phone is struggling with a weak or non-existent signal, this repair is just what you need. Let’s get started!
Step 1

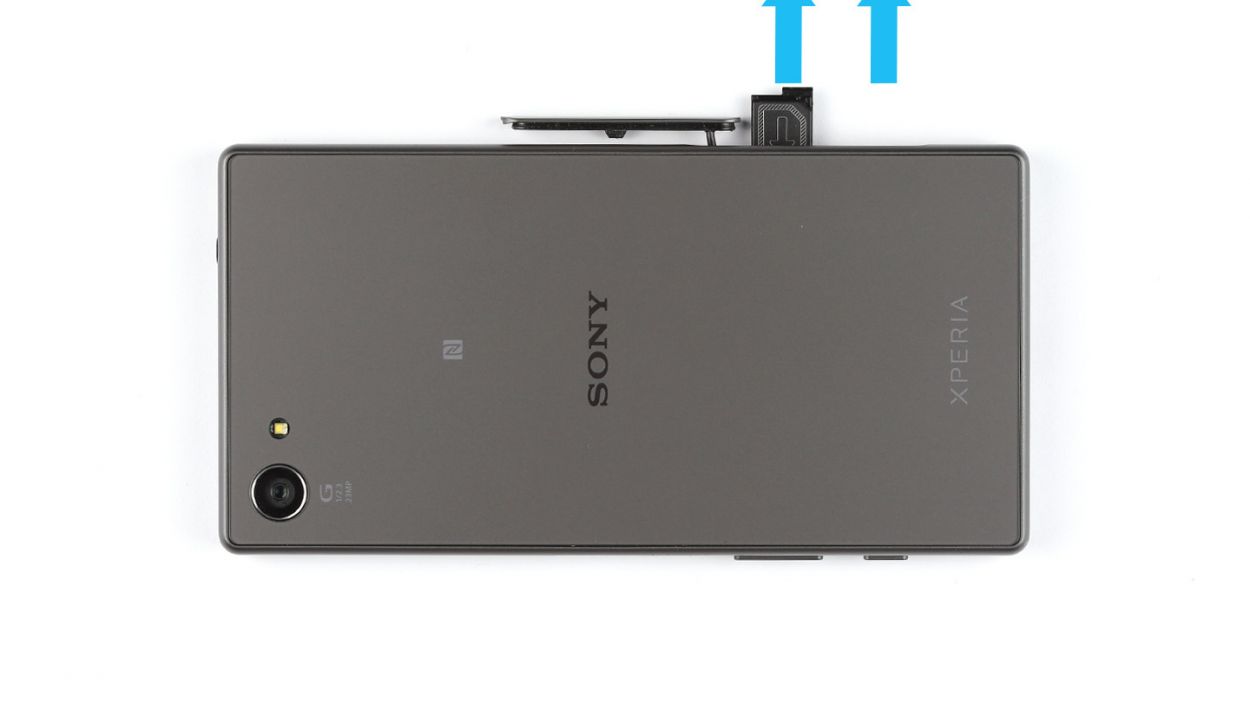
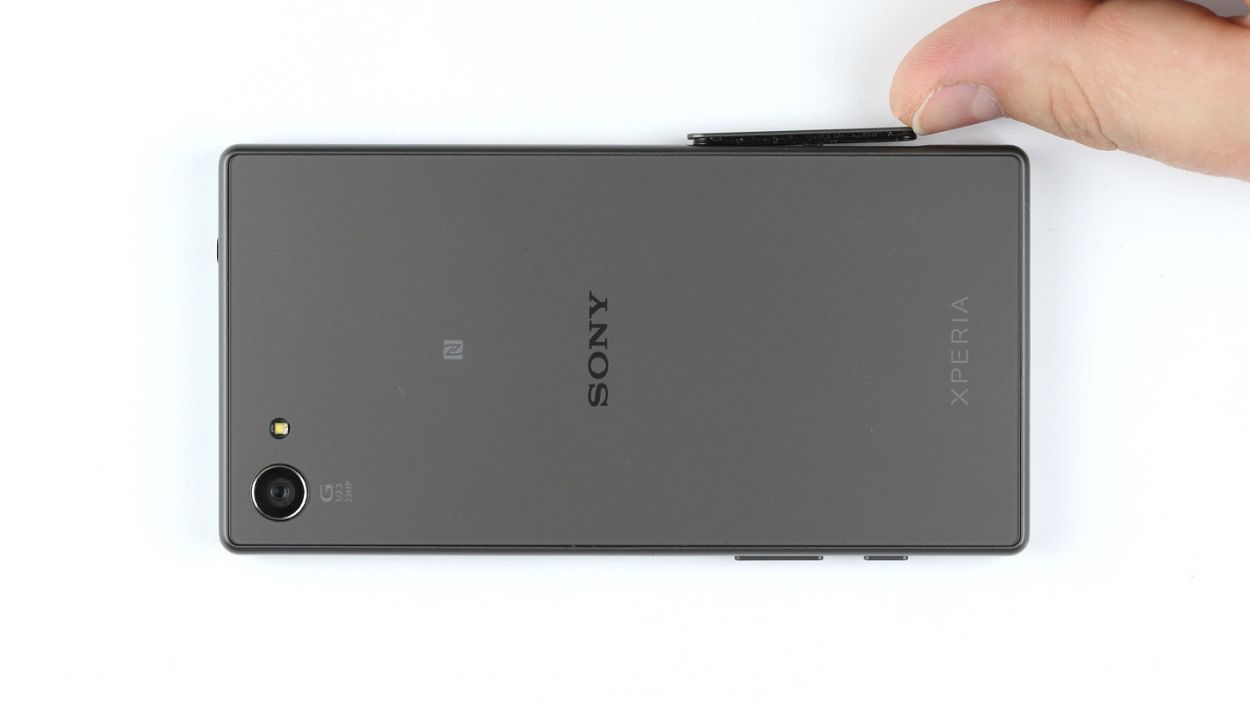
– Time to get started! Use your finger or a trusty spudger to pry open the cover at the lower end of your smartphone. You can rotate it 90° to get a better grip on that card slot.
– Next up, carefully remove the SIM and microSD cards. The SIM card is chillin’ in its tray, just waiting to be freed. If you need help, you can always schedule a repair.
Step 2

The inside of the back cover is all dressed up with paint! Gently remove any sticky leftovers to keep it looking sharp and avoid any scratches or cracks.
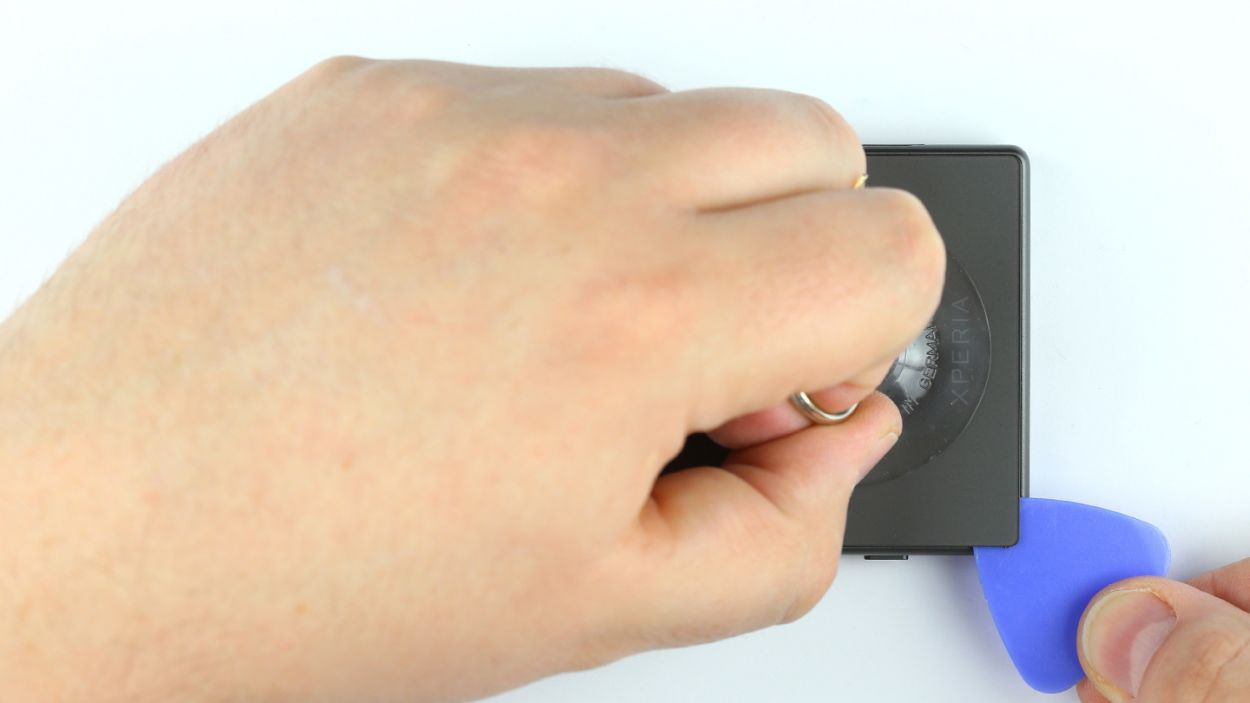
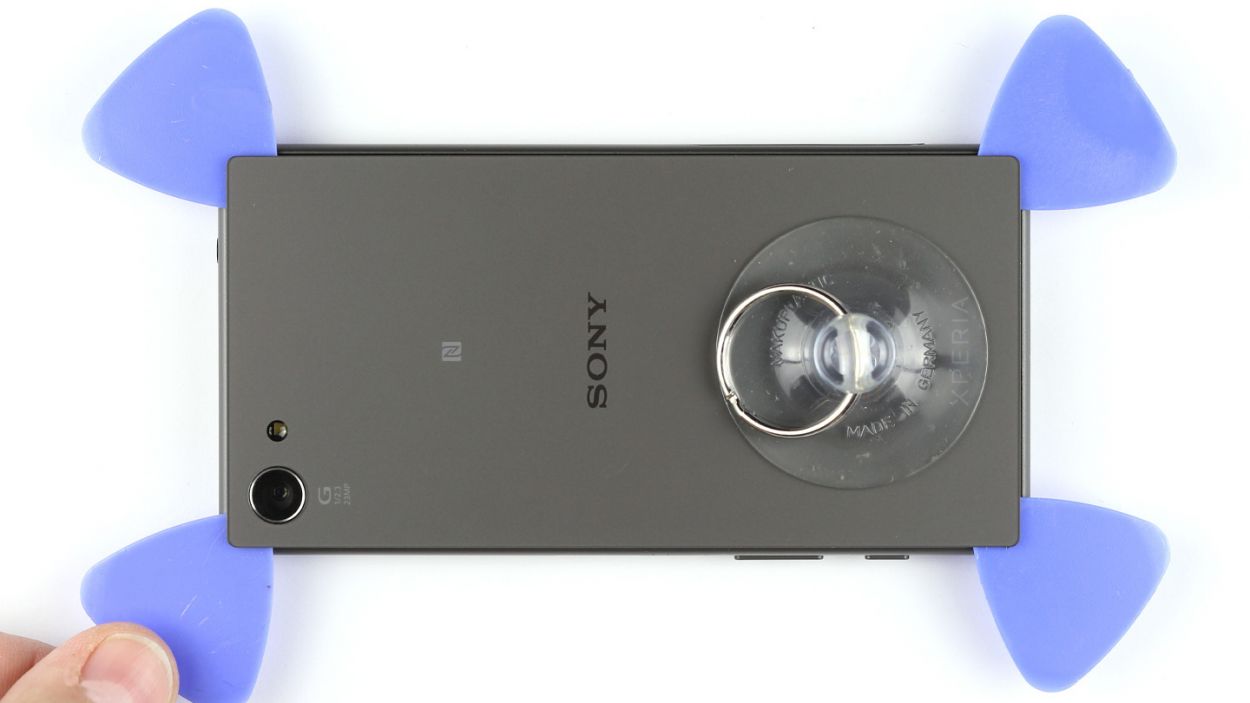
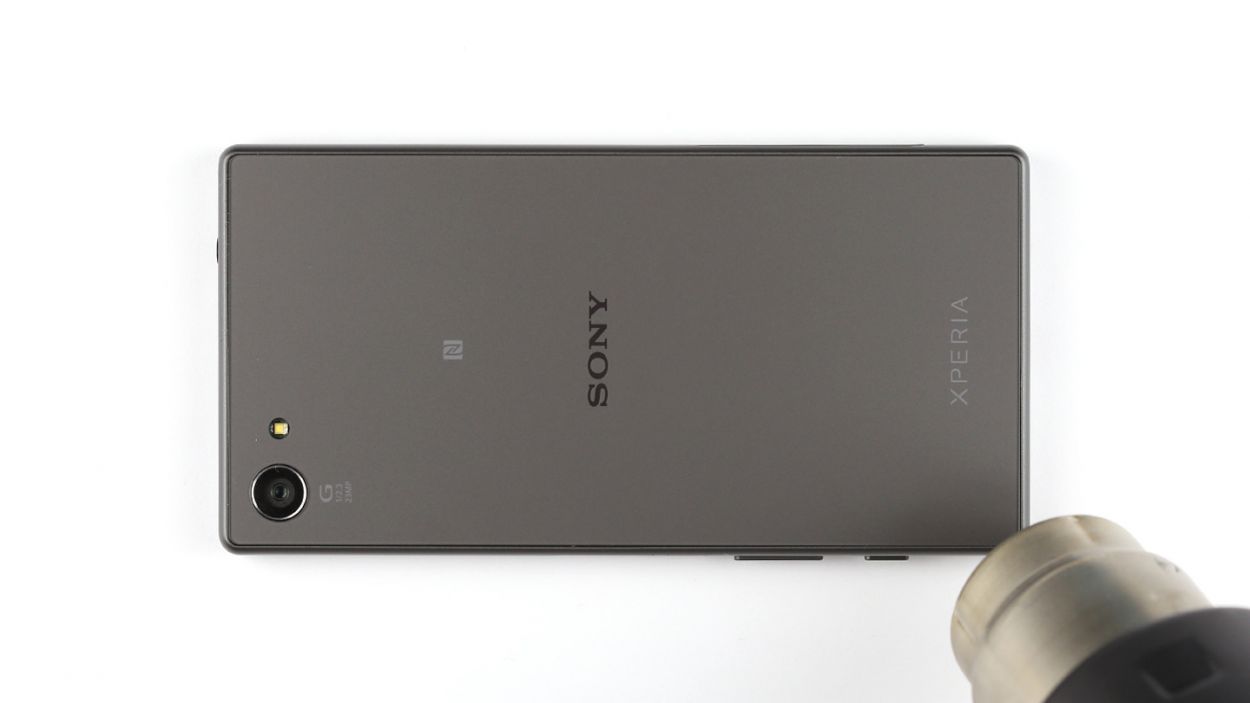
– First things first, the back cover is stuck to the chassis like it’s on a mission! Grab a heat gun and warm it up a bit to loosen that glue.
– Now, let’s get a suction cup on the lower end of the device. Give it a gentle pull while keeping the chassis steady with a plastic pick. Teamwork makes the dream work!
– Once you see a little gap forming between the chassis and the back cover, slide that pick right in there. Just a heads up, the inside of the back cover is painted, so be super careful when you’re cleaning off any leftover adhesive to avoid those pesky scratches or cracks.
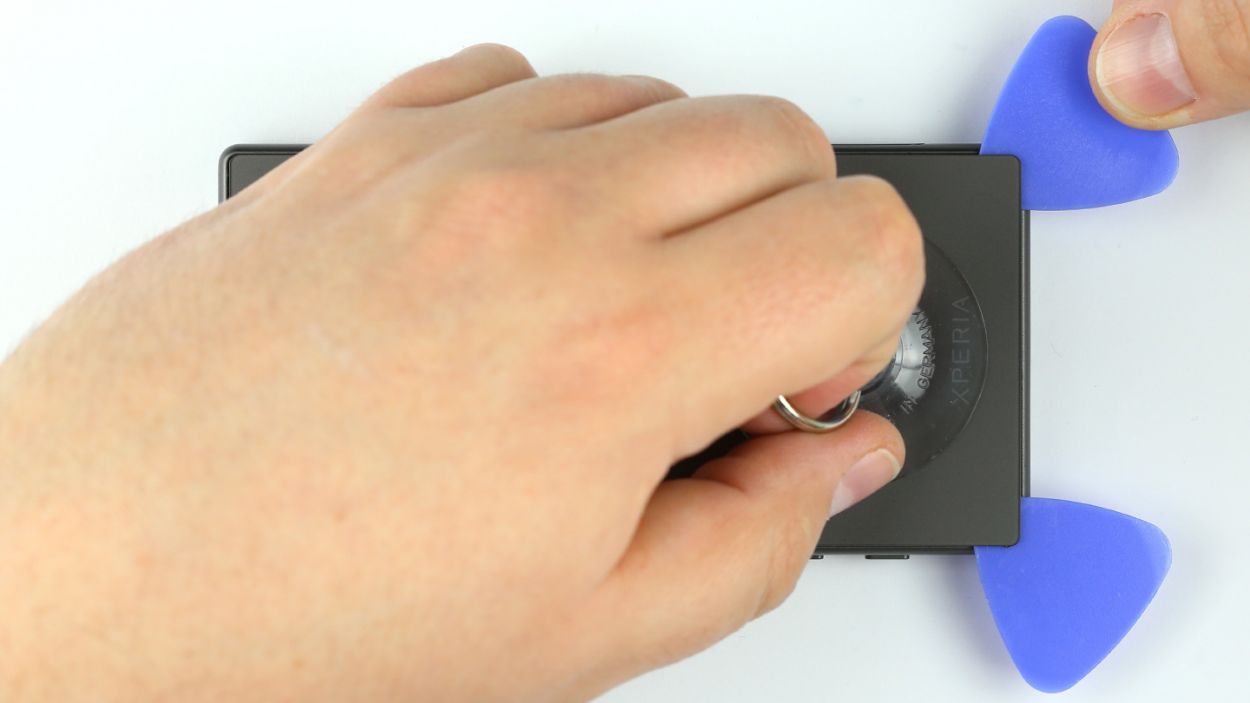
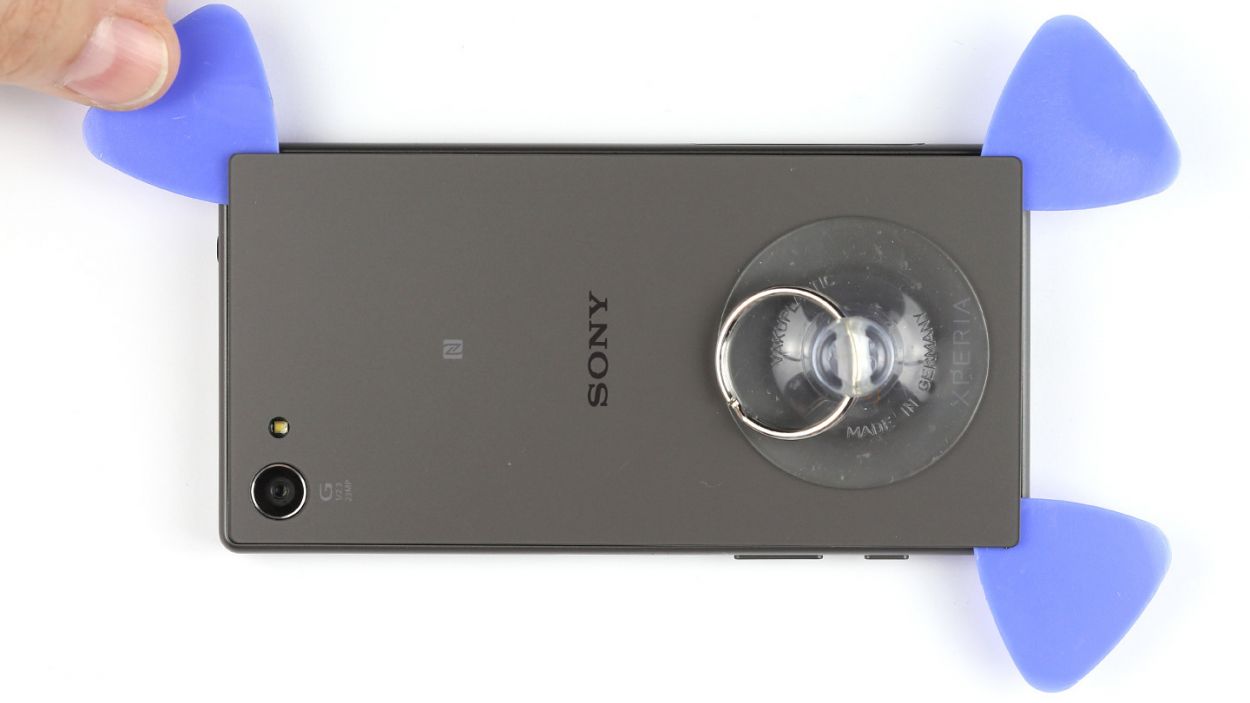
– Run the pick all the way around the device to fully separate the glue. If you’ve got extra picks, feel free to pop one in each corner for a smoother ride.
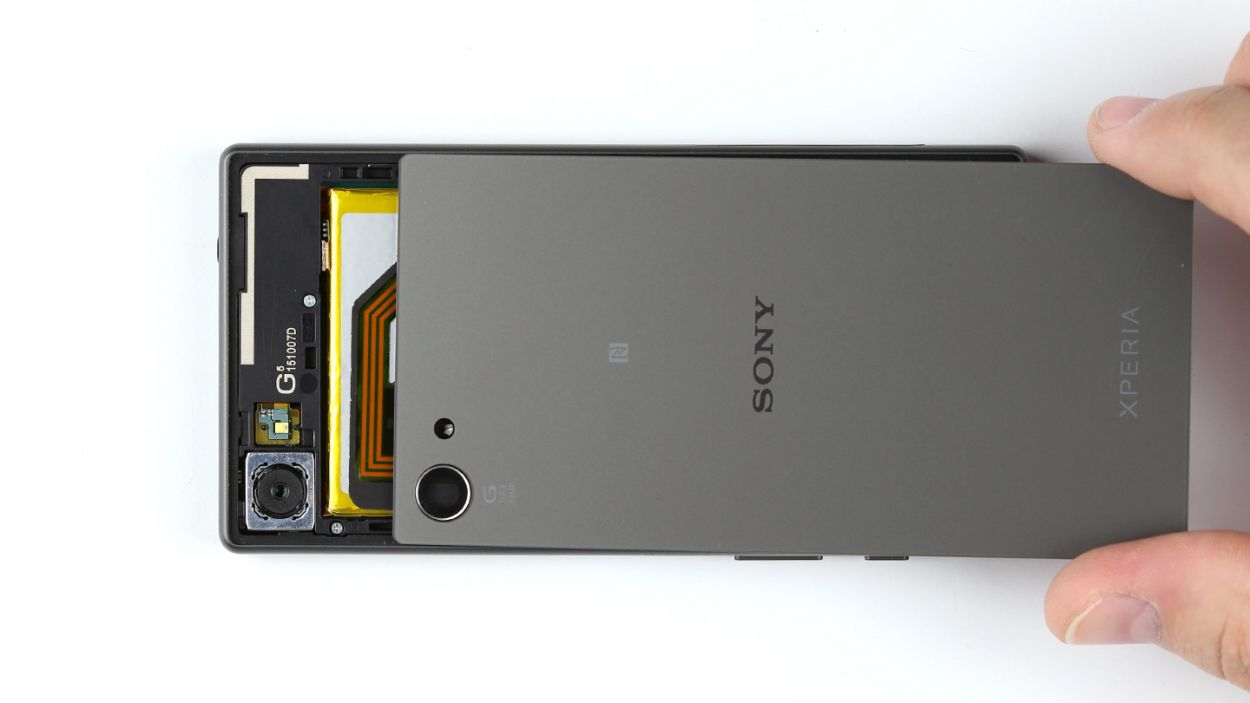
– Finally, it’s time to remove that back cover and reveal what’s underneath!
Step 3

– Let’s kick things off by popping off the type plate! You’ll find it snugly sitting in the SIM and microSD card slot, just waiting for you to give it a little nudge.
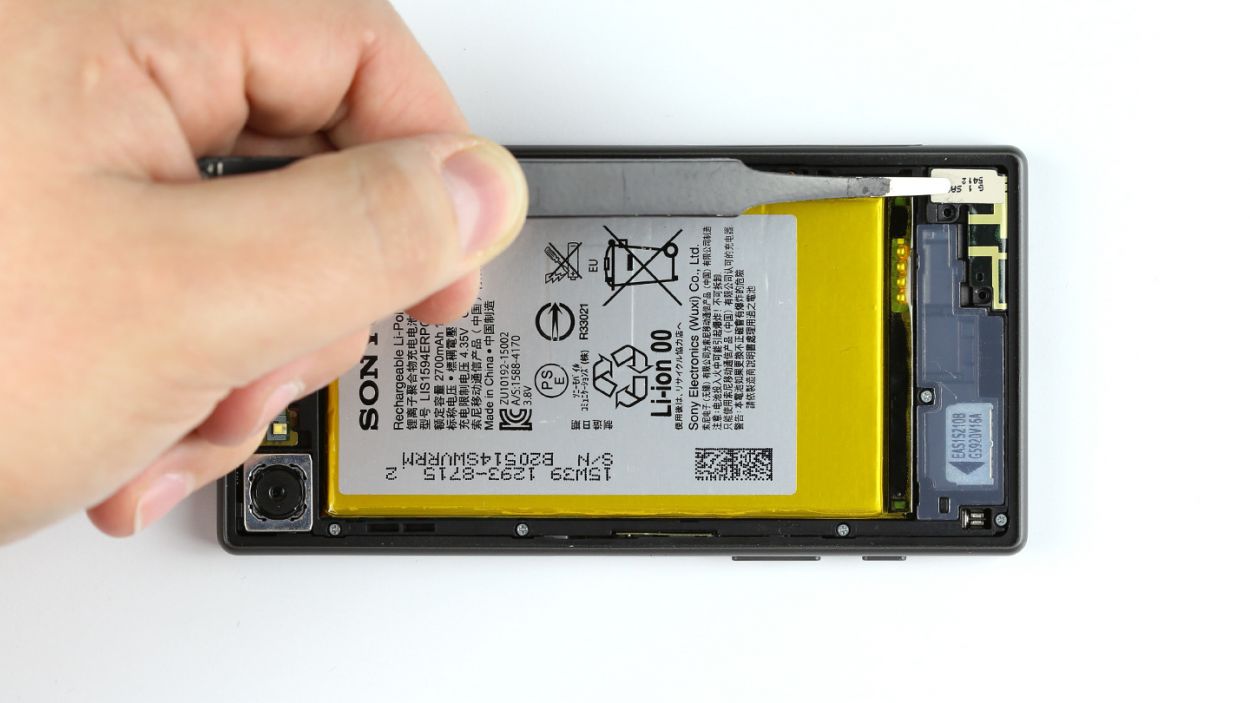
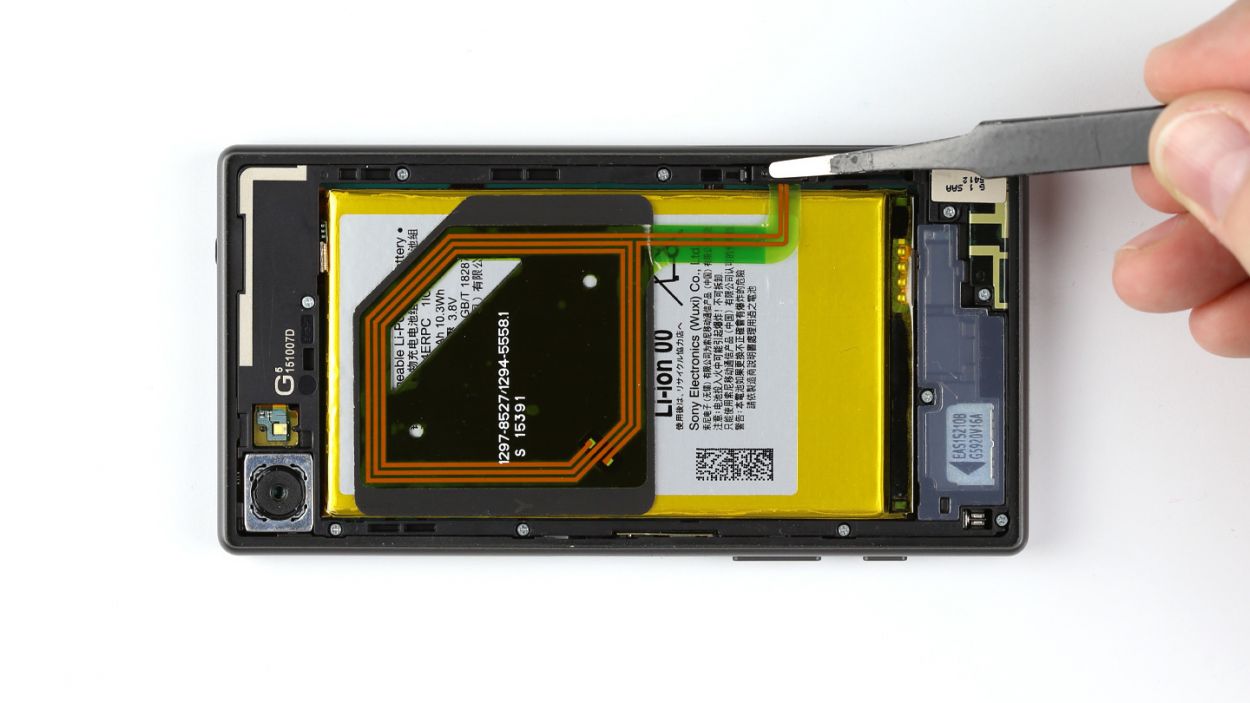
Step 4
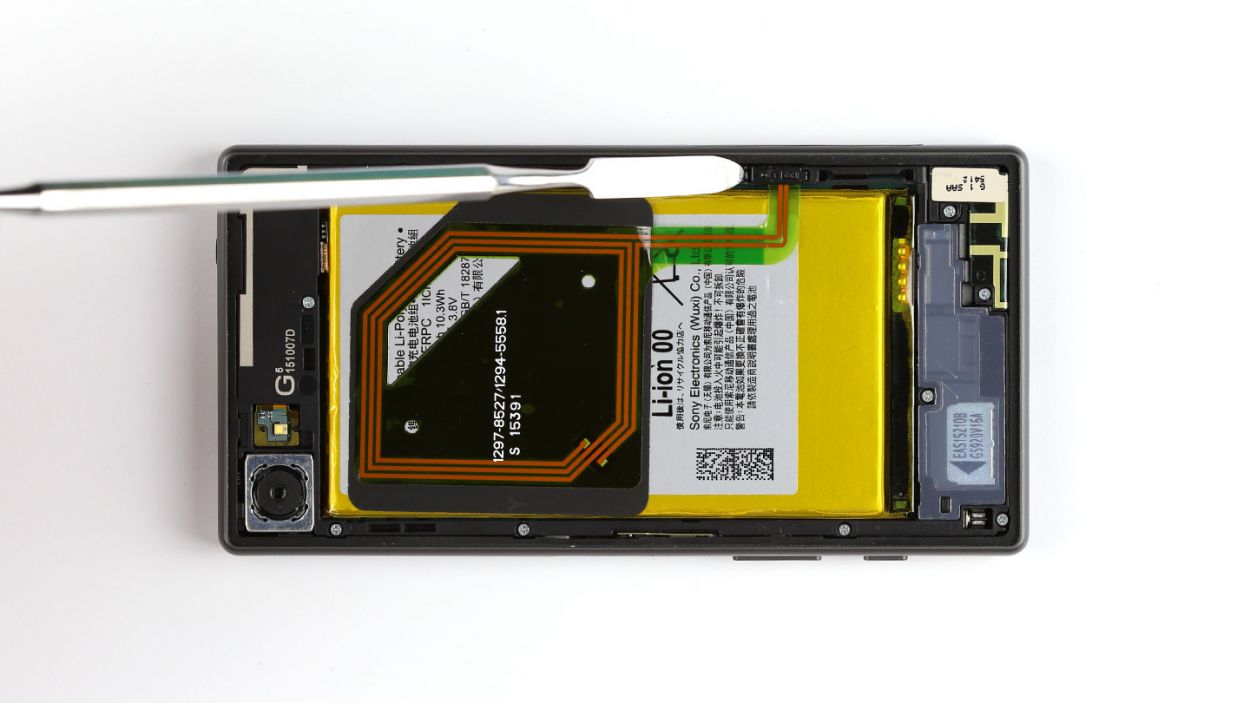
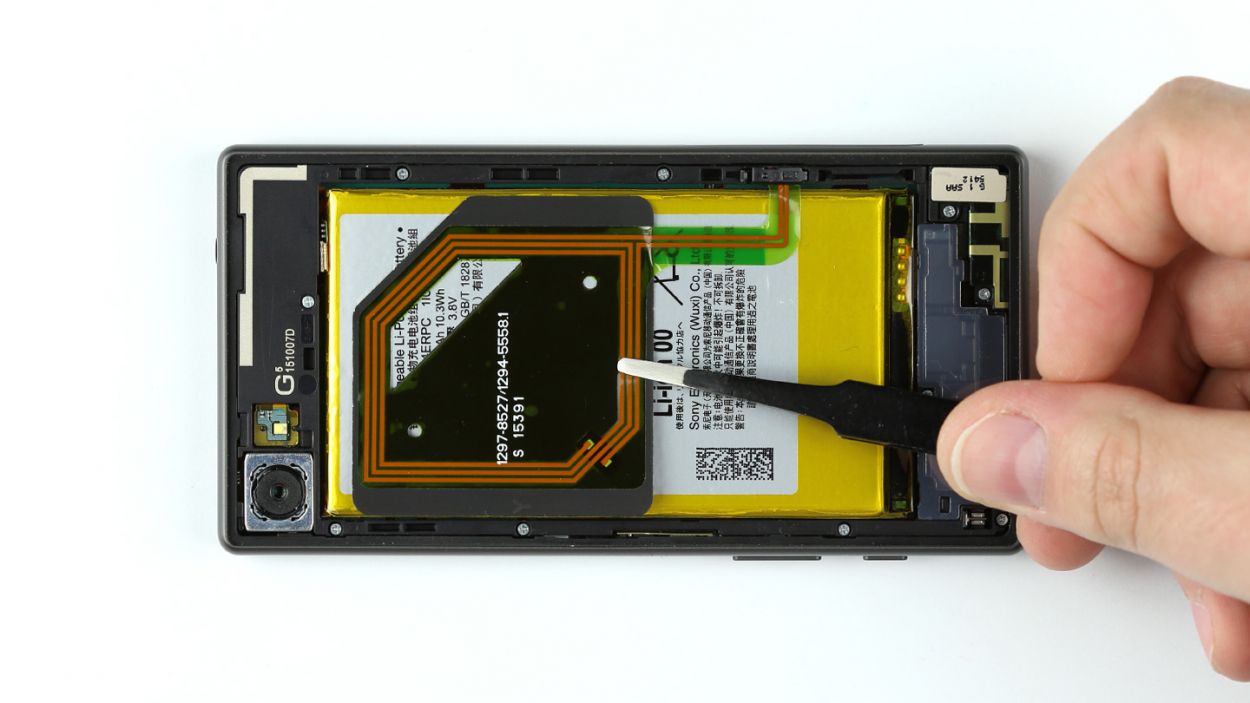
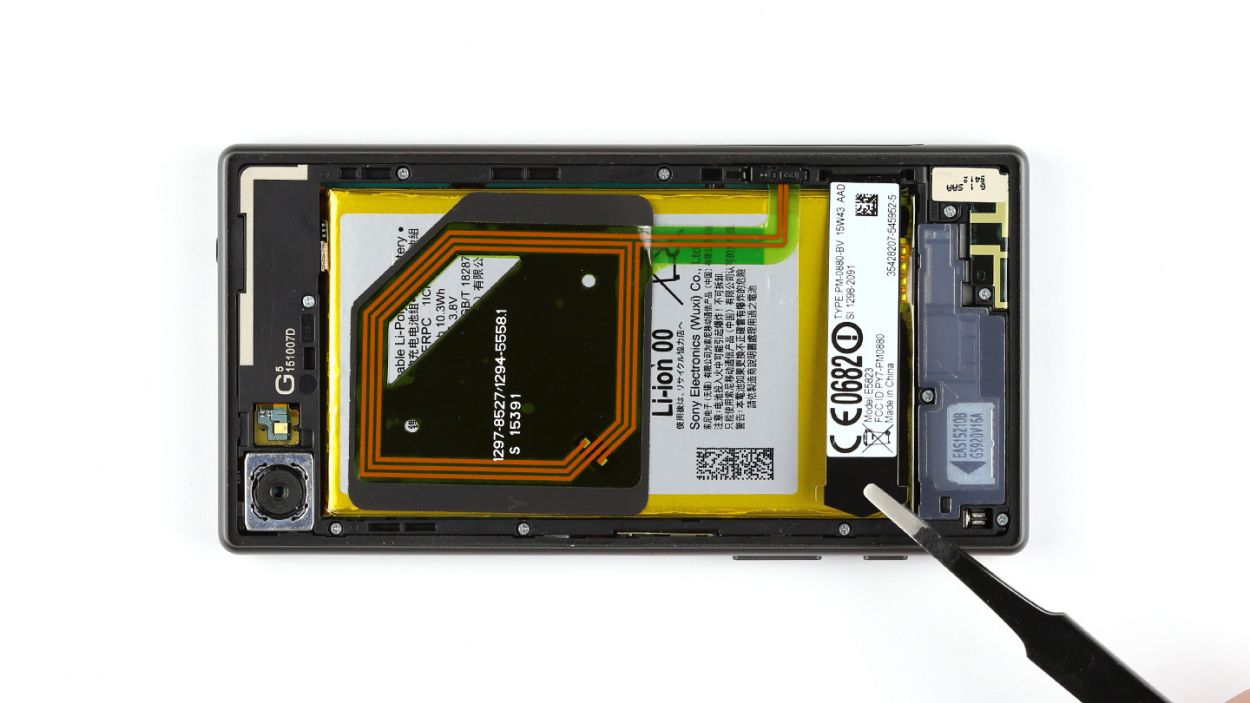
– First things first, gently unplug the NFC antenna from the chassis. Easy peasy!
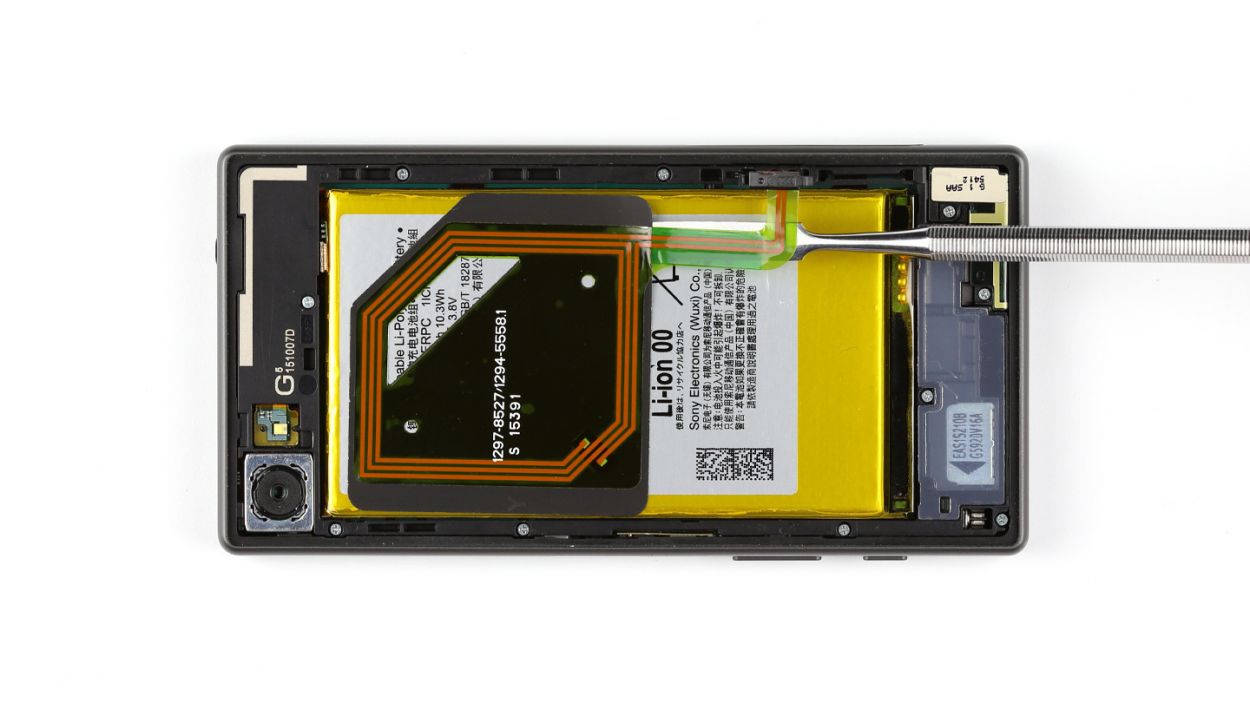
– Next up, it’s time to disconnect the antenna from the battery. Since it’s glued on there, grab a steel laboratory spatula and carefully slide it between the antenna and the battery. If that glue is being stubborn, a little heat on the NFC antenna should do the trick!
– Finally, go ahead and remove the NFC antenna. You’re doing great!
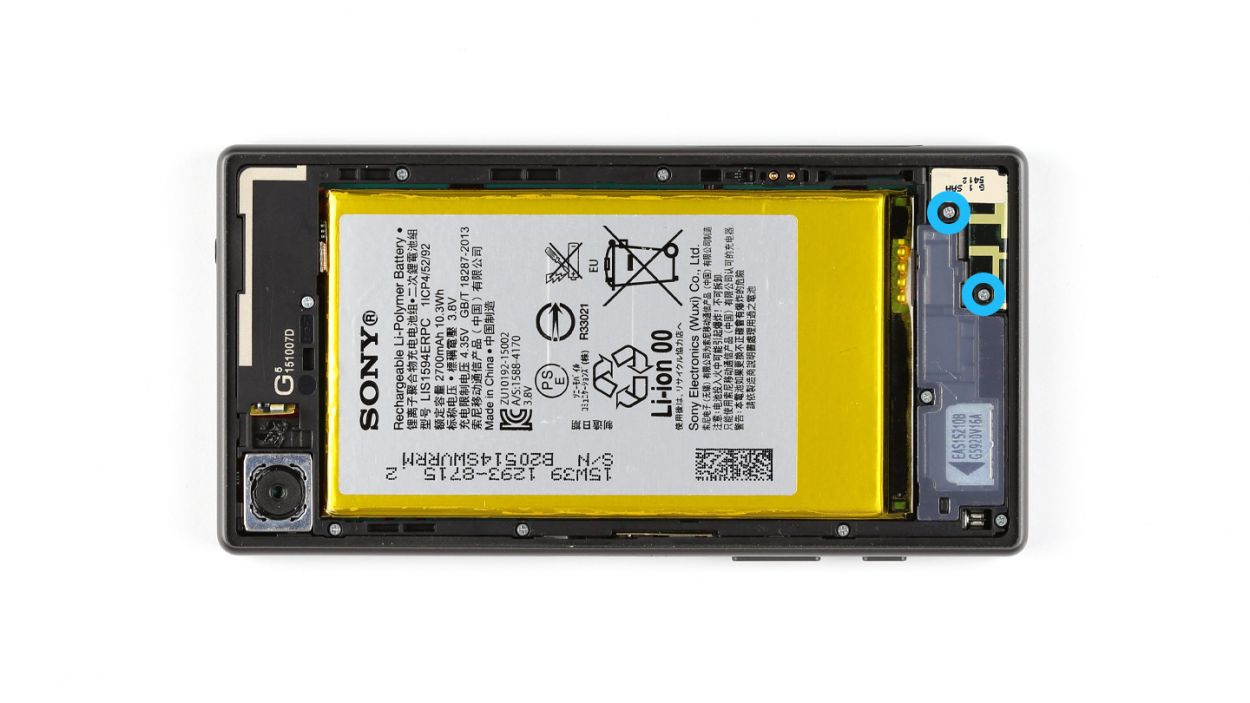
Step 5

– Grab your trusty Phillips screwdriver and unscrew those two little screws that are keeping the main antenna snug as a bug. We’re talking about 2 x 4.5 mm Phillips screws here!
– Now, gently lift the main antenna out of the device and give yourself a pat on the back for a job well done!
Step 6

– Let’s get that antenna nestled into its home in the enclosure!
– Now, give those two 4.5 mm Phillips screws a little snuggle to attach the antenna. Easy peasy!
Step 7

– Time to get that NFC antenna cozy with the battery! Gently press it down – let’s get that glue reacquainted.
– Now, connect the NFC antenna’s plug to the chassis. Easy peasy, lemon squeezy!
Step 8
– Time to get that type plate in place! Just pop it into the SIM and microSD card slot and you’ll be all set.
Step 9

– Gently place the back cover onto the chassis and give it a good press all around the edges to make sure it sticks like a champ.
– If it’s being a little stubborn, a bit of heat on the back of the device can help it bond better. Clamping it down can also do wonders by keeping that consistent pressure on the back cover.
Step 10

– If the cover is closed again, just give it a nudge with your finger or grab that trusty spudger to pop it open. You can even twist the cover 90° to make getting to the card slot a breeze.
– Time to bring those SIM and microSD cards back home! Slide the SIM card into its cozy tray, and you’re all set.
