DIY Guide to Replace Speaker in Huawei P9 Lite
Duration: 30 min.
Steps: 9 Steps
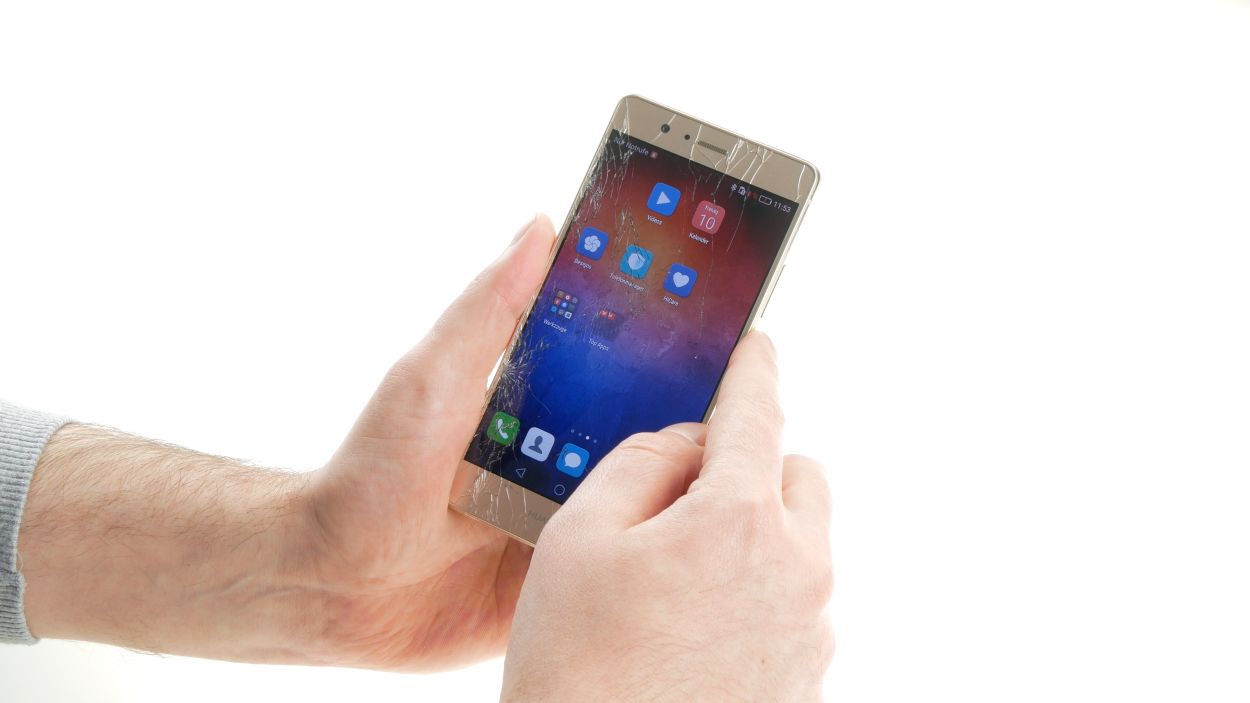
Ready to get your Huawei P9 Lite singing again? In this guide, we’ll walk you through replacing that pesky faulty speaker all by yourself! If your phone’s music sounds like a whisper or your ringtone is as quiet as a mouse when someone calls, this repair is just the ticket. Let’s bring back the beats!
Step 1
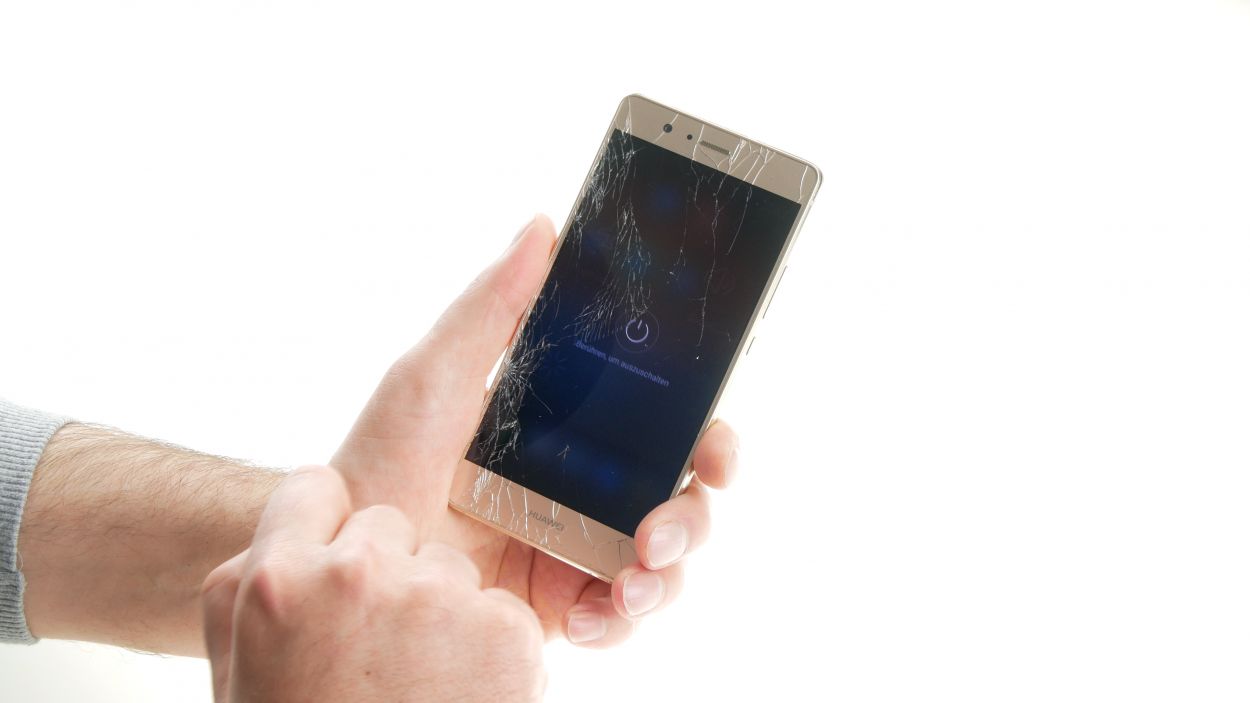
– Give that standby button a good press and hold until you see the shutdown dialog pop up on your screen.
– Go ahead and tap to confirm your choice.
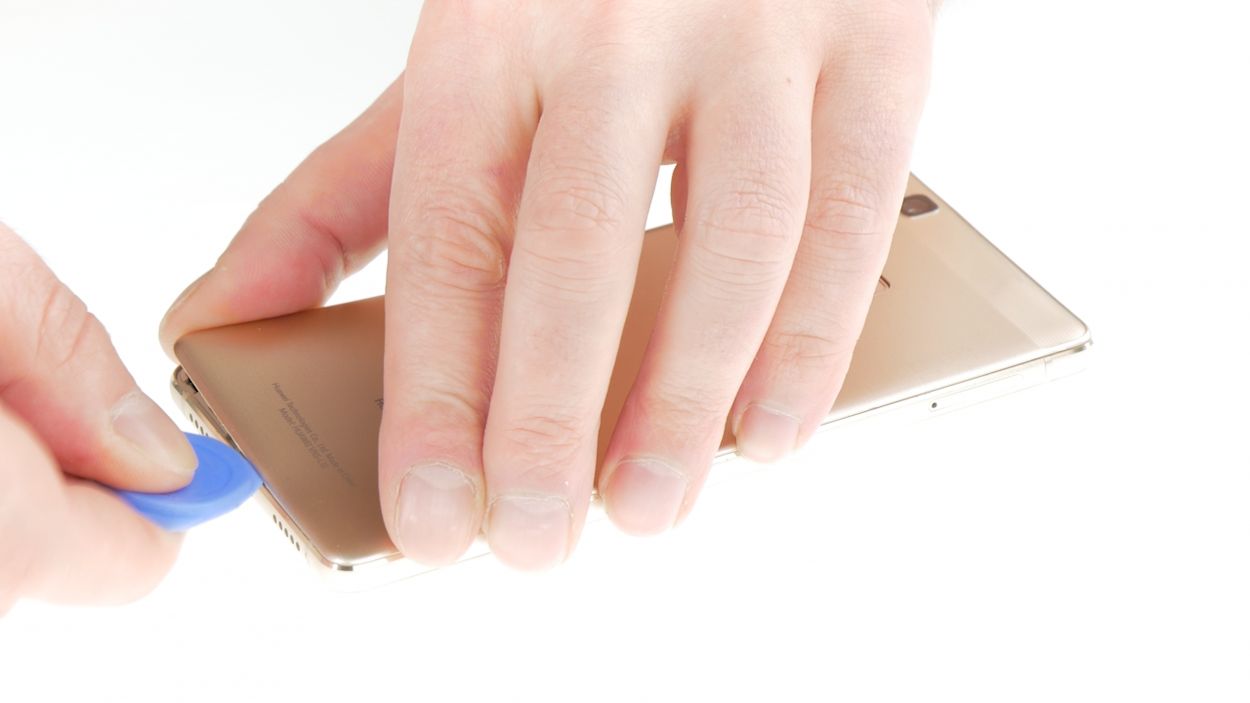
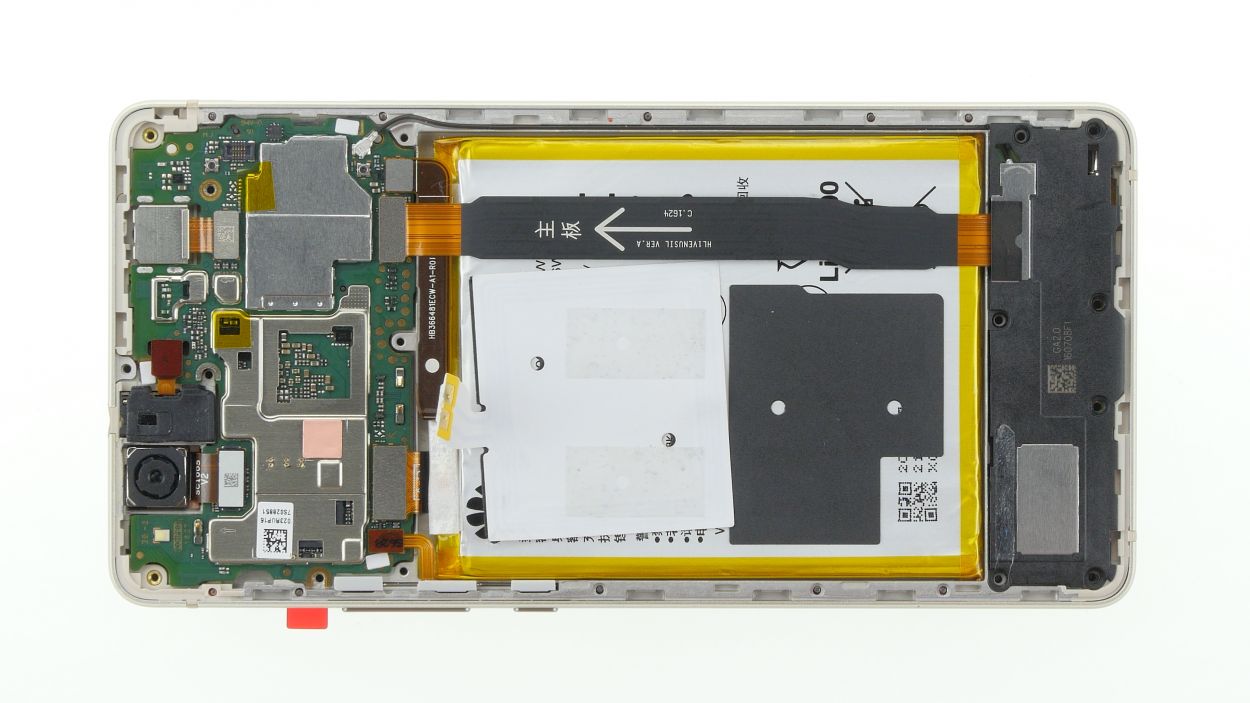
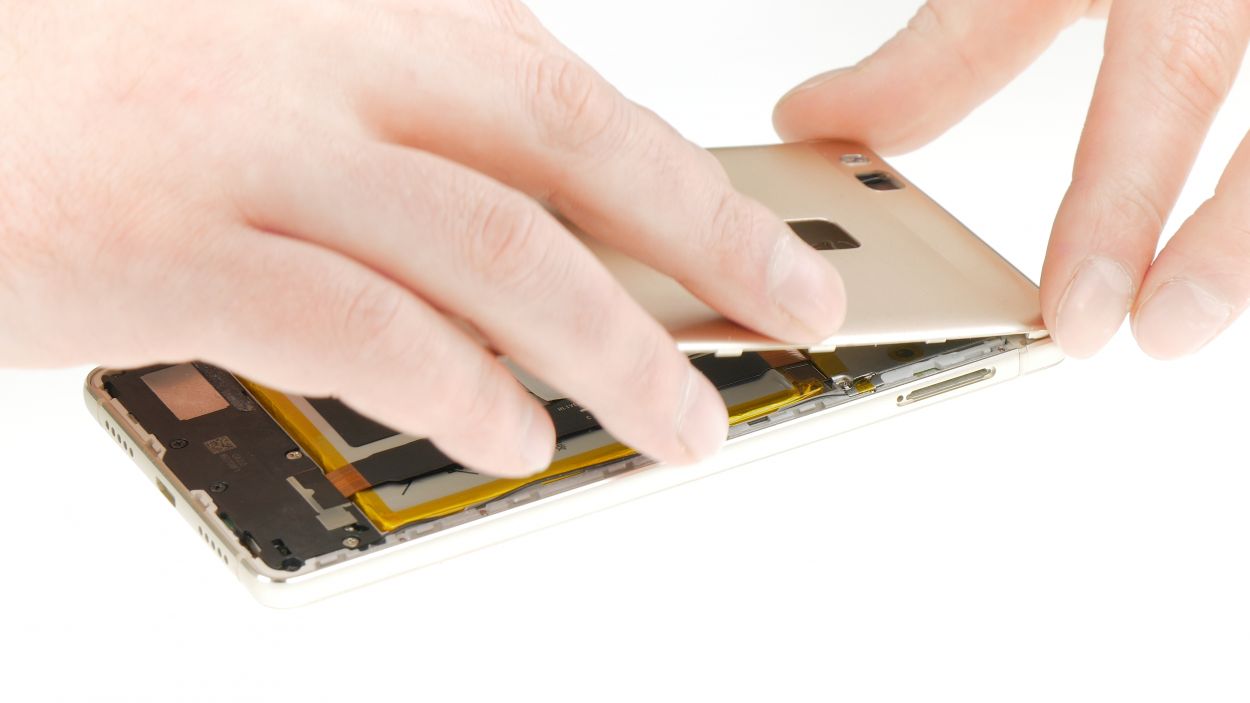
Step 2
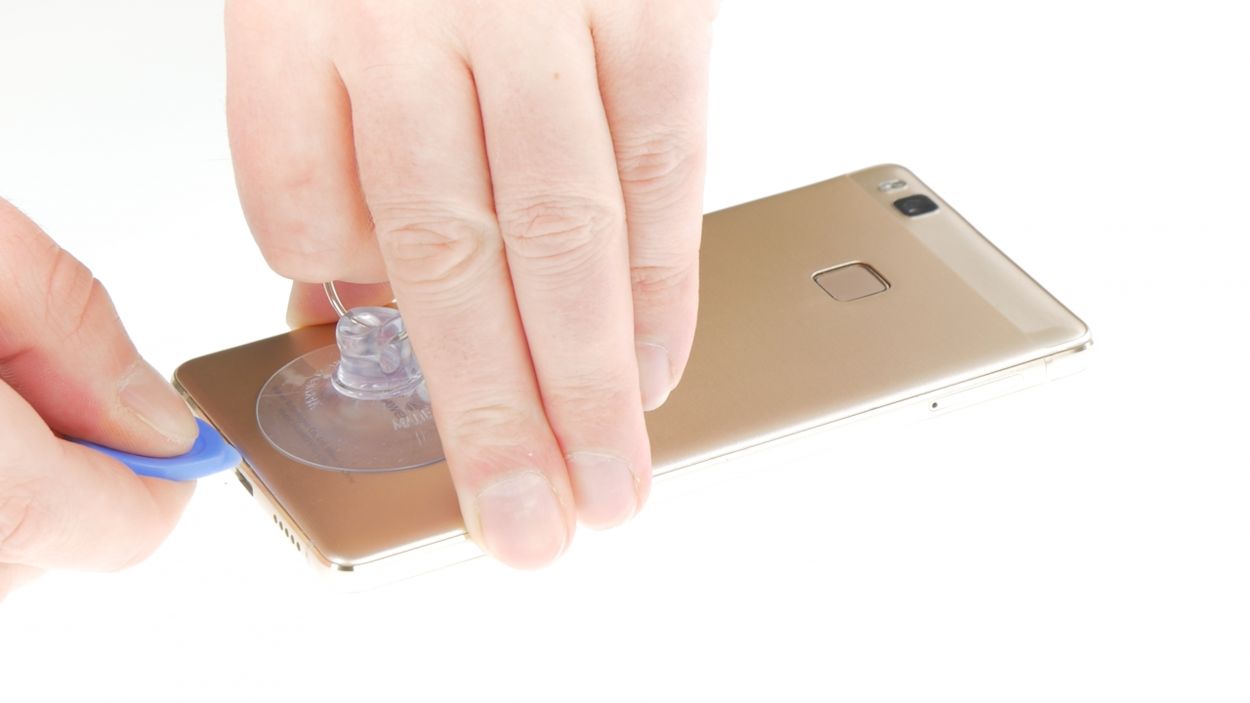
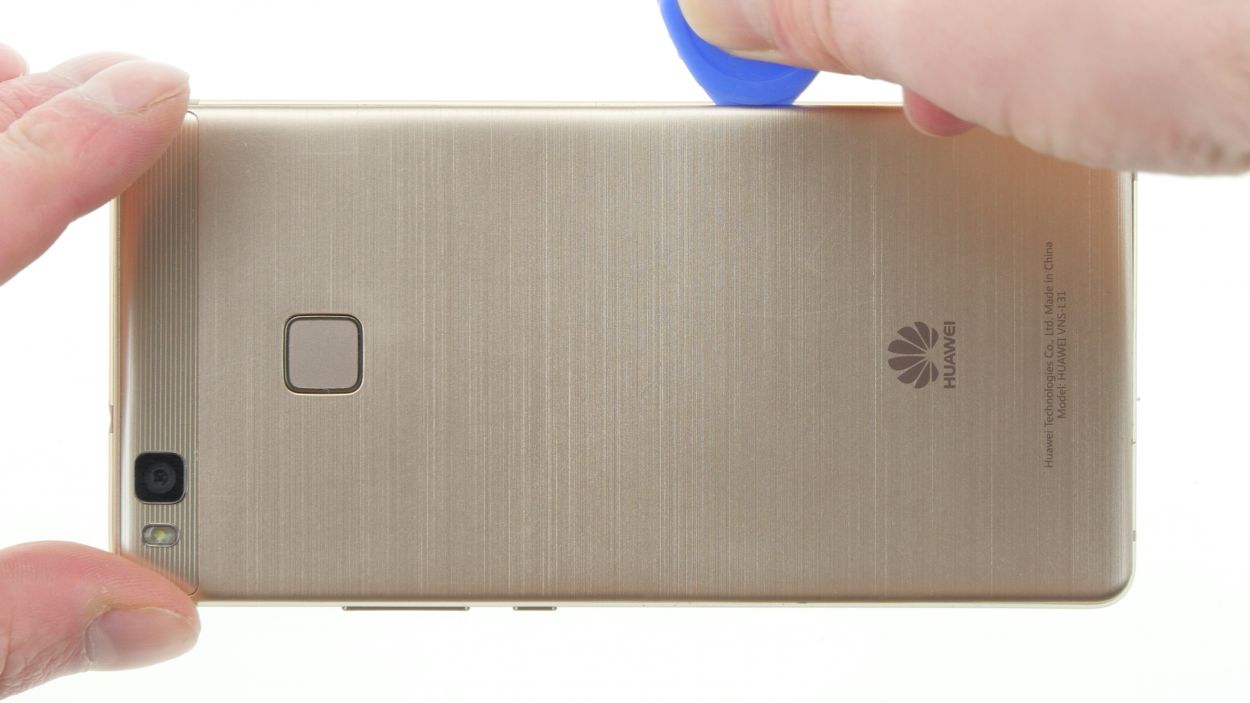

– Grab that suction cup and place it a bit lower on the back cover. Give it a good pull to lift that cover off!
– Next, slide the pick between the display unit and the back cover, and gently pry them apart.
– Now, let’s tackle those pesky back cover clips! Work your way around the device, releasing each clip. If one doesn’t budge, don’t sweat it—grab a second pick or give it a little extra tug with your fingers.
– Heads up! The back cover is stuck to the fingerprint sensor. A little heat from a heat gun can help soften that glue, making it easier to remove.
– Once all the clips are free, you’re ready to take off the back cover. Easy peasy!
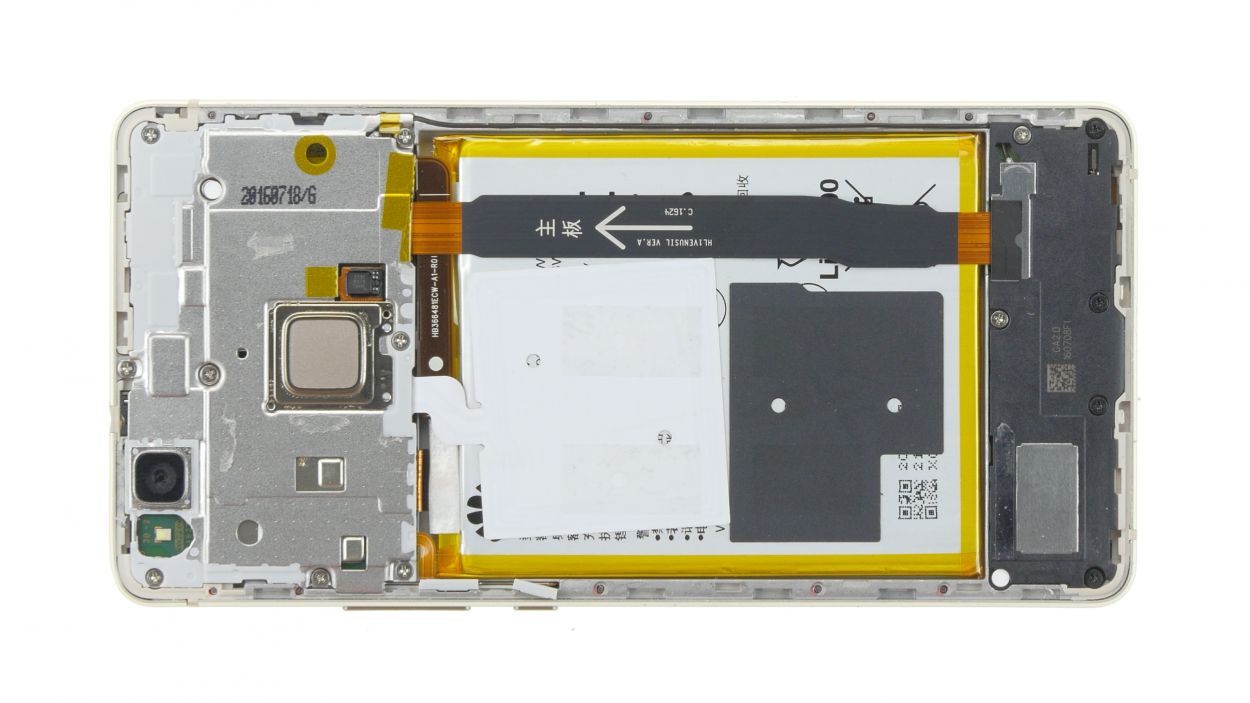
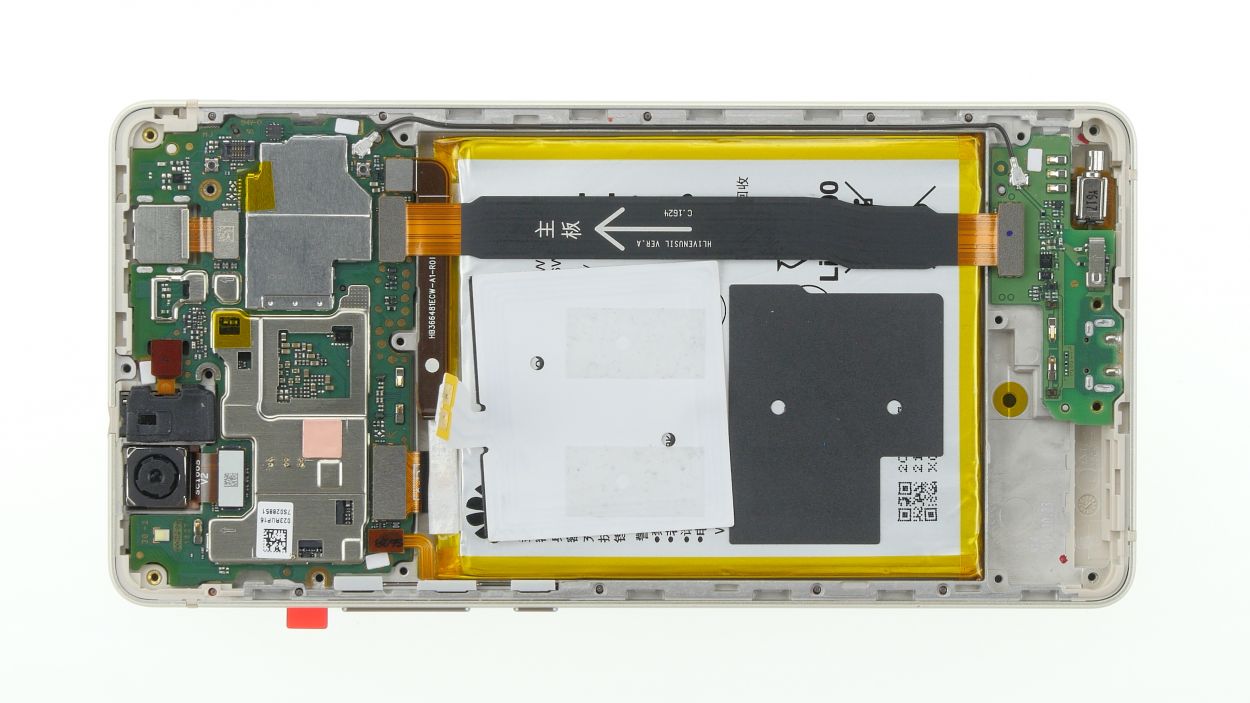
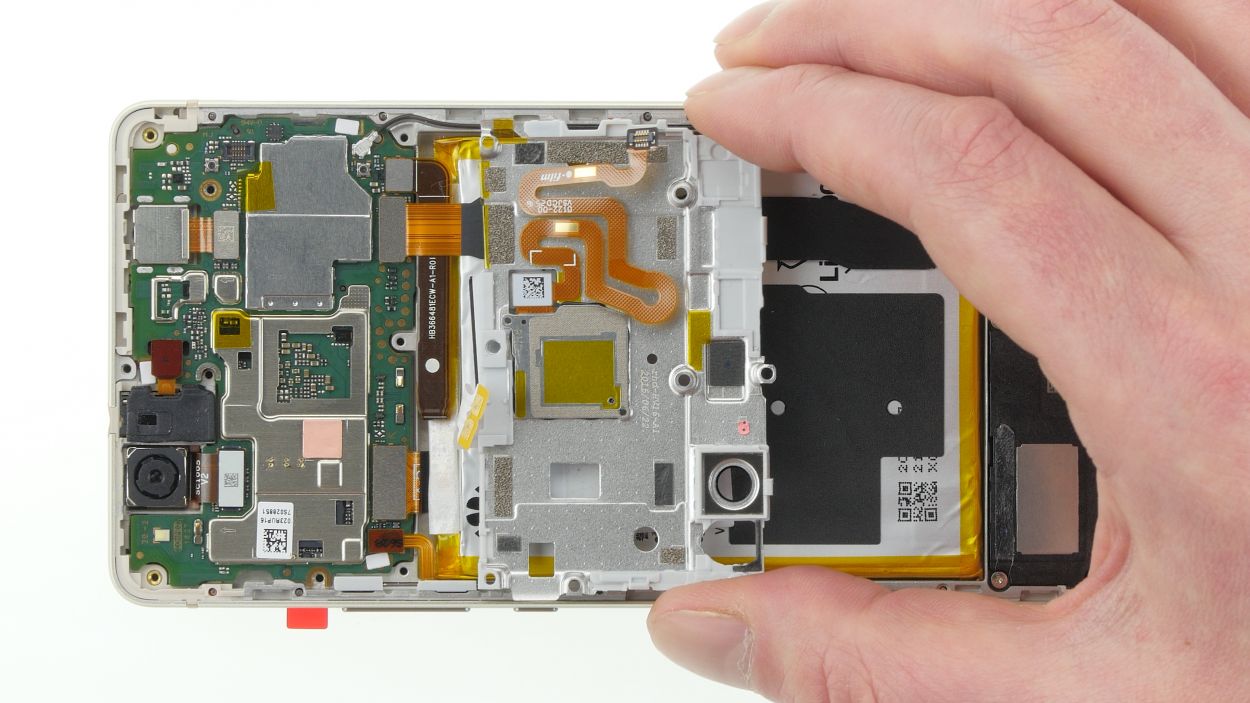
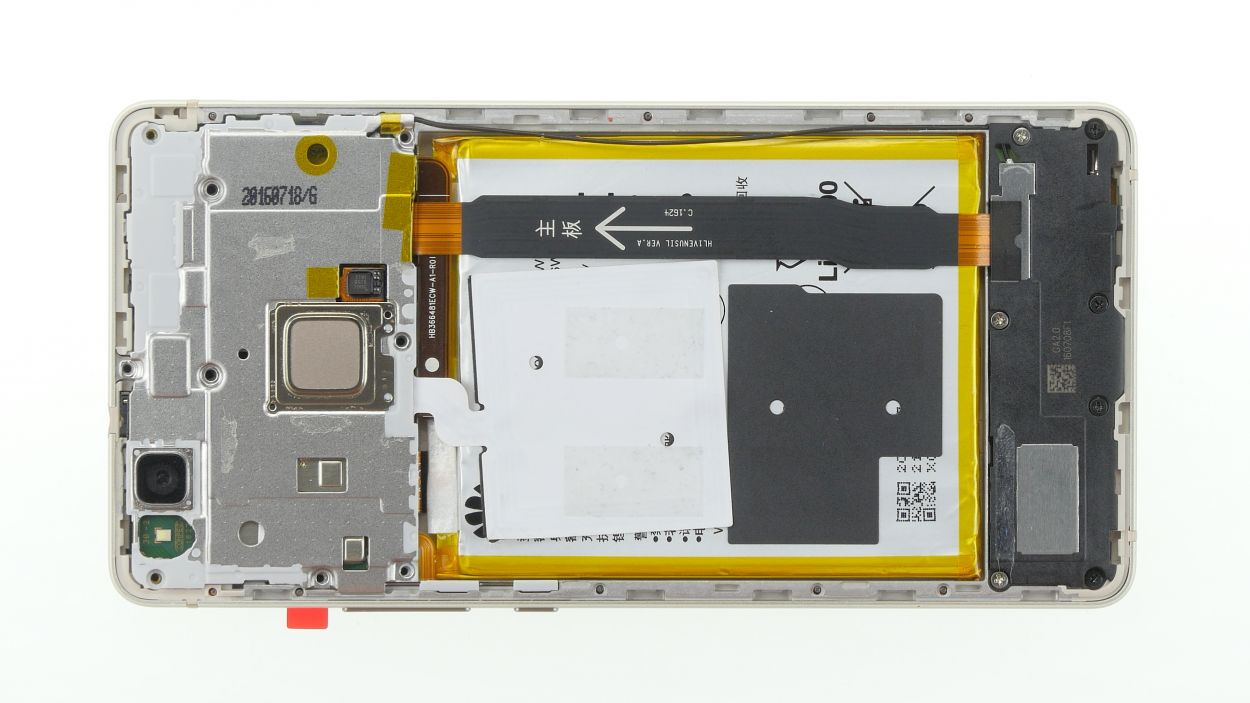
Step 3

– First things first, let’s tackle those Phillips screws holding the cover in place. Unscrew them all and keep them safe—like little treasures!
– Now, give the cover a gentle lift. Just a little nudge!
– The cover is snugly clipped in place—once near the camera and once on the side. With a delicate touch, wiggle the cover to pop those clips free, then swing it open like a door to new adventures.
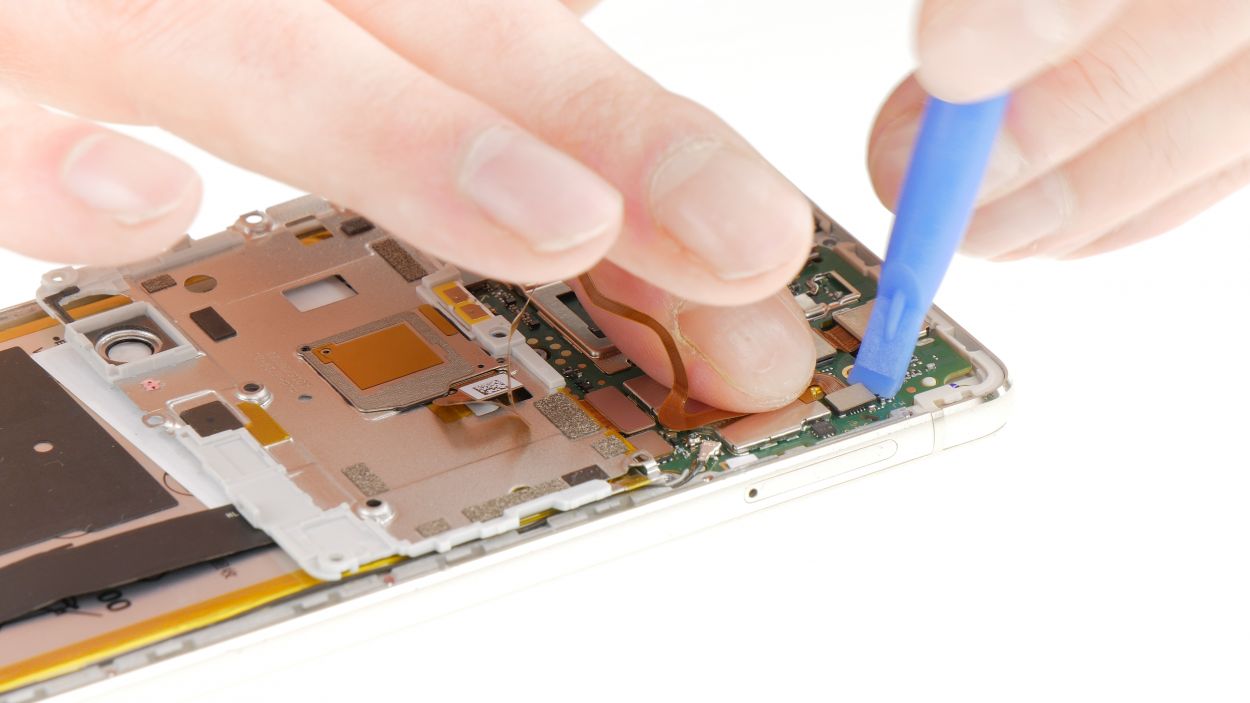
– Grab your trusty spudger and carefully pry off the connector for the fingerprint sensor flex cable. Easy does it!
– Next up, it’s time to remove the NFC antenna’s glued contact. If it’s being stubborn, warm it up a bit with a heat gun, then use a spatula to coax it off gently.
9 × Phillips
Fingerprint sensor
NFC connector
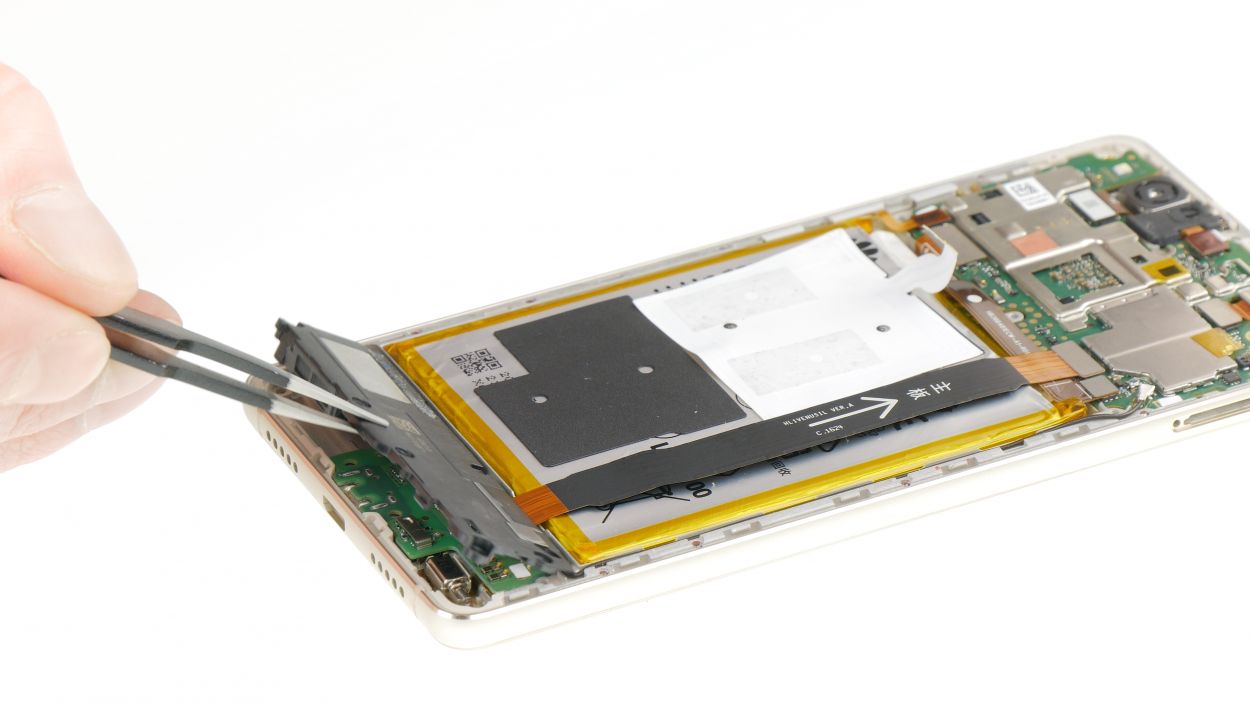
Heads up! There are a bunch of cables hanging out underneath. Handle with care!
Check out that humidity indicator sitting over one of the screws! You might think about removing it and putting it back later, but let’s be real—it often doesn’t survive the journey. Instead, why not give it a little poke with a screwdriver? It’s a quick and easy way to keep things moving!
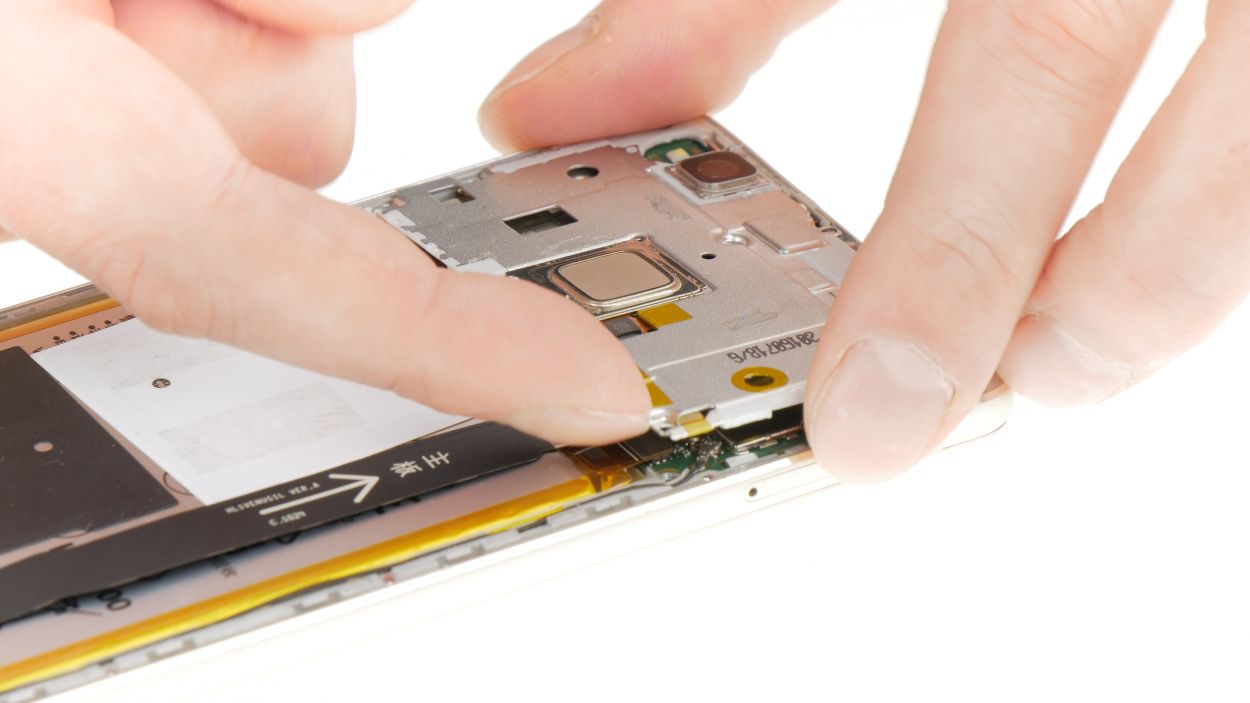
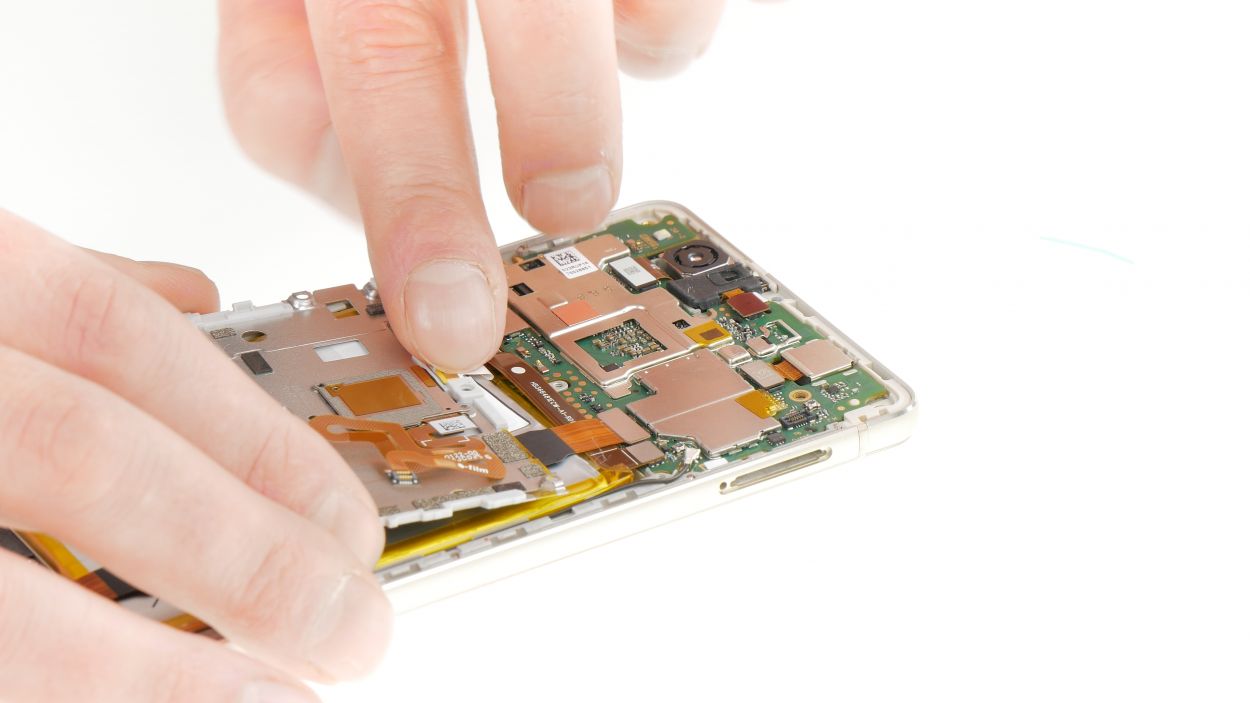
Step 4

Battery connector
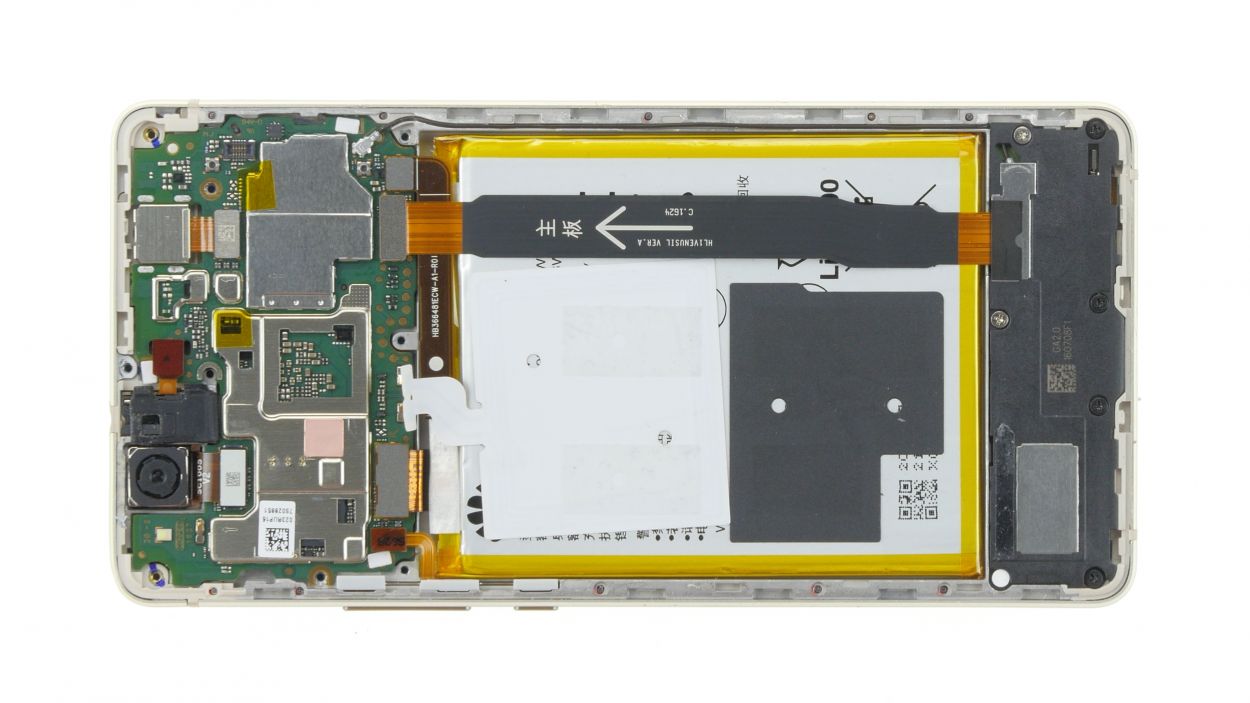
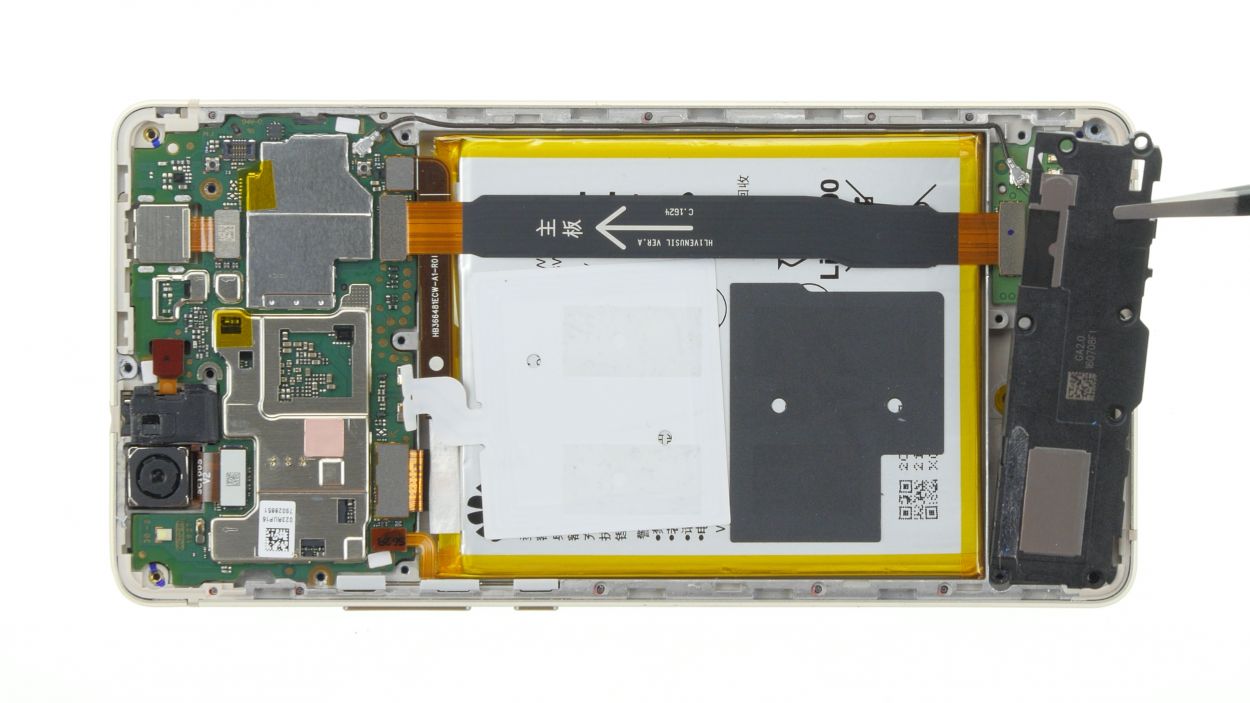
– Time to get your battery flex cable disconnected! Use a spudger to carefully pry off the connector. Don’t worry if it takes a little bit of effort – you got this! If you need help, you can always schedule a repair
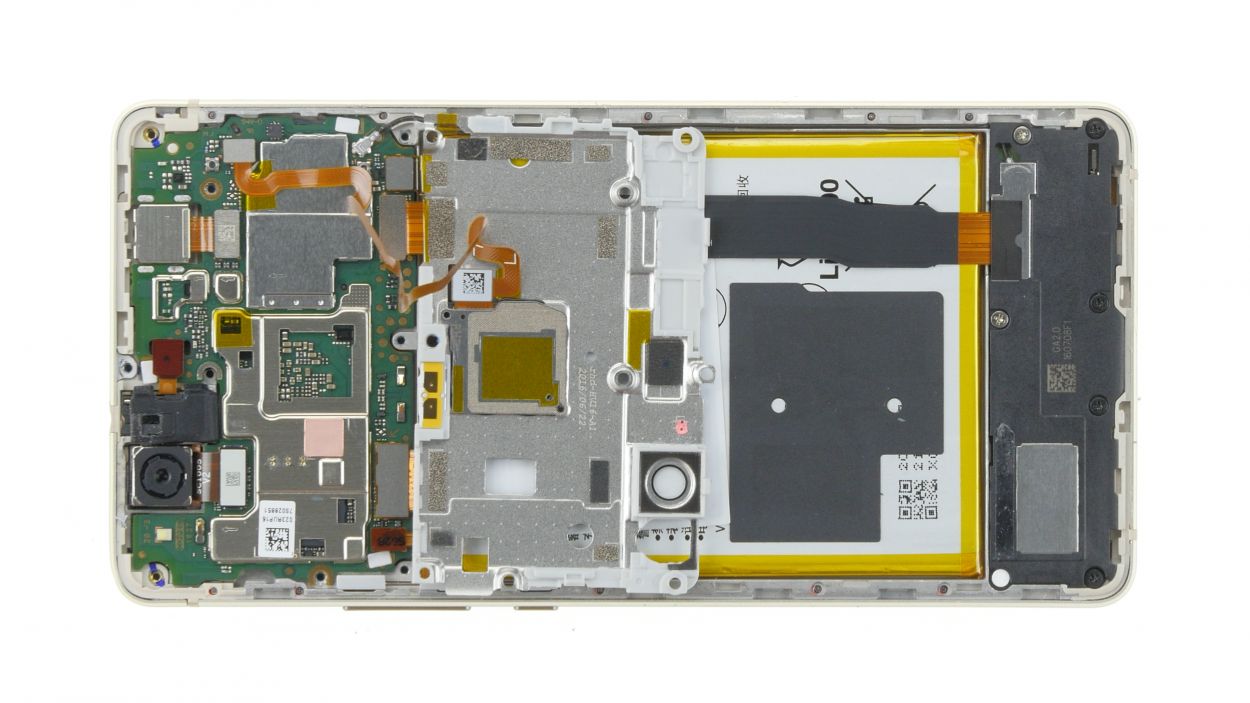
Step 5
3 × 2.9 mm Phillips
4 × 3.8 mm Phillips
Heads up! You’ve got screws of two different lengths here. Keep them organized so you can pop them back in the right spots later. You’ve got this!
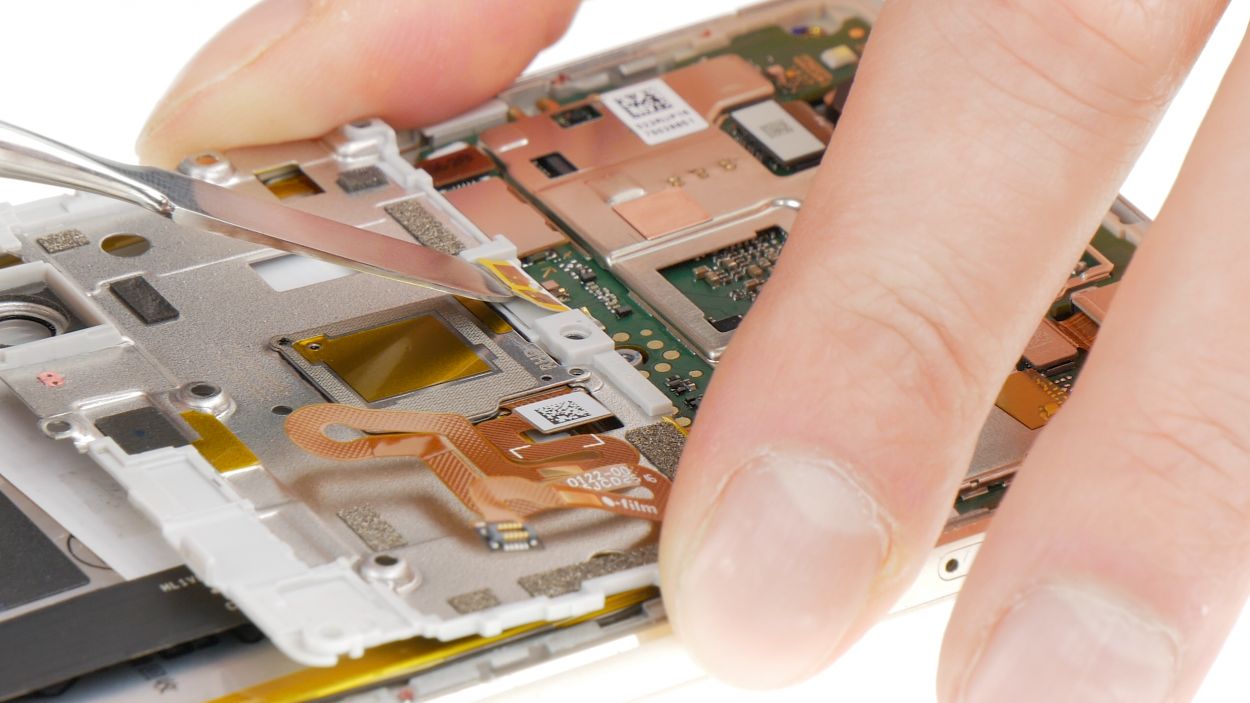
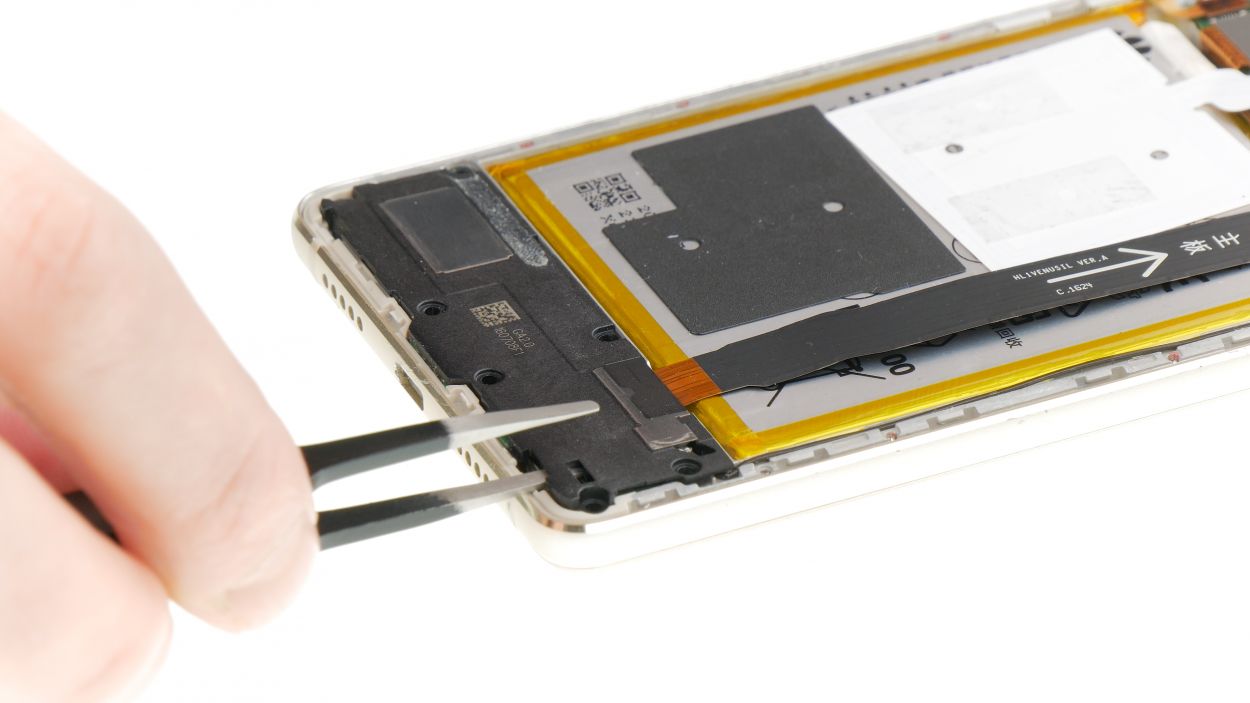
– First up, grab that trusty Phillips screwdriver and get those screws out of the plastic cover. You’ve got this!
– Next, it’s time to gently coax the speaker and its cover out. Slide a slim tool into the little gap at the bottom of your device and give it a gentle nudge to pop that speaker out.
– And just like that, the speaker is all yours! Easy peasy!
Step 6
3 × 2.9 mm Phillips
4 × 3.8 mm Phillips
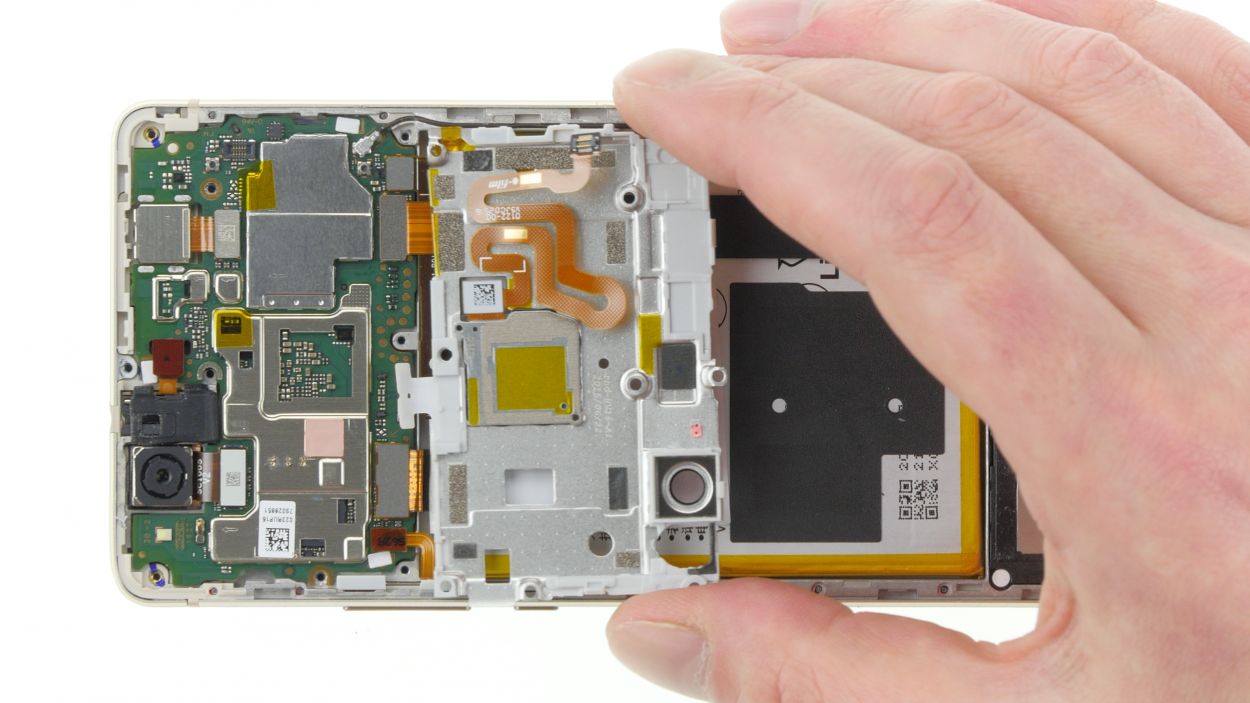
– Slide the plastic cover with the speaker into the display unit and give it a gentle press until you hear that satisfying click!
– Now, grab your trusty Phillips screwdriver and secure those seven screws. Just a heads up: they come in two different lengths, so keep an eye out!
Step 7
Battery connector
– Gently plug in the battery flex cable, making sure that the connector is lined up just right before you give it a little push. It should snap into place with a satisfying click. If it doesn’t, no worries—just give it another go!
Step 8

9 × Phillips
– Alright, let’s get that cover on! Start by flipping it over so the underside is facing up, then gently place it onto the battery and reattach the NFC antenna contact. Use the handy tab on the contact to help you get it just right.
– Next up, it’s time to connect the fingerprint sensor flex cable to the mainboard. Take your time and be gentle with that connector!
– Now, fold the cover over the mainboard and give it a little press to secure it. Grab those nine Phillips screws and fasten everything down. Remember, all the Phillips screws are the same length, so no need to stress about which one goes where!
Step 9
– 1. Gently place the back cover onto the display unit and give it a little press all around until you hear that satisfying snap, confirming it’s securely in place.
