DIY Guide to Replace Taptic Engine in iPhone 13
Duration: 45 min.
Steps: 21 Steps
Opening your iPhone will mean saying goodbye to that sweet IP68 certification. But hey, you’re about to embark on a repair adventure!
In this detailed photo tutorial, we will show you step by step how you can easily replace the Taptic Engine yourself. We wish you good luck with your repair!
Step 1
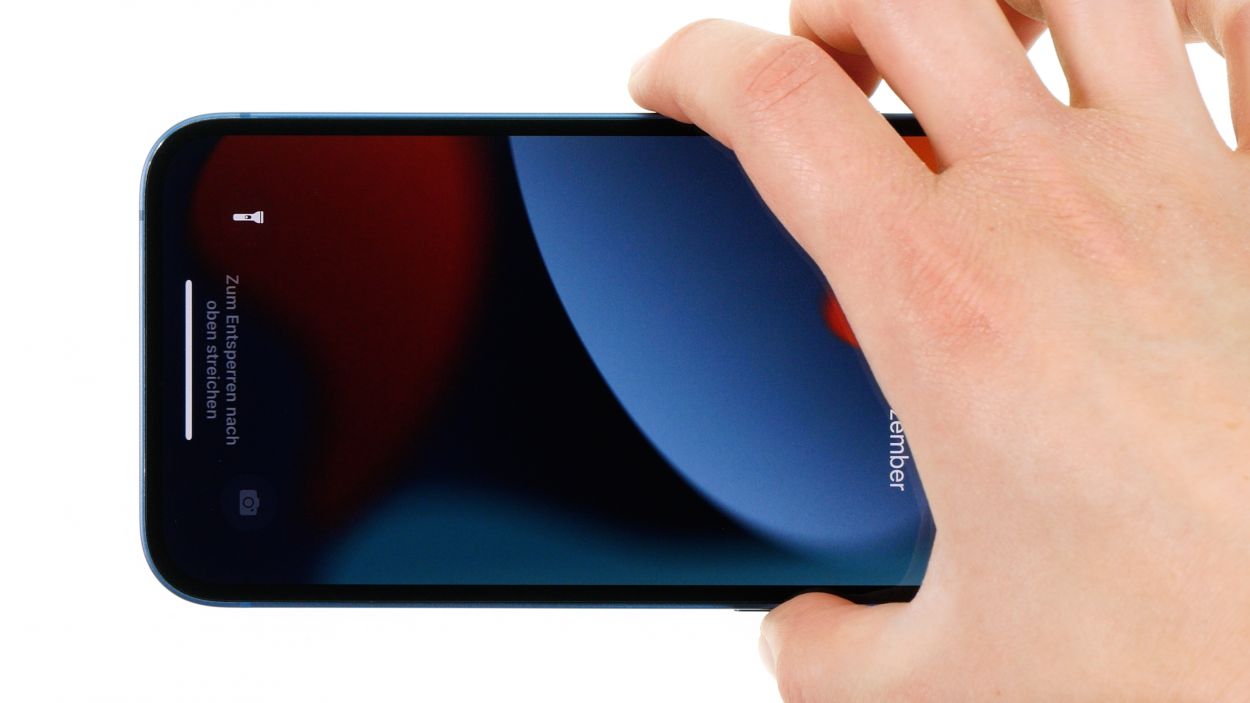
Before you dive into the repair fun, we suggest checking out our handy checklist to test your iPhone 13’s basic functions. This way, you can celebrate your repair success later!
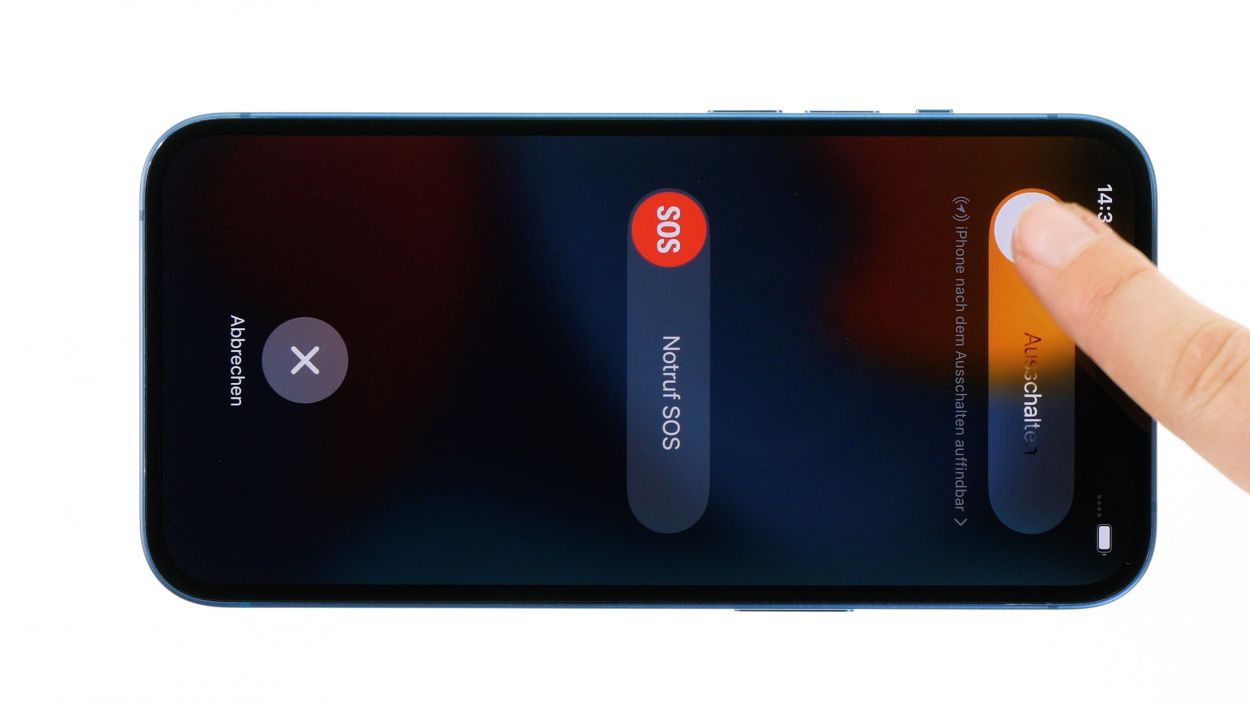
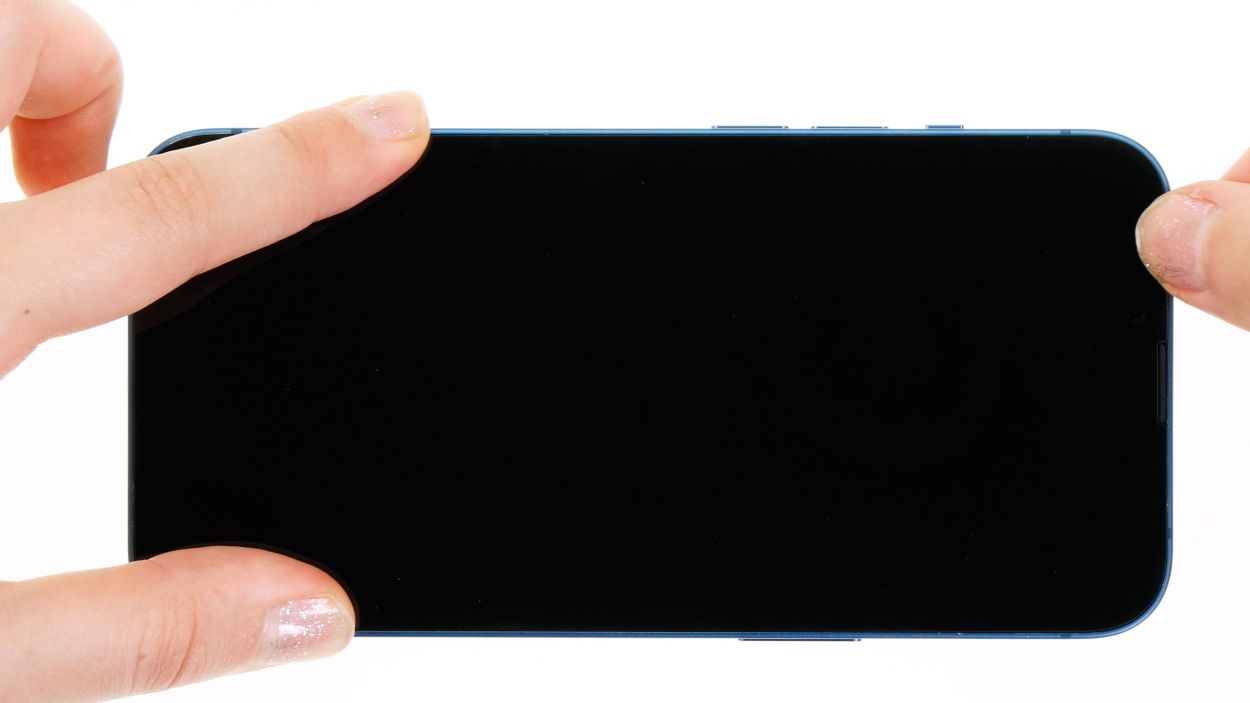
– Hold down the side button and volume down button together for a few seconds—like a dynamic duo!
– Slide that displayed slider from left to right with a smooth swipe.
Step 2
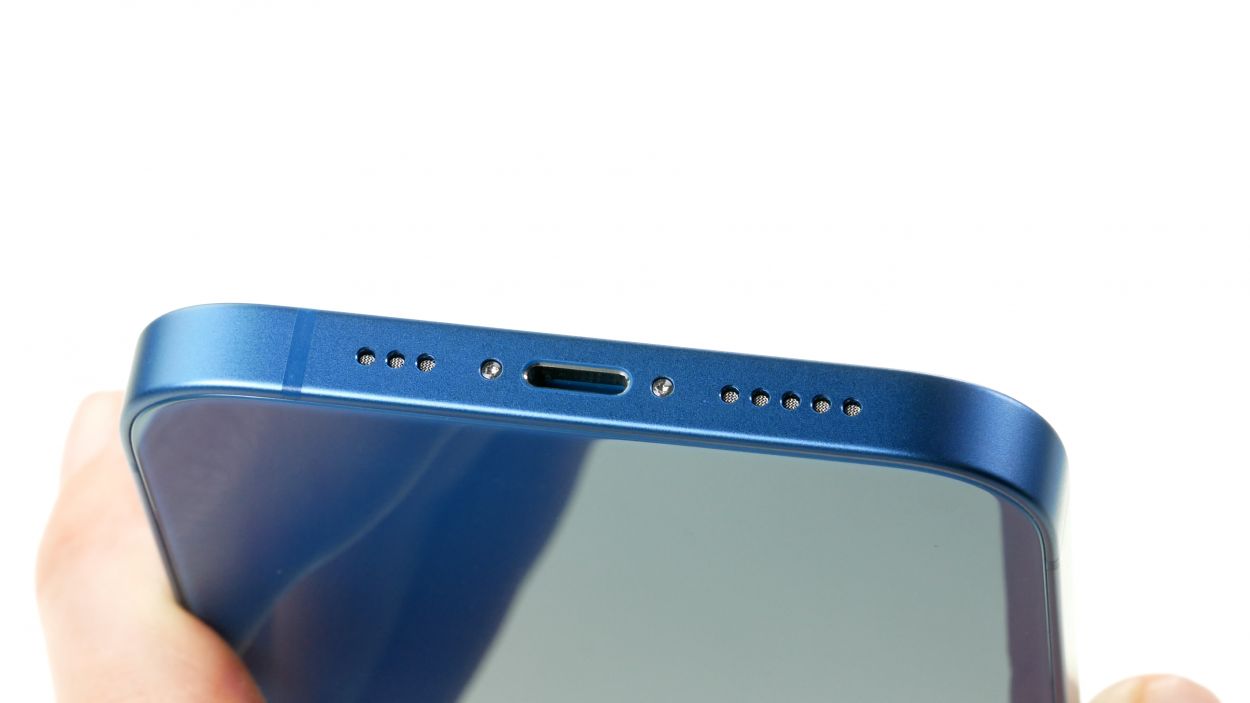
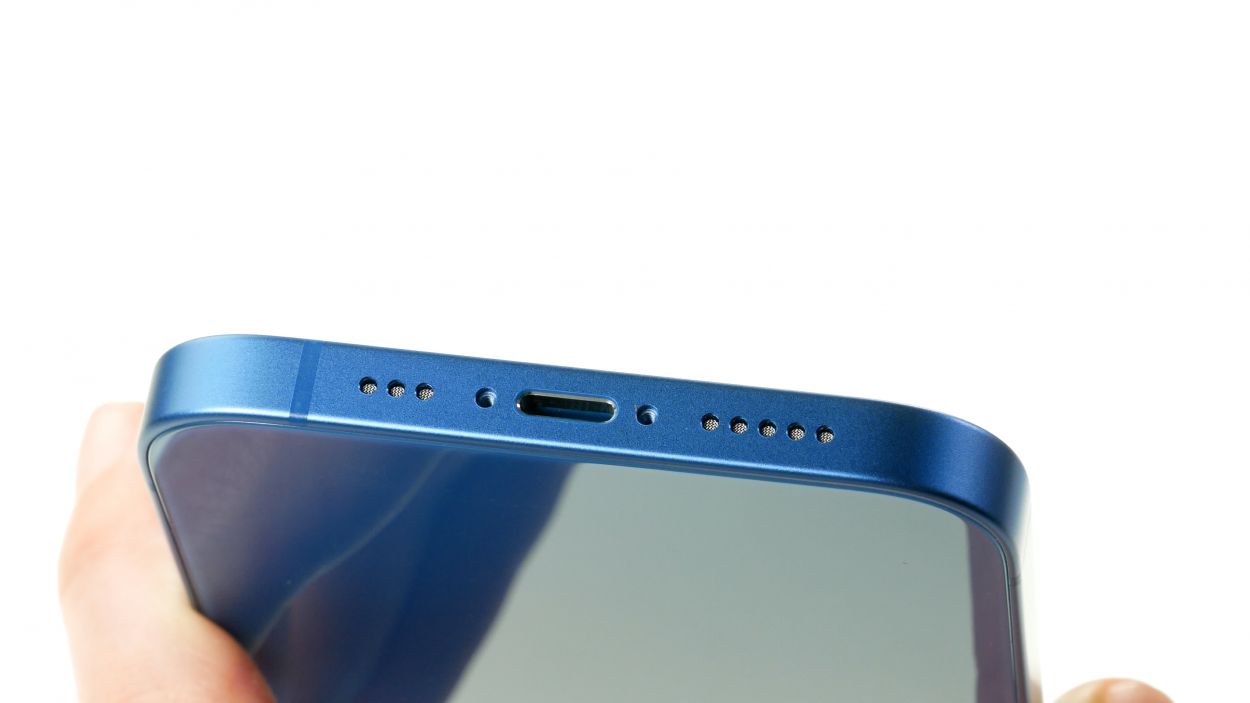
– Unscrew the two Pentalobe screws flanking the Lightning connector, just like a pro!
– Now, make sure to tuck them away safely in your screw storage—no screw left behind!
2 × 6.8 mm Pentalobe
Opening up your iPhone means waving goodbye to that awesome IP68 certification. But don’t fret, you’re about to kick off an exciting repair journey!
To keep your repair space as neat as a pin, we suggest snagging a screw storage solution. Our magnetic pad is a real game changer—nothing will budge on it, so you can focus on your repair without any worries!
Step 3
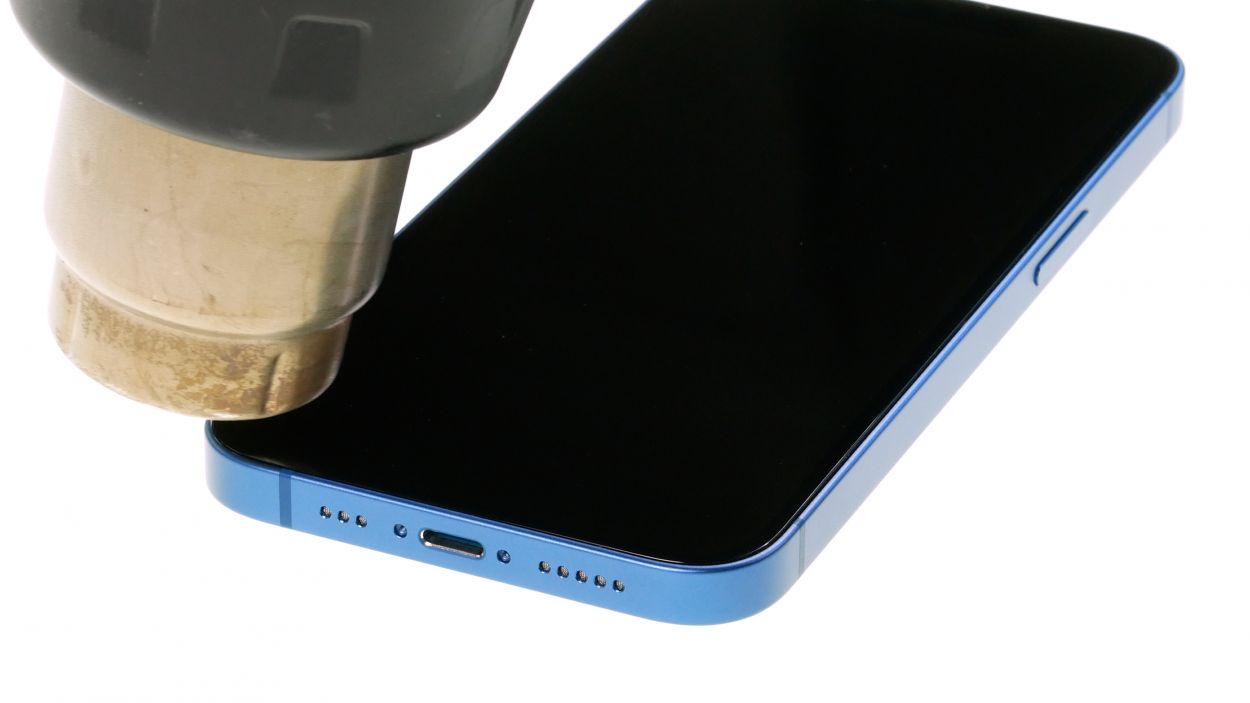
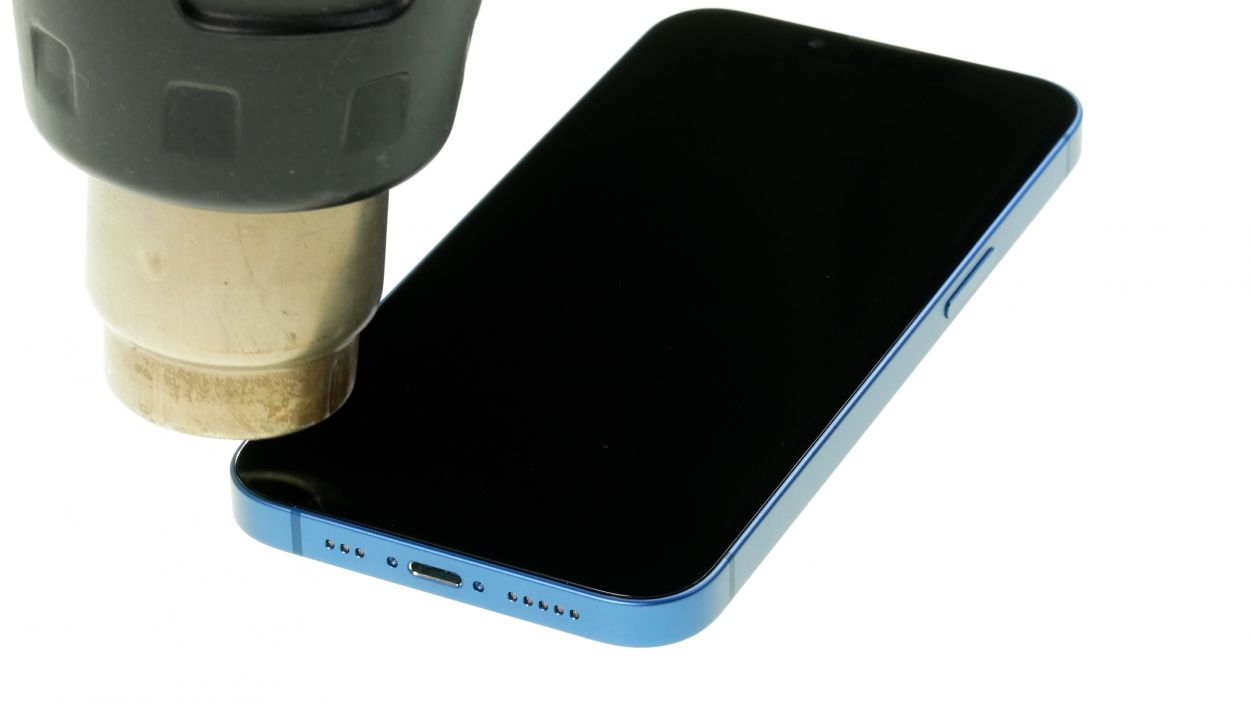
The iPhone 13 screen is really stuck on there! To get it off, you’ll need to warm up that adhesive with some hot air. Grab a hot air tool, whether it’s a heat gun or even a regular hair dryer, and let’s get that screen off with style!
– Gently wave your hot air tool over the edge of the screen like you’re casting a magic spell! Keep it moving to ensure even heating.
Tools Used
- heat gun to heat parts that are glued on so they’re easier to remove.
In most cases, you can also use a hairdryer.” rel=”noopener”>Heat gun
Step 4
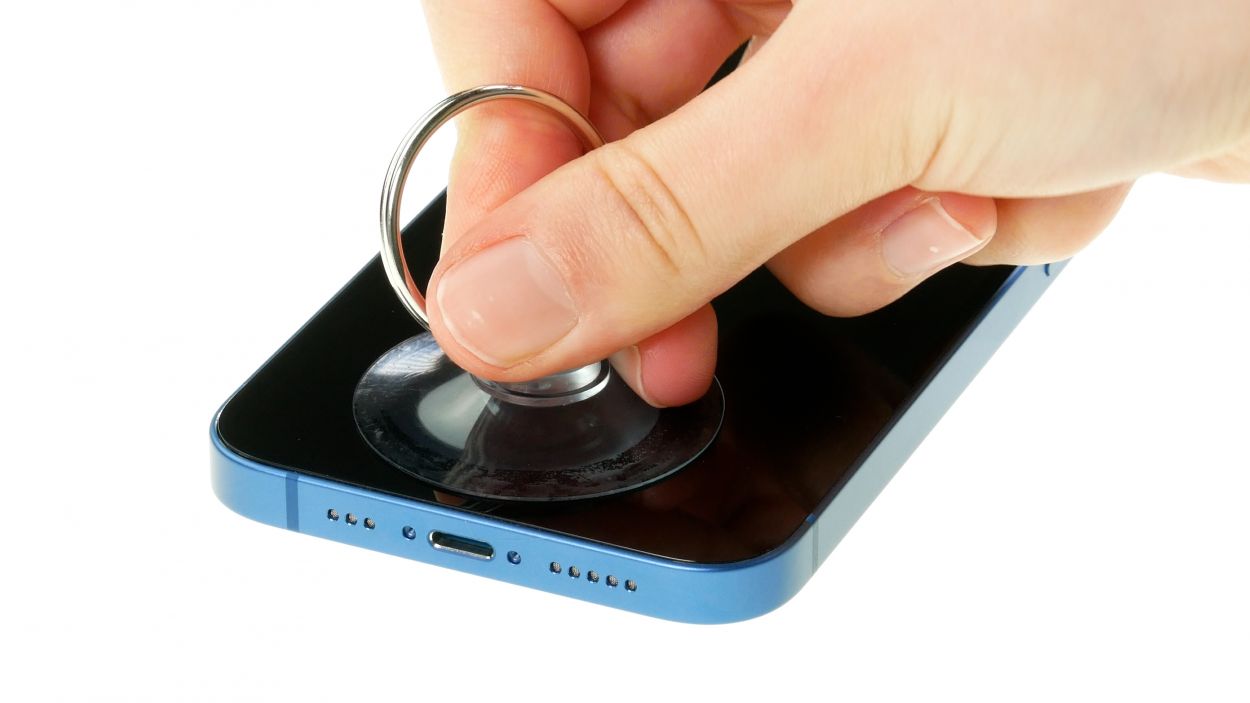
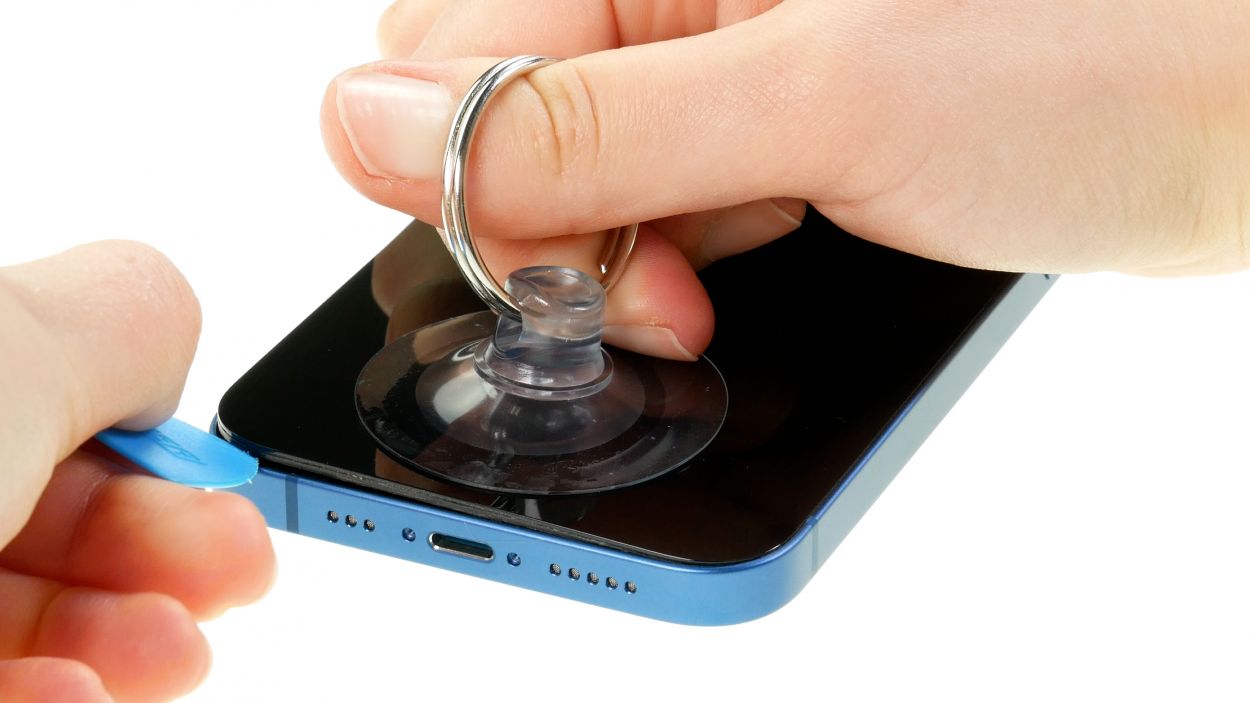
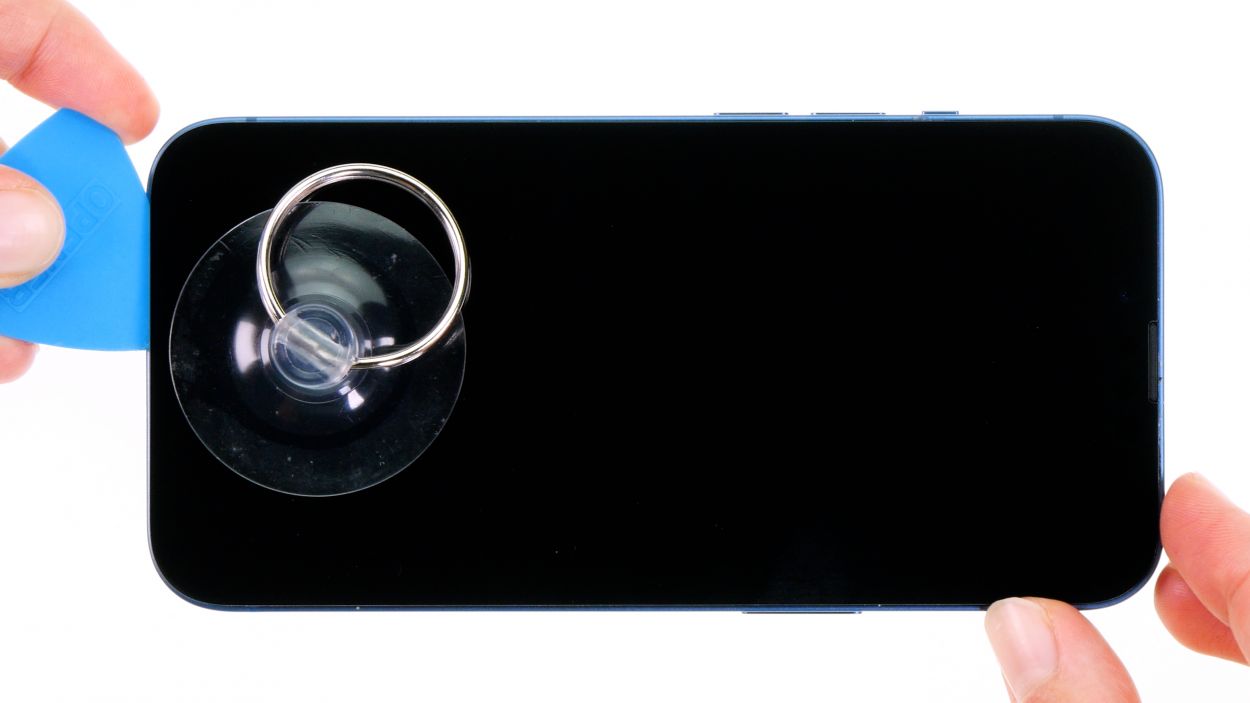
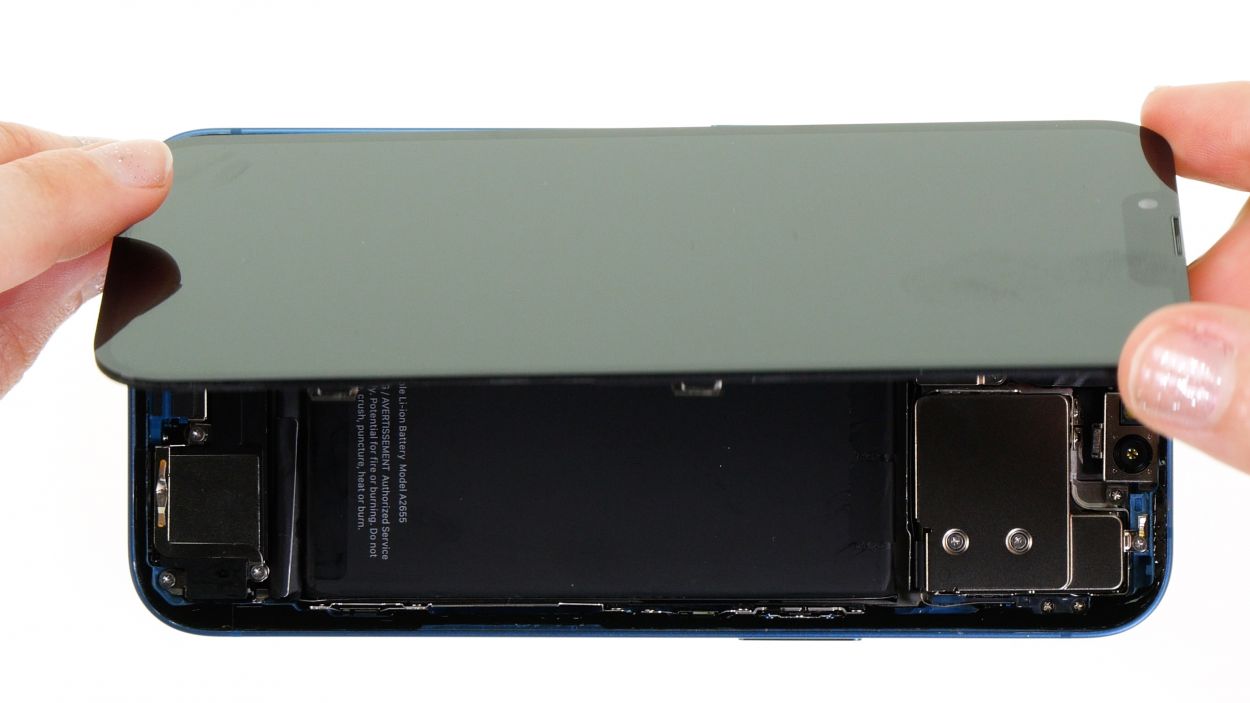
– Grab a suction cup and stick it to the lower edge of your screen. Give it a good pull upwards to create a little gap between the screen and the case unit—it’s like giving your phone a gentle hug!
– Now, slide a flat, sturdy tool into that gap to make it even bigger. You’re doing great!
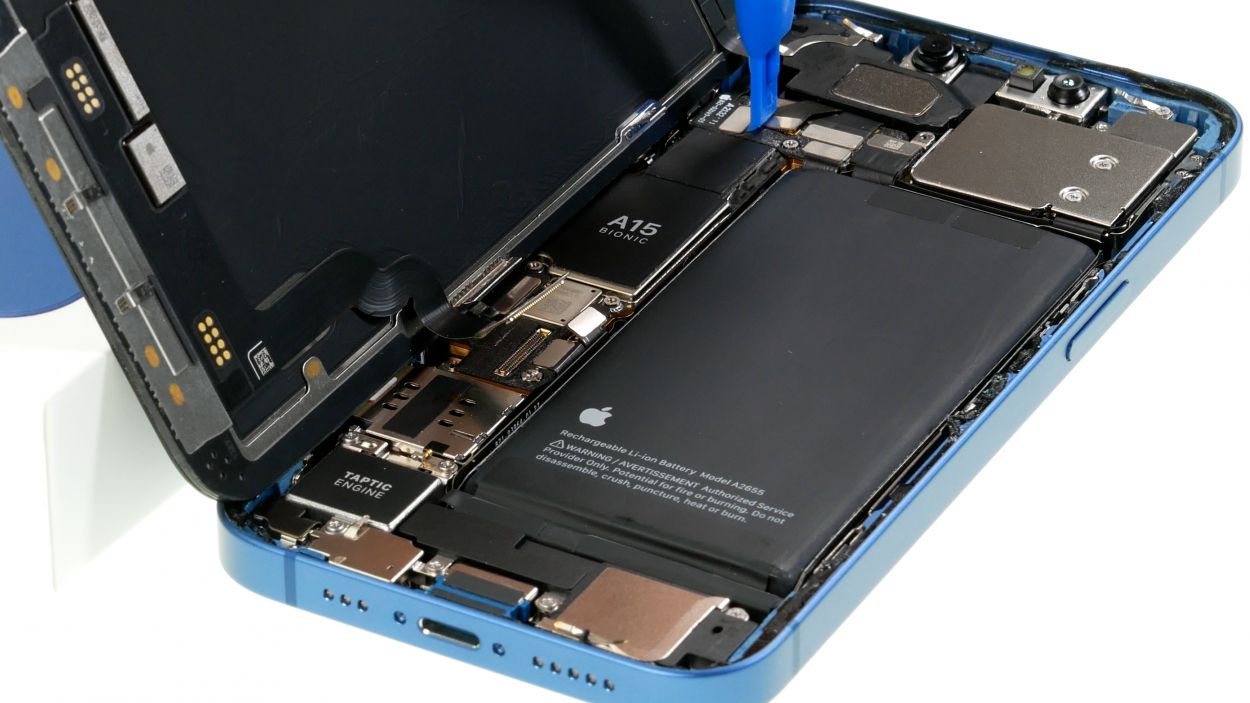
Step 5
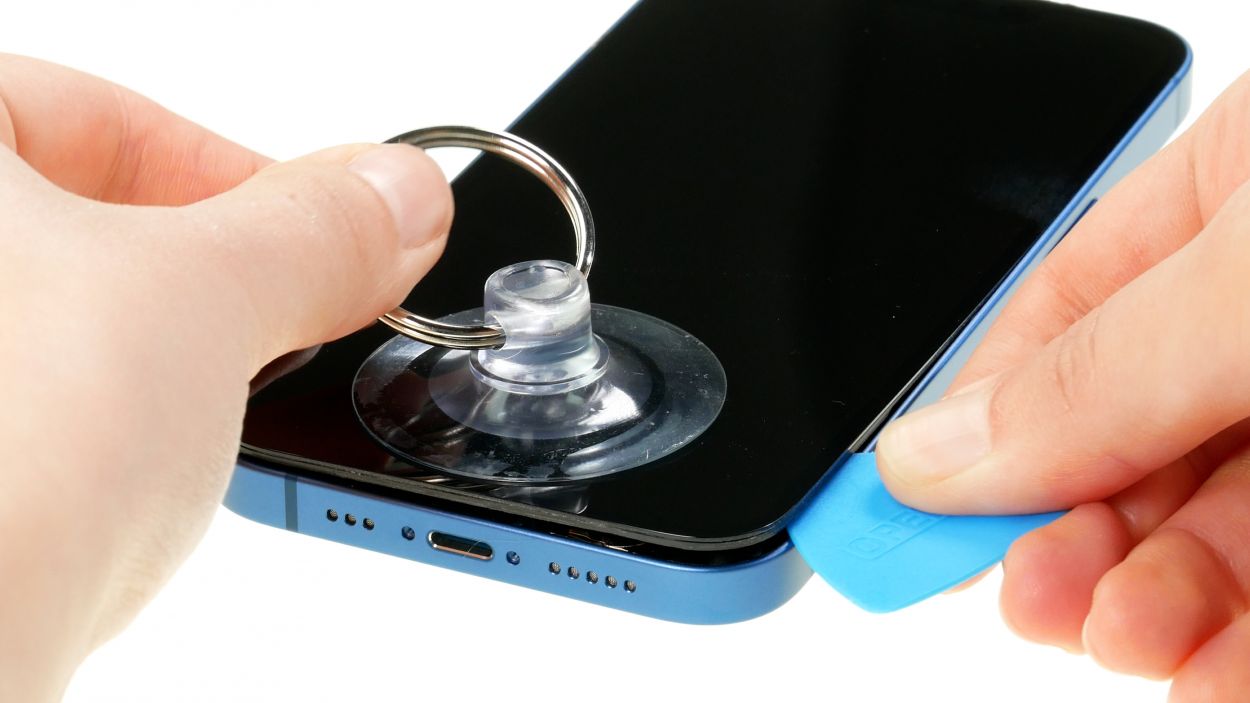

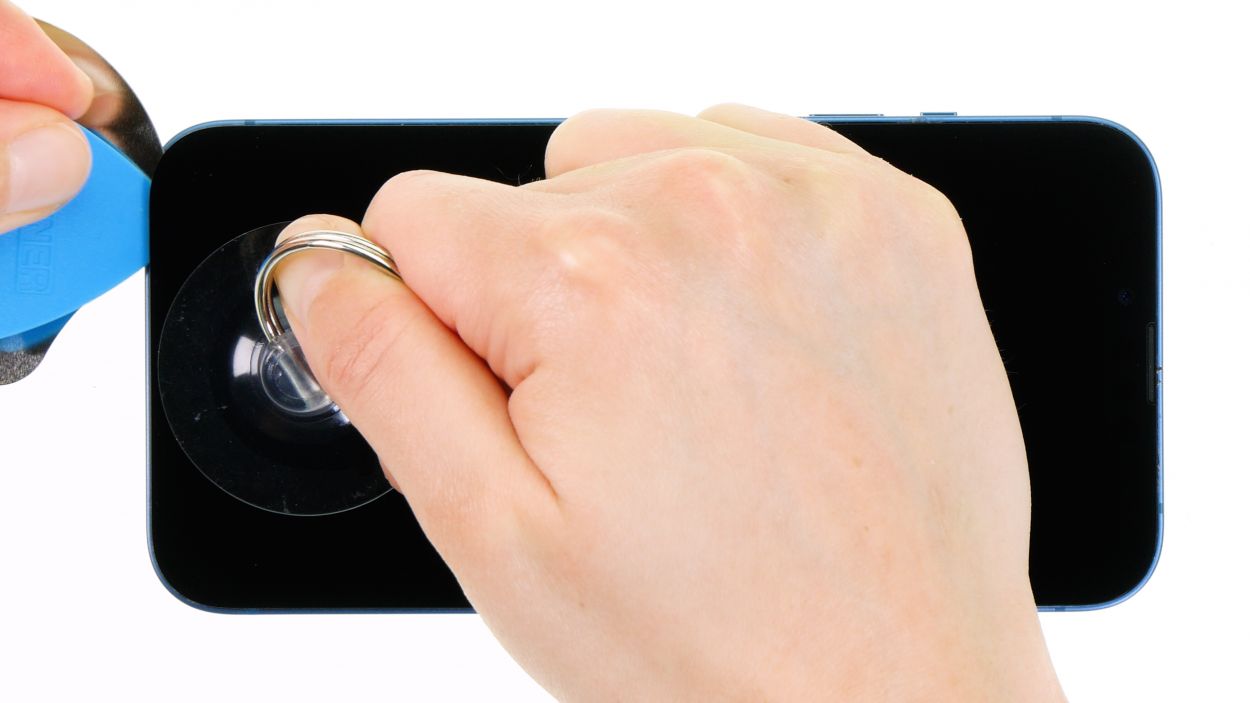
Hey there! When you’re working near the volume buttons, just remember to keep your tool at a safe distance. We want to avoid any cable mishaps inside your device. You’re doing awesome!
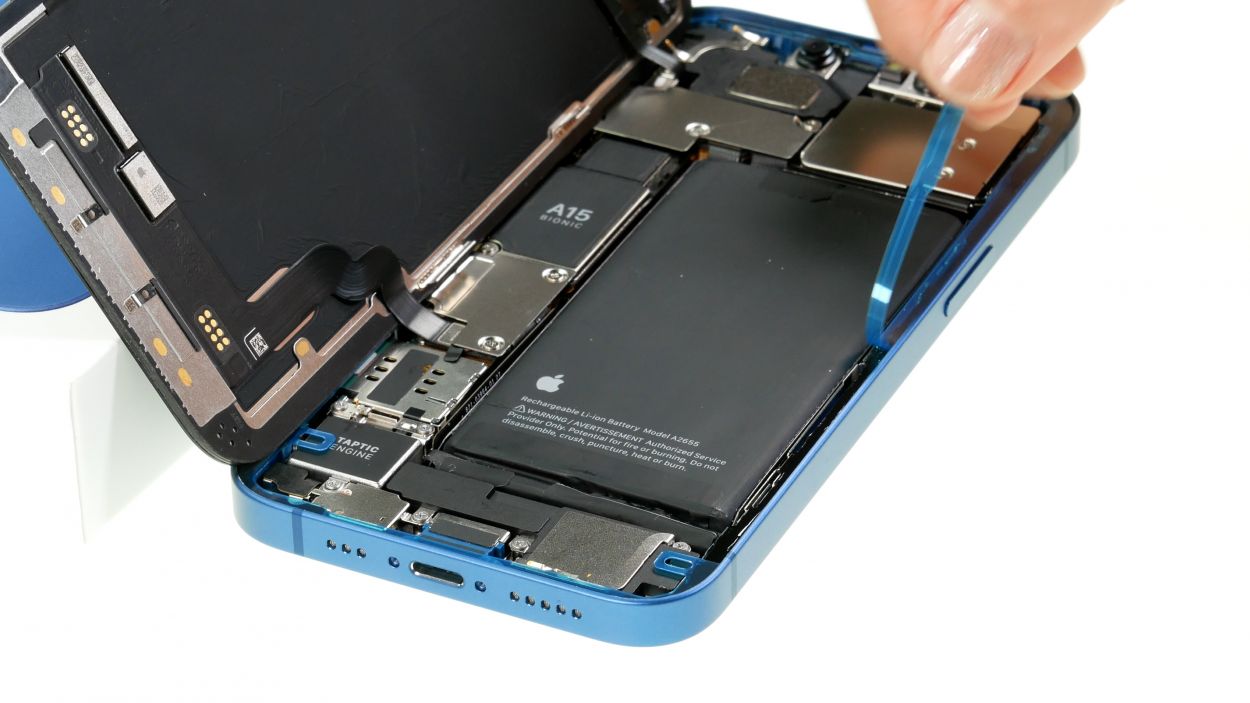
– Take that plastic tool and glide it around the screen’s edge like you’re painting a masterpiece! Give it a little upward nudge to pop those hooked lugs free from the case unit.
– Once the screen is fully liberated, gently unfold it towards the volume buttons and lean it against something sturdy. You’ve got this!
Tools Used
Step 6
4 × 1.2 mm Phillips
1 × 1.7 mm Y-Type
1 × 1.6 mm Phillips
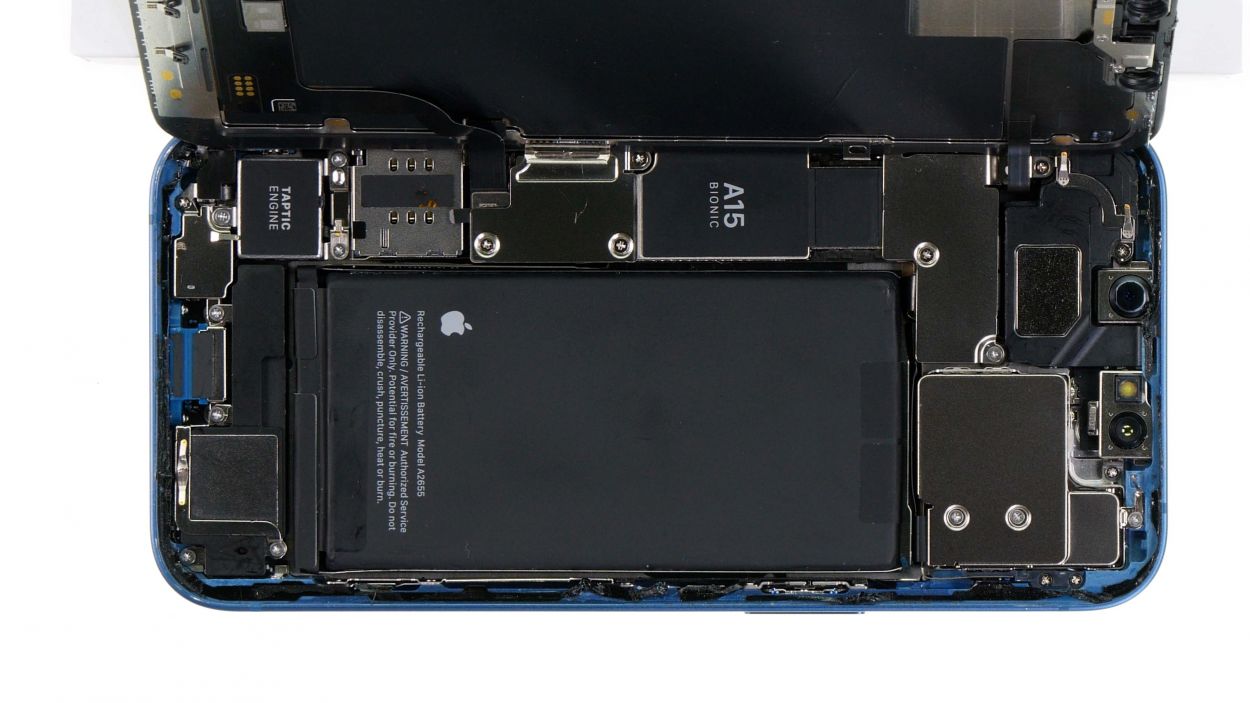
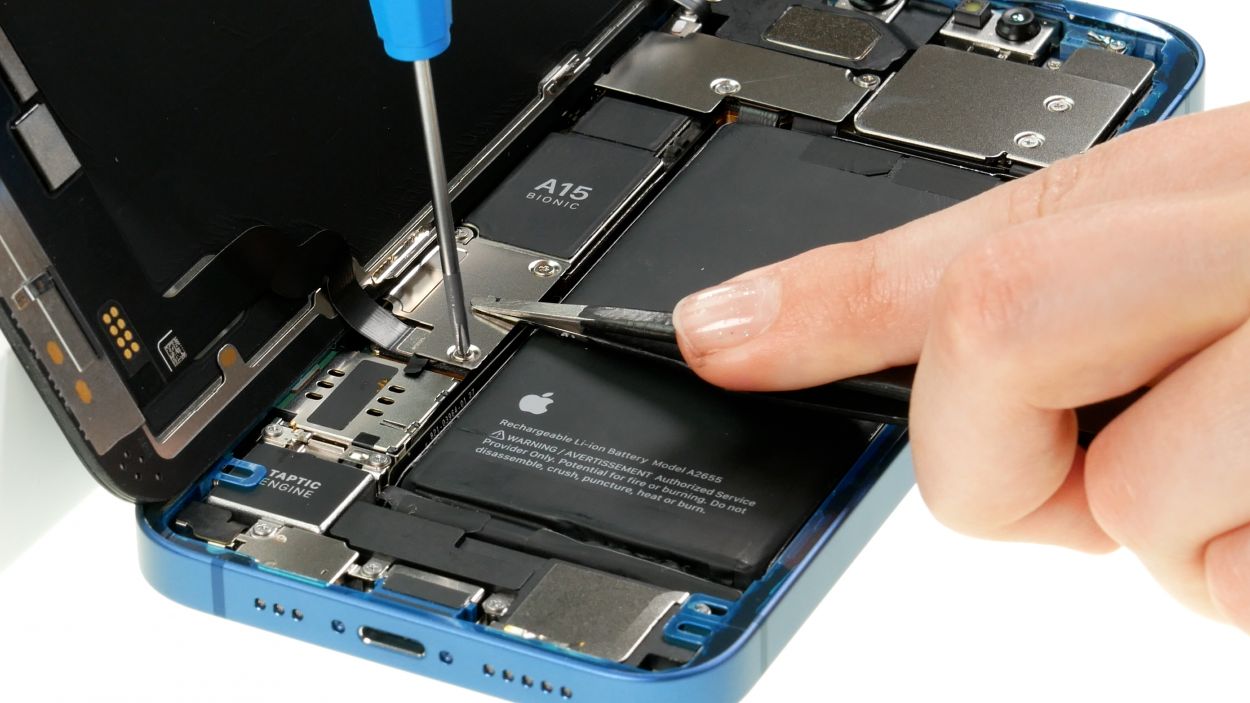
To fully free that screen, you’ll need to disconnect the battery connector and the two screen connectors tucked away beneath two cover plates. It’s like a little treasure hunt for your device!
– Unscrew the six screws from the two cover plates and stash them safely in your screw storage—no screw left behind!
– Now, with a gentle touch, use your tweezers to lift those plates off your device. Easy peasy!
Step 7
To keep your repair adventure short-circuit-free, always start by disconnecting the battery first. Safety first, right?
– Gently slide a plastic lever tool under the connector and carefully lift it away from the board. A plastic spudger works wonders for this task!
Tools Used
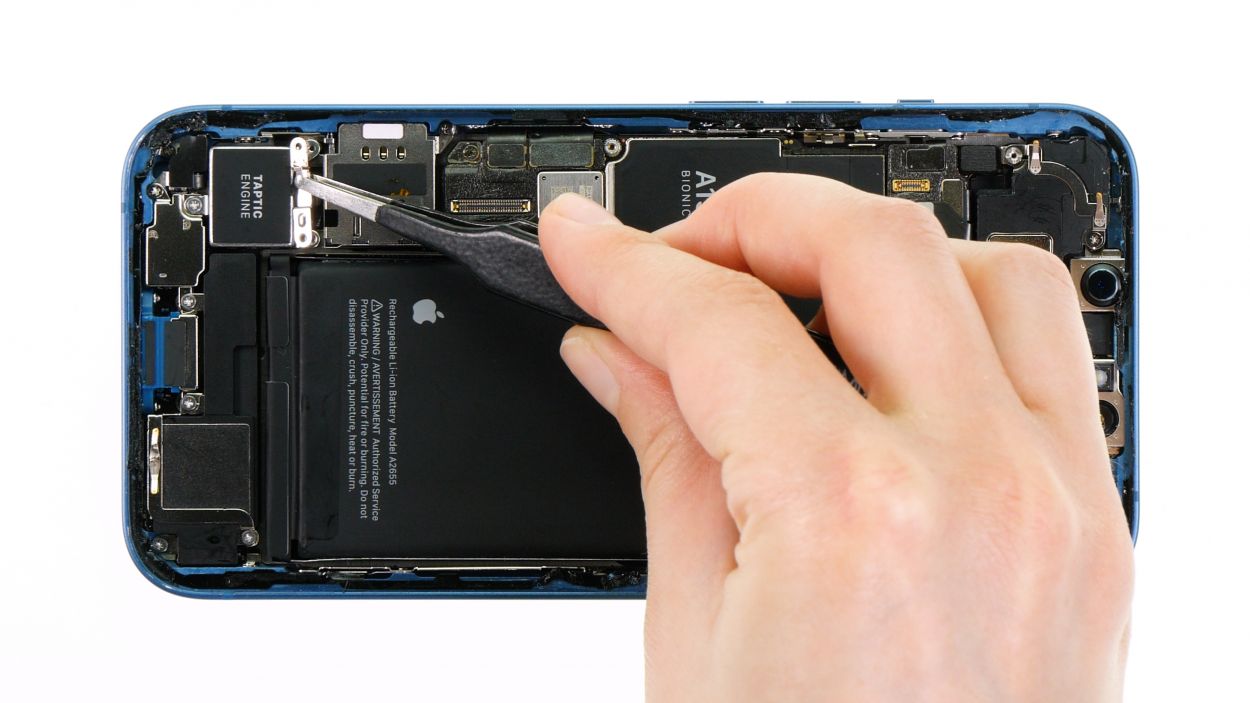
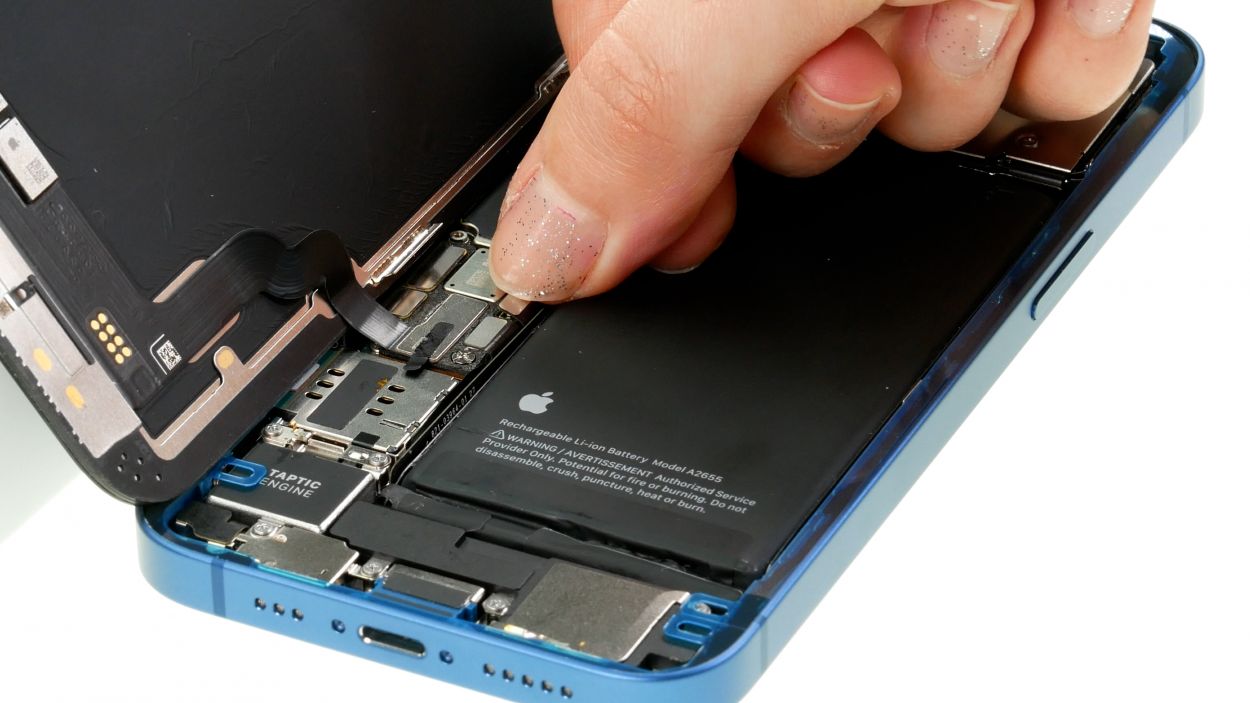
Step 8

– Gently coax the two screen connectors off the logic board with your trusty spudger—no need to rush, take your time!
– Once you’ve got that screen completely free, just set it aside and give yourself a pat on the back!
Tools Used
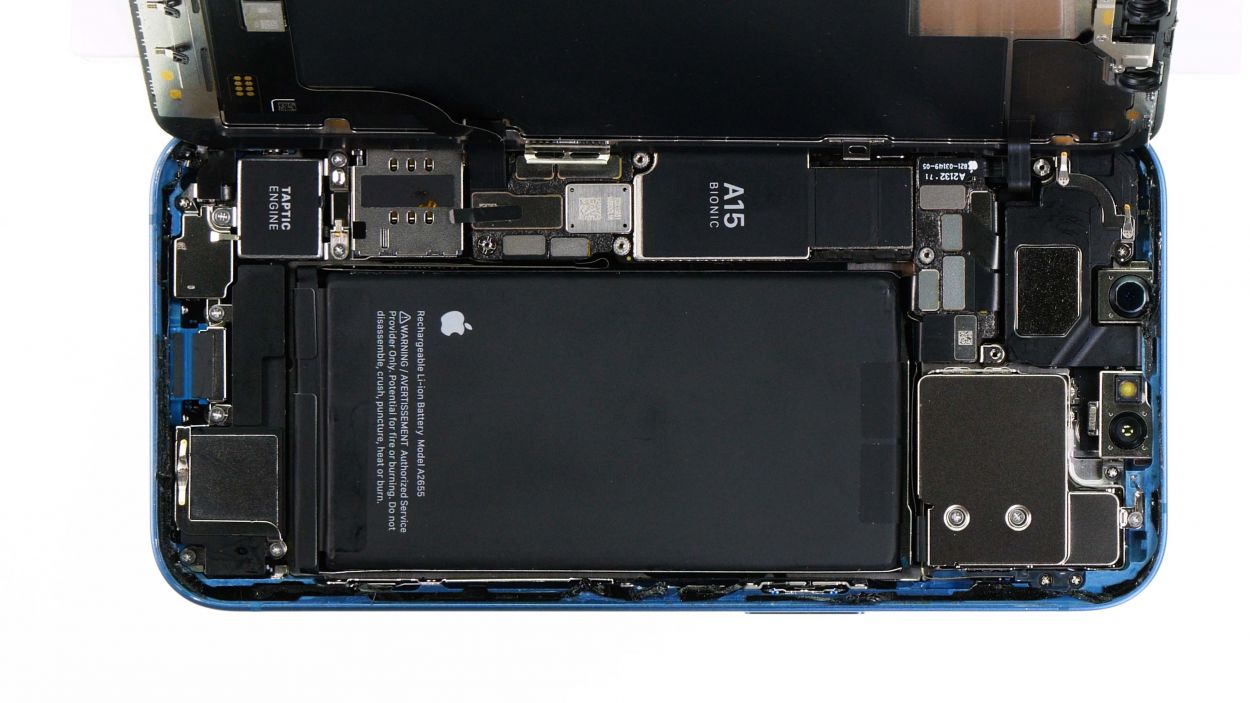
Step 9

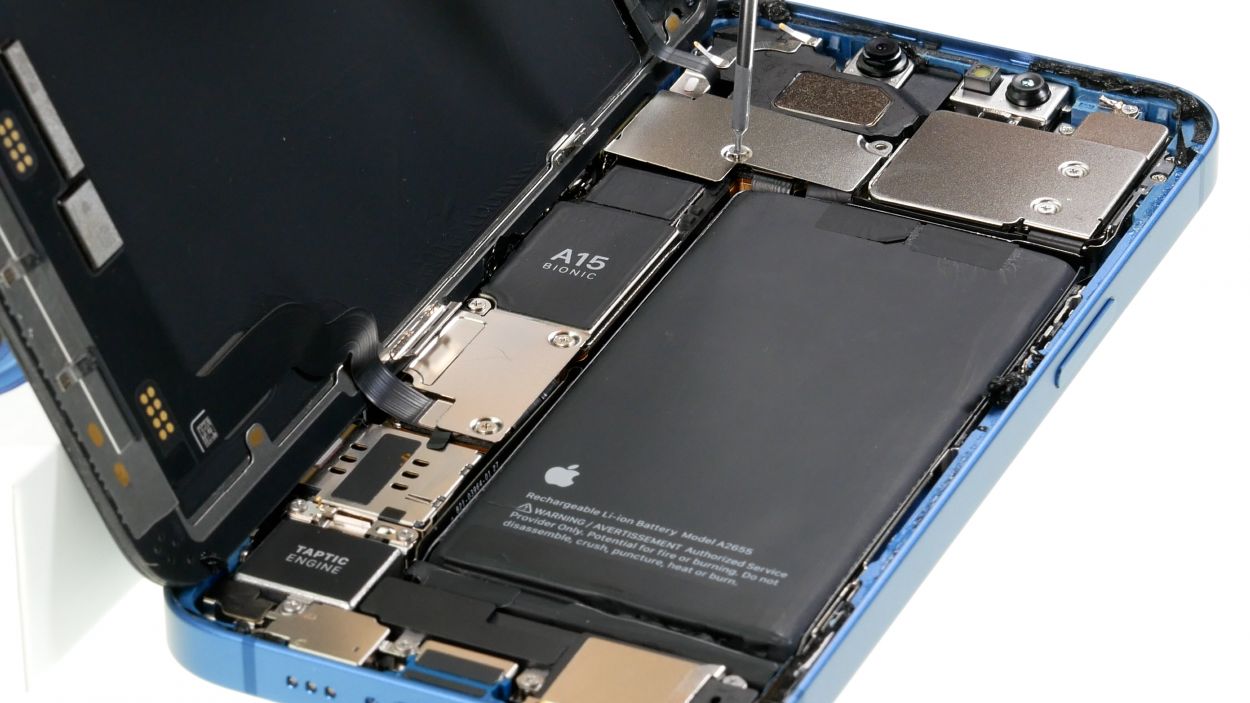
2 × 2.1 mm Phillips
– Unscrew the two Phillips screws that are holding the cover plate snugly above the Taptic Engine connector.
– Gently lift away the cover plate from your device, like peeling off a sticker!
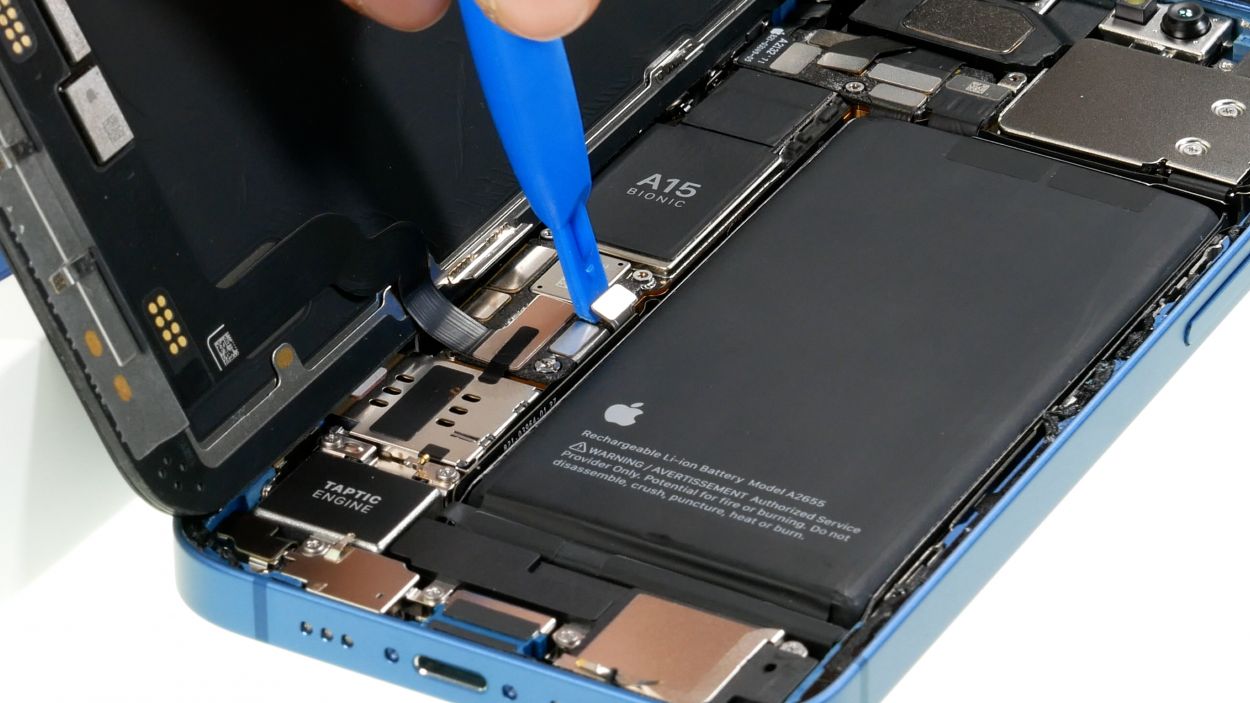
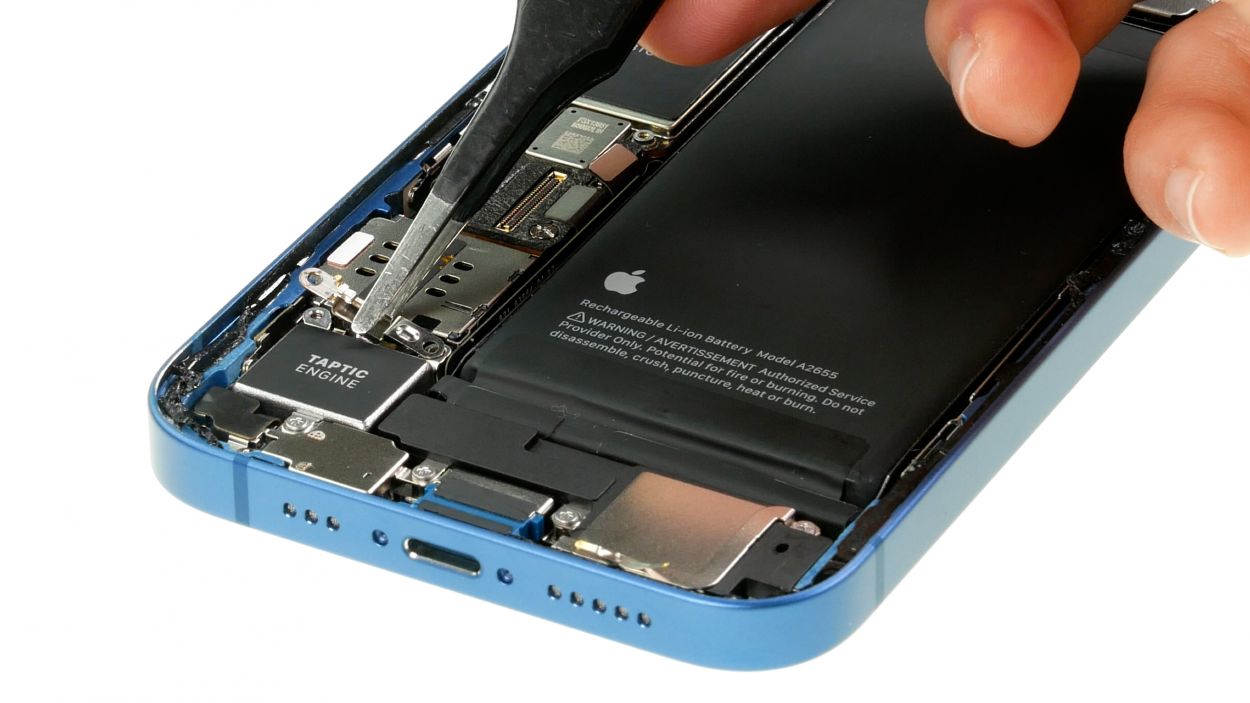
Step 10
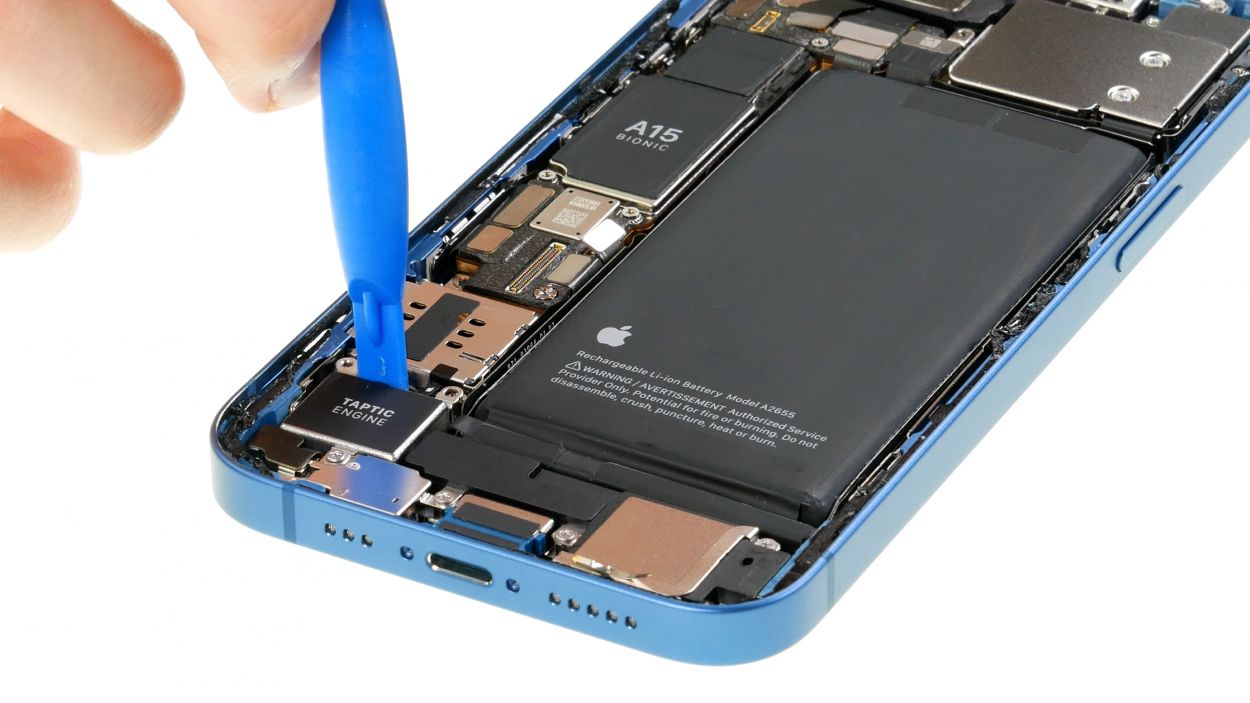
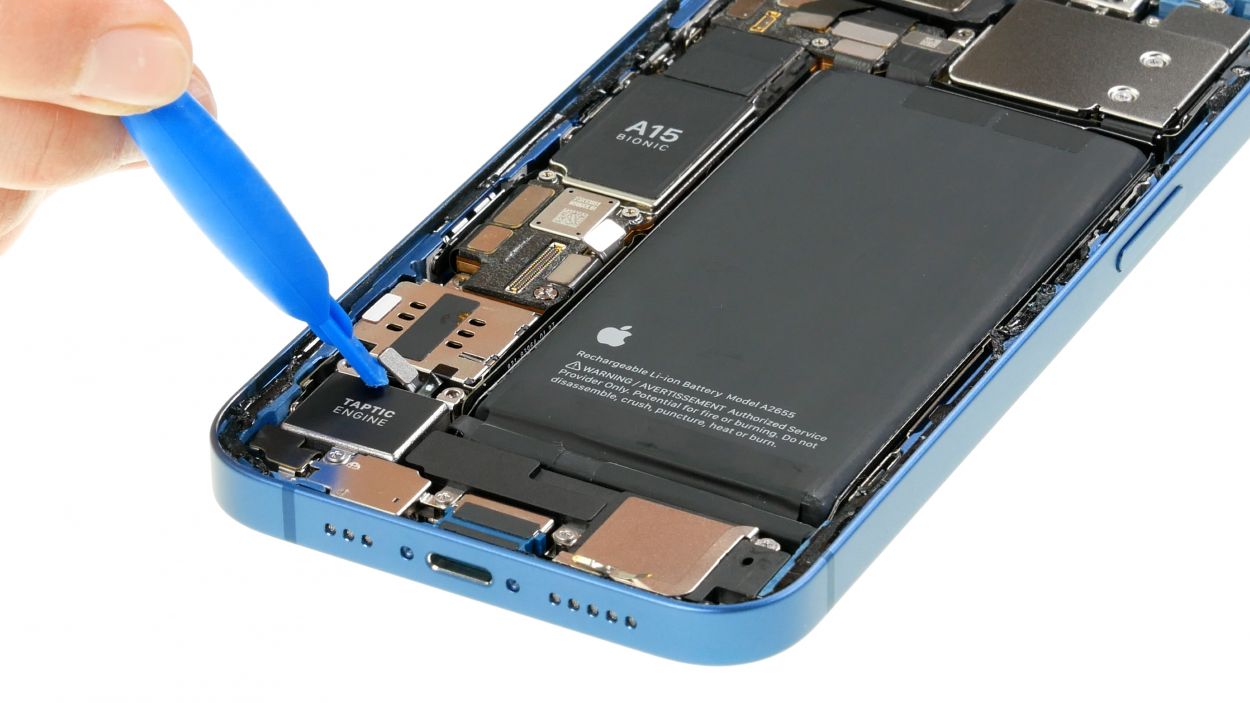
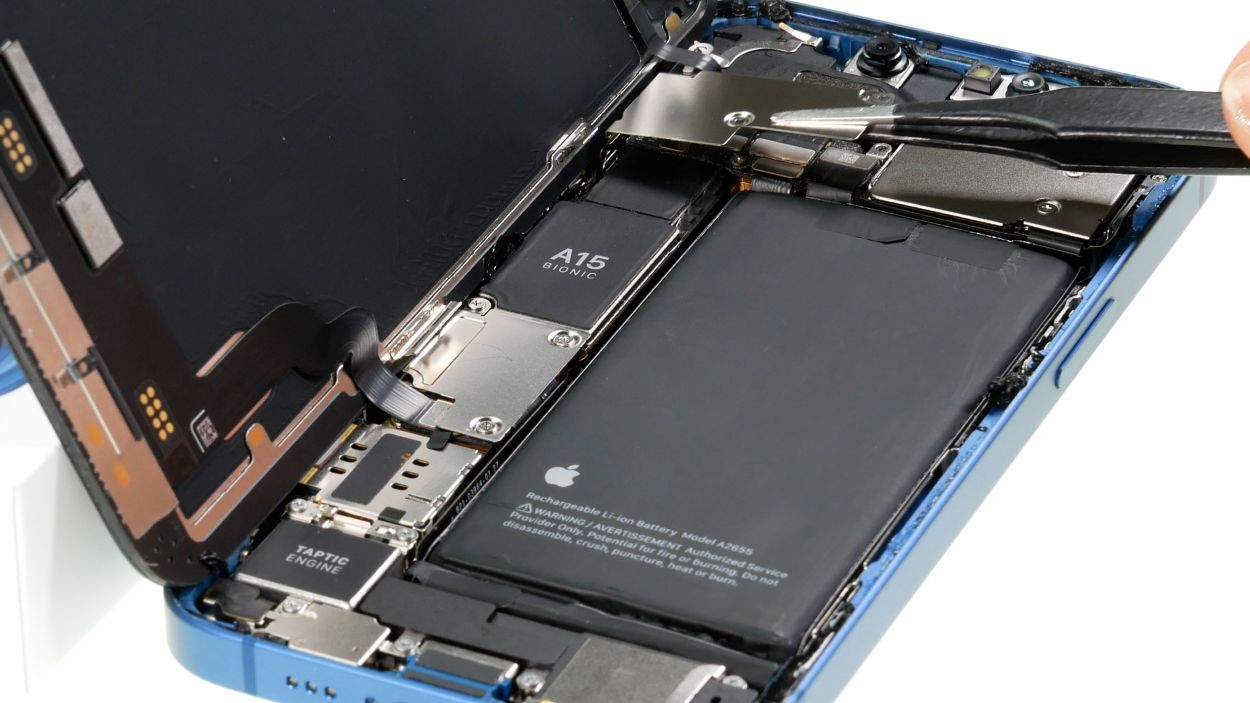
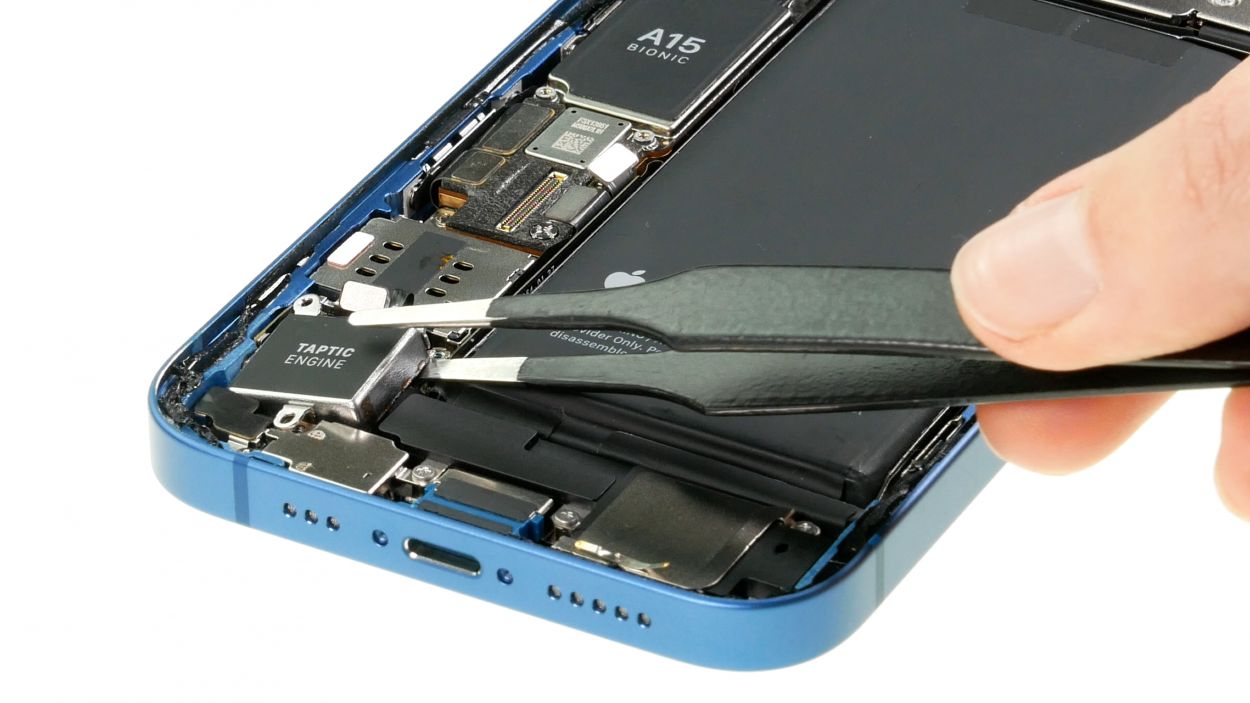
The Taptic Engine connector is a bit of a shy one, nestled nicely in the case unit. This makes it a tad trickier to disconnect compared to the other connectors on your iPhone 13. But don’t worry, you’ve got this!
– Gently pry the connector away from the logic board using a spudger or ESD tweezers—take your time and keep it smooth!
Tools Used
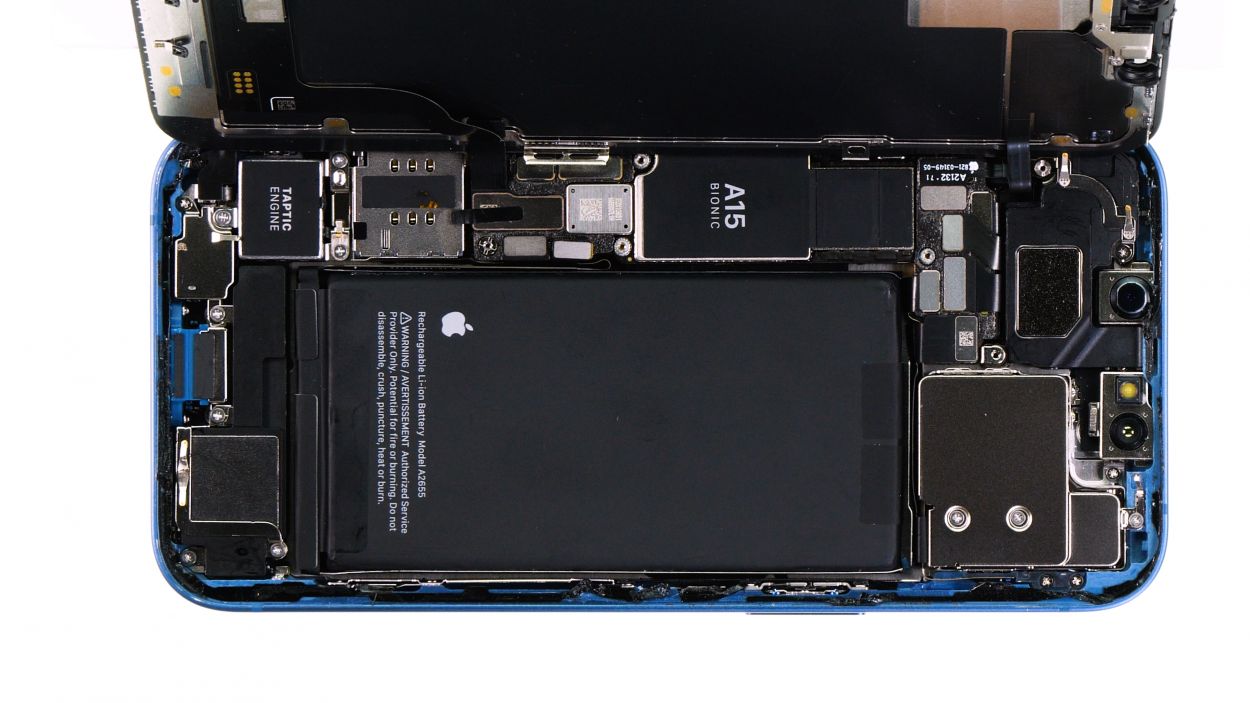
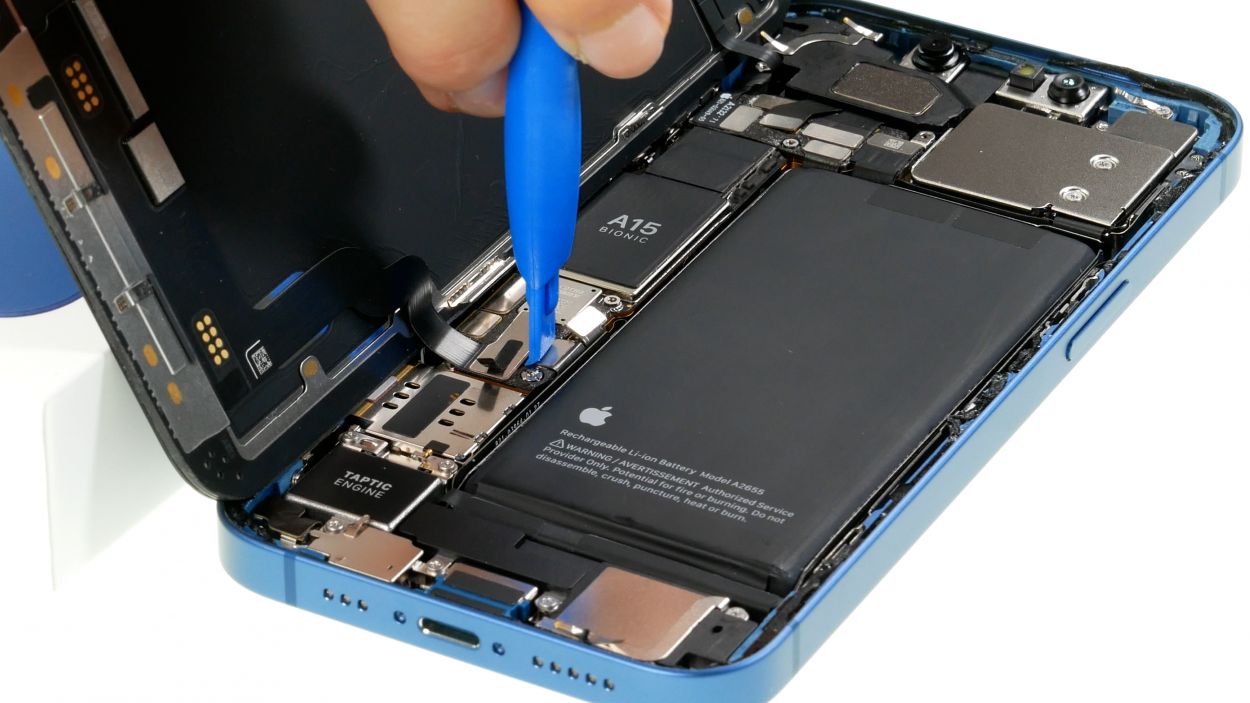
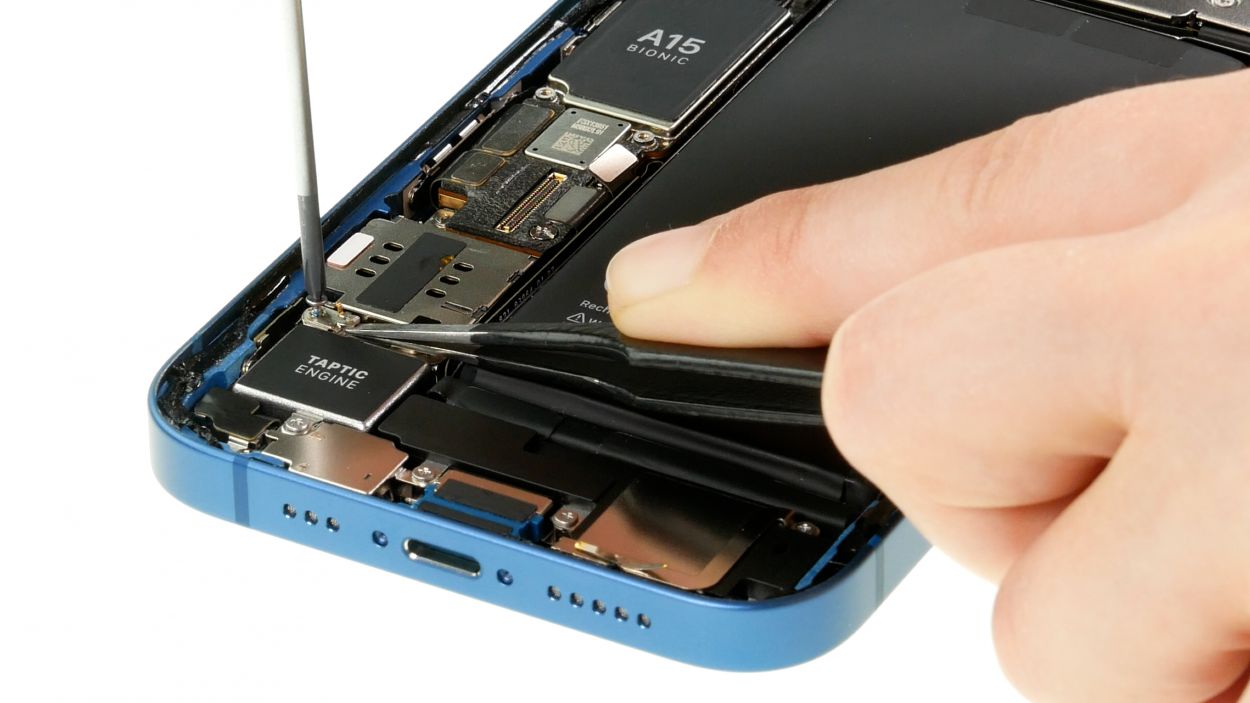
Step 11
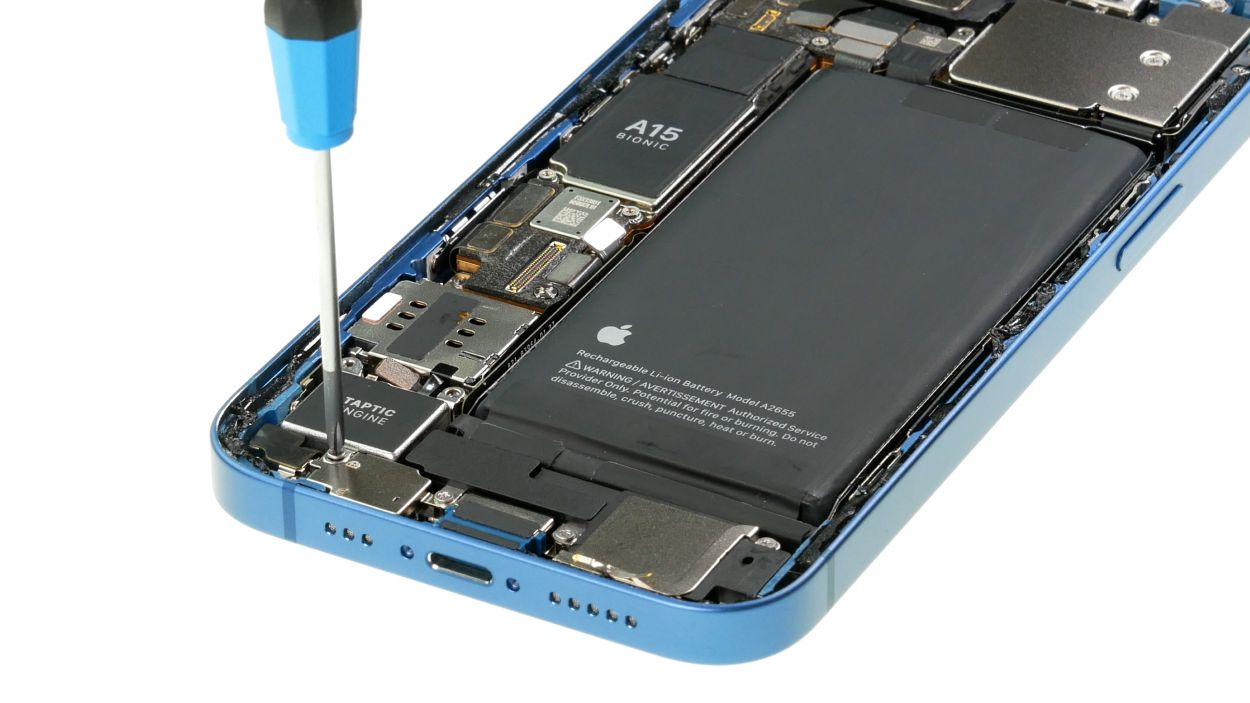

1 × 2.1 mm Phillips
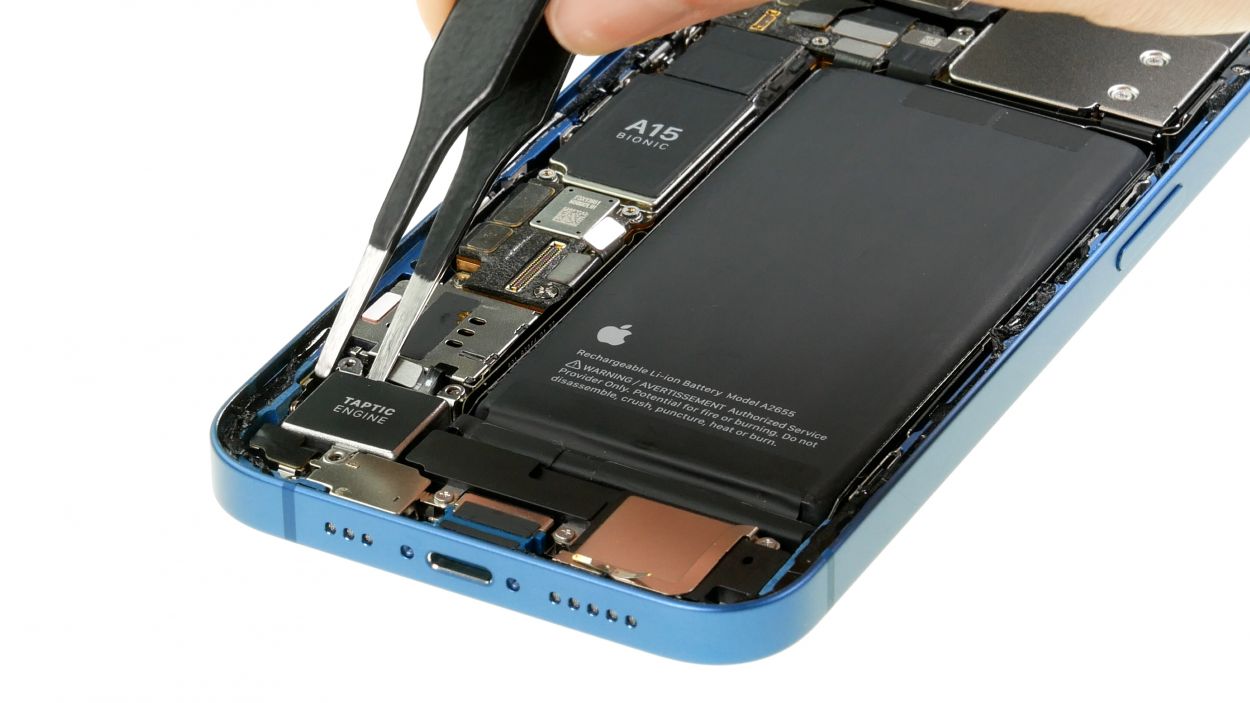
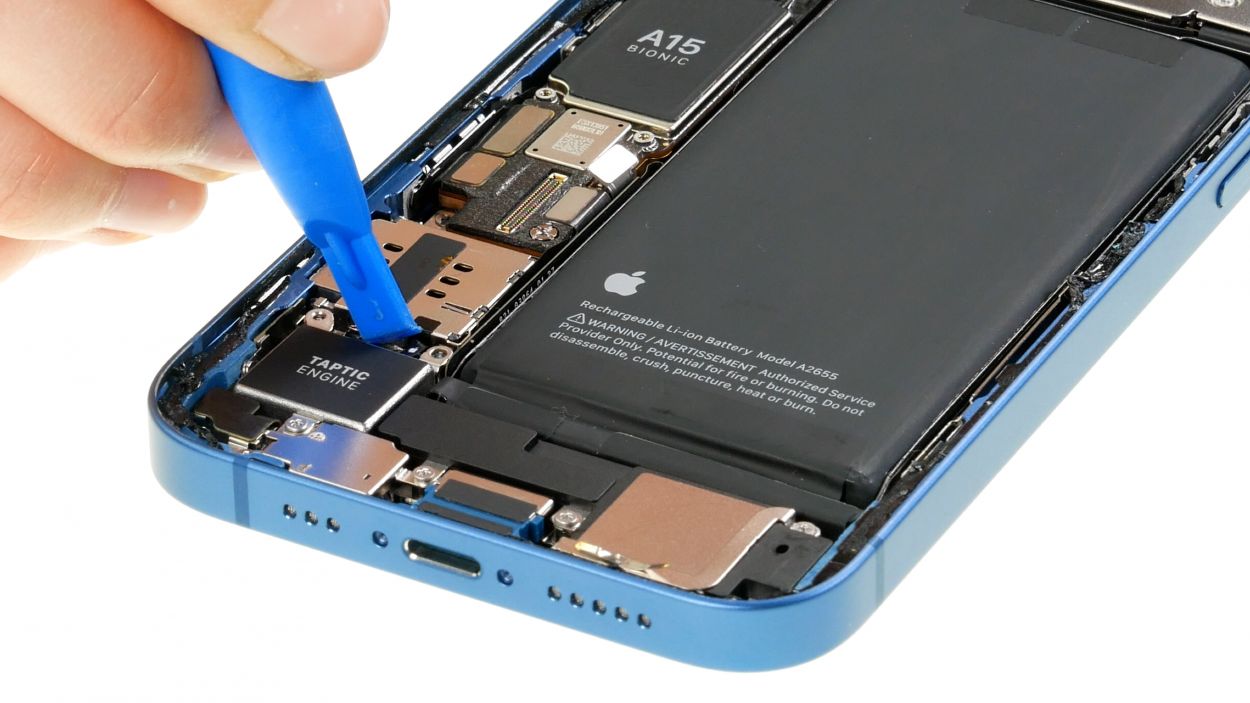
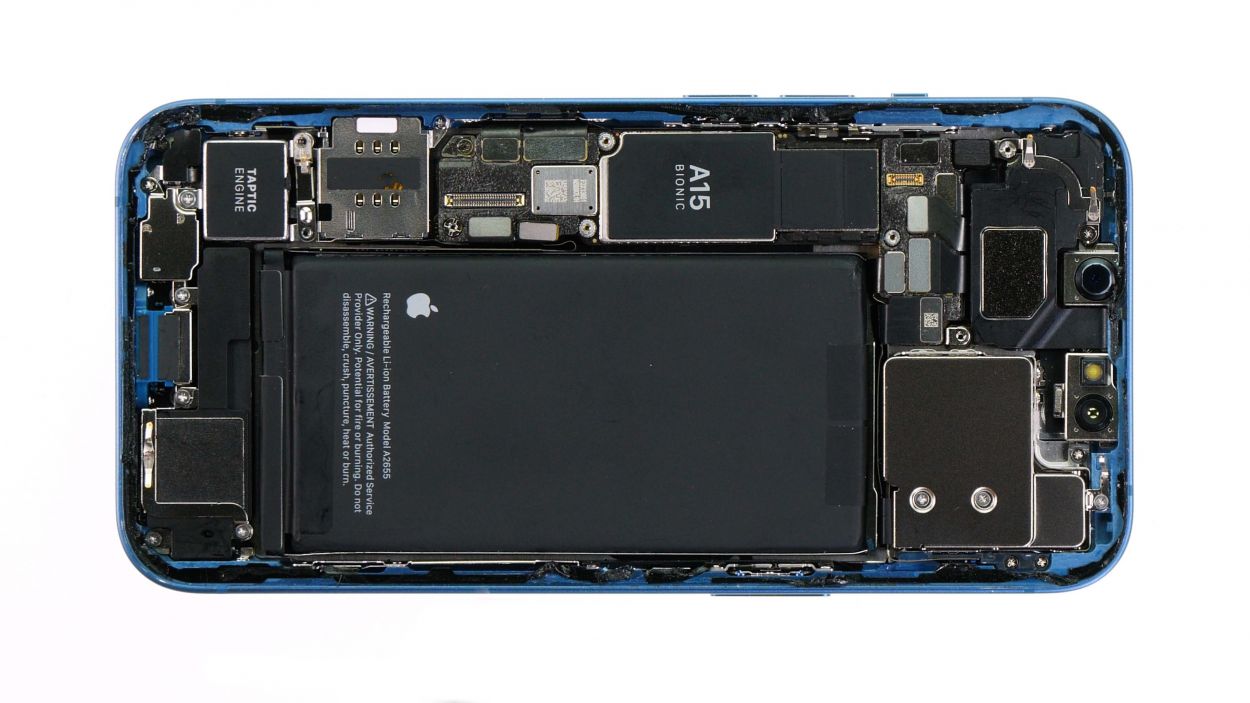
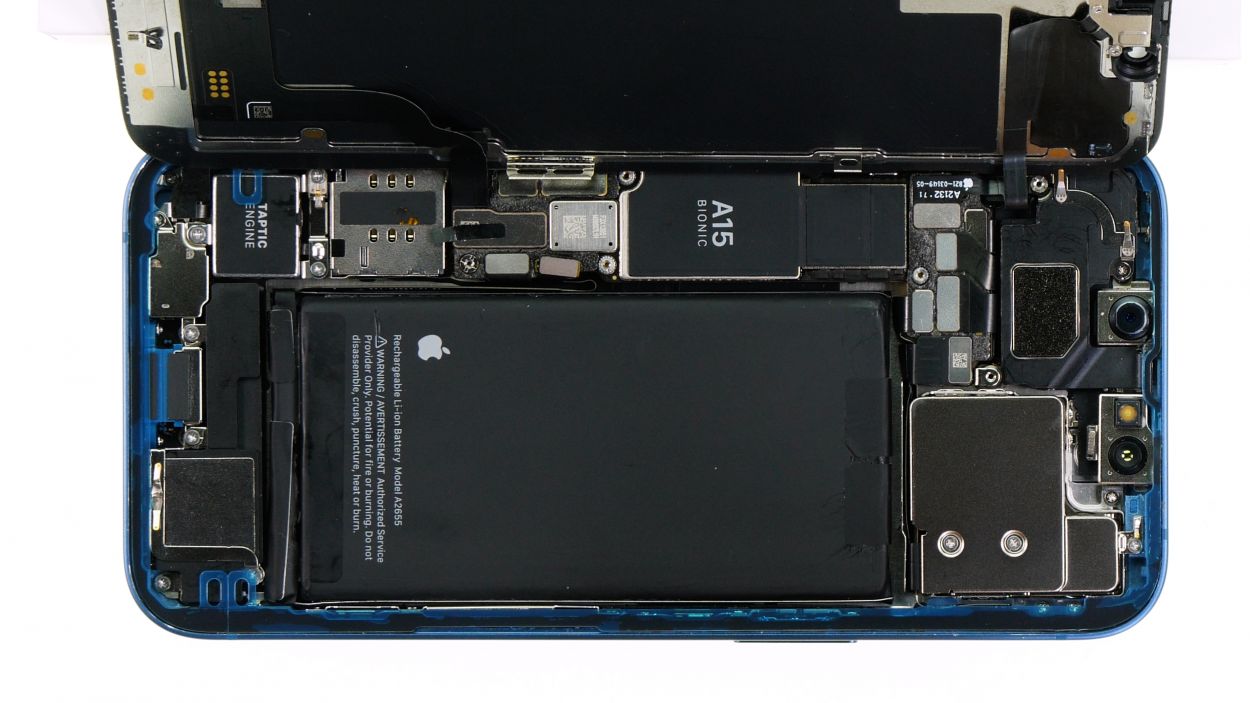
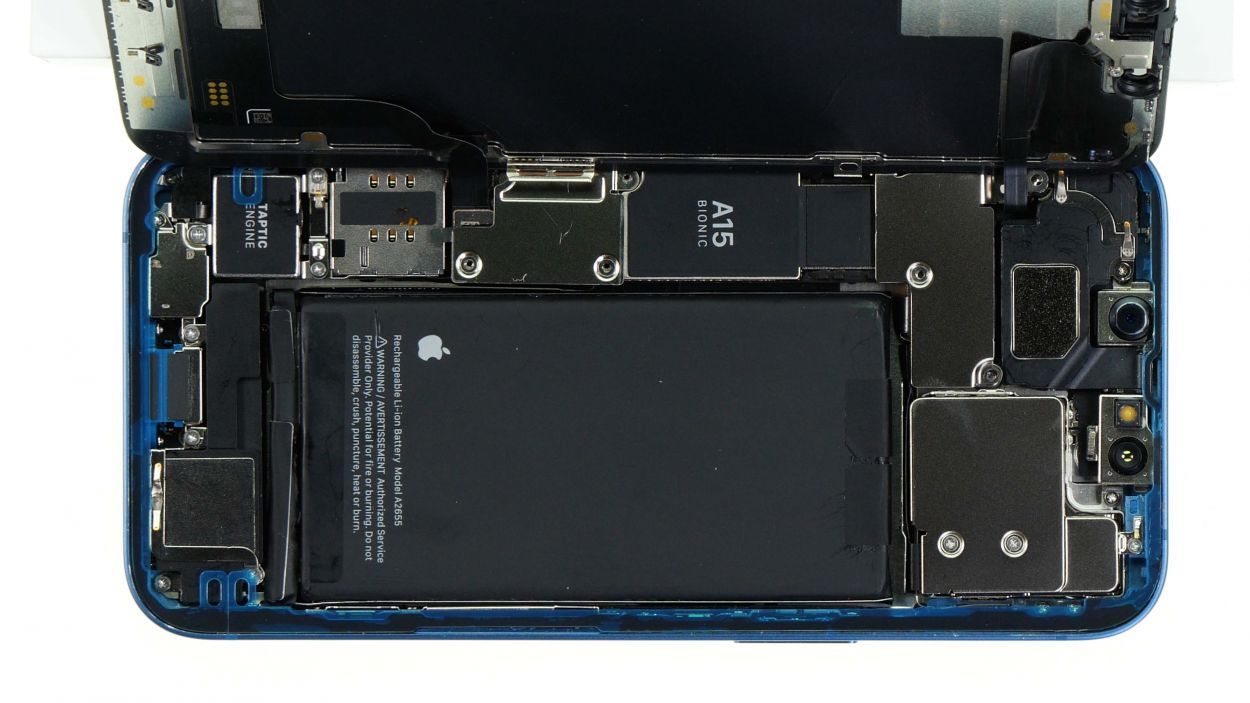
– Unscrew the lone Phillips screw that keeps the Taptic Engine snug and secure.
– Once that’s done, gently lift out the Taptic Engine and set it aside—like giving it a well-deserved break!
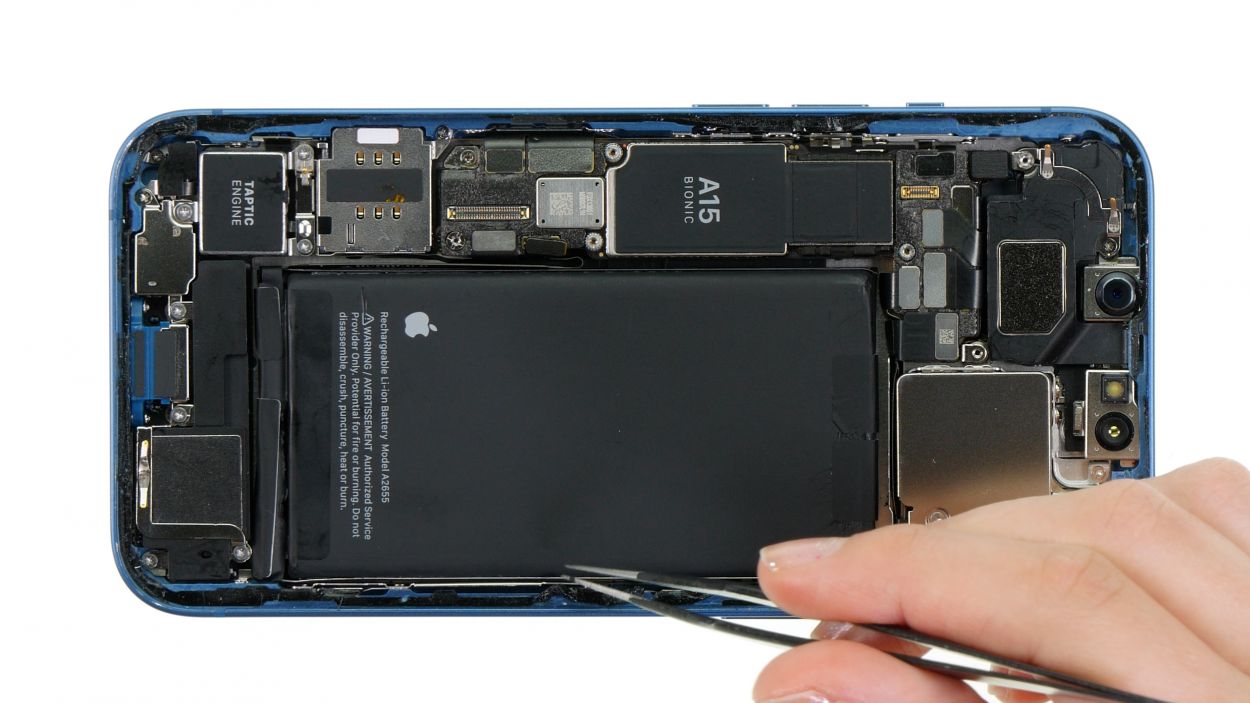
Step 12
1 × 2.1 mm Phillips
– Slide the new Taptic Engine into your iPhone 13 with care—it’s a snug fit!
– Secure it in place with the trusty Phillips screw, and you’re all set!
Step 13
Hey there! When you’re connecting those little plugs, just remember to be gentle—no need to channel your inner Hulk! A little finesse goes a long way to keep everything working smoothly.
– Gently press the Taptic Engine connector back onto the logic board. You should hear and feel a satisfying click when it’s snugly in place!
Tools Used
Step 14
2 × 2.1 mm Phillips
To keep that cover plate from doing the cha-cha while you screw it in, grab a pair of tweezers and hold it steady. You’ve got this!
– Place the cover plate back over the Taptic Engine connector like a pro!
– Secure it with the two Phillips screws, and you’re all set!
Step 15
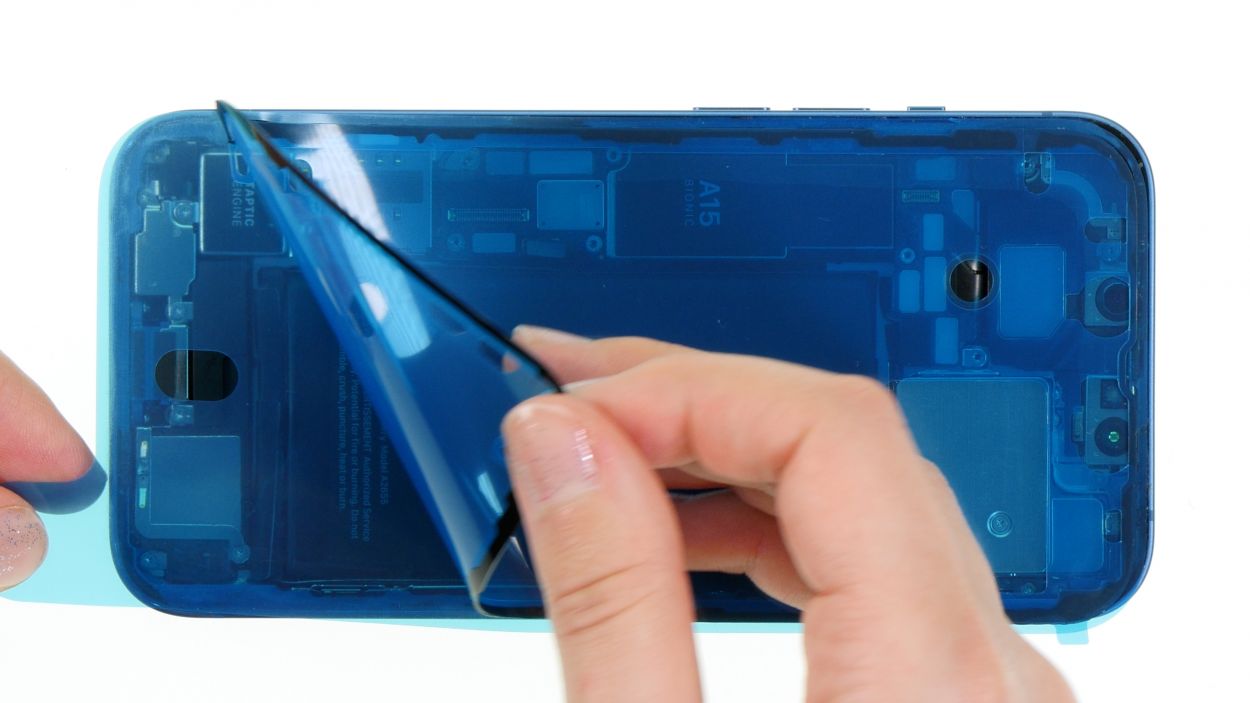
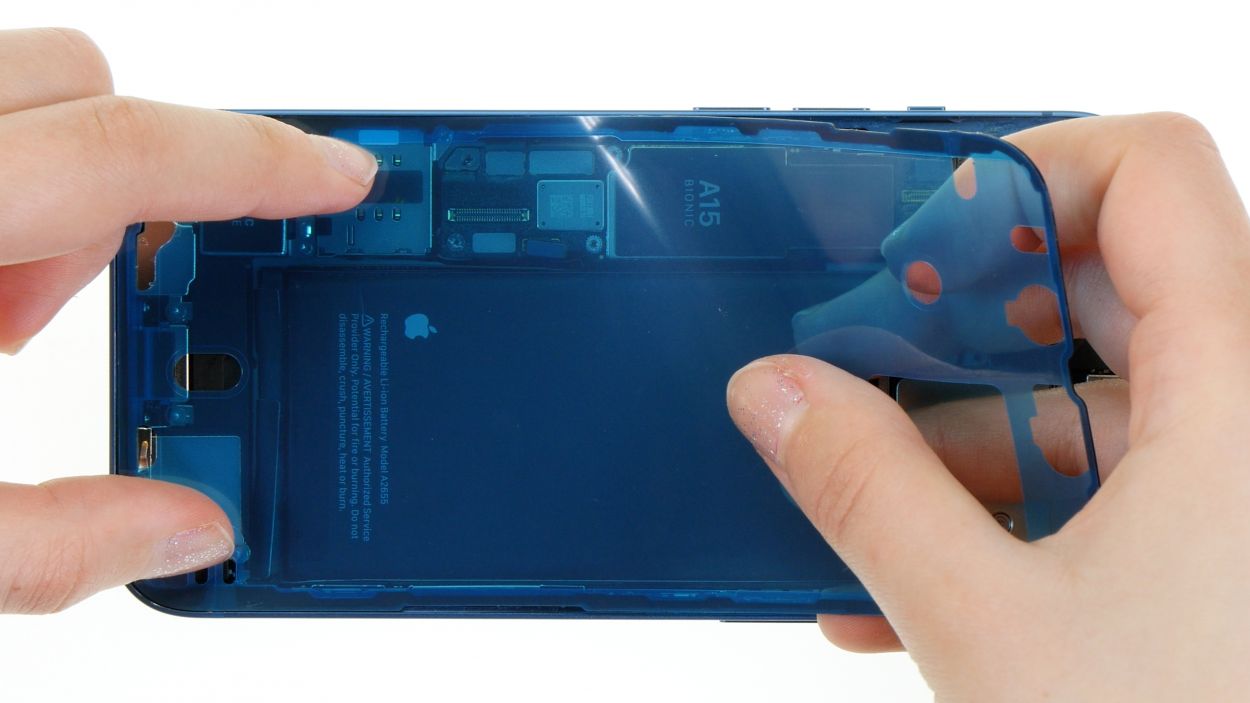
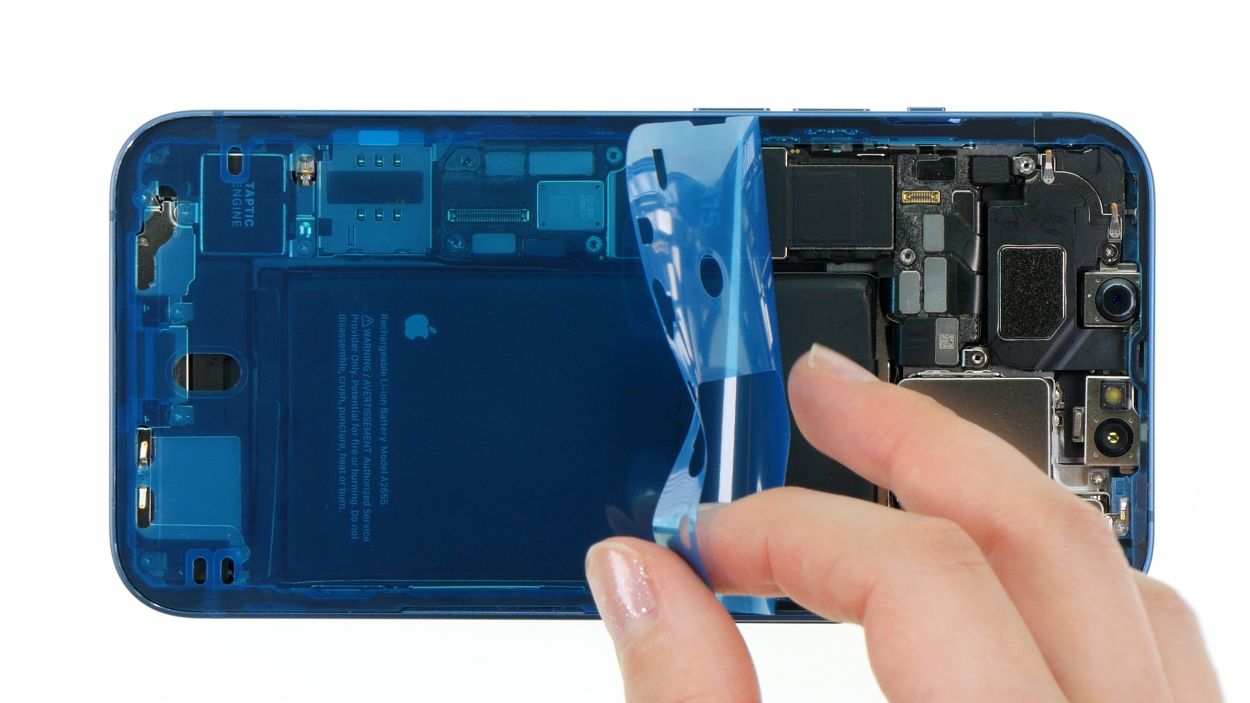
– Warm up that adhesive frame and gently peel it away, bit by bit, using your trusty tweezers.
– Next, take off the carrier film from the adhesive frame and press it onto the edge of your case like a pro.
– Finally, remove the protective film from the top side of the adhesive frame. Just a heads up, hold off on removing the remaining protective film on the edge of the case until you’re almost done with the repair.
Tools Used
- heat gun to heat parts that are glued on so they’re easier to remove.
In most cases, you can also use a hairdryer.” rel=”noopener”>Heat gun - Piergiacomi Tweezers 2a SA ESD
Step 16
To keep your repair journey smooth and short-circuit-free, always connect that battery last. Safety is key, my friend!
– Gently press that connector onto the logic board like you’re giving it a little high-five! You’ll know it’s snug when you hear and feel that satisfying click.
Step 17


– Gently lean the screen back against something sturdy to make that connection happen.
– With care, press each of the two screen connectors onto the logic board, one at a time. You should hear and feel them click into place like a satisfying puzzle piece!
Step 18

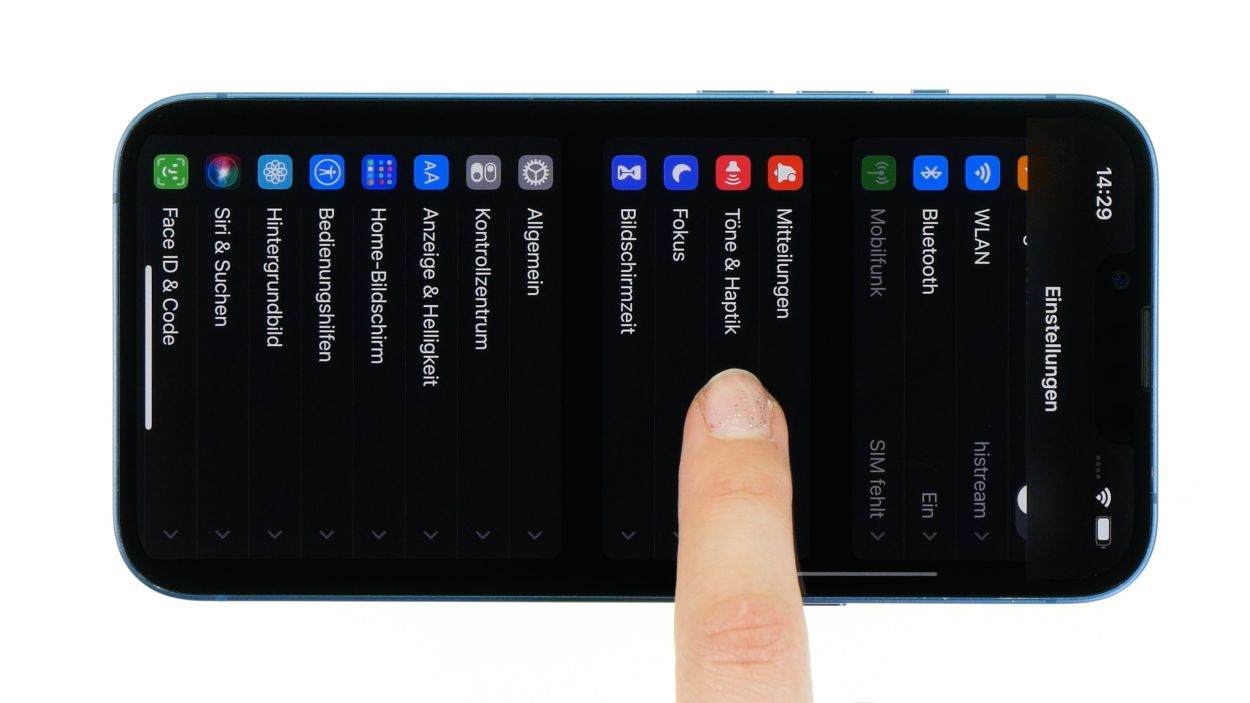
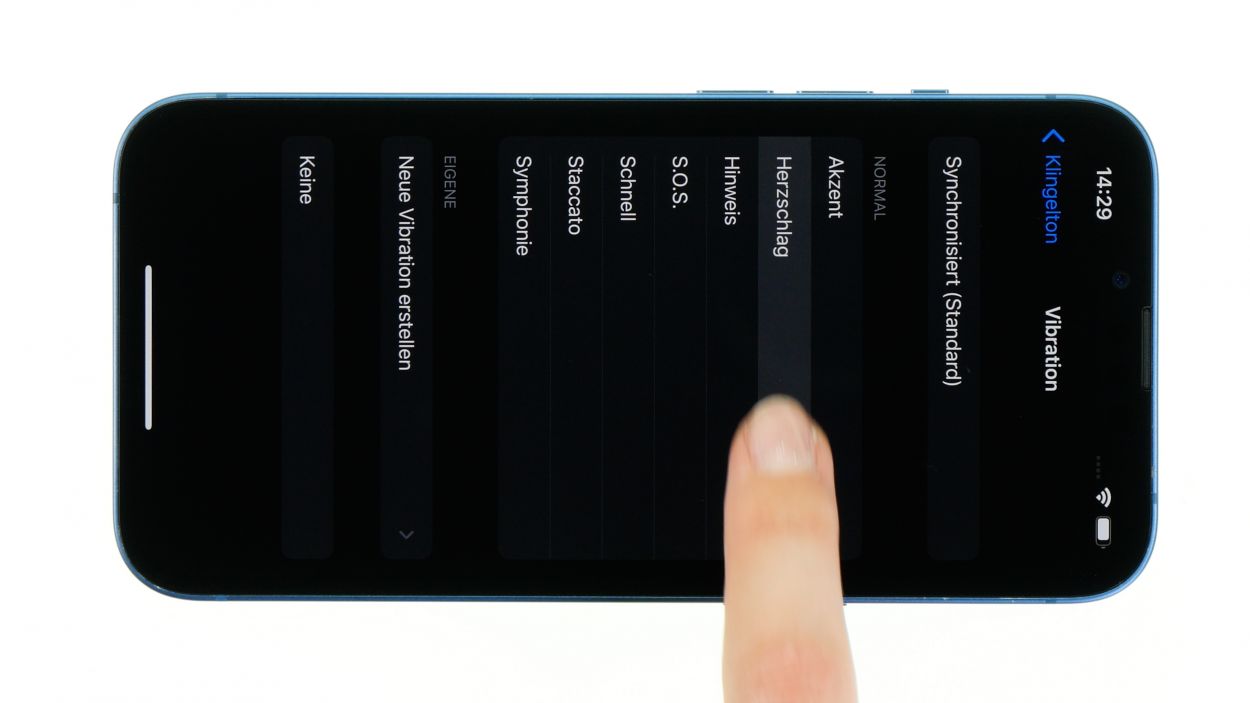
Before you seal the deal on your iPhone 13, give that shiny new Taptic Engine a test run along with some of your phone’s basic functions. It’s the perfect way to ensure your repair went off without a hitch. And hey, don’t forget to refer to our handy checklist for a smooth wrap-up!
– Gently wrap the screen around, but hold off on pressing it into the case just yet.
– Power up your iPhone and pick a fun vibration pattern!
– If something feels off, double-check that everything is installed and connected just right.
Step 19

4 × 1.2 mm Phillips
1 × 1.7 mm Y-Type
1 × 1.6 mm Phillips
Watch out for those screw lengths! Mixing them up could lead to a long screw causing some unexpected damage. Keep it fun and safe!
The upper cover plate has a little extra flair by being hooked on one side. Just a heads up as you work your magic!
– Align the two cover plates over the connectors. The screw holes are your trusty guides for perfect placement!
– Secure the cover plates by screwing them in place. Use your tweezers to keep them steady while you work your magic!
Step 20
As you fold down that screen, just keep an eye out for those sneaky flex cables! We want to avoid any pinching incidents—your phone will thank you!
– If you’ve just added a fresh adhesive frame, now’s the time to peel off that leftover protective film!
– Carefully flip the screen over and press it down firmly into the case frame—make sure it’s sitting nice and level all around. You’ll hear a satisfying click when it’s snug!
– Lastly, give the edge of the screen a little heat with your hot air tool to ensure that adhesive bonds like a champ!
Tools Used
- heat gun to heat parts that are glued on so they’re easier to remove.
In most cases, you can also use a hairdryer.” rel=”noopener”>Heat gun - Piergiacomi Tweezers 2a SA ESD
Step 21
2 × 6.8 mm Pentalobe
– Secure that screen back in place by tightening those two rear case screws like a champ!
Tools Used
