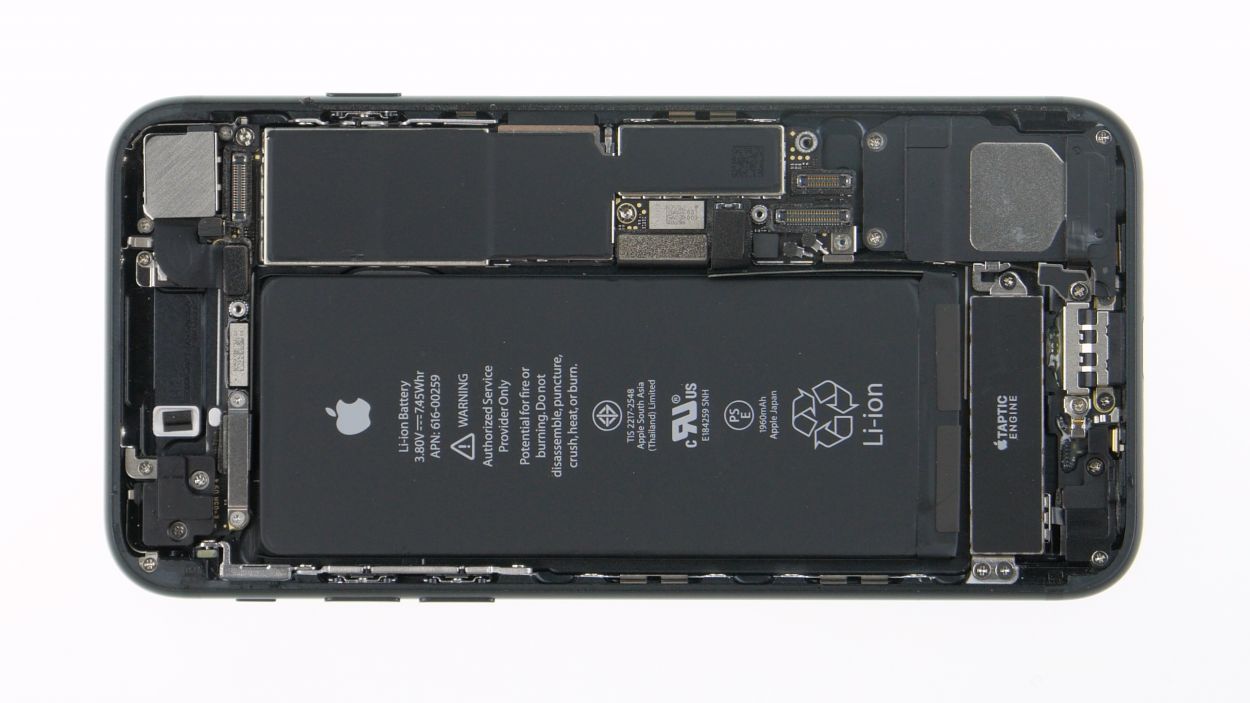
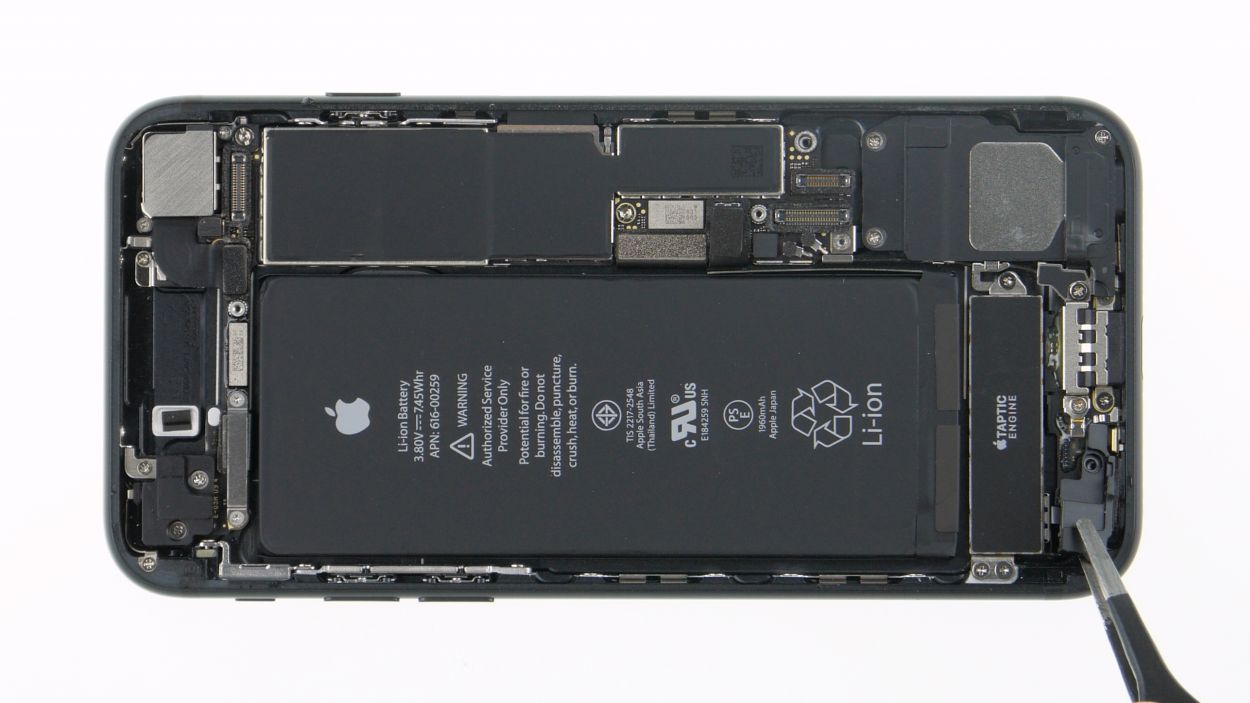
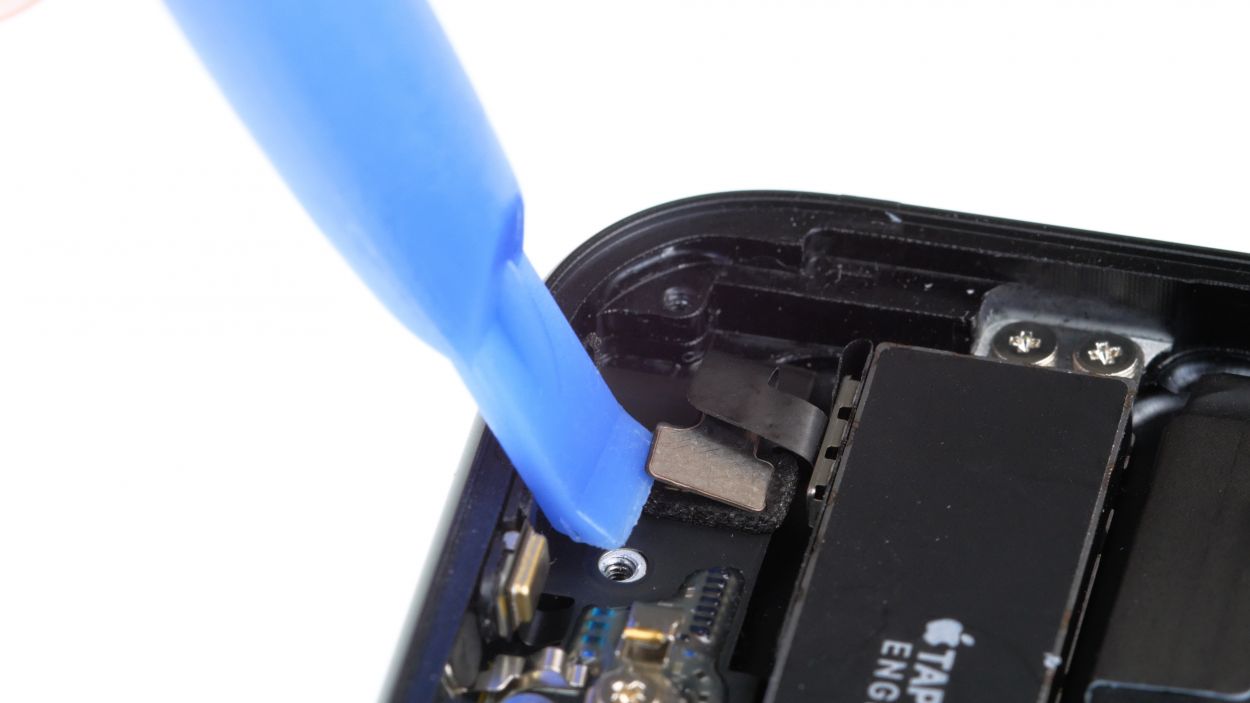
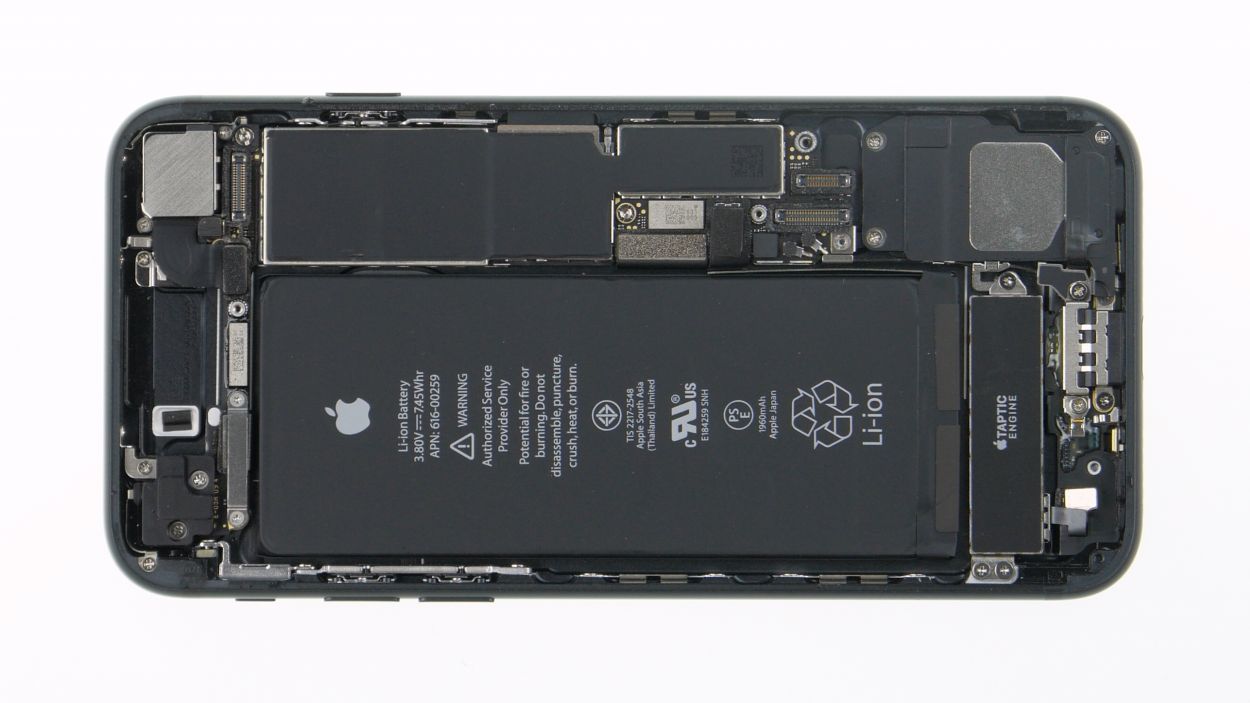
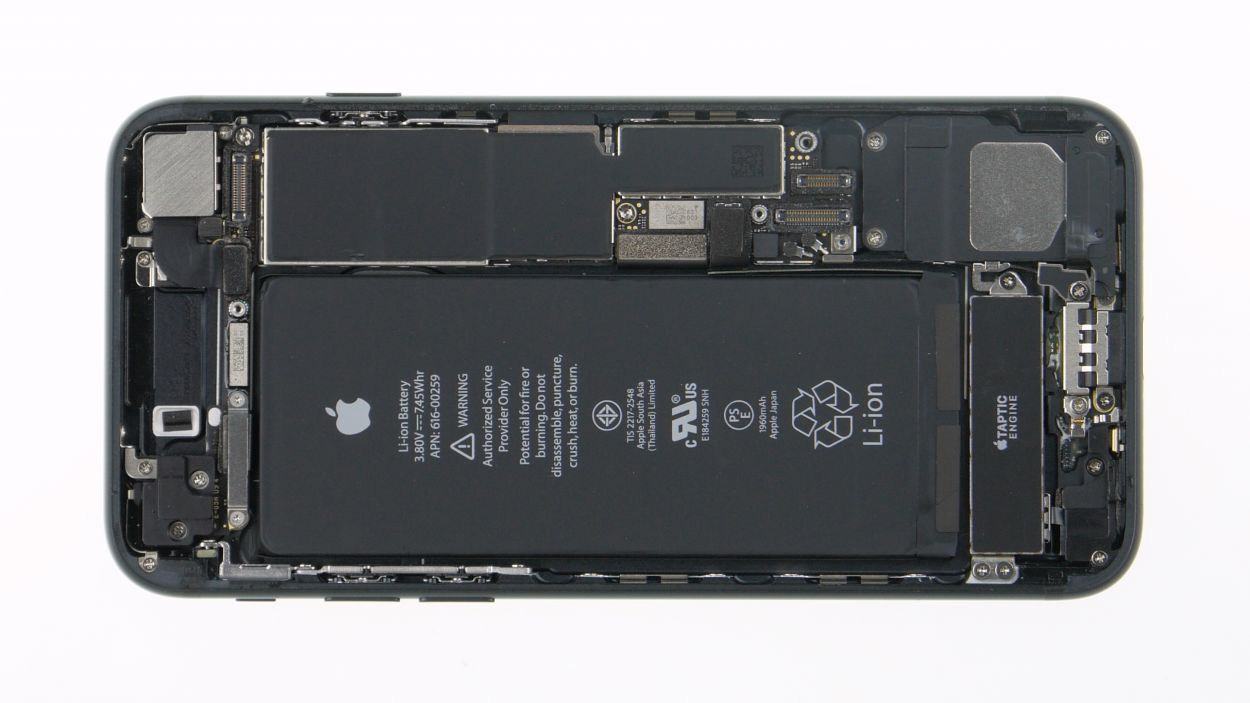
DIY Guide to Replace Taptic Engine in iPhone 7
Duration: 30 min.
Steps: 16 Steps
Ready to give your iPhone 7 a little boost? With these handy instructions, you can easily swap out that tired Taptic Engine and bring back the vibrational magic to your smartphone! Don’t forget to check out our online store for the perfect tool kit and a top-notch Taptic Engine just for your iPhone 7. We’re rooting for you in this repair adventure! If you find our guide helpful, we’d love to hear your positive feedback. Let’s get started!
Step 1
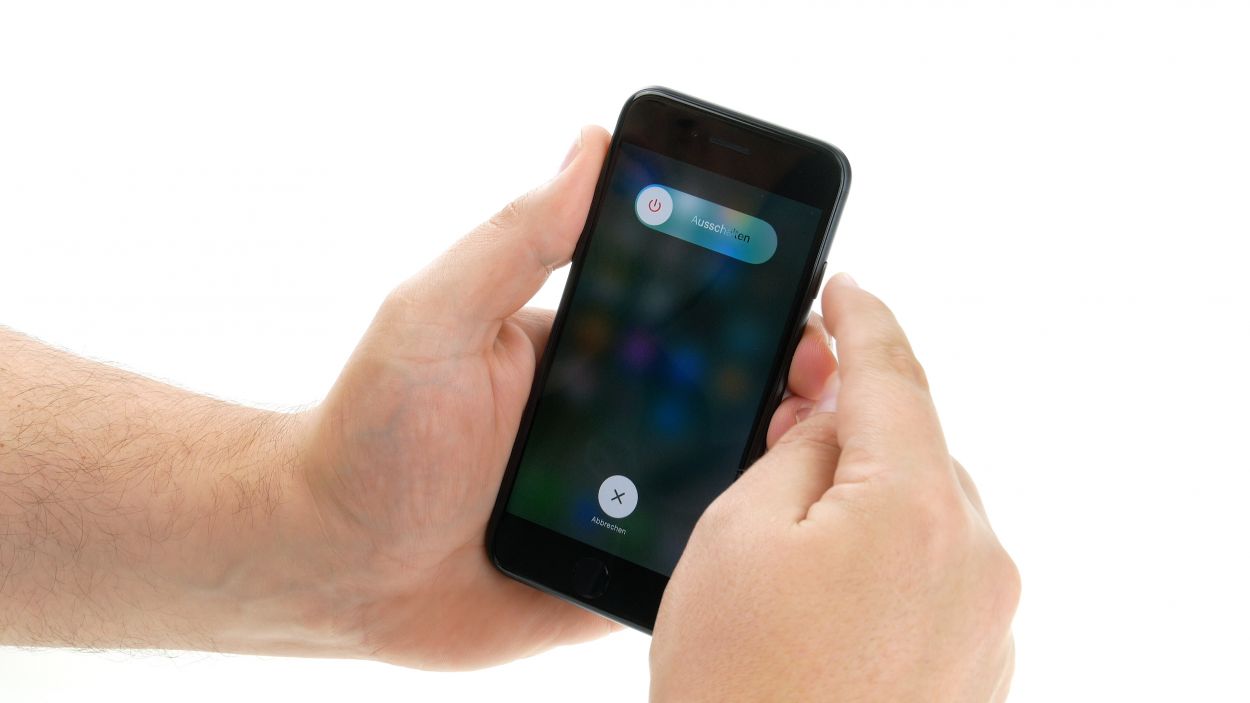
– To keep your device safe from any pesky short circuits while you work your magic, make sure to turn it off completely before diving in.
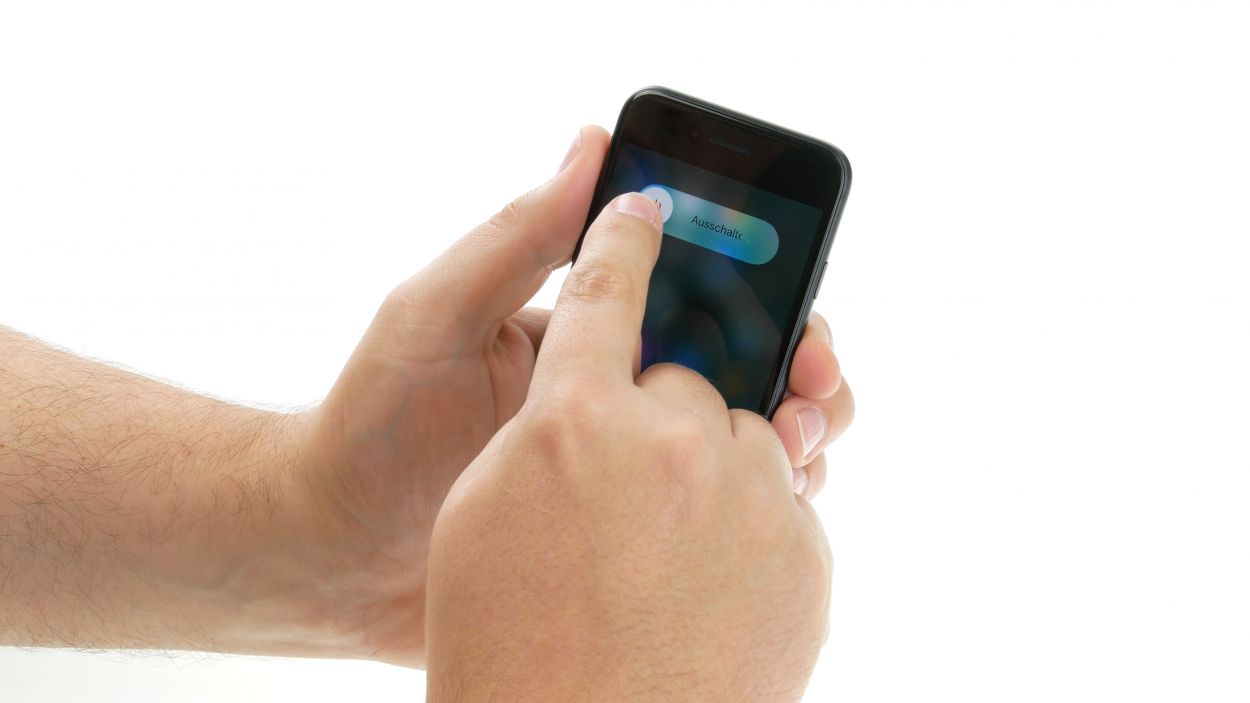
– Give that sleep/wake button a good press until you see the “Switch off” slider pop up on your screen.
– Slide that slider from left to right, just like a pro!
– In about ten seconds, your iPhone will be powered down and ready for action.
Step 2
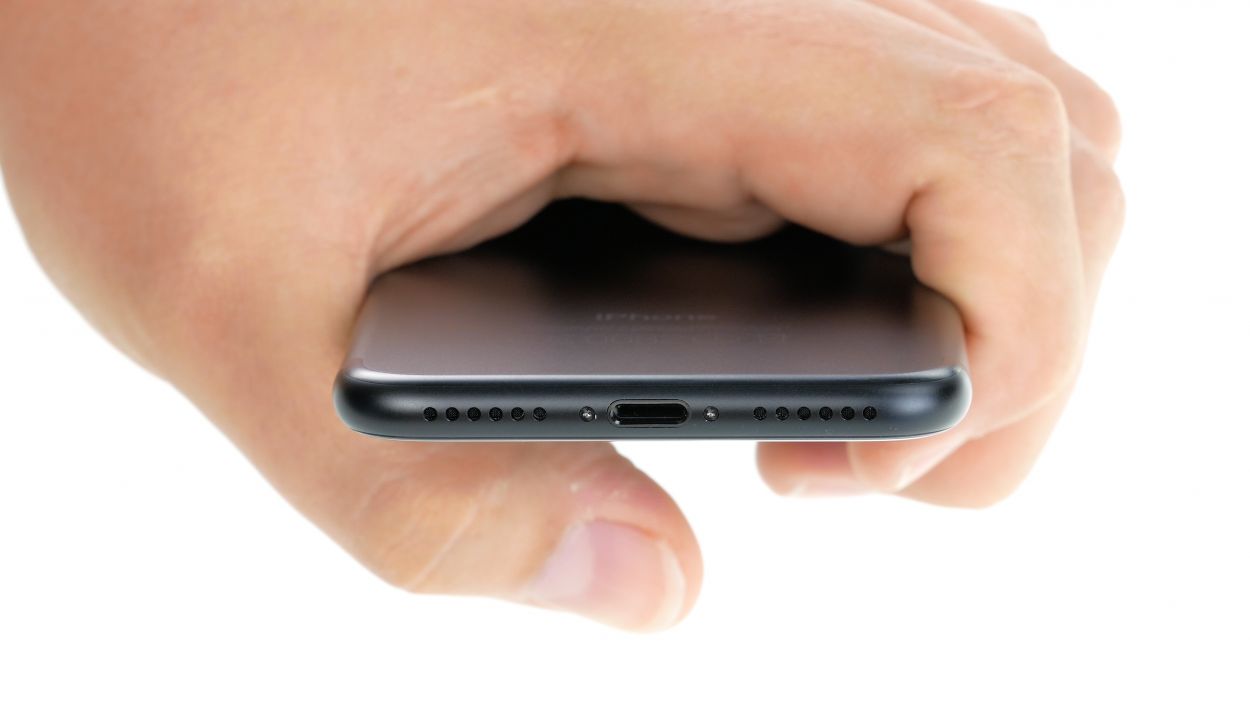
– Grab your trusty Pentalobe screwdriver and carefully unscrew the two Pentalobe screws sitting snugly on either side of the Lightning connector.
– Don’t let those screws wander off! Pop them into a screw storage solution to keep them safe and sound.
2 × 3,3 mm Pentalobe
To keep track of all those tiny parts and screws while you work, we suggest using a screw storage solution. An old sewing box can work wonders for this! At Salvation Repair, we like to use a trusty magnetic mat where we can neatly arrange the parts in the same order they were originally installed in your phone. It’s like giving your screws a cozy little home!
Step 3
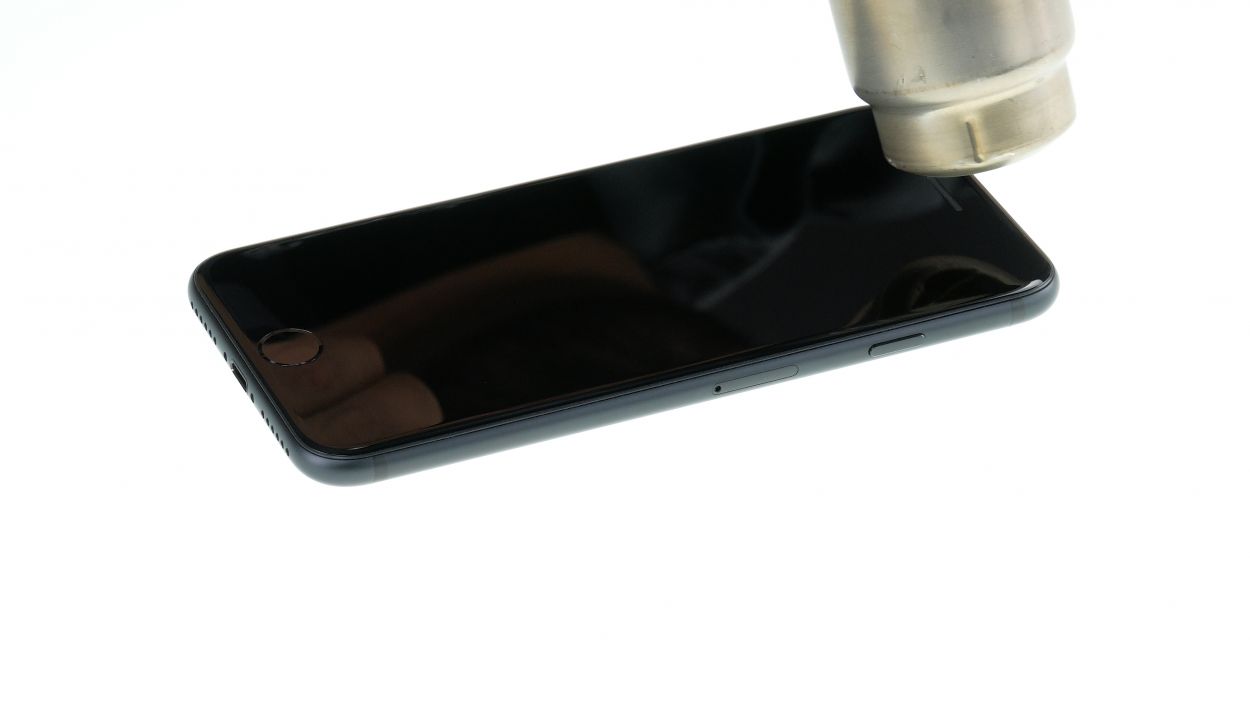
When it comes to heating up your device, just warm it up enough to make it cozy for your fingers—no need to turn it into a mini sauna! Keep it friendly and comfy, and you’ll be good to go!
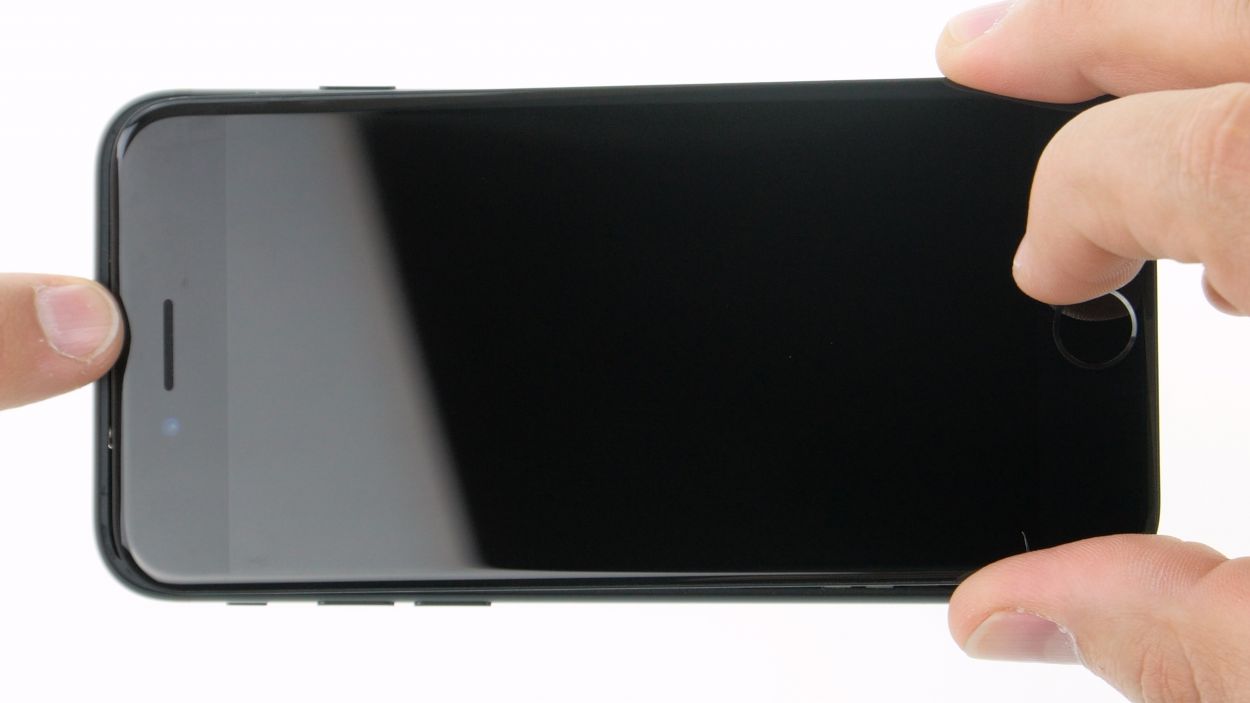
– Start by laying your iPhone 7 on a soft, clean surface to keep that back cover scratch-free. We want it looking good!
– Grab a hot air tool, like a heat gun or even a good old hairdryer, and gently wave it over the edge of the screen. This will warm up the adhesive just right for an easier separation.
Tools Used
- heat gun to heat parts that are glued on so they’re easier to remove.
In most cases, you can also use a hairdryer.” rel=”noopener”>Heat gun
Step 4
Opening your iPhone 7 means saying goodbye to that warranty for dust, splash protection, and waterproofing. But hey, you’re about to become a repair pro!
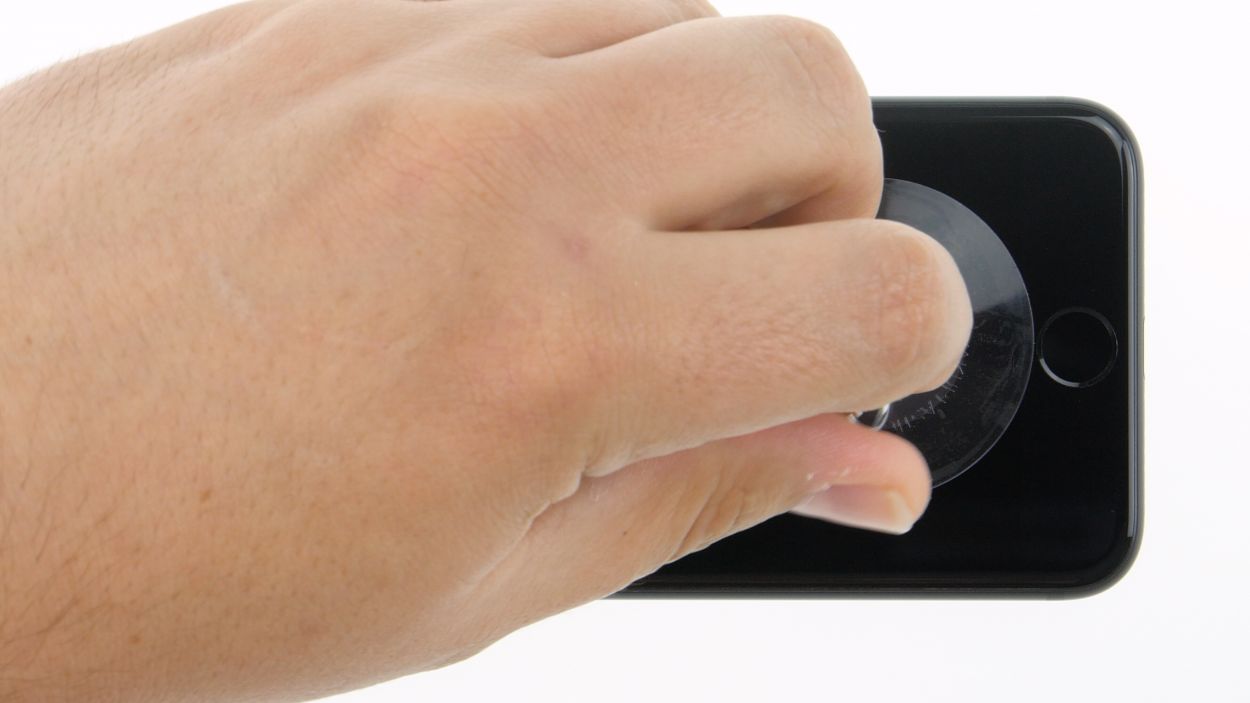
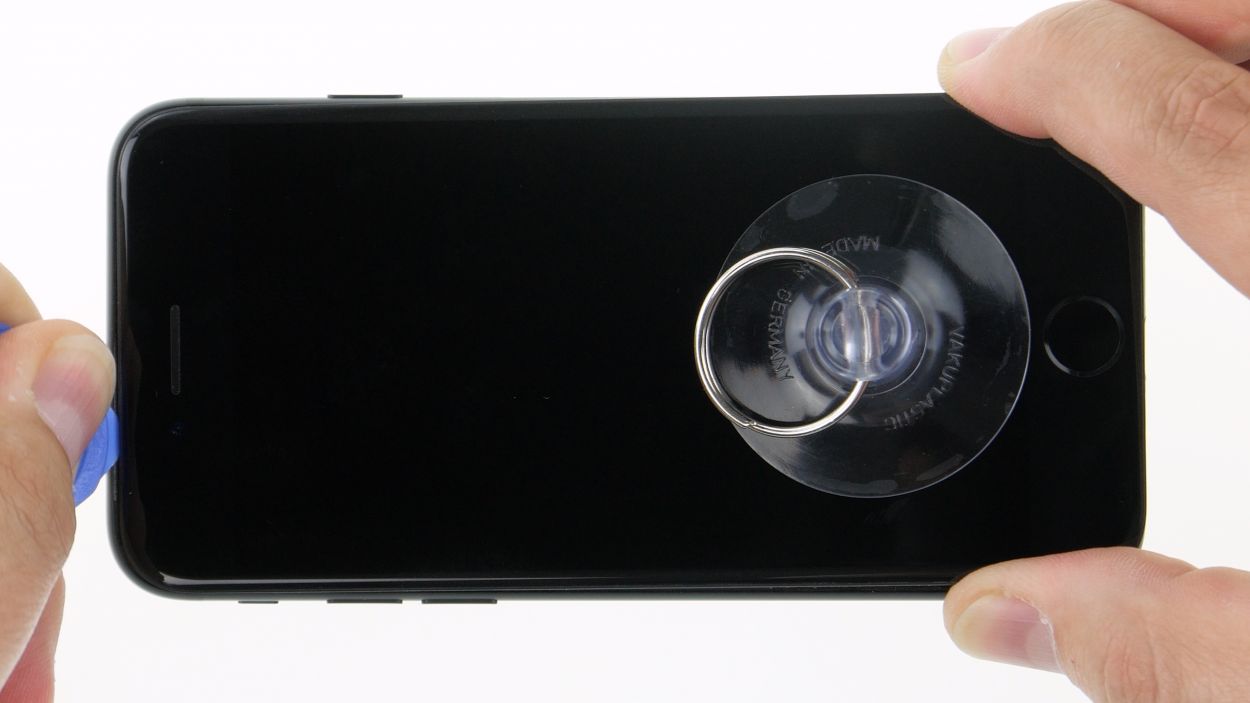
– After you’ve warmed up the display edge, grab a suction cup and stick it on the display right above the home button.
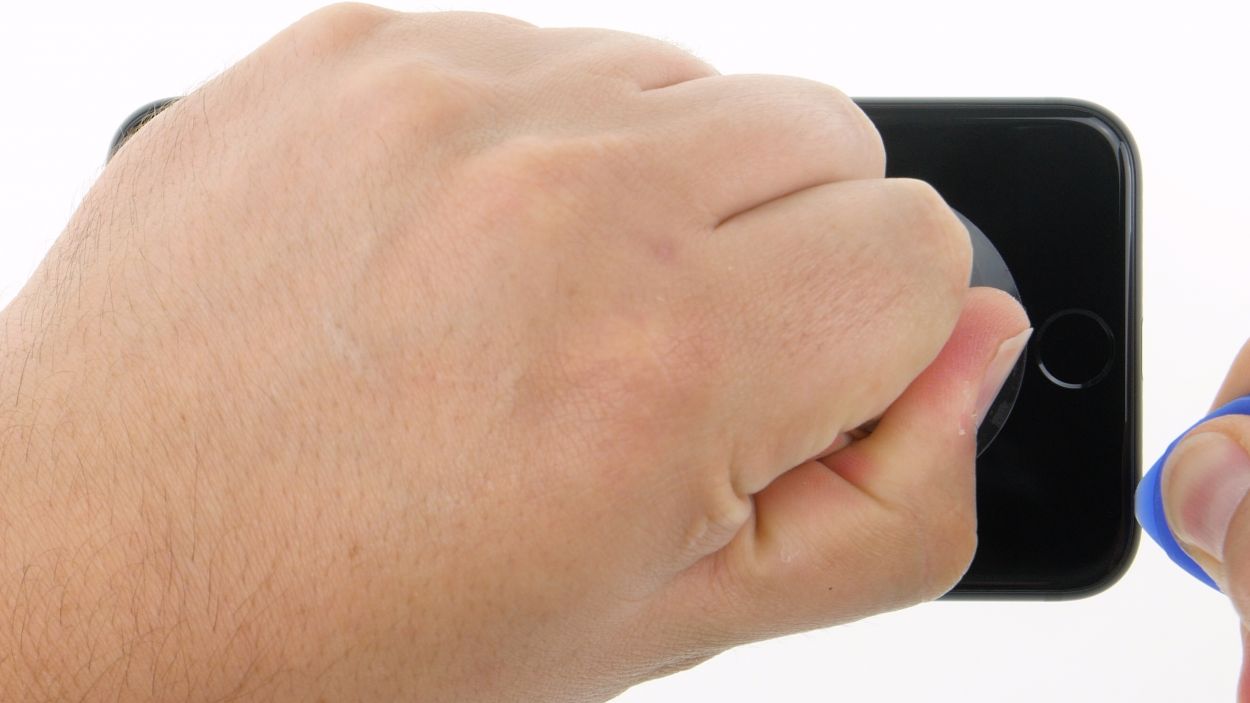
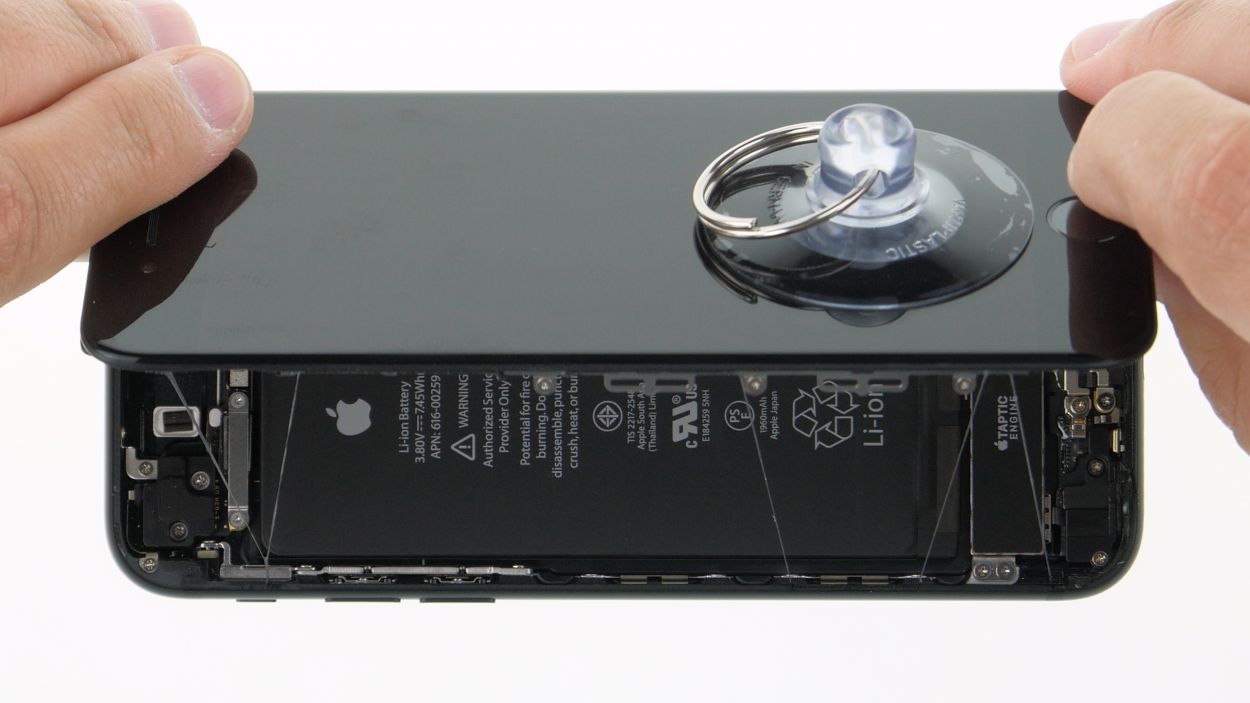
– Give that suction cup a gentle pull upwards to create a slim little gap between the aluminum frame and the display.
– While you’re at it, slide a flat and sturdy tool into that gap. A hard plastic plectrum works wonders for this task!
– Now, go ahead and nudge the aluminum frame down a bit with your tool to widen that gap even more.
Tools Used
Step 5
Just a friendly reminder: when you’re using those picks near the sleep/wake button, be gentle! We don’t want to accidentally mess up the flex cable for the display. Keep it cool and take your time!
Keep the heat flowing along the display’s edge while sticking in those flat picks. This way, the glue won’t get clingy again in the spots you’ve already loosened up. You’re doing great!
Tools Used
- heat gun to heat parts that are glued on so they’re easier to remove.
In most cases, you can also use a hairdryer.” rel=”noopener”>Heat gun - Pick Set
- Flat Picks
Step 6
1 × 2,4 mm Y-Type
3 × 1,0 mm Y-Type
Battery connector
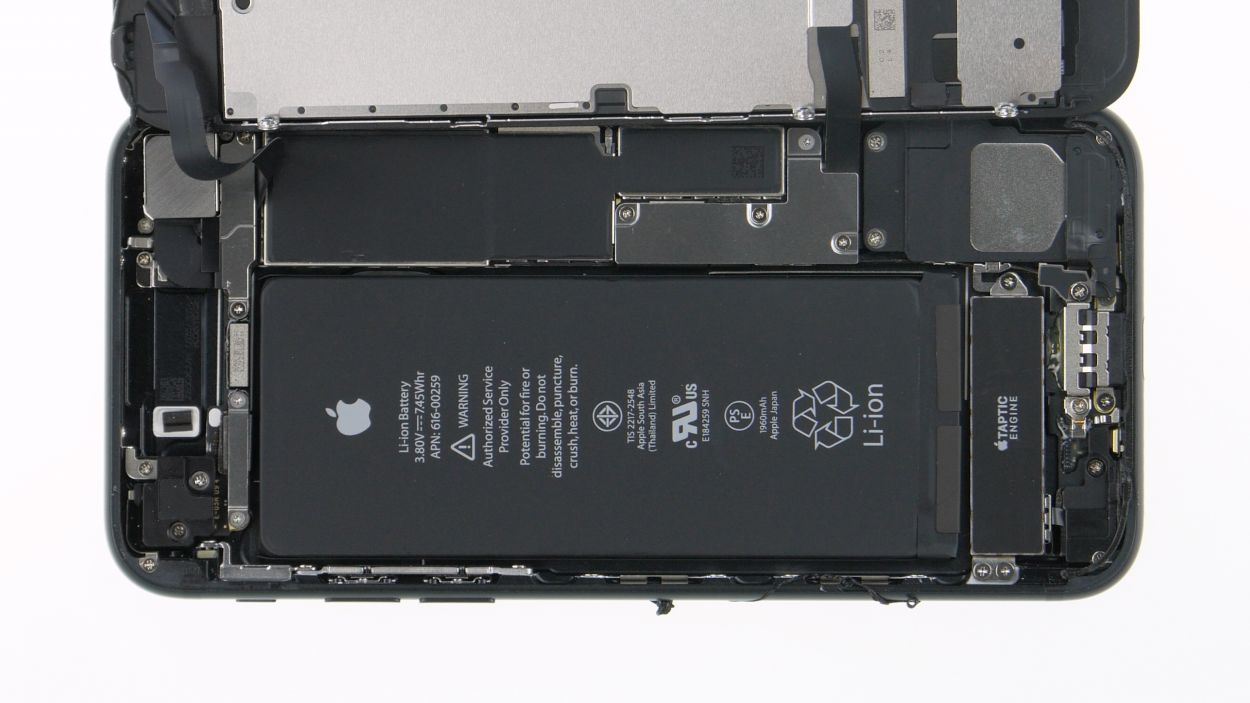
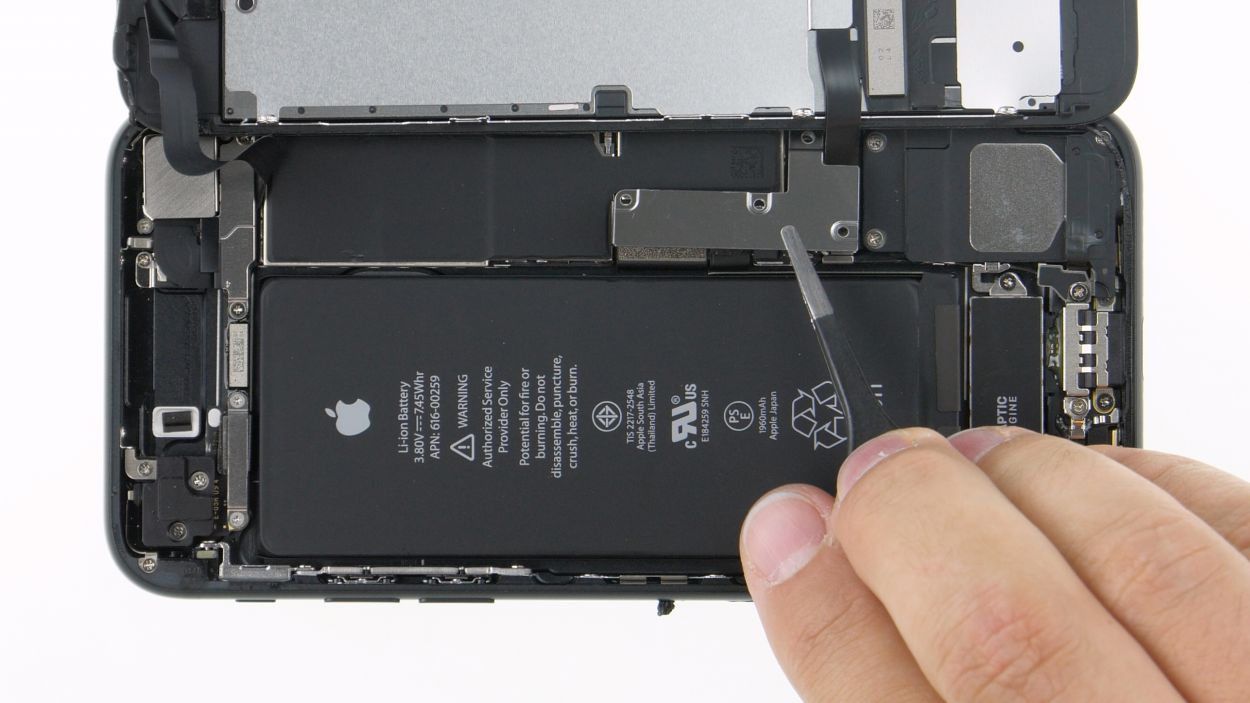
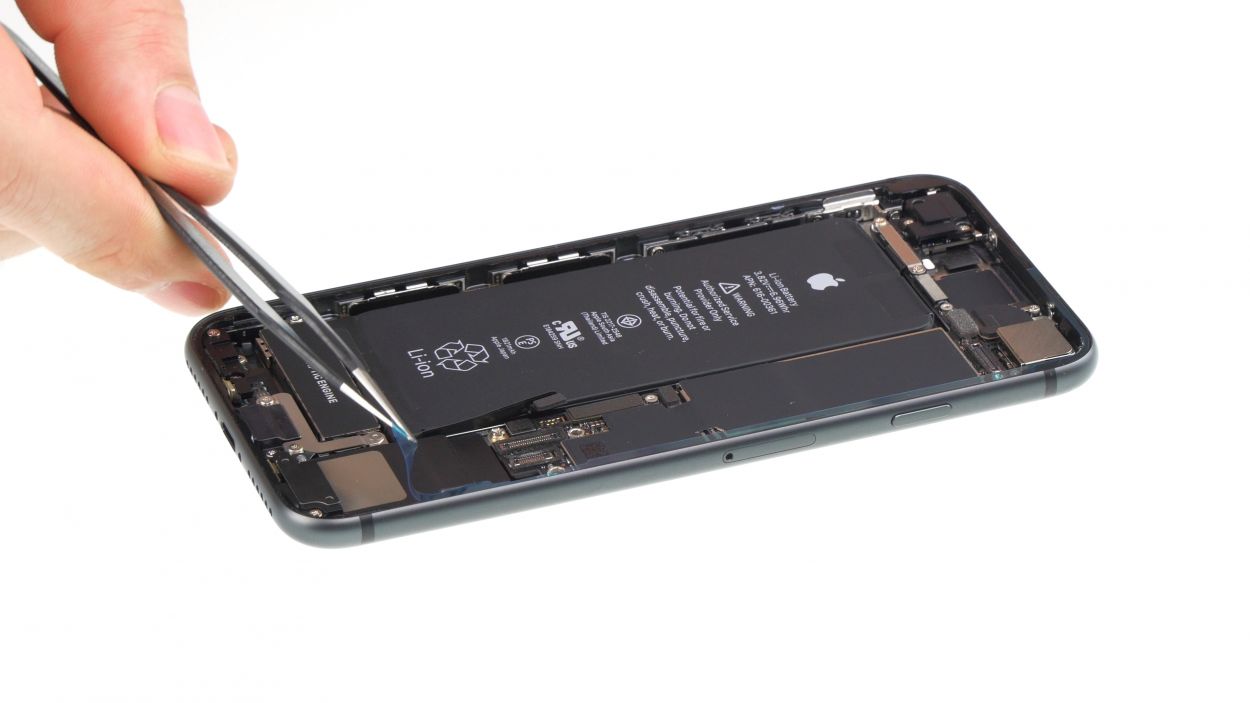
Kick off your repair journey by loosening the battery connector. This little step is key to avoiding any accidental short circuits and ensures your iPhone 7 stays off while you work your magic!
– Grab your trusty Y-type screwdriver and give those four Y-type screws a little twist to loosen them up. Once they’re feeling loose, gently lift off the bracket plate that’s cozying up to the battery connector.
Step 7
Display connector
Home button connector
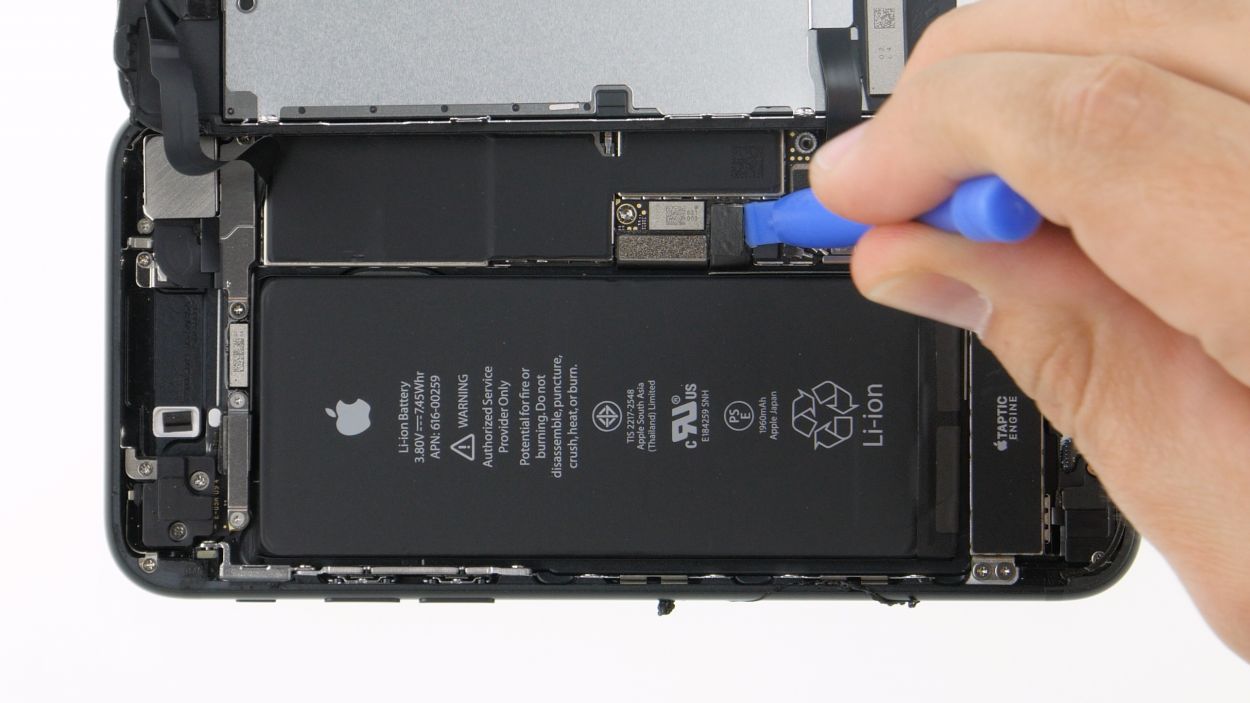
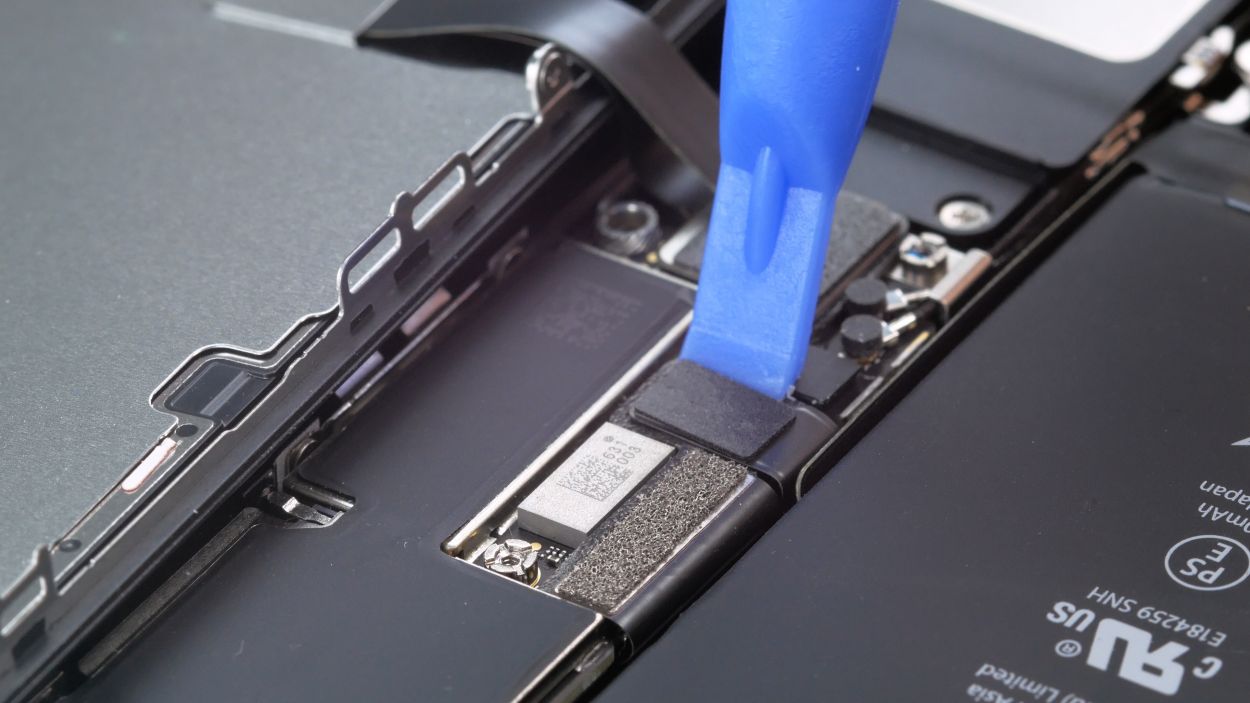
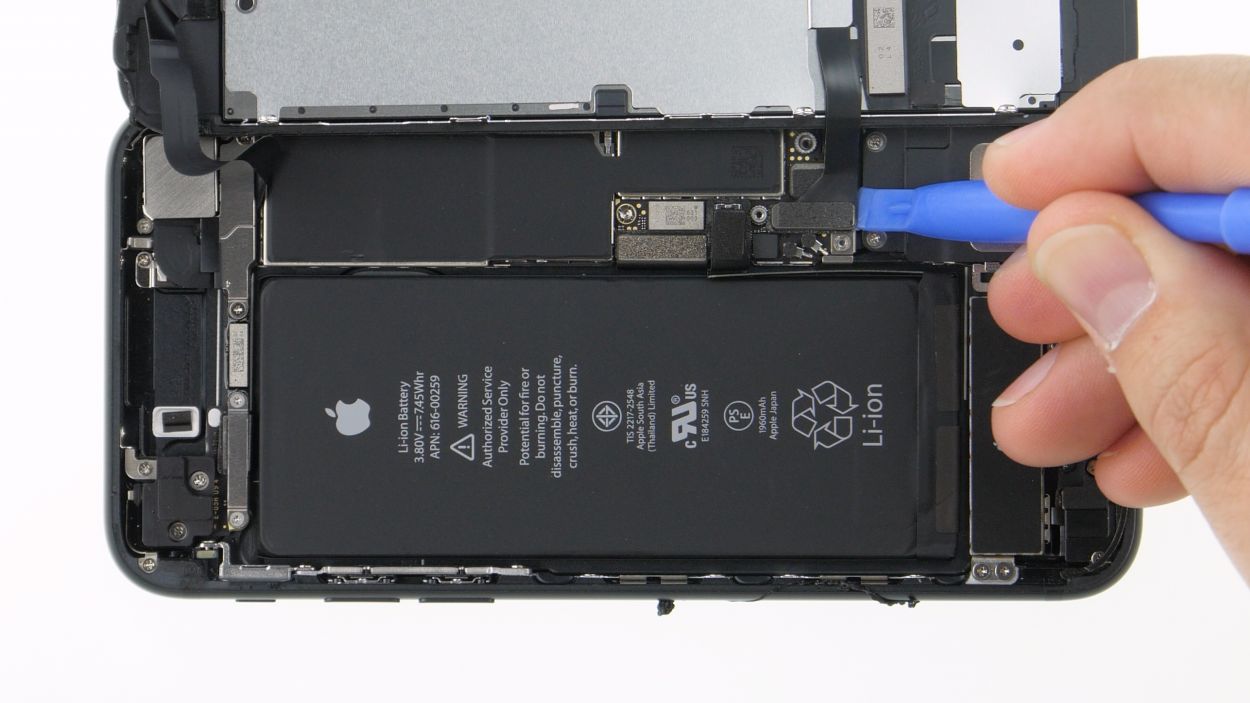
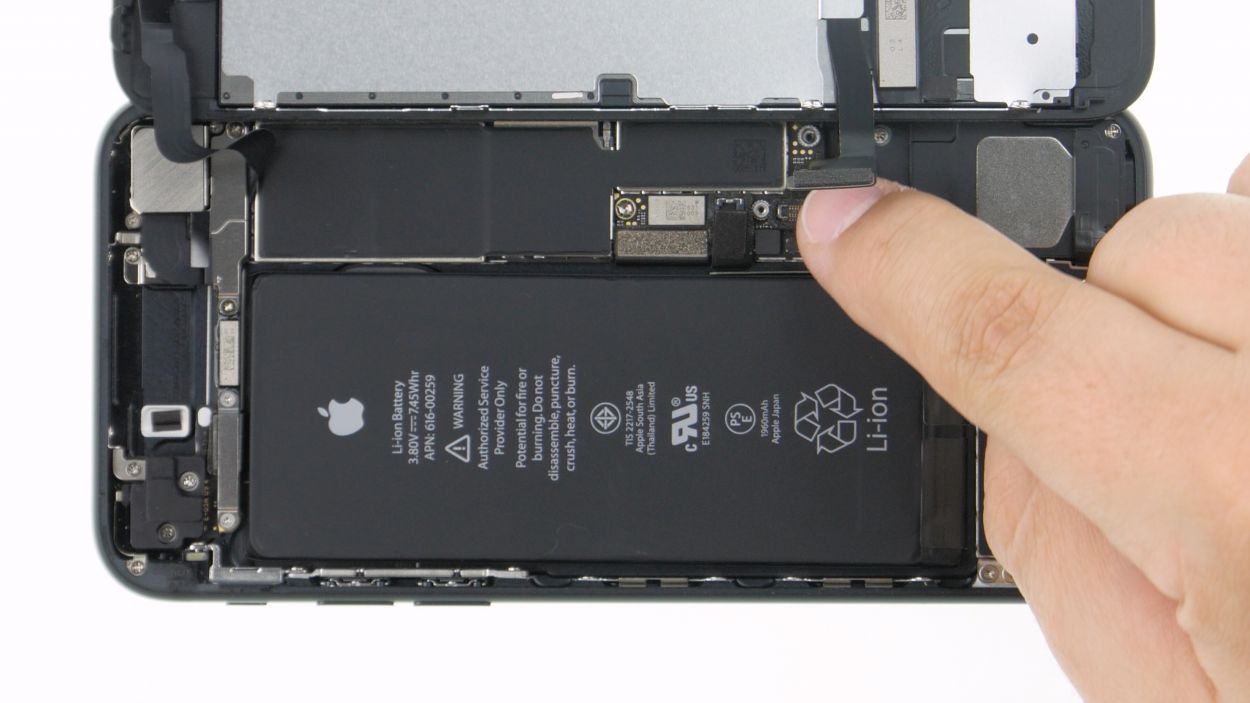
When you’re detaching those display connectors, aim for the side where the board is nice and clear of tiny components. This way, you can keep everything safe and sound!
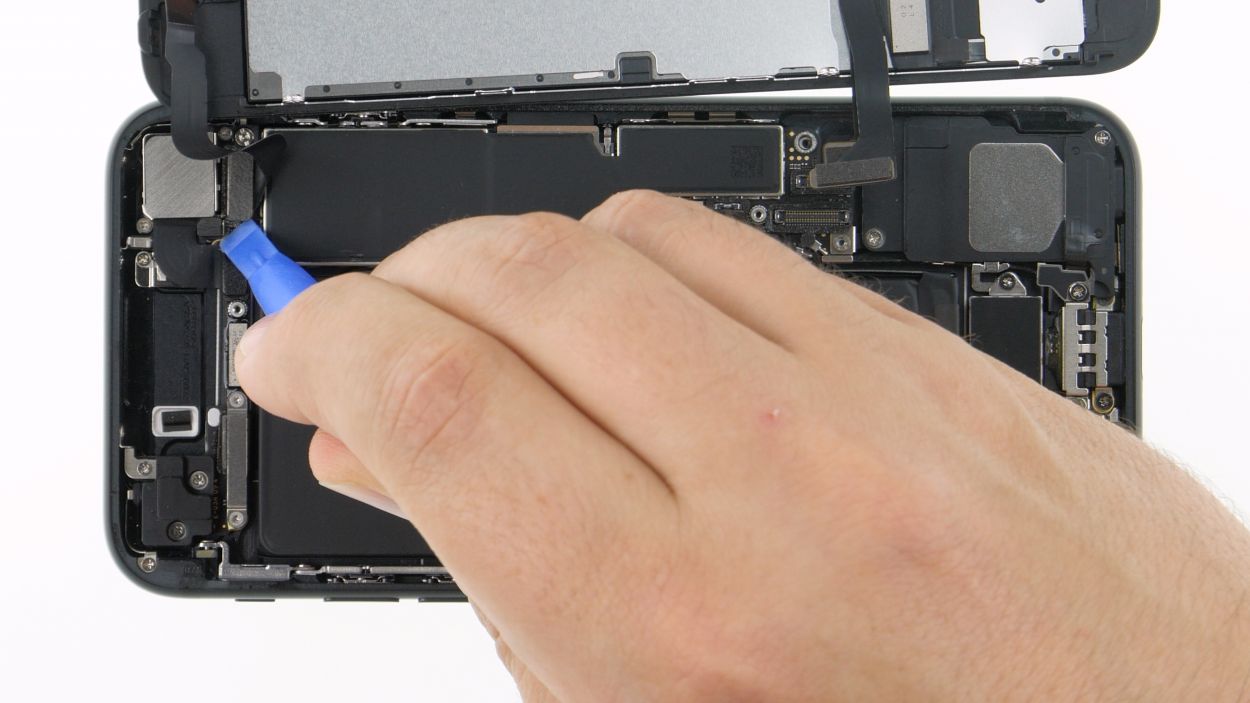
– Now, let’s gently part ways with those two display connectors (the display and home button) using our trusty plastic spudger, just like we did before!
Tools Used
Step 8
2 × 1,2 mm Phillips
FaceTime connector
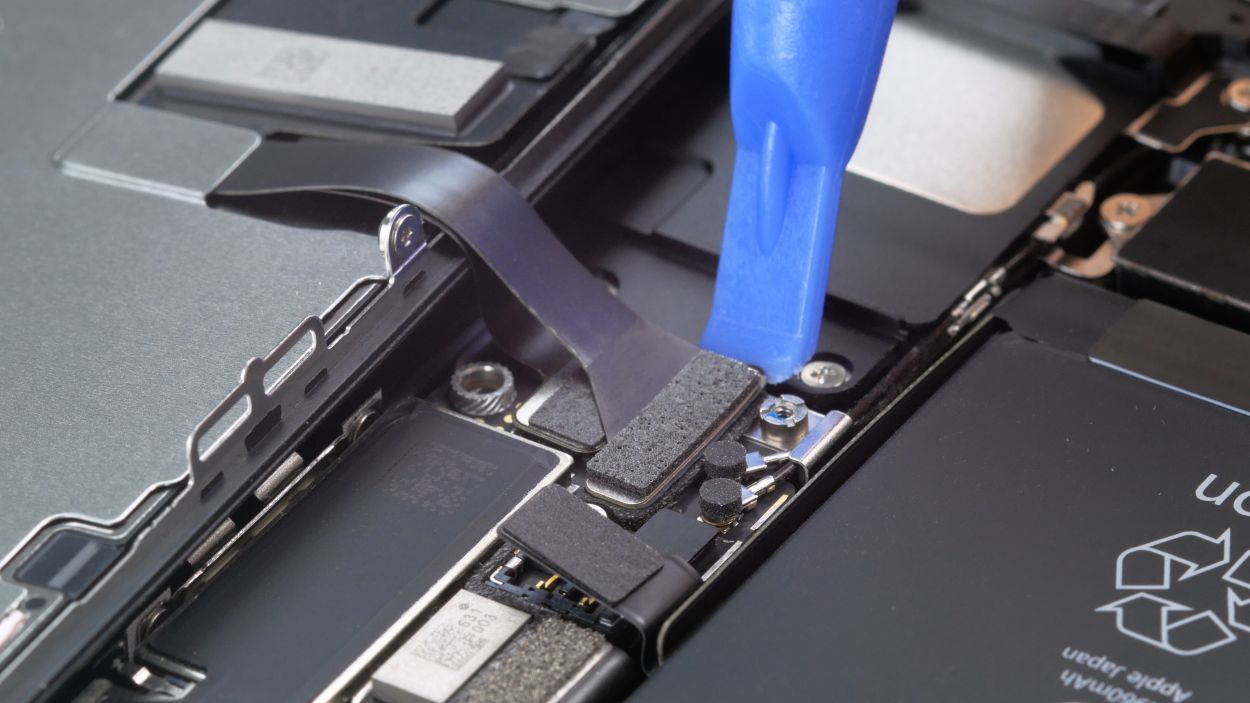
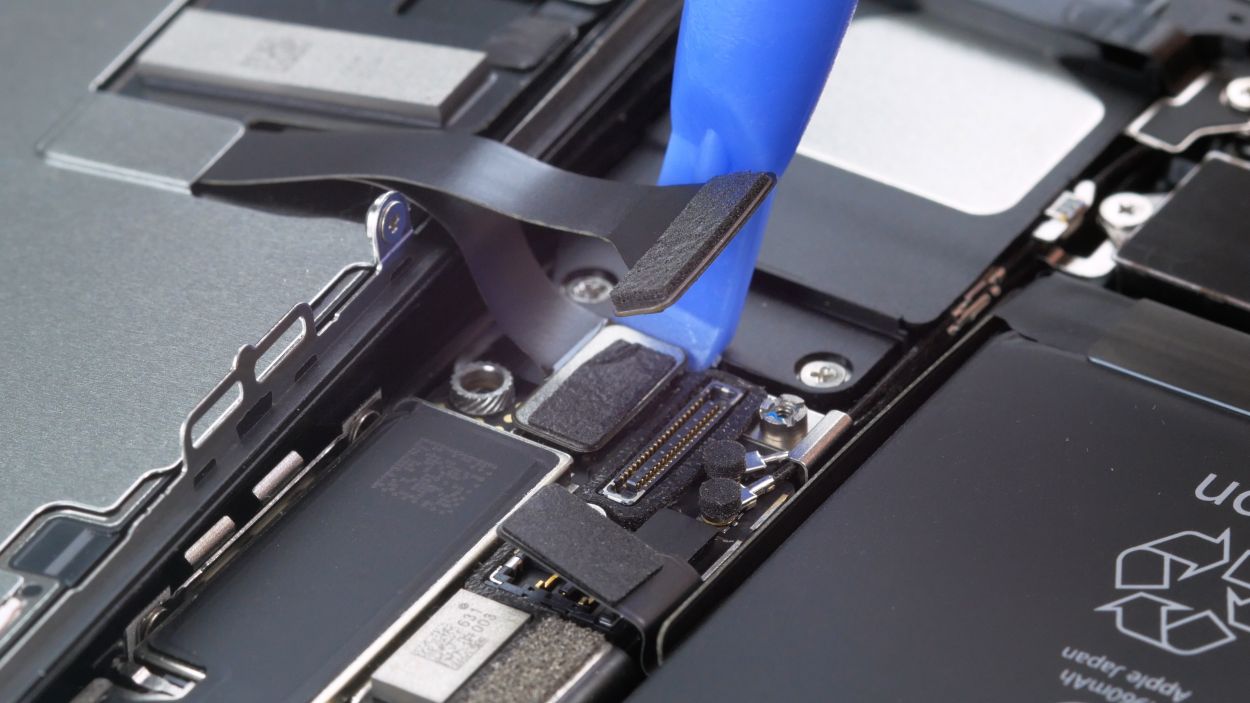
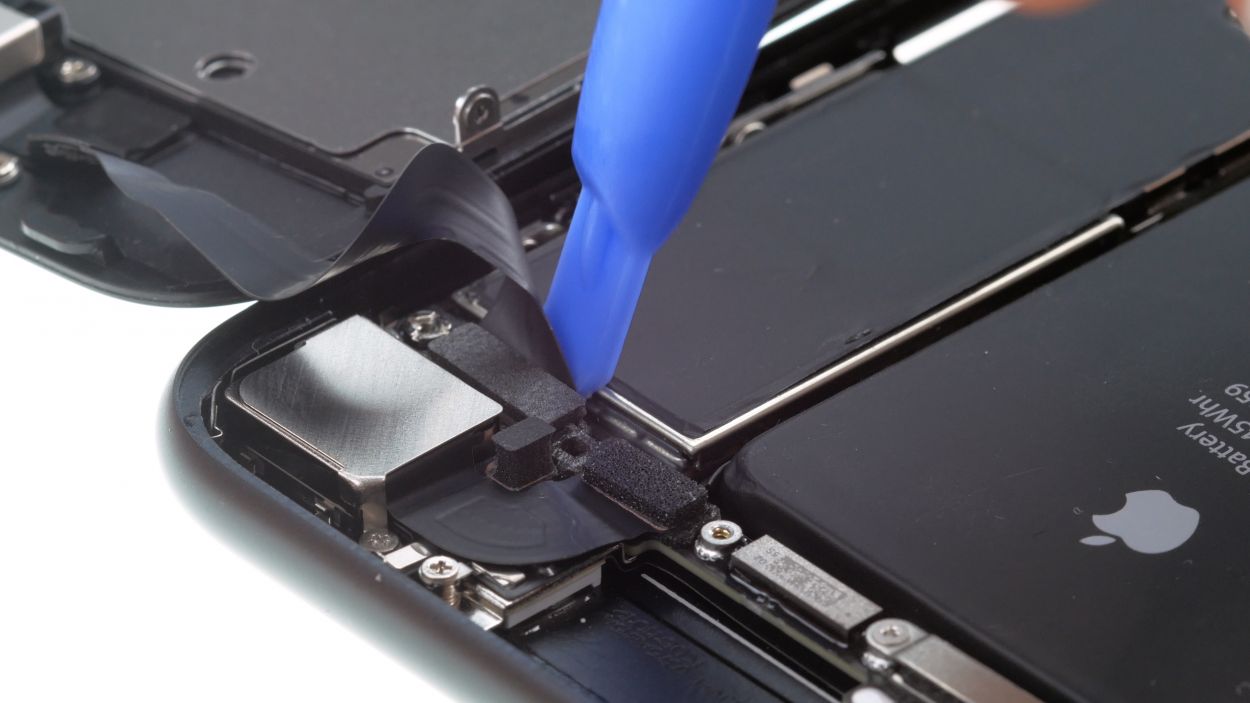
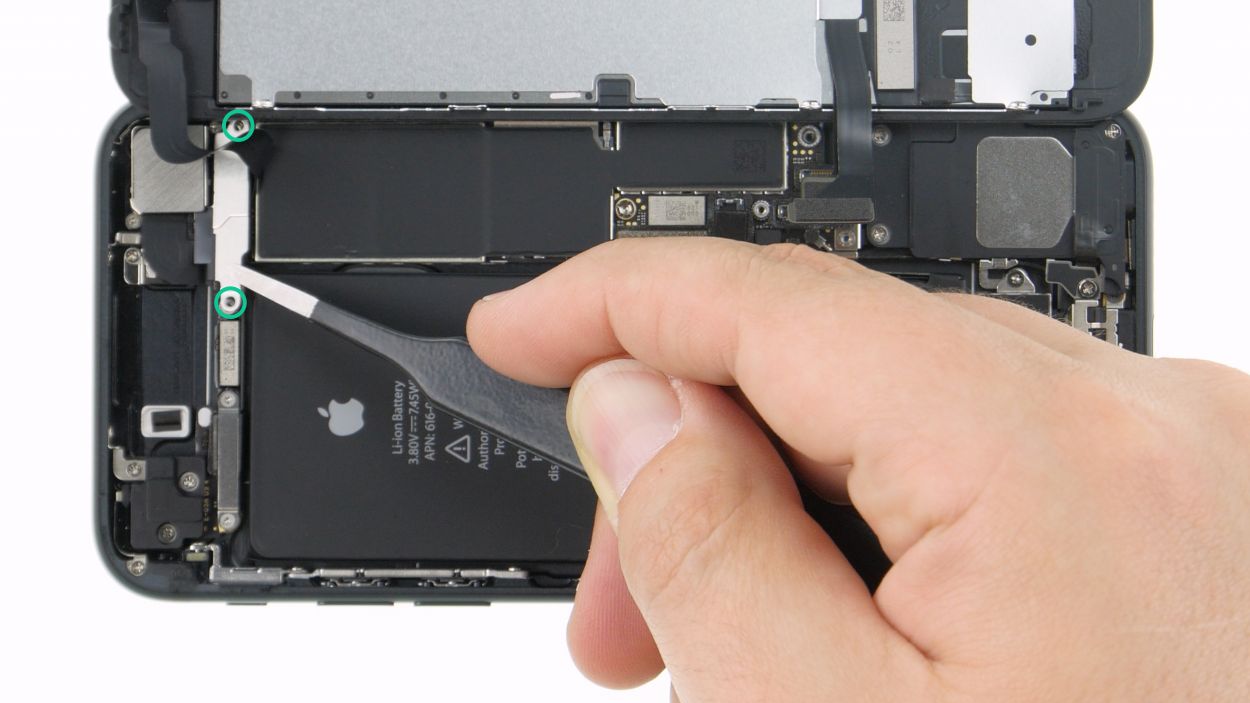
When you’re detaching the FaceTime connector, start from the side where the board is clear of tiny components. This little tip helps you keep everything safe and sound!
– To kick things off, let’s unscrew those two Phillips screws that are holding the bracket plate snugly over the FaceTime connector. Once you’ve done that, simply lift it out and say hello to your next step!
Step 9
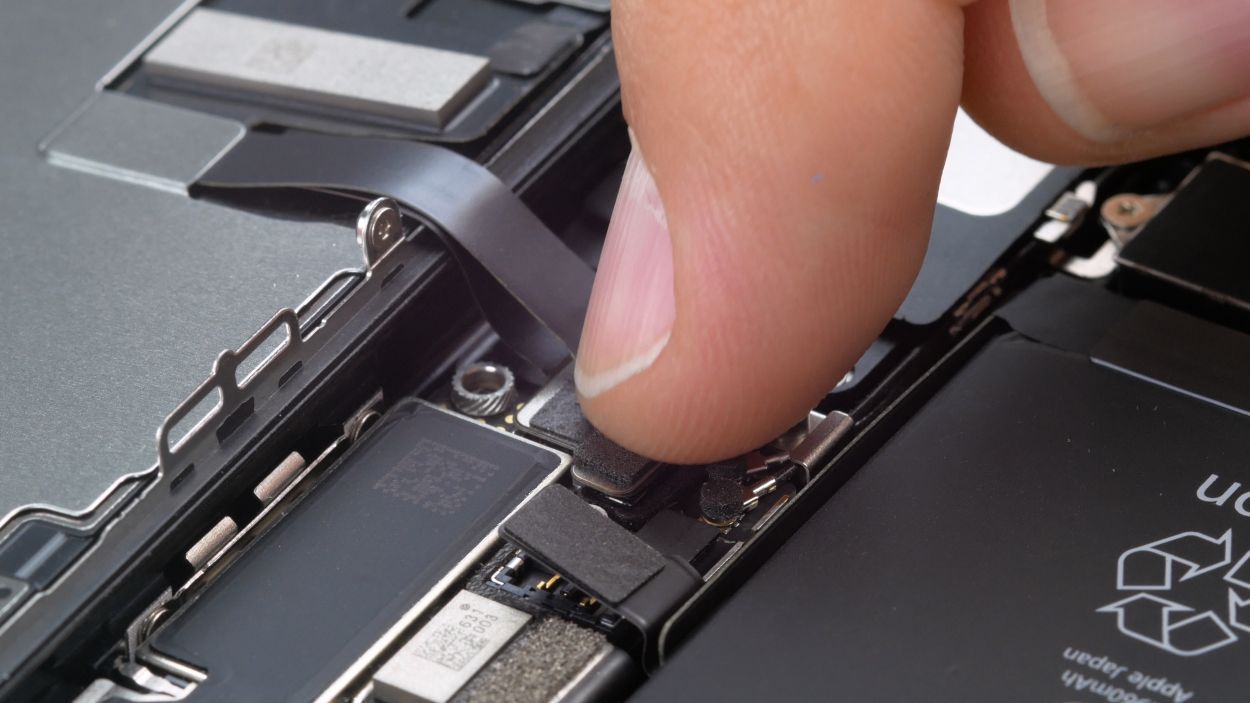
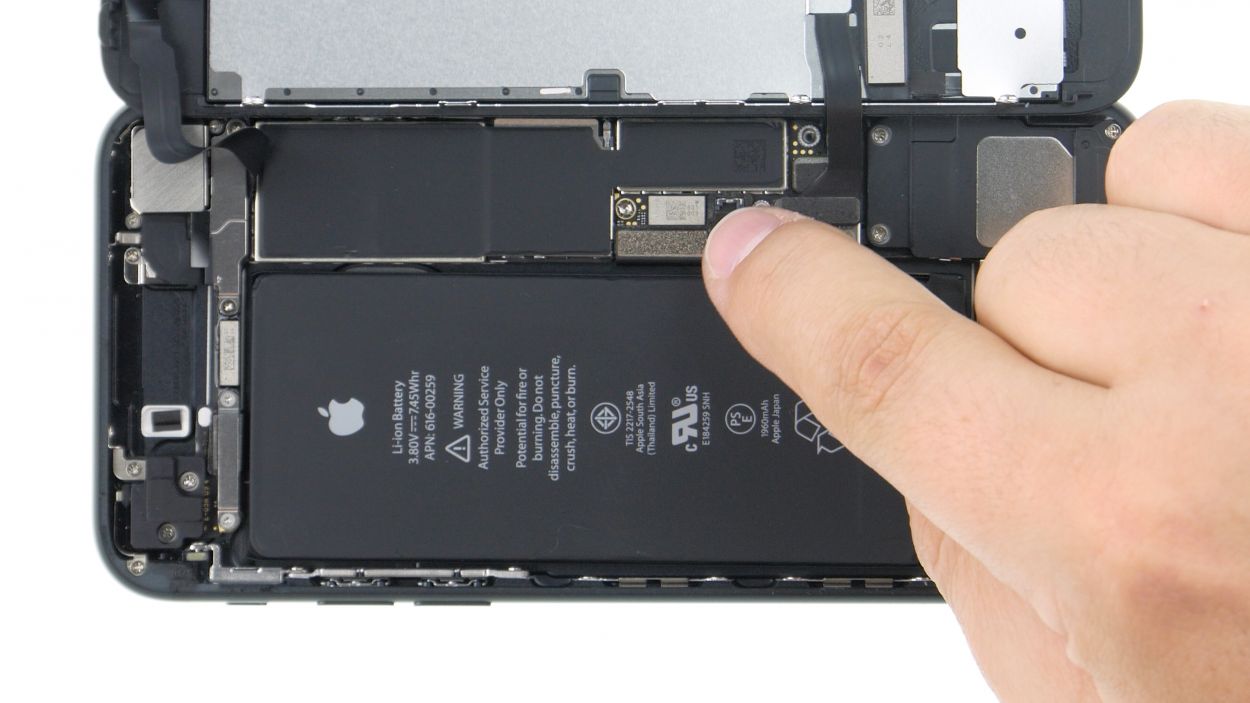
Hey there! When you’re gently prying those connectors loose, aim for the side of the board that’s free of tiny components. This little tip helps you keep everything safe and sound!
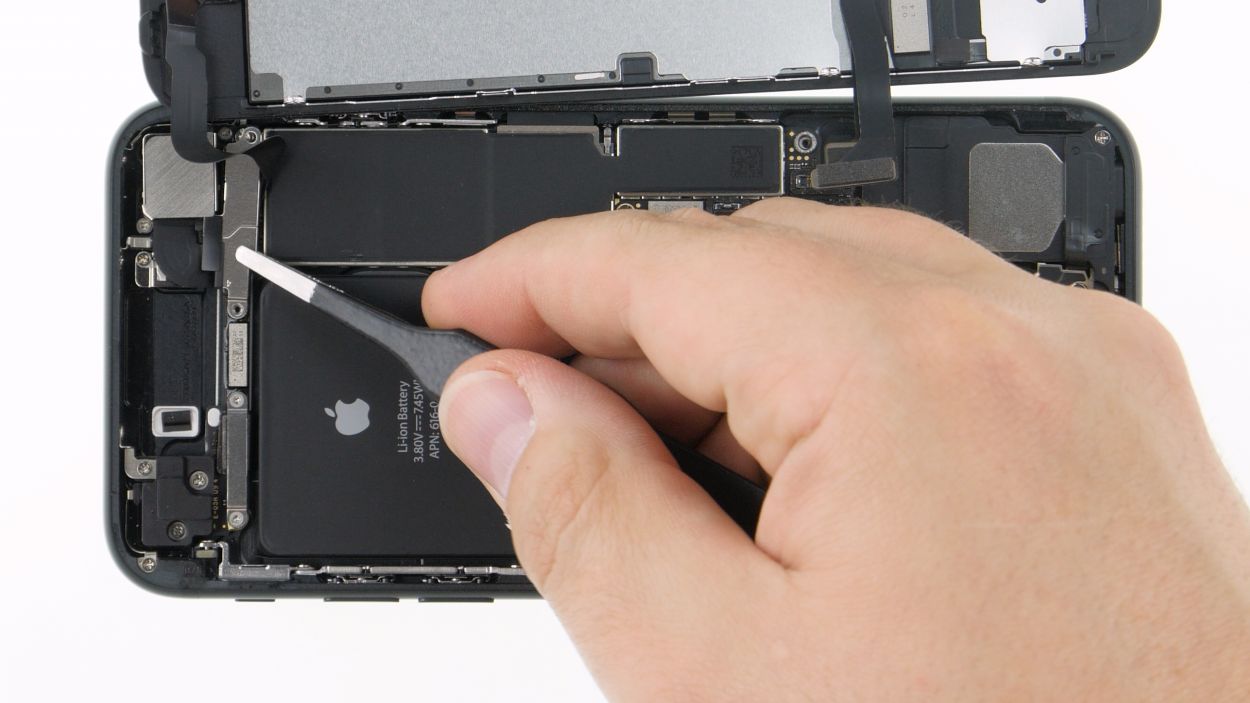
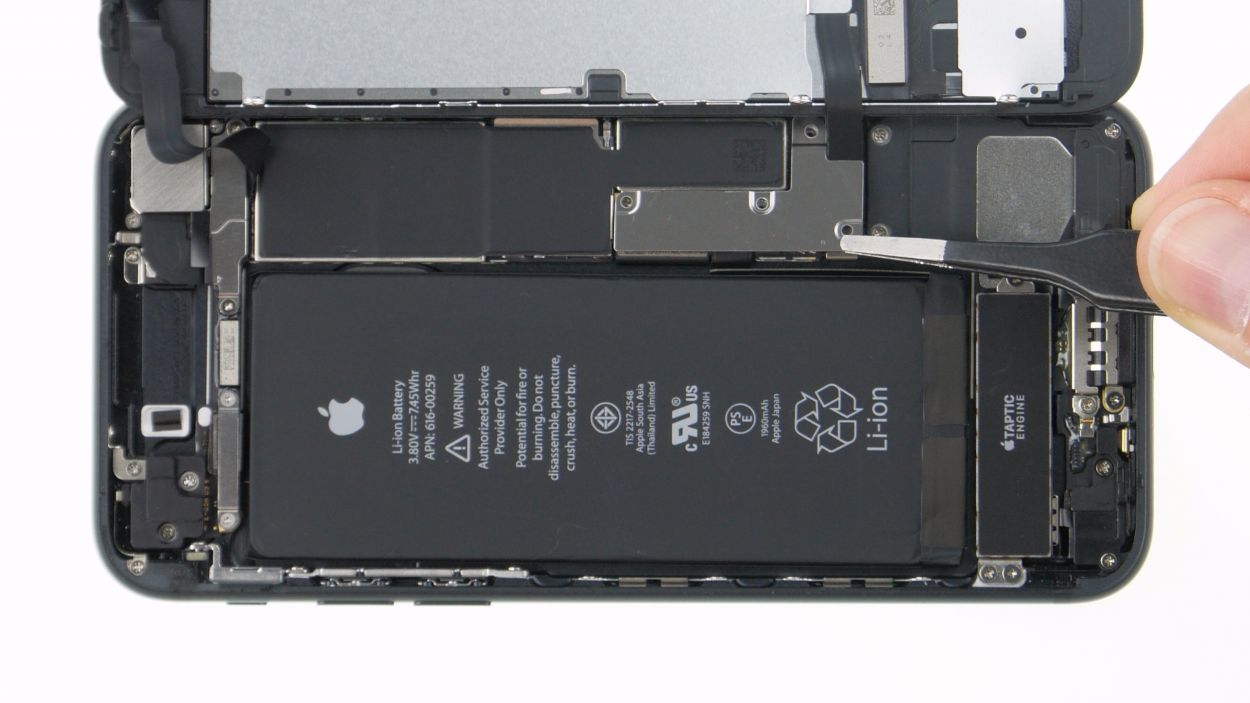
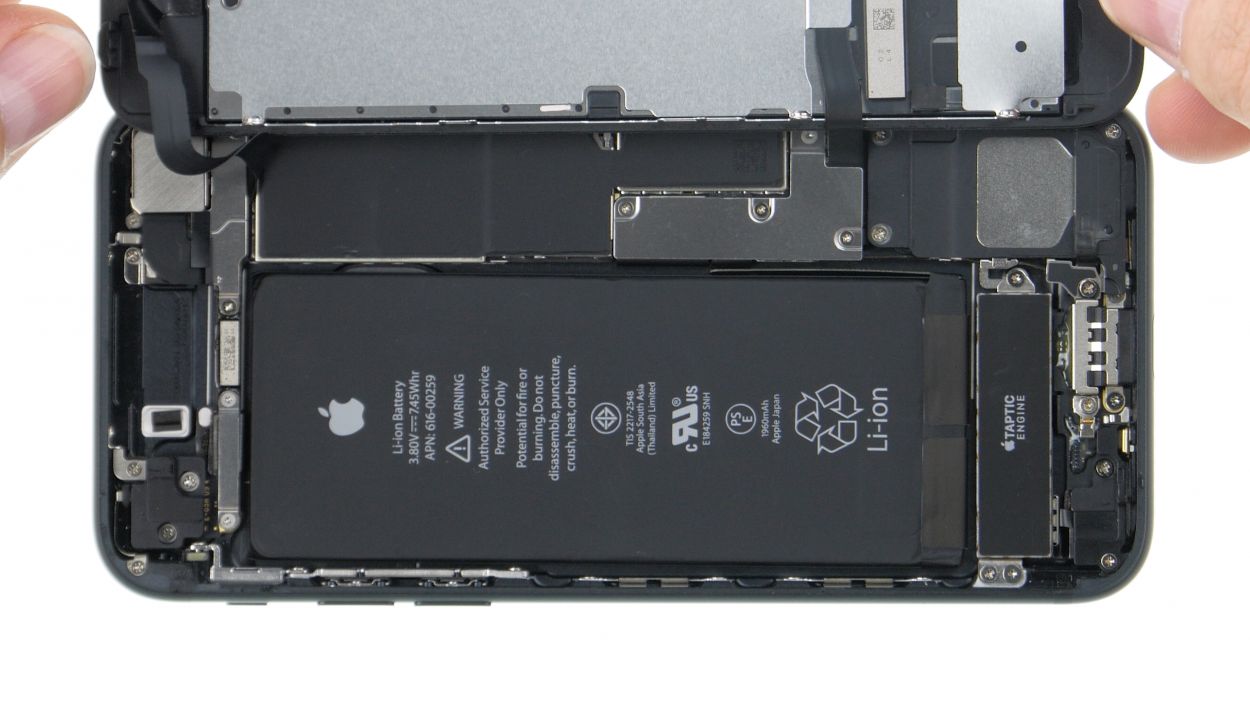
– Unscrew those two Phillips screws from the plastic cover and gently lift it away. You’re almost there!
Step 10
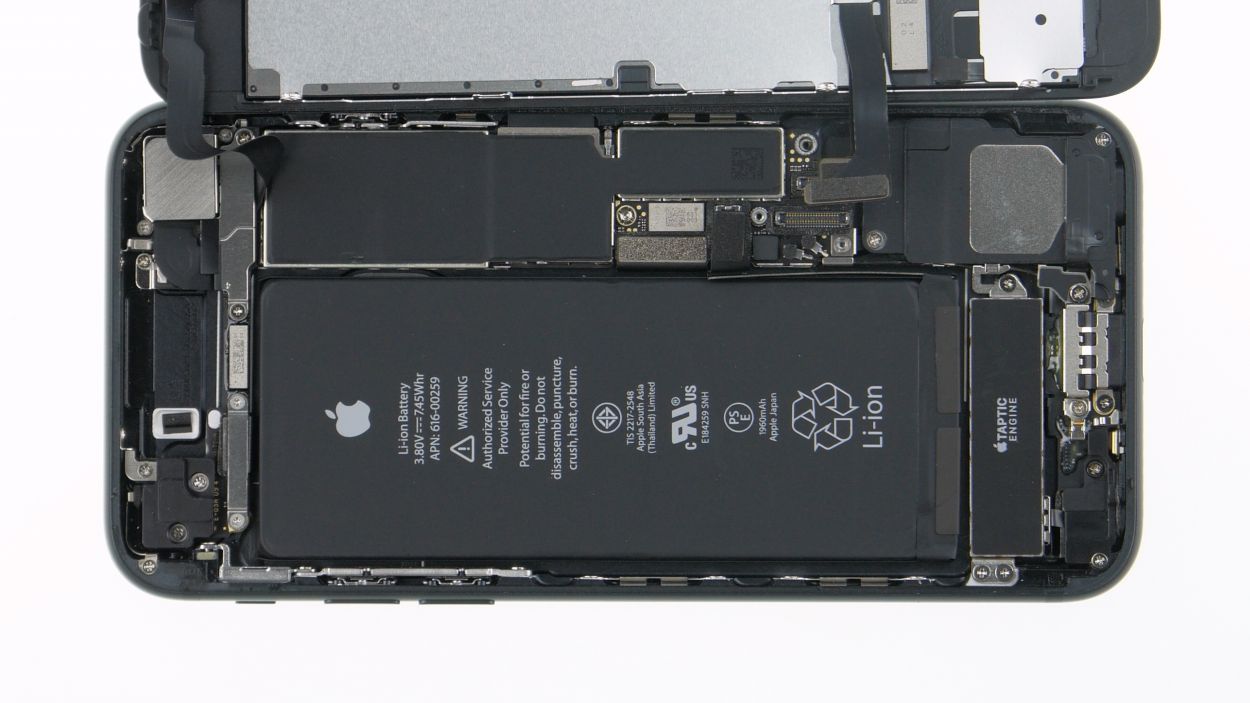
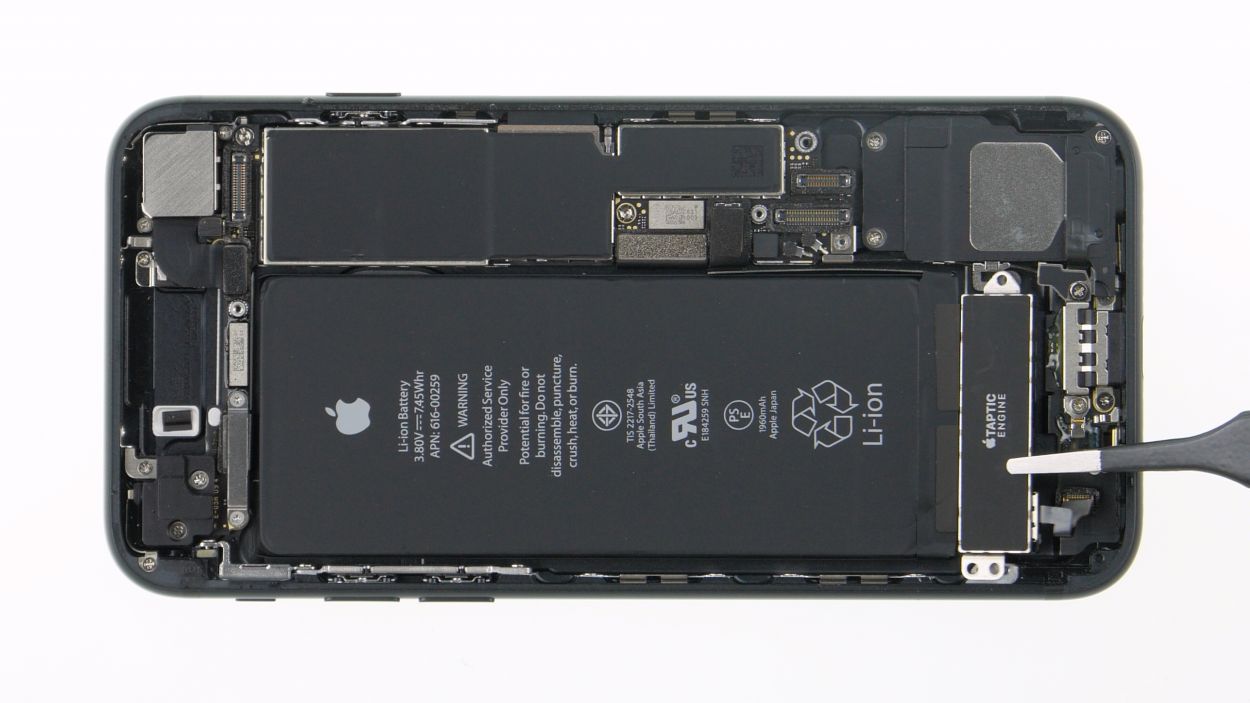
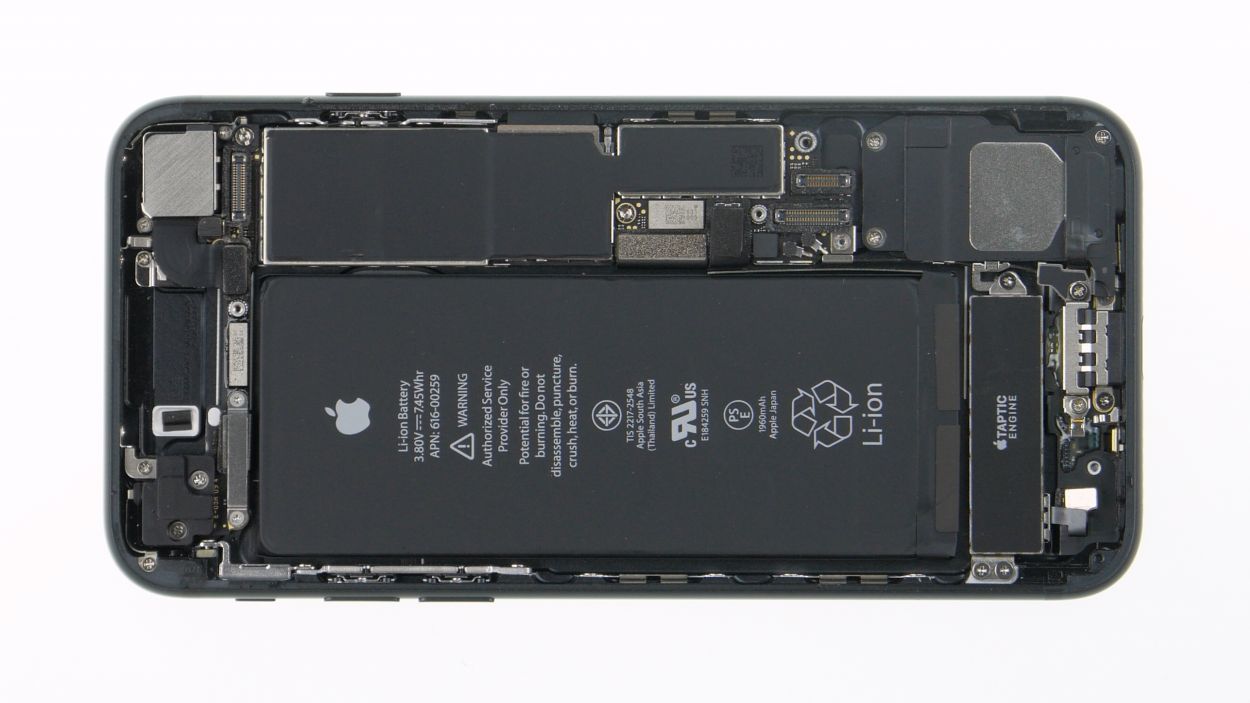
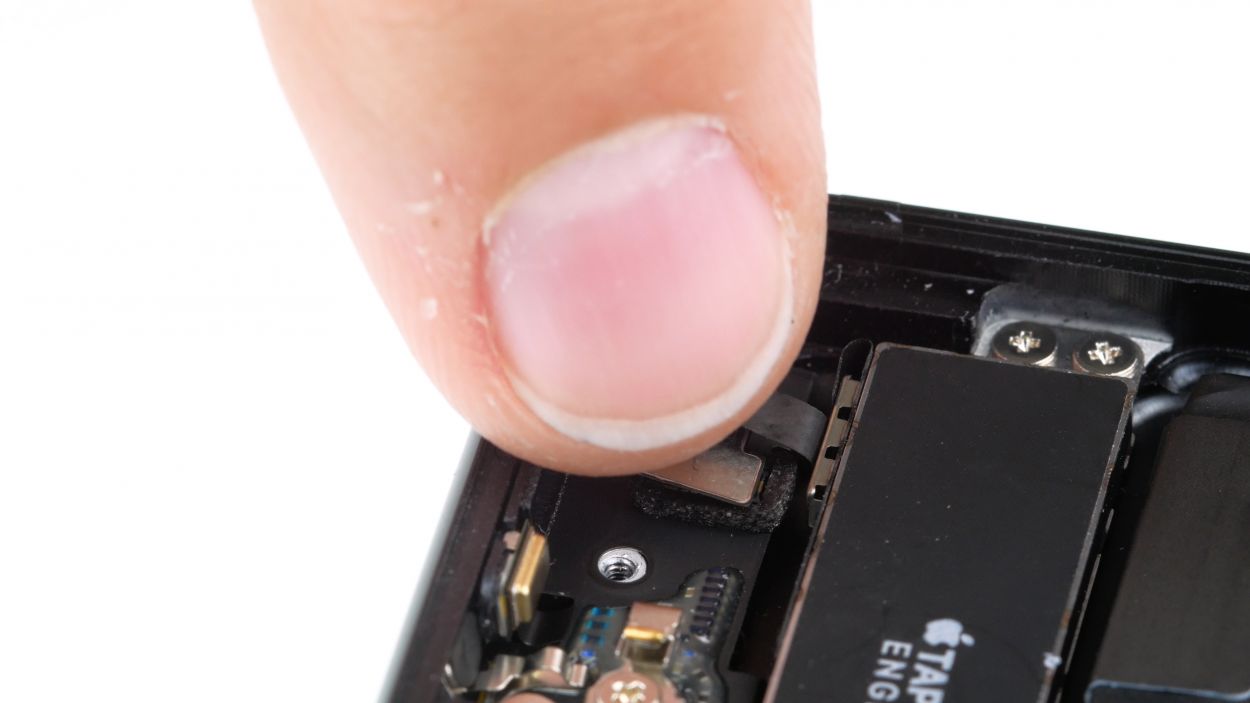
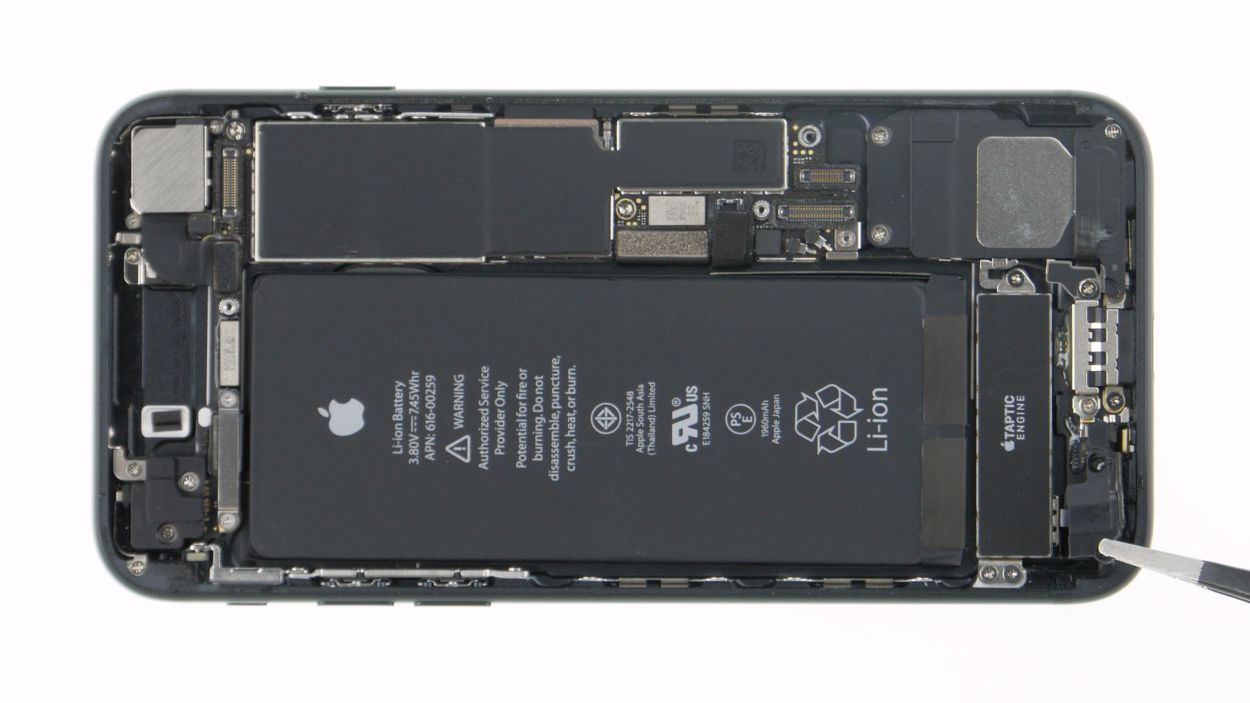
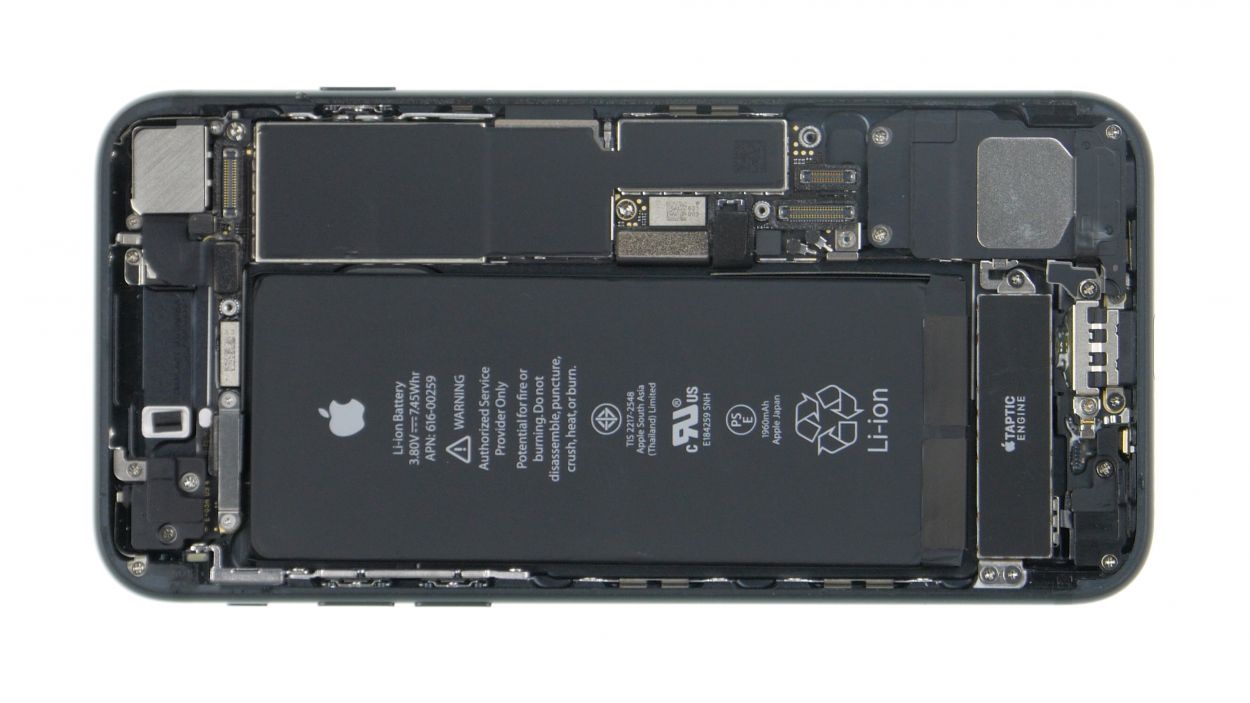
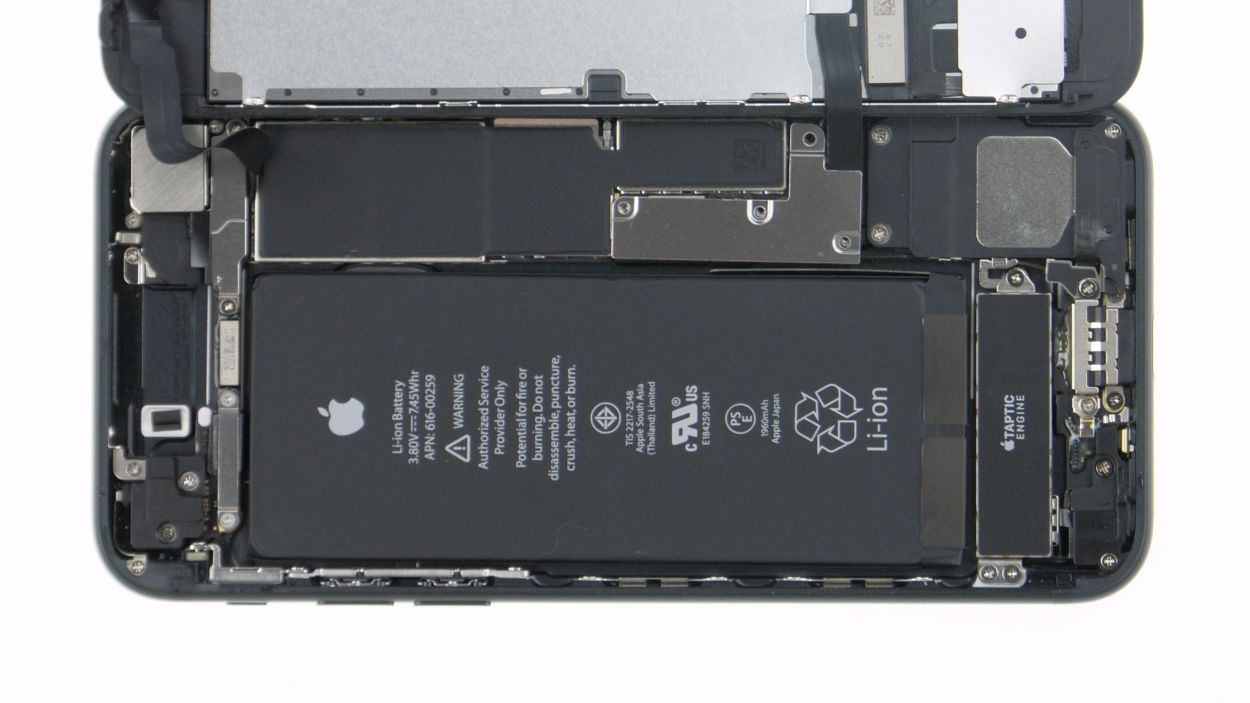
– Slide the Taptic Engine back into its cozy spot nestled between the battery and the Lightning connector.
– Secure that Taptic Engine in place with the three Phillips screws — we want it to feel right at home!
– Next up, connect the Taptic Engine connector so it can get back to work.
– To wrap things up, pop the plastic cover back over the connector and give it a snug fit with the two Phillips screws.
Step 11
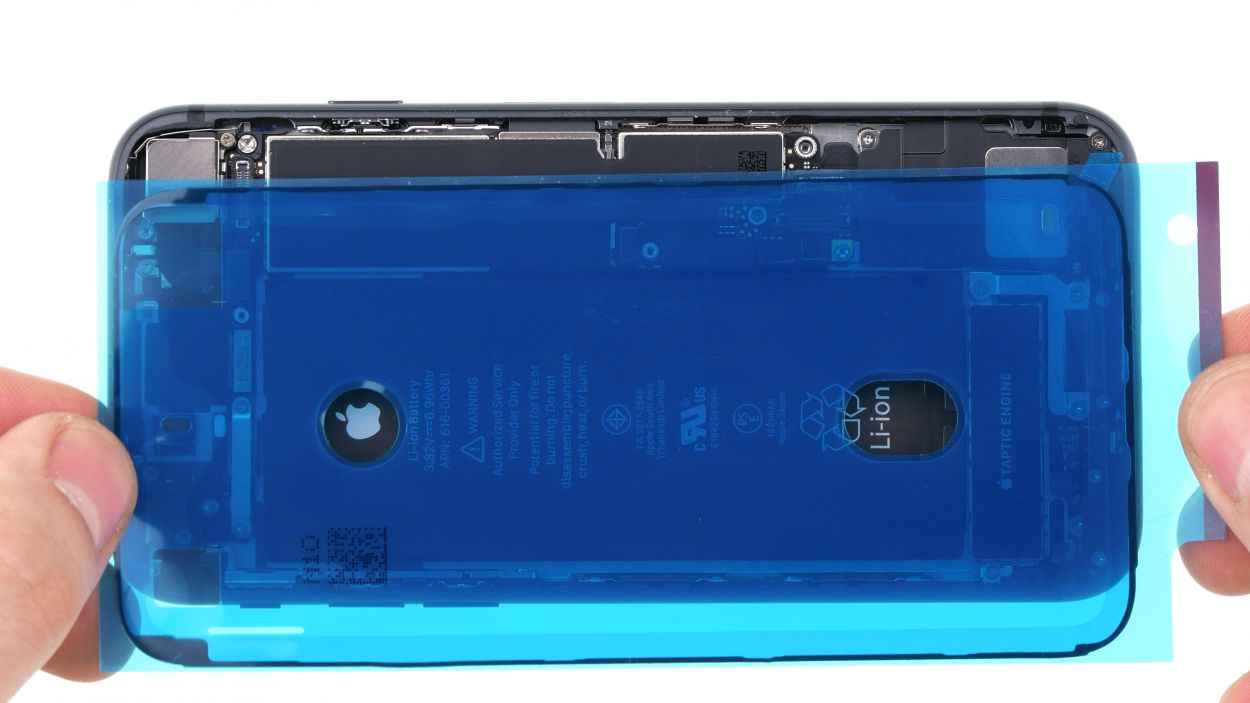
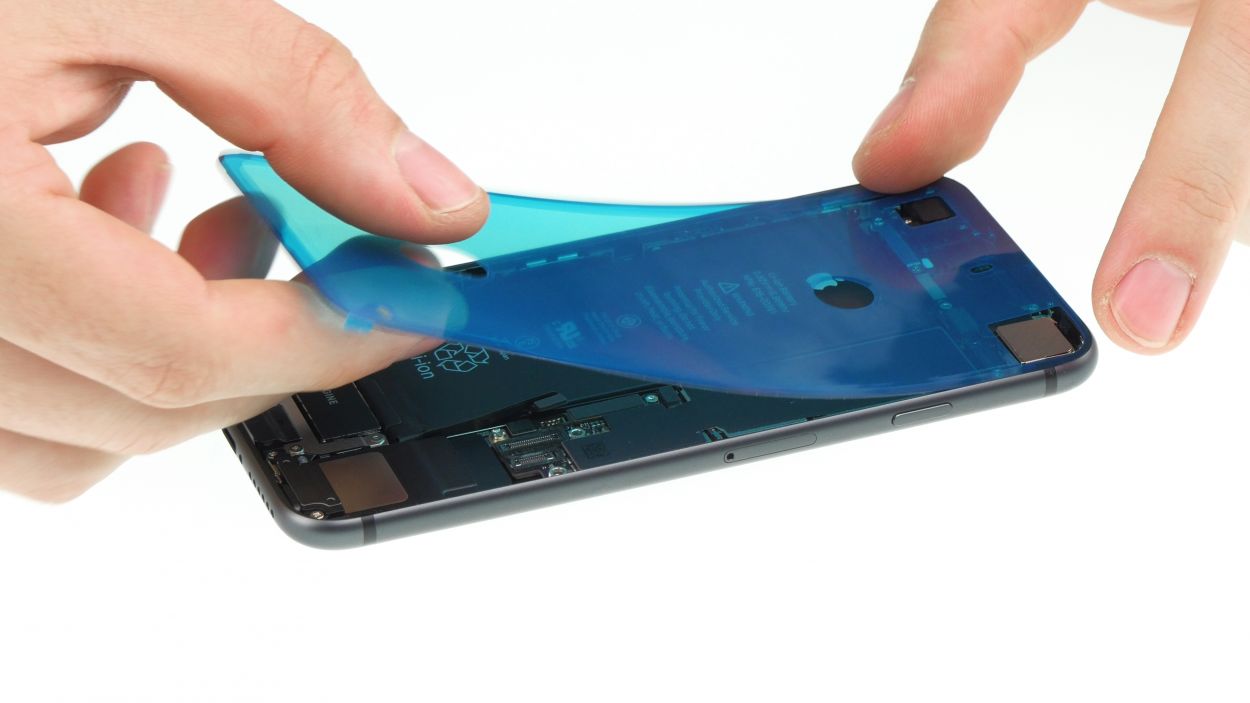
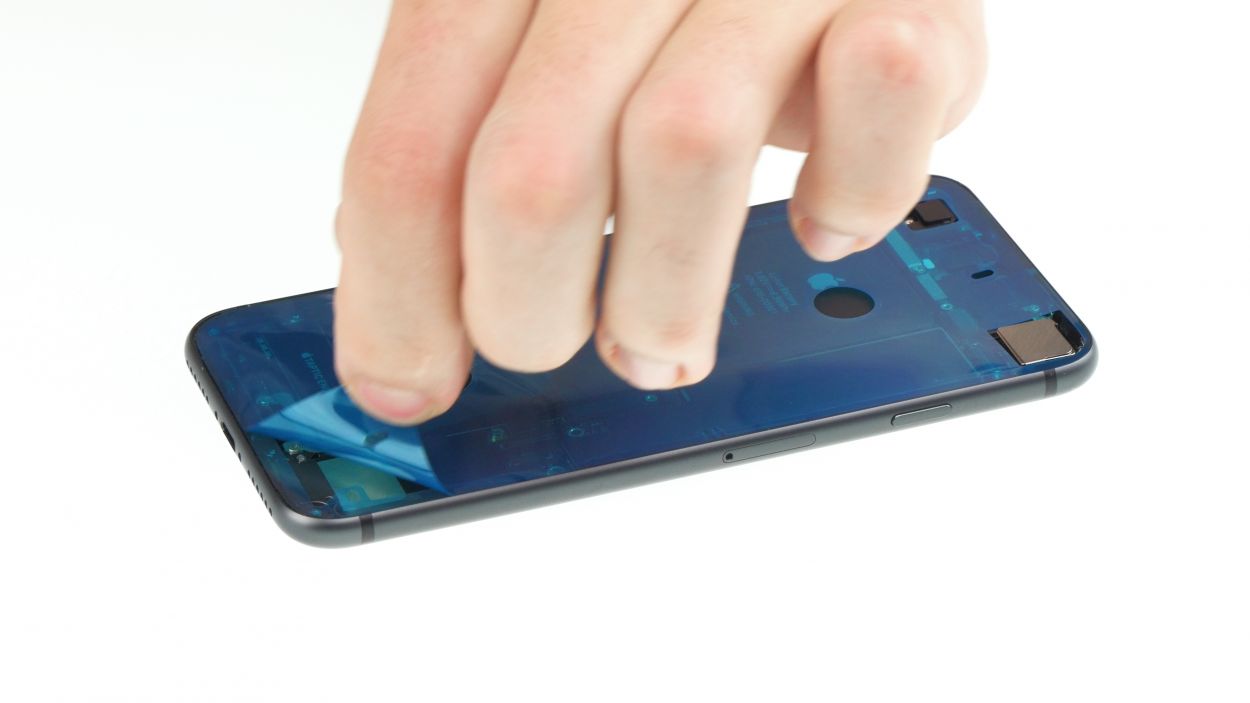
– Before you get that shiny new adhesive frame in place, it’s super important to clear away any old sticky stuff from the back cover and display frame. No one likes a messy setup!
– Once you’re all cleaned up, go ahead and set the adhesive frame on the back cover to make sure everything lines up just right.
Tools Used
Step 12
FaceTime connector
2 × 1,2 mm Phillips
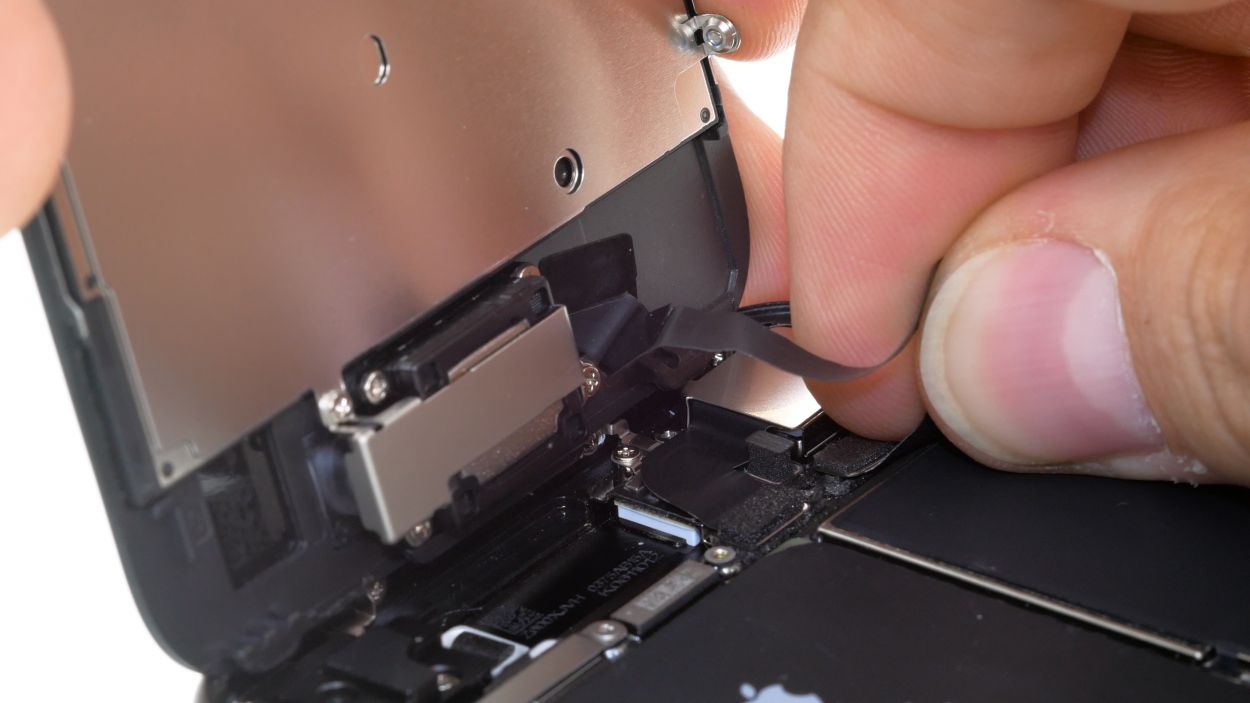
Just like when you’re detaching the FaceTime connector, it’s a smart move to rest the display against something sturdy. This way, you can keep those flex cables from getting too stretched out. We want to keep everything in tip-top shape!
– To get that display unit snugly back onto the logic board, start by standing it up at the top of the back cover like it’s ready for a big reveal.
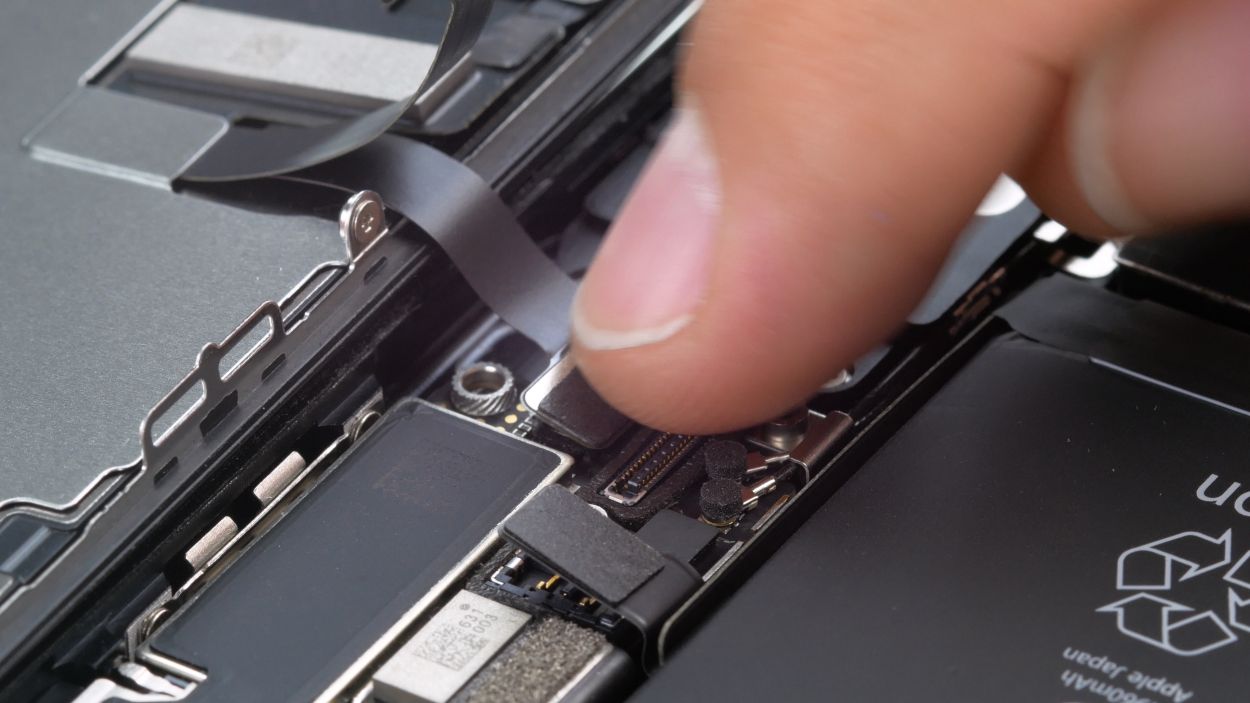
– Next, gently press the FaceTime camera connector with your finger until you hear that satisfying click. It’s like a high-five for your phone!
– Once the connector is all set, you can lay the display down beside the back cover, just chilling until it’s time to snap everything back together.
Step 13
Display connector
Home button connector
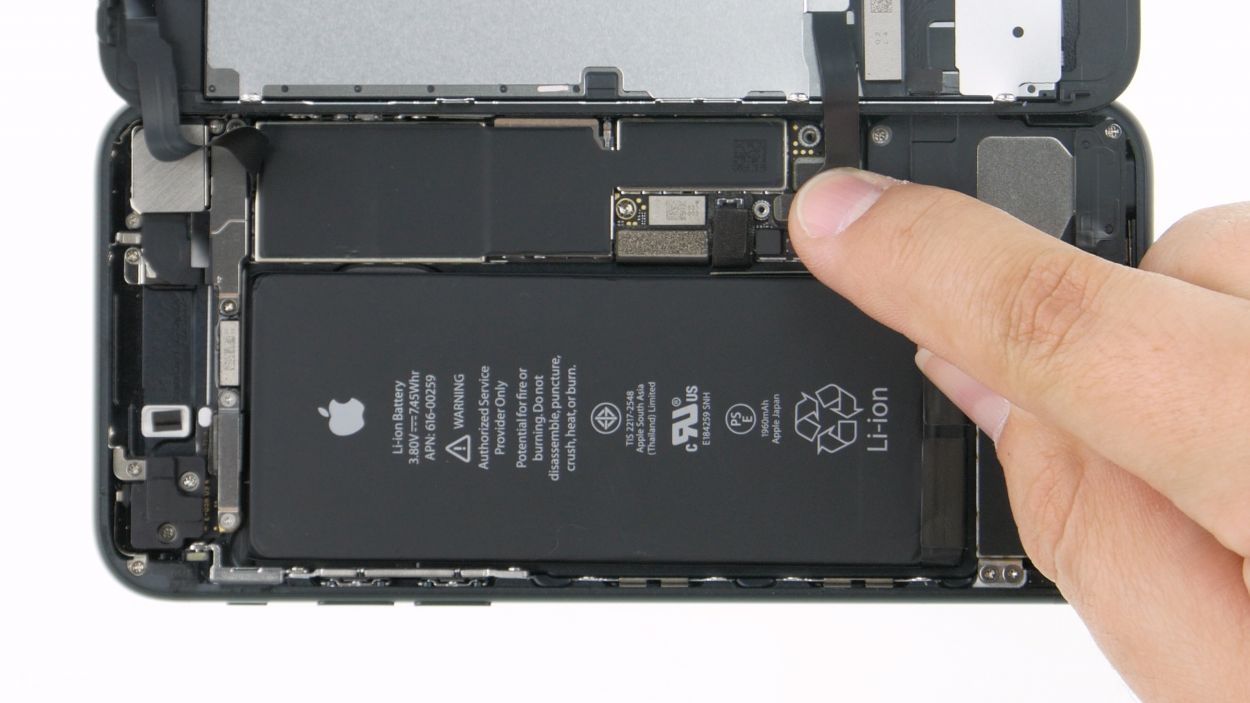
– It’s time to get reconnected! Gently plug the home button and display connector back into their cozy spots on the logic board. You’ve got this!
Step 15
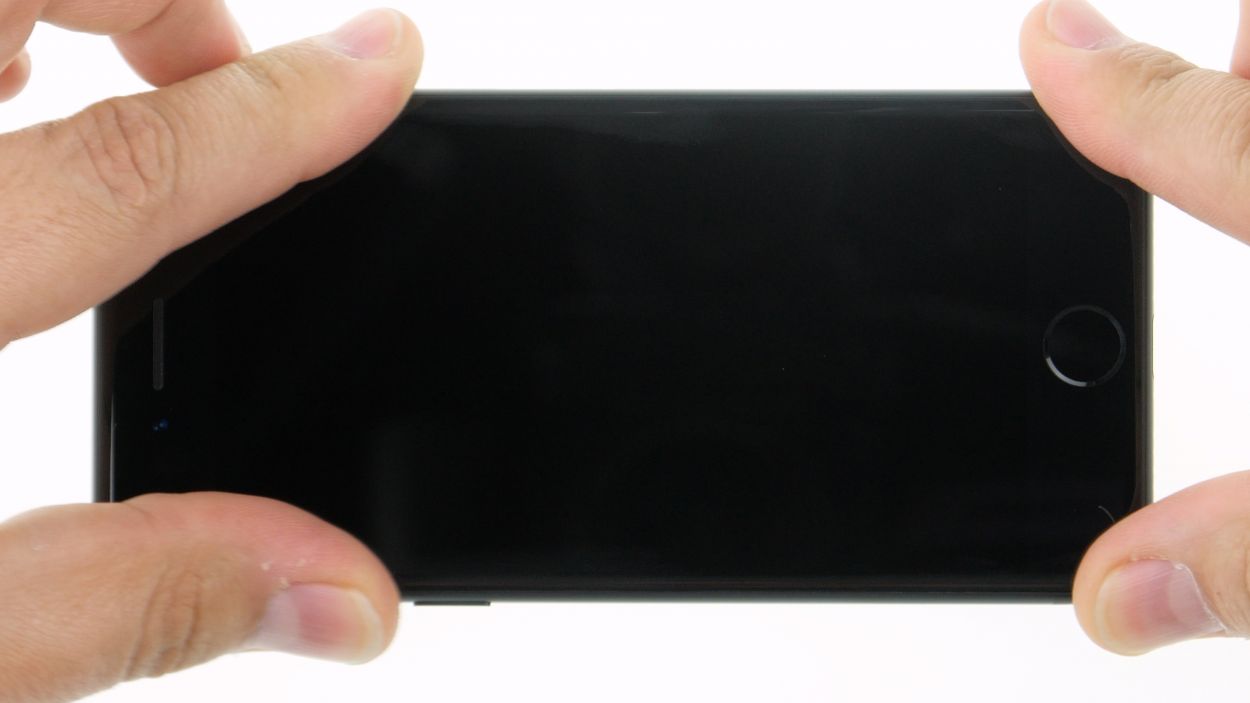
– Carefully position the display alongside the back cover frame and gently fold it over.
– Slide the display towards the sleep/wake button so that the lugs on the display fit snugly into the back cover.
– Finally, press the display down into the frame, ensuring it is secure across the entire surface.
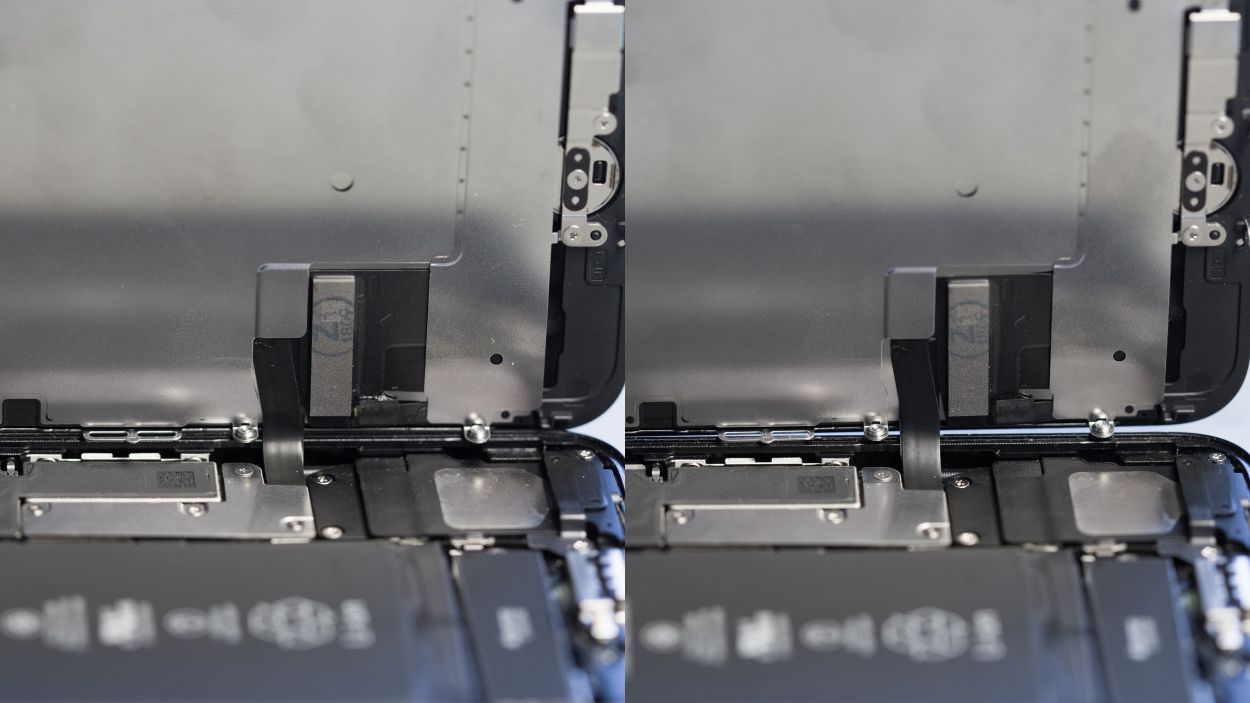
Wrong position
Right position
Hey there! Just a quick reminder to ensure that the silver chip on the cable is snugly in the same spot as before (check out the photo for guidance!). If it’s not quite right, you might see some funky discolorations and spots on your screen after everything’s put back together. No worries, just adjust the cable position again and you’re good to go!
Step 16
2 × 3,3 mm Pentalobe
– It’s time to snugly secure those two Pentalobe screws back in place, one on the left and one on the right of the Lightning connector. You’ve got this!
Tools Used
