DIY Guide to Replace USB-C Port on Shift 6m
Duration: 30 min.
Steps: 10 Steps
Is your SHIFT6m playing hard to get with charging? It might just be its USB-C port throwing a tantrum. Swap it out to get back to charging up and transferring files like a champ!
Step 1


– First things first, let’s power down your device. Just hold down that trusty power button until you see the ‘Power off’ option pop up on your screen.
– Give it a gentle tap with your finger to confirm that you want to shut down your SHIFT6m, and then kick back and relax while the screen goes blank. You’ve got this!
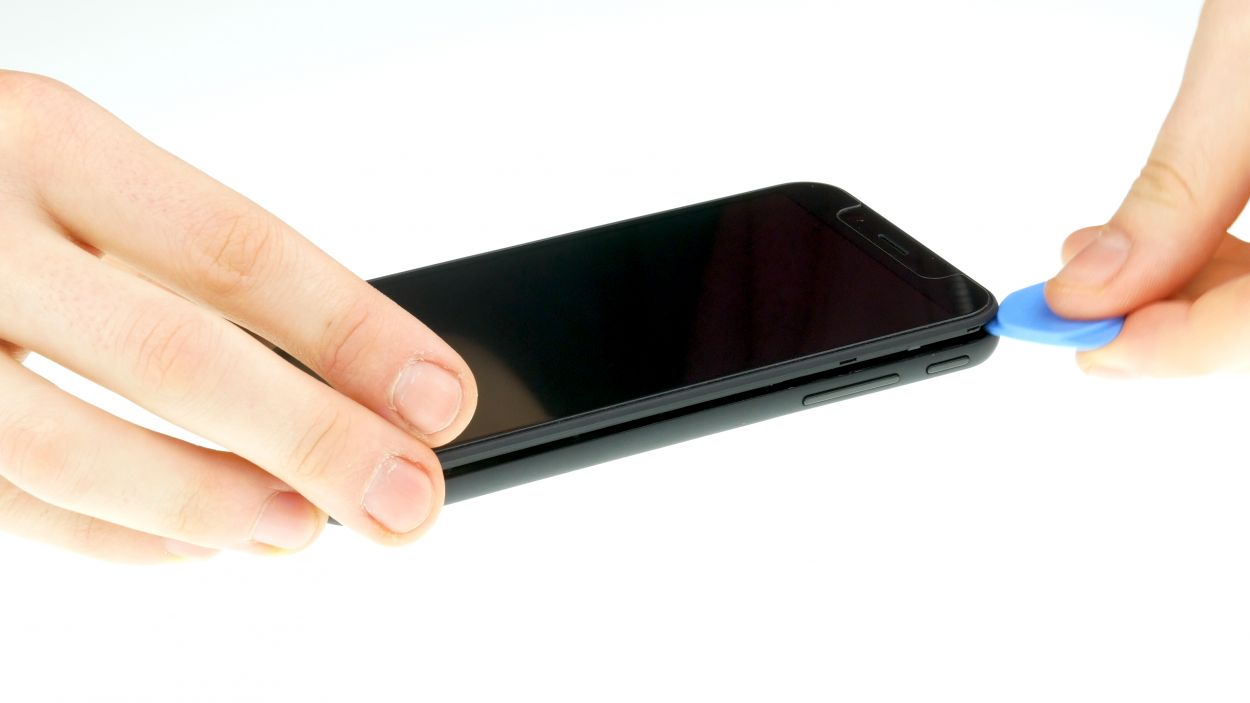
Step 2
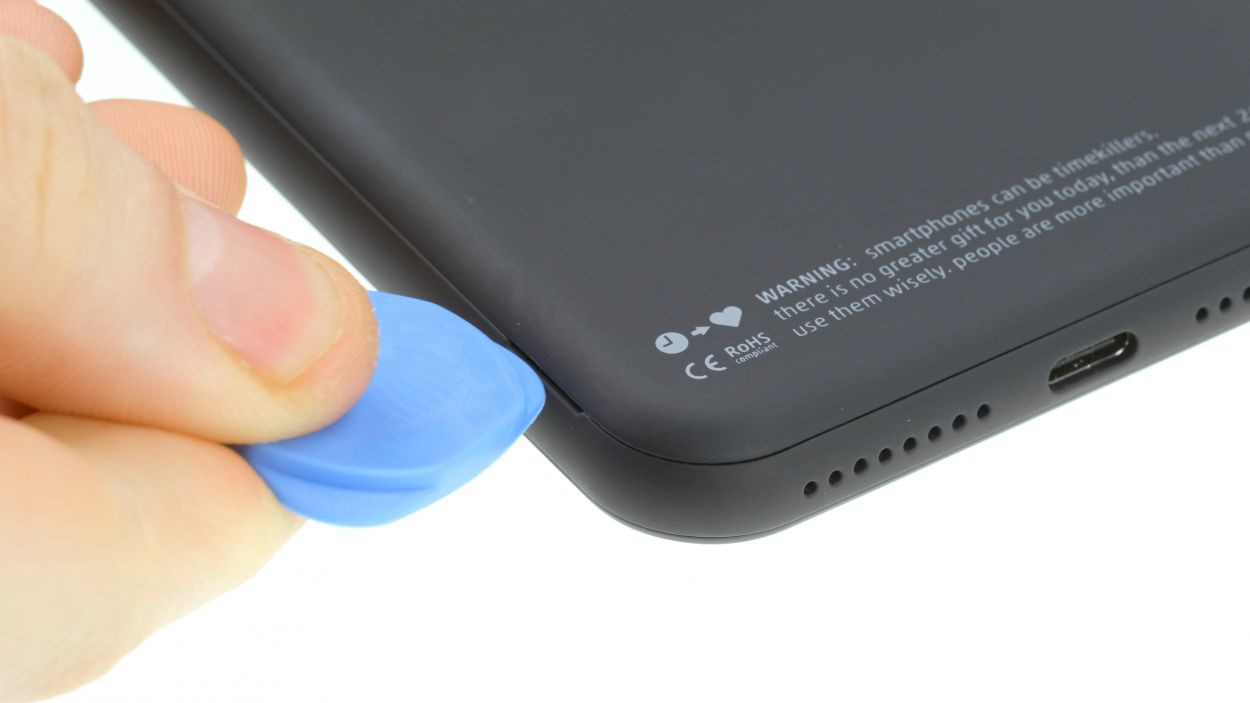
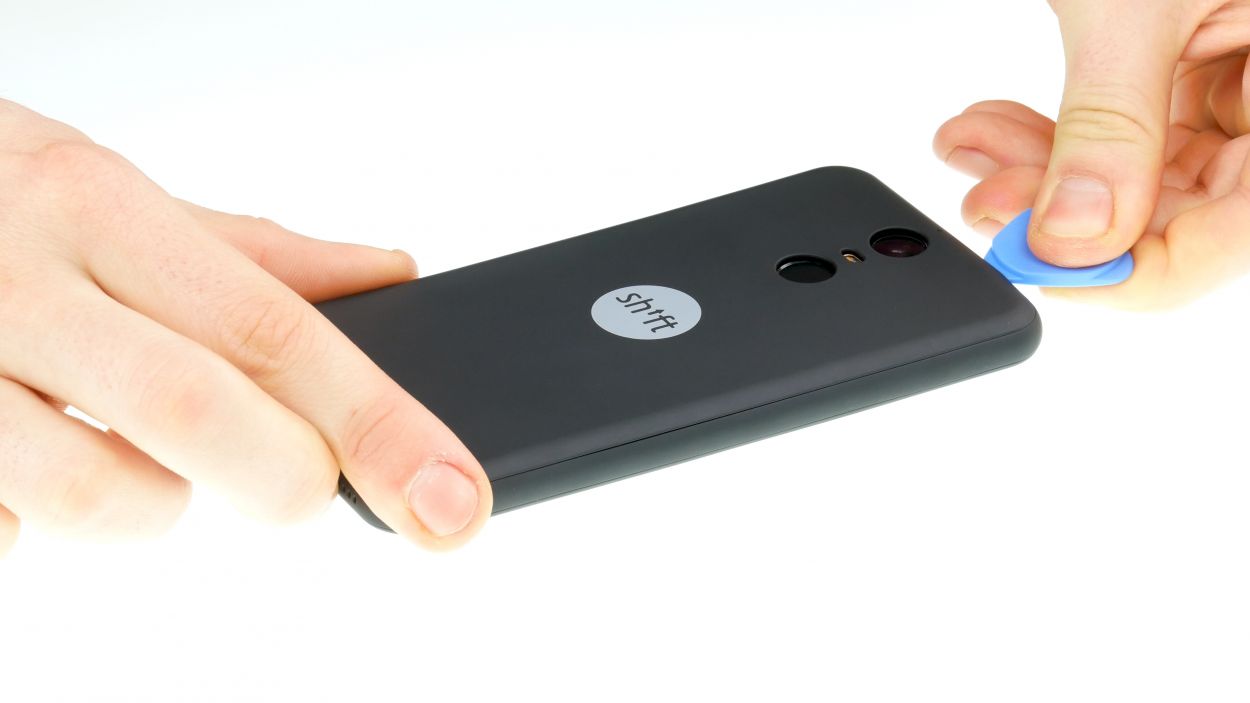
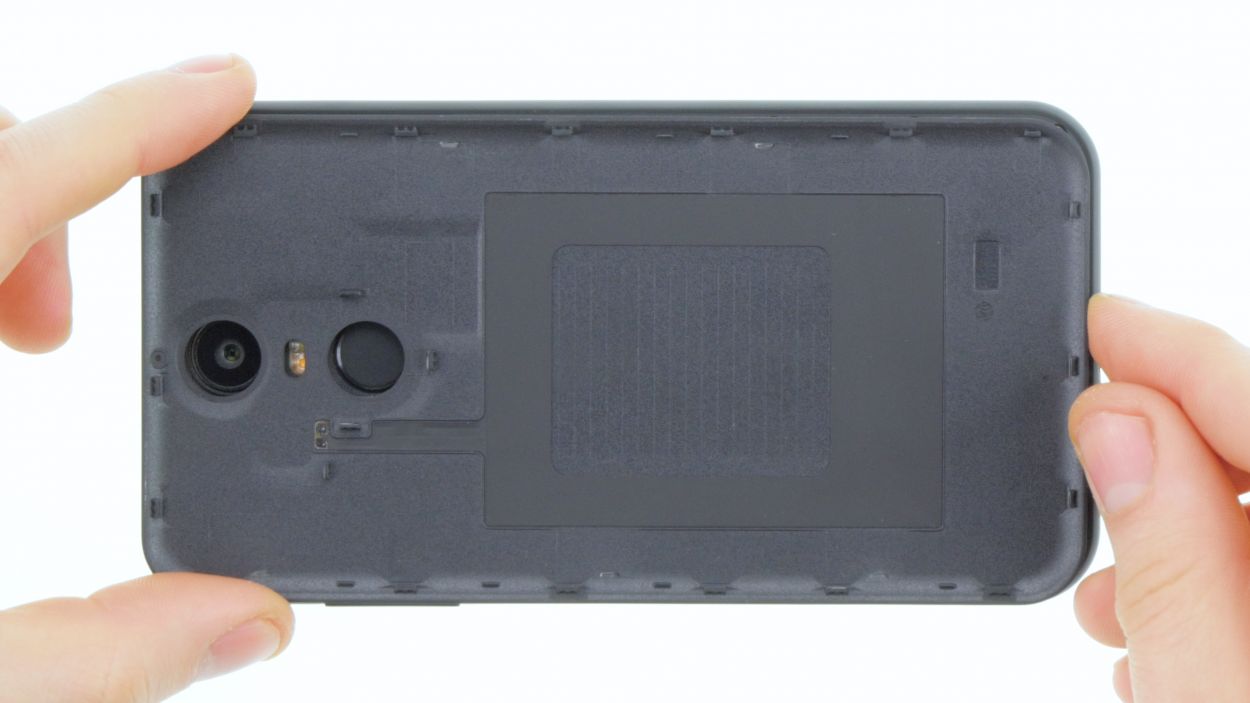
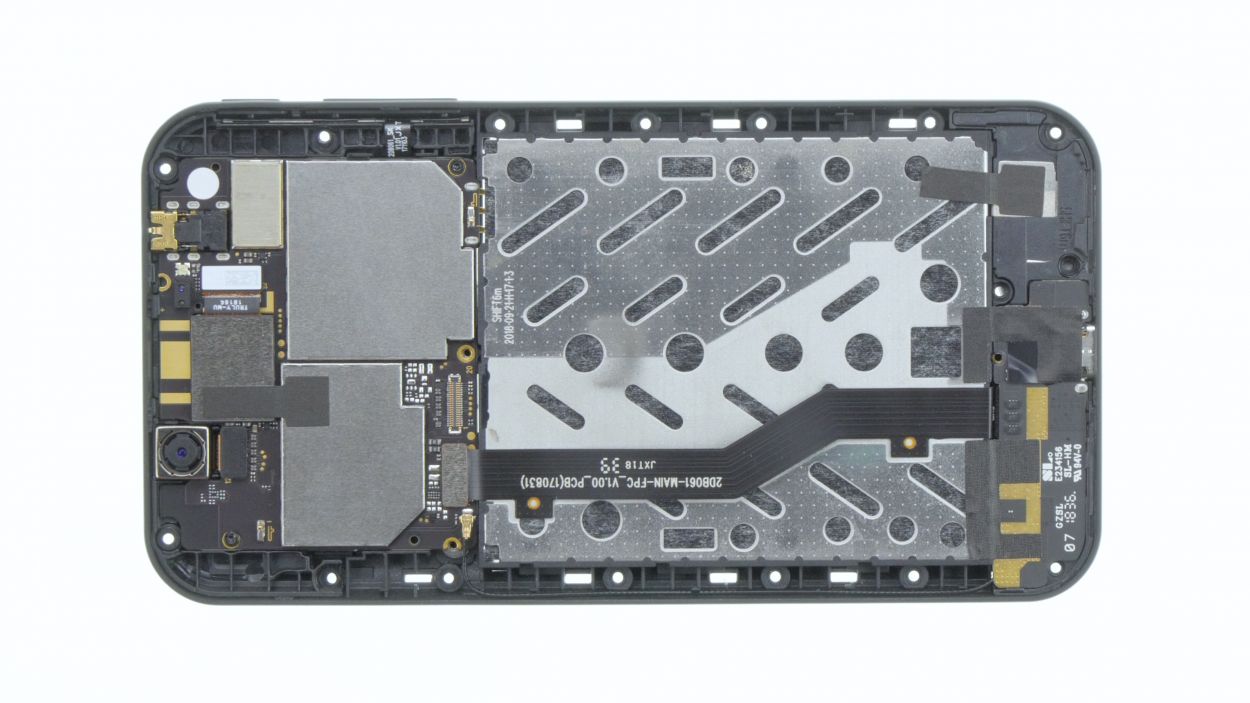
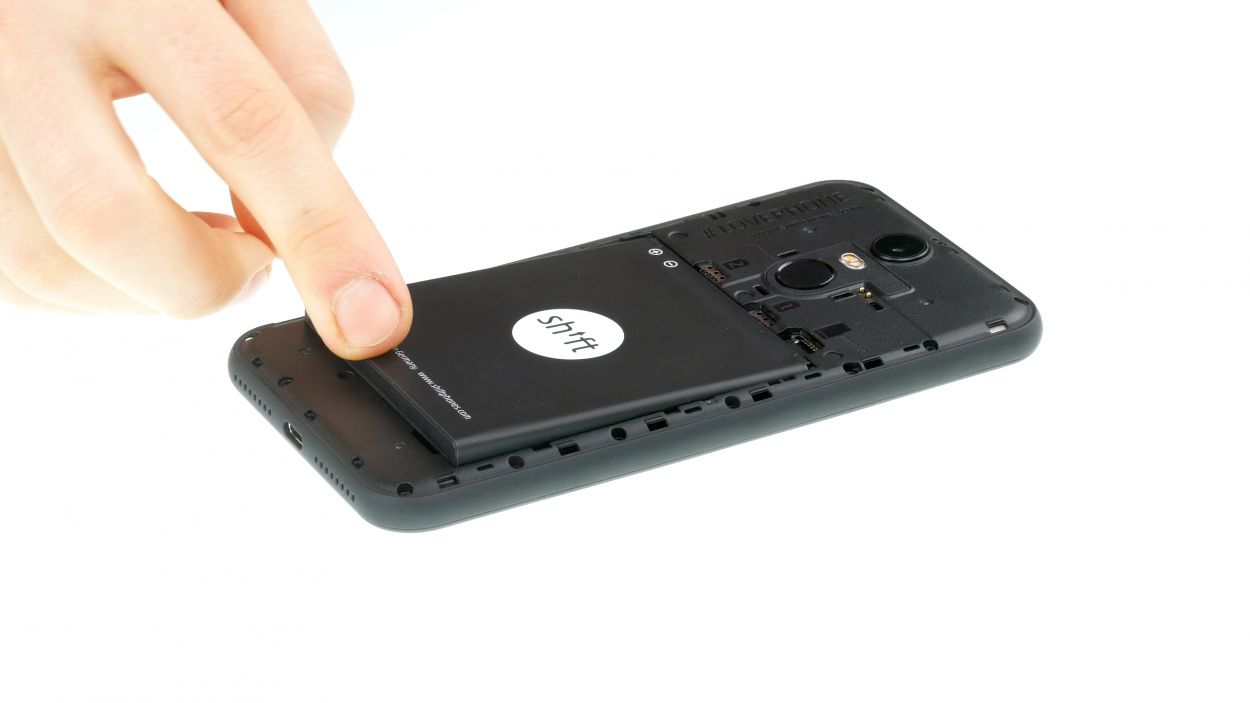
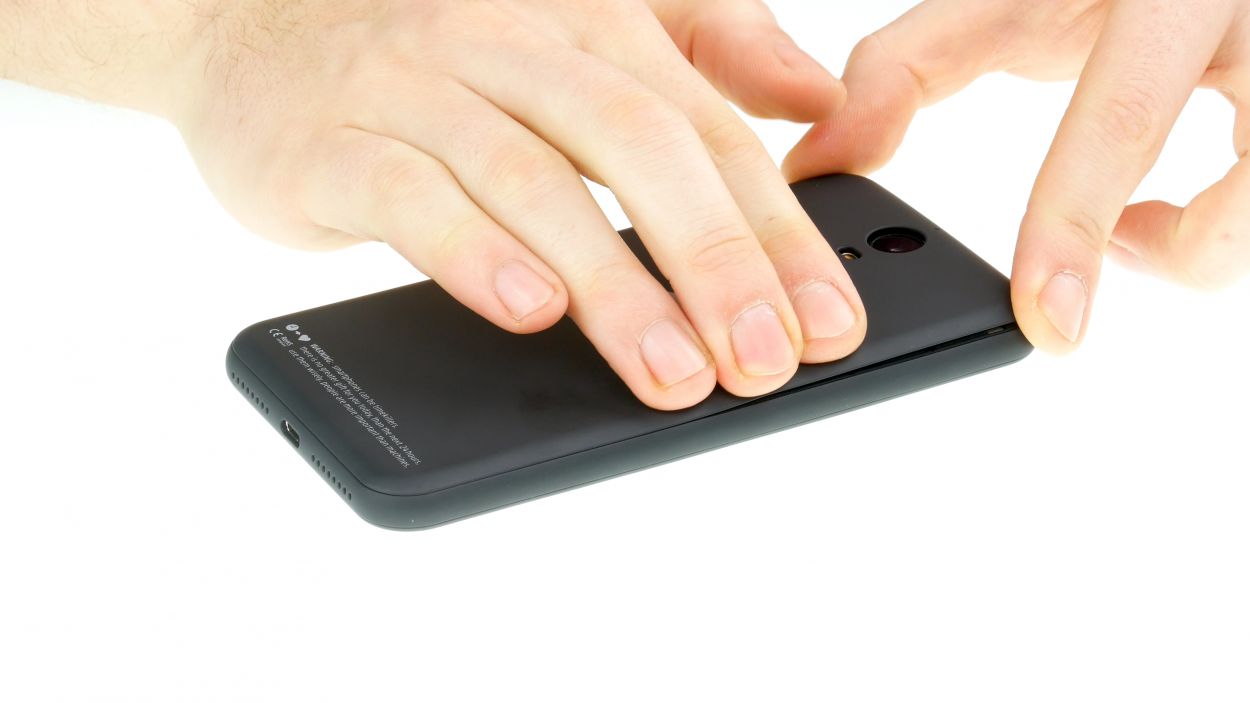
– Grab a plectrum or your trusty fingernail and gently slide it into the tiny gap in the bottom left corner. Give a little pull to lift off the back cover.
– Now, take your time to loosen all the clips around the edges. Just a heads up, the back cover is also secured around the fingerprint sensor, so you might need to give it a bit more oomph to get it loose.
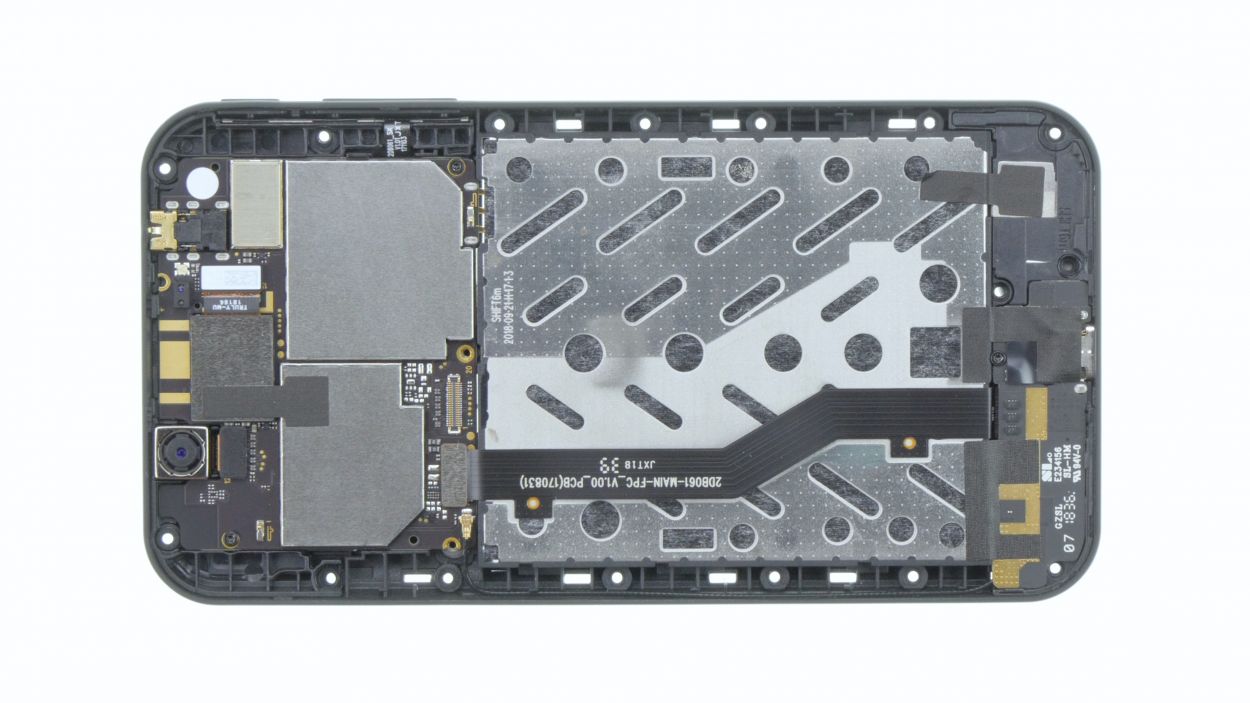
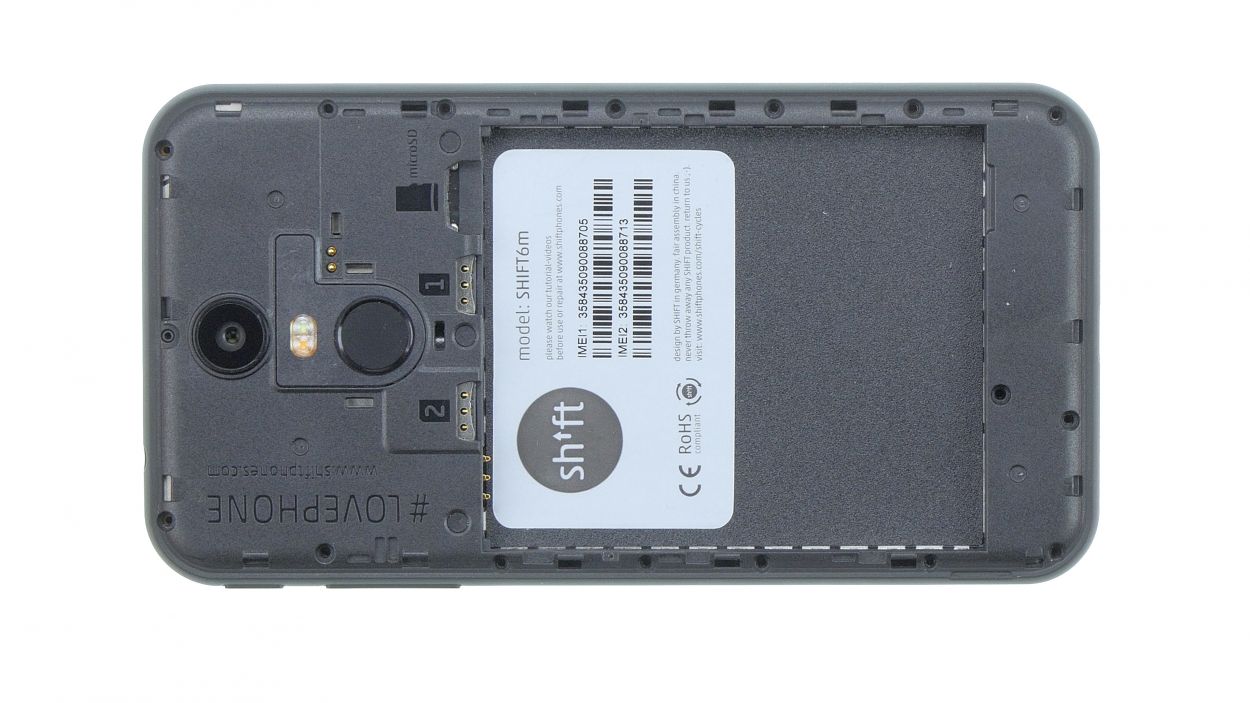
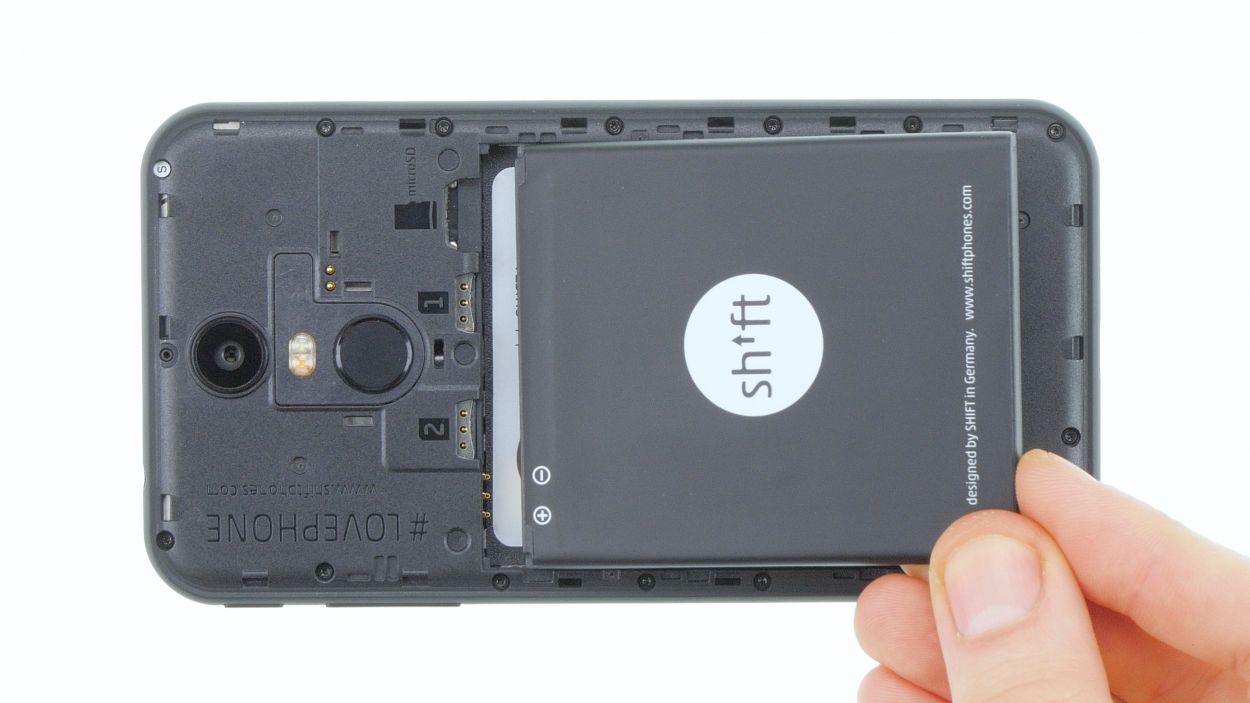
Step 3
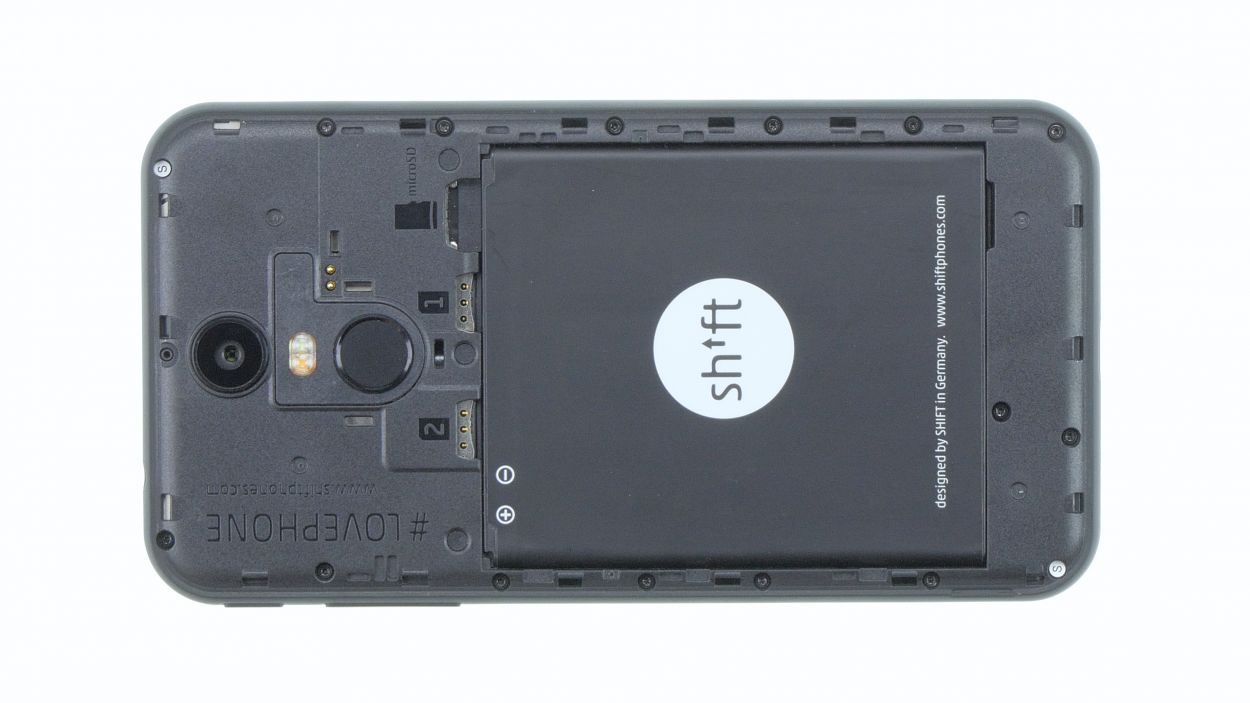
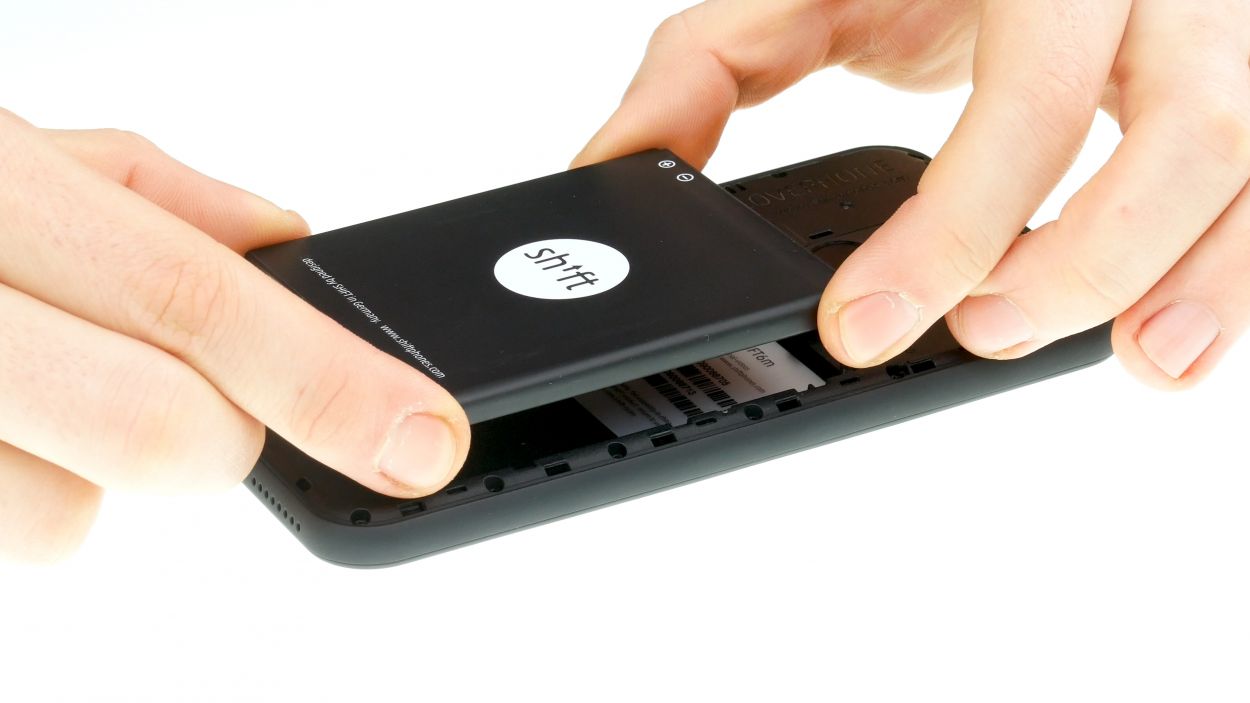
– You can easily remove the battery by lifting it by the notch in the lower right corner and removing it from the device.
Step 4

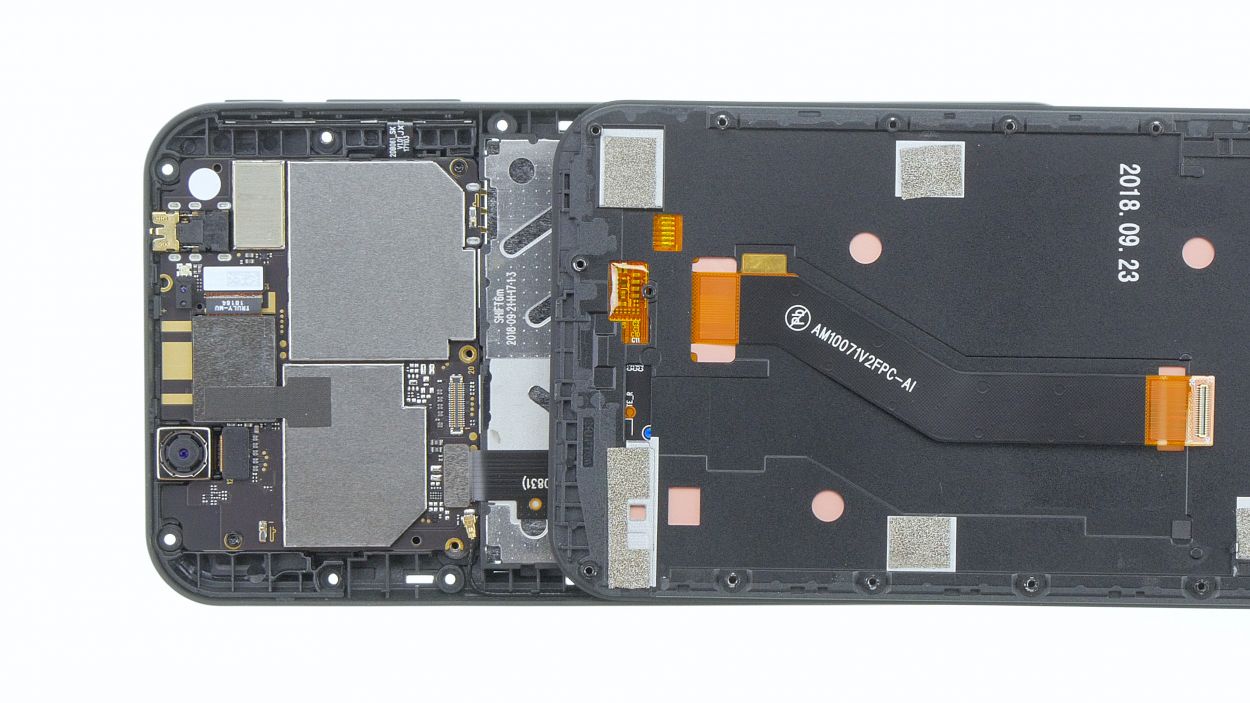
16 × 4,0 mm Torx T3
2 × 4,0 mm Torx T3
Display connector
Feel free to keep the display plugged in for the next steps! However, we’ve opted to disconnect the display connector from our device to avoid any accidental mishaps with the flex cable while we work our magic on the repair.
– Grab your trusty Torx T3 screwdriver and loosen all those screws like a pro!
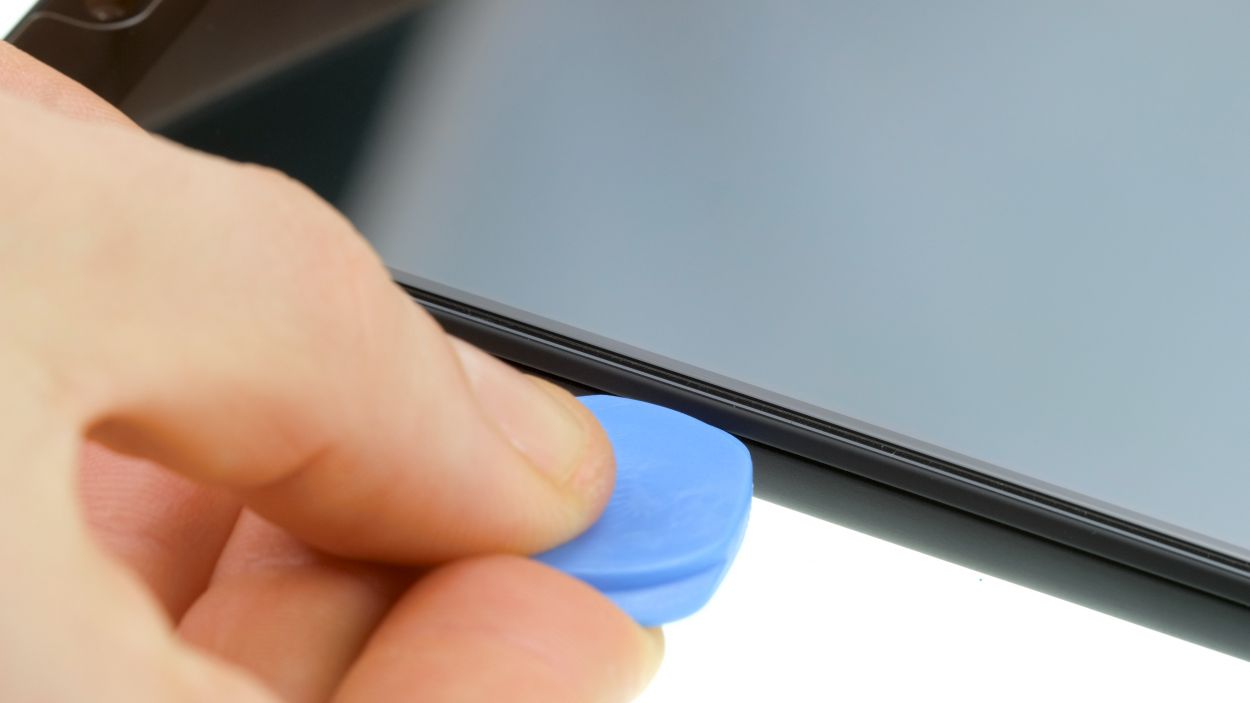
– Next, flip the SHIFT6m over and gently slide a plectrum or your fingernail between the plastic frame and the display.
– Now, take a leisurely slide all around the display to gradually release it. You’re doing great!
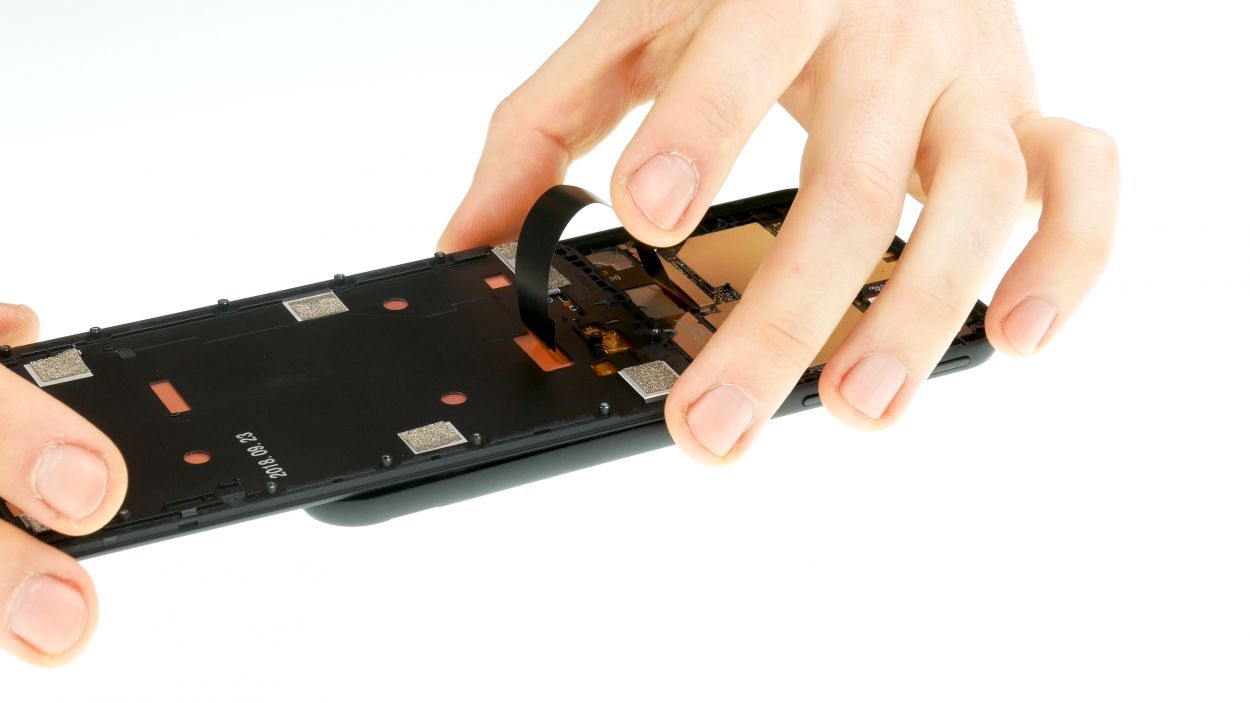
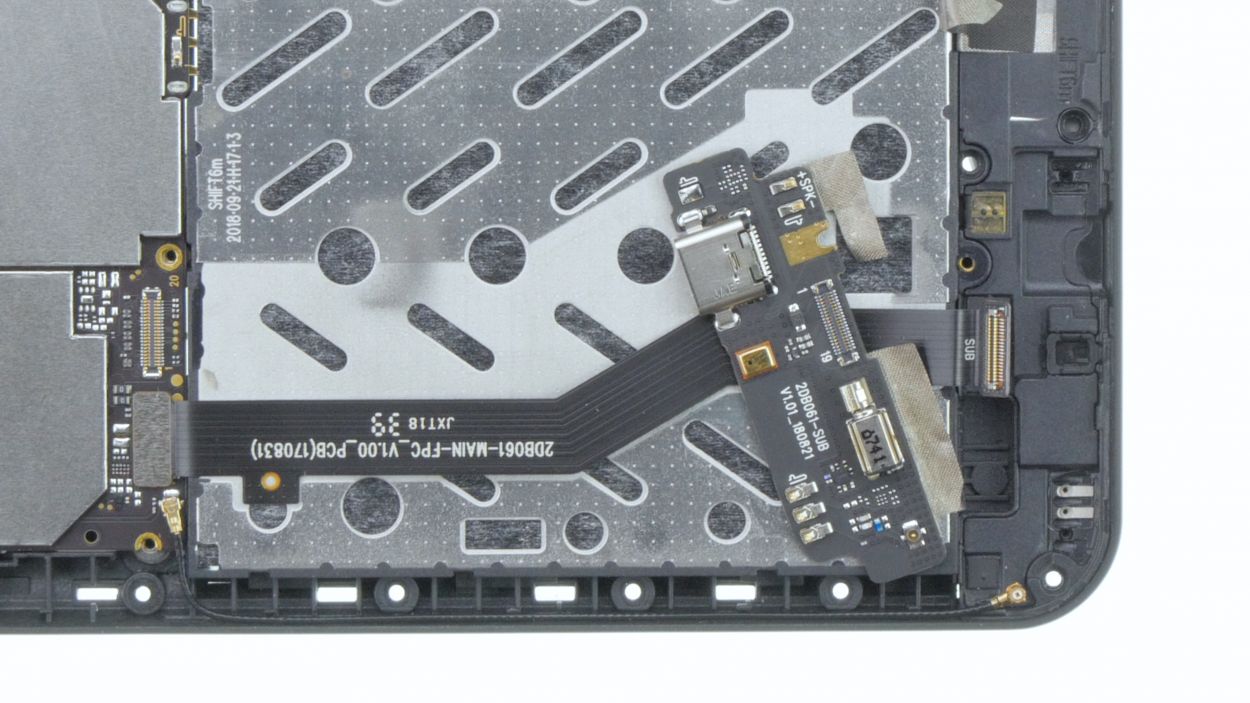
Step 5
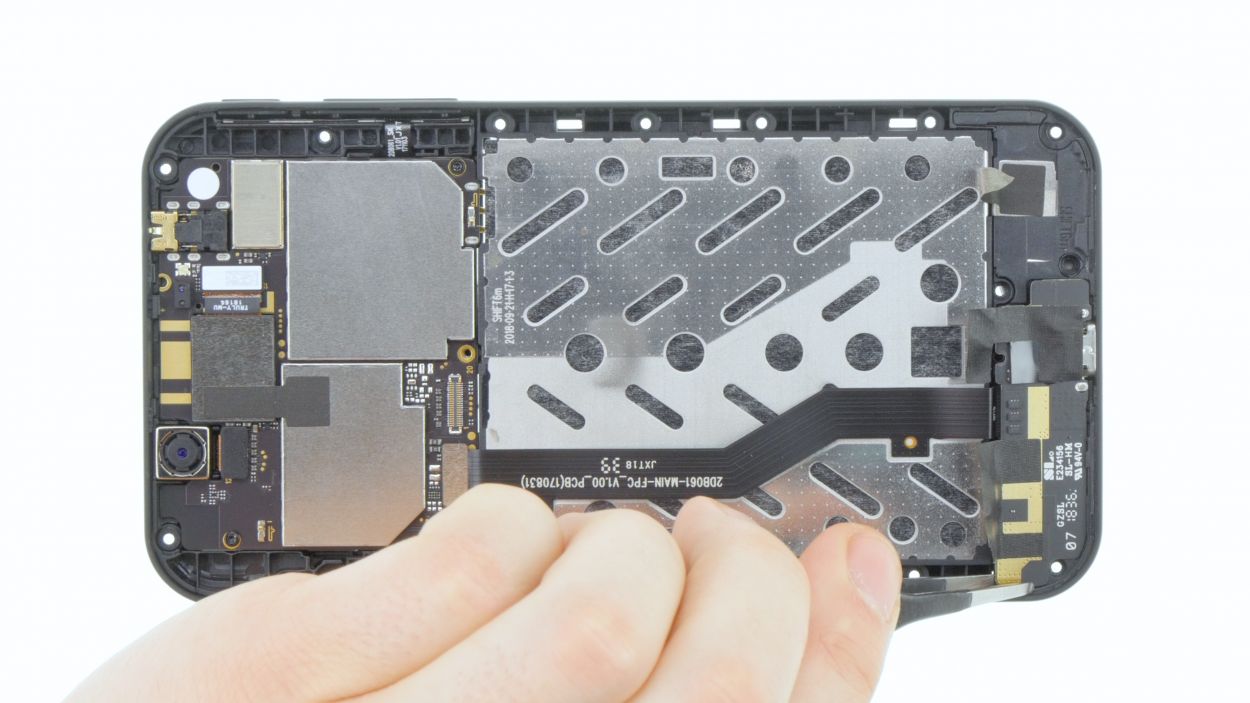
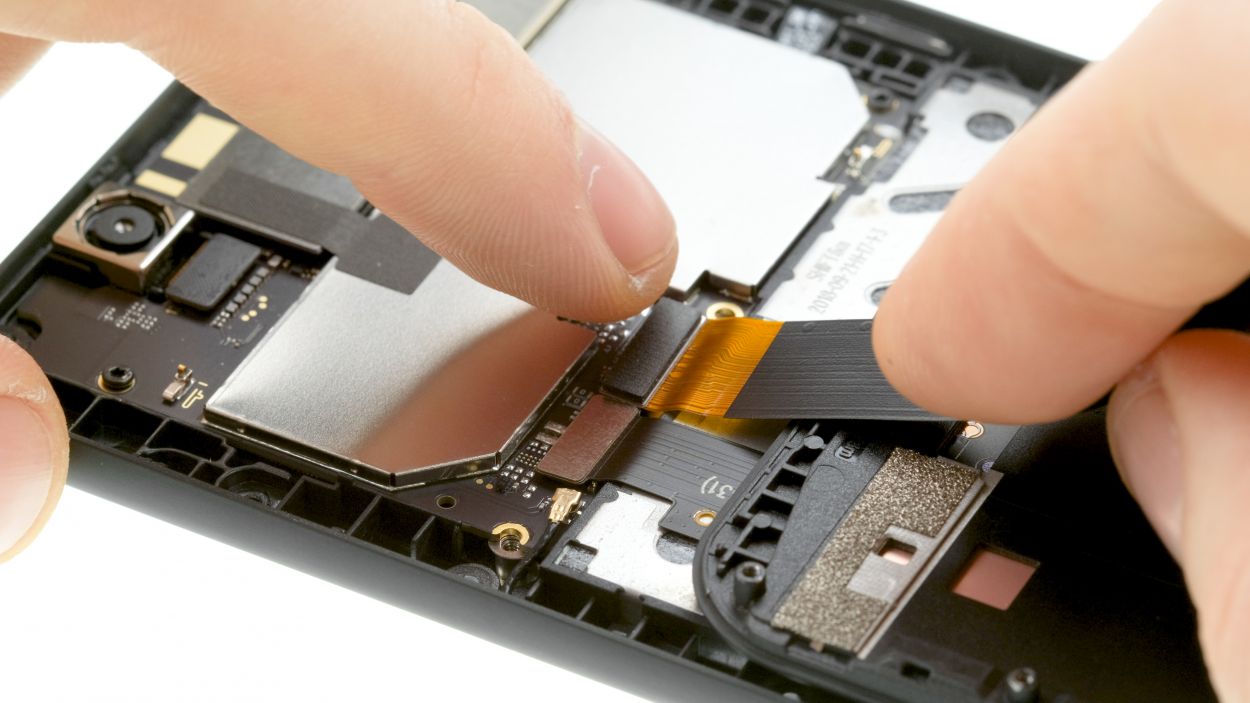
1 × 4,0 mm Torx T3
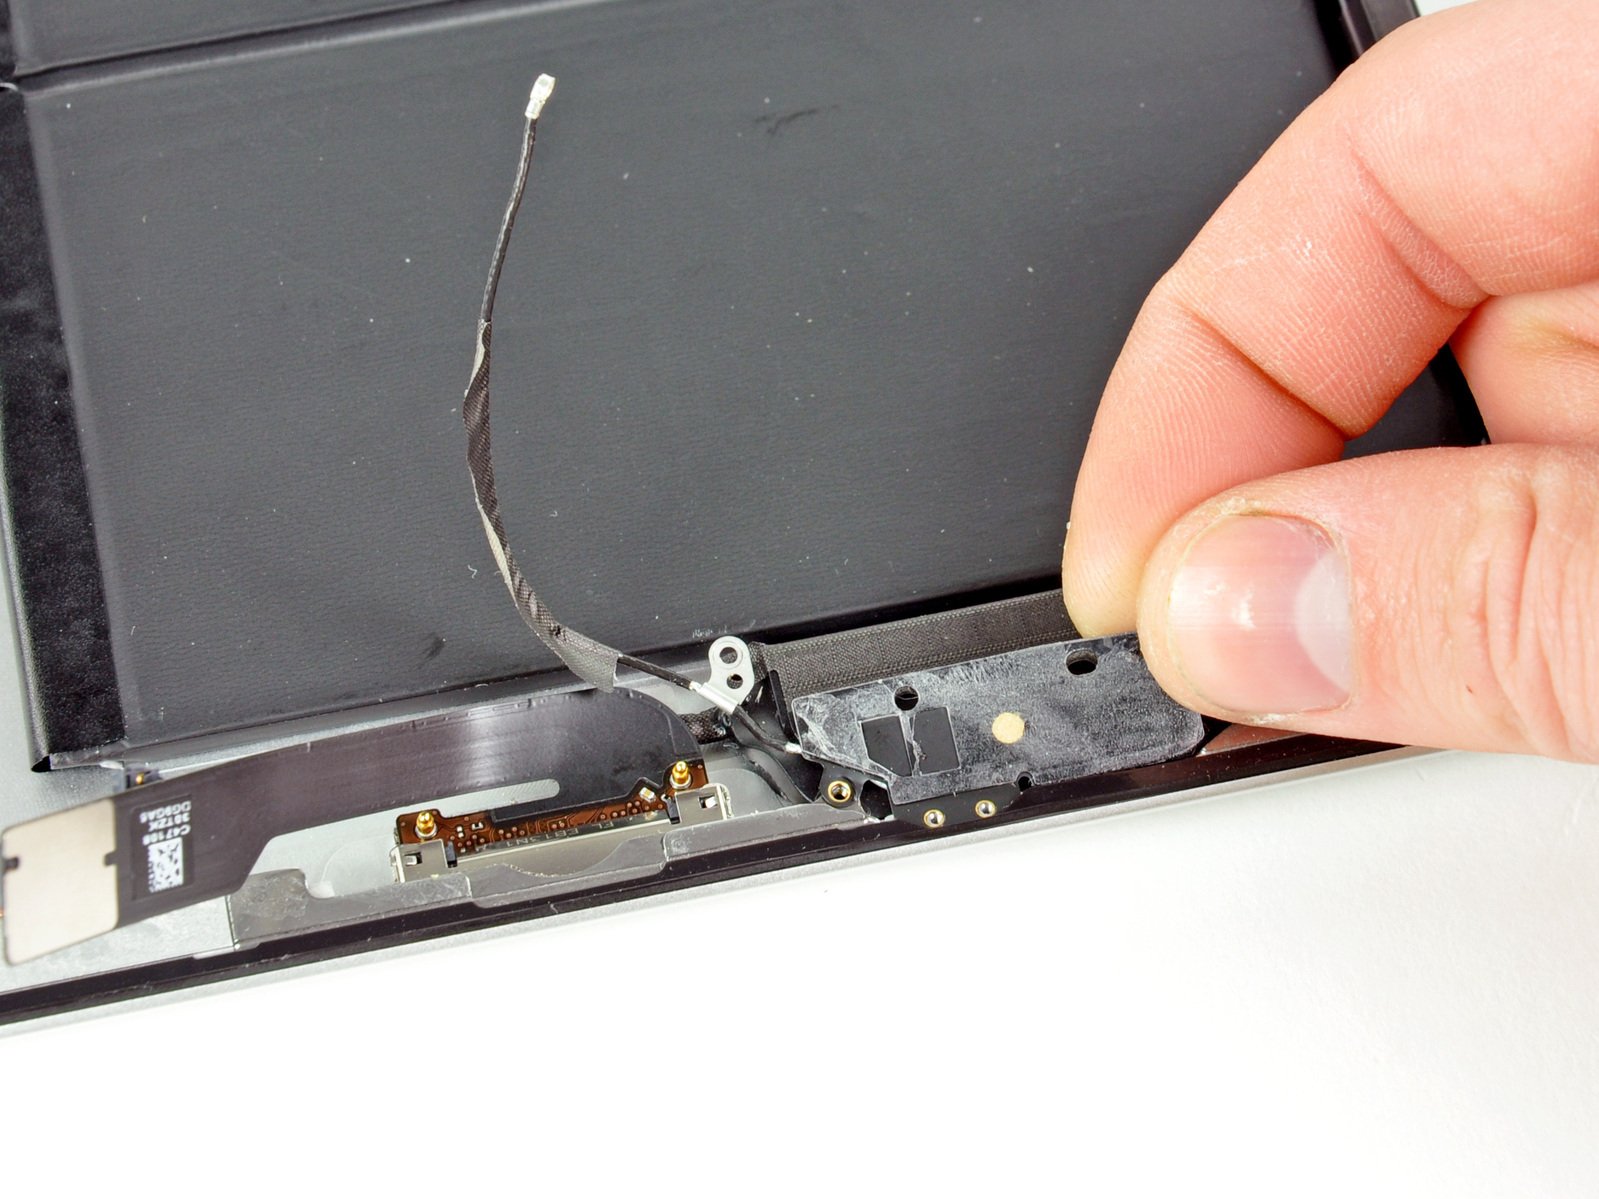
– First up, let’s get that pesky screw holding the USB-C connector out of the way.
– Next, gently peel back all those black adhesive strips like you’re unwrapping a present.
– Now, use a lever in various spots to carefully lift the component with the USB-C socket just a bit.
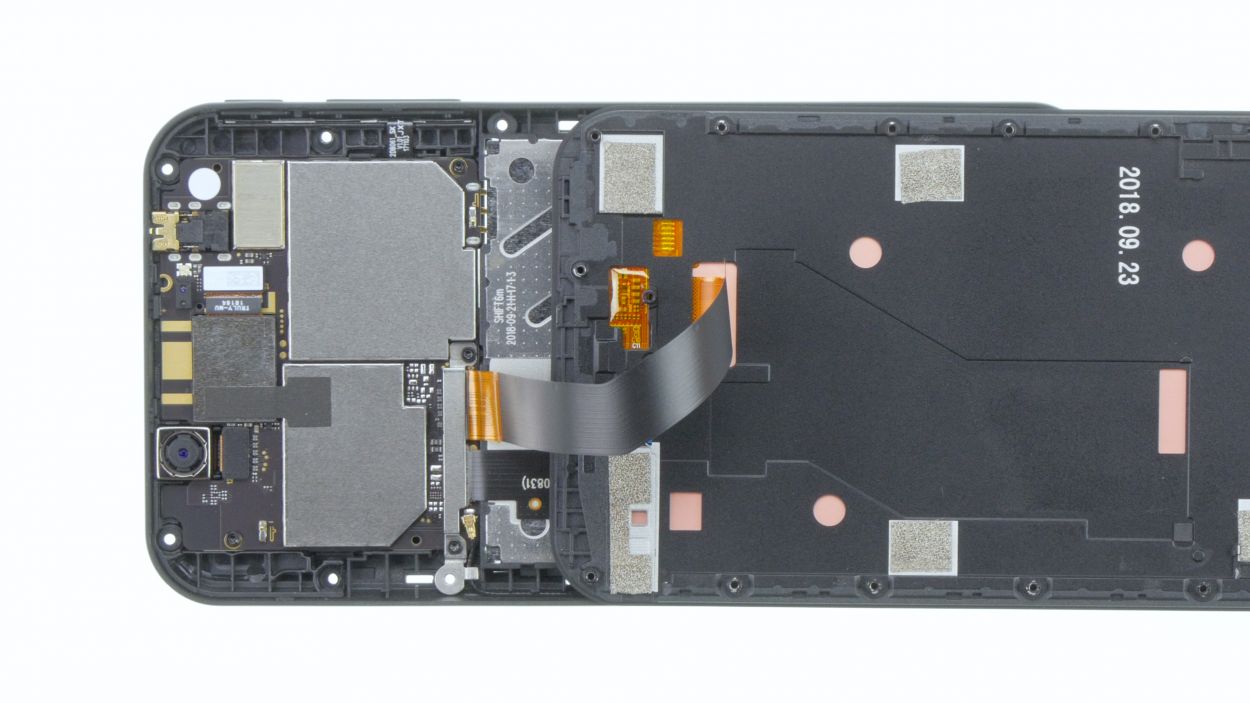
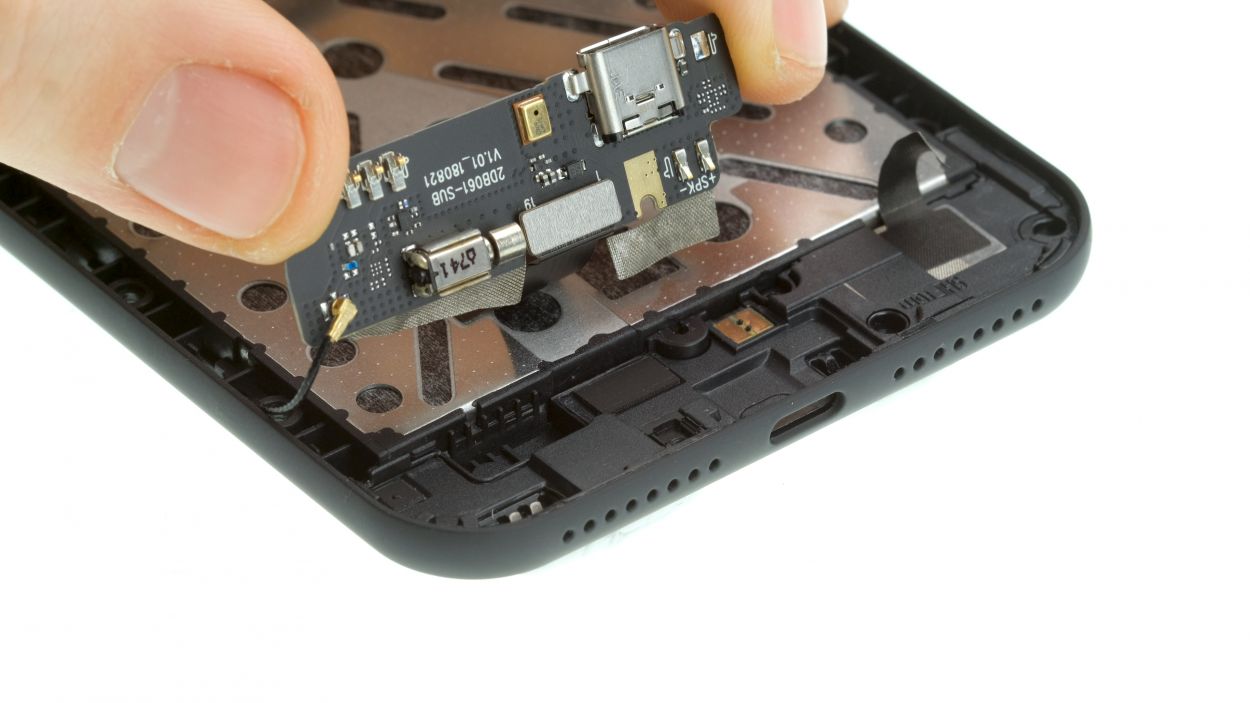
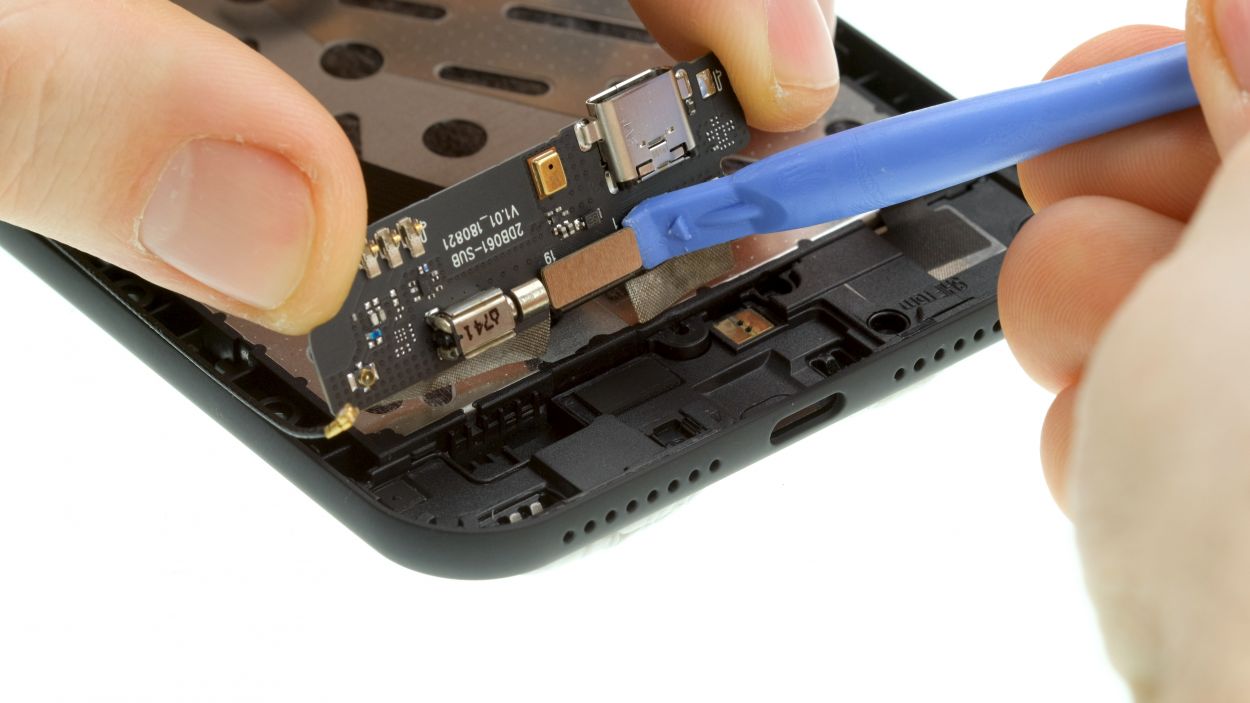
Step 6
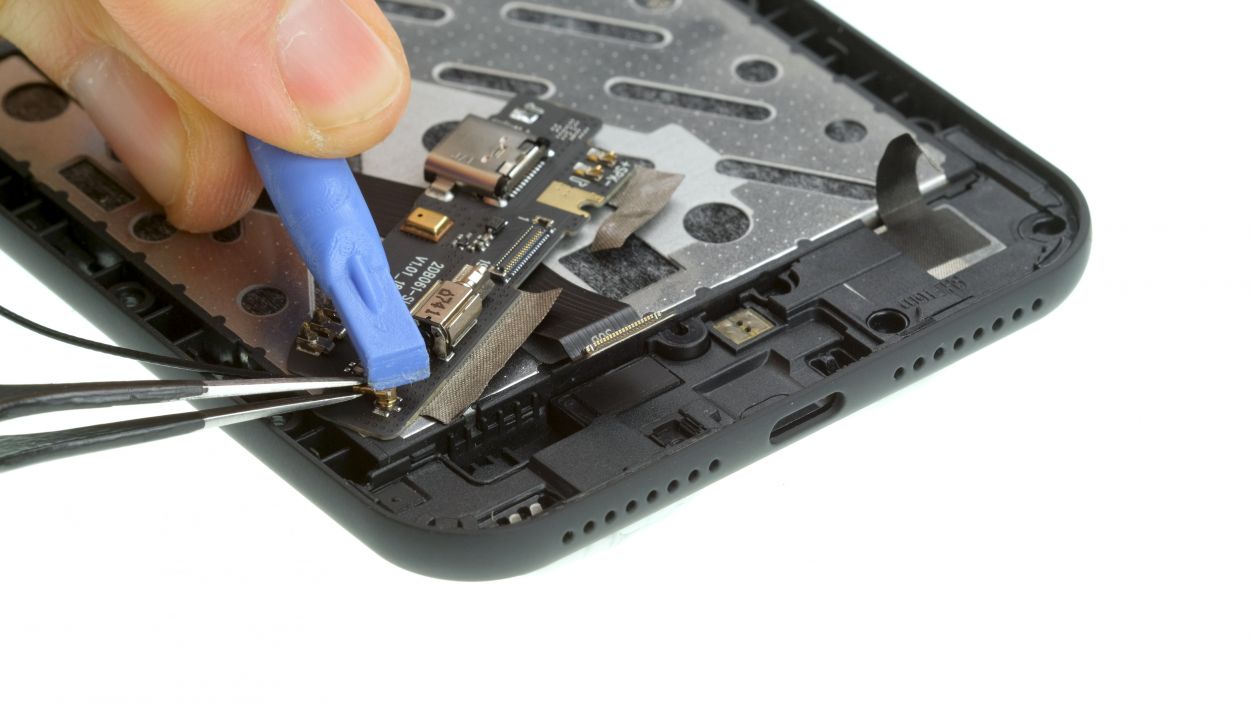
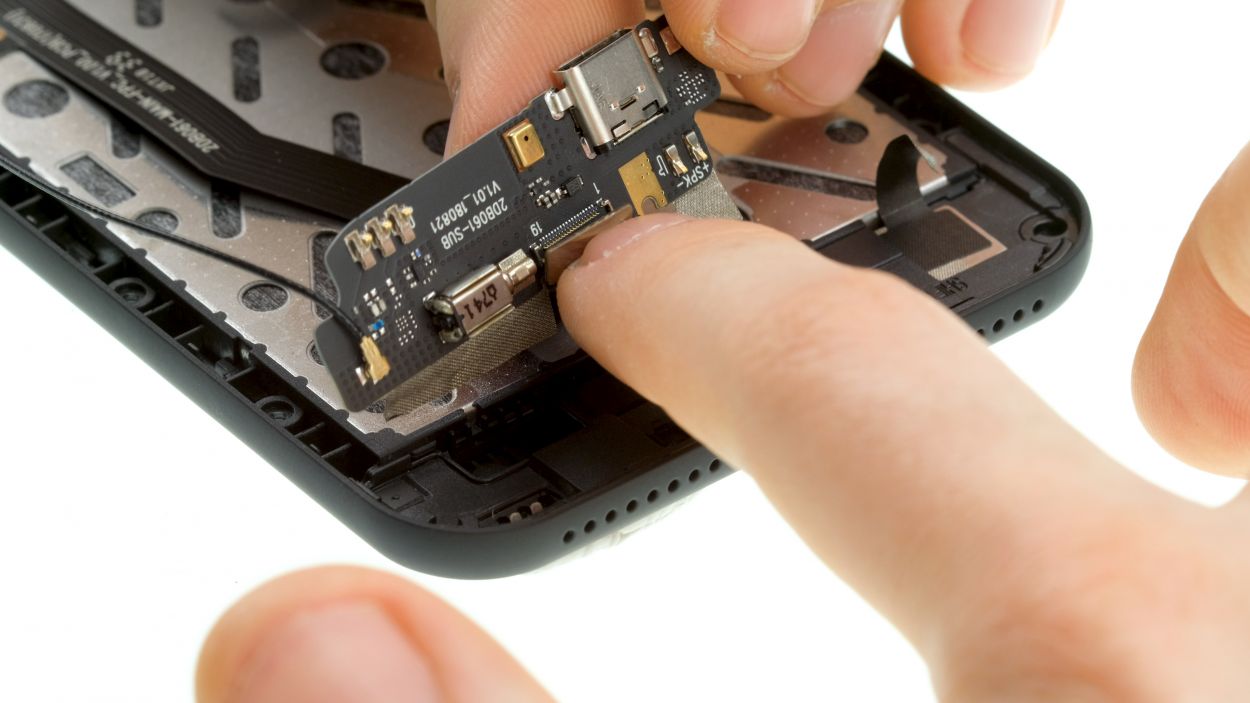
1 × 4,0 mm Torx T3
When you’re putting in that shiny new USB-C connector, don’t forget to slap on some black tape! It’s like giving your device a little hug to keep everything snug and secure.
– Lay down the component with the USB-C socket.
– Connect the contact of the antenna cable with a pair of tweezers and a spudger.
– Hold the component with one hand and connect the connector of the ribbon cable.
– Then slide the USB-C connector into its opening in the case and push down the entire component until it fits properly.
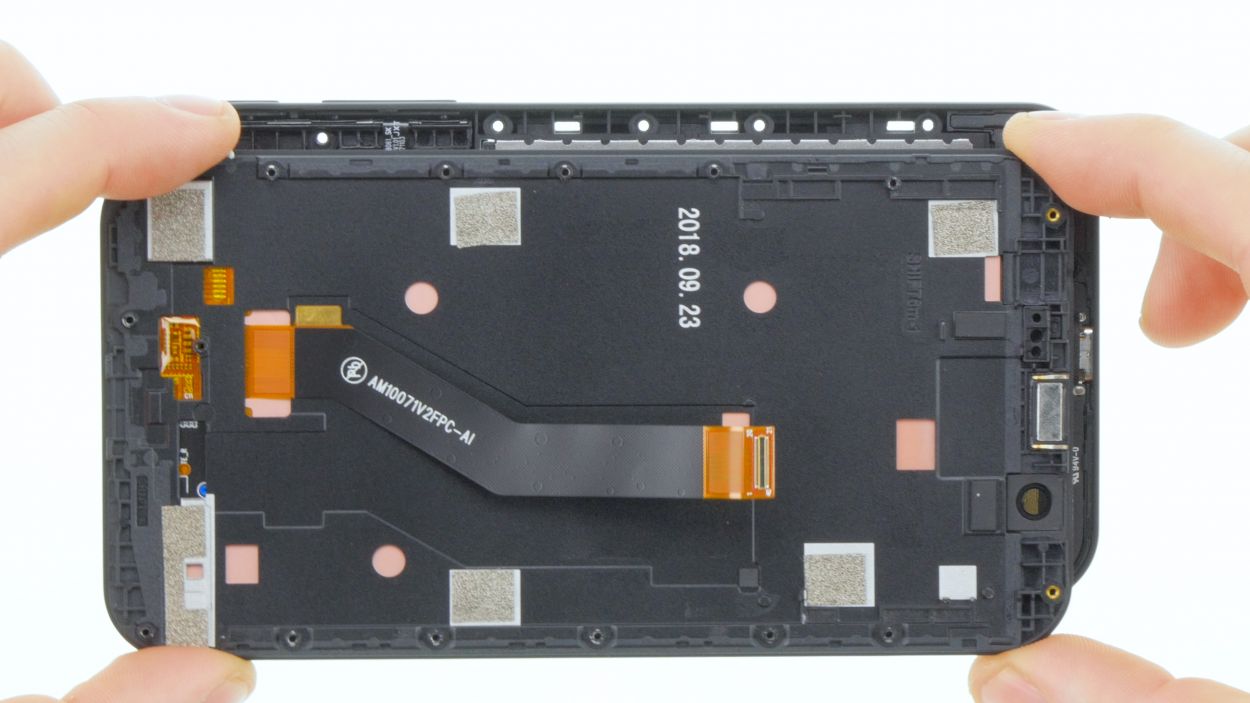
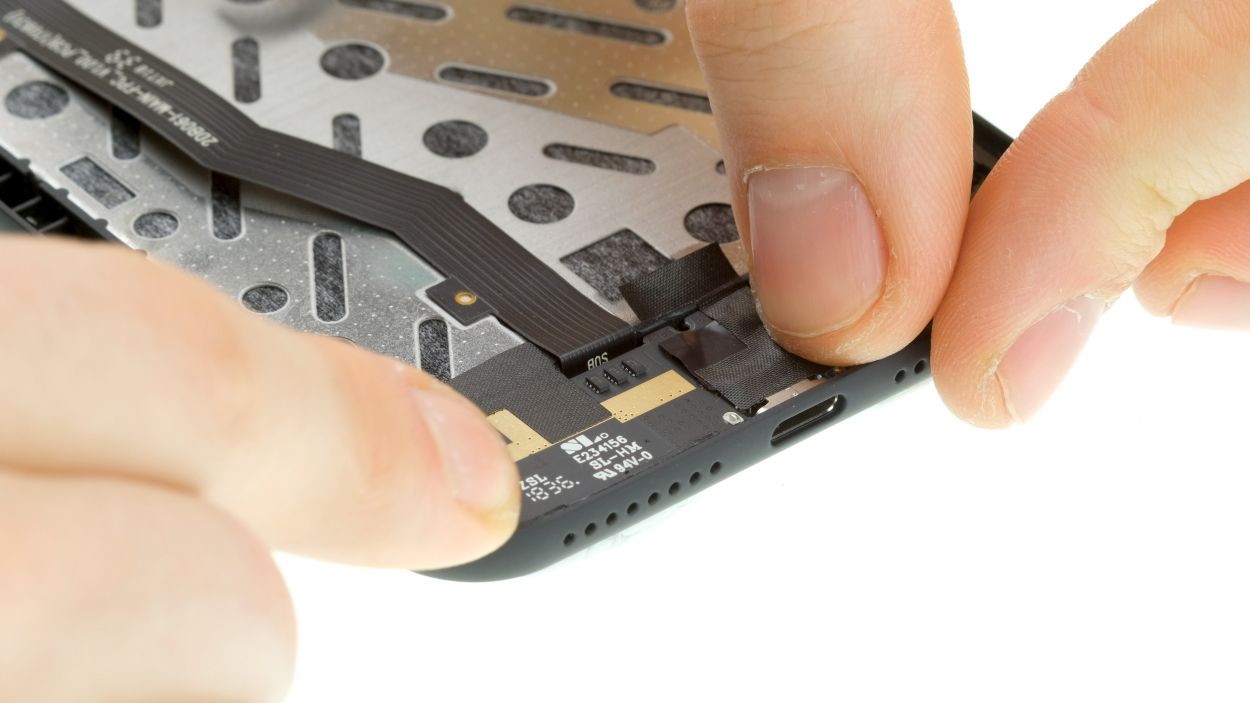
Step 7

Display connector
2 × 4,0 mm Torx T3
16 × 4,0 mm Torx T3
Gently connect the connector until you hear a satisfying little click! If it doesn’t snap into place right away, no need to force it down. Just give it another shot by repositioning and trying again. Remember, patience is key! If you need help, you can always schedule a repair.
– Gently set the display onto the frame and align the display connector with its spot on the motherboard.
– With a little care, press the connector down snugly.
Step 9

– The back cover has clips on the edge and around the opening of the fingerprint sensor.
– Press the backcover everywhere until it fits properly.