DIY Guide to Replace Vibration Motor in Samsung Galaxy S6 Edge
Duration: 45 min.
Steps: 11 Steps
In this handy guide, we’ll walk you through the process of swapping out the faulty vibration motor in your Samsung Galaxy S6 Edge all by yourself! If your phone’s been feeling a bit quiet and isn’t buzzing like it used to, this repair is just what you need. Let’s get that vibe back!
Step 1
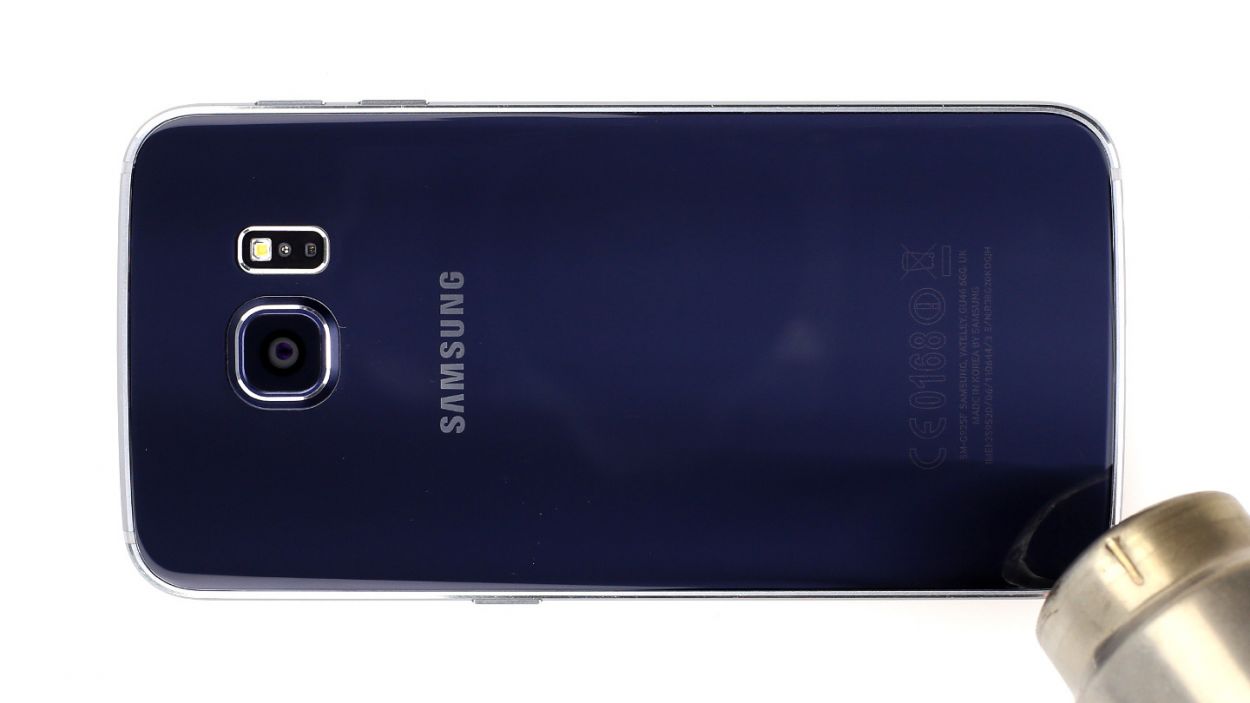
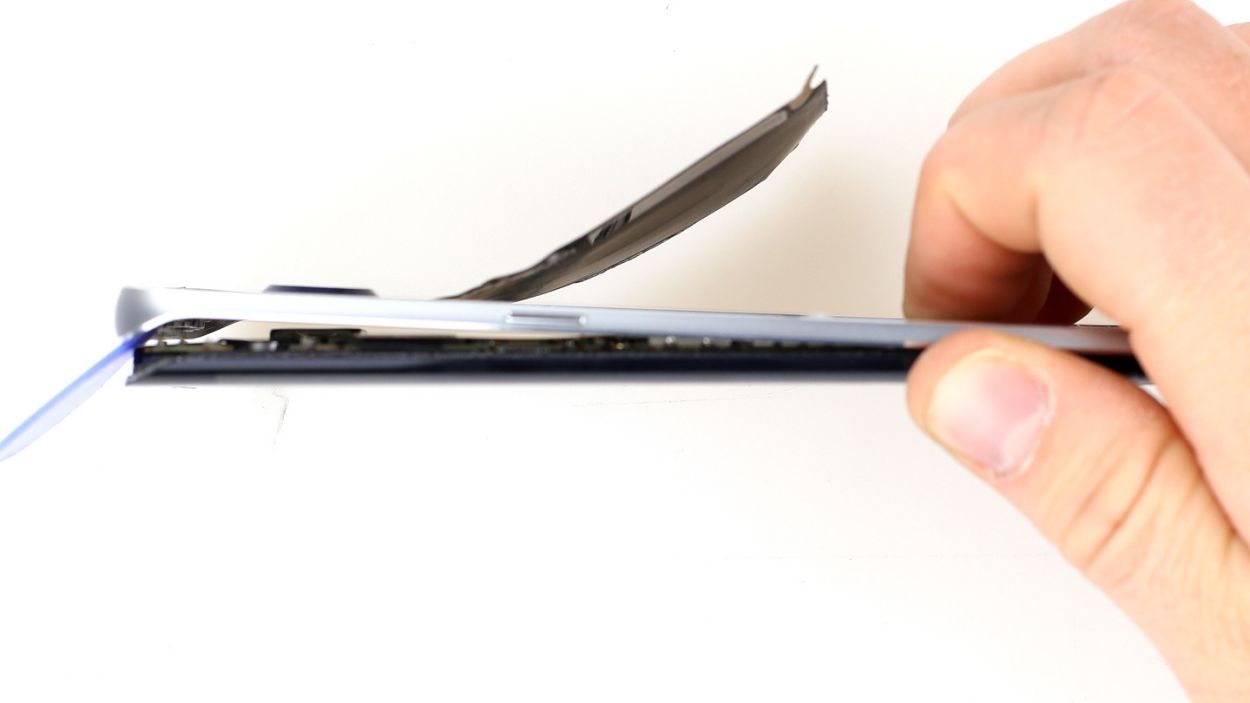
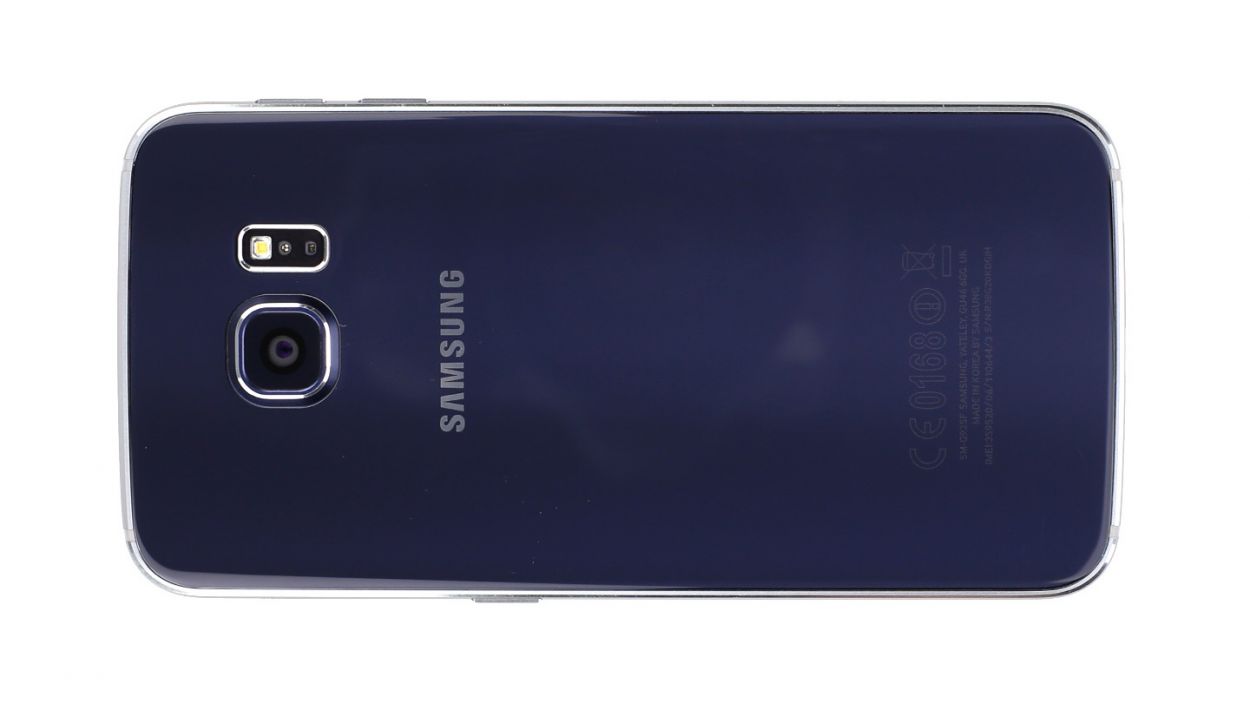
– The back of the Samsung Galaxy S6 Edge is stuck on there pretty well, thanks to some strong glue. To get it off, you’ll want to warm it up with a heat gun to soften that adhesive. Once it’s nice and toasty, grab a plastic pick and gently slide it into the tiny gap between the frame and the glass to break the glue’s hold.
– That gap between the aluminum frame and the glass is super slim, so it’s best to use a flat, sturdy tool to help you out.
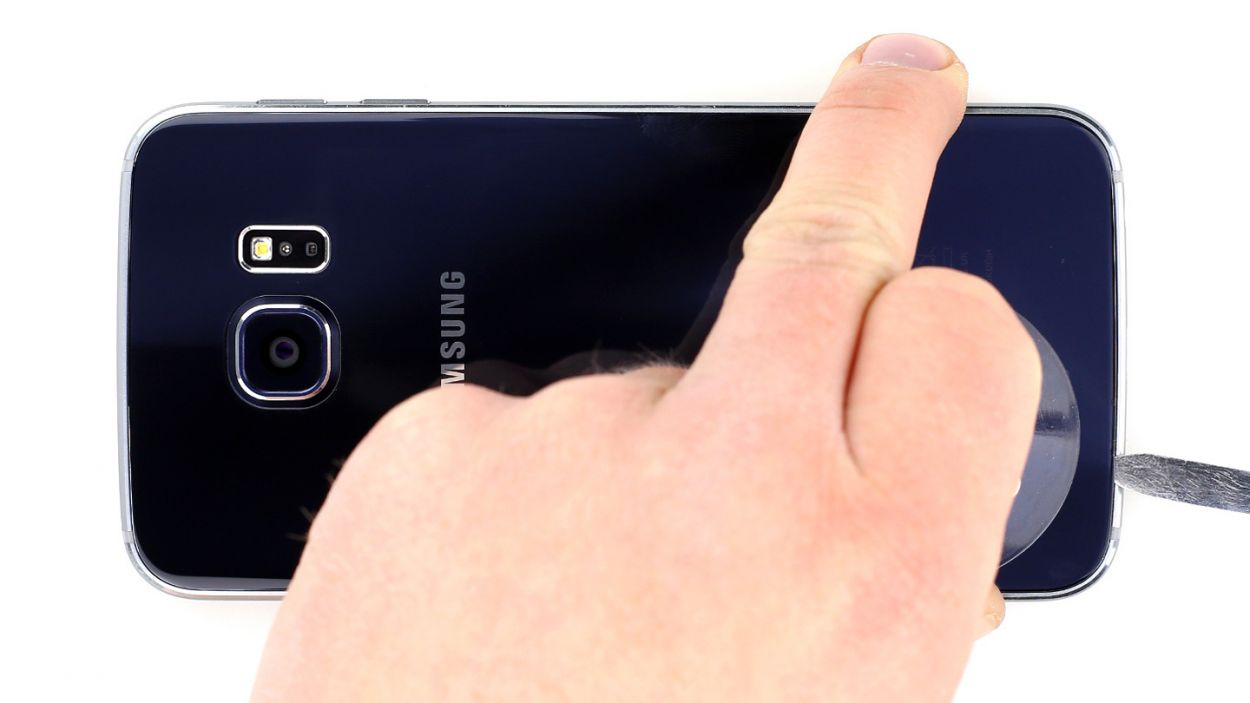
– Now, carefully lift the back cover using a suction cup to give yourself a little extra grip.
– As soon as you see a small opening, slide in the plastic pick to keep the aluminum safe from any damage.
Step 2

The back cover has a little paint job on the inside. Be sure to gently clean off any leftover adhesive—no one wants scratches or cracks ruining the fun!
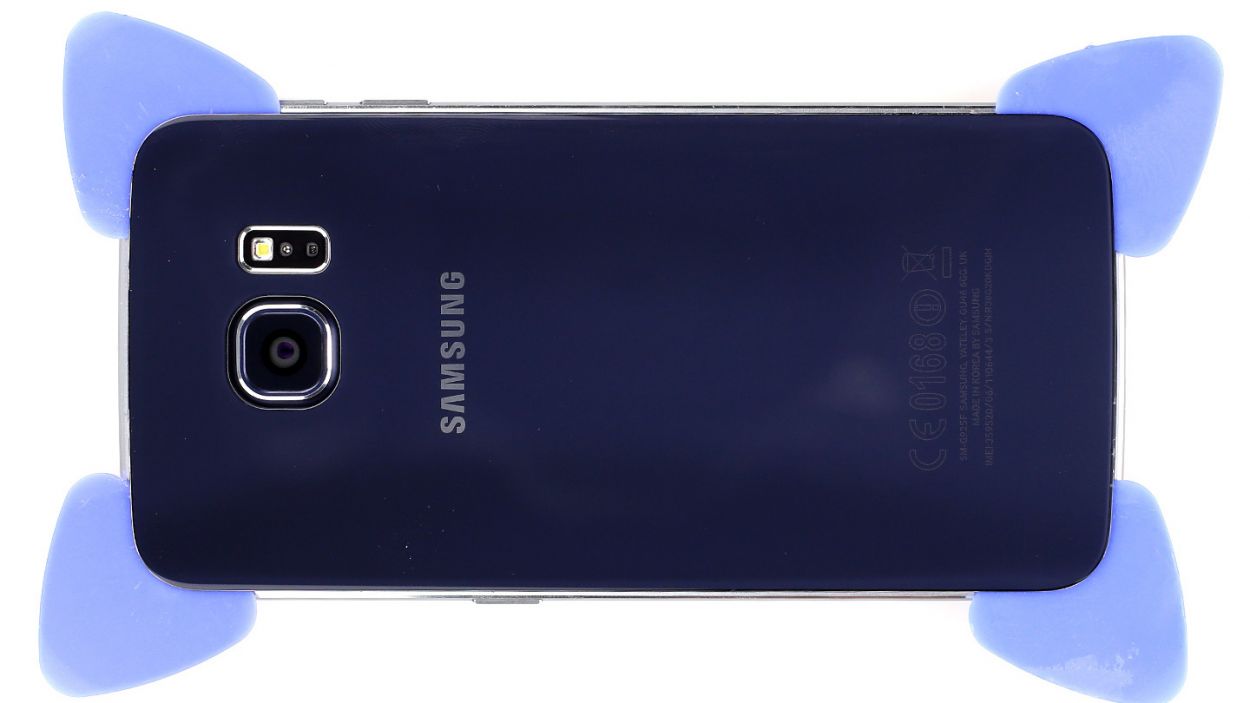
– When you’re ready to get started, gently slide the pick about two or three millimeters between the back cover and the frame. This will help you avoid any mishaps inside the enclosure. Just a heads up, the back cover has a paint job on the inside, so be extra careful when removing any adhesive residue to keep it scratch-free and crack-free.
– The back cover of the Galaxy S6 Edge is secured all around the outer edge with glue. Take your pick and make a smooth journey around the entire phone to loosen it up.
– After you’ve successfully detached all that sticky glue, you can carefully lift the back cover away. You’re doing great!
Step 3
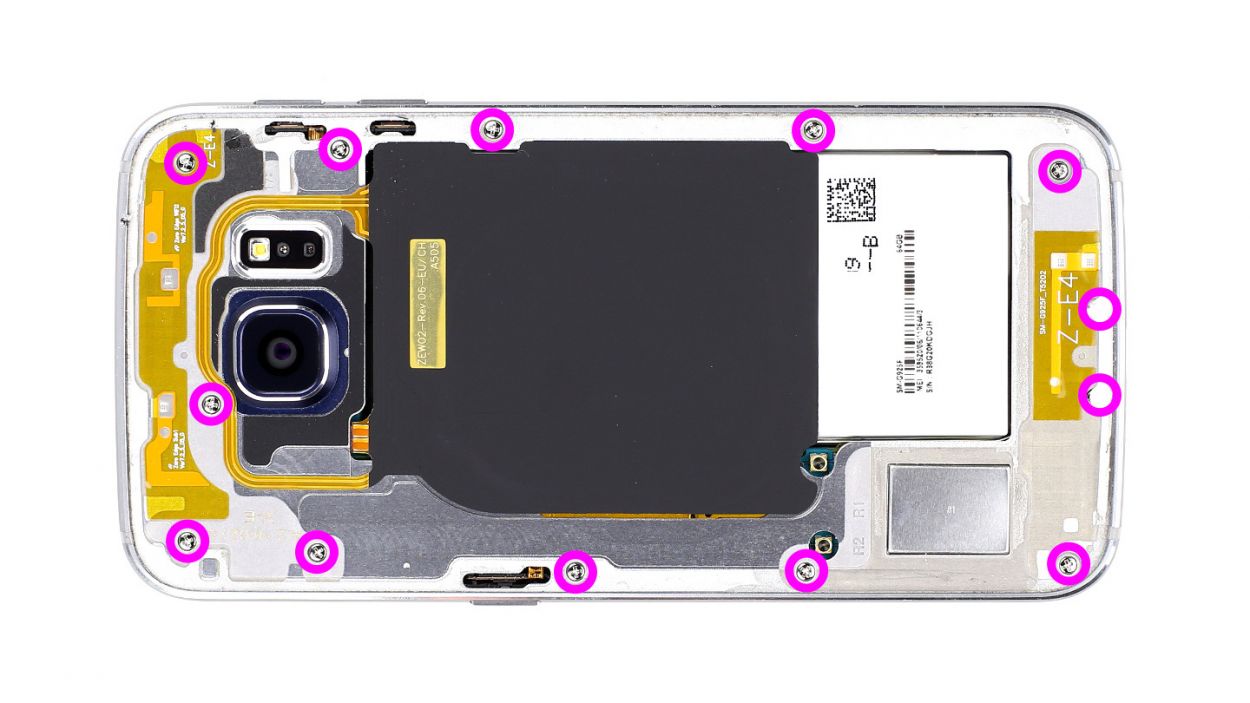
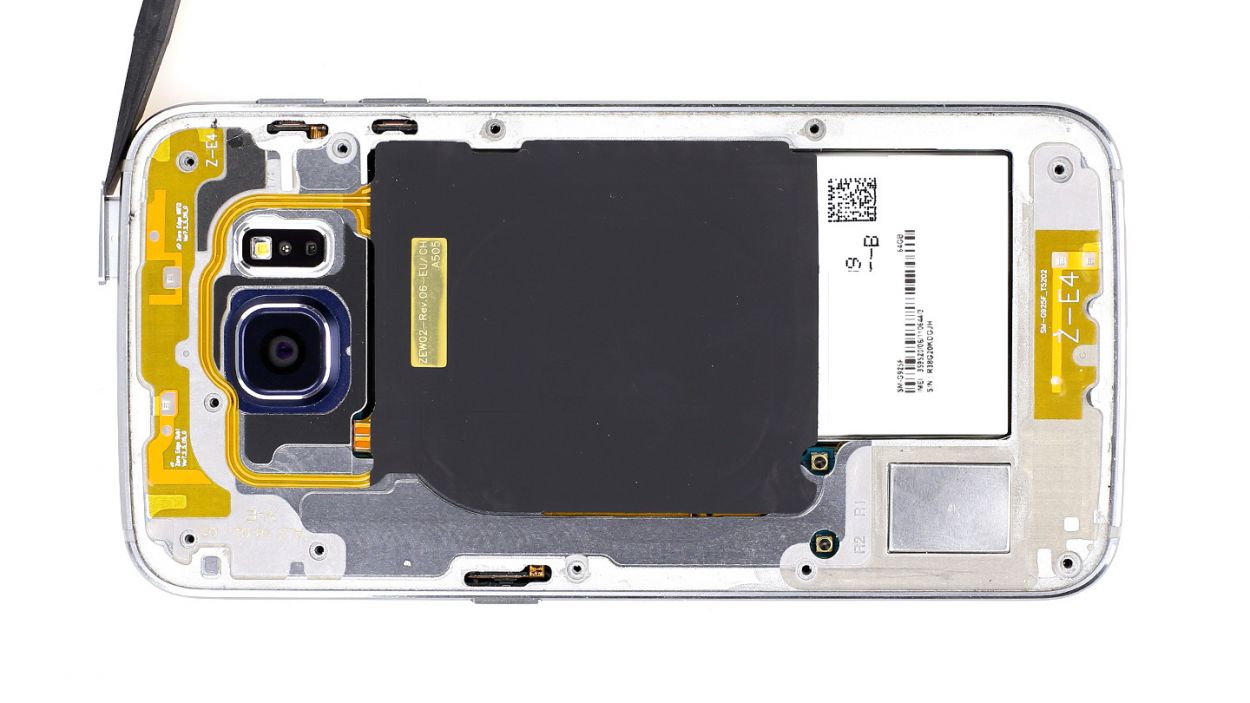
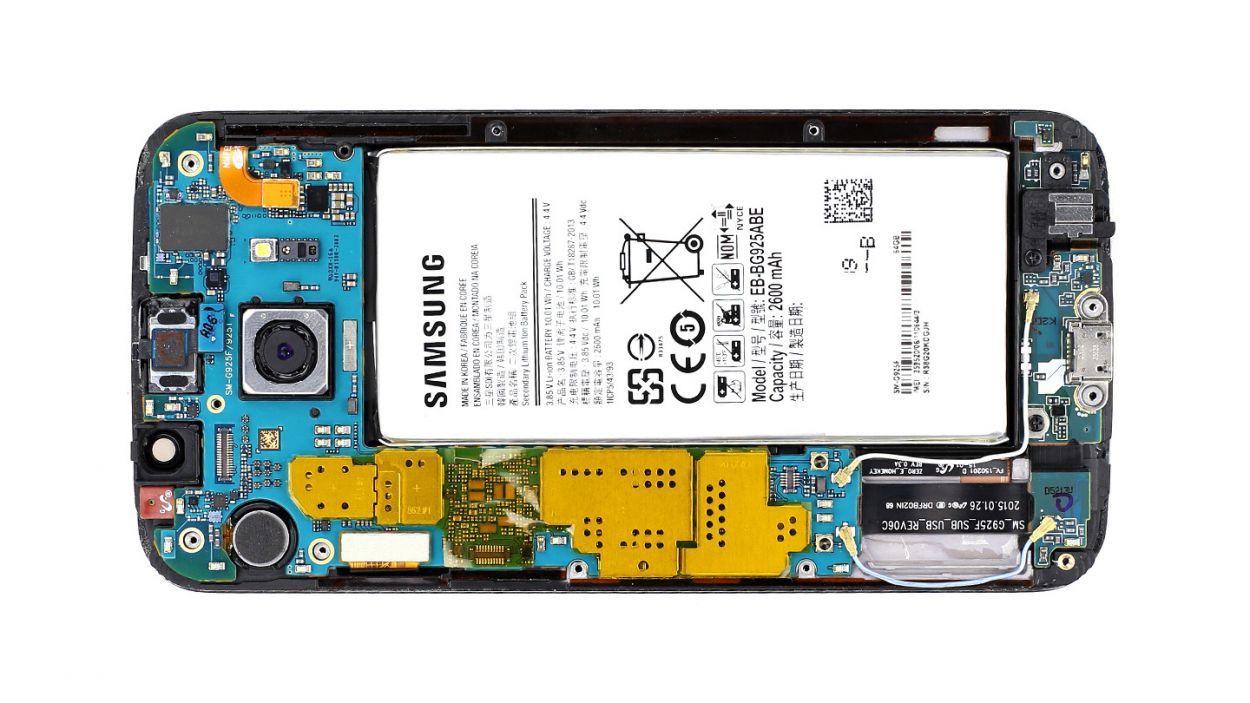
– Let’s kick things off by removing the 13 Phillips screws that are holding that plastic cover tight. Grab your trusty 3.3 mm Phillips screwdriver and get to work, just like in figure 1!
– Next up, it’s time to pop out the SIM card tray. That little guy needs to come out to play!
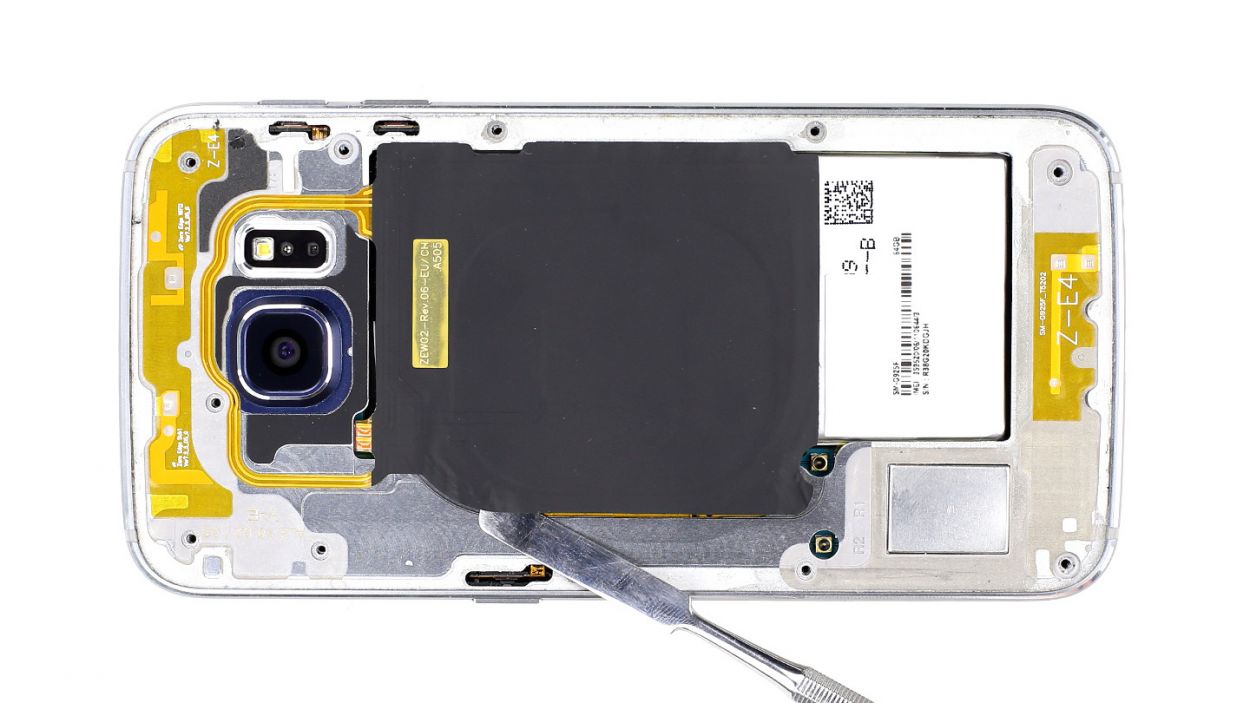
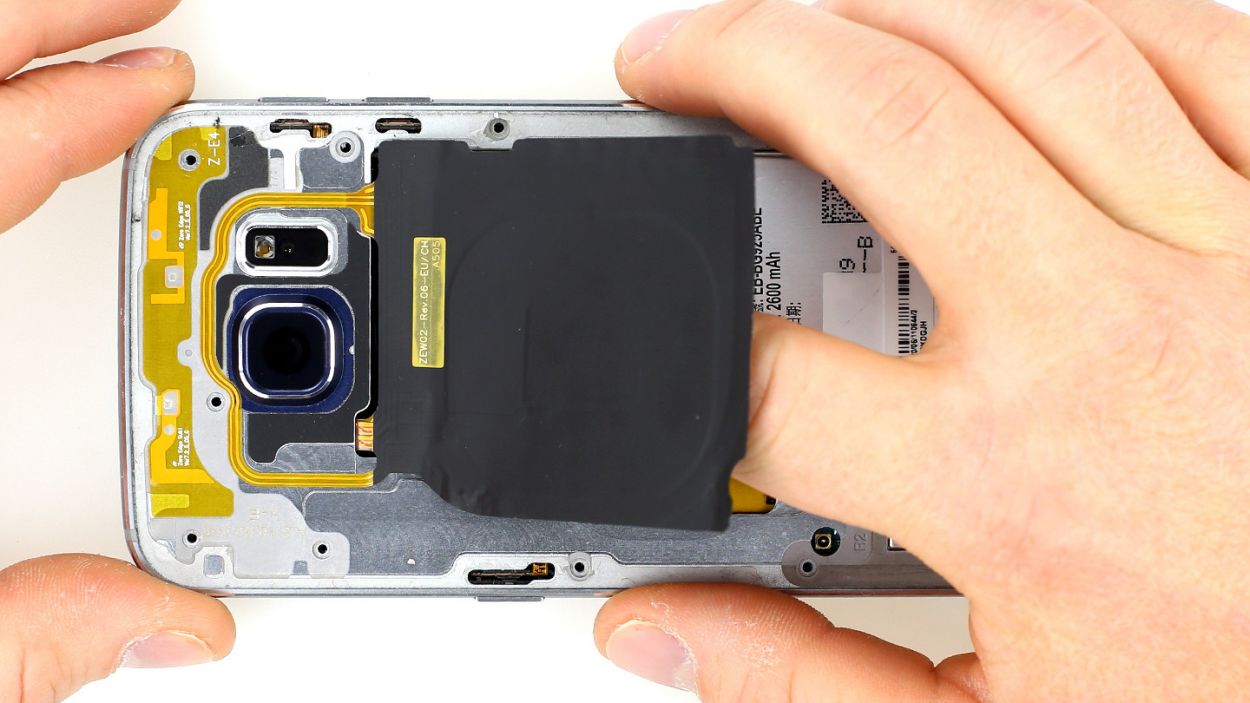
– Now, gently lift the charging pad for wireless charging. It’s just a tad glued to the midframe, so be nice!
– To take off the midframe, give the battery a gentle nudge down while pushing up on the frame with your other hand. If it’s feeling stubborn, slide a pick between the display and frame and give it a little upward press. You’ve got this!
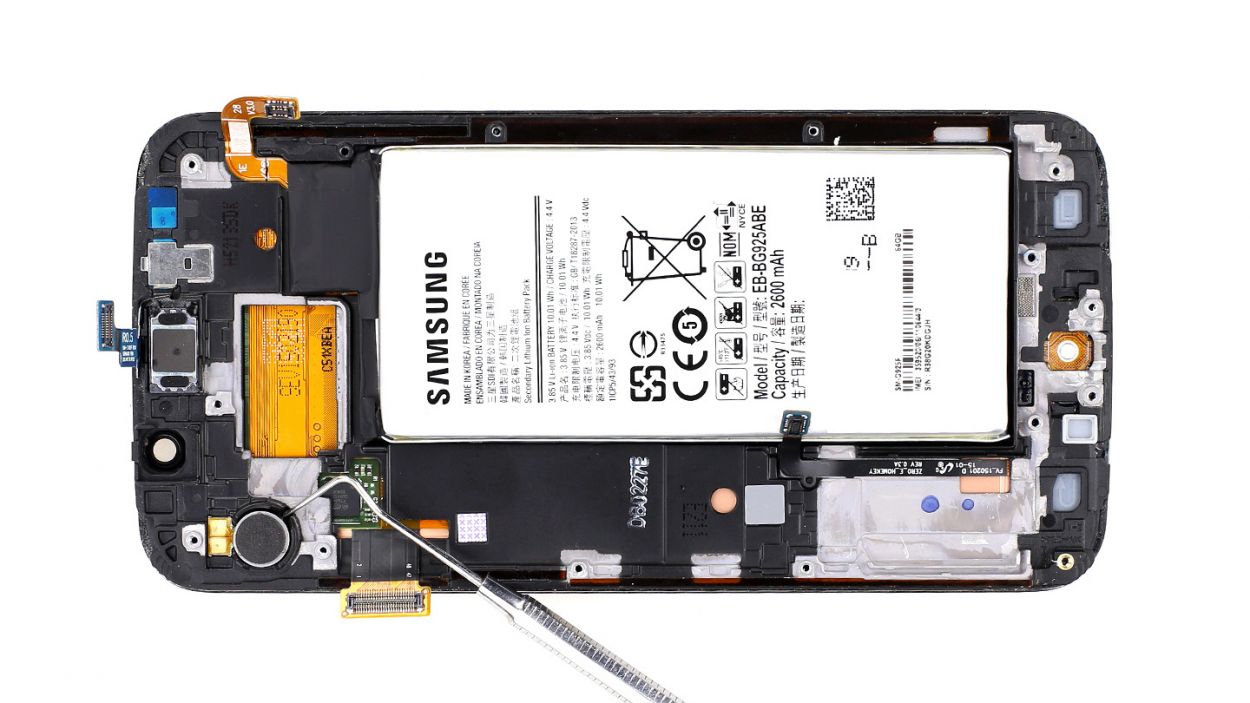
Step 4
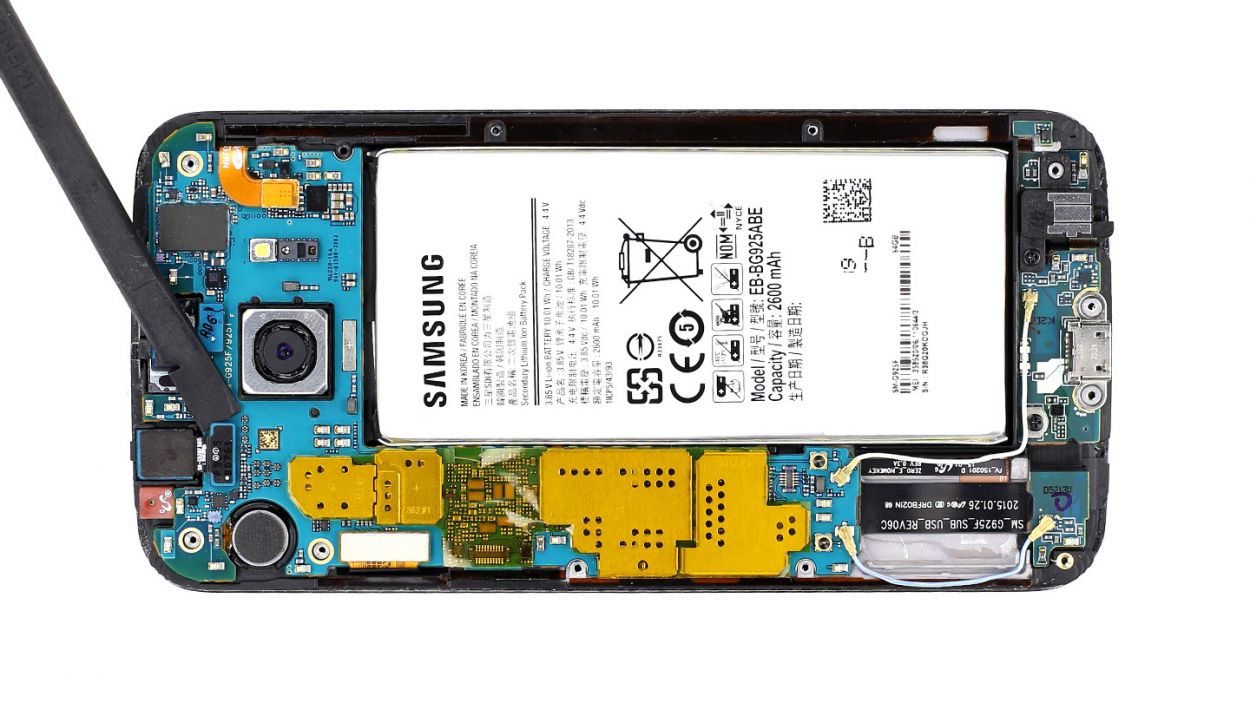

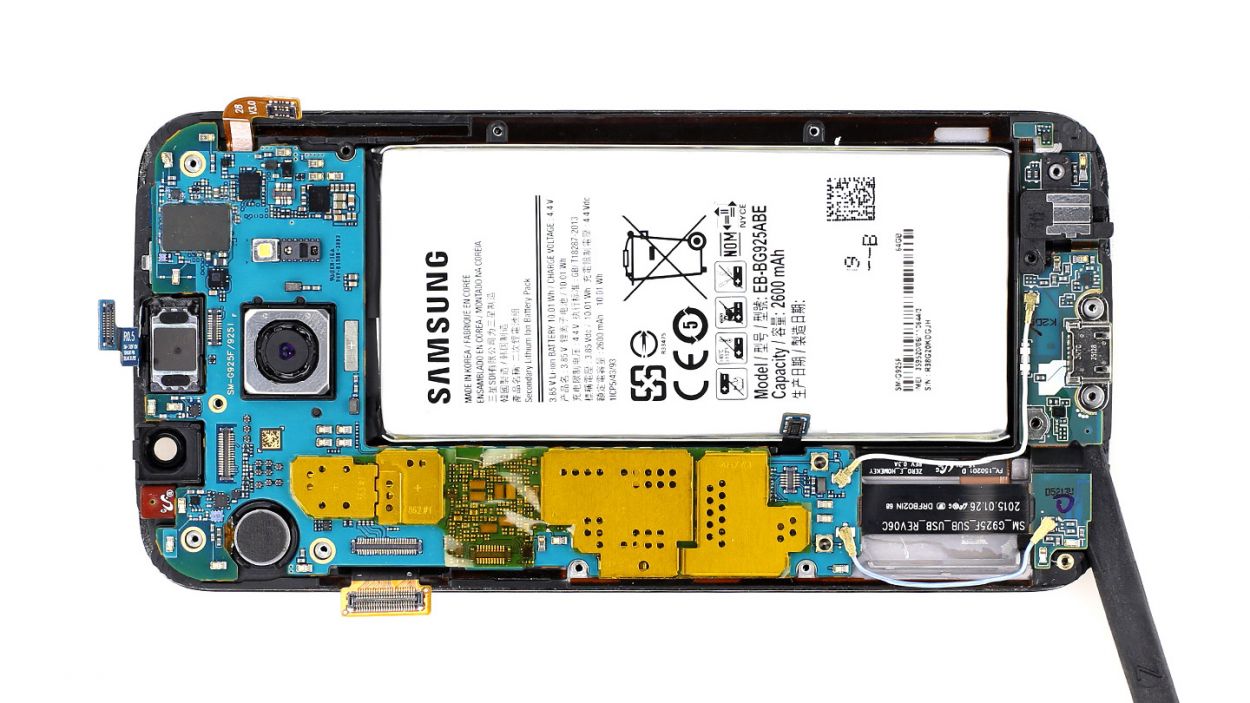
– Gently slide the sharp end of the spudger just beneath the contact and give it a little lift. Just a heads up—watch out for those tiny resistors soldered onto the logic board; we don’t want them to go on an unexpected vacation!
– Next up, it’s time to unplug the front camera connector. Take your time and handle it with care!
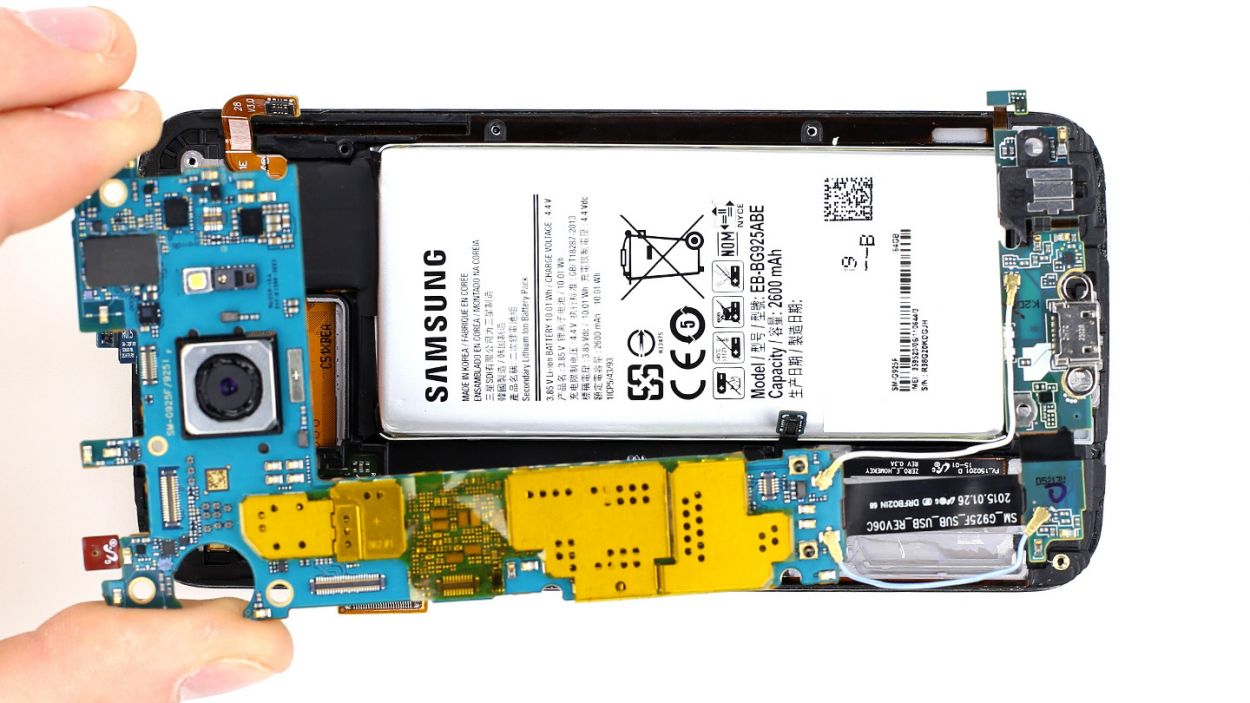
Step 5

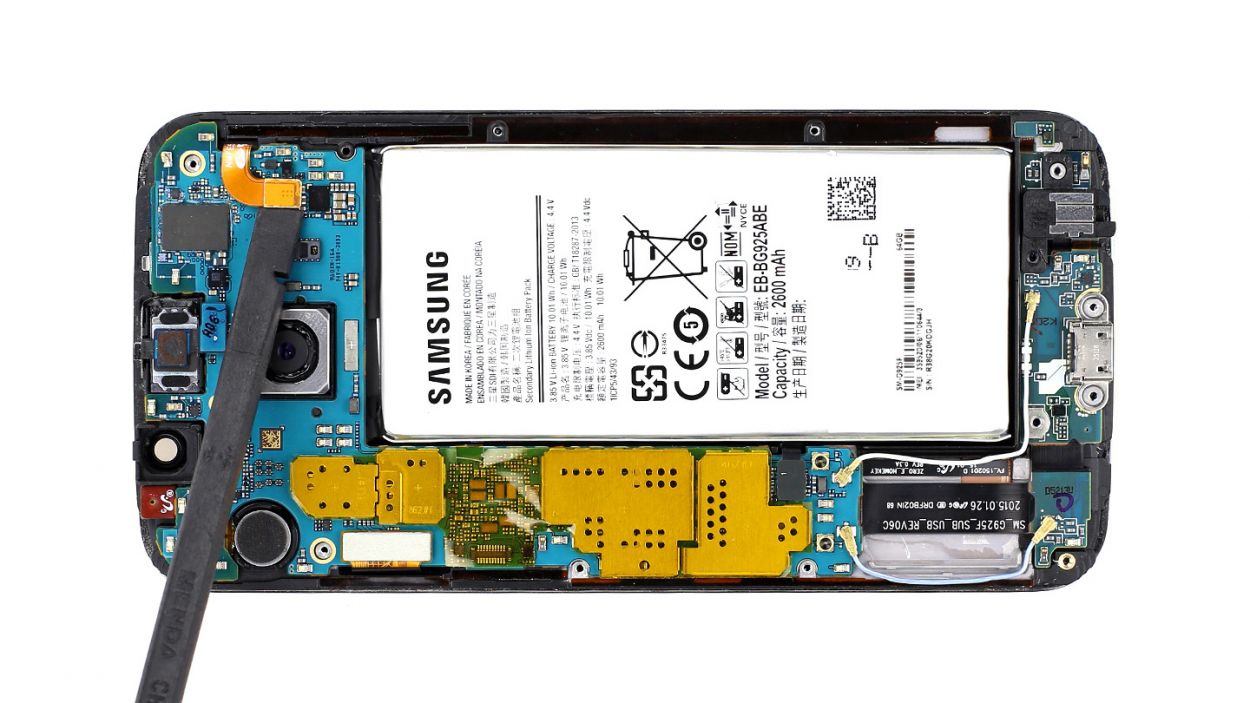

Hey there! Just a heads up, there’s a tiny plastic pin hanging out in the SIM tray opening. Keep an eye on it so it doesn’t make a break for it!
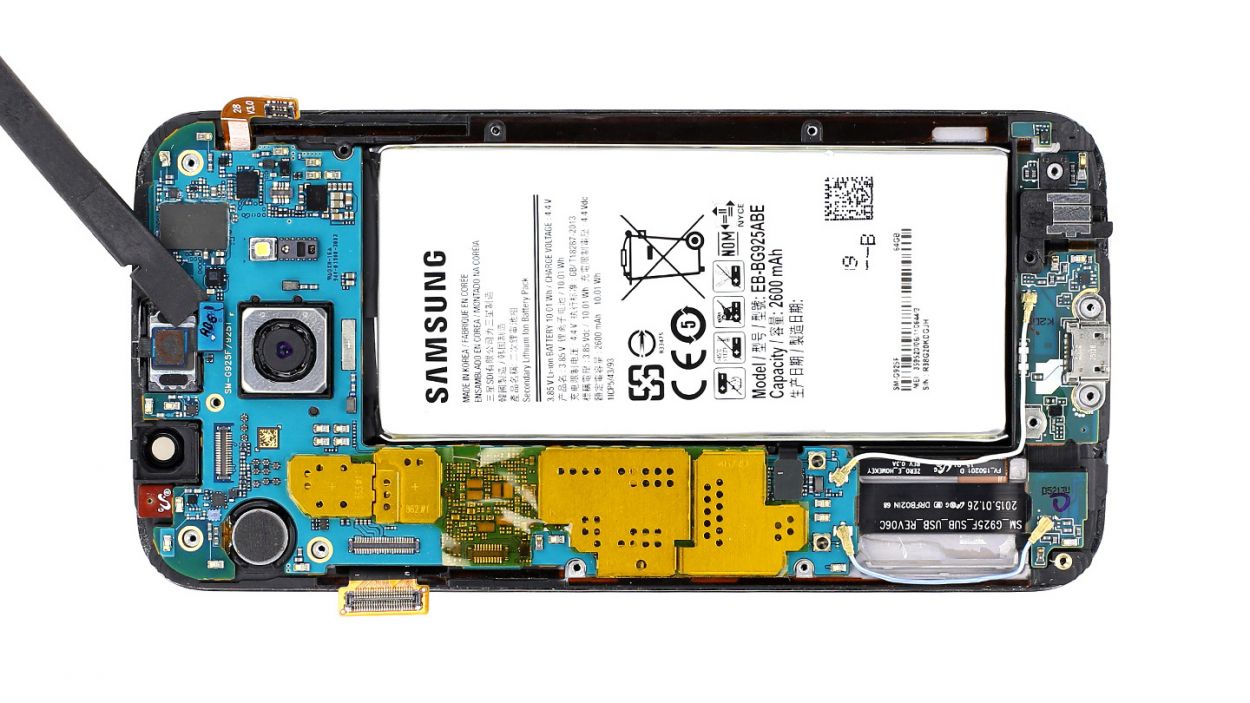
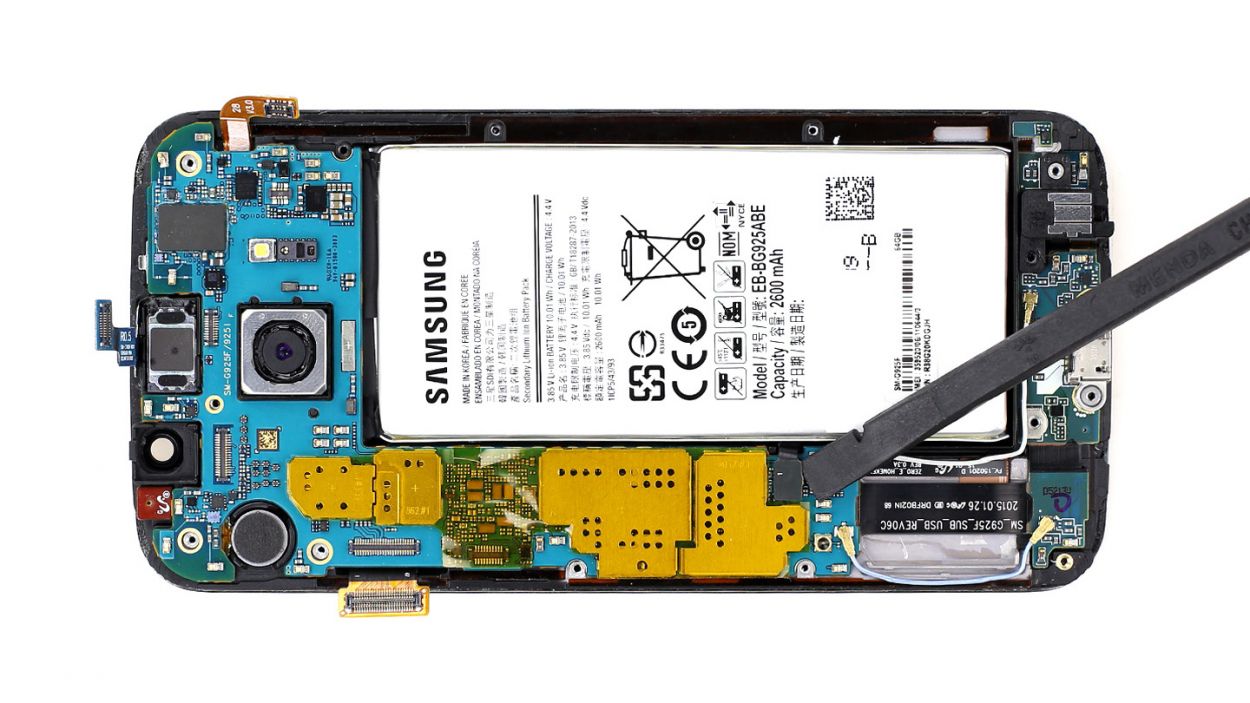
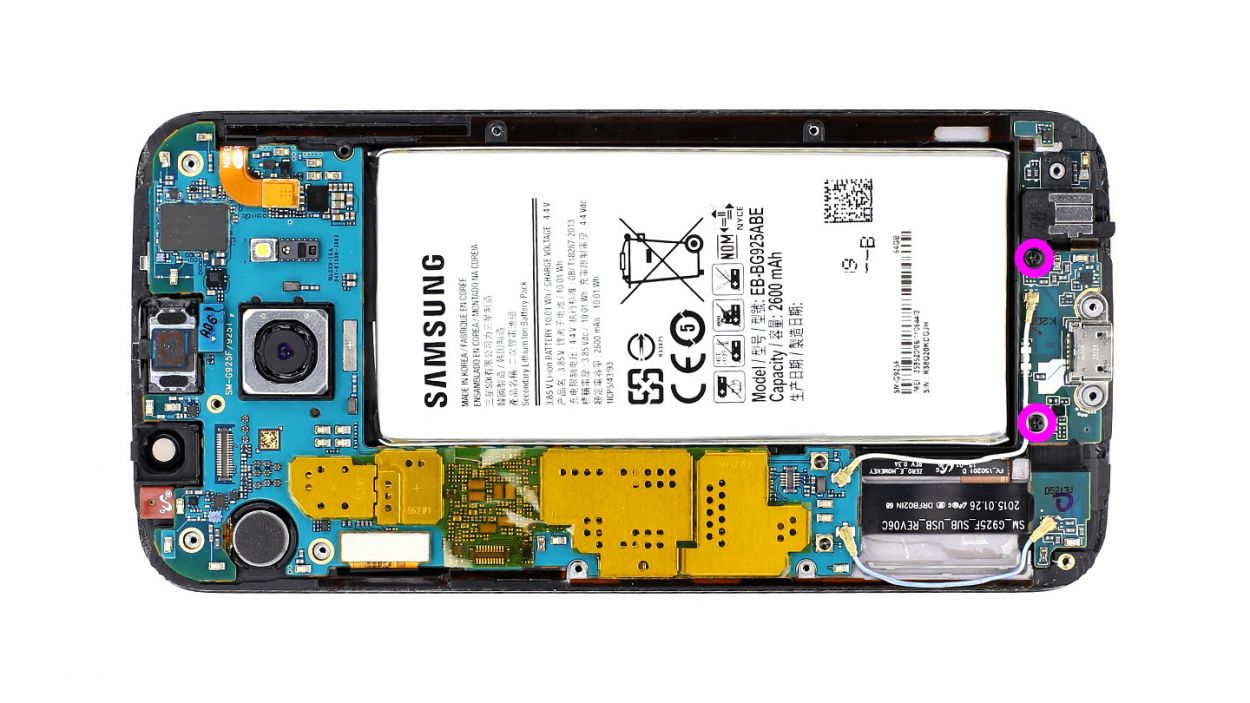
– First things first! To get that logic board out, you’ll need to unscrew two little black screws holding down the dock connector. We’re talking about 2 x 3.3 mm Phillips screws here. Easy peasy!
– Next up, it’s time to disconnect some contacts. Grab your trusty spudger and gently slide the pointed tip just below the contacts, then lift them up. You’ll want to disconnect the Battery, Display (make sure to connect the new display and test all the functions), Earpiece, and Home button. You’ve got this!
– Now, let’s tackle the dock connector cable. Slide the spudger underneath it – it’s just lightly glued, so it should come up without a fuss. Oh, and there’s a sensor that’s also lightly glued on, so keep an eye on that too!
– And voilà! You can now remove the logic board while keeping the dock connector attached. You’re doing great!
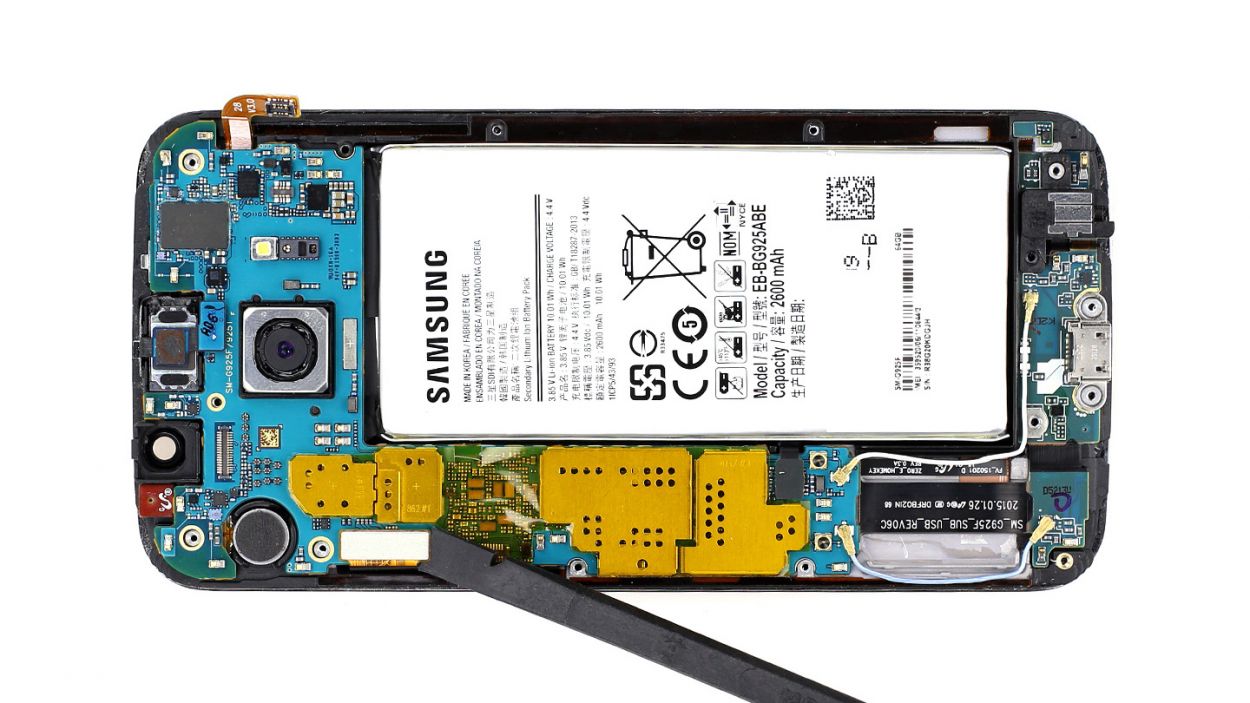
Step 6
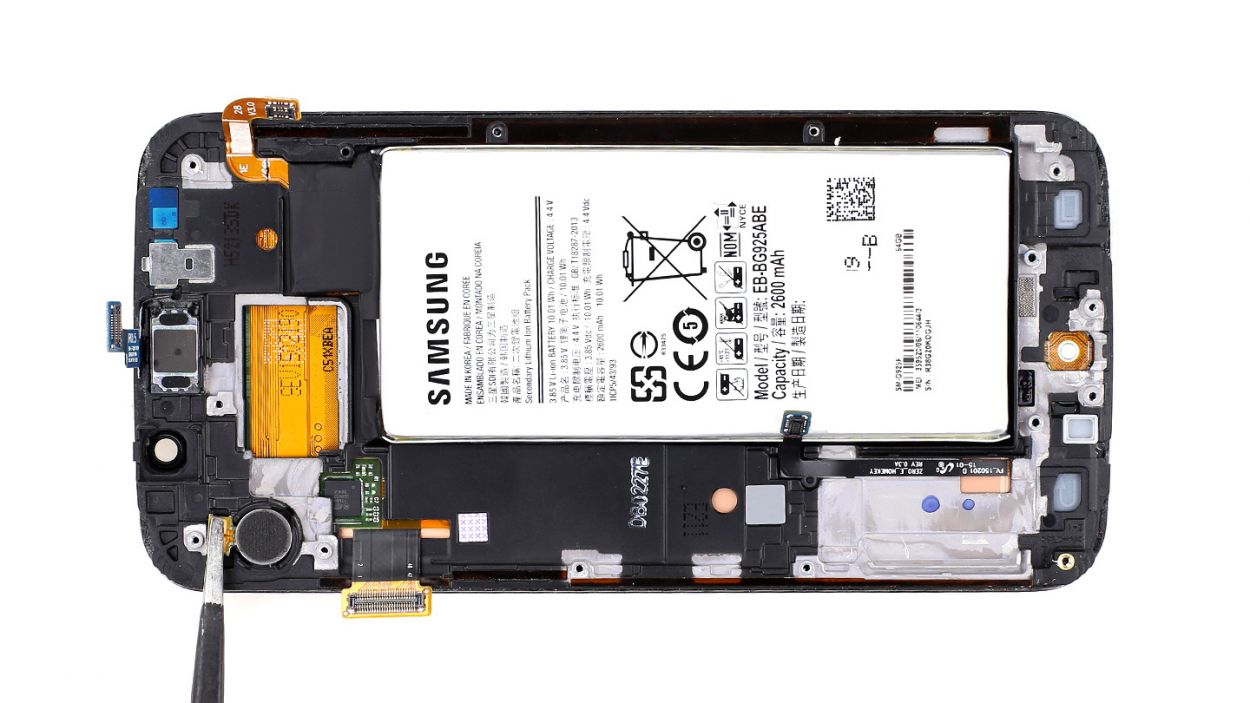
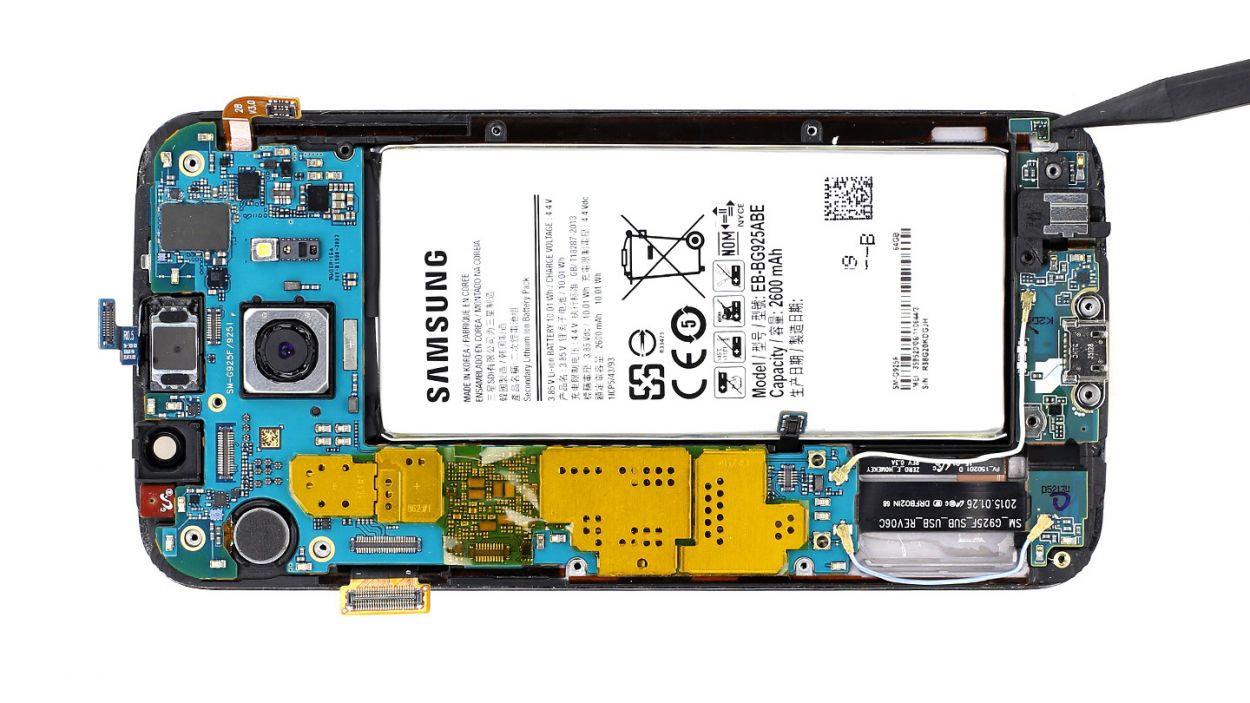
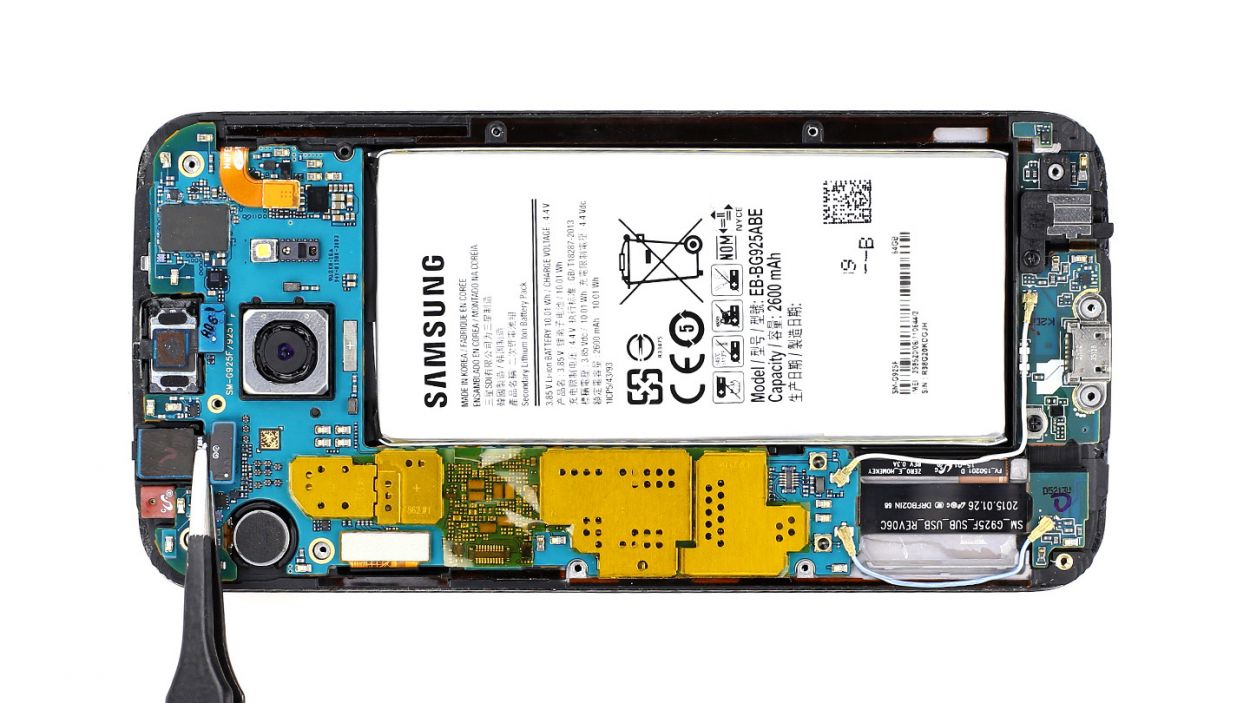
– First up, let’s get that vibration motor out of there! Grab a sharp object and gently slide it underneath the motor, which is just a little stuck thanks to some glue. Lift it carefully, and don’t forget about the copper contact point—it’s also got a bit of that sticky stuff holding it down.
– Be gentle! We don’t want any tearing. If the motor is still playing hard to get, a little warmth from a heat gun can help soften the glue and make it easier to remove.
– Now, go ahead and take out the vibration motor!
Step 7
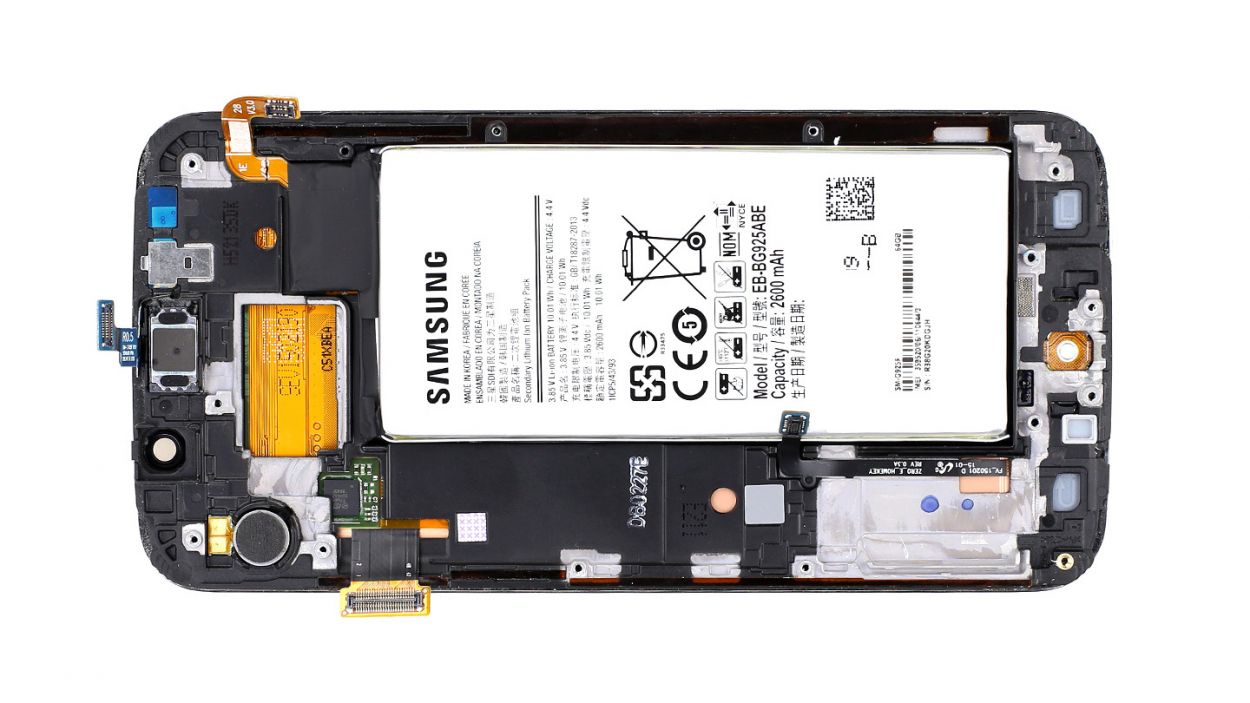
– Alright, it’s time to pop that vibration motor back into its cozy spot! The old glue should do the trick, so give it a good press to make sure it’s snug.
– If it feels a bit wobbly, don’t hesitate to add some fresh glue. A secure motor means your phone will vibrate like a champ!
Step 8
– Alright, let’s get that logic board back where it belongs! Start by connecting the dock connector to the logic board.
– Once it’s snug in place, go ahead and install the rest of the logic board. Just a friendly reminder: keep those cables from sneaking under the board. Check the picture to ensure everything is lined up just right.
– Now it’s time to reconnect all the connectors: Battery, Display, Earpiece, and Home button. You’ve got this!
– Finally, secure the black screws for the dock connector with those 2 x 3.3 mm Phillips screws. You’re almost there!
Step 9
– First, gently place the front camera back in its cozy spot.
– Next up, connect the little connector to the logic board like a pro!
Step 10


– Let’s get that outer frame back on the main component! Start at the dock connector and give those two frame pieces a good press together.
– Now, it’s time to secure them with some screws. Grab your 13 x 3.3 mm Phillips screws and tighten them up!
Step 11
– Alright, it’s time for the grand finale! Grab that back cover and get ready to put it back on.
– Chances are, the old glue is still hanging in there, so you’re in luck!
– Carefully place the back cover on, give it a gentle warm-up, and then apply a little pressure to secure it in place for a bit. You’ve got this!


