DIY Guide to Replace Xiaomi Redmi Note 10 Pro Back Cover
Duration: 30 min.
Steps: 5 Steps
Hey there! Just a heads up, once you crack open your device, that nifty IP certification keeping dust and water at bay is going to wave goodbye. So, keep that in mind while you’re diving into the repair!
Let’s get this fixed! This step-by-step guide with pics will show you how easy it is to do this repair yourself. If you need a hand, you can always schedule a repair.
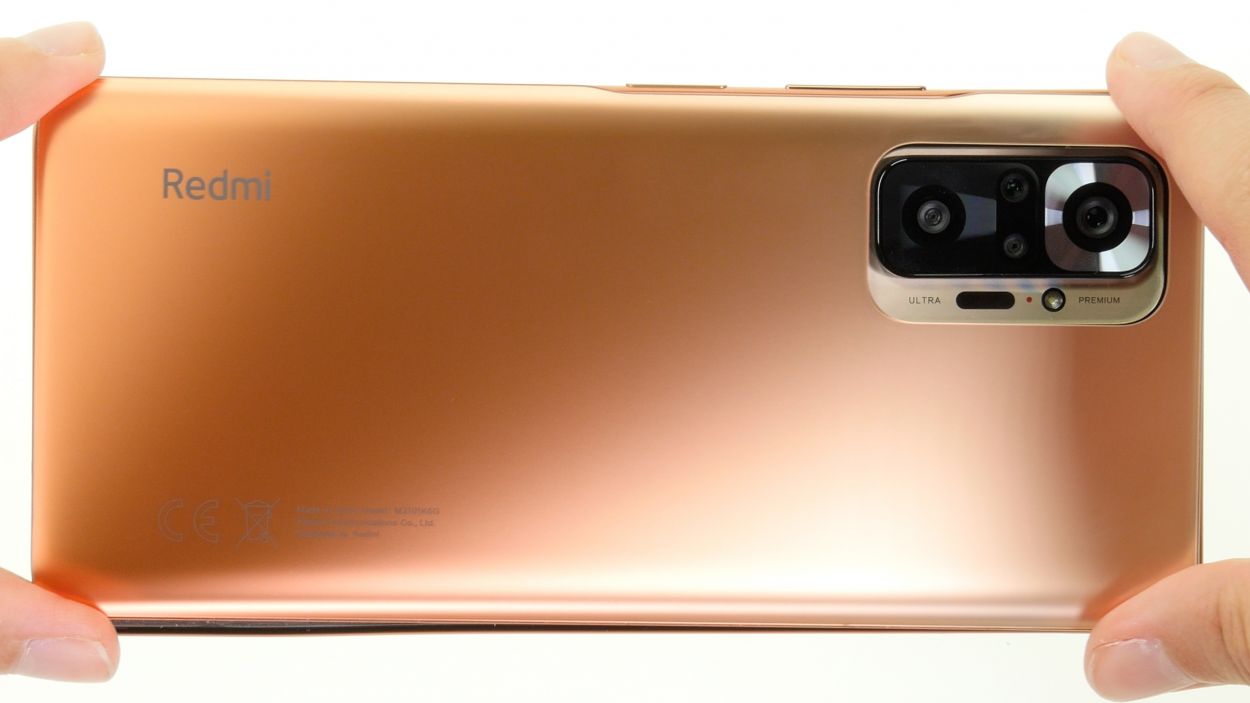
Step 1

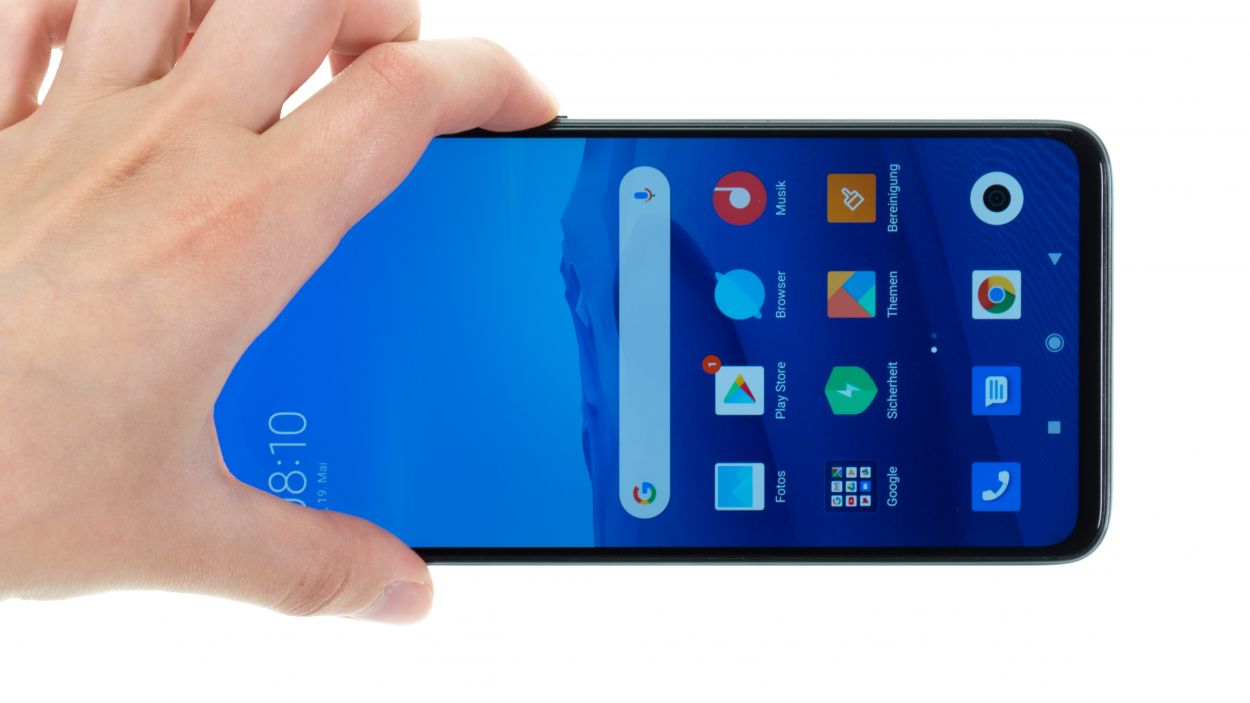
Hey there! Before diving into fixing your Xiaomi Poco X3 NFC, let’s do a quick test run of its basic features. This way, you’ll know for sure if your repair was a total success! Need a hand? You can always schedule a repair
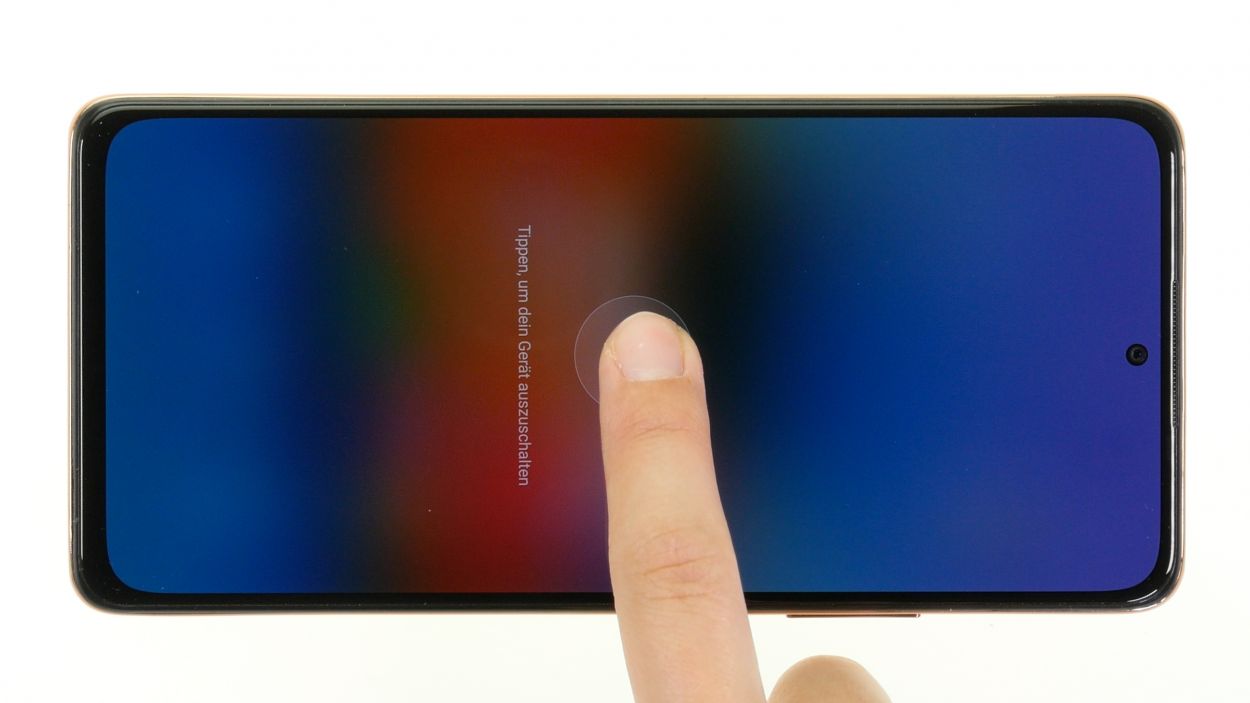
– Give that power button a good press and hold until you see the Power Off menu pop up on your screen.
– Once it’s there, just tap on Power Off, and watch your smartphone gracefully shut down in just a few seconds!
Step 2
The back cover is glued down pretty well, so it’s super important to give it a little warmth before trying to pry it off. Grab a hot air tool like a heat gun or even a regular hair dryer to get things nice and toasty!
– Heat the edge of the back cover by running the hot air device evenly over it.
Tools Used
- heat gun to heat parts that are glued on so they’re easier to remove.
In most cases, you can also use a hairdryer.” rel=”noopener”>Heat gun
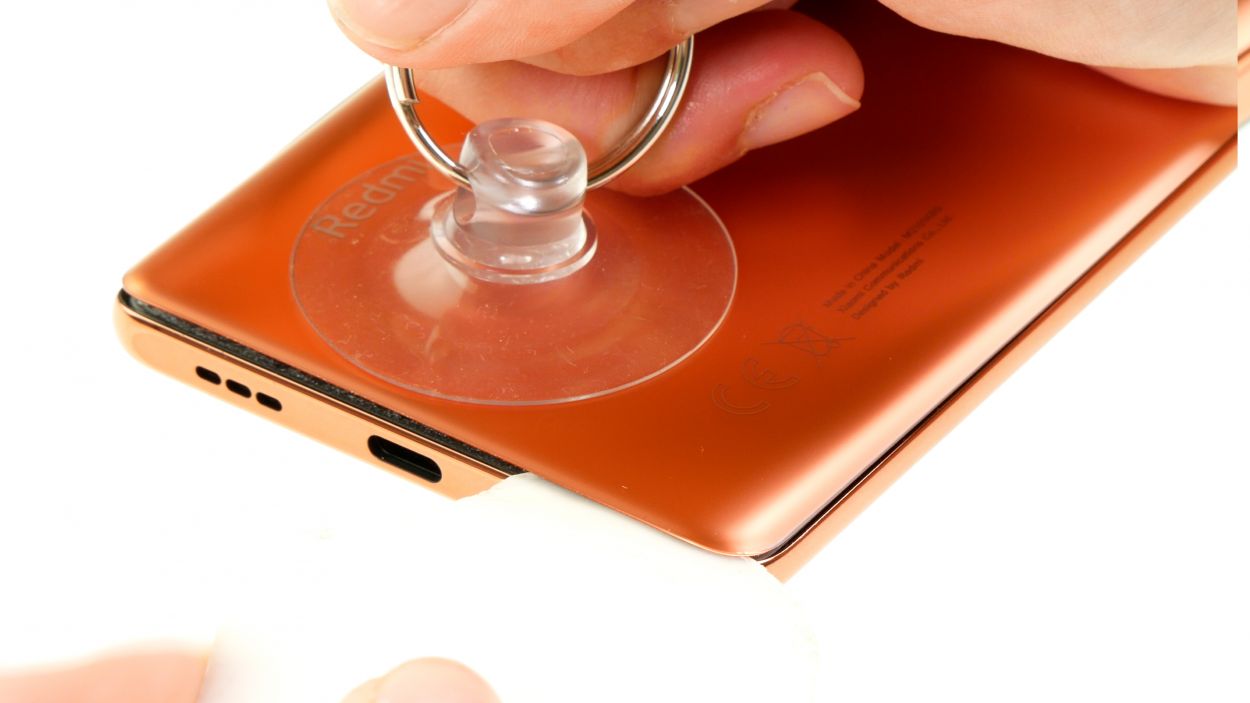
Step 3
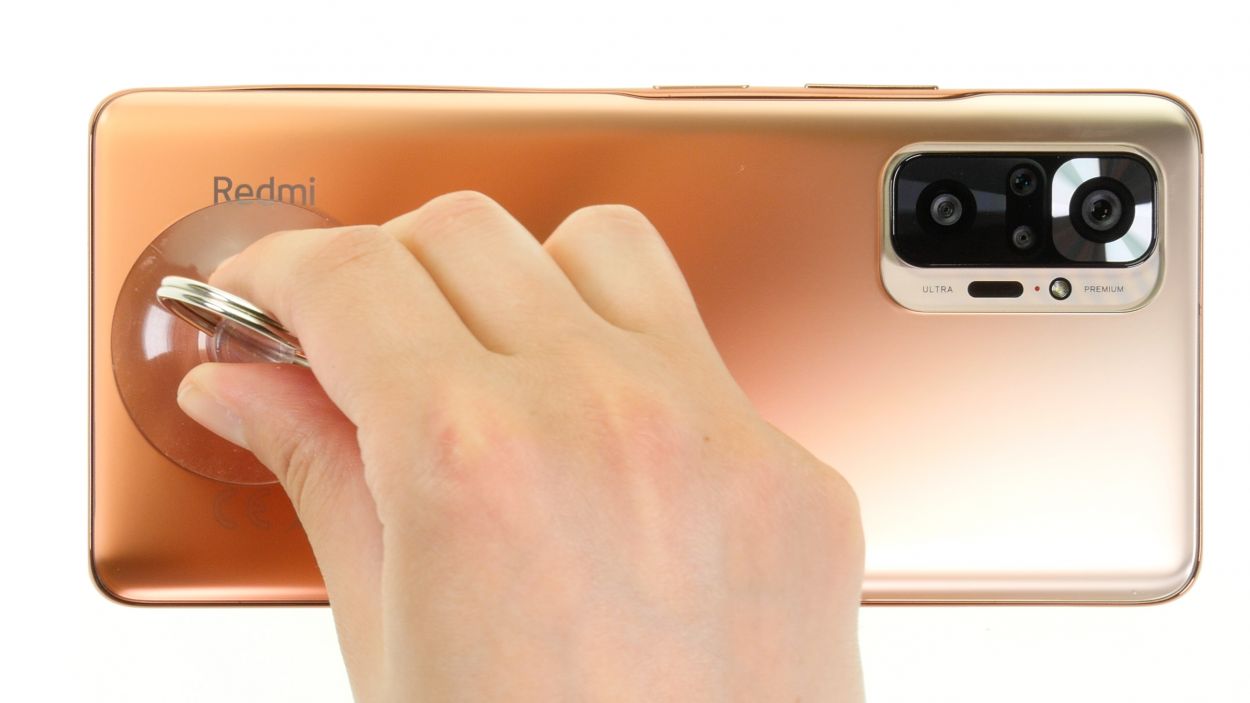
To create a snug little space between the back cover and the display unit, grab a flat, stable tool. We think the iFlex is a great choice because its sharp edges slip in with ease!
– Pop on a suction cup at the bottom of the back cover and gently give it a tug upwards! While you’re at it, slide the iFlex tool in between the display and the back cover simultaneously. Just like that, you’re on your way to a successful repair! If you need help, you can always schedule a repair
Tools Used
- screen and the frame. The practical iFlex is made of stainless steel and sits comfortably in the hand. This makes it the perfect assistant for every smartphone repair.” rel=”noopener”>iFlex Opening Tool
- VAKUPLASTIC Suction Cup
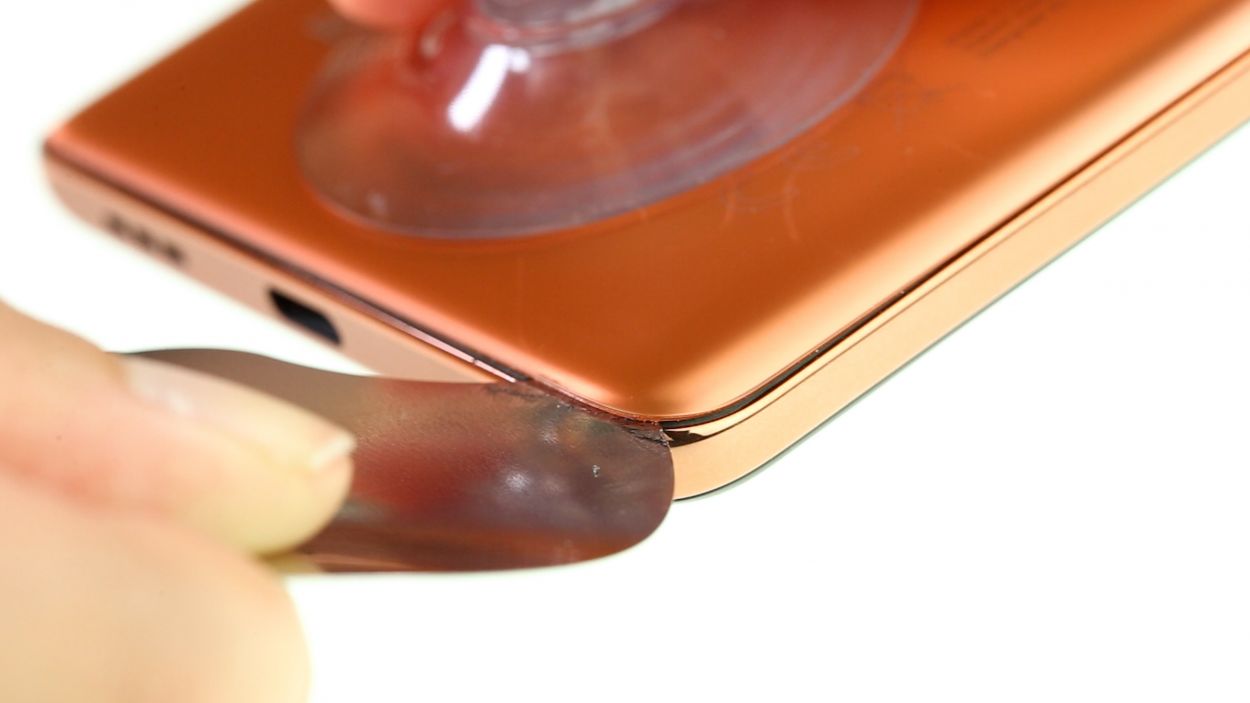
Step 4

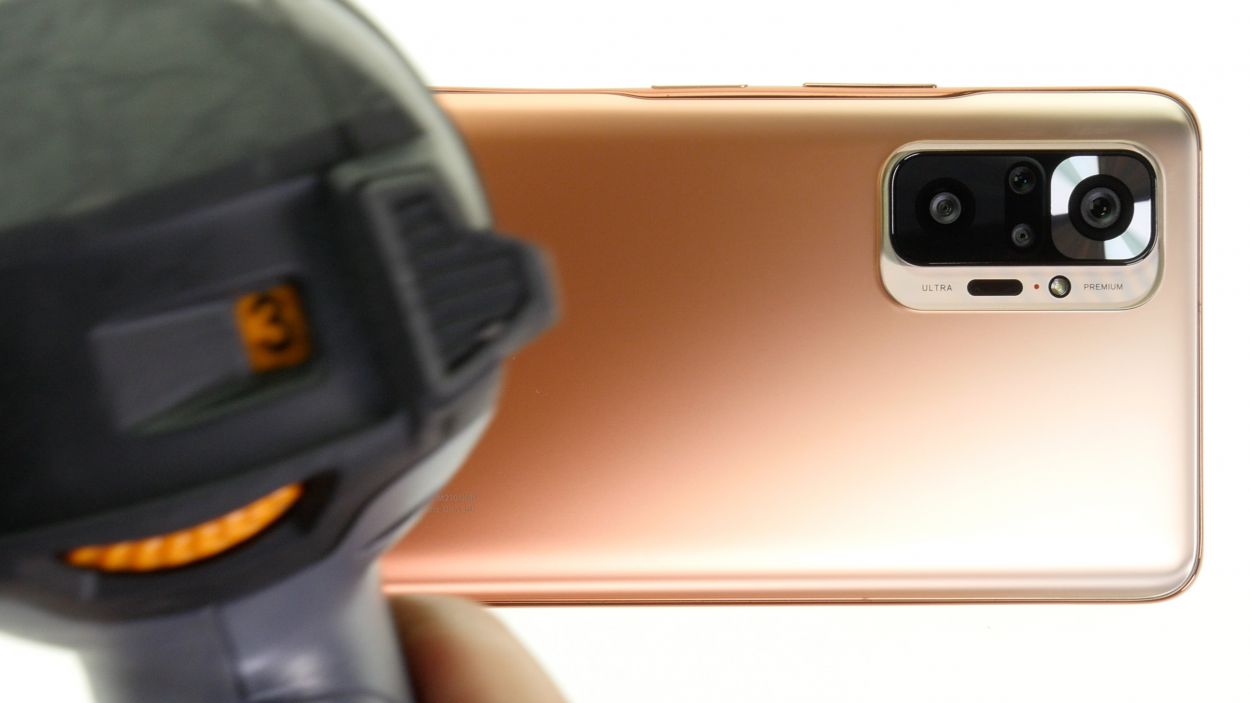
Take it easy when you’re loosening up around that camera module, alright? We don’t want to send it on an unexpected vacation with your tool!
To keep your device’s case looking sharp and avoid any nicks from the iFlex’s pointy edges, it’s best to switch to a plastic tool like the iPlastix as soon as you can. Your device will thank you for it!
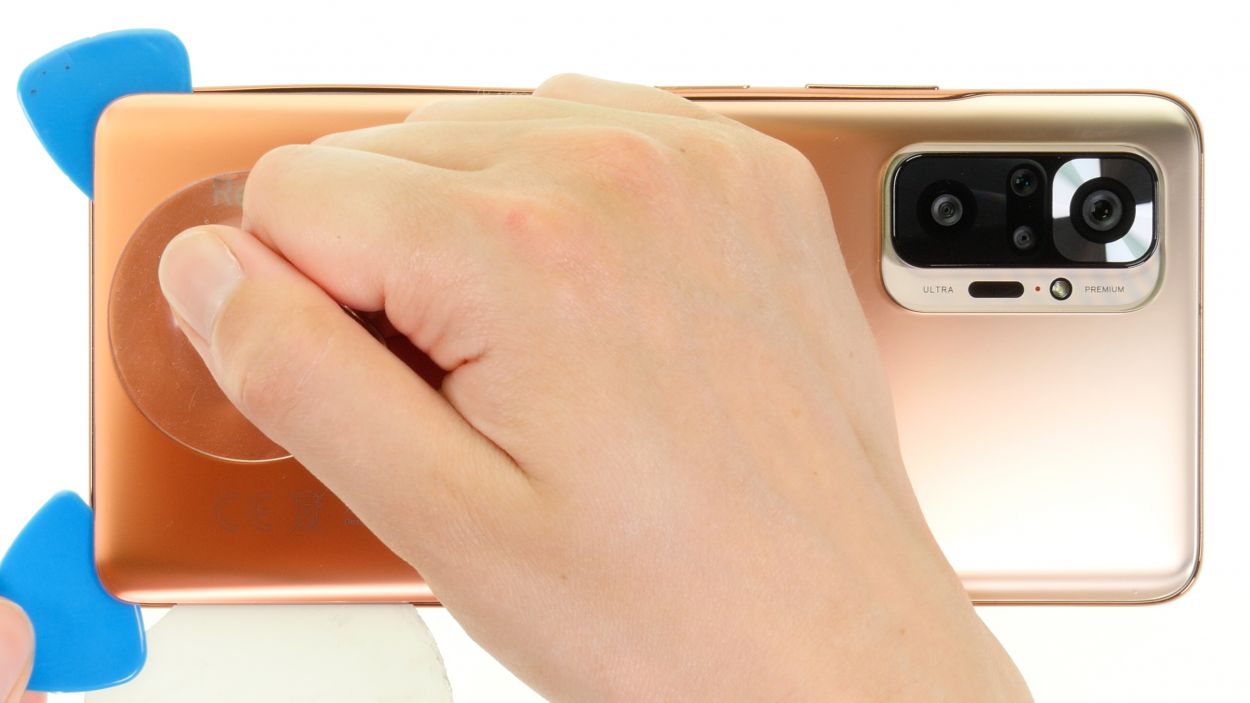
– Carefully run your trusty tool all the way around the back cover, gently loosening it piece by piece like a pro.
– Slide those flat picks under the back cover at regular intervals to keep the glue from getting too comfy and sticking again.
Tools Used
- heat gun to heat parts that are glued on so they’re easier to remove.
In most cases, you can also use a hairdryer.” rel=”noopener”>Heat gun - Flat Picks
- battery? Then the iPlastix with its large blade will help you. The practical assistant is made of flexible, especially sturdy plastic and lies comfortably in the hand. Thanks to its design, you can even get into smaller gaps, for example to lift the screen or to prevent it from sticking together again.” rel=”noopener”>iPlastix Opening Tool
Step 5
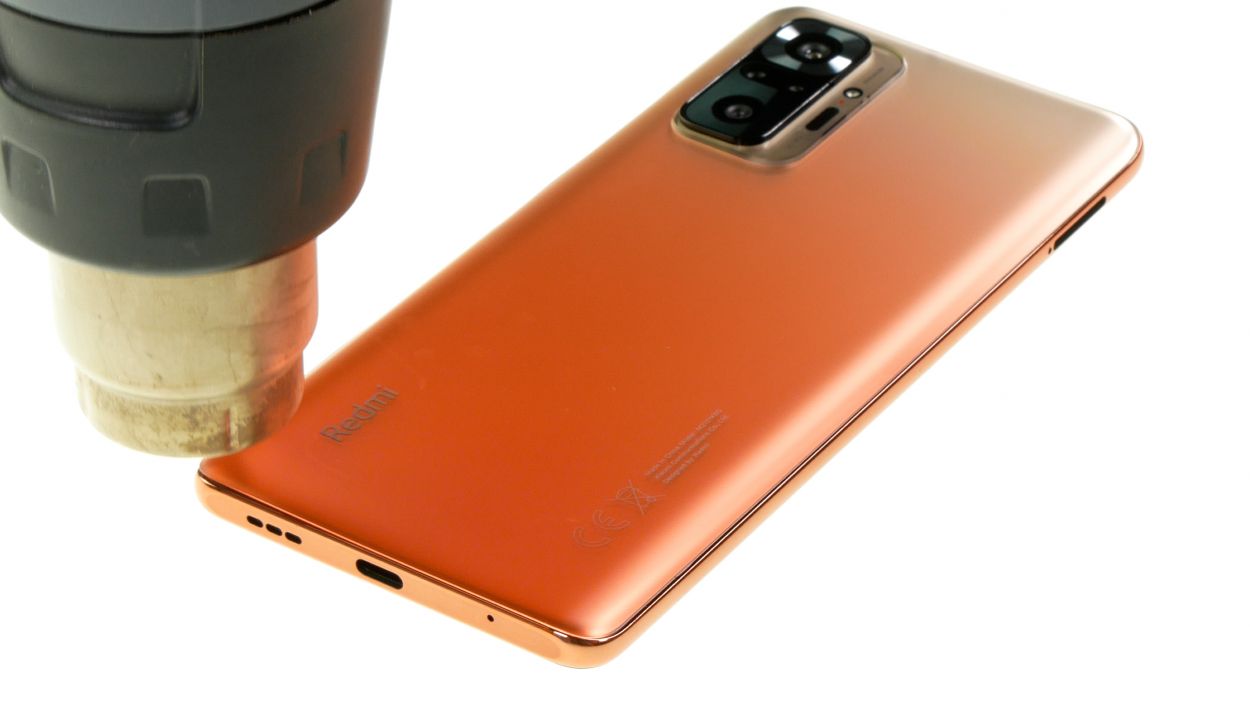
The replacement back cover comes with a handy adhesive frame already attached on the inside. No need to stress about extra glue—it’s all set for you!
– Peel off that pesky protective film from the inside of the back cover.
– Carefully position the back cover right over the screen unit.
– Seal the deal by pressing the back cover snugly onto the screen unit of your Xiaomi Redmi Note 10 Pro after the repair.
Tools Used