DIY Guide to Replacing the Battery in Fairphone 2
Duration: 15 min.
Steps: 4 Steps
Join us on this fun and fabulous journey as we take your Fairphone 2’s battery replacement adventure to the next level! ⚠️ Warning: lighting up that DIY spark within you! If your Fairphone 2 is underperforming during intense use, crashing unexpectedly or simply won’t charge up or turn on, this repair is just what the doctor ordered! 🔋 Bring your phone back to life and unlock its full potential. Ready to jumpstart your repair skills? Let’s get started, friend! Need a little assistance? You’ve got it! Schedule a repair is always here for you!
Step 1

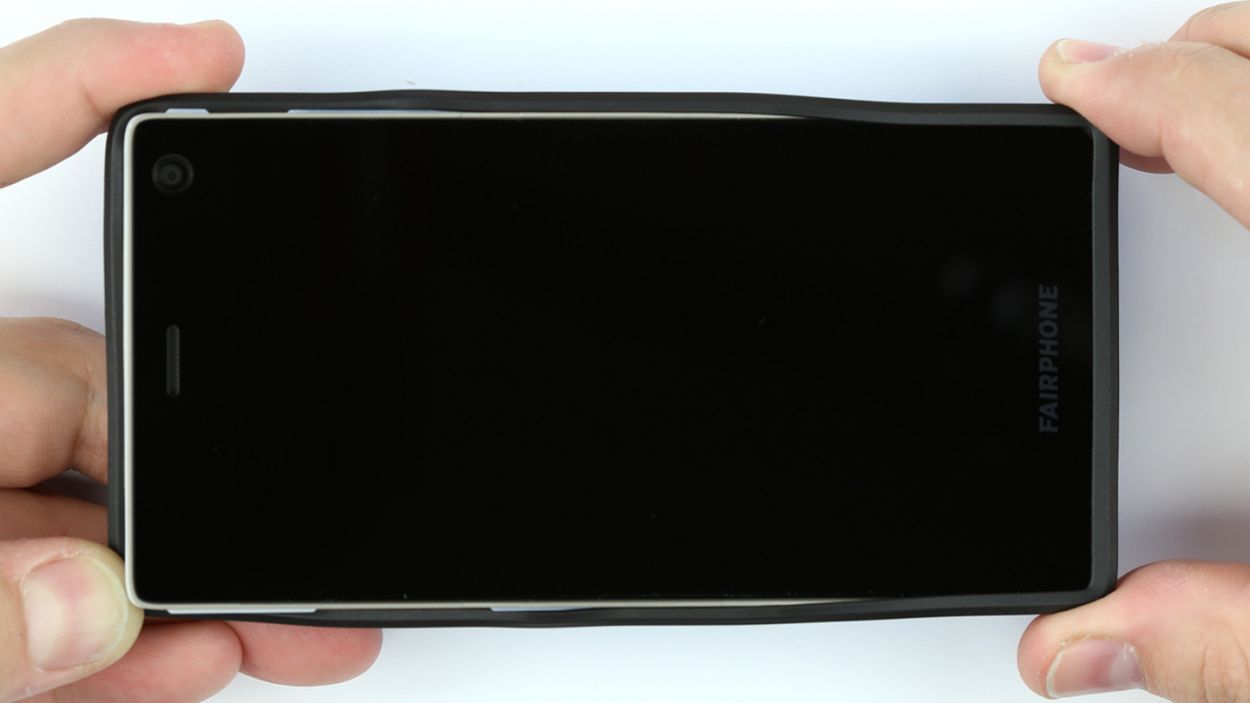
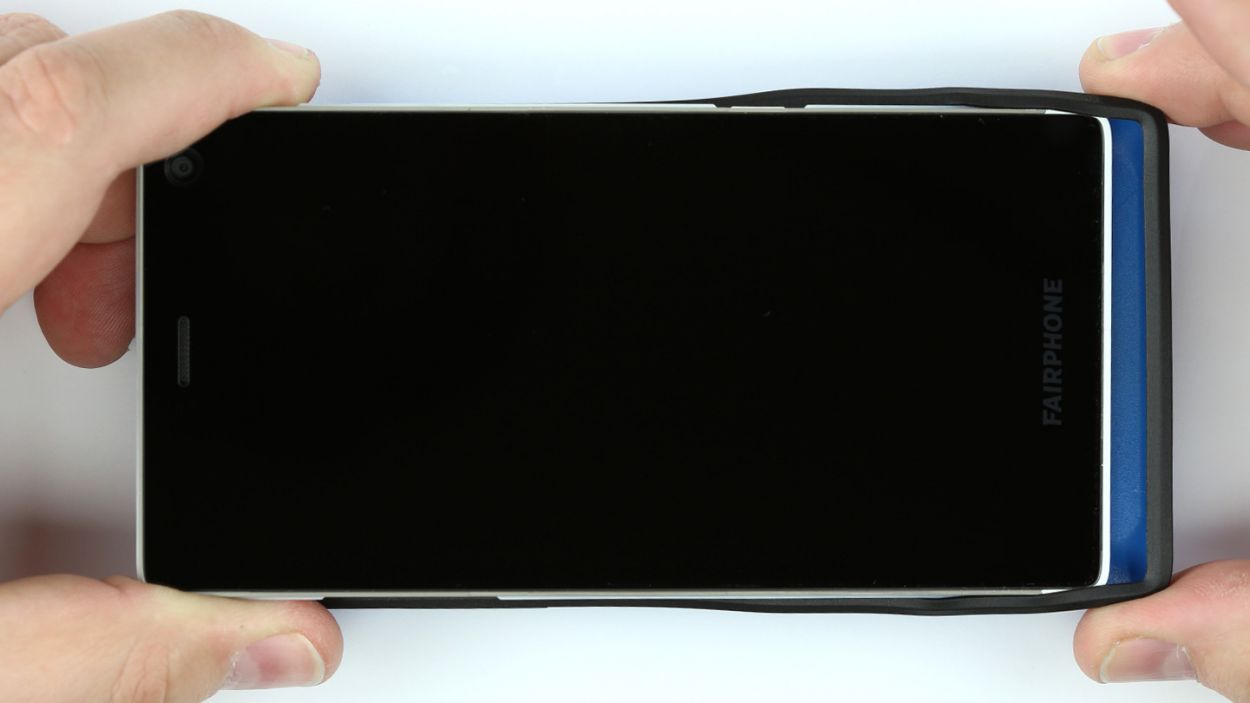
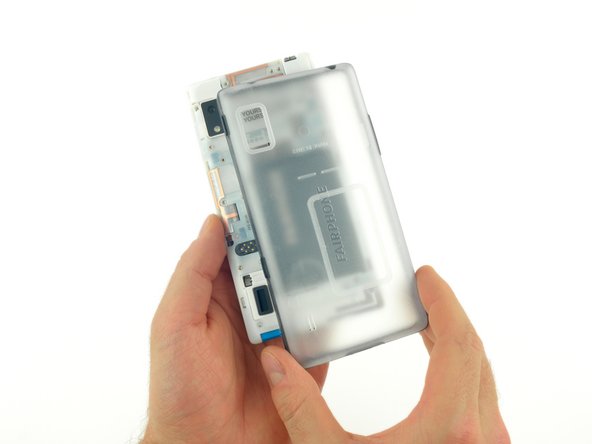
– Gently tug on the rubber edge of the back cover on one of the shorter sides of your Fairphone, and peel it off from one corner. Your nails will fit perfectly under that rubber rim!
– Now, let’s move on to the next corner and pop that back cover off too.
– Carefully lift your Fairphone out of its cozy enclosure.

Step 4


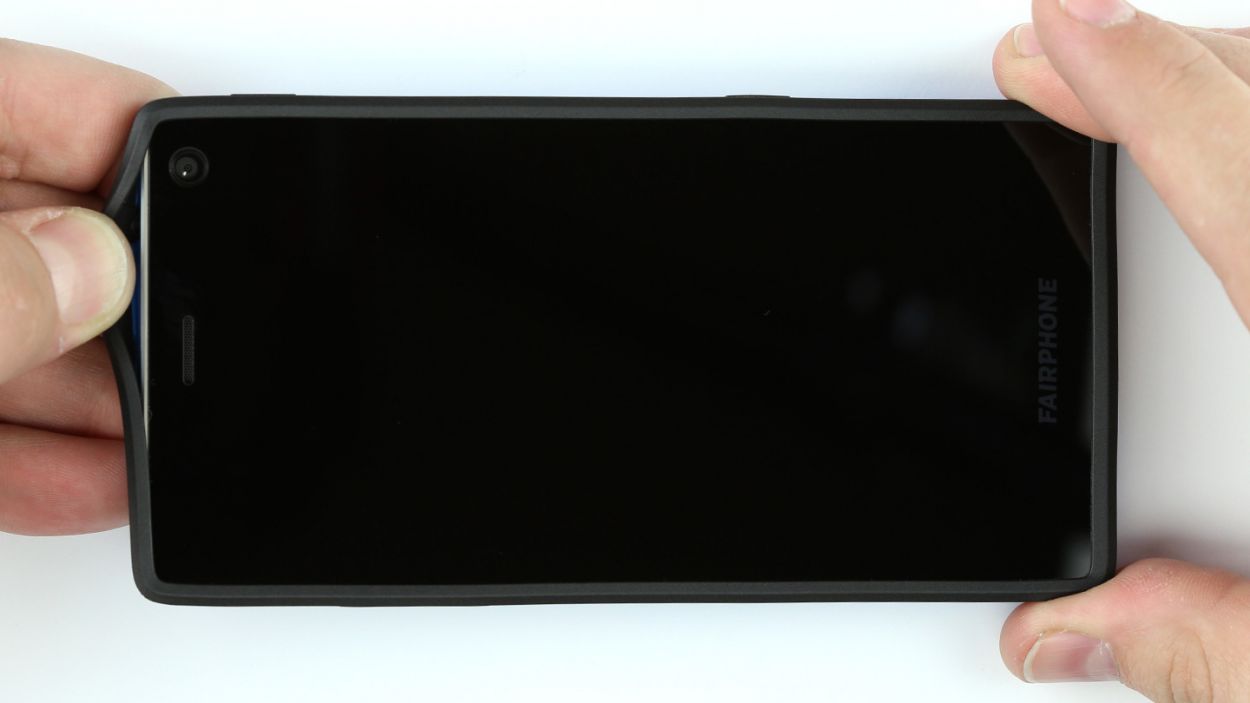
– Slide your Fairphone into the back cover lengthwise. You’ll hear a satisfying click as it locks into place at two corners.
– Gently stretch the rubber rim of the back cover over one corner.
– Now, pull the rubber rim over the last corner. Take a moment to check that the rim is snug and even all around the display.