DIY Guide to Replacing the Speaker on Galaxy A80
Duration: 60 min.
Steps: 10 Steps
If your Samsung Galaxy A80’s speaker is as silent as a ninja, or if the voices and music sound like they’re singing through a tin can, it might be time to swap out that speaker! Want to get back to enjoying your videos, music, and voice messages without distortion? Our easy-peasy step-by-step guide will help you tackle the repair yourself without breaking the bank. Plus, if all you need is a little speaker TLC, we’ve got you covered! Sometimes, a bit of dust is all that stands between you and crystal-clear sound. Just remove the speaker and give the grille and openings a good clean to banish that lint and dust. Once you’ve loosened the back cover (which is glued on pretty well), you’ll only need to take out a few parts to get to the speaker. Got questions during the process? Don’t hesitate to reach out to our support team! Use the comment or chat function, and our friendly technicians are ready to assist with any hiccups. And hey, if you have feedback about the guide, we’d love to hear it!
Step 1

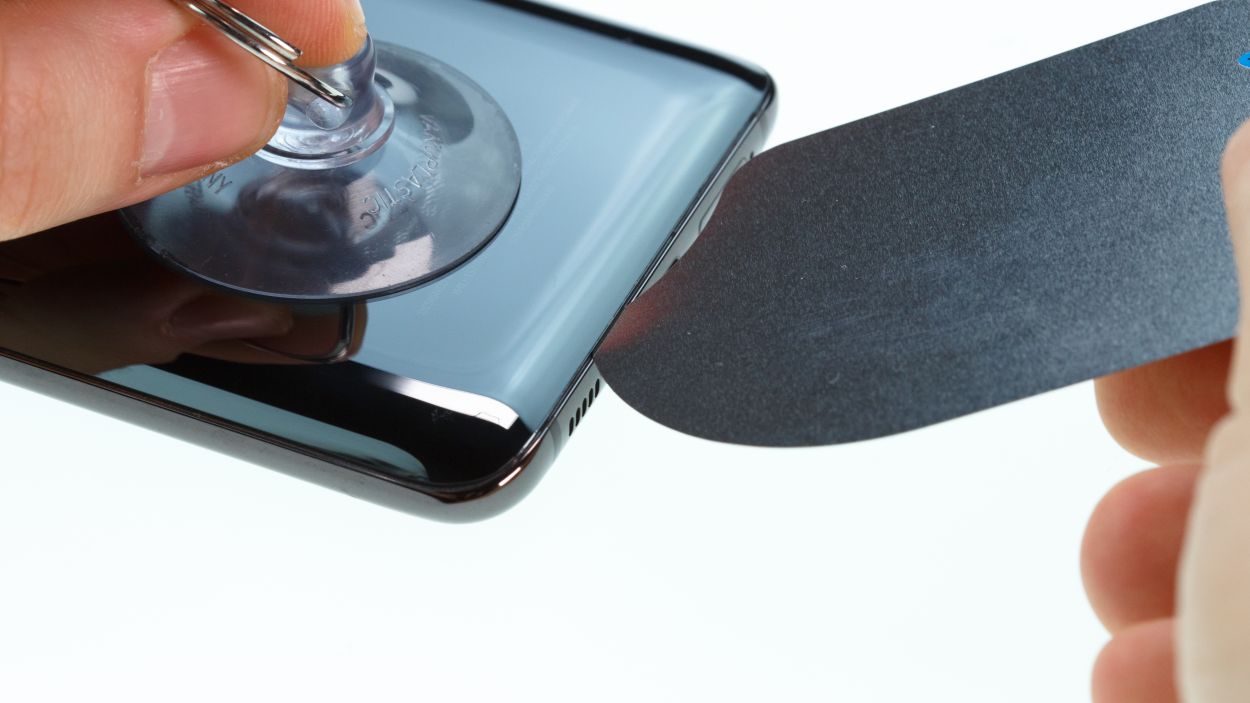
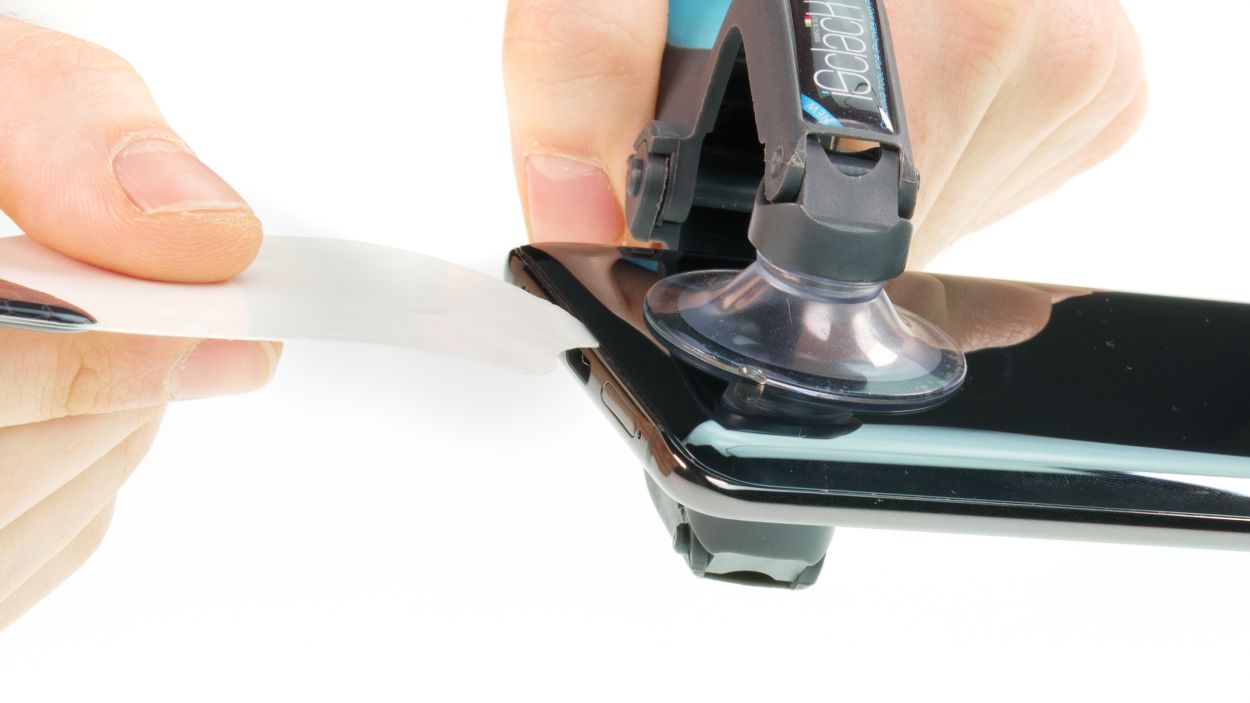
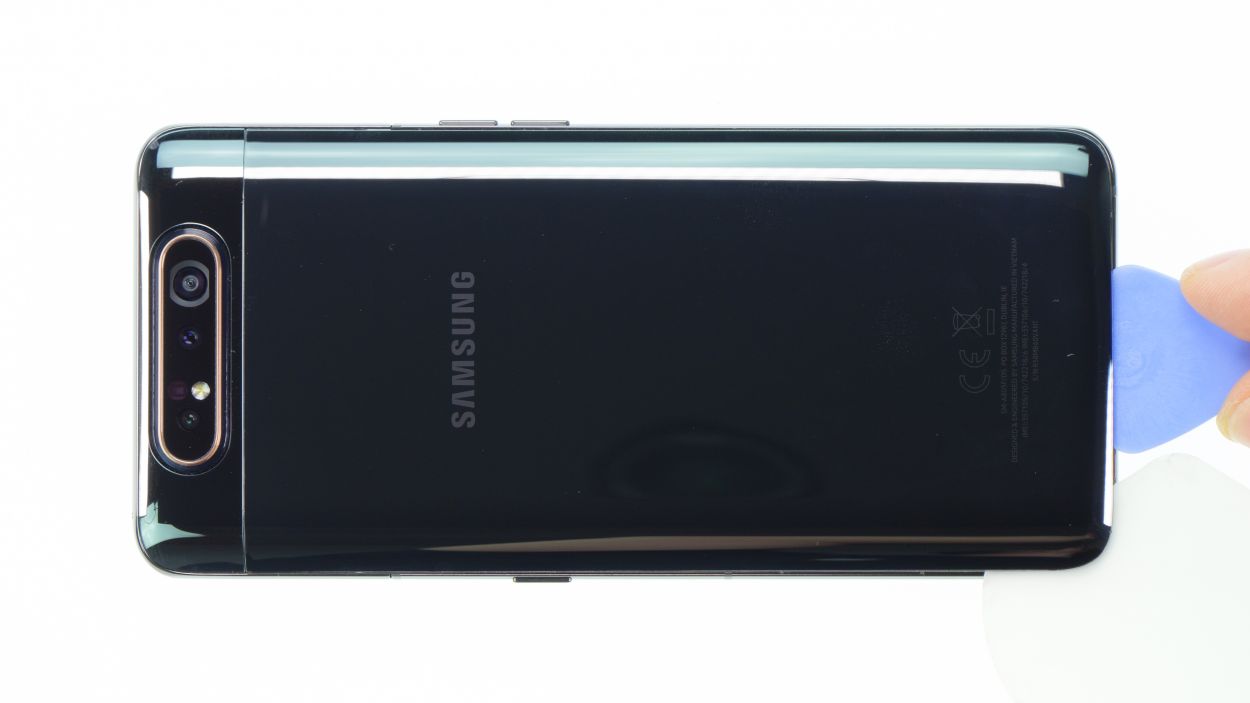


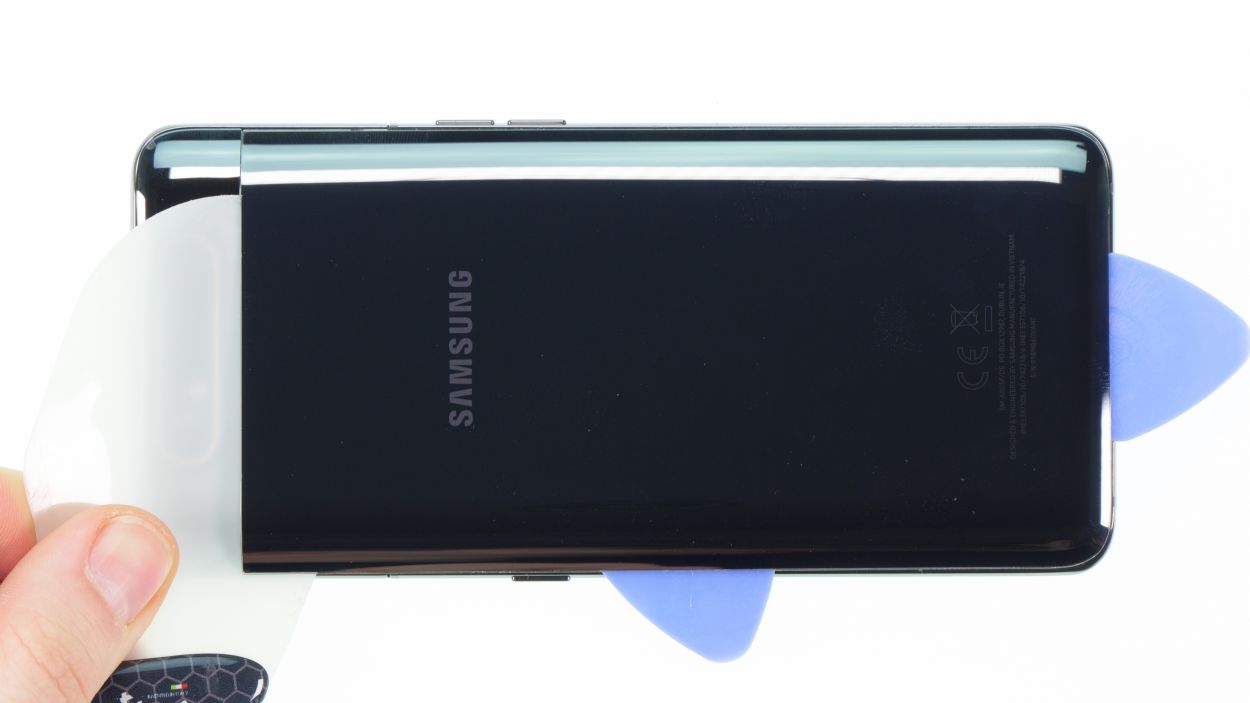


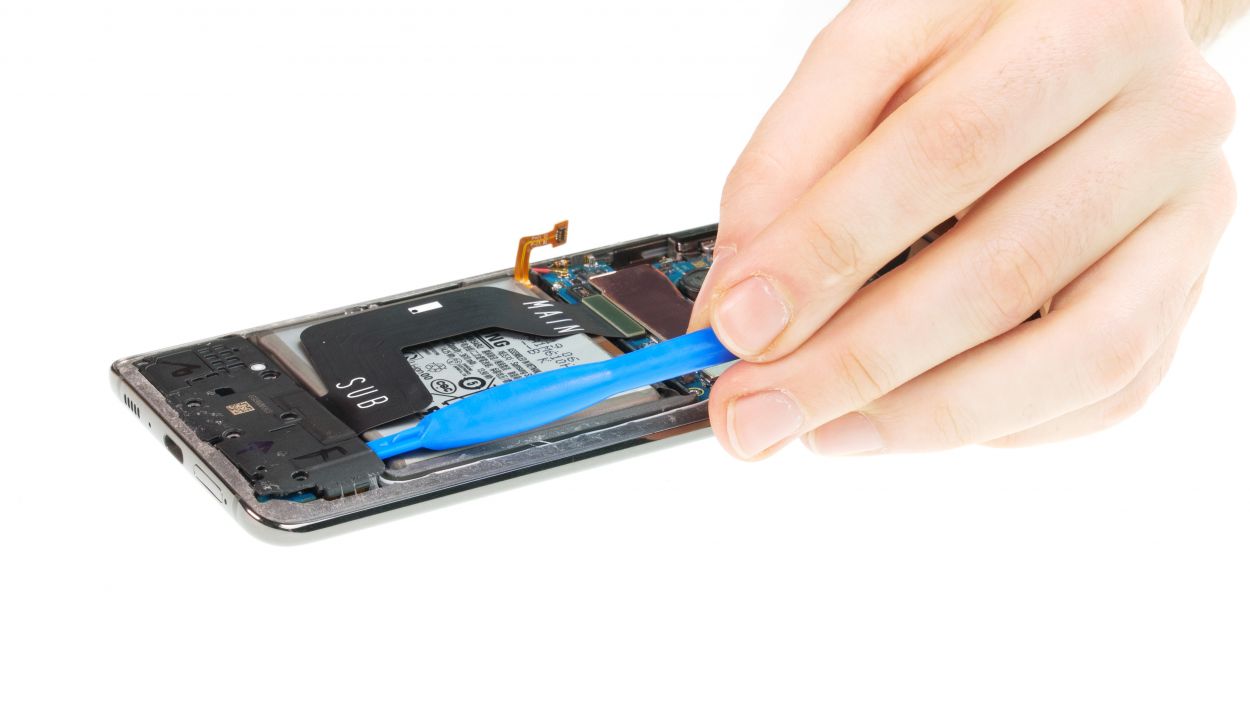
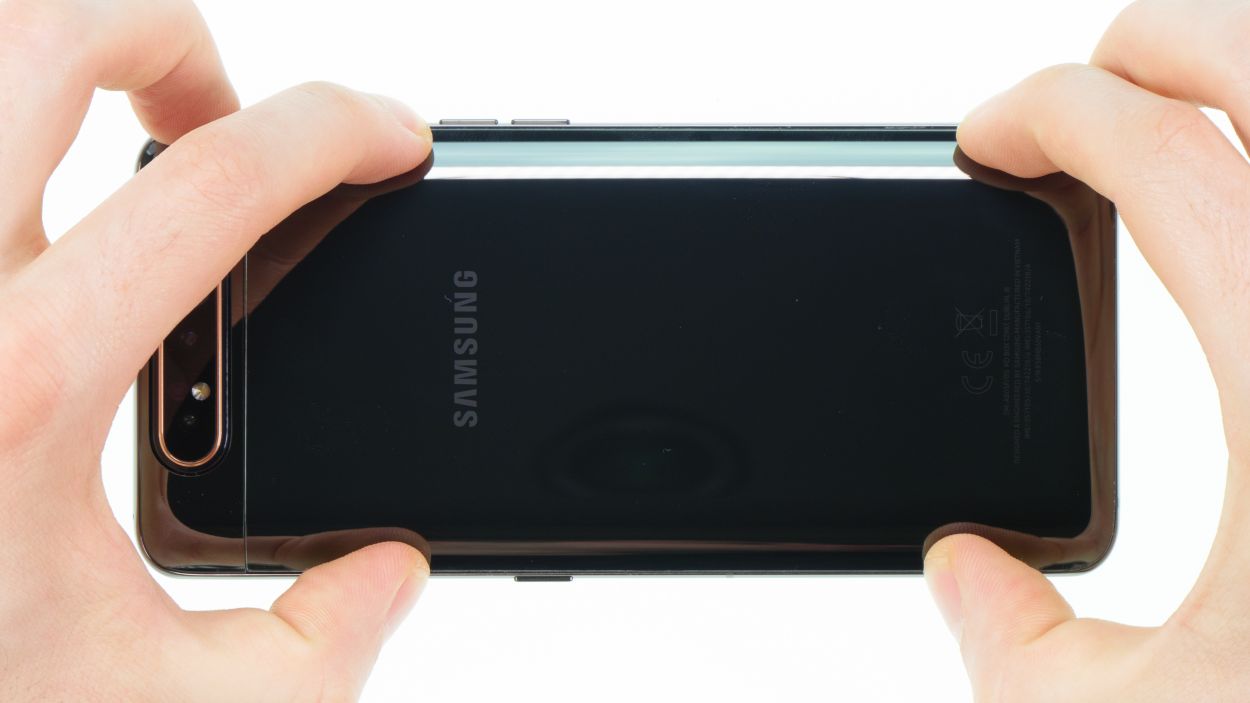
– Once you’ve warmed up that adhesive, grab a suction cup and stick it at the bottom of the back cover. Gently pull on the suction cup while you slide in your trusty opening tool, like the iFlex or iPlastix, into the gap that’s starting to open between the back cover and the frame.
– If you want a little extra help, the iSclack is a great buddy for this job! With its suction cups on both sides, it lifts the display and back cover evenly, making your life a whole lot easier.
Hey there, repair champ! As you tackle the left edge of the back cover, remember to keep your tool from diving too deep into the device. There’s a sneaky flex cable lurking about that could get hurt if you’re not careful! And when you reach the upper part near the camera module, watch out for scratches—this area is glued down tighter than a drum. You’ve got this!
The iFlex is crafted from thin but durable metal, making it a breeze to slide into those tight spots. Just a heads up, though—while it’s super handy, it can also be a bit of a troublemaker when it comes to scratching the back glass or frame of your device. So, handle with care!
Step 2


6 × 3,3 mm Phillips
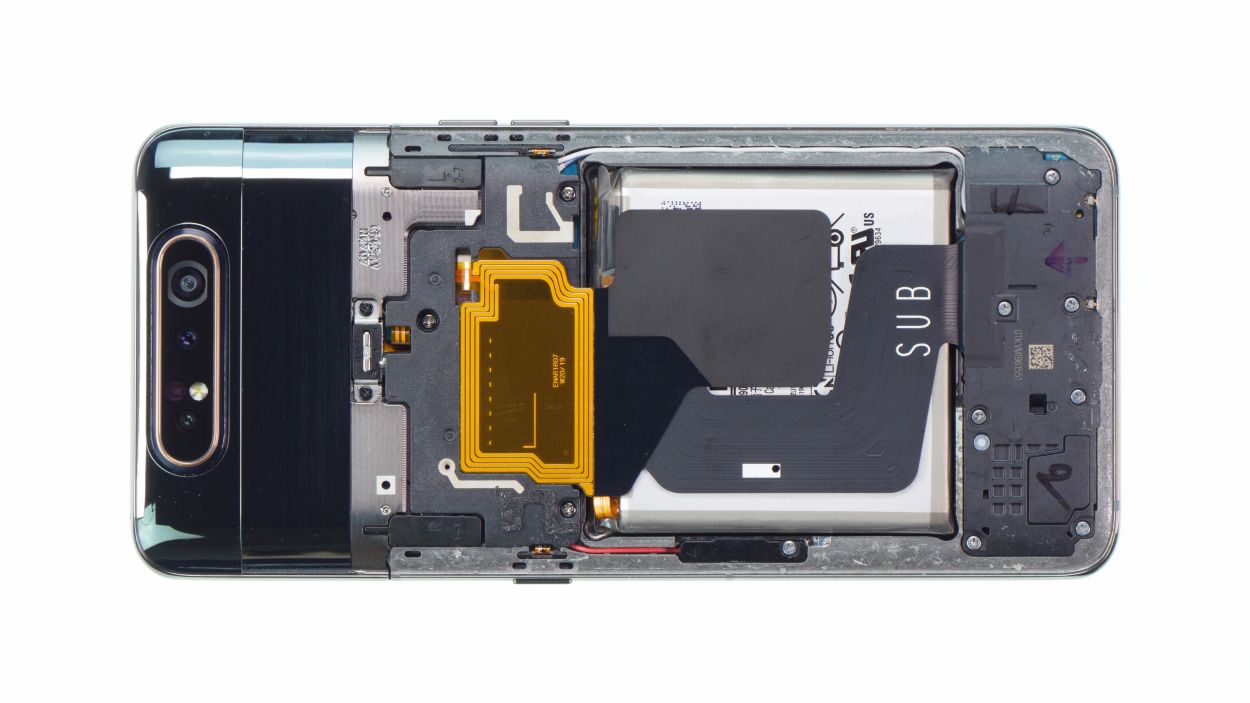
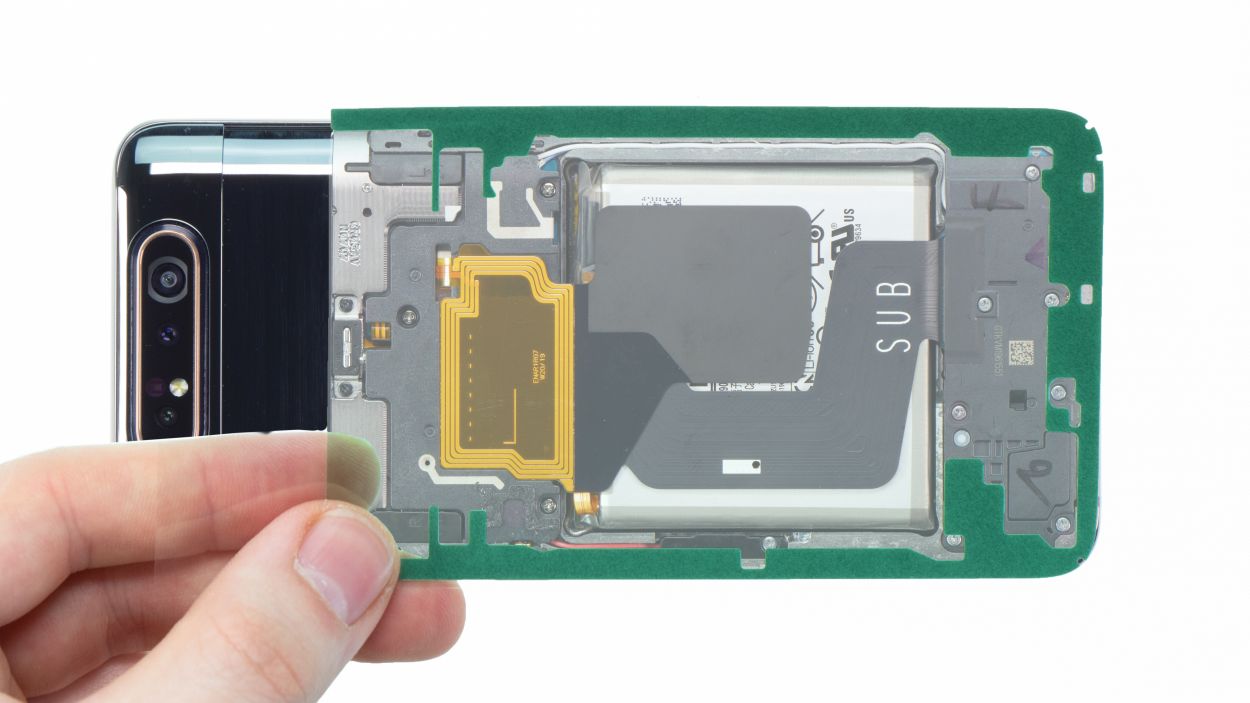
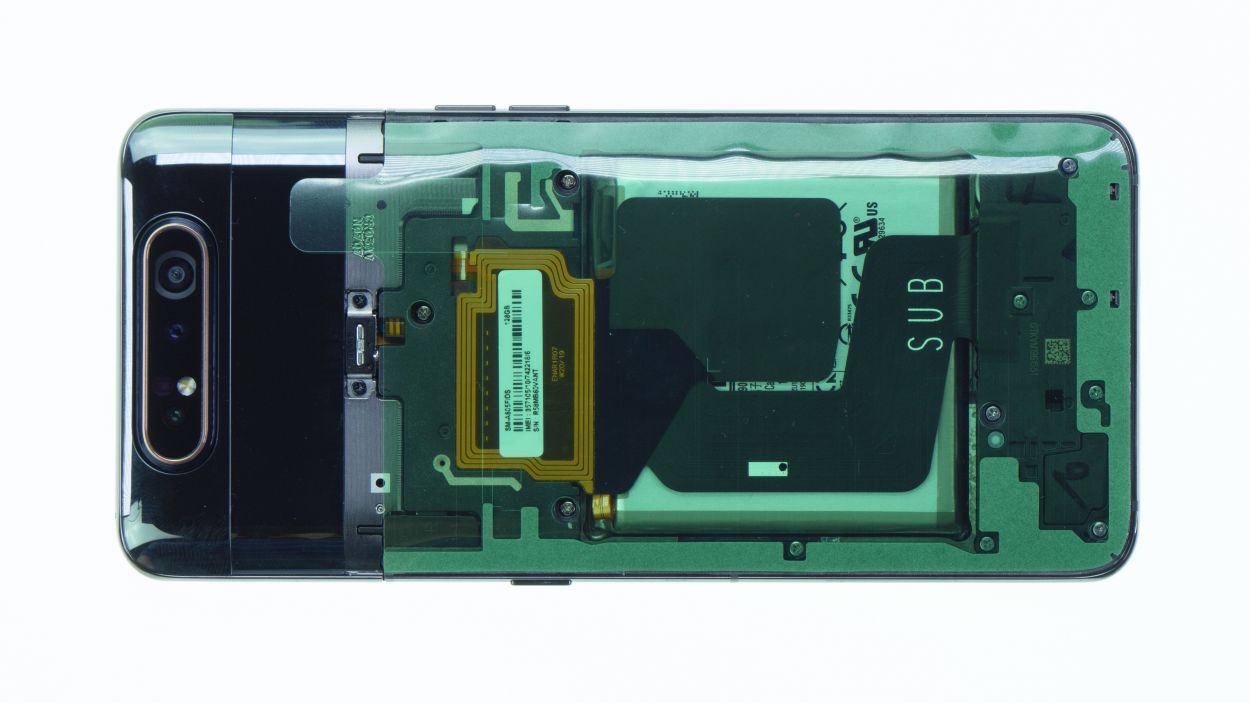
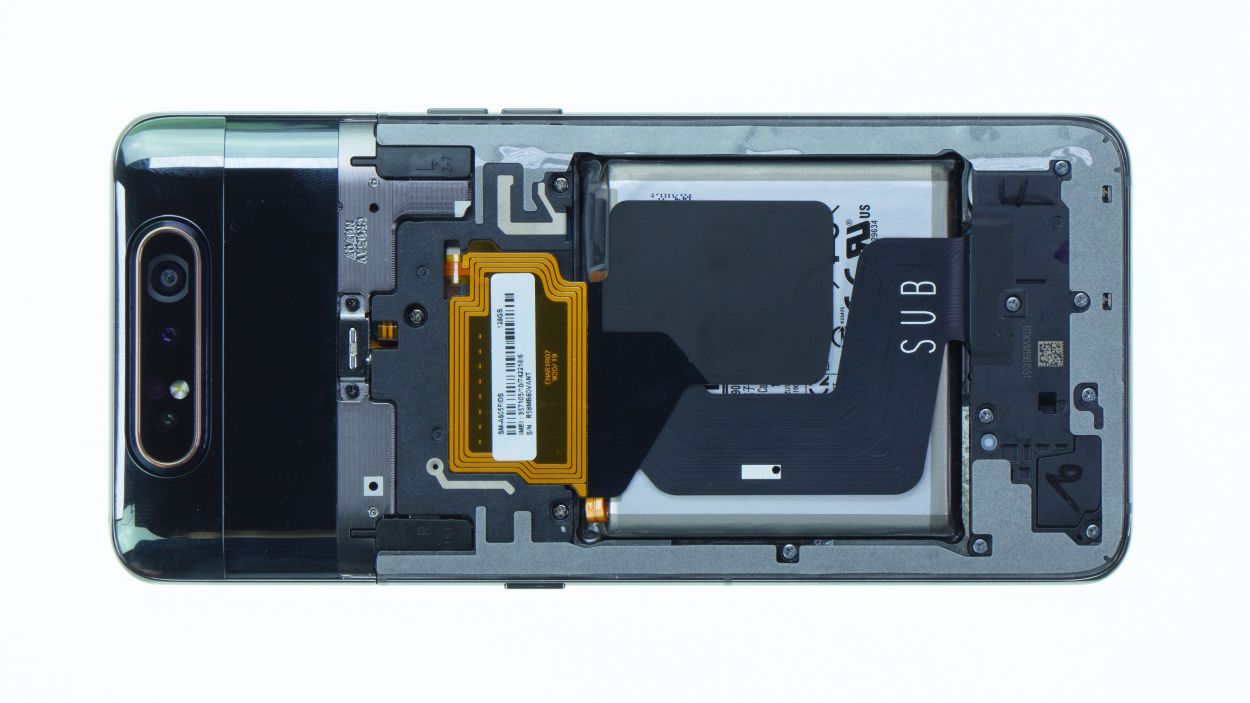
The NFC antenna hangs out on the main board cover, just waiting for you to give it some attention!
– Before you can pop off that main board cover, let’s get that camera ready to shine! Extend it out first.
– Fire up your camera app and switch it to the front camera mode. Time to say cheese!
– Once that camera module is fully extended and ready for action, you can tackle those six Phillips screws that are just waiting to be removed.
Step 3


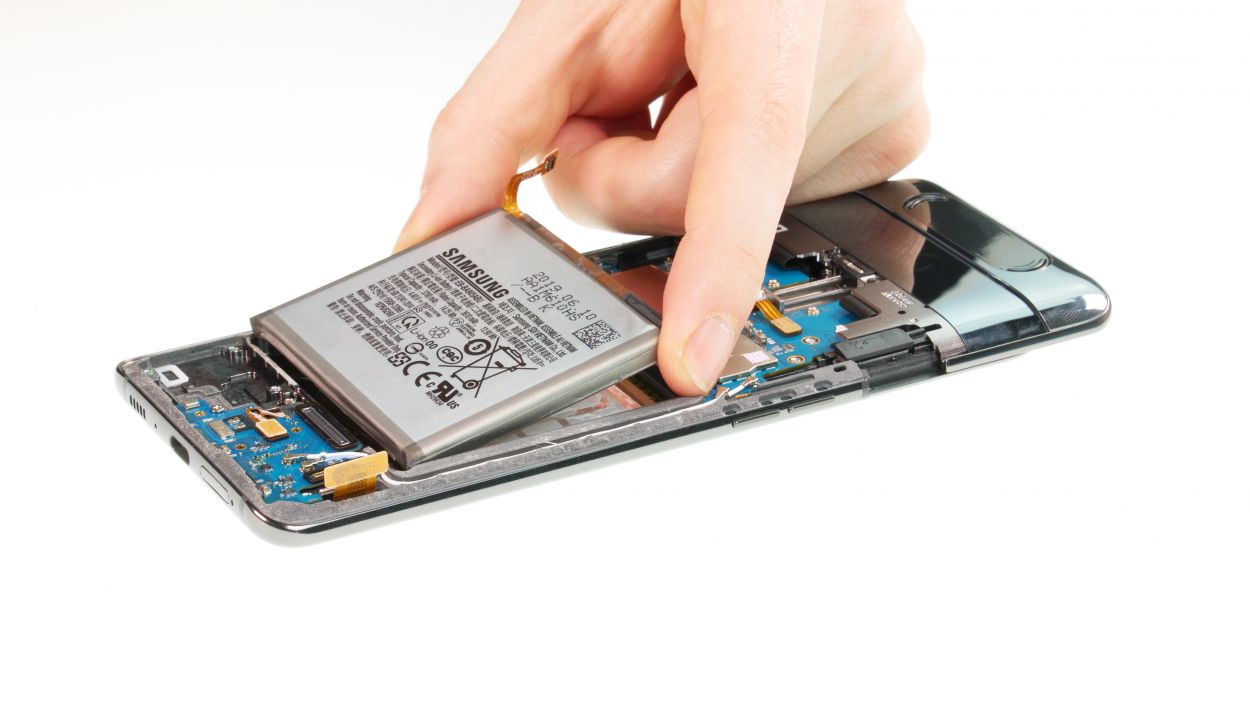
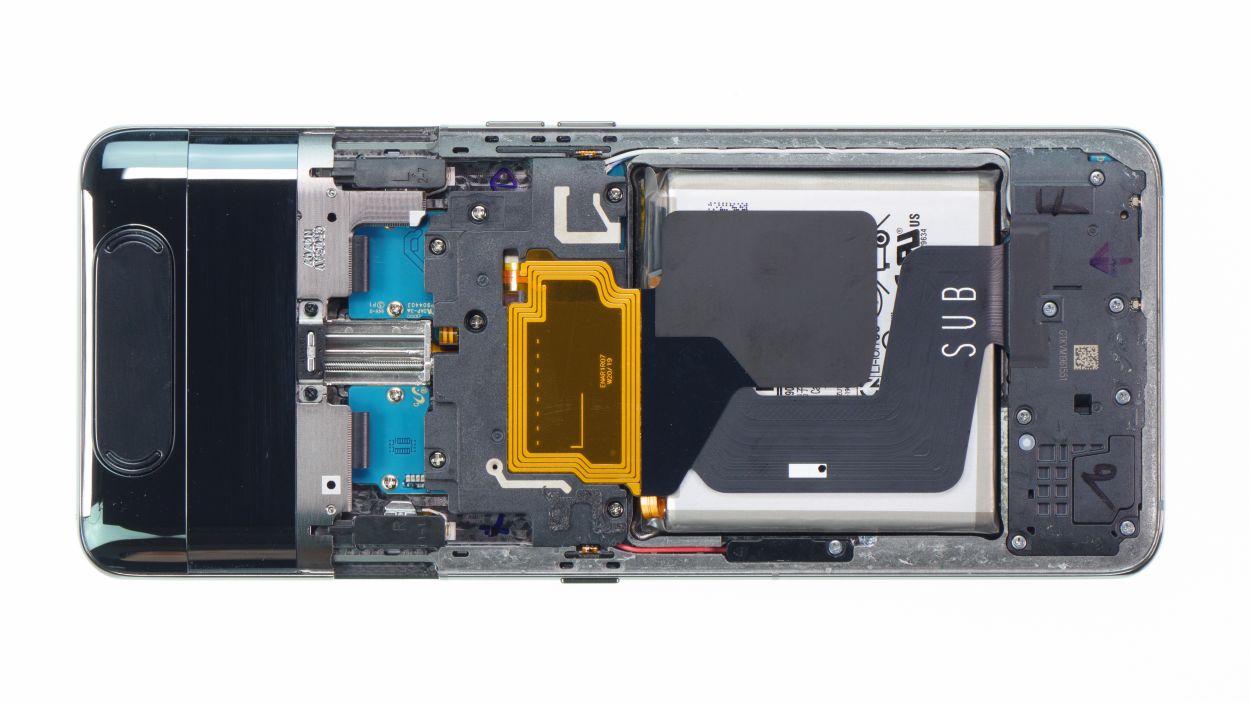
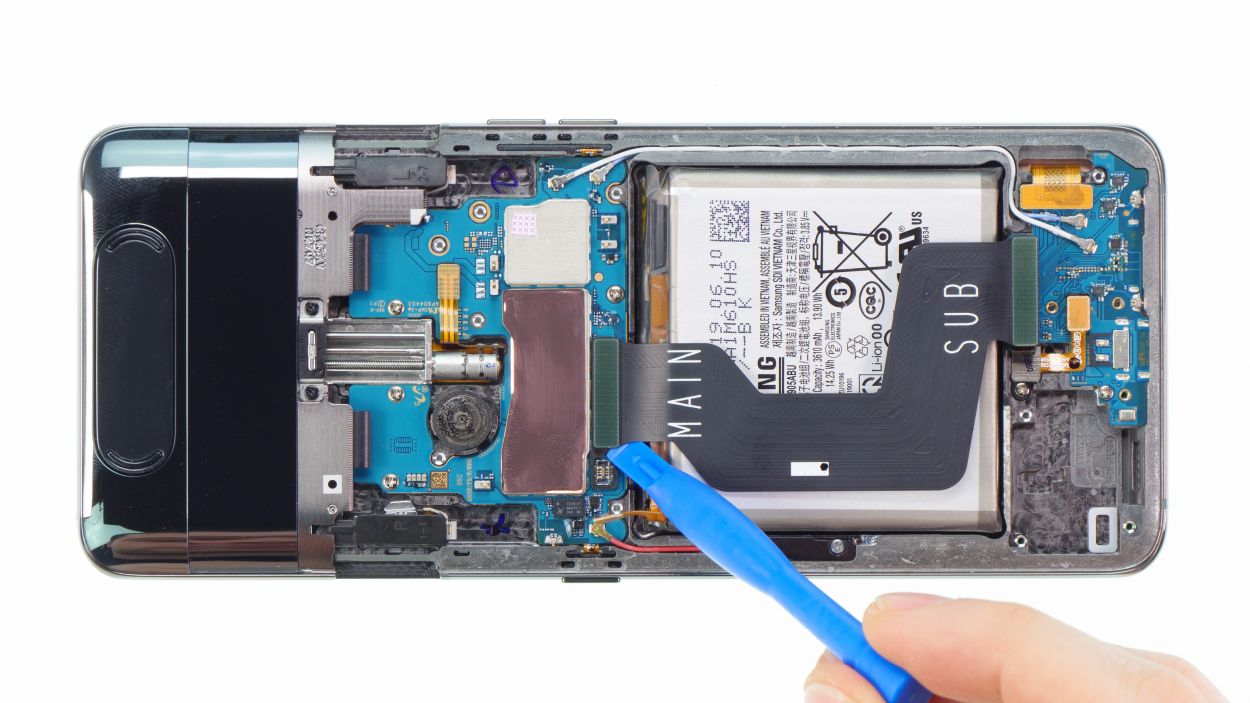
Battery Connector
Keep that camera module extended while you disconnect the battery contact! This little trick ensures the camera stays in place for the entire repair adventure ahead. You’re doing great!
– Next up, let’s disconnect that battery contact! This little move stops any power from doing a dance inside the device, keeping everything safe and sound while you work your magic. No short-circuits on our watch!
Step 4
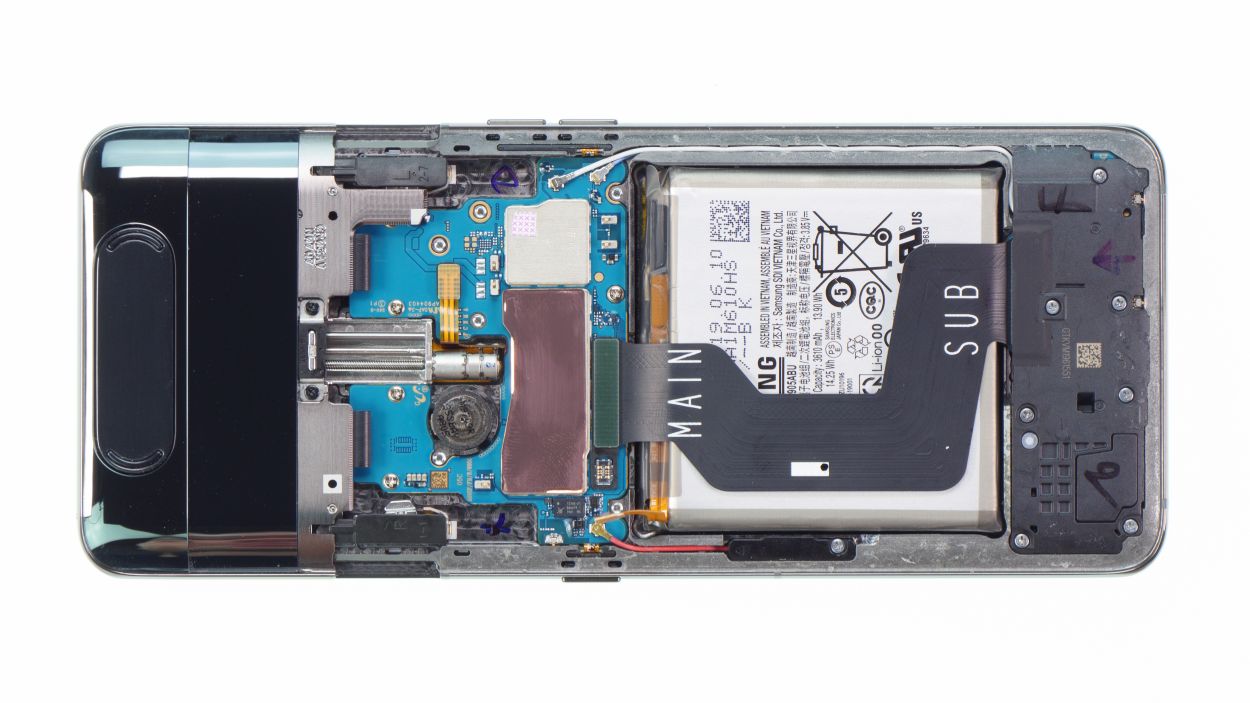


7 × 3,9 mm Phillips
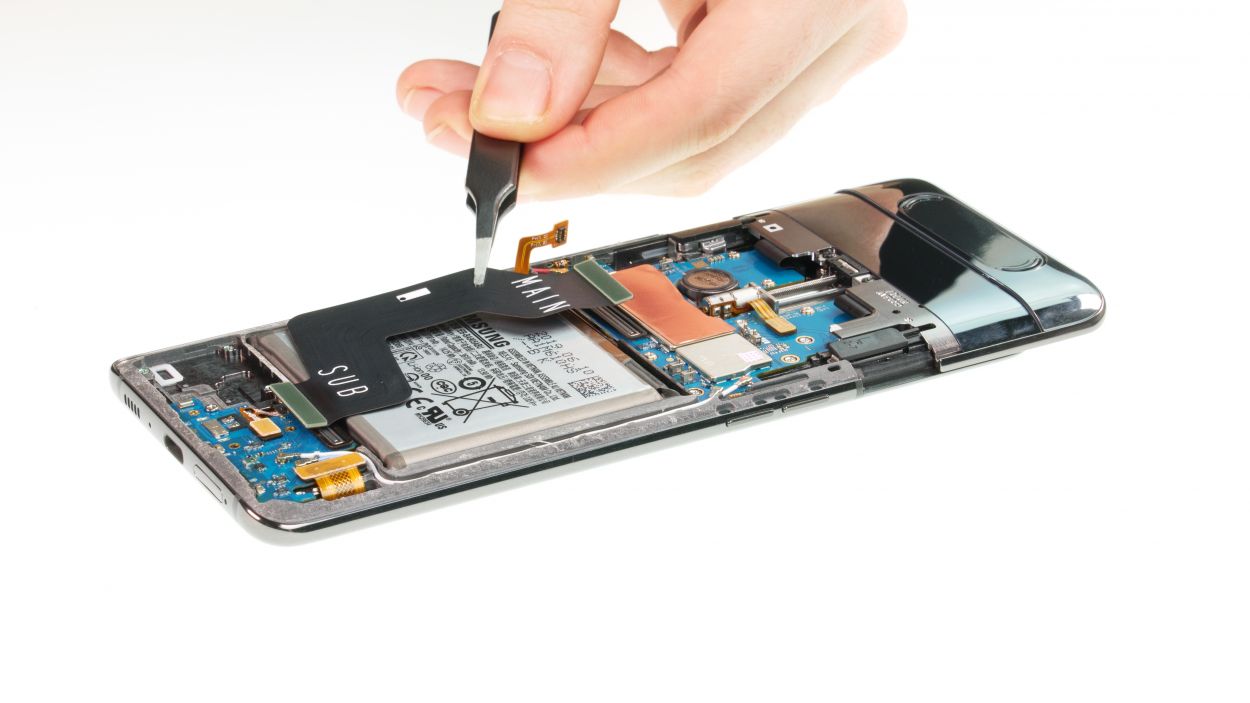
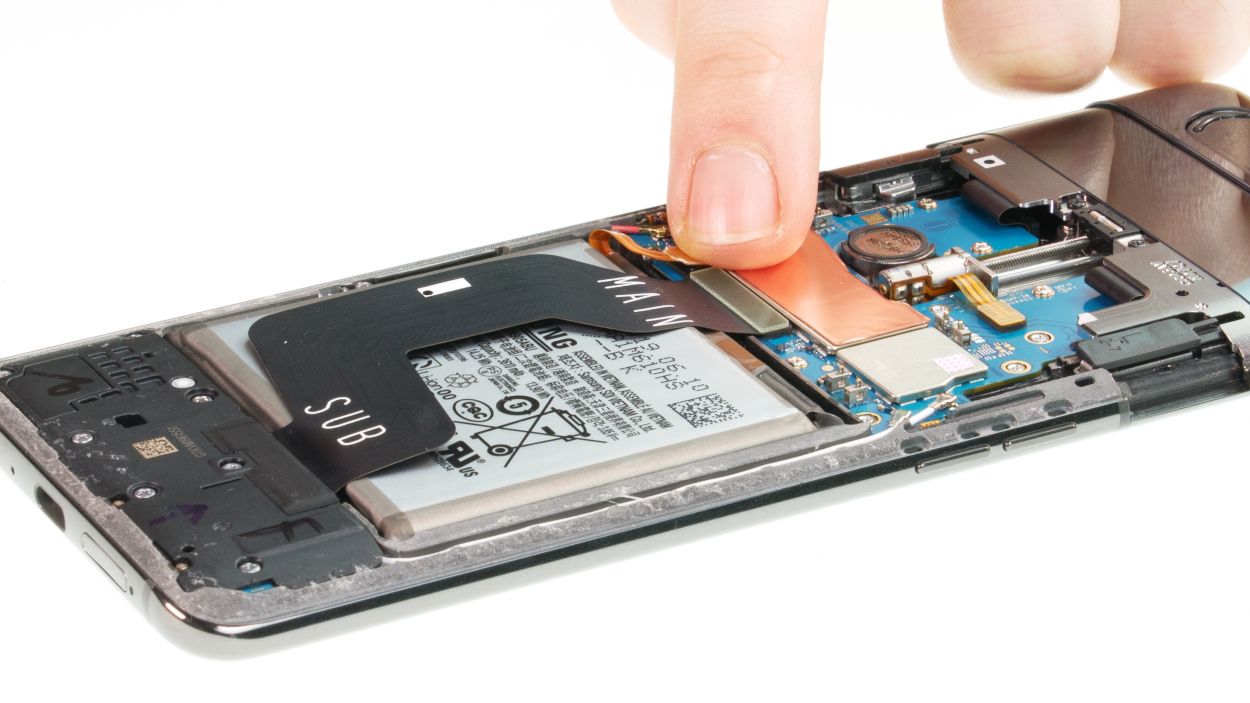
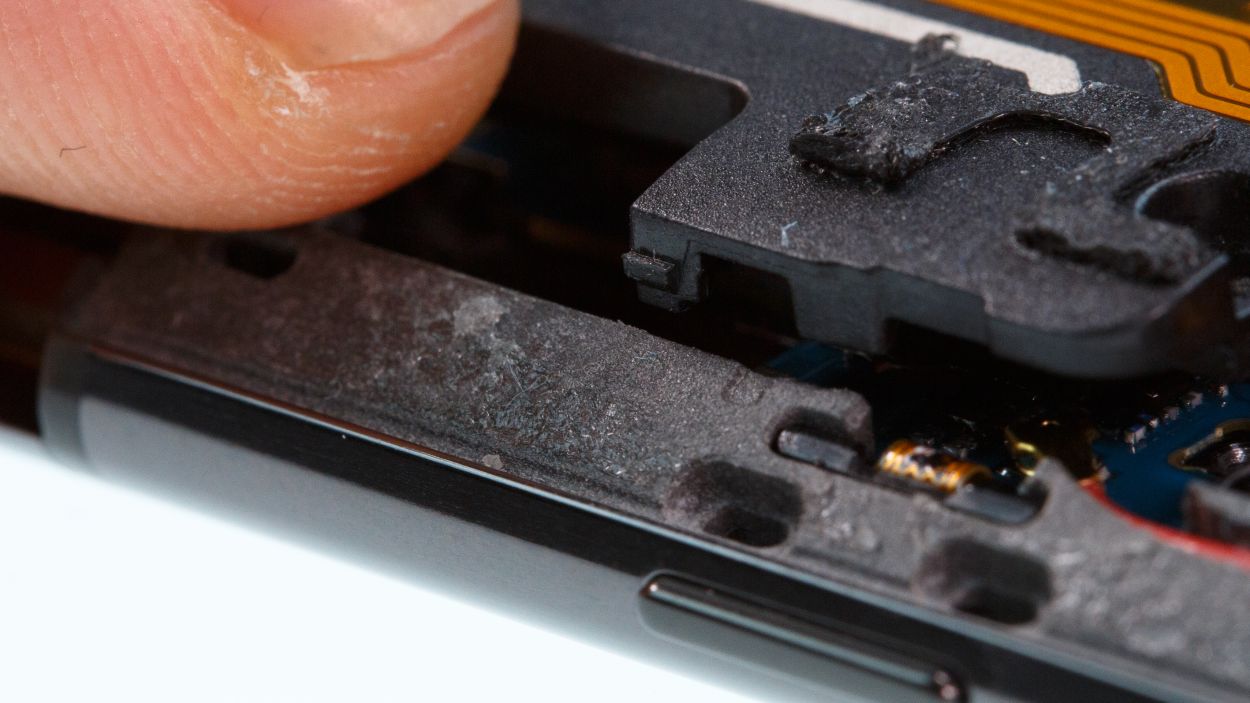
– Start by loosening those seven Phillips screws that are keeping the speaker snug as a bug in a rug. They’re all the same length, so no need to worry about mixing them up!
– Once you’ve got those screws out, gently pry the speaker away from its cozy home. It might be a bit glued down, but with a little finesse, you’ll have it out in no time!
Step 5


7 × 3,9 mm Phillips
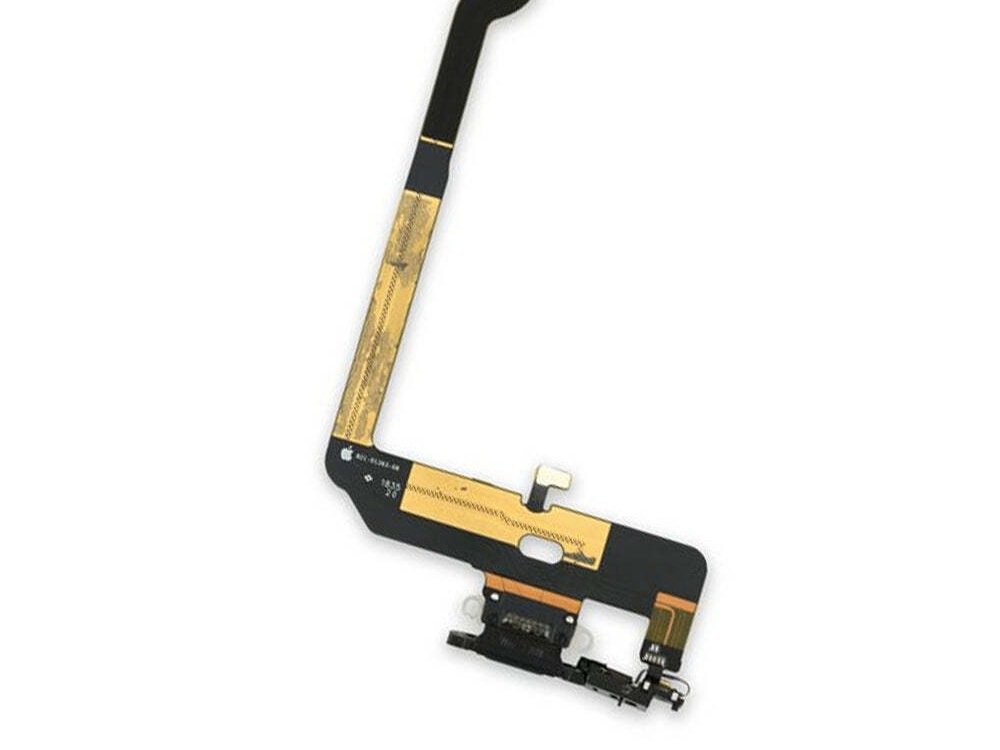
– Slide that wide flex cable back into its cozy spot in the device and connect it to both the main board and the USB board. You’re almost there!
– Nestle the speaker back into its home, give it a gentle press to ensure it’s snug, and then secure it with screws. You’ve got this!

Step 7
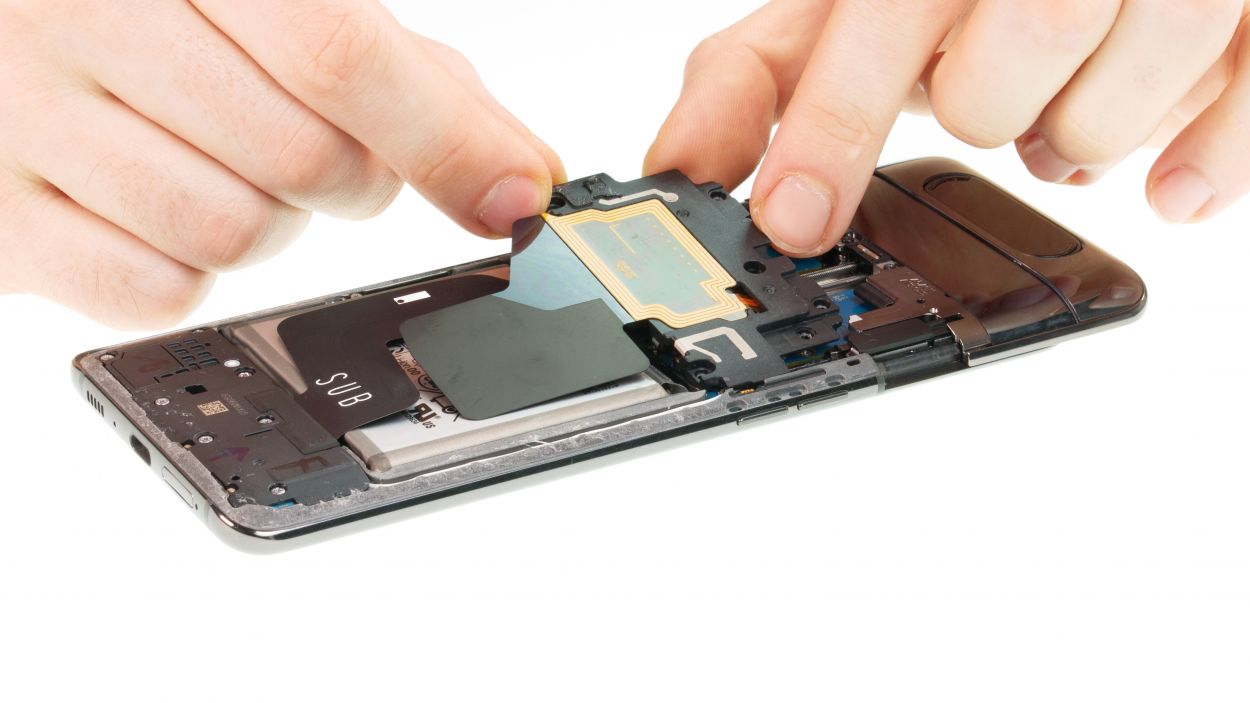


6 × 3,3 mm Phillips
– Slide the main board cover into place on the right side and give it a gentle press to secure it.
– Double-check that those little plastic tabs on both sides snap back in, just like they’re supposed to!
– Once everything’s in position, go ahead and fasten that cover down.
Step 8


– Before you completely close your Samsung Galaxy A80 again and reglue the back cover, you should test if everything works.
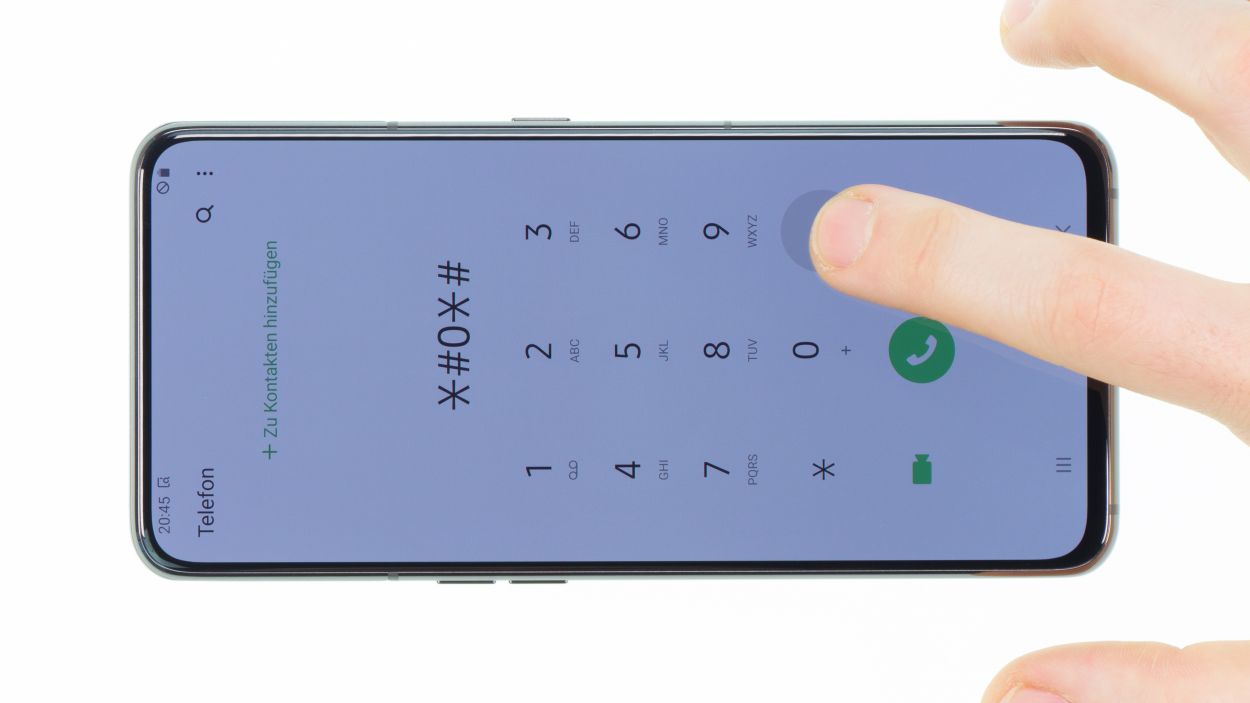
– Start the phone and open the phone app.
– Enter *#0*# in the number field and the Samsung test menu will open.
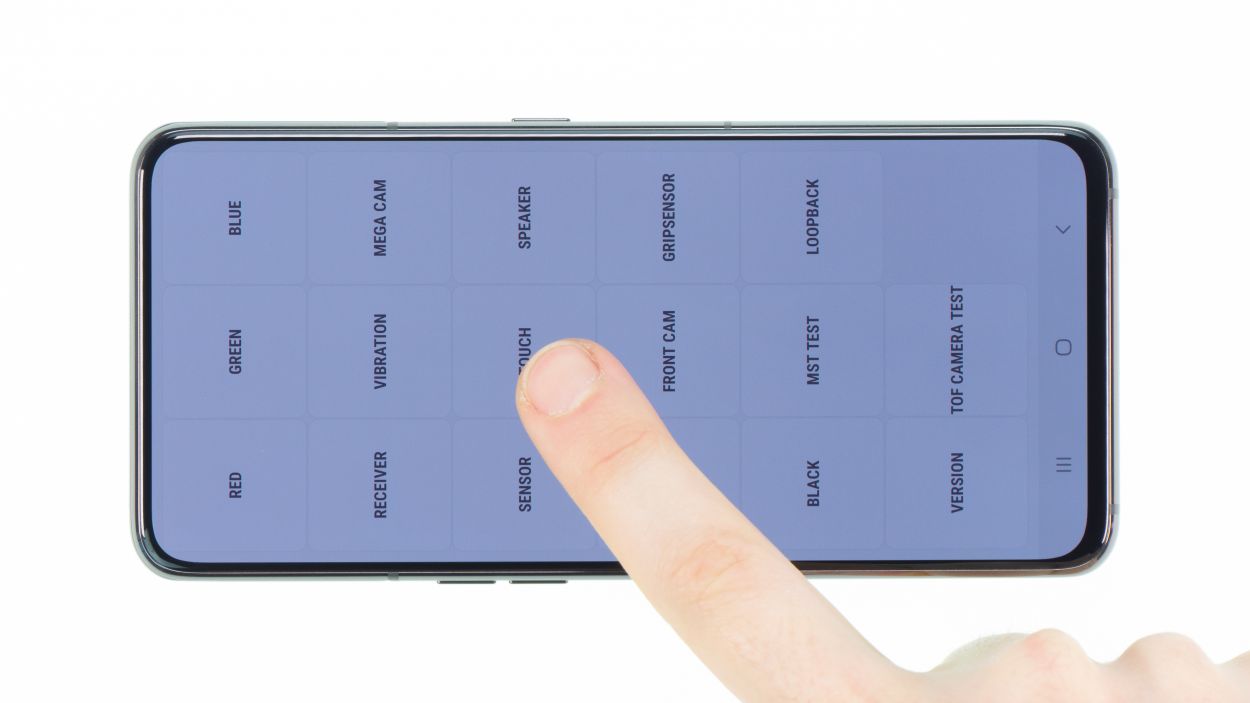
– Here you can test the display for touch and display errors.
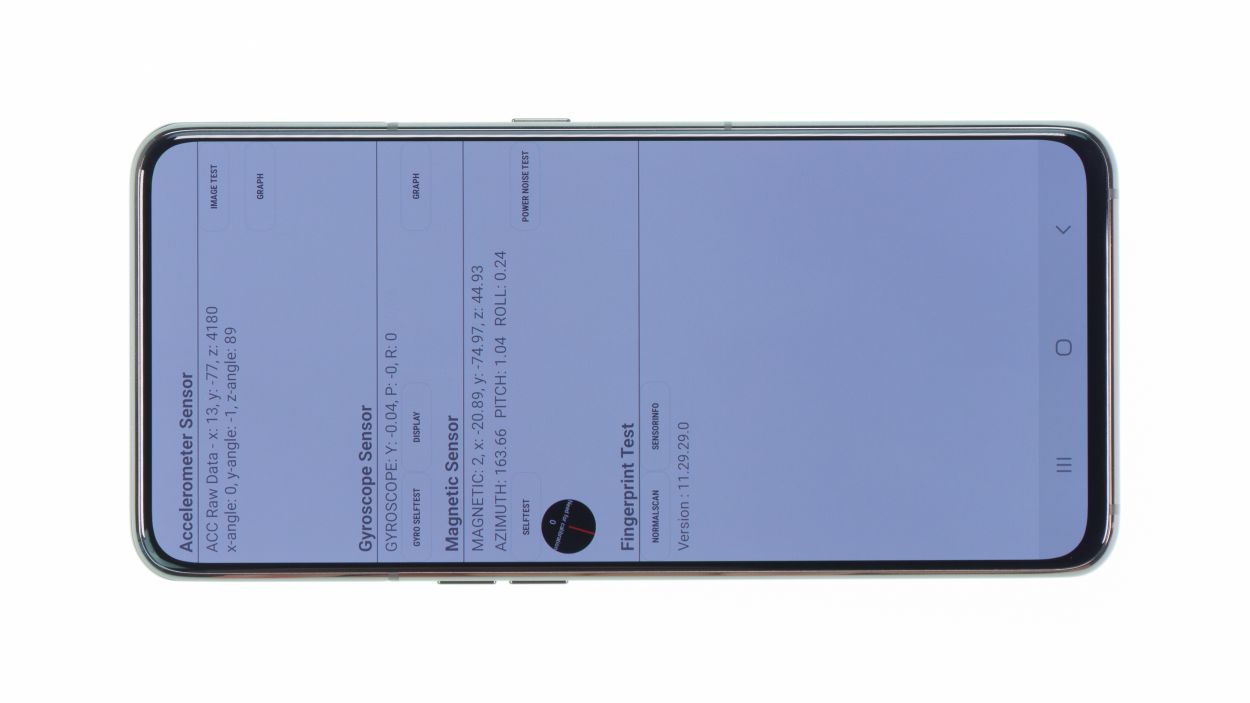
– You can also test all other functions, such as the speaker, vibration motor, etc.
– If everything works as expected, you can close the device.
Step 9
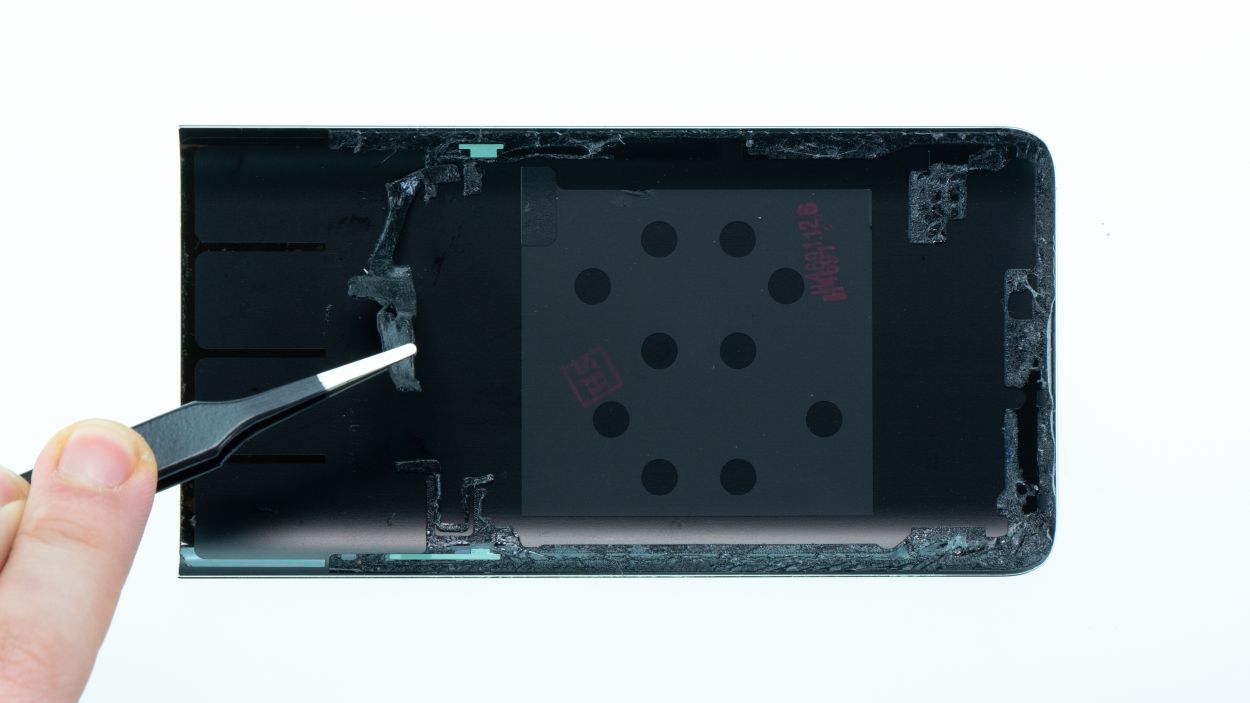
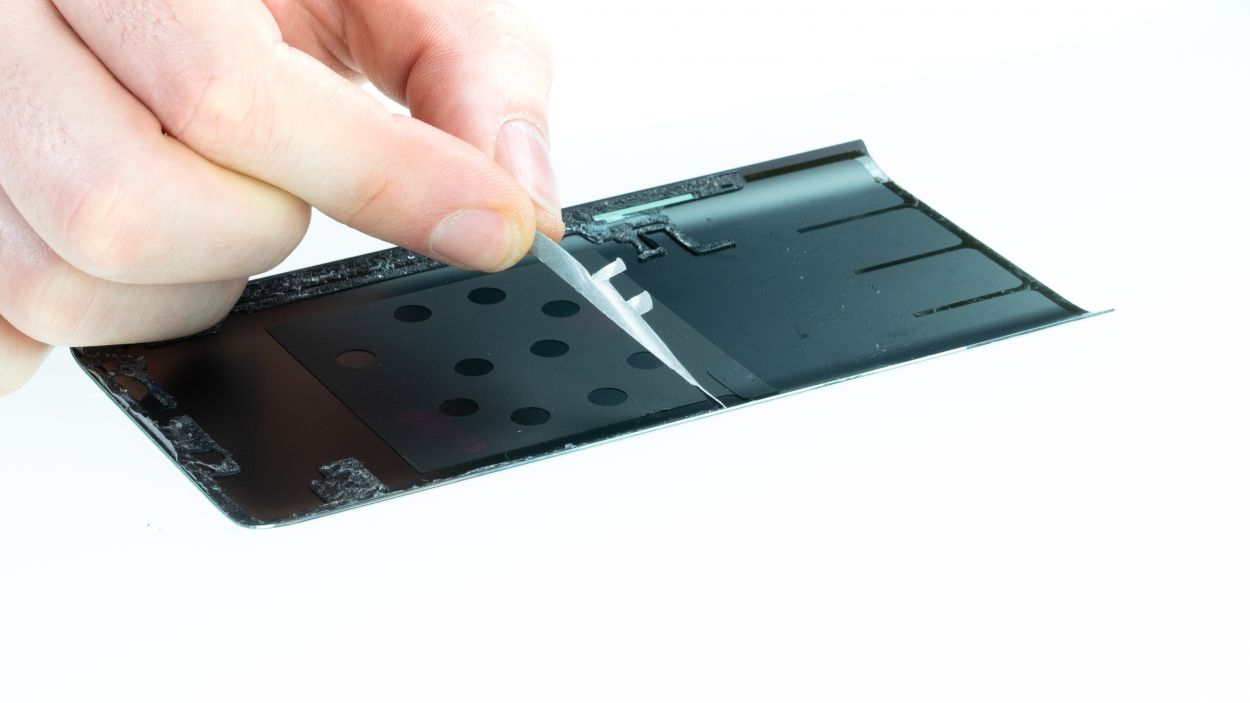


– Say goodbye to any leftover adhesive clinging to the inside of the back cover and the device frame! Use a plastic tool, like a spudger, to scrape away the remnants. A little rubbing alcohol (isopropanol) on a lint-free cloth can help too. Getting rid of all that sticky residue is key to making sure your device closes up just right.
– Grab that shiny new adhesive frame and make sure it lines up perfectly. Use those recesses and screw holes as your guides.
– Peel off the first layer of protective film and carefully place the adhesive on the frame, ensuring it sits just right without any overhang.
– Next, remove the green protective foil. If the glue decides to play hide and seek, just press it back into place with your spudger.
– Now, it’s time to put the back cover on and give it a gentle press.
– For an extra strong bond, heat up the edge of the device again with your heat gun and place a few books on top. That adhesive will love you for it!
Step 10