DIY: How to Replace FaceTime Camera on iPhone SE (2020) – Complete Guide
Duration: 45 min.
Steps: 18 Steps
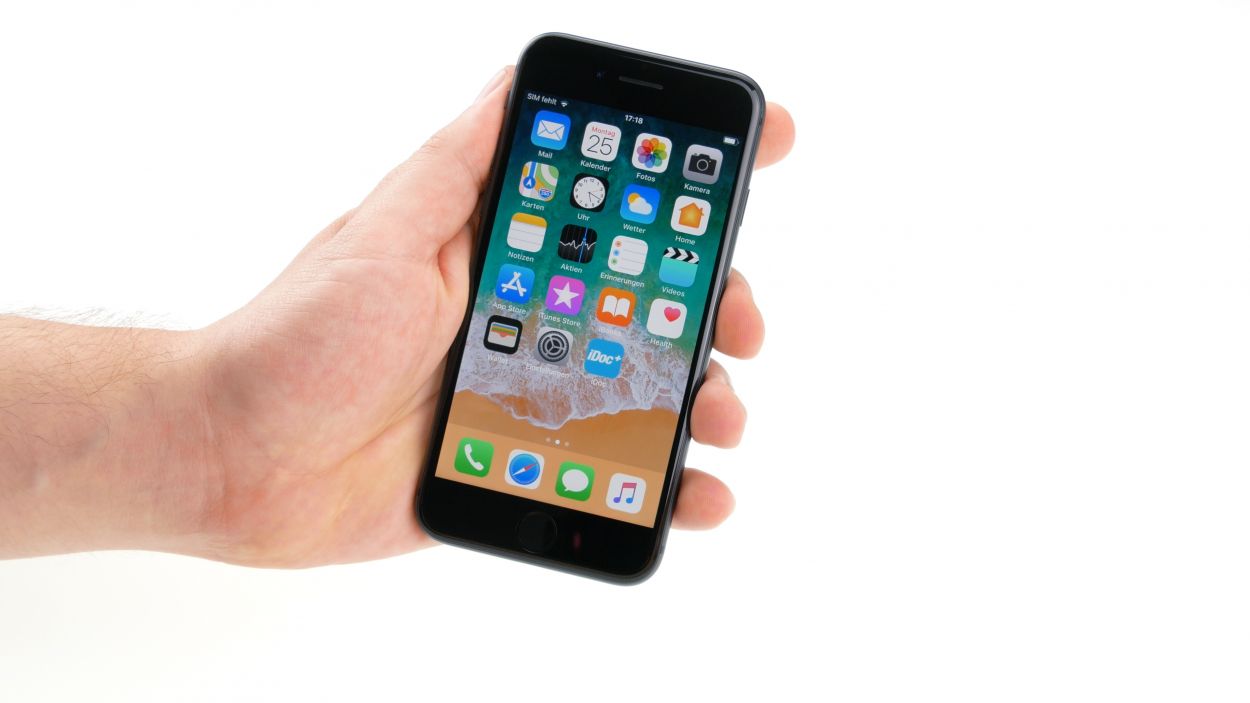
If your ambient microphone is giving you a hard time during video recordings, don’t worry, you’ve landed in the right spot! In this guide, we’re here to help you tackle those pesky issues all by yourself. We’ll walk you through the process of swapping out that faulty FaceTime camera or the entire FaceTime cable set, sensors included. You’ll notice the iPhone 8 in the photos of this guide, but don’t fret! We’ve borrowed those images from the iPhone 8 manual because these two devices are nearly twins in terms of design. The repair steps are identical, so you’re in good hands. Let’s get started, and remember, if you need a hand, schedule a repair with us. Good luck!
Step 1
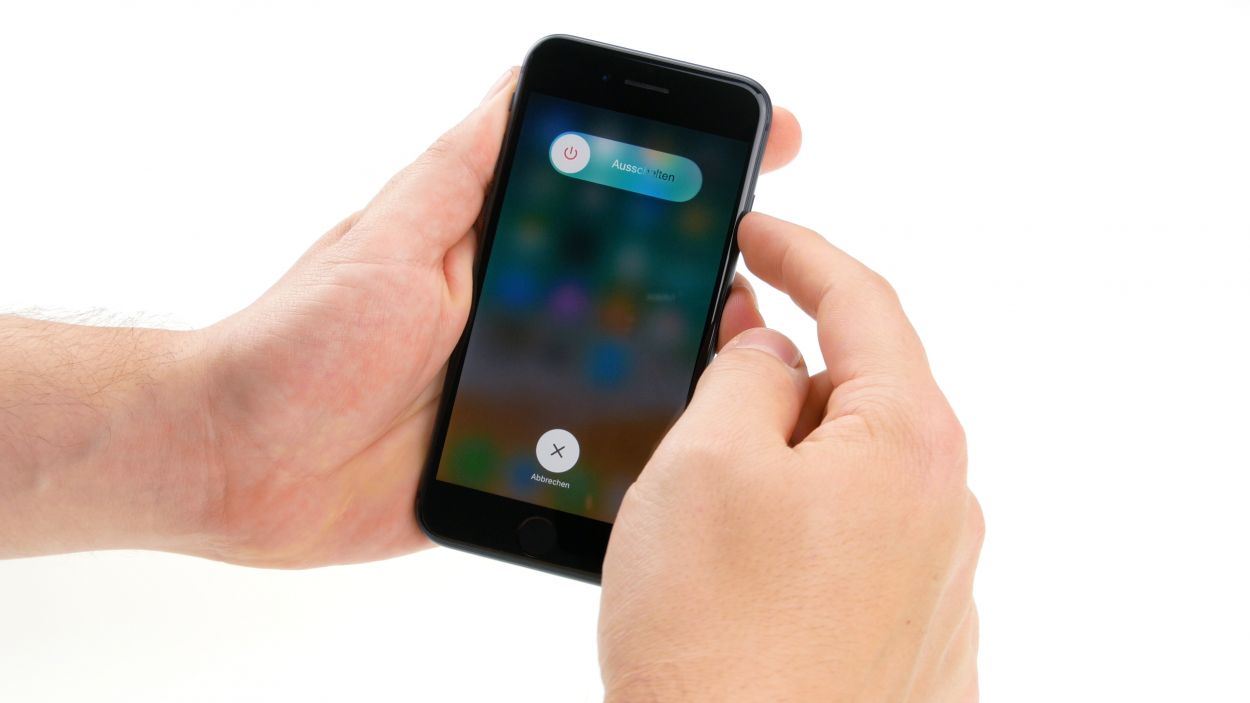
– First things first, let’s power down your iPhone SE (2nd generation) completely. This is super important to keep it safe while you work your magic! Just press and hold that standby button until you see the “Power off” slider pop up.
– Now, give that slider a gentle swipe from left to right. In about ten seconds, your iPhone will be off and ready for some TLC!
Step 2
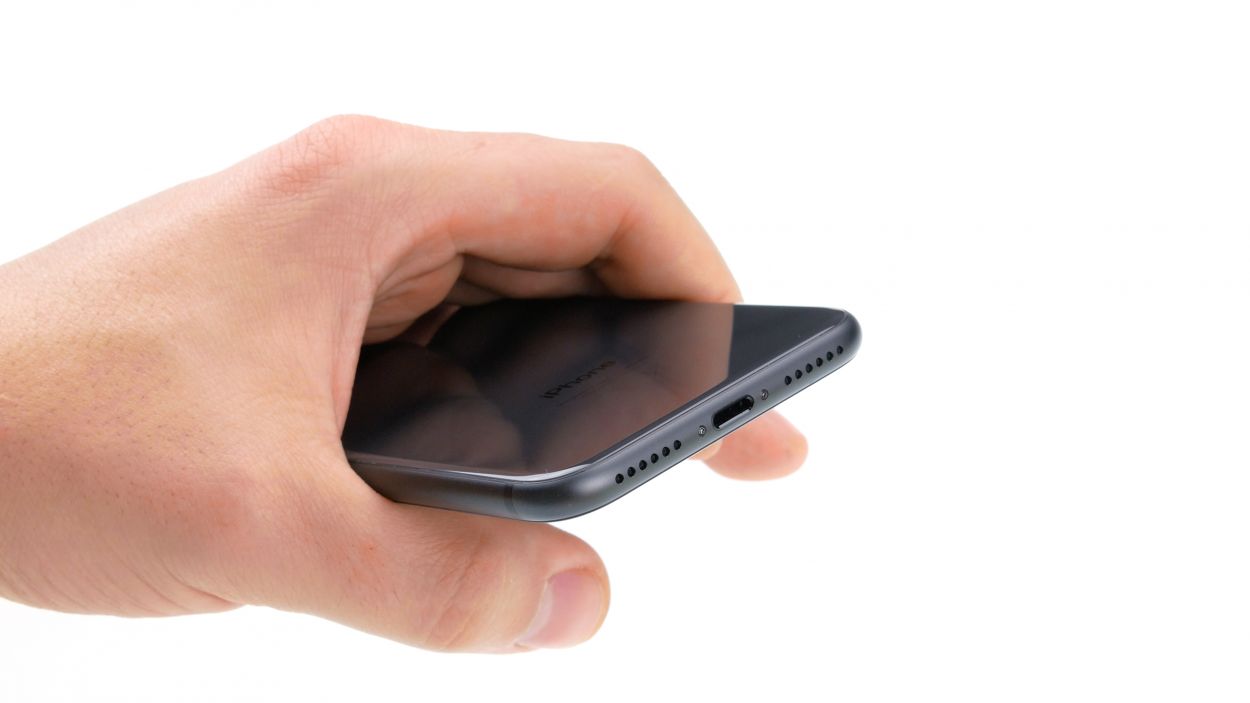
– Using a Pentalobe screwdriver, take out the two Pentalobe screws flanking the Lightning connector. Once you’ve done that, don’t forget to stash those little guys in your screw storage box!
2 × 3.4 mm Pentablobe
To keep track of those tiny parts and screws you’ve just removed, why not grab a screw storage box? An old sewing box can work wonders! We also love using a nifty magnetic pad where you can lay out the components just like you found them in your phone. This way, you’ll always know where each screw belongs, making reassembly a breeze!
Step 3
When it comes to warming things up, keep it chill! Your device should be warm enough to work with, but not so hot that it feels like you’re holding a mini sauna. Perfectly cozy is the goal!
– To kick things off, gently place your iPhone SE on a soft, clean surface. This will keep it safe from scratches while you work your magic on the display.
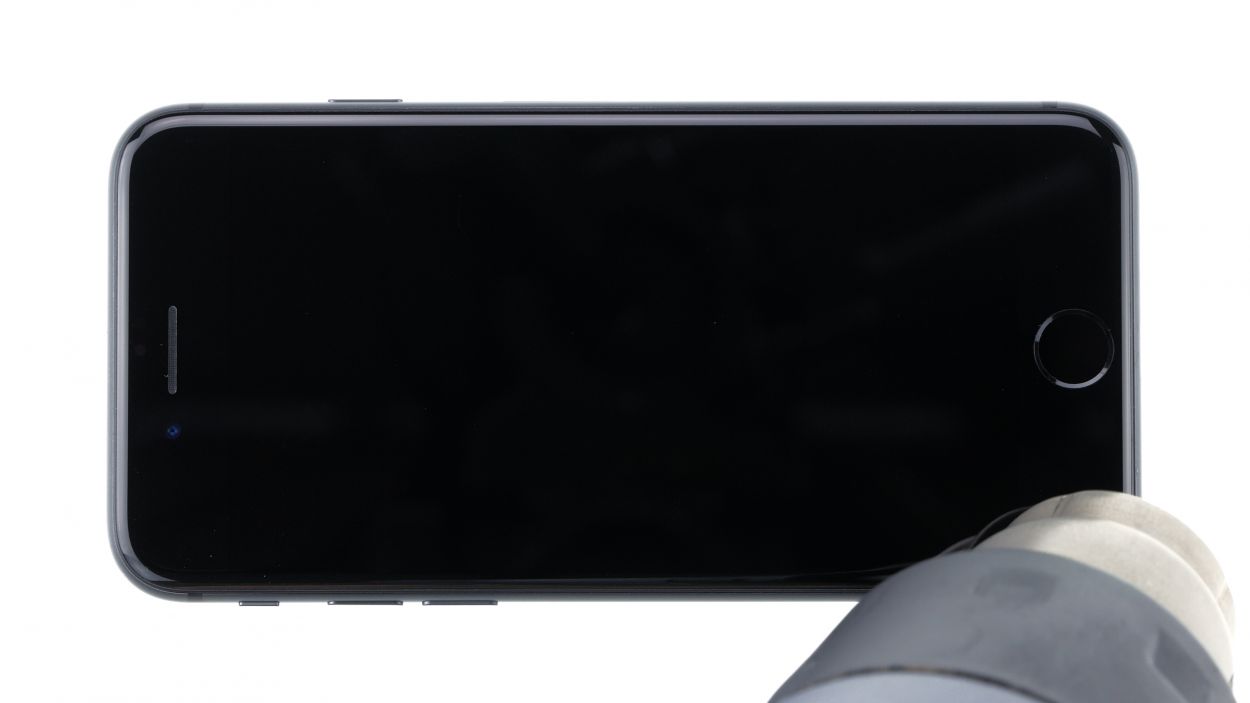
– Since the display is glued down tighter than a secret, you’ll want to warm it up a bit to make it easier to detach. Grab a heat gun or a trusty hairdryer and wave it evenly over the edge of the display from the outside. Just enough heat to loosen things up!
Tools Used
- heat gun to heat parts that are glued on so they’re easier to remove.
In most cases, you can also use a hairdryer.” rel=”noopener”>Heat gun
Step 4
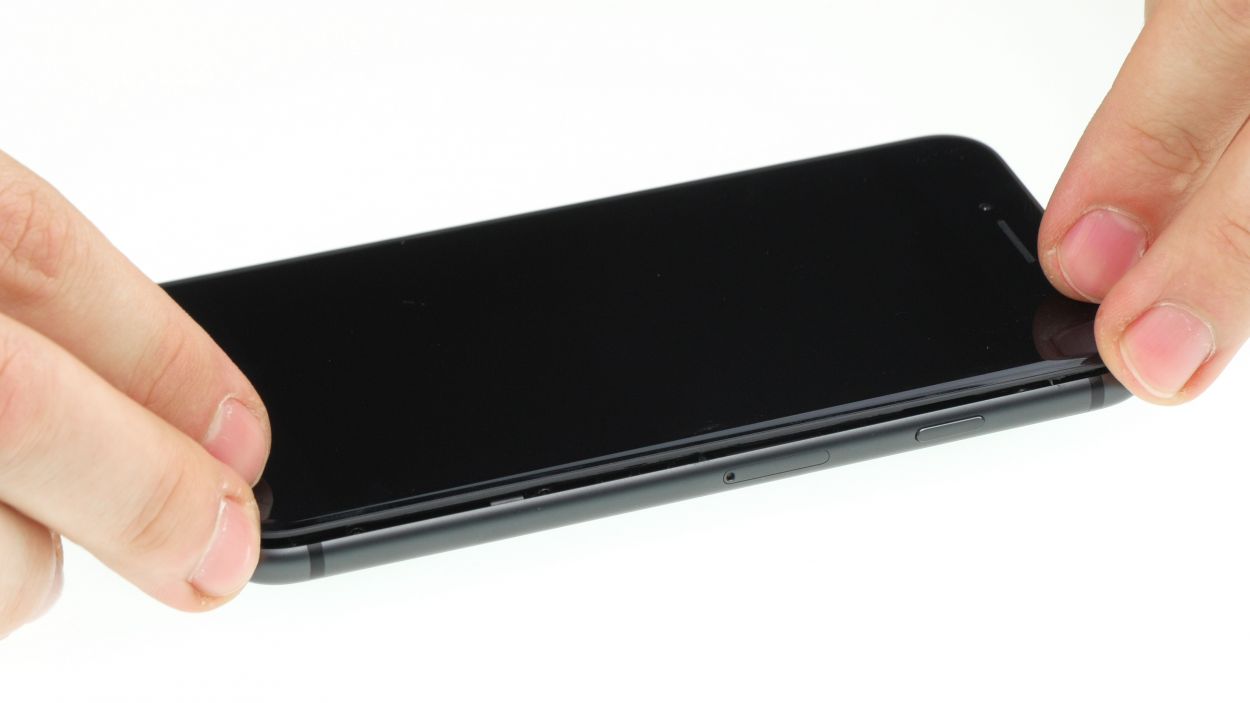
Opening up your iPhone SE (2nd generation) will wave goodbye to that sweet IP67 warranty for dust and splash protection. Keep that in mind as you dive into this repair adventure!
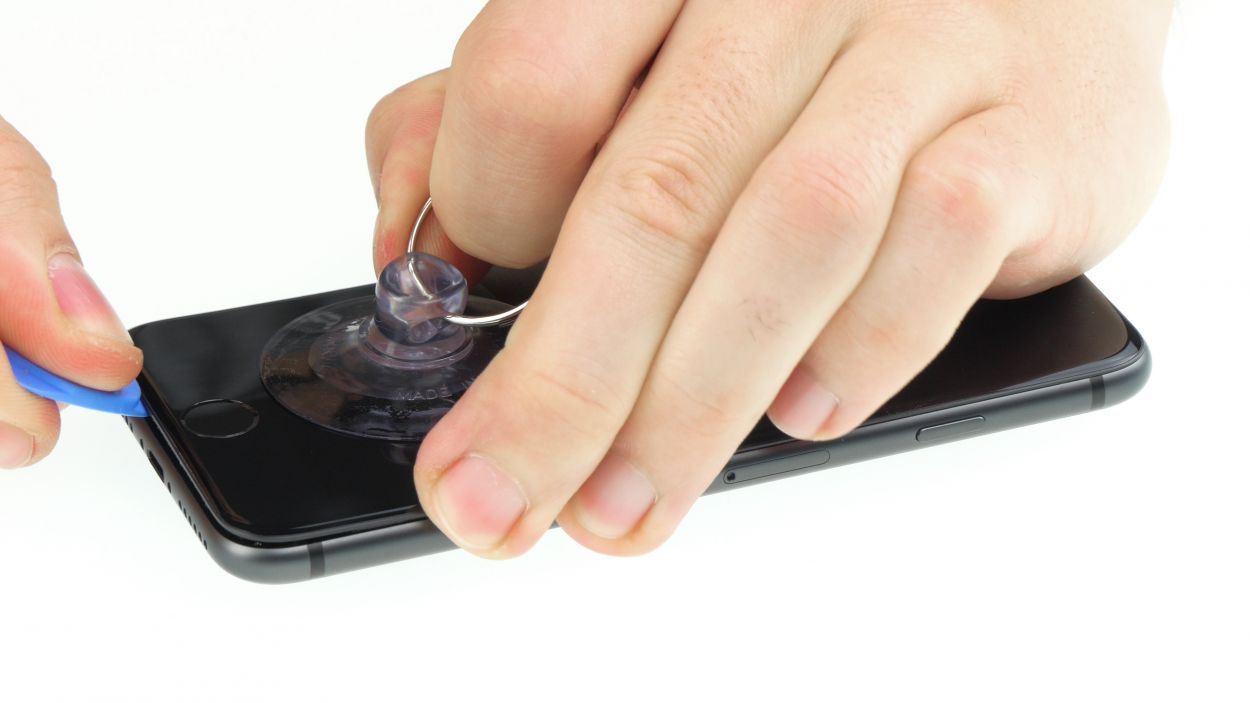
– Give that suction cup a firm press right above the home button on the display and gently pull it upwards. By lifting the display screen, you’ll create a cozy little gap between the aluminum and display frames, making it easier to work your magic!
Tools Used
Step 5
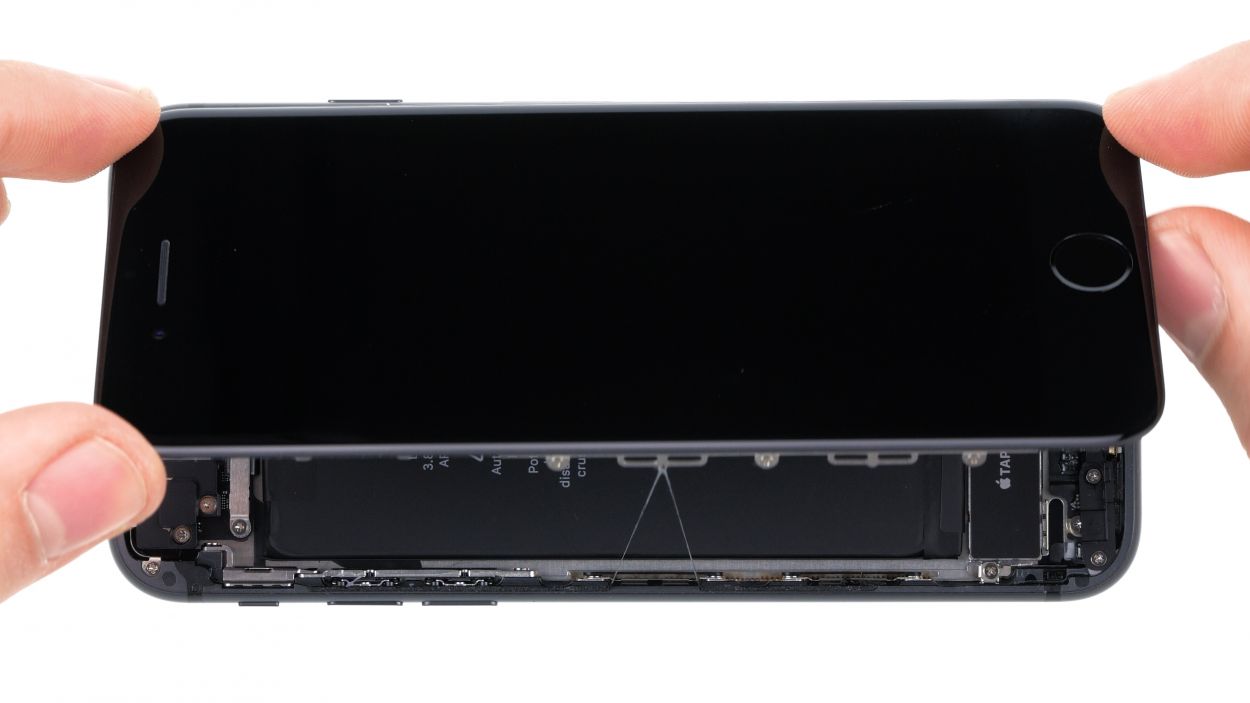
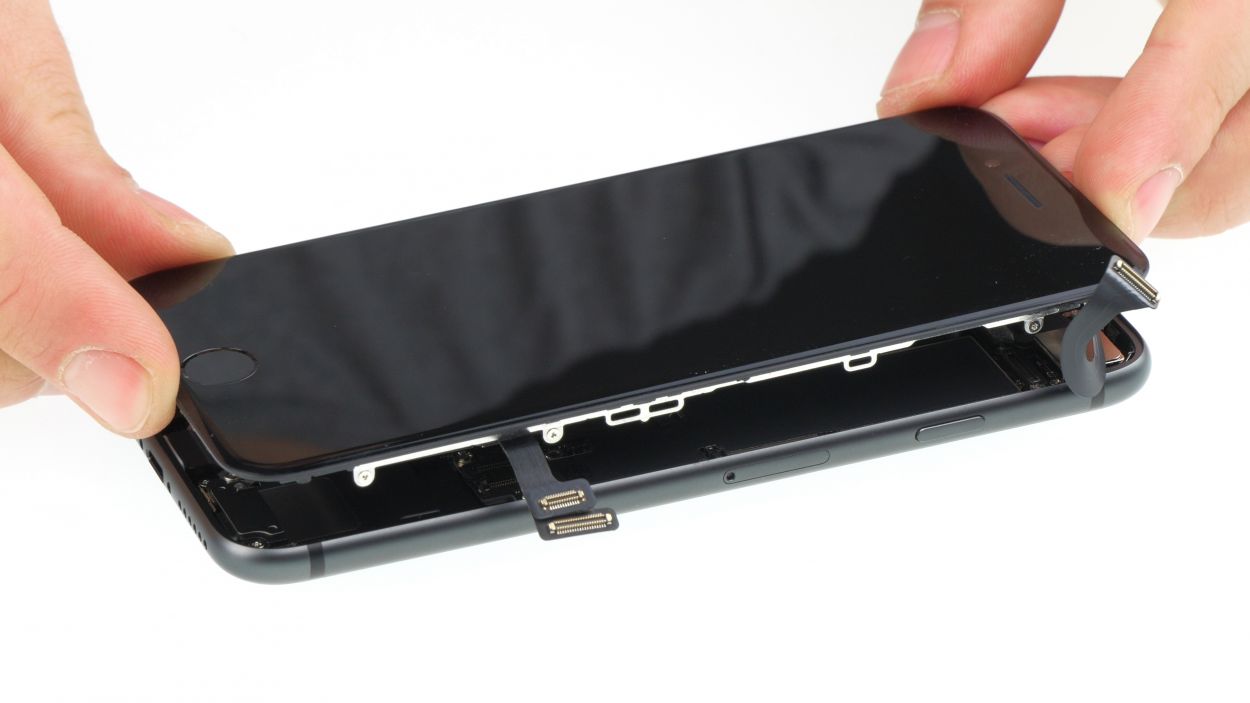
Keep your display opening under 180° while it’s still connected, or those flex cables might just decide to throw in the towel! Let’s keep them intact, shall we?
Step 6
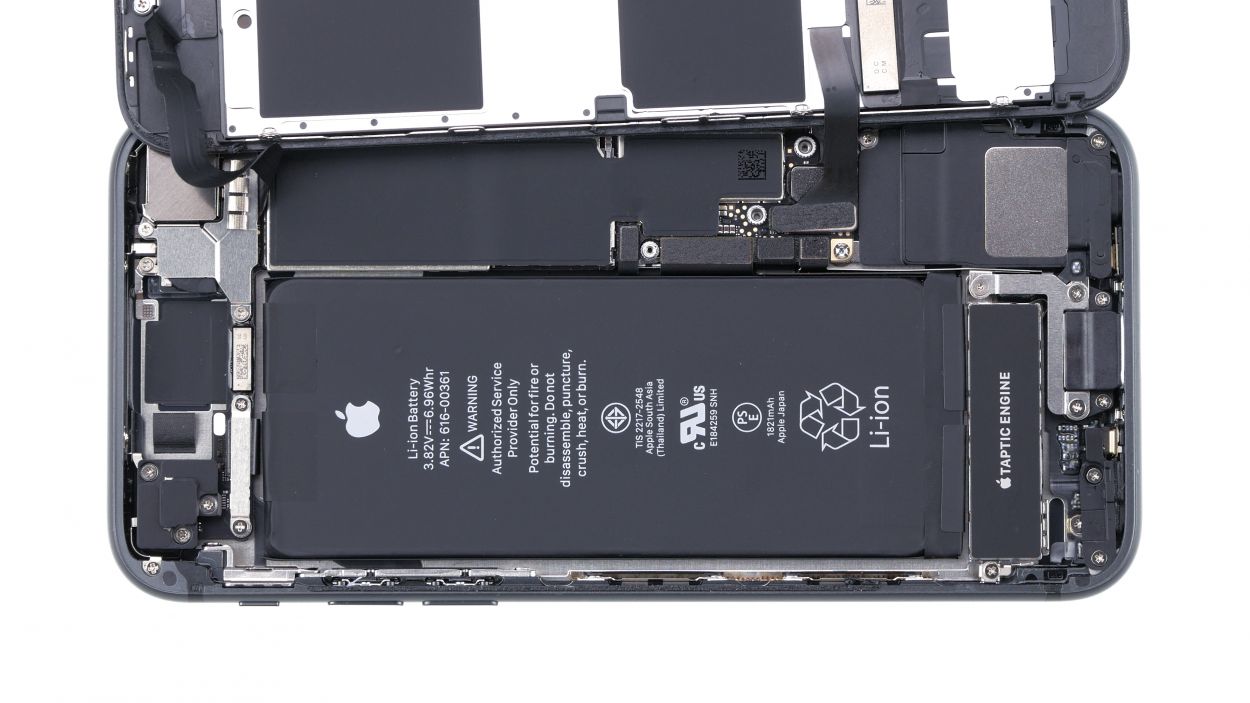
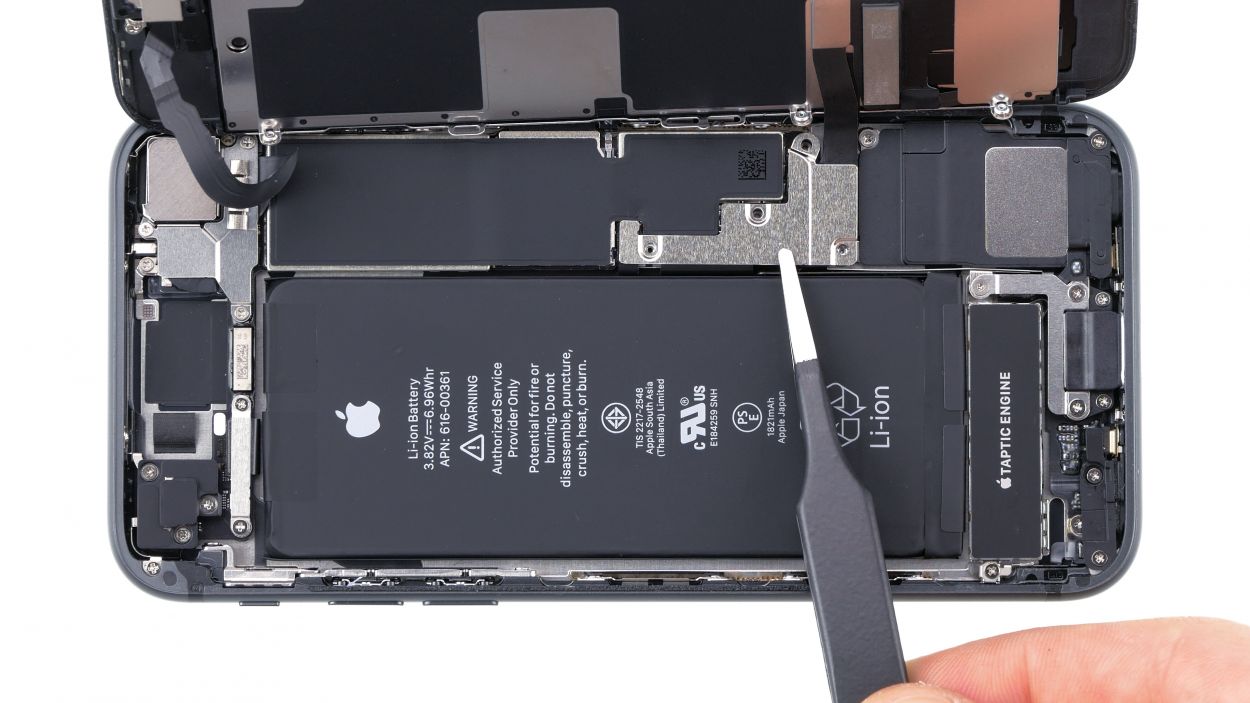
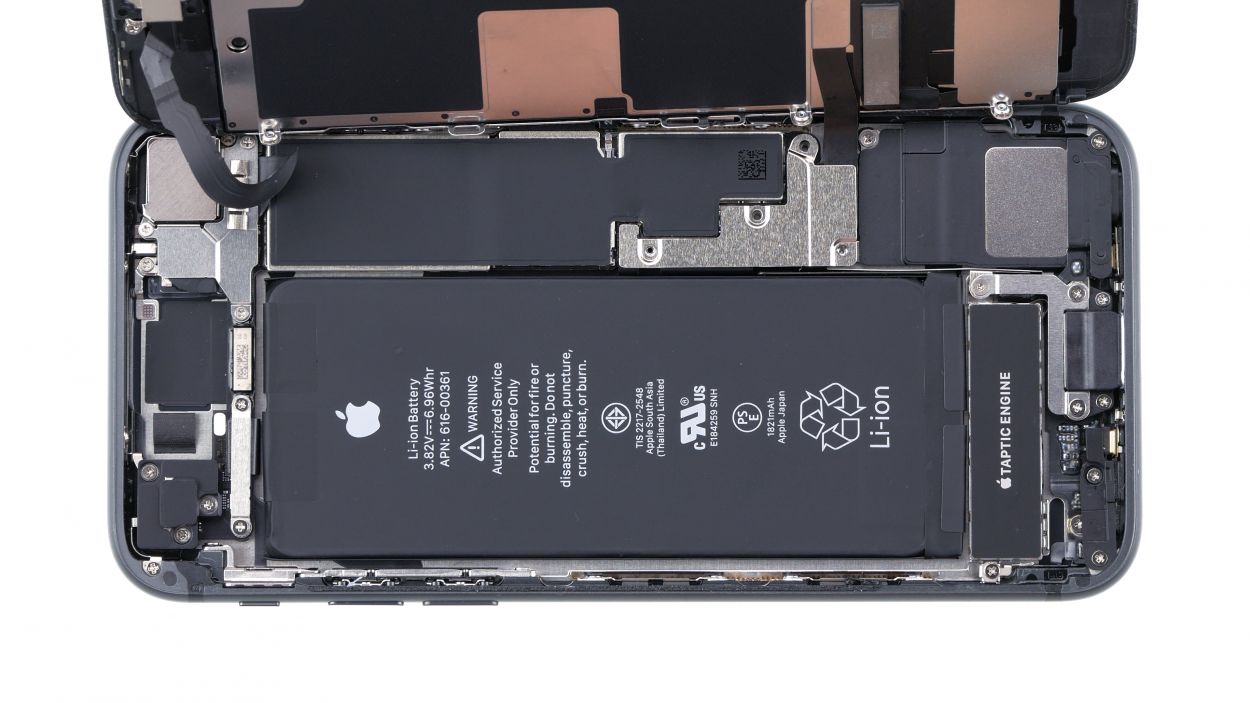
– Grab your trusty Phillips screwdriver and loosen those four screws on the contact cover. Once they’re all loose, gently lift it out of your device using some tweezers. You’ve got this!
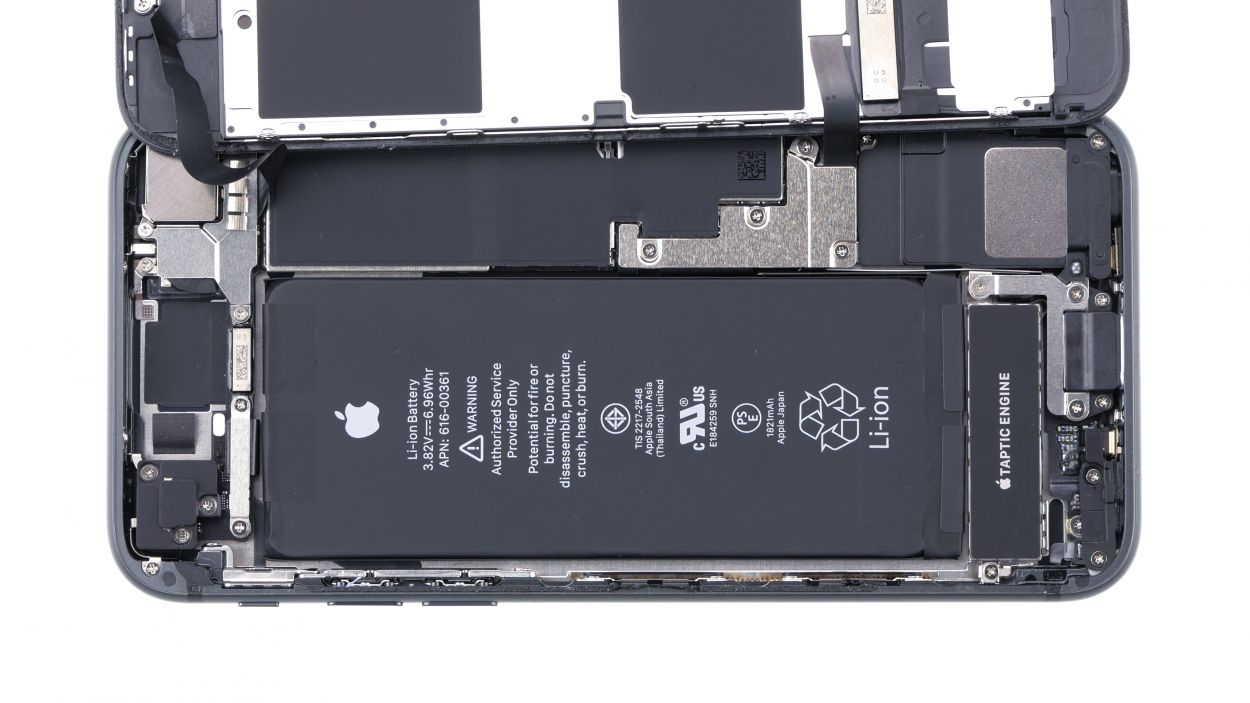
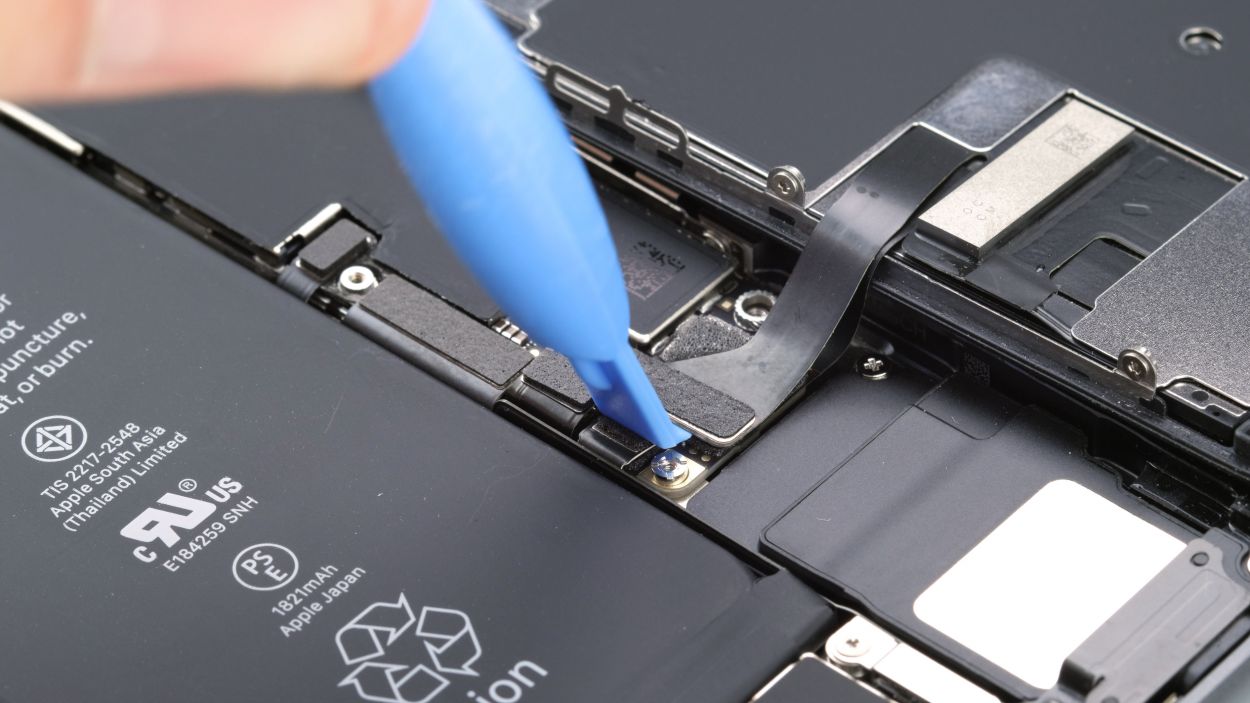
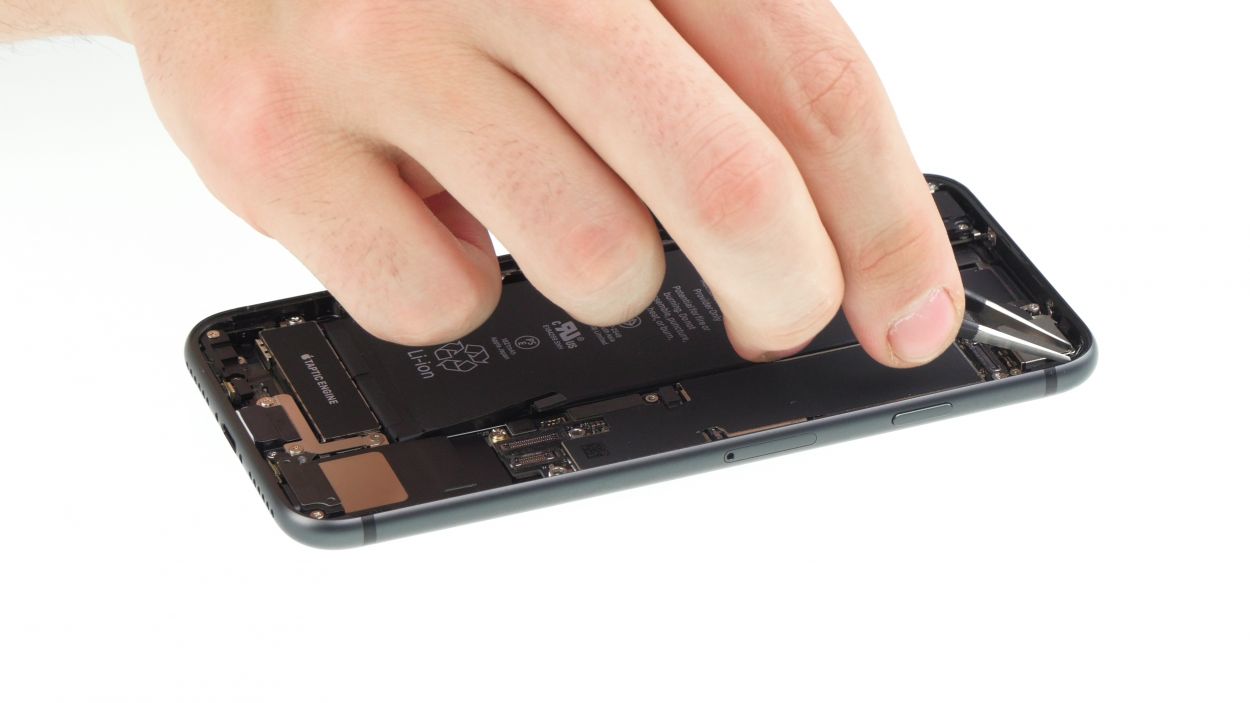
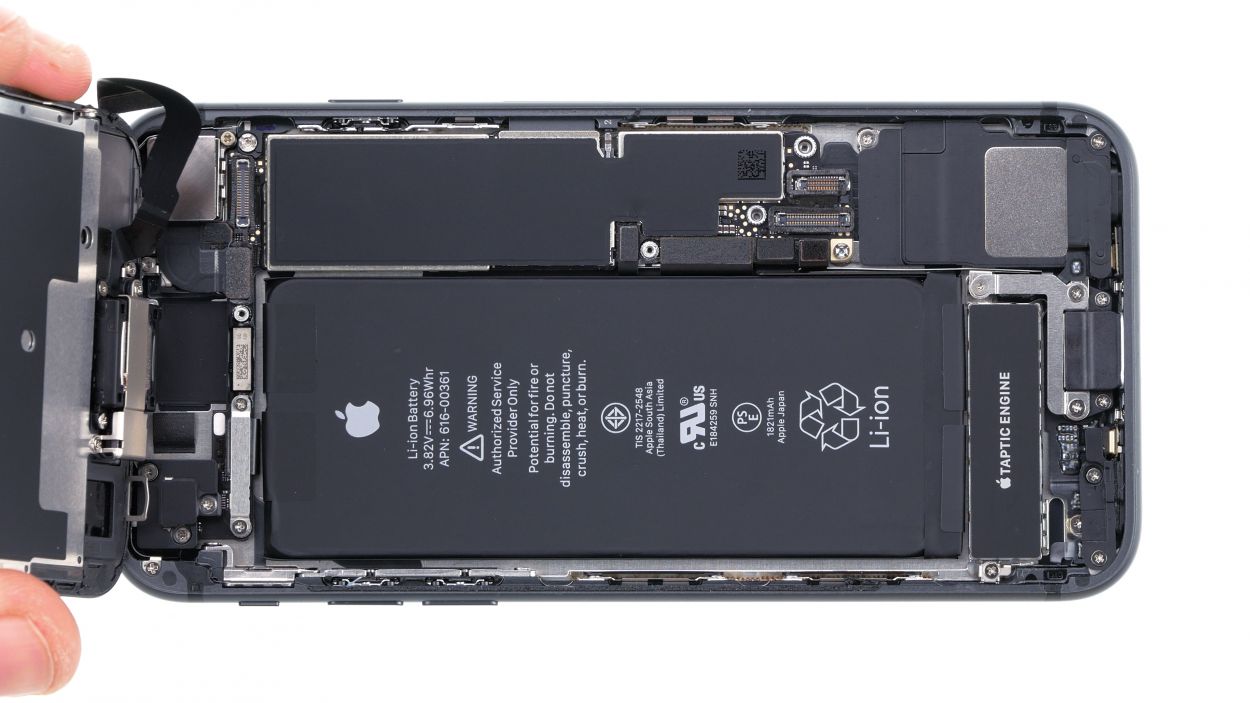
– Now, let’s disconnect that battery contact! Take a plastic spudger and slide it under the plug, giving it a little lift. Remember, a plastic spudger is your best buddy for this job!
2 × 2.6 mm Phillips
2 × 1.0 mm Phillips
Kick off your repair by disconnecting the battery connector right away! This nifty step helps you dodge any short circuits and keeps your phone from accidentally powering on while you’re working your magic.
In this guide, we’re featuring some snazzy photos of the iPhone 8. While the battery connector on your iPhone SE (2nd generation) might have a slightly different vibe, rest assured it’s hanging out in the same spot. Let’s get to it!
Step 7
– Grab your trusty plastic spudger and gently pry off the two connectors linked to the display (that’s the display and the home button). You’re doing great!
Tools Used
Step 8
3 × 1.0 mm Phillips
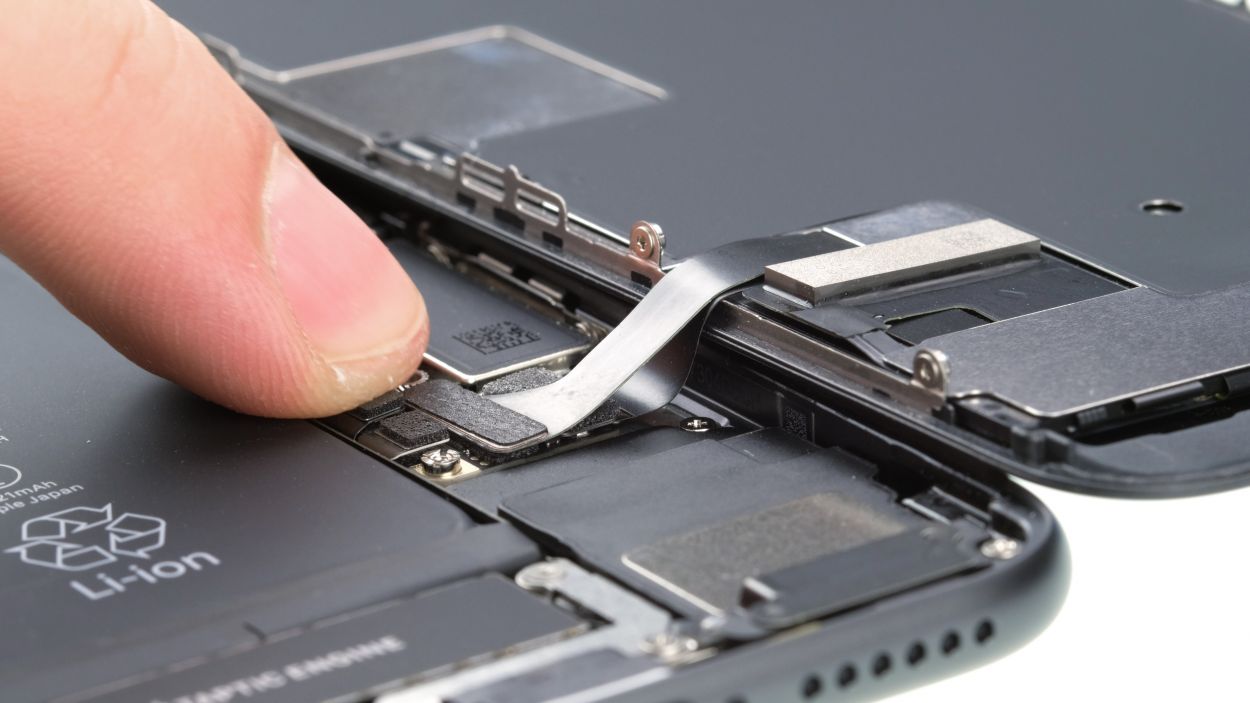
– Grab that trusty Phillips screwdriver (PH00) and loosen the three screws securing the cover over the FaceTime connector. You’re doing awesome!
– Now, gently use your spudger to disconnect the FaceTime connector from the board. Easy peasy!
– And just like that, you can now fully remove the display. Look at you go!
Step 9
2 × 2.5 mm Phillips
1 × 1.5 mm Phillips
1 × 2.2 mm Phillips
1 × 1.7 mm Phillips
Keep an eye on those screw lengths! Mixing them up could lead to a display disaster during reassembly. Let’s keep everything in tip-top shape!
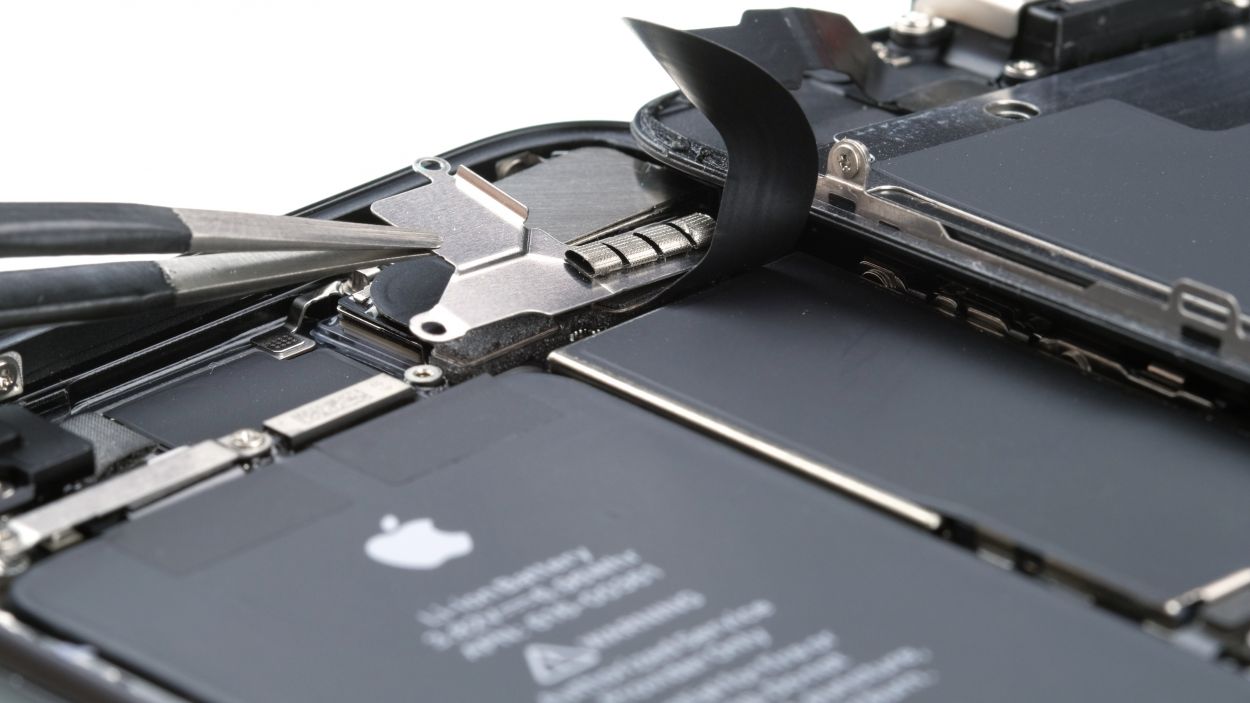
– First, let’s tackle those three Phillips screws holding down the metal cover over the earpiece. Once they’re out, make sure to place all the little pieces on a magnetic mat so they don’t go wandering off!
– Next up, loosen the two Phillips screws that are keeping the earpiece snug in the display unit. You’re making great progress!
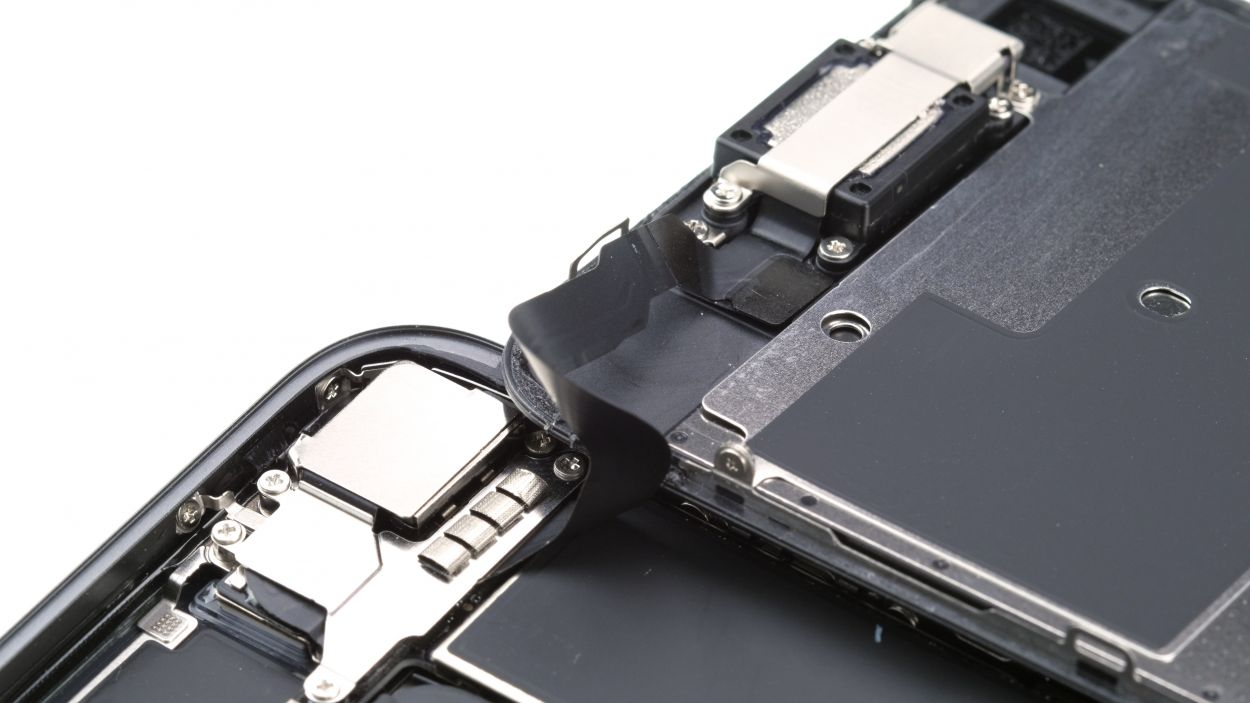
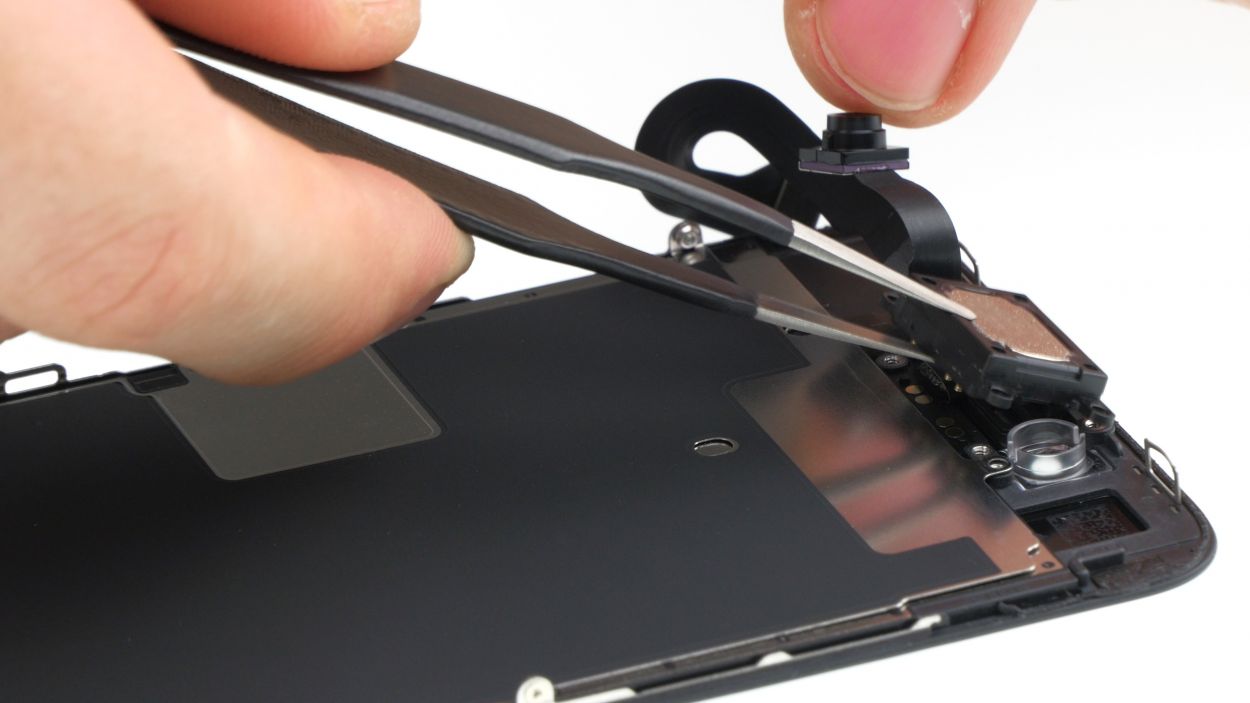
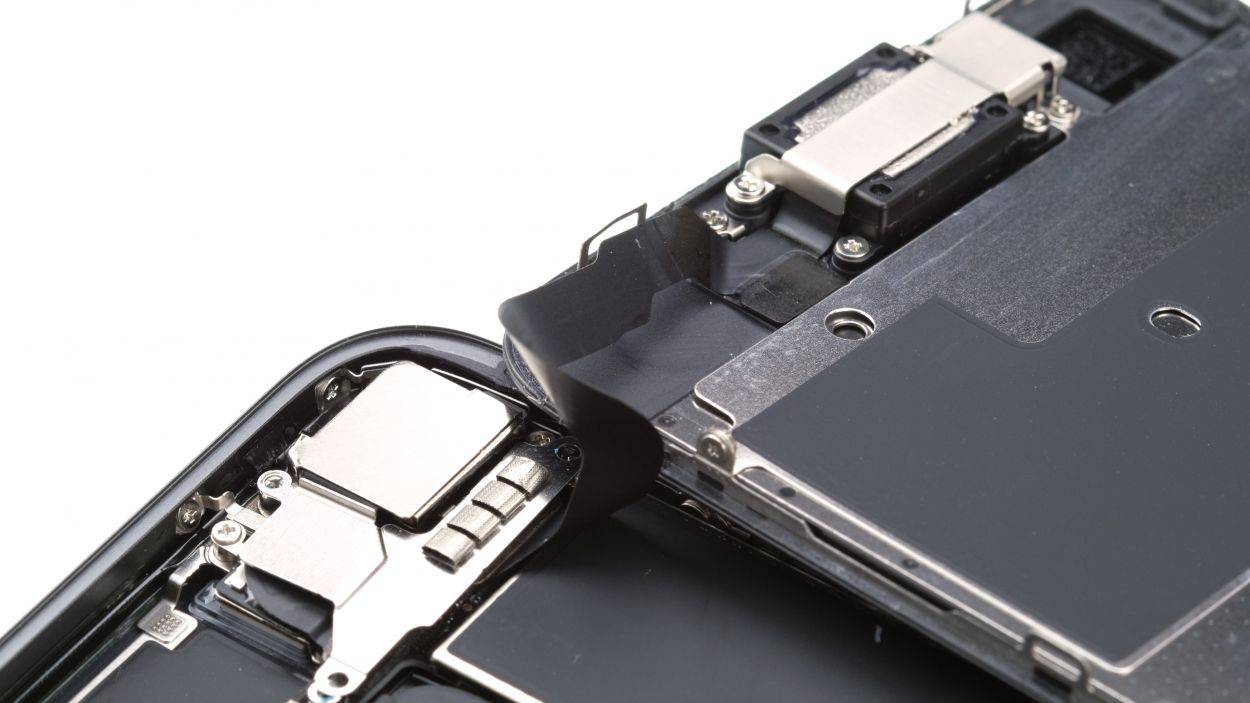
– Now, the earpiece is hiding under the flex cable of the front camera. To get it out, gently fold that cable to the side. You’re doing awesome!
Step 10
To make it easier to loosen it, heat the cable with hot air first. This will help loosen the adhesive and make it easier to remove.
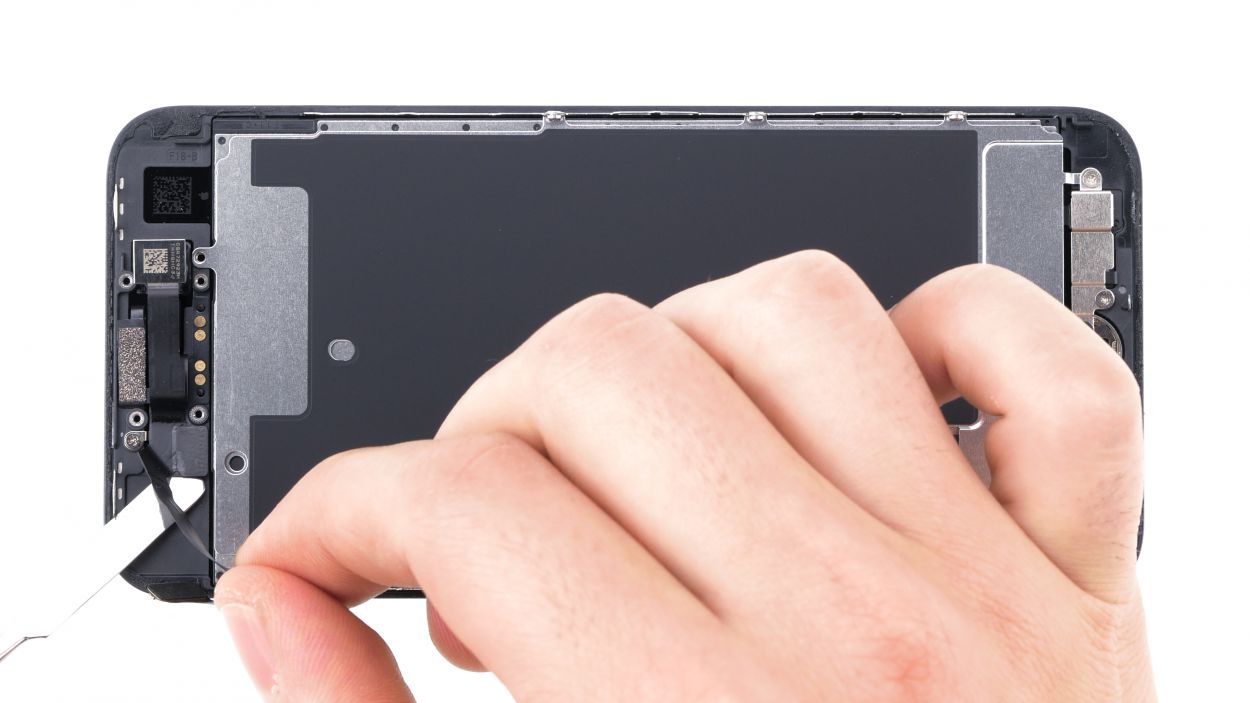
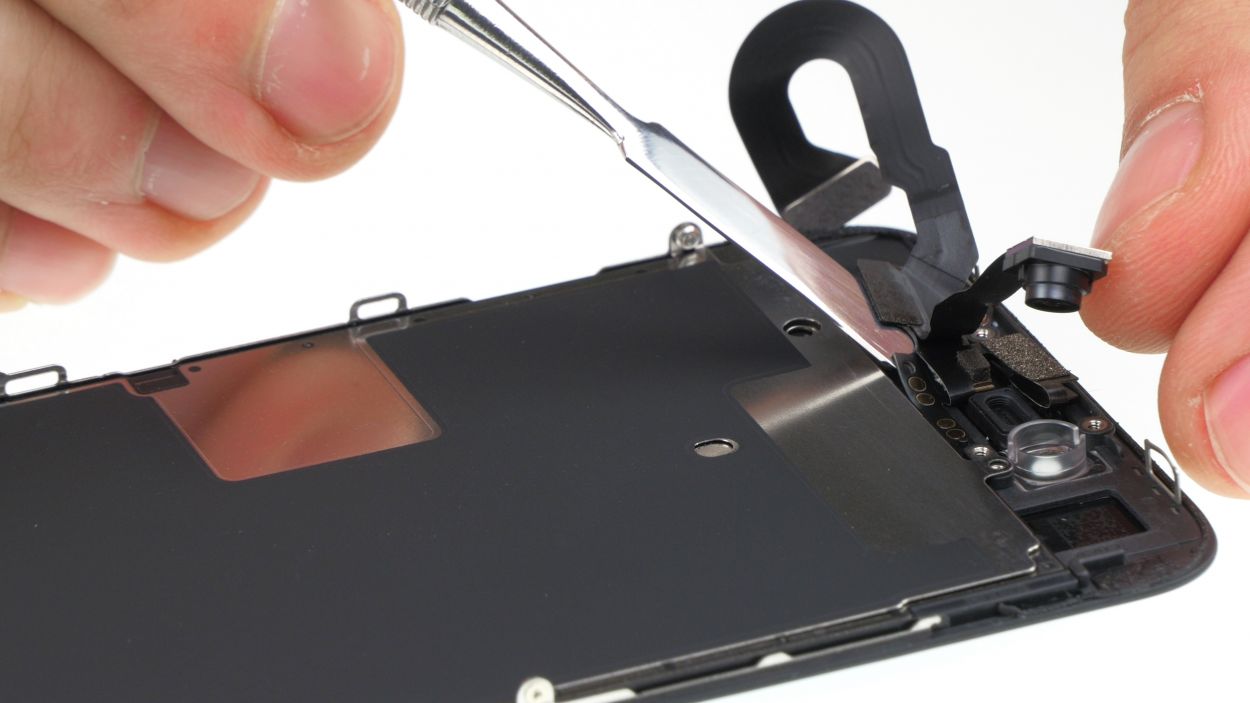
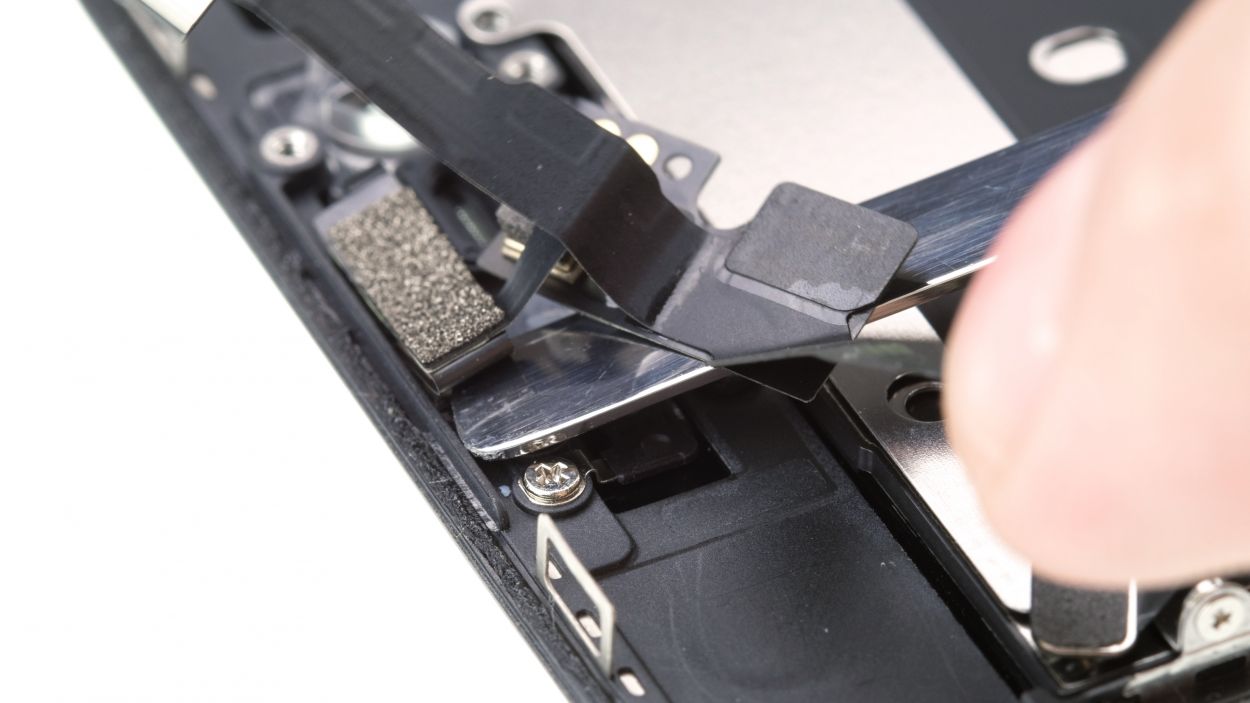
– To kick things off, gently slide a flat and stable tool, like a spudger or a steel spatula, underneath the stubborn flat cable that’s stuck to the display unit. This will help you coax it out without any fuss!
Step 11
Make sure to place the proximity sensor just right, or it might not work its magic as intended!
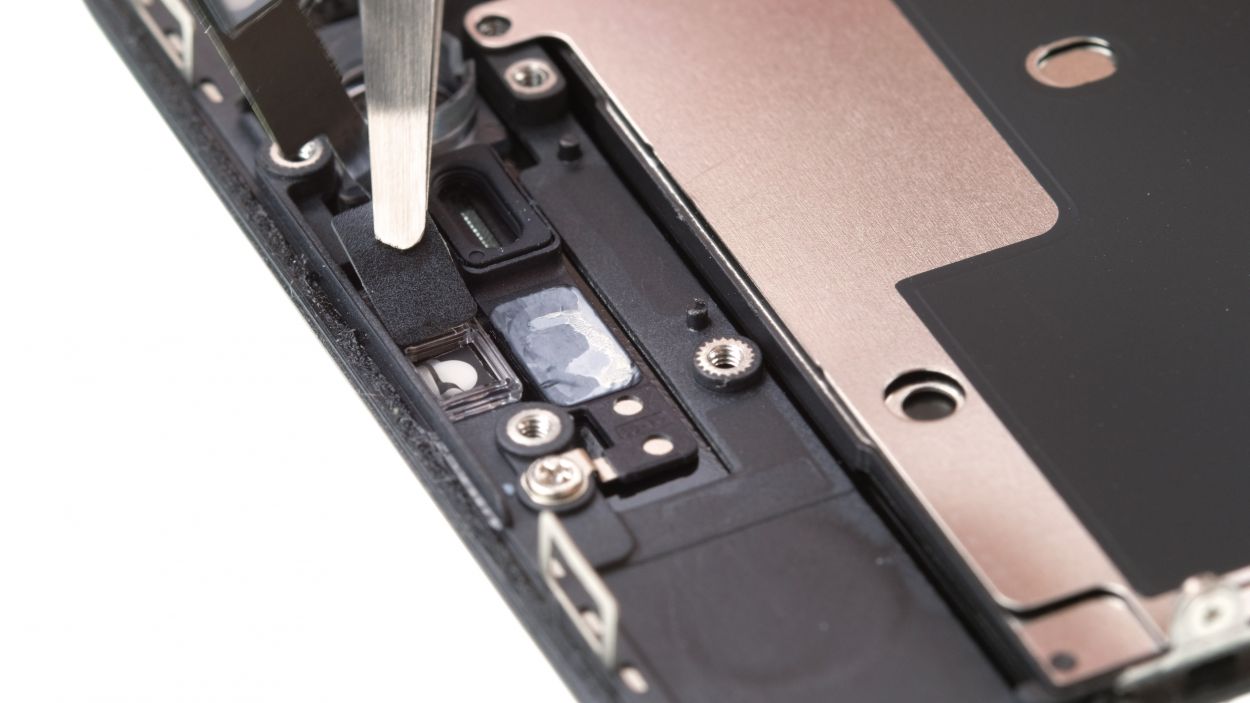
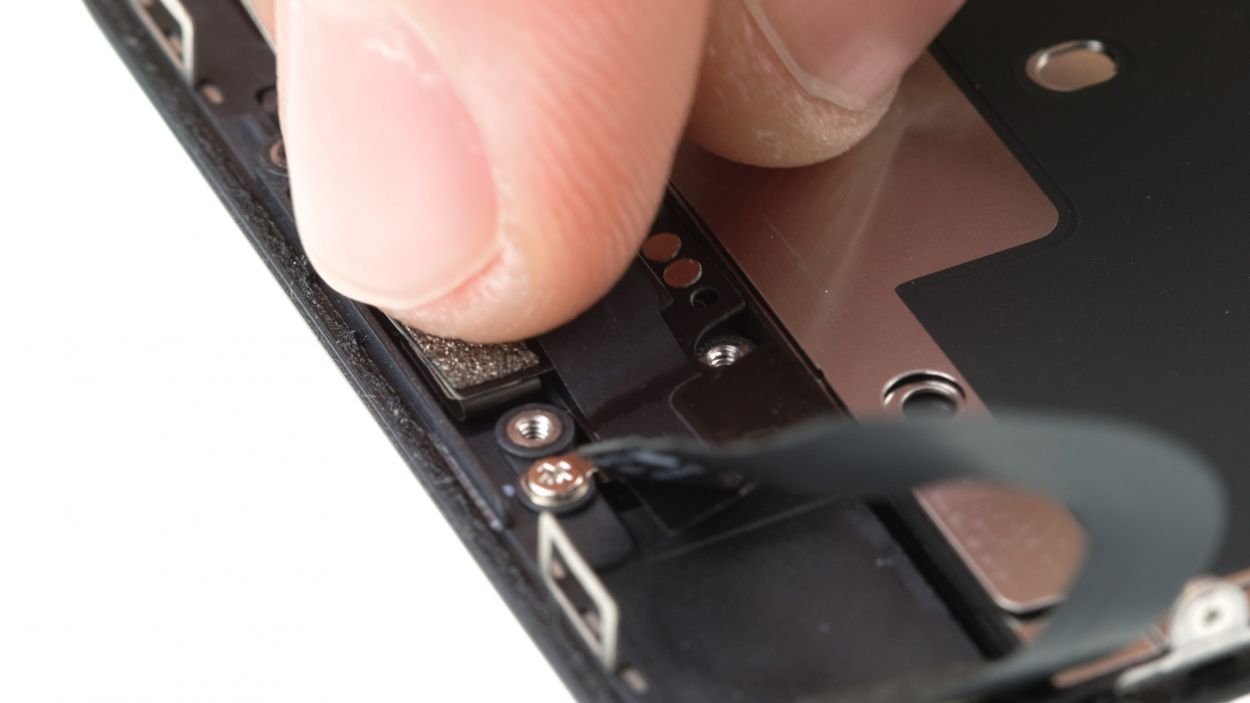
– Gently nudge those sensors on the FaceTime camera’s cable set back into their cozy sockets at the top of the display.
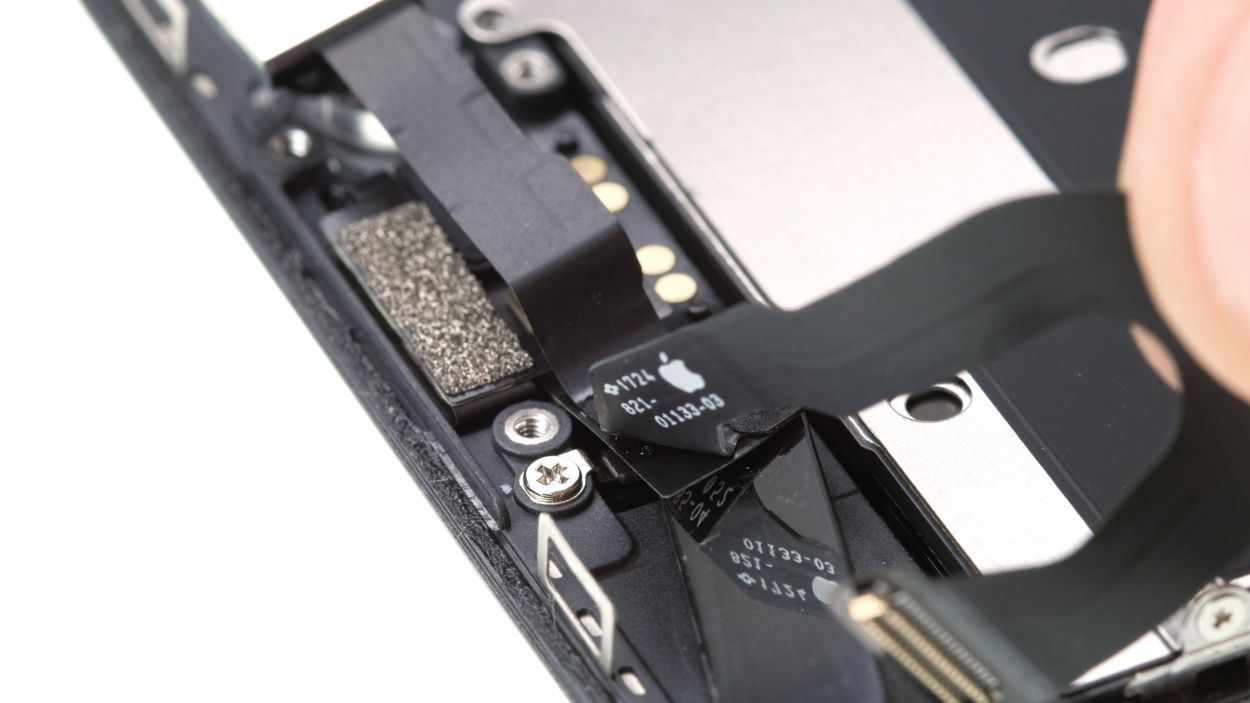
– Now, let’s get that FaceTime cable positioned just right! Use those handy little plastic lugs to guide it into place and give it a soft press so the adhesive can bond like best buds.
Tools Used
Step 12
1 × 2.2 mm Phillips
1 × 1.7 mm Phillips
1 × 1.5 mm Phillips
2 × 2.5 mm Phillips
Watch out for those screws! Mixing them up could lead to a little paint scratch party on your display. Keep the right screws in the right spots, and you’ll keep your iPhone looking sharp!
– Lift that FaceTime cable up and slide the earpiece back into its cozy little guide right above the sensors. You’re doing great!
Step 13
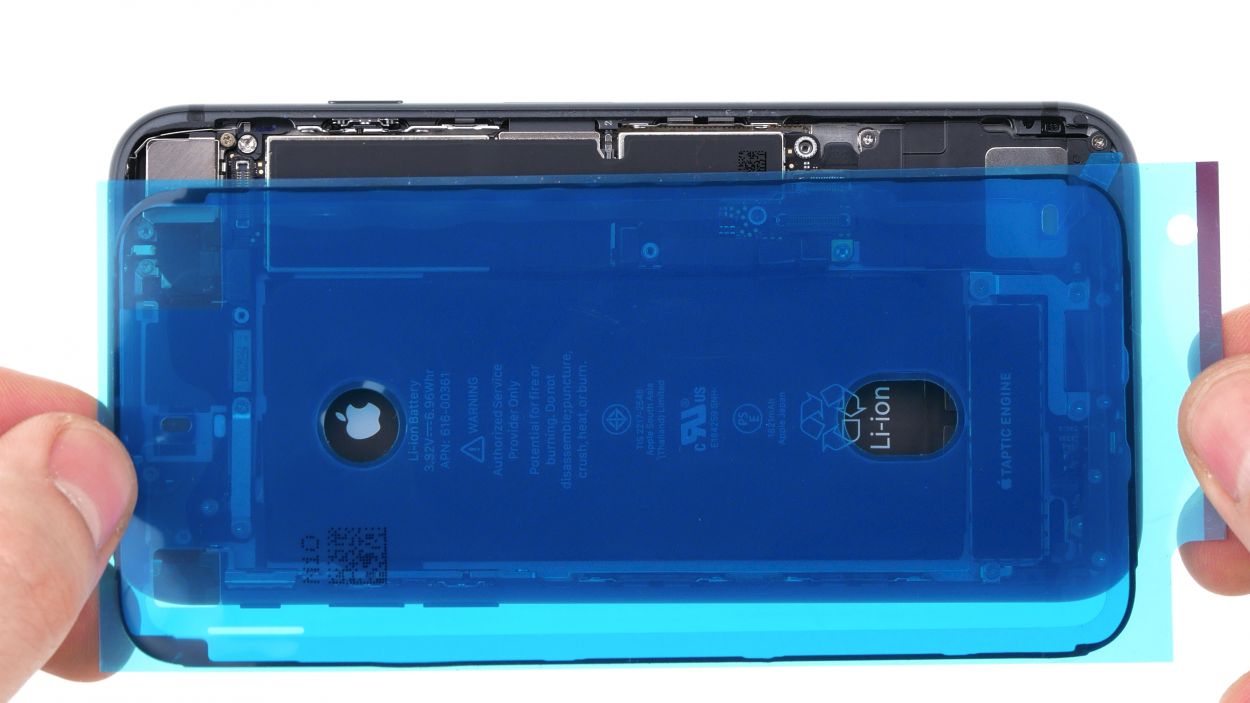
– First, let’s get that metal frame and display squeaky clean by removing any leftover adhesive residue. This way, your shiny new adhesive frame will fit right in like it was meant to be! Grab some tweezers or a spudger to help you out.
– Next up, take a moment to align the adhesive frame on the back cover of your iPhone SE. This will ensure everything is in its proper place, making your repair journey smooth sailing!
Once you’ve opened up your iPhone and added a shiny new adhesive frame, it’s ready to fend off dust and splashes again! Just a friendly reminder, it’s not 100% waterproof, so keep that in mind while you’re enjoying your repair journey!
The adhesive frame has corners that are uniquely shaped to guide you in aligning it perfectly with the back cover. It’s like a little puzzle piece that fits just right!
Tools Used
Step 14
3 × 1.0 mm Phillips
– Stand the display up on the upper case frame and connect that FaceTime connector to the logic board like a pro!
– Next, let the display chill on the case frame for a moment.
– Now, grab the bracket plate and place it back over the FaceTime connector, securing it with those three Phillips screws.
Step 15
– Connect the home button and display connectors to the logic board with care. You’ve got this!
Step 17
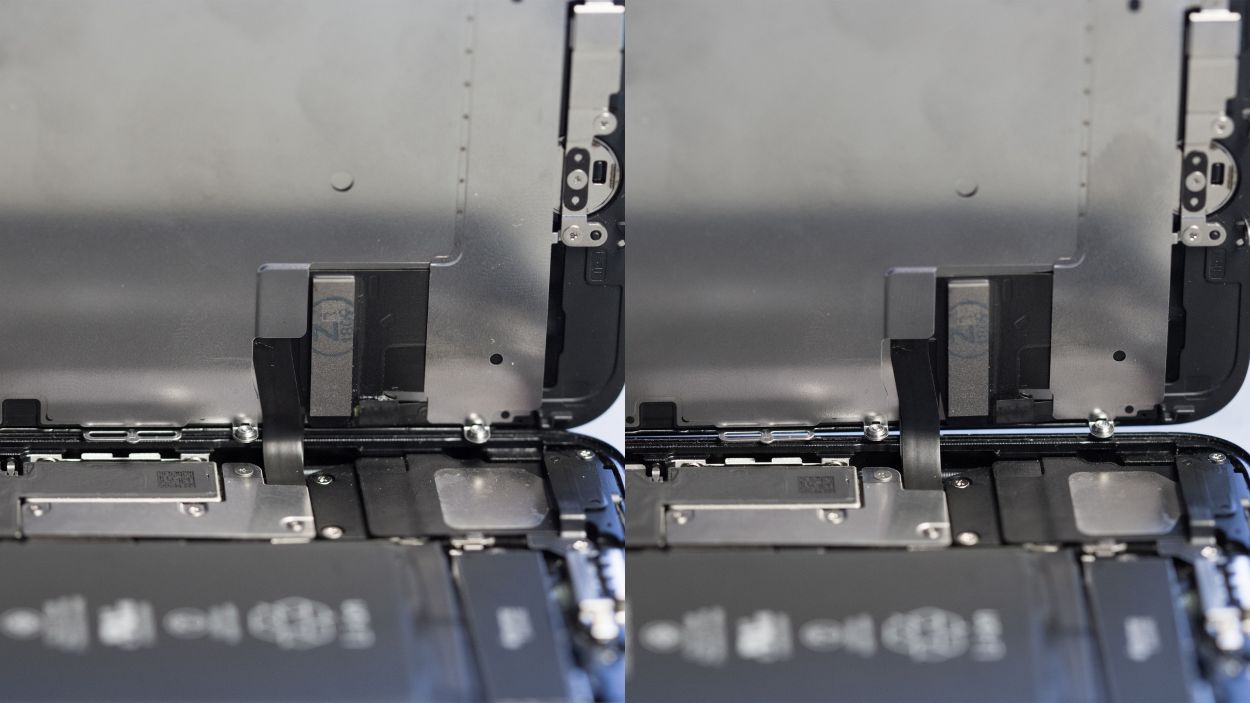
Wrong position
Right position
If a cable isn’t snug in its spot, you might see some funky spots on your display. So, before you seal everything up, double-check that the chip on the cable is sitting pretty in the right position. Need a visual? Our photo’s got you covered!
Step 18
2 × 3.4 Pentalobe
– Grab those two pentalobe screws and secure them into the rear case of your iPhone SE, right next to the Lightning connector. You’re doing great, keep it up!
Tools Used
