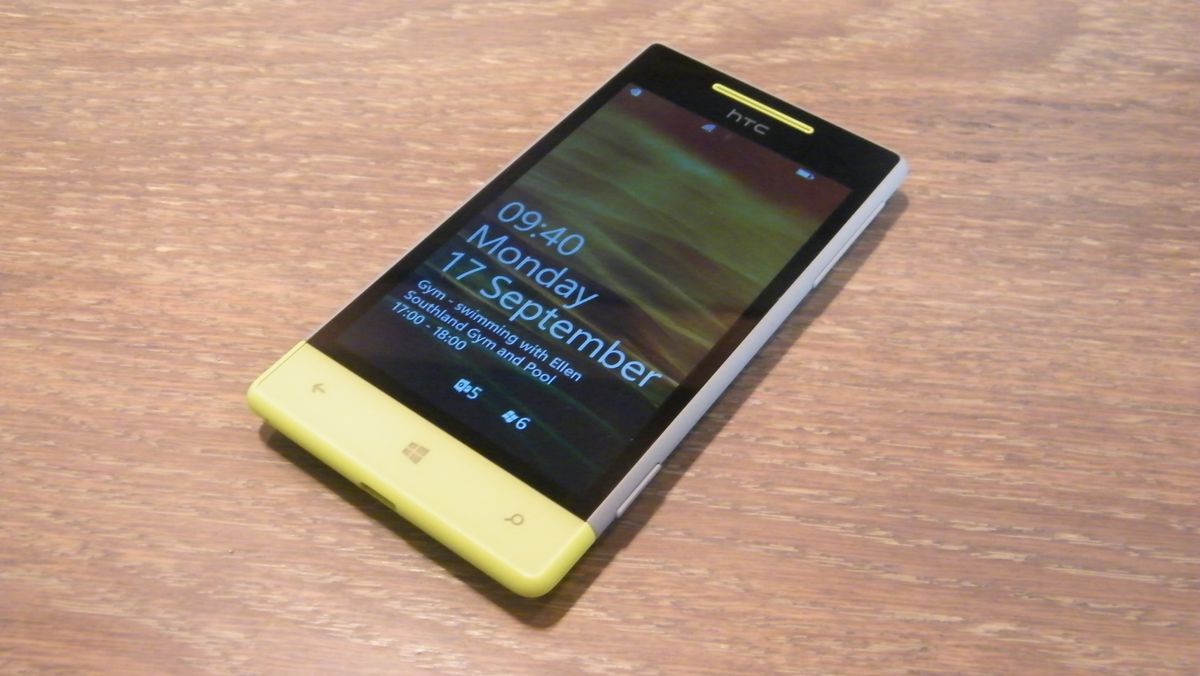
DIY HTC Phone Logic Board Replacement Guide: Step-by-Step
Duration: 45 minutes
Steps: 7 Steps
Ready to dive in and take your phone apart? Let’s tackle the task of disassembling it and extracting the logic board with confidence! Just follow these steps carefully, and you’ll have it out in no time. If you need help, you can always schedule a repair!
Step 1


– First things first, let’s power down that phone!
– Next up, pop open the cover for the SIM and memory cards.
– Now, gently take out any SIM and memory cards you find.
– Grab your trusty T5 torx screwdriver and unscrew those two little screws at the bottom of the battery or back cover.
Step 2


– Grab a trusty plastic tool and gently work your way around the back cover to separate it. Take your time, you’ve got this!
– Once inside, you’ll find the loudspeaker hanging out on the back cover. Pretty neat, right?
Step 3


– Grab your trusty Phillips #0 screwdriver and let’s get those shiny silver screws out—there are four of them waiting for you!
– Now, with a gentle touch, use a plastic tool to carefully coax the battery away from the logic board. It’s like giving your device a little hug!
Tools Used

Step 4


– Whoa, batter up! Time to connect with your phone’s power source. First, get sporty and remove the middle frame. Next, unplug the battery and give it some space. Now your power-hungry device can power down and relax a bit. No worries if you need help; you can always schedule a repair!
Step 5
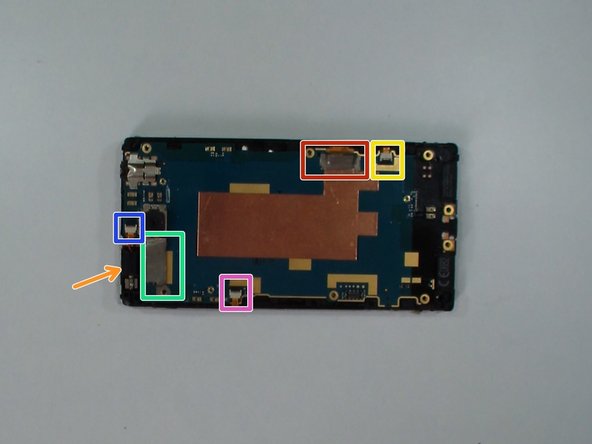

– Let’s get that USB dock connector metal plate outta there!
– Time to unleash the flex cable connectors:
– Grab the vibrating motor and give those flex cables a gentle nudge, except the LCD display flex cable. That one’s staying put for now.
– LCD display flex cable
– Menu buttons flex cable
– Volume buttons flex cable
– Touch screen flex cable
– Power button flex cable
Step 6

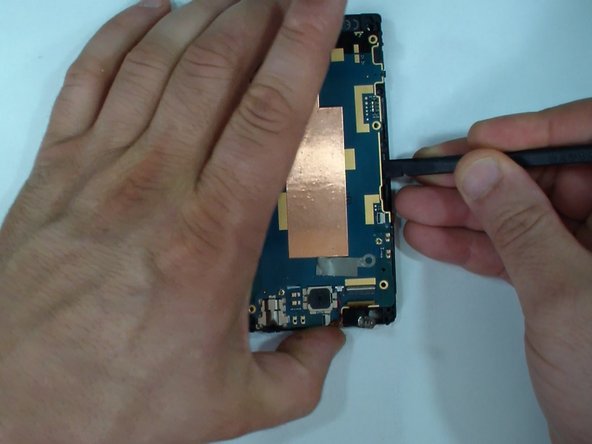
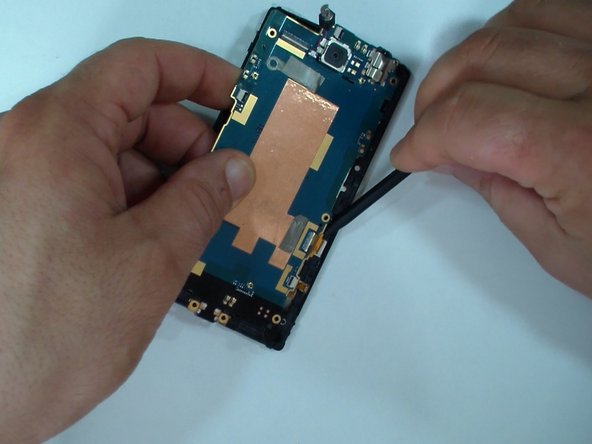
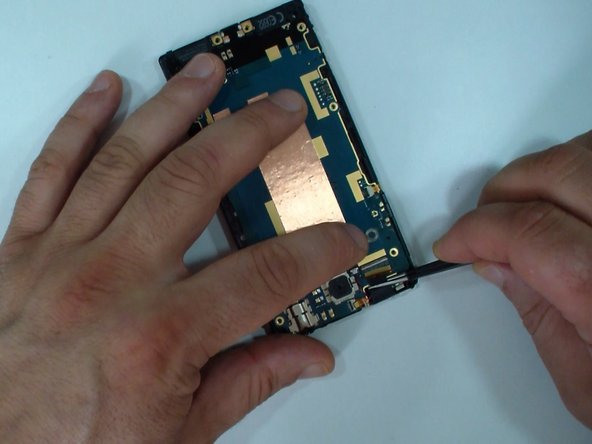
– First things first, the logic board is snugly held in place by two locking clips on the display frame. Give them a gentle nudge to release the board.
– Time to grab your trusty plastic tool—this little buddy will help you with the release. Use it to carefully pop those clips apart.
– Now, let’s free the LCD display flex cable from its connector. Carefully disconnect it to move forward with your repair adventure!
Step 7


– To bring your device back together, just retrace your steps in reverse! You’ve got this!
– If you found yourself needing a break from this guide, that’s totally okay!
– Remember, every repair journey is unique and yours is no different!
Success!