DIY HTC Windows Phone 8S Display Replacement Guide
Duration: 45 minutes
Steps: 11 Steps
Ready to breathe new life into your device? Let’s dive into the exciting world of disassembling and swapping out that shattered touch screen glass and LCD display! Stick with me, and soon you’ll have your gadget looking as good as new. Remember, if you ever need a hand, you can always schedule a repair!
Step 1


– Let’s kick this into high gear! First, turn off your gadget and give the SIM/memory card access panel the family jewels. Unclasp any cards and then TGIF – it’s tool time! Unsccrew the screws at the bottom with a funky wrench, and voila – pure battery/back cover action!
Step 2


– Grab a trusty plastic tool and gently pry off the back cover. It’s like giving your device a little hug, but with tools!
– The loudspeaker is hiding out under the back cover. It’s probably just taking a nap.
Step 3


– Grab your trusty Phillips #0 screwdriver and go ahead and take out those 4 shiny silver screws.
– Now, with a nifty plastic tool, gently pry the battery away from the logic board. Easy peasy!
Tools Used


Step 5
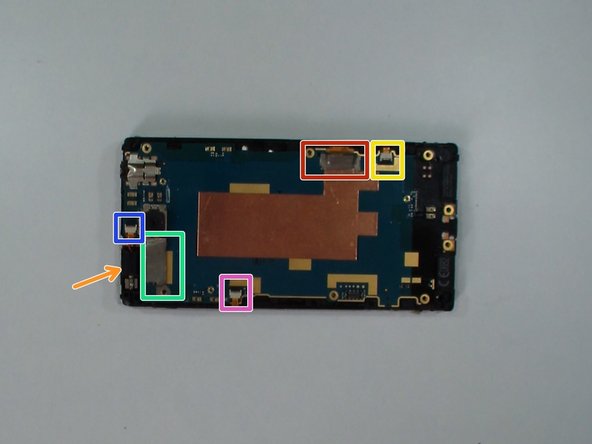

– First things first, let’s get that USB dock connector metal plate off! You’re doing great!
– Now, it’s time to detach those flex cable connectors. You’ve got this!
– Carefully lift out the vibrating motor and make sure to unplug all flex cables except the one for the LCD display. Keep it focused!
– Here’s the game plan: unplug the LCD display flex cable.
– Next, say goodbye to the menu buttons flex cable.
– Time to release the volume buttons flex cable! Almost there!
– Now, let’s move on to the touch screen flex cable.
– And finally, don’t forget to gently detach the power button flex cable. You’re on a roll!
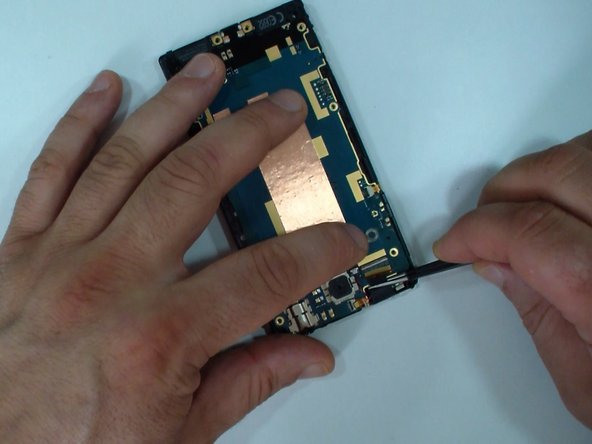
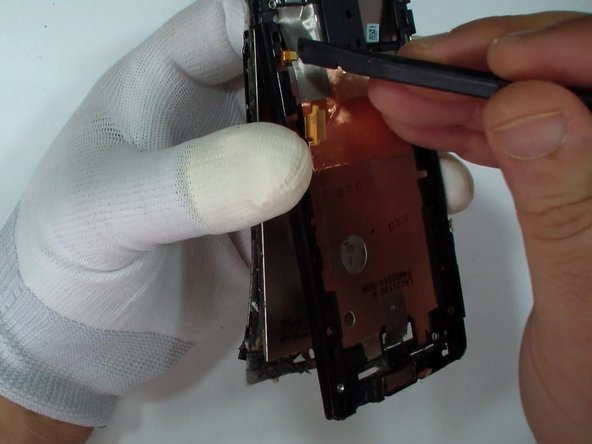
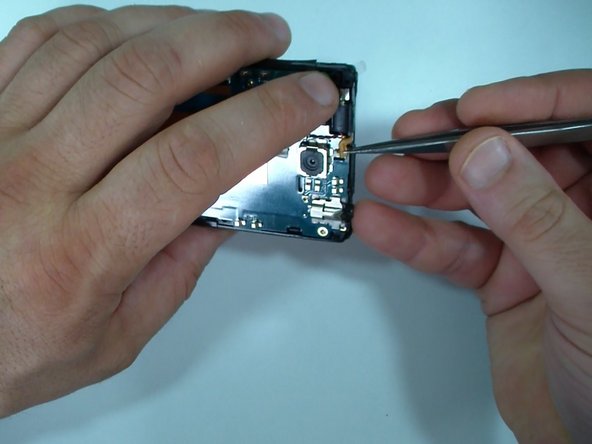
Step 6

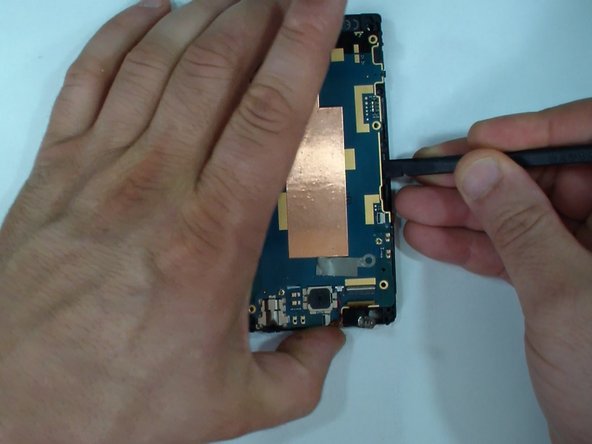
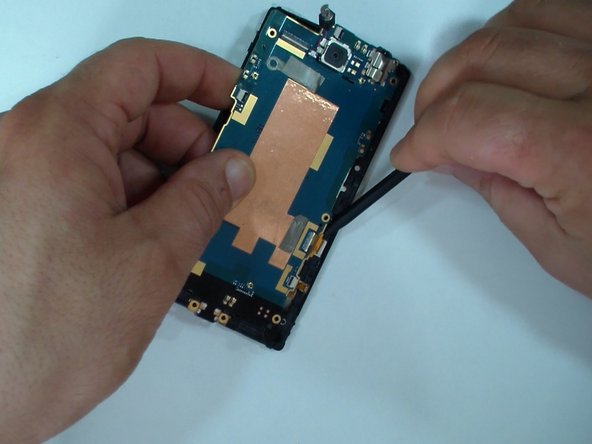
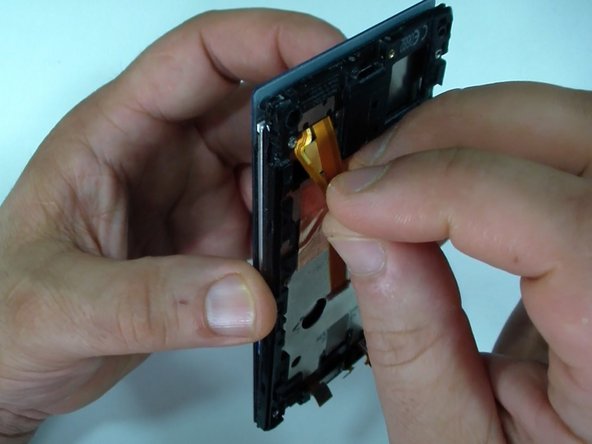
– The logic board is held in place by two sneaky clips on the display frame.
– Grab a plastic tool and gently coax those clips to let go.
– Next, carefully disconnect the LCD display flex cable from its connector. If you need help, you can always schedule a repair.
Step 7


– HTC Windows Phone 8S Logic Board.
Step 8

– Drop some knowledge right here!
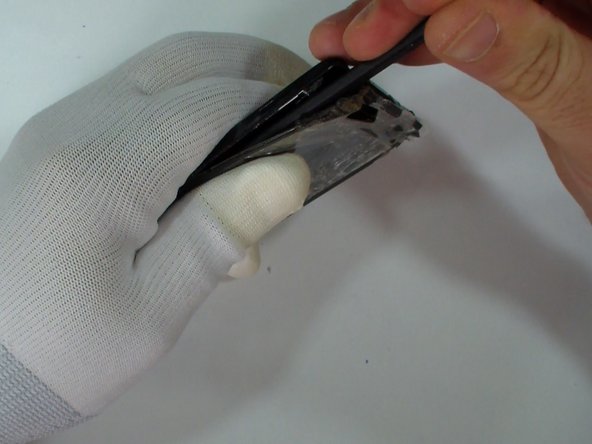
Step 9

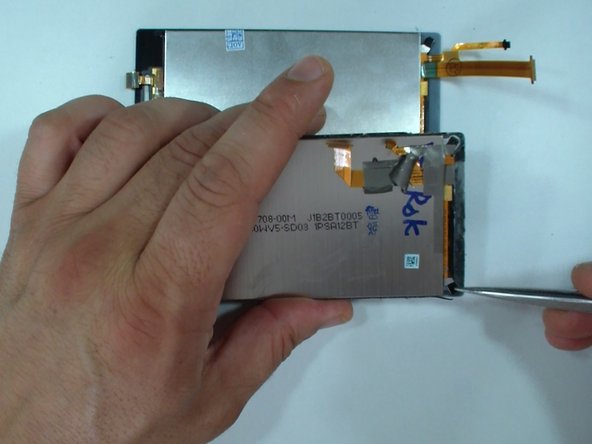
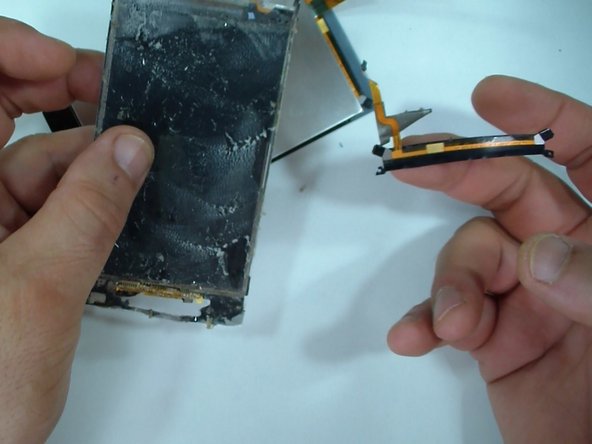
– Take a moment to inspect your spare part for the menu buttons flex cable—make sure it’s ready for action!
– If you need to, gently detach the flex cable from the old touch screen. It’s all part of the process!
Step 10

Using an adhesive sticker that’s designed for your specific model will definitely make things go smoother.
Step 11

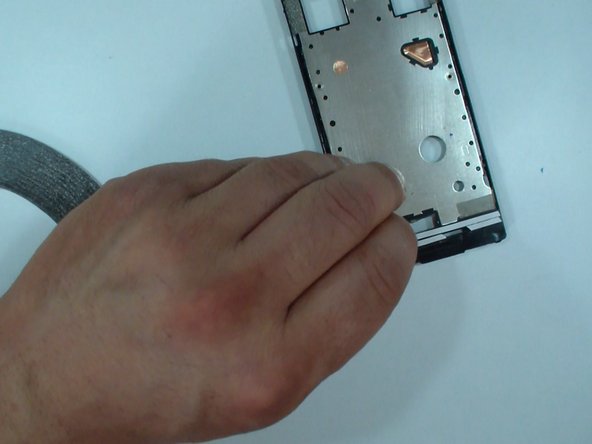
– Get those menu buttons and LCD display flex cables ready, champ!
– Let’s get this thing back together, one piece at a time!
– How’s it looking?
– You’re doing great!
– Keep going!
– Almost there!
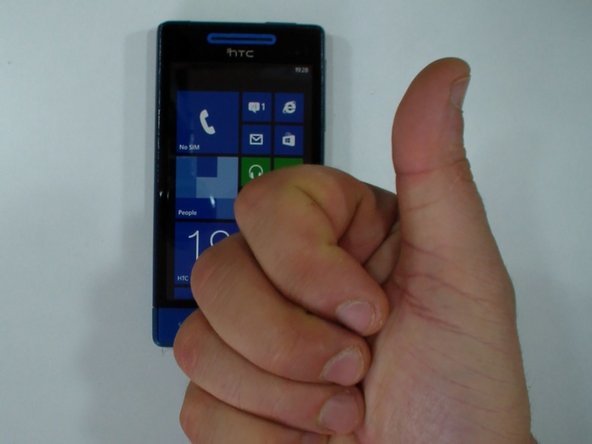
– Did you nail it? If you need help, you can always schedule a repair
Success!