DIY Huawei P30 lite Screen Replacement Guide: Step-by-Step Tutorial
Duration: 90 min.
Steps: 22 Steps
Oops! That moment when your Huawei P30 lite slips from your grip and meets the unforgiving floor. Now your display has some new scratches and splinters to show off. But don’t worry, it’s not the end of the road! With our easy step-by-step guide, you can swap out that screen yourself. We suggest replacing the display along with the frame for a smoother fix. Just pop open the glass back cover, take out all the components from the old display, and slide them into the new one. If your frame was scratched or the buttons were feeling a bit tired, this is the perfect chance to refresh everything. If you run into any hiccups during the repair, feel free to reach out to our team. Simply use the comment or chat function. Good luck with your project, and enjoy your newly repaired Huawei P30 lite!
Step 1
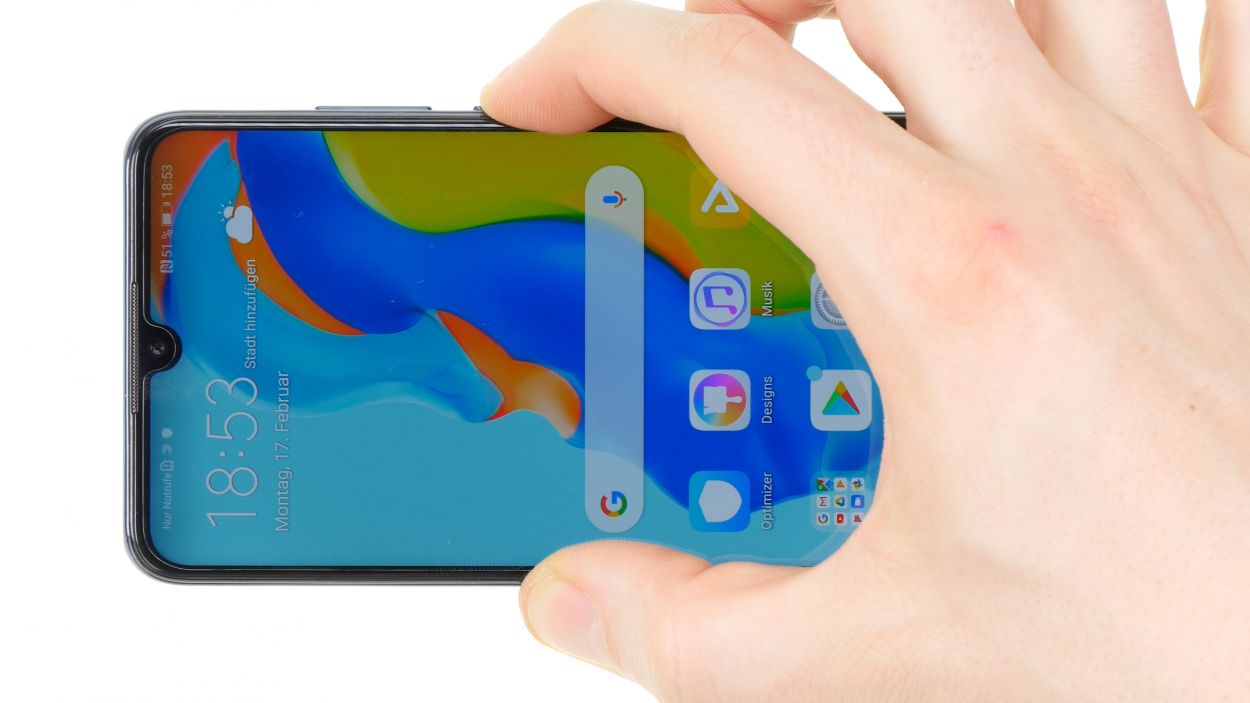
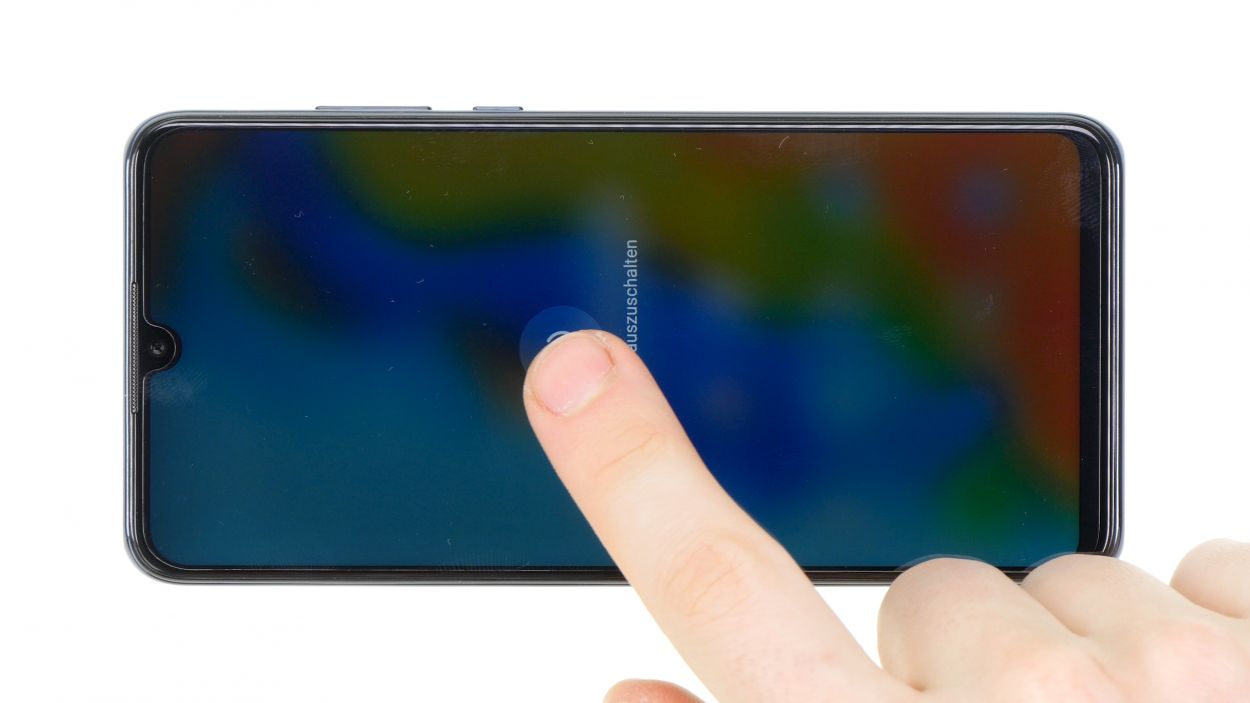
– First things first, let’s power down your Huawei P30 lite by giving that power button a good press.
– Once you’ve done that, just confirm it’s off and hang tight until your device is completely shut down.
Step 2
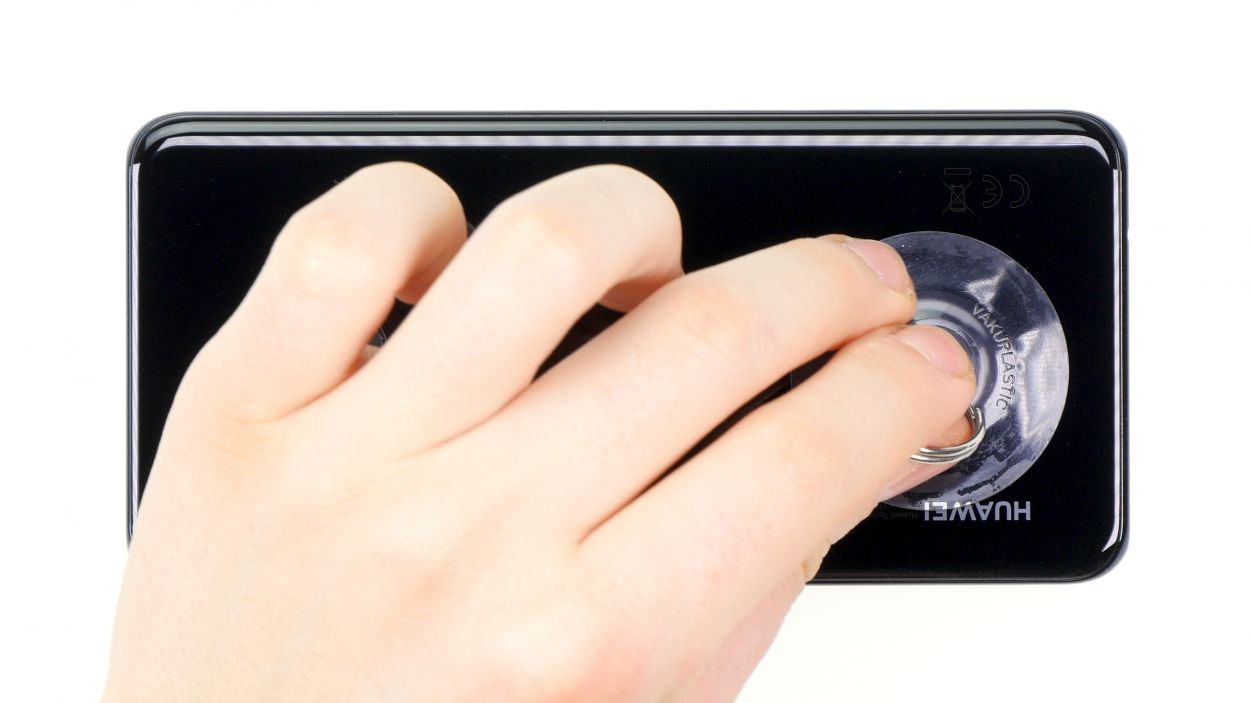
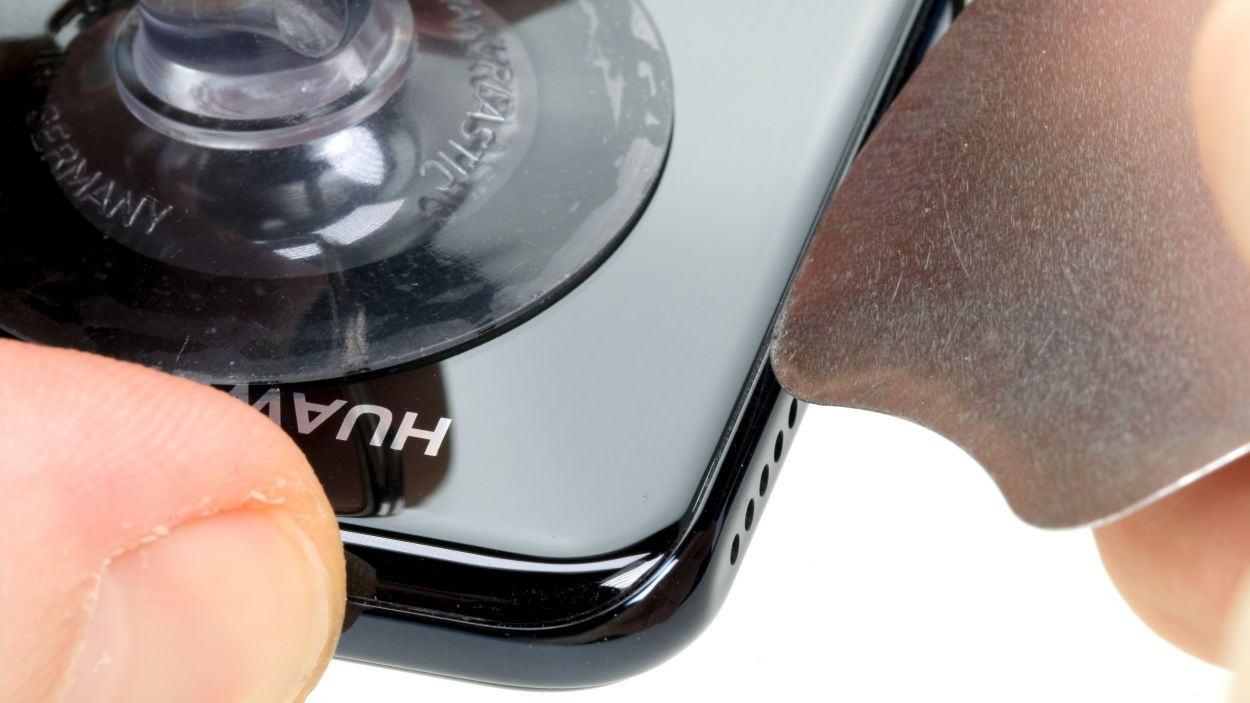
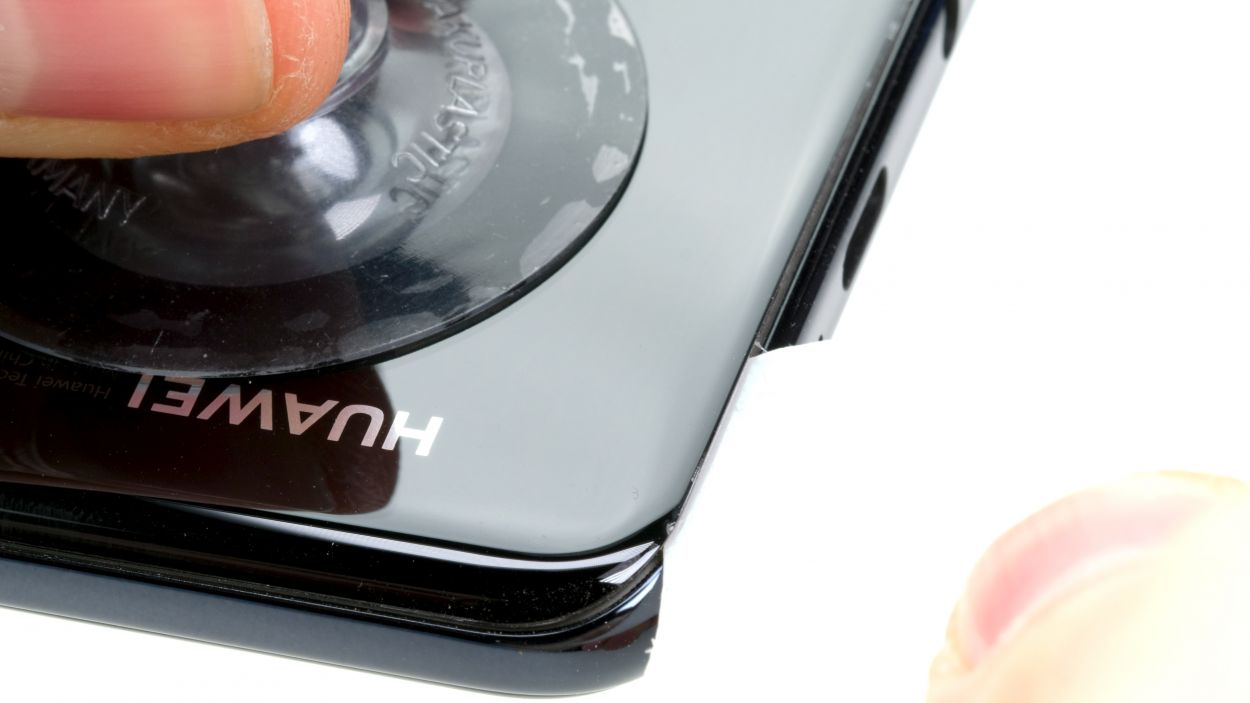
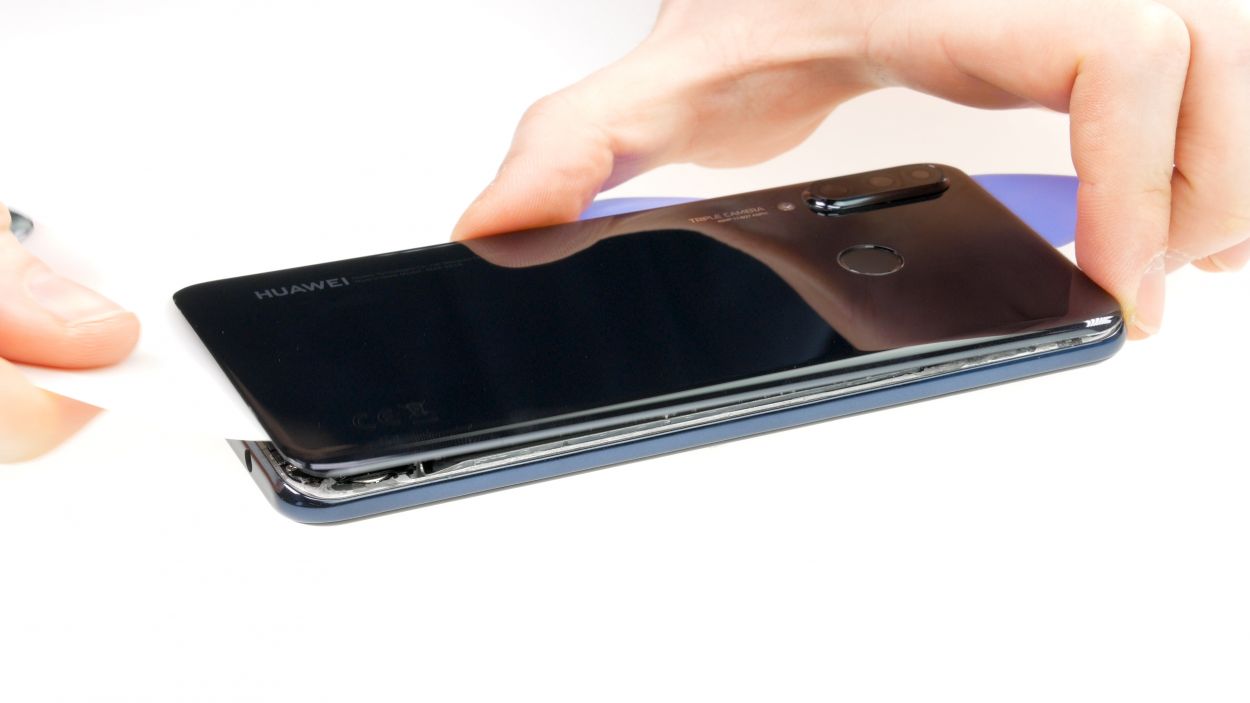
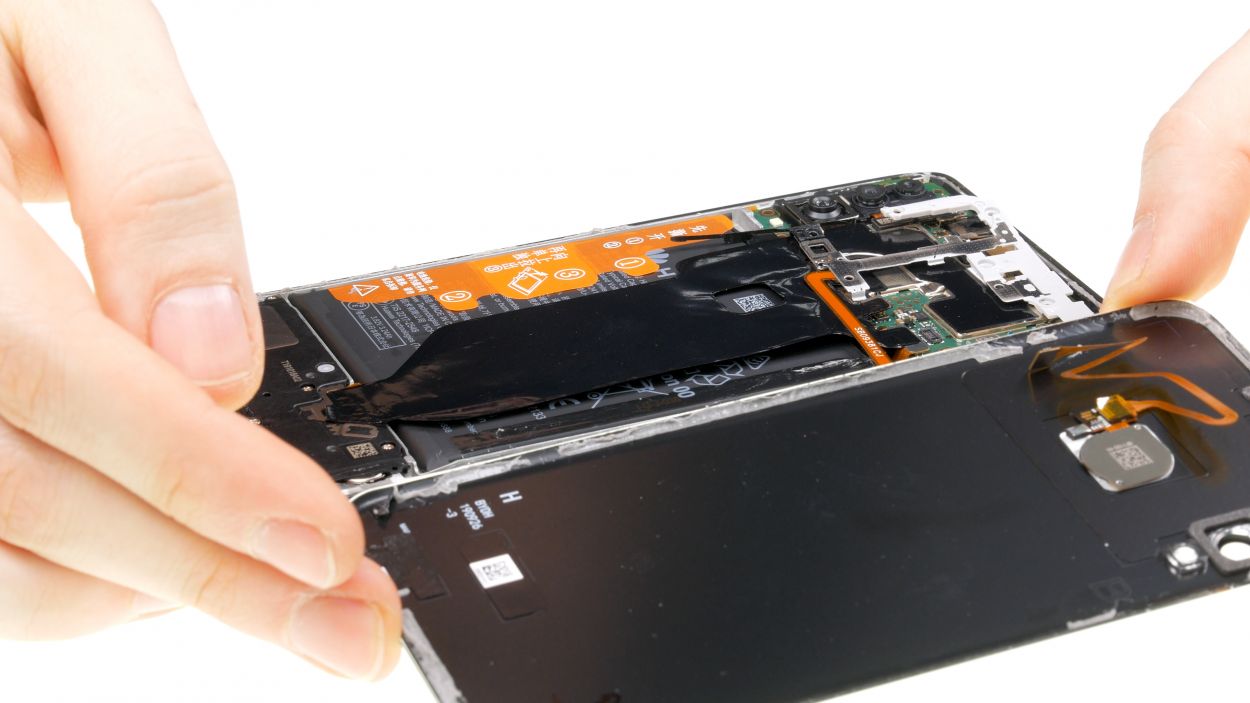
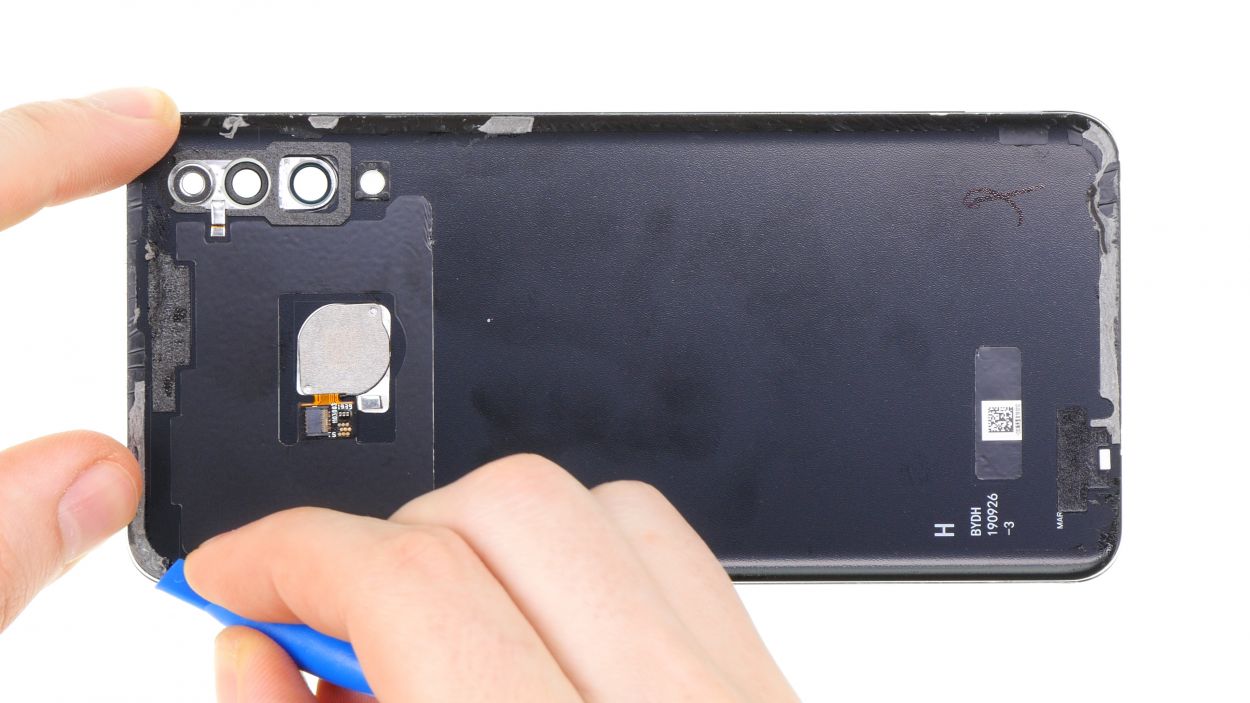
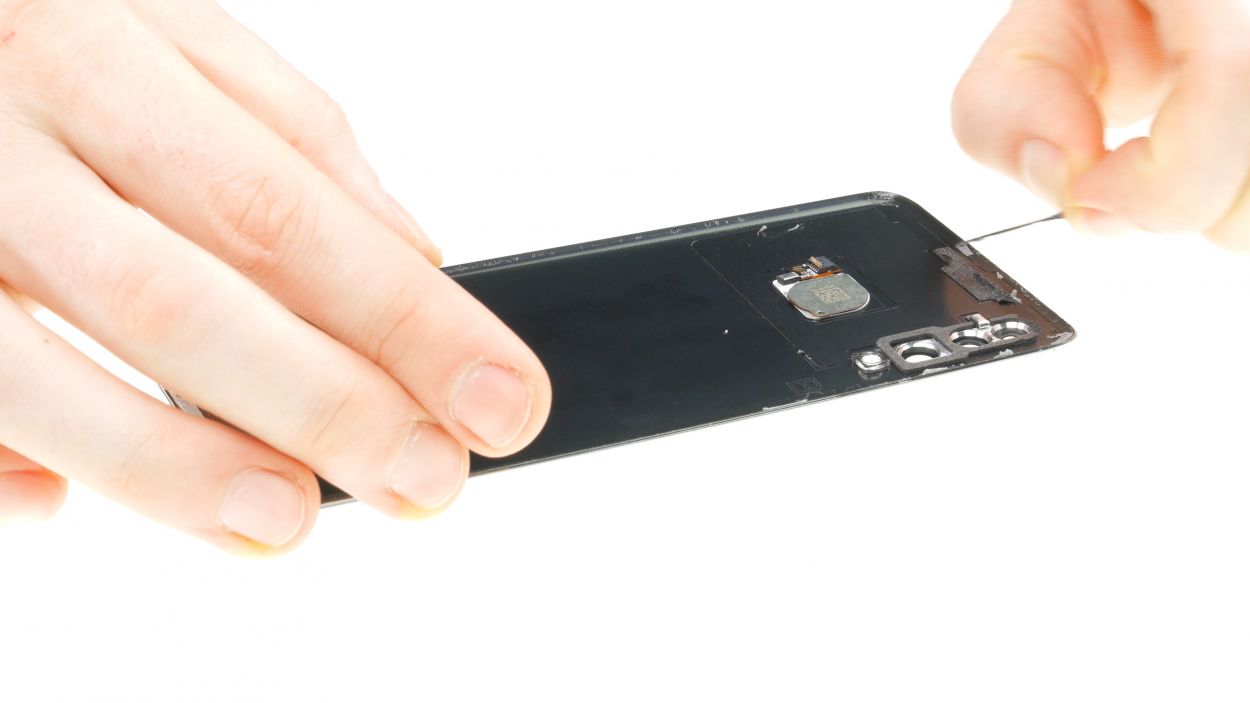
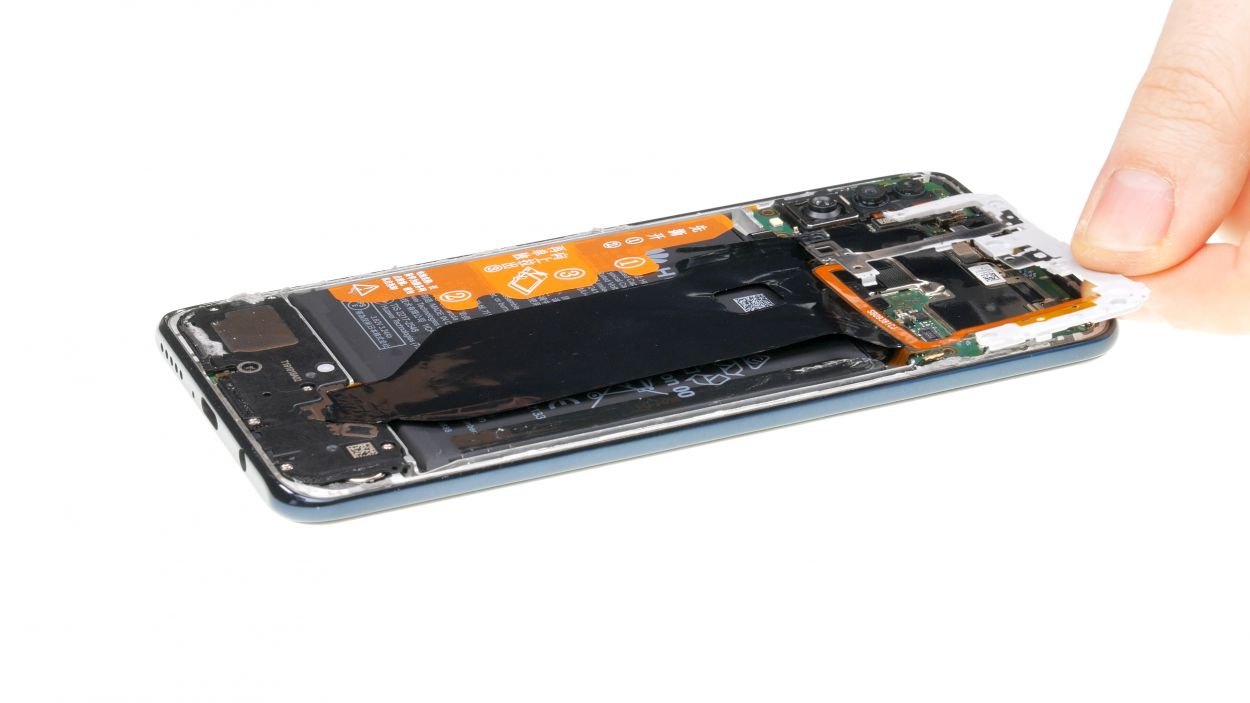
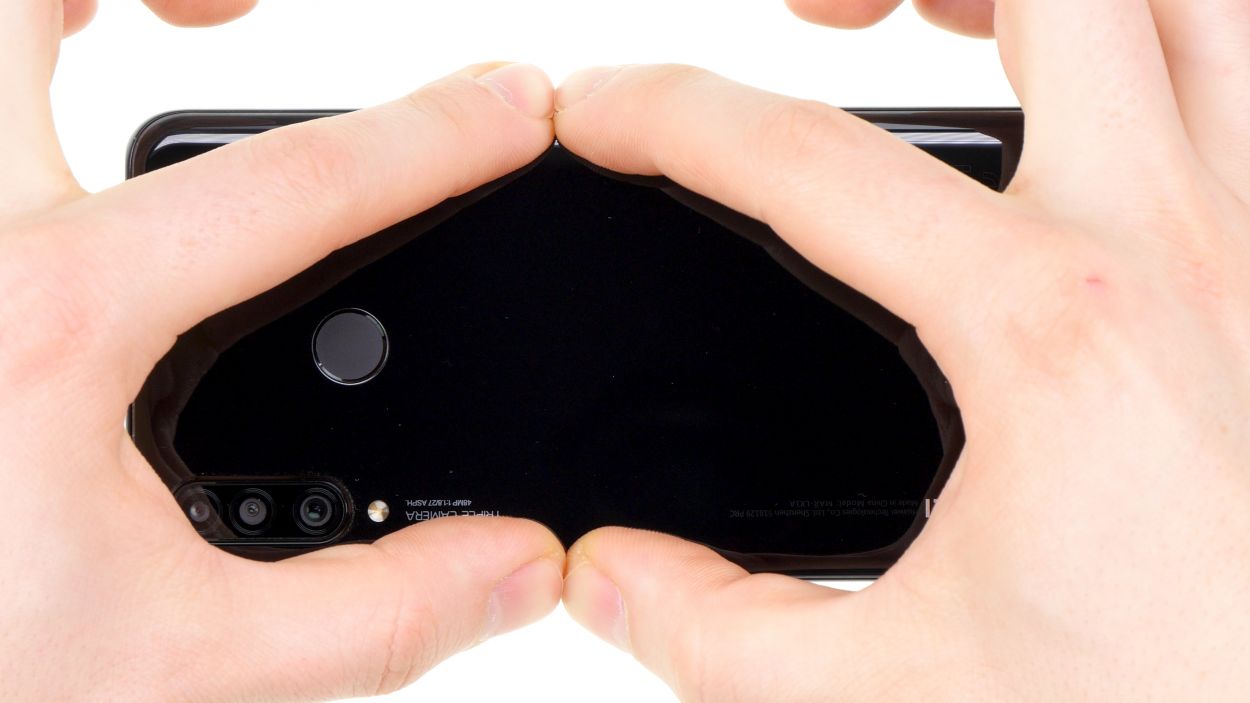
– First, let’s warm up that frame with a blast of hot air! Aim for a cozy temperature between 60-80 degrees. This little heat session will make it way easier to pry off the glue.
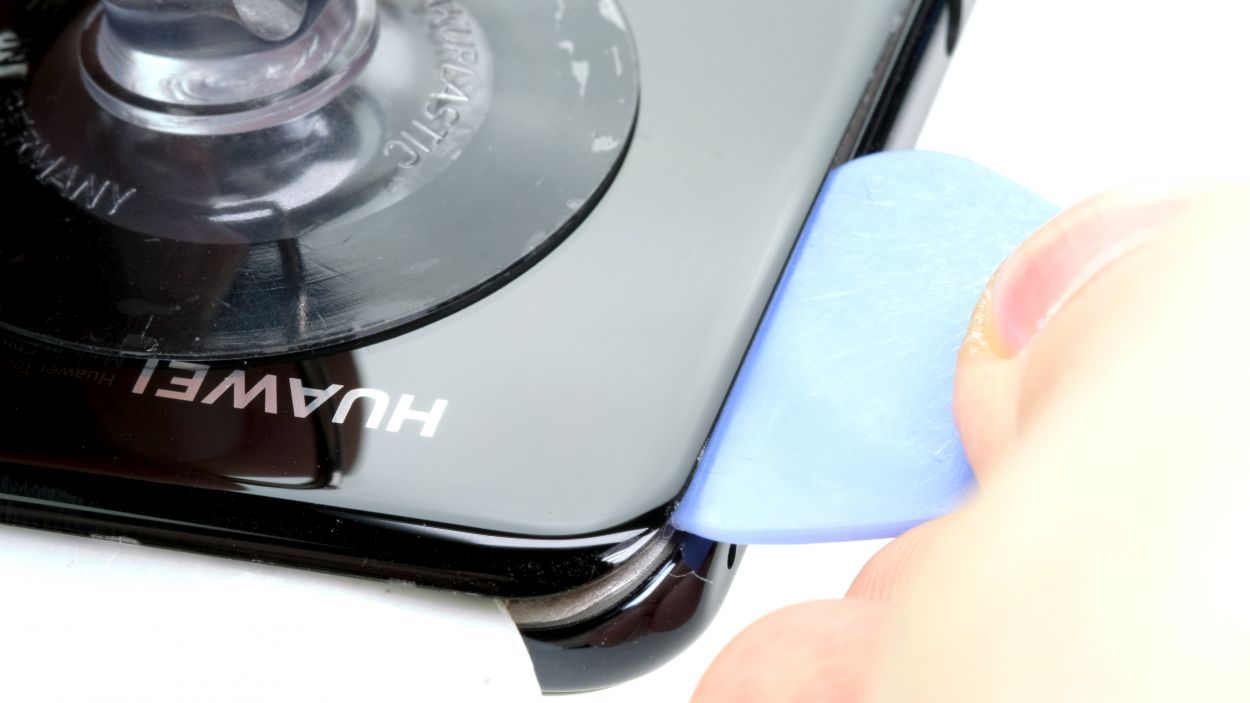
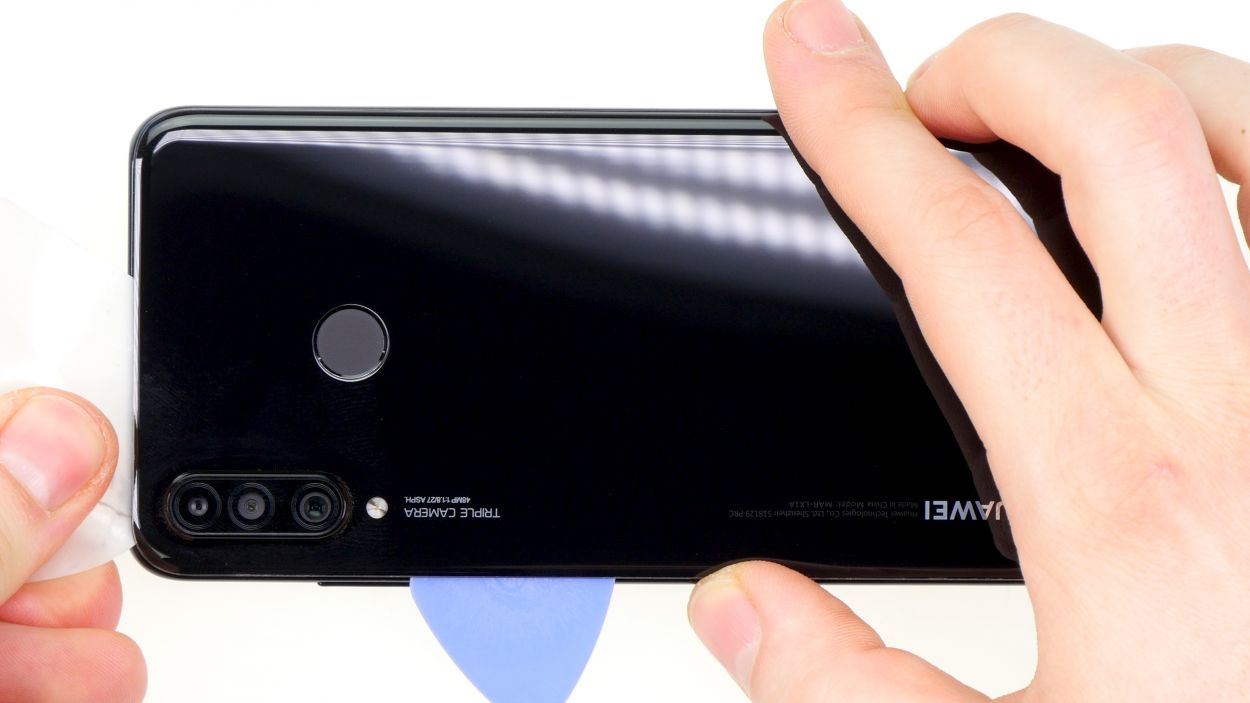
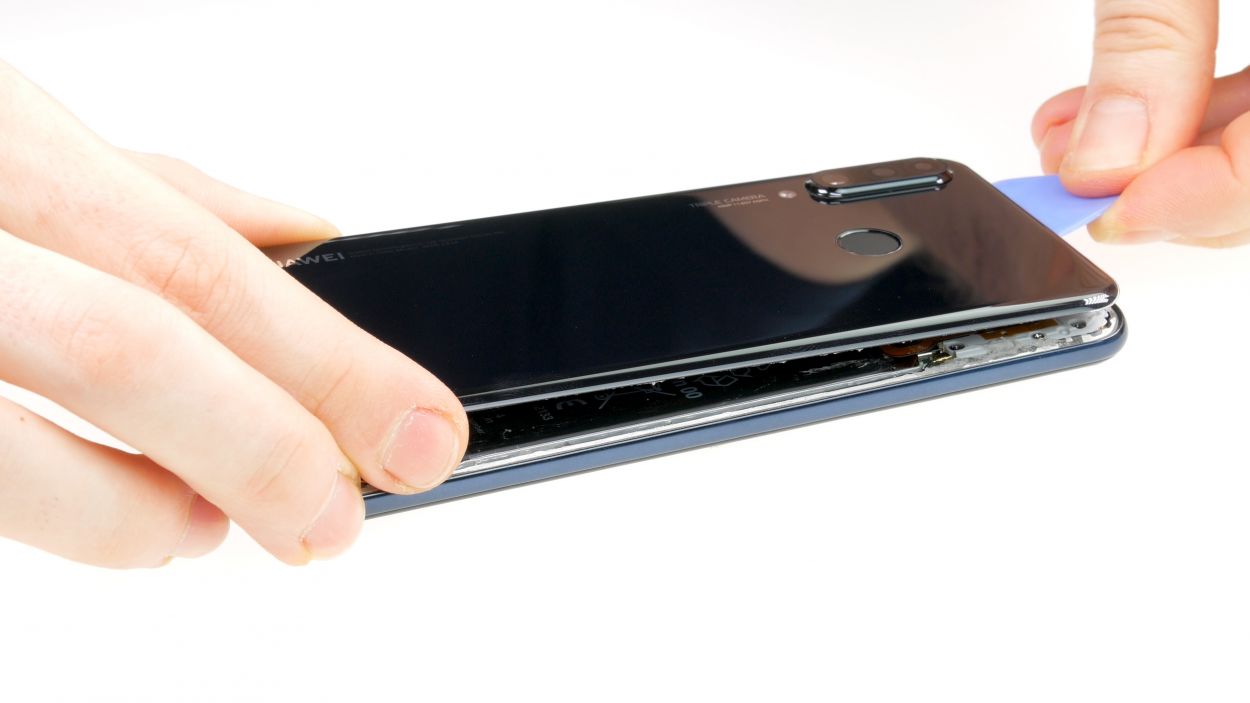
– Now, grab a suction cup and stick it on the lower part of the back cover. Give it a gentle pull while you slide your opening tool into the gap you’ve created. You’re doing great!
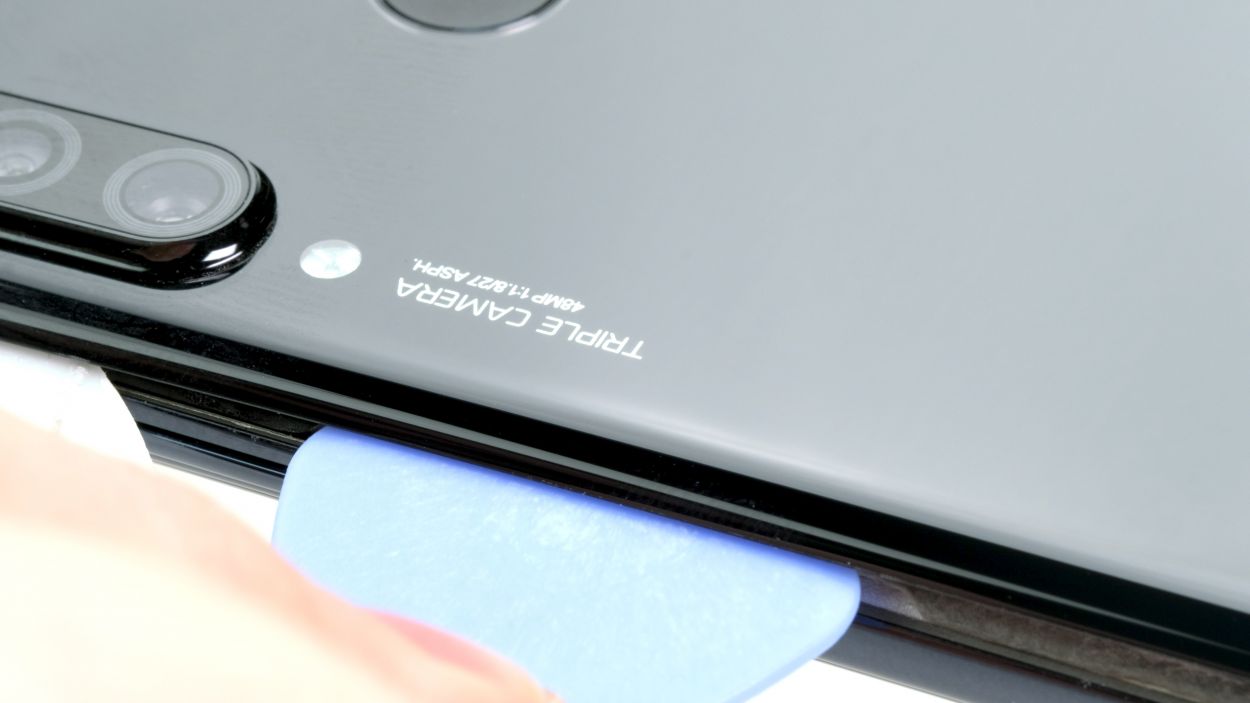
Hey there, just a friendly reminder to keep your tool at a safe distance when diving into the device! The cameras are hanging out on the left, while the fingerprint sensor’s flex cable is chillin’ on the right. Let’s keep it safe and sound!
If you don’t have a suction cup handy, no worries! An iSlack can save the day. Think of it as a cool pair of pliers with suction cups on both sides, ready to lend a hand!
Tools Used
- heat gun to heat parts that are glued on so they’re easier to remove.
In most cases, you can also use a hairdryer.” rel=”nofollow noopener”>Heat gun - Flat Picks
- screen and the frame. The practical iFlex is made of stainless steel and sits comfortably in the hand. This makes it the perfect assistant for every smartphone repair.” rel=”nofollow noopener”>iFlex Opening Tool
Step 3
2 × 2,7 mm Phillips
7 × 3,3 mm Phillips
To keep those pesky screws from playing hide and seek, we suggest using a magnetic mat. It’s a smart way to stay organized and make your repair journey a breeze!
– The motherboard and its connectors are snugly tucked away under a protective cover.
– Unscrew the screws holding the cover in place. Just a heads-up: the black screws are a smidge longer than the silver ones, so keep an eye on those lengths!
Step 4


1 × 2,7 mm Phillips
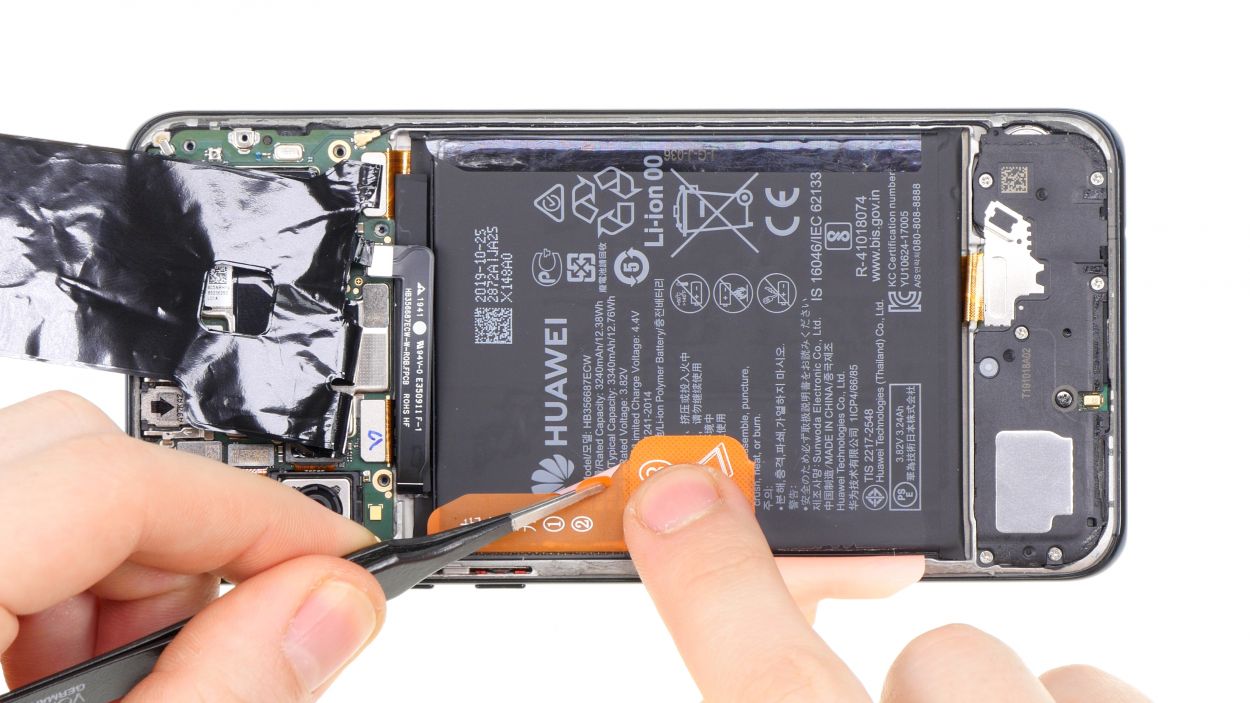
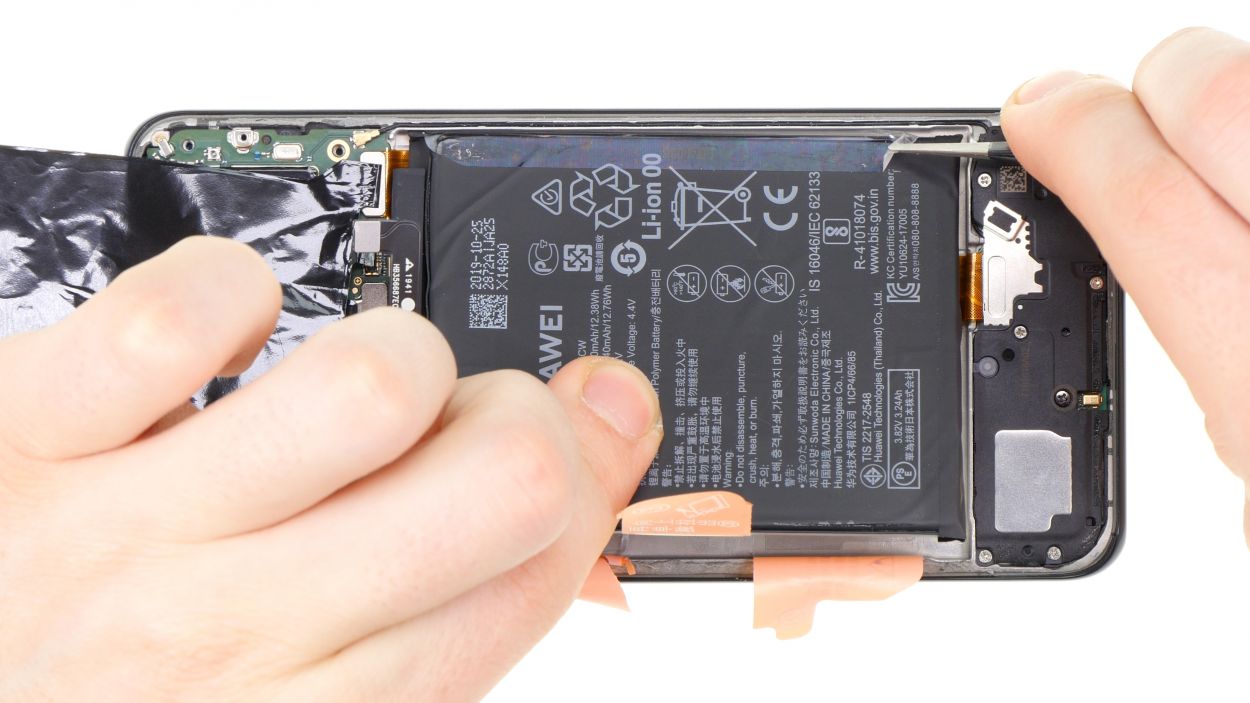
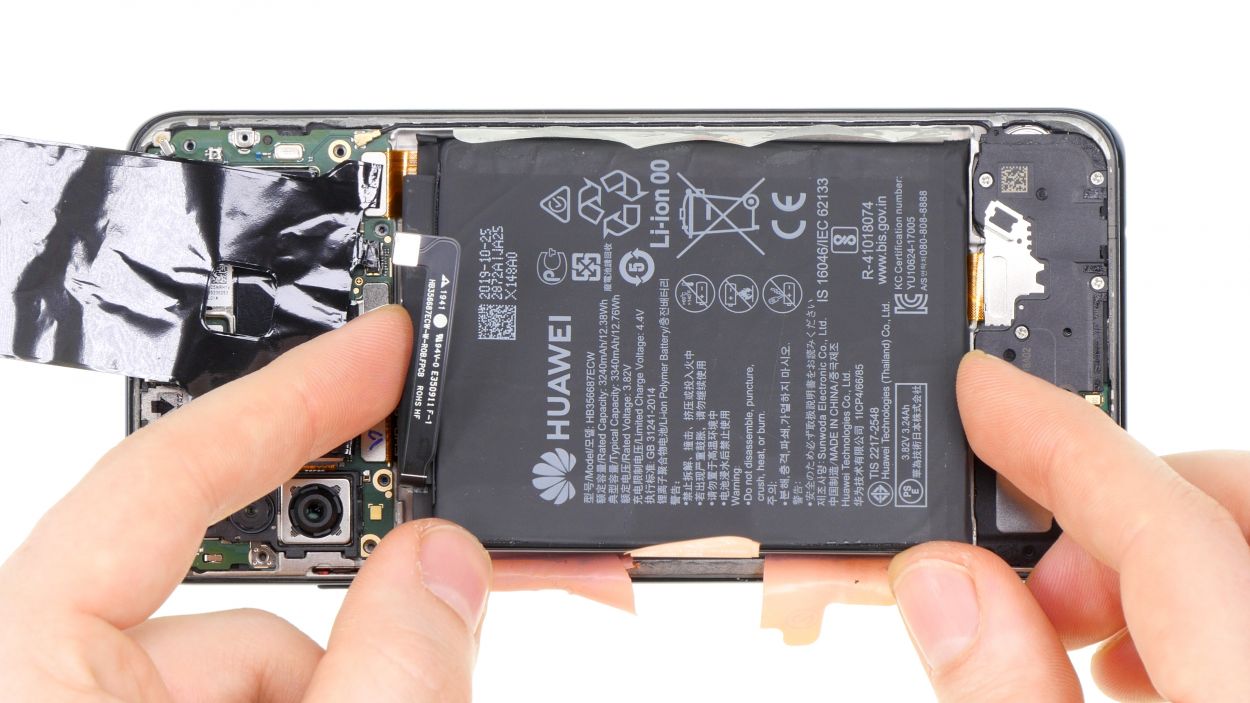
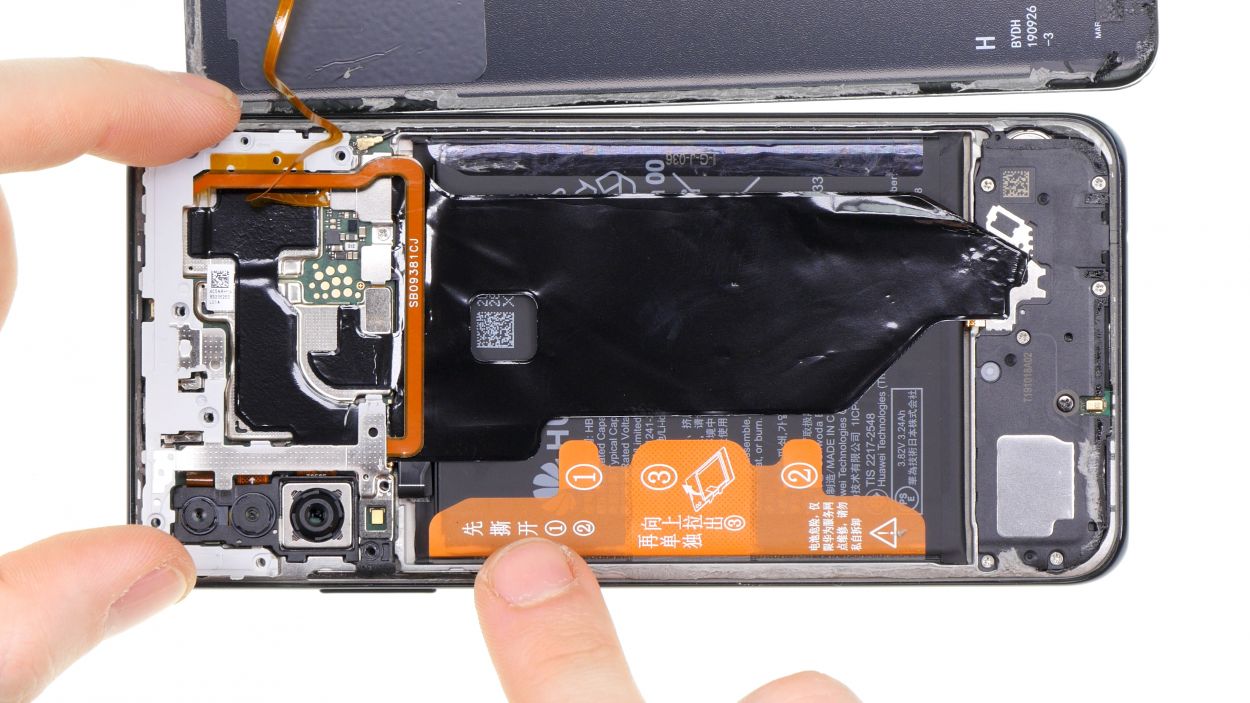
Battery Connector
First things first, loosen that battery contact! It’s a smart move to stop any current from flowing through your device. This little step helps you dodge any pesky short circuits while you work your magic on repairs.
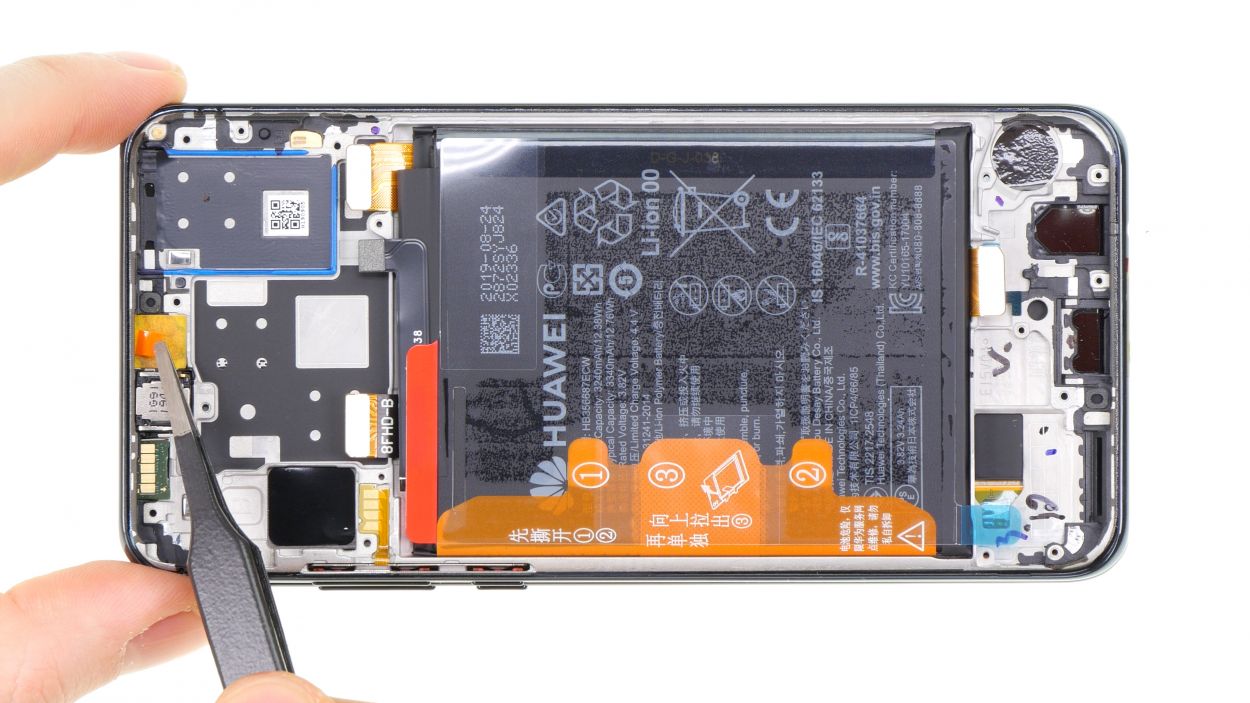
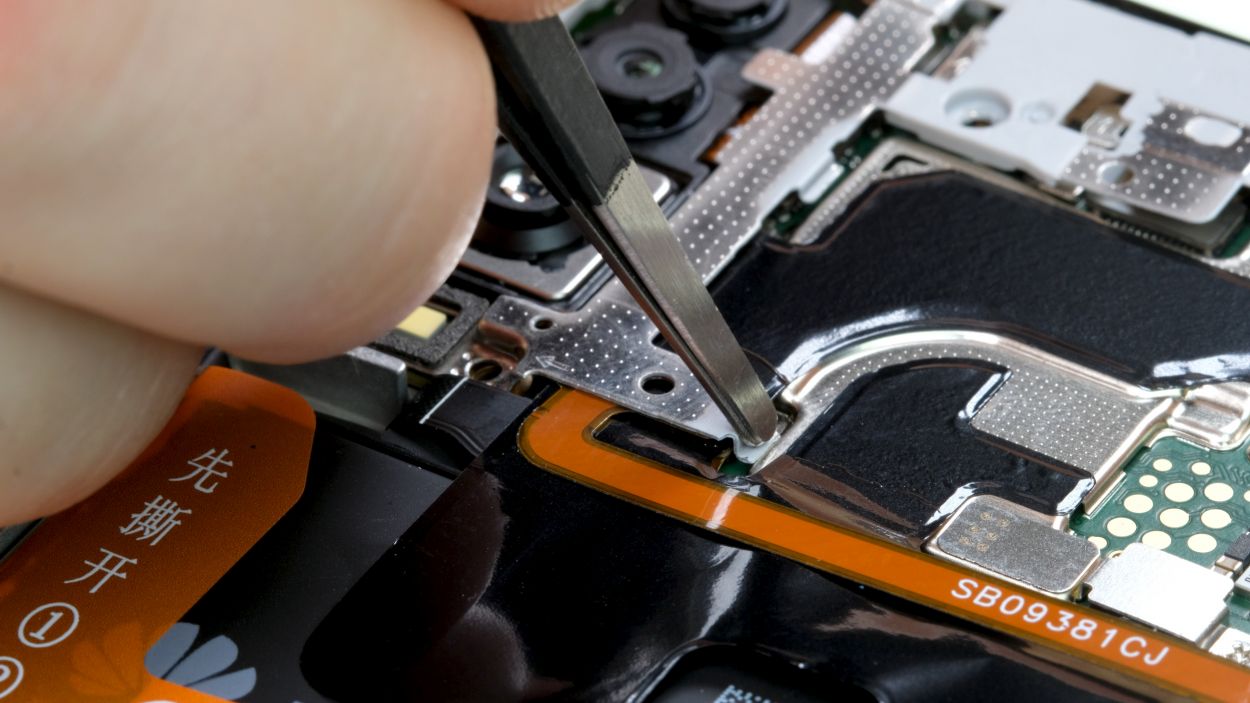
– Tear down, don’t be down! Above the battery connector there’s a teeny tiny metal cover. Just chill, you got this!
– Screw it, literally! Remove the screw and use some tweezers to take the cover on outta there.
– Hang loose! Now that the cover’s outta the way, you can grab that battery connector with your trusty plastic spudger. Easy peasy!
Tools Used
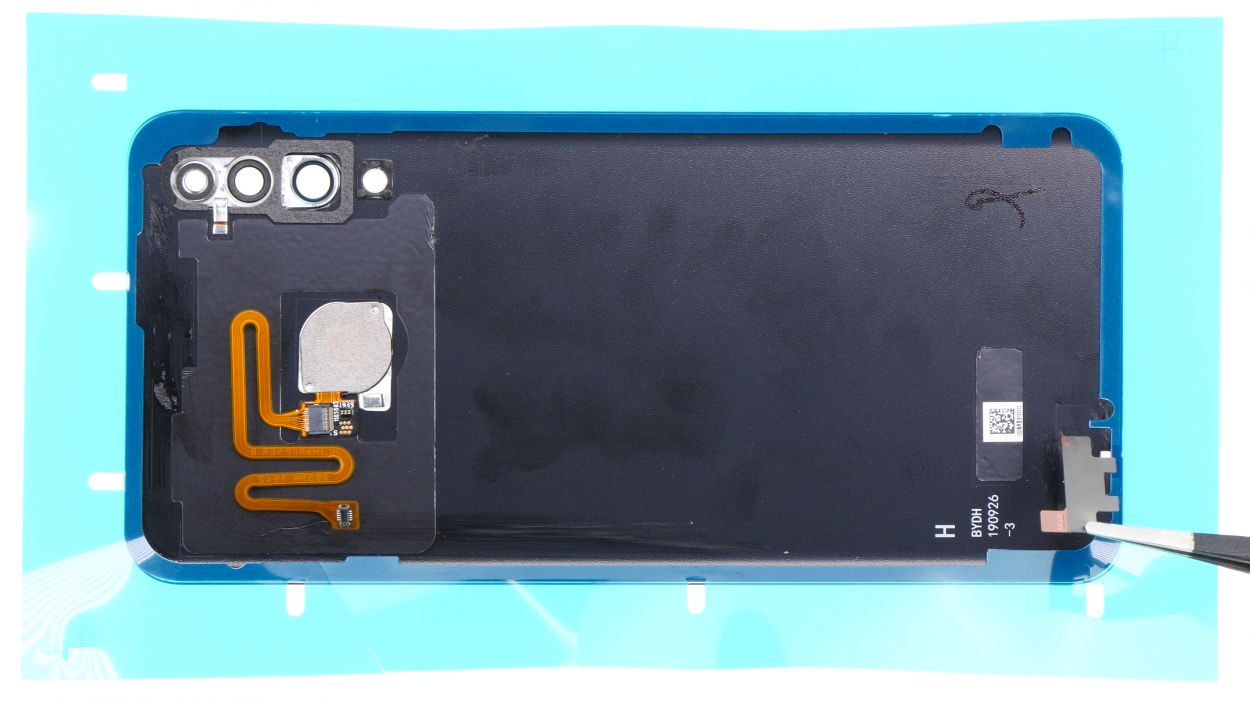
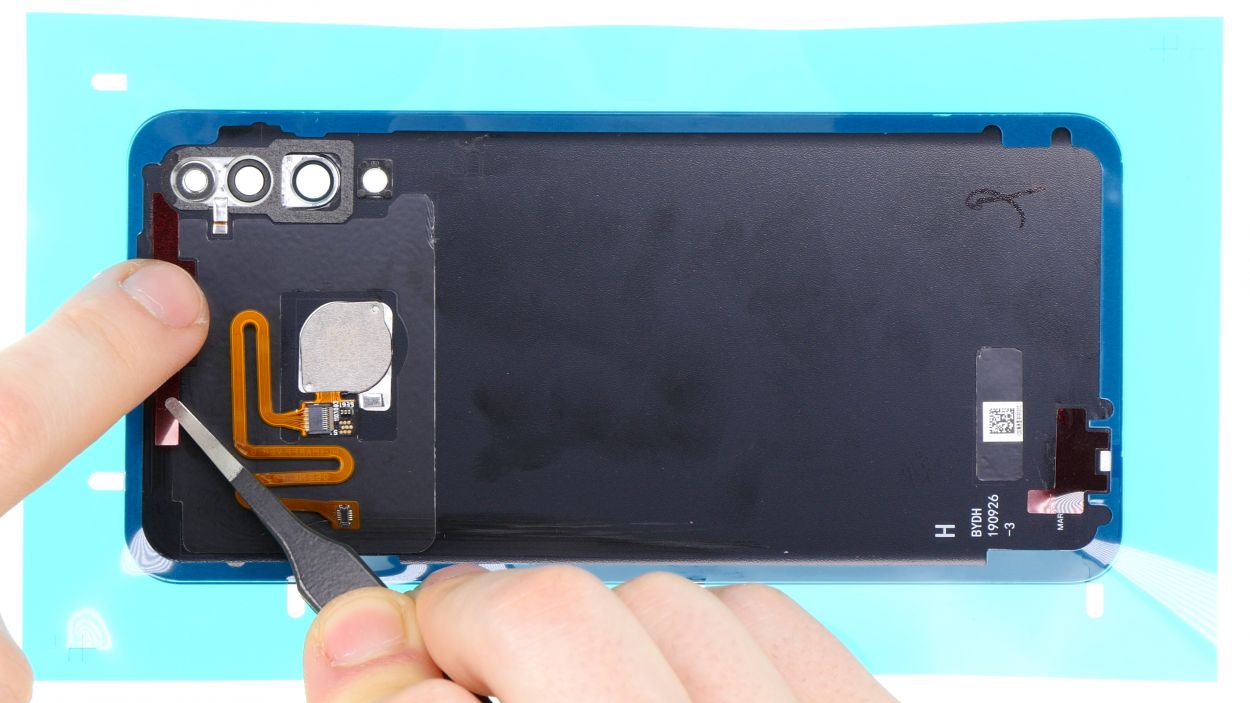
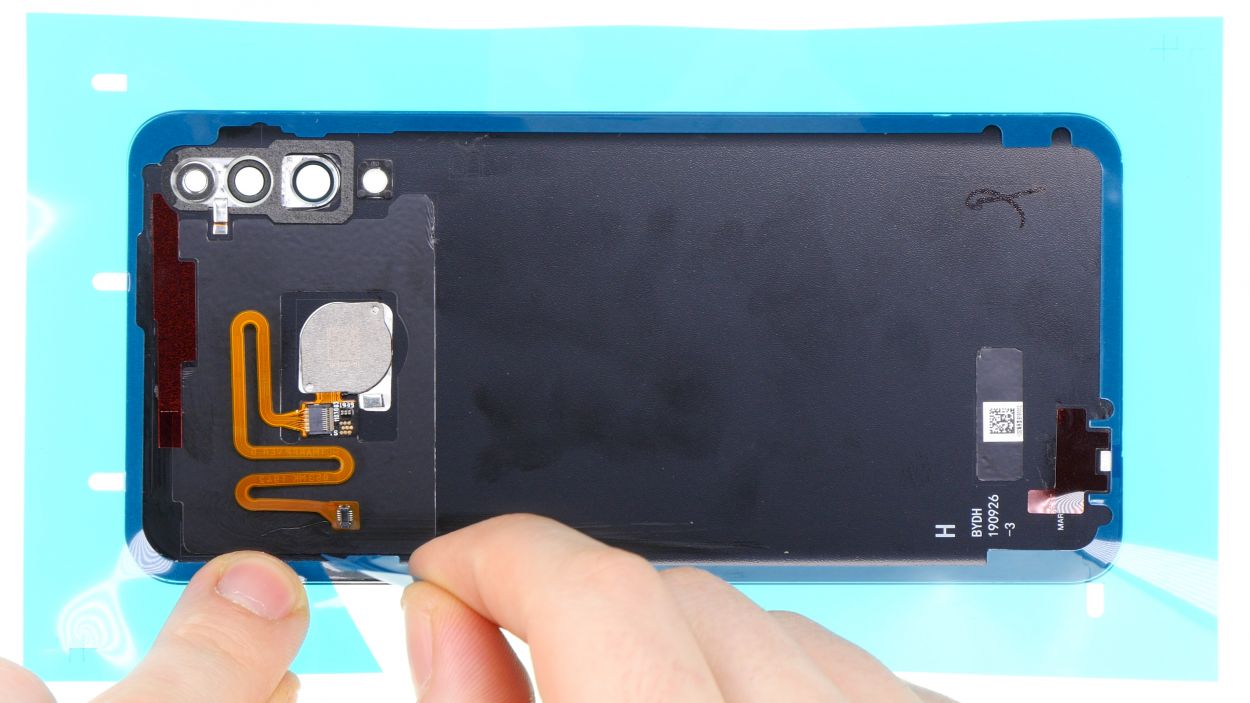
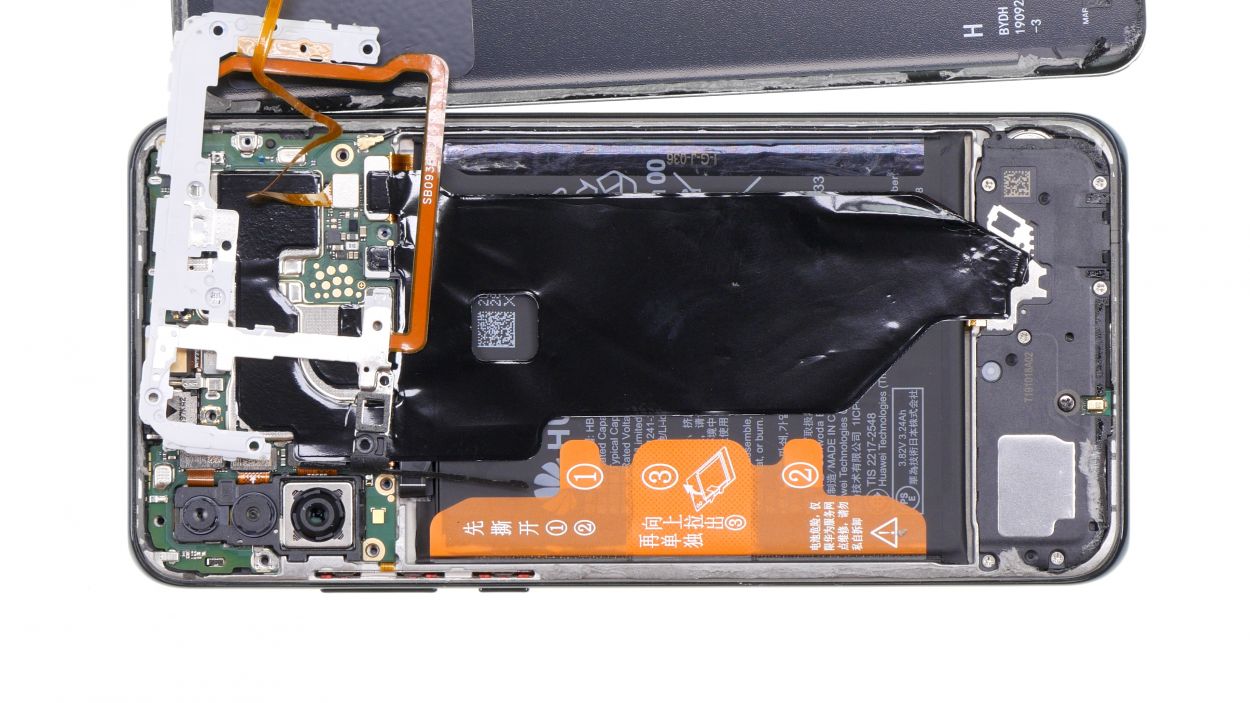
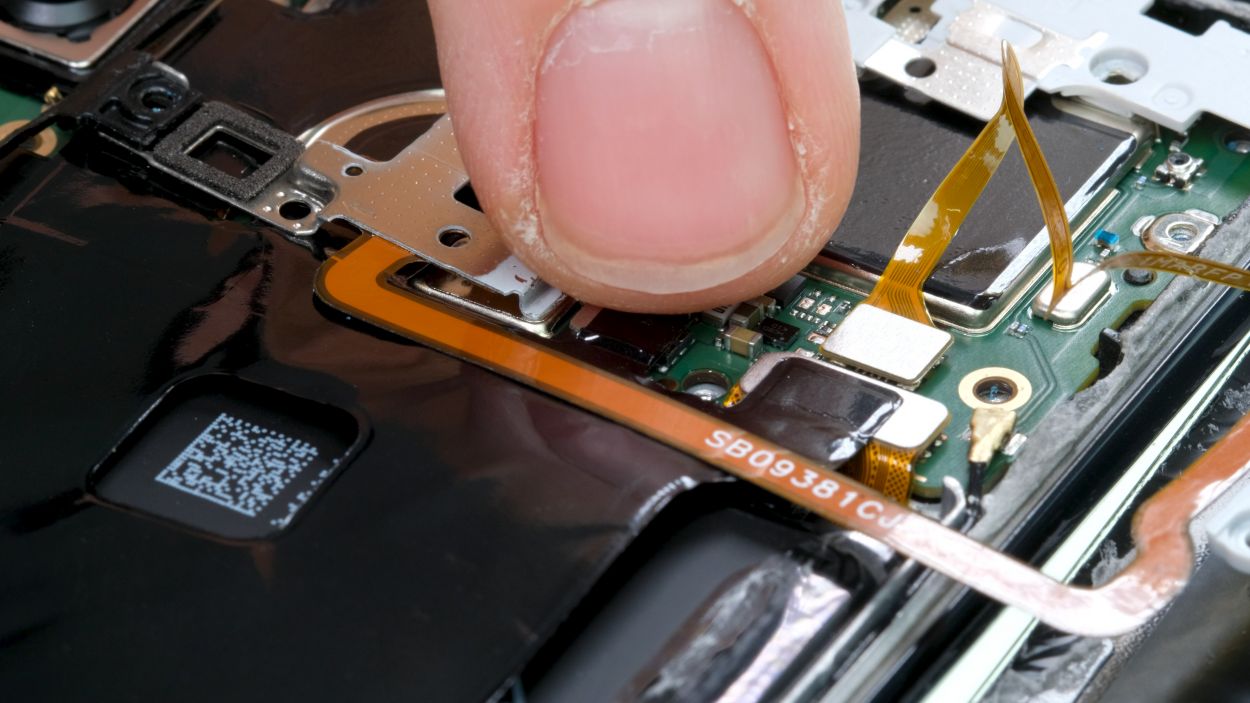
Step 5
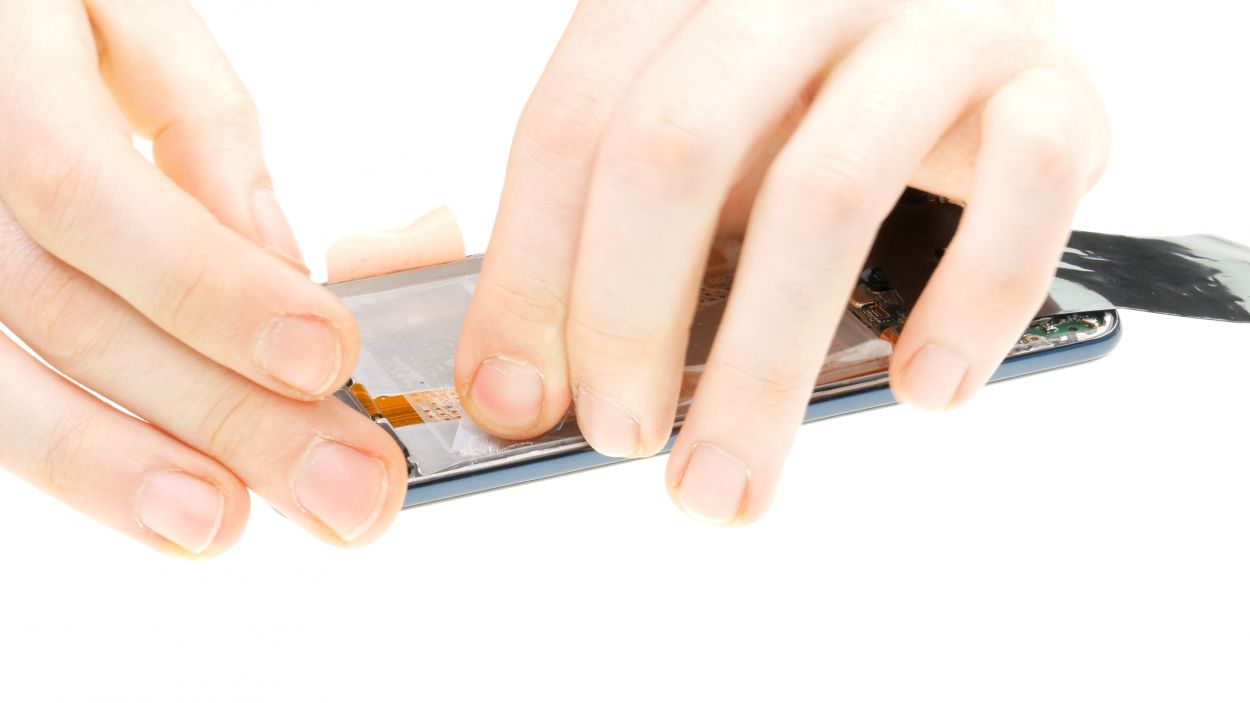
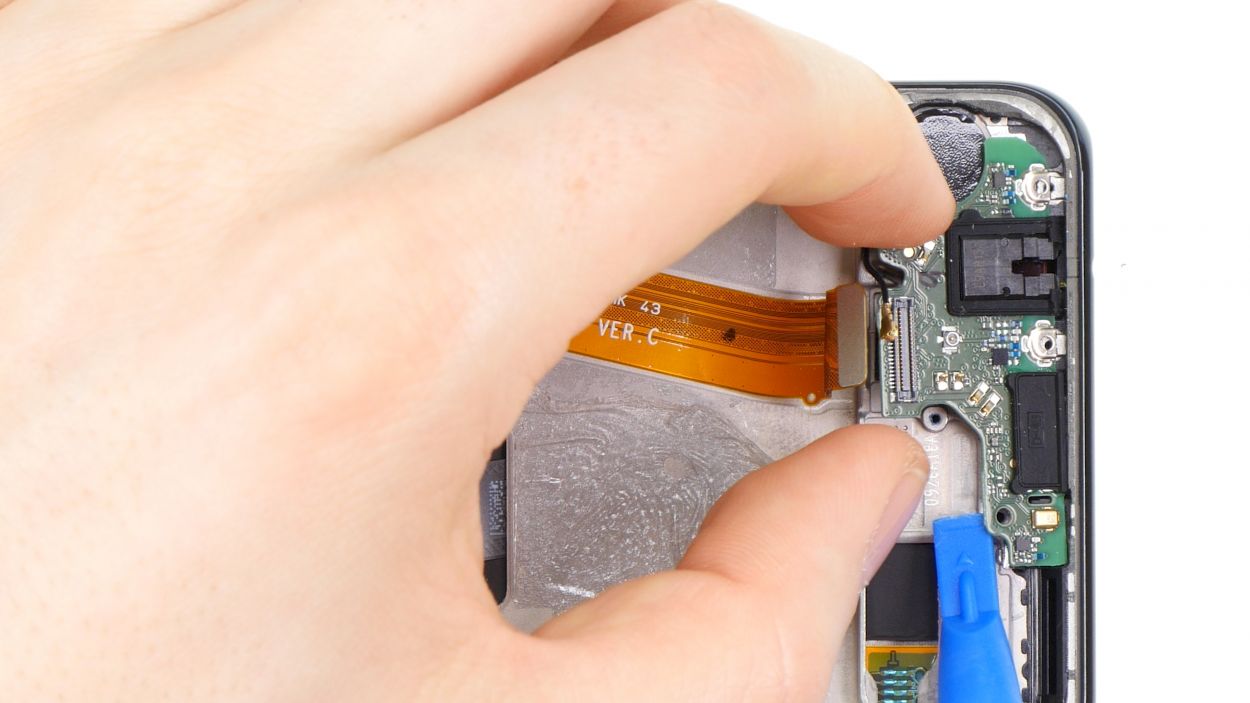
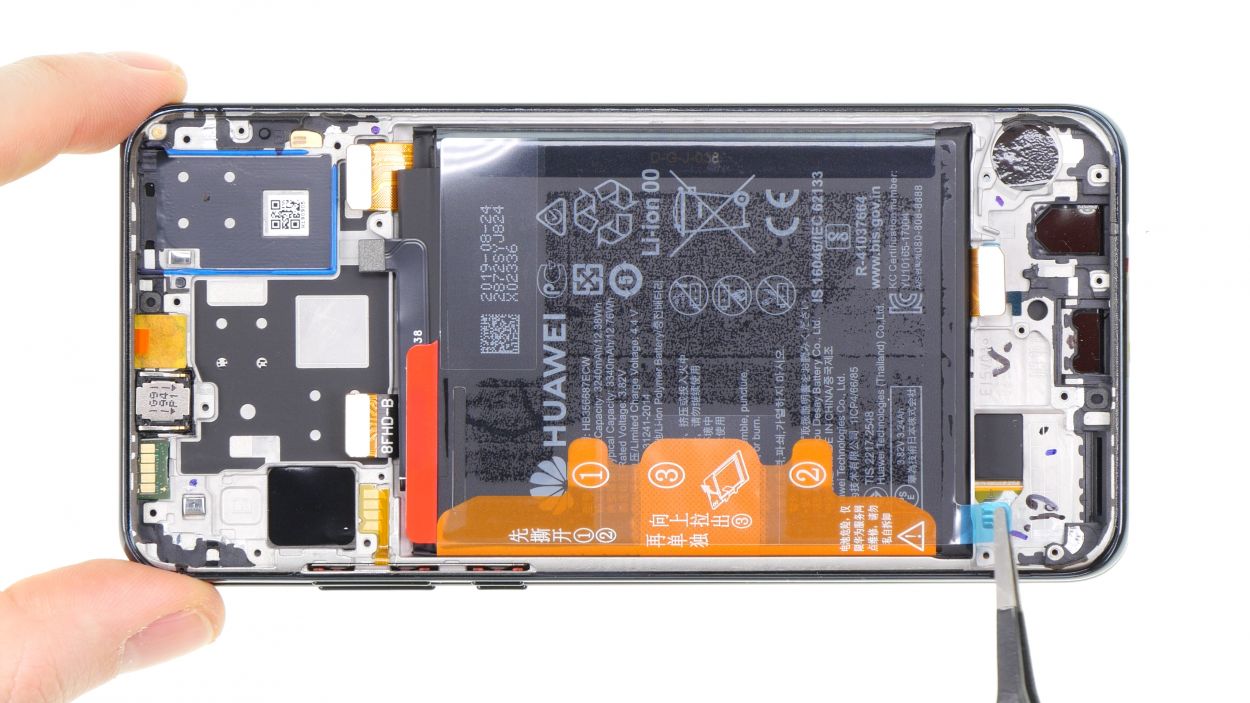
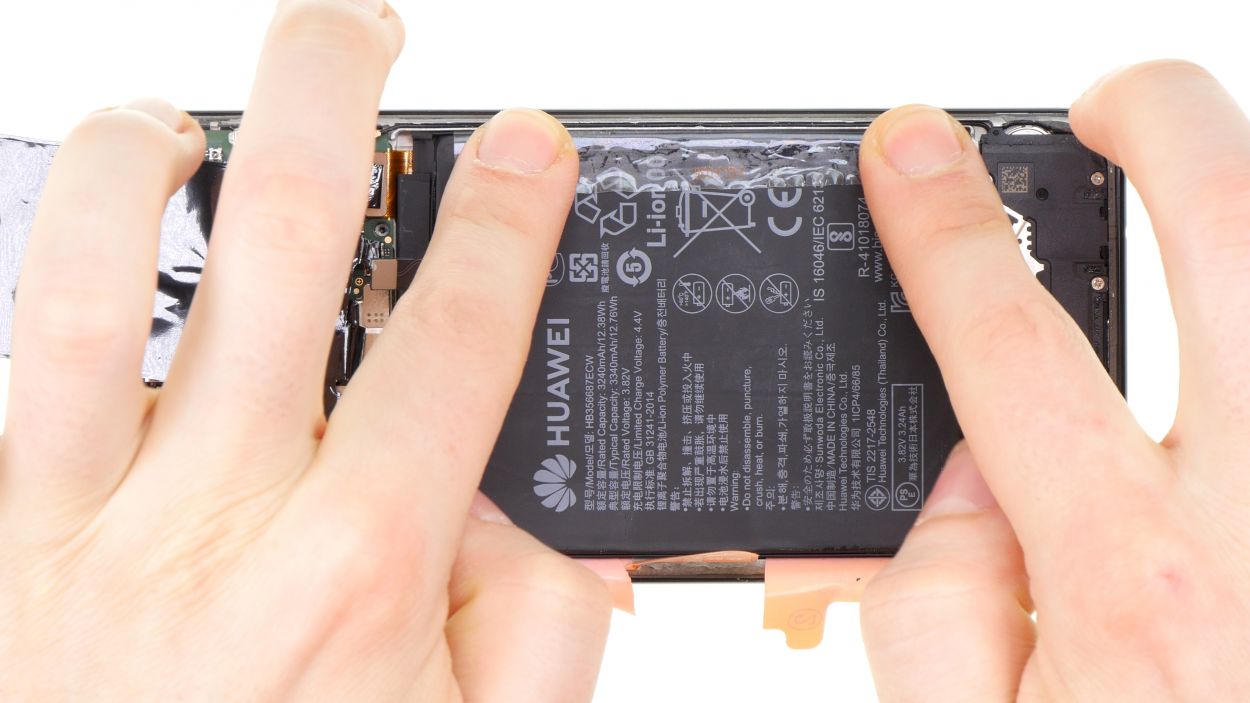
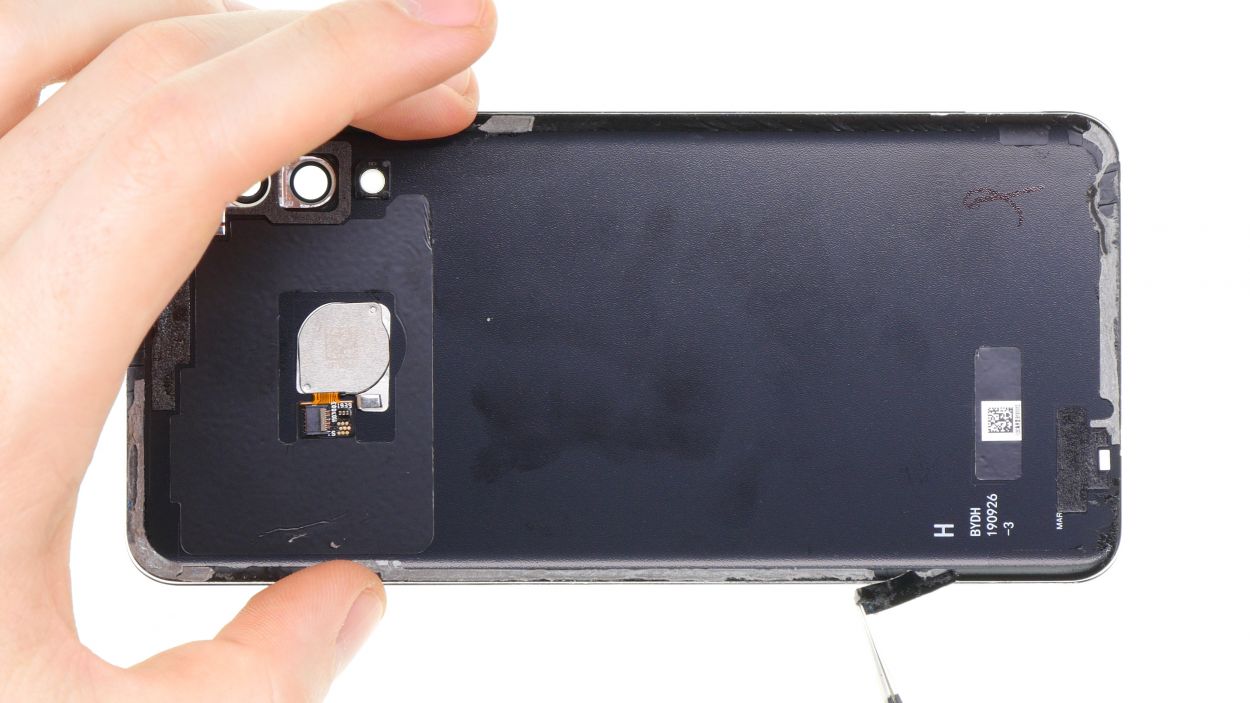
Fingerprint Connector
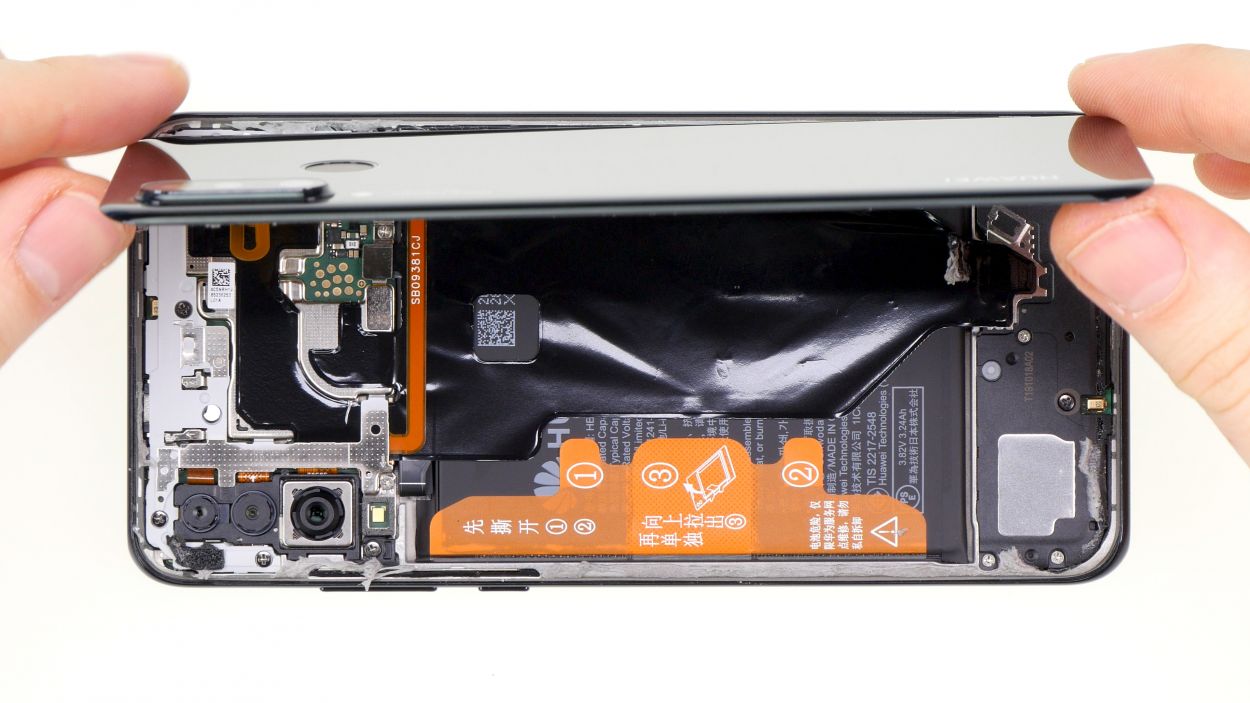
– Time to give that fingerprint sensor a break! Go ahead and unplug it from the motherboard.
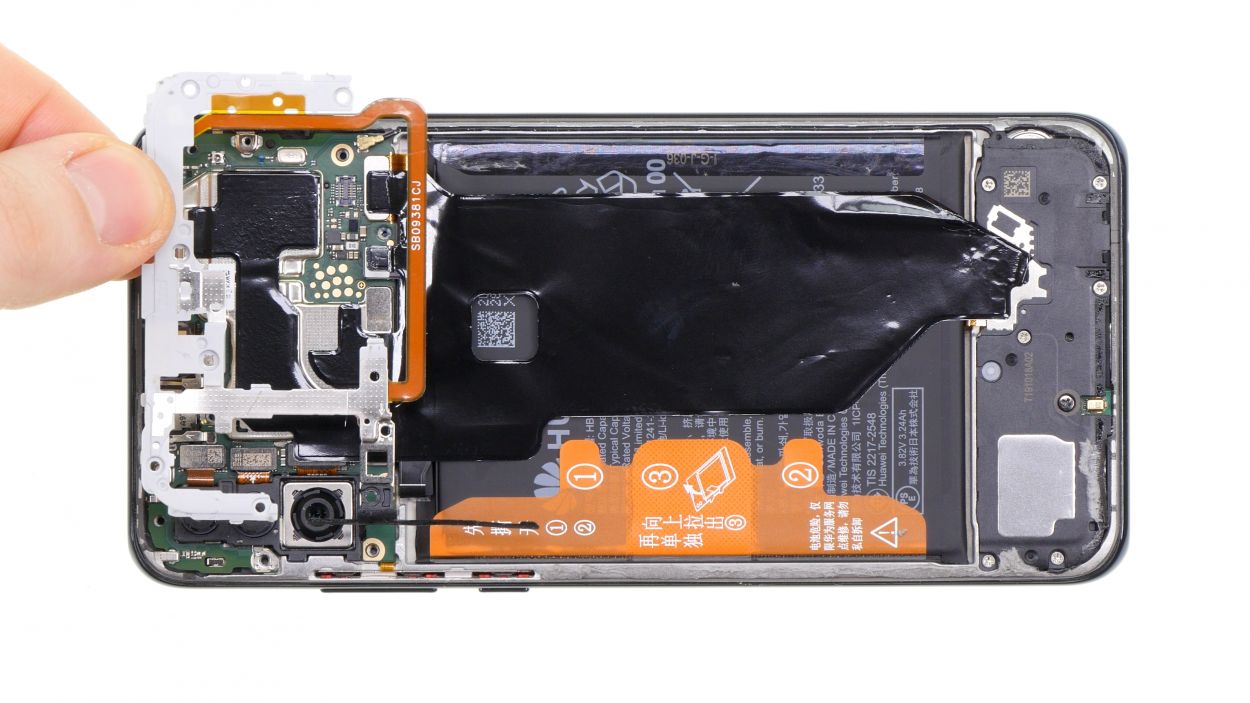
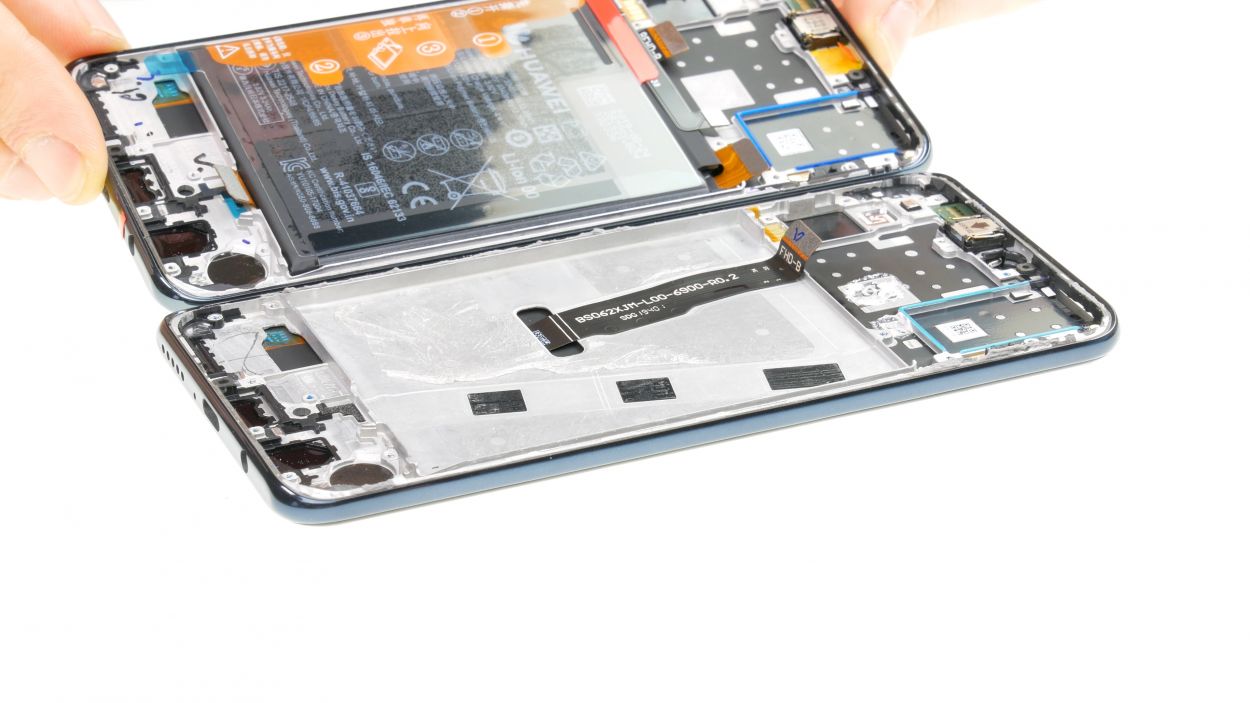
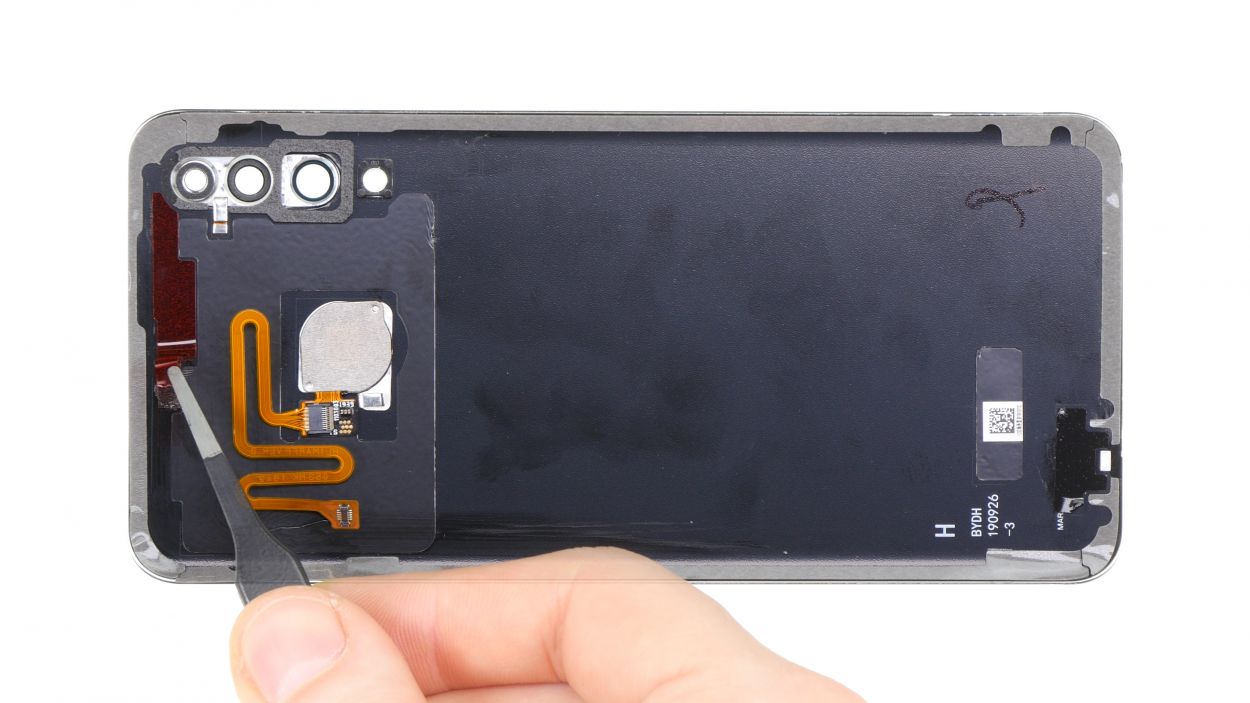
– Now, let’s clear some space! Set the back cover aside and gently lift off the board cover from the device.


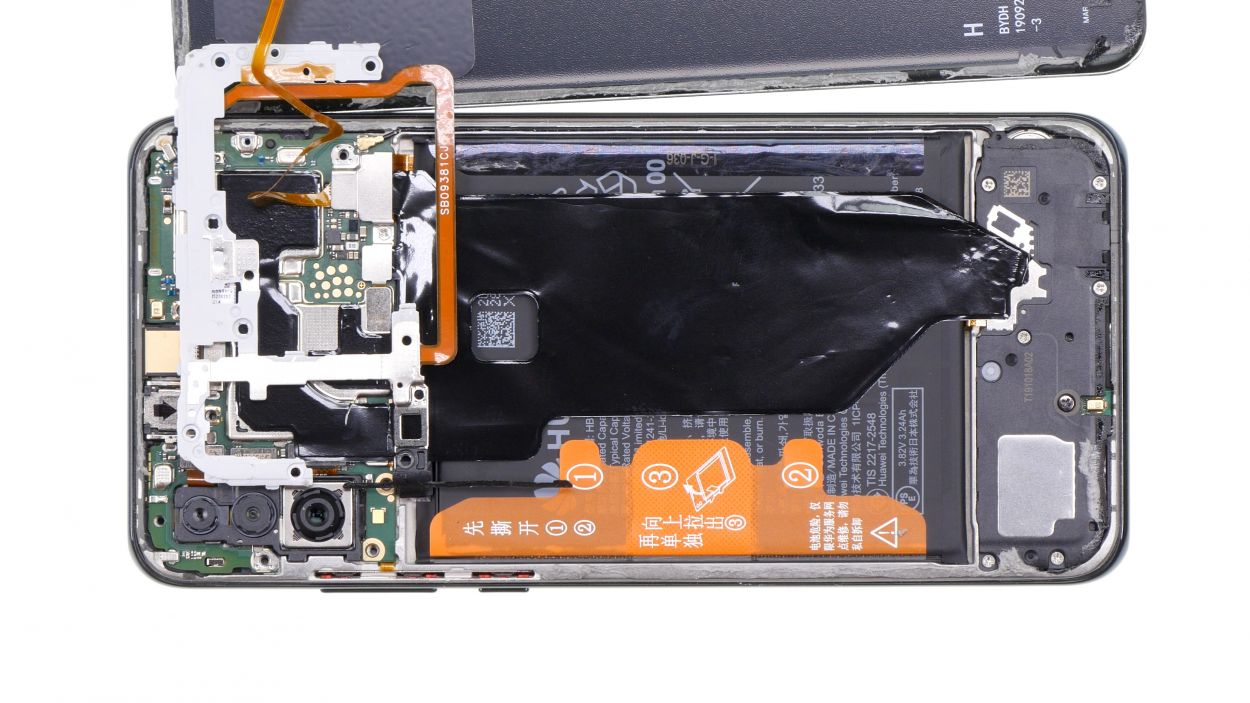
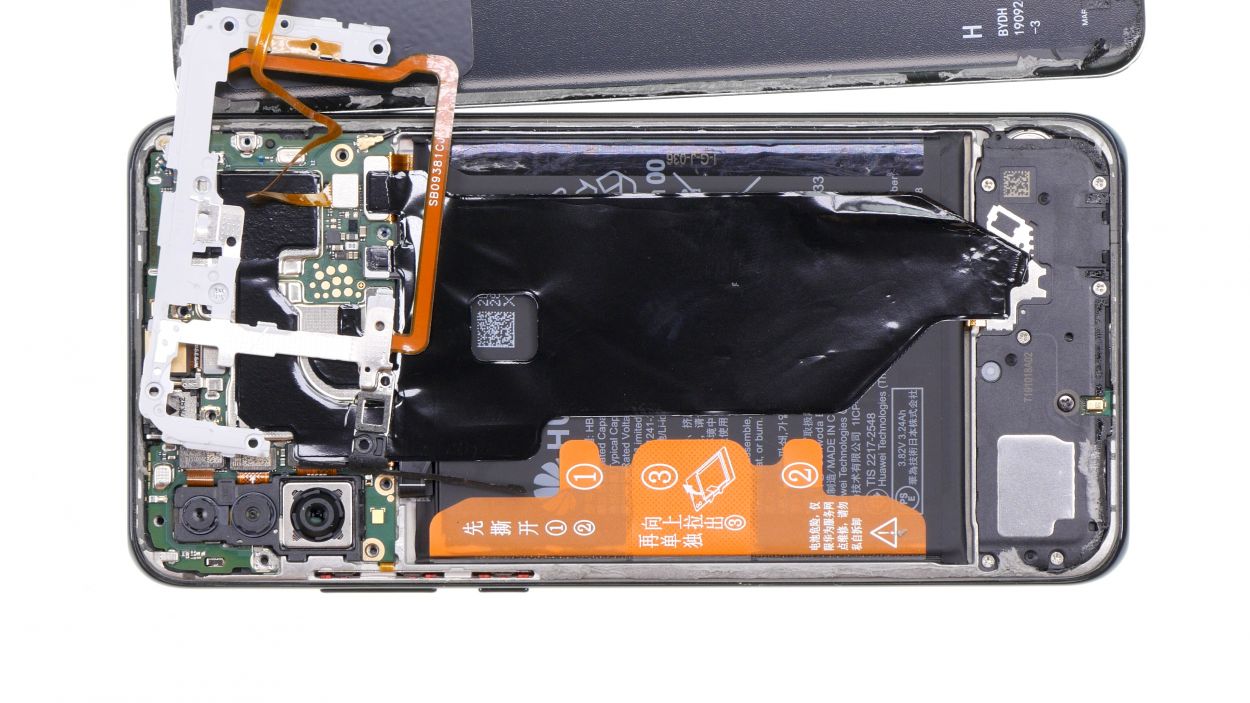
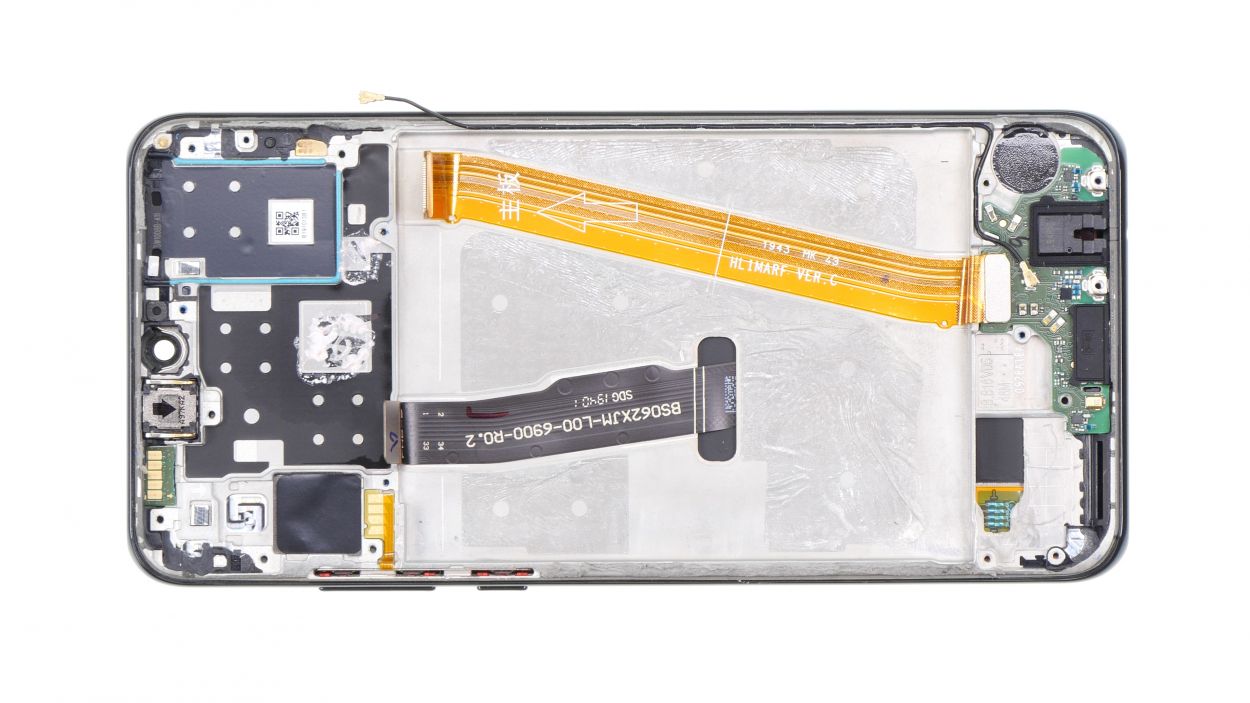
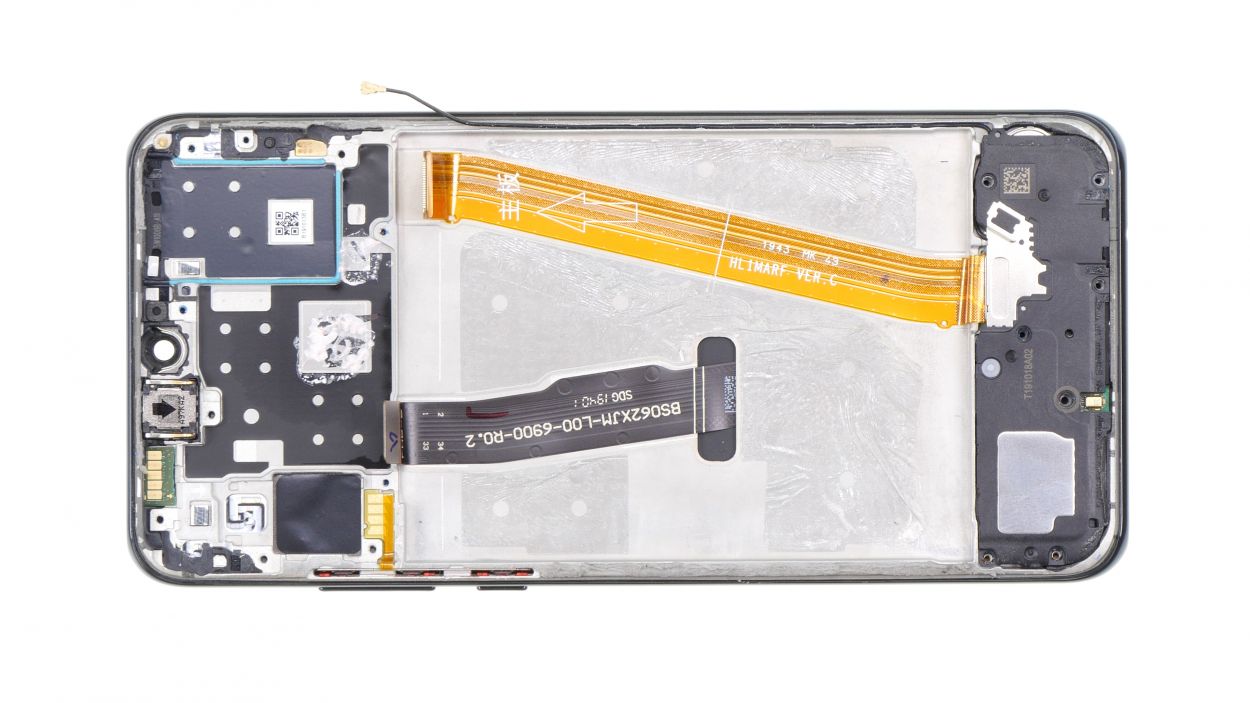
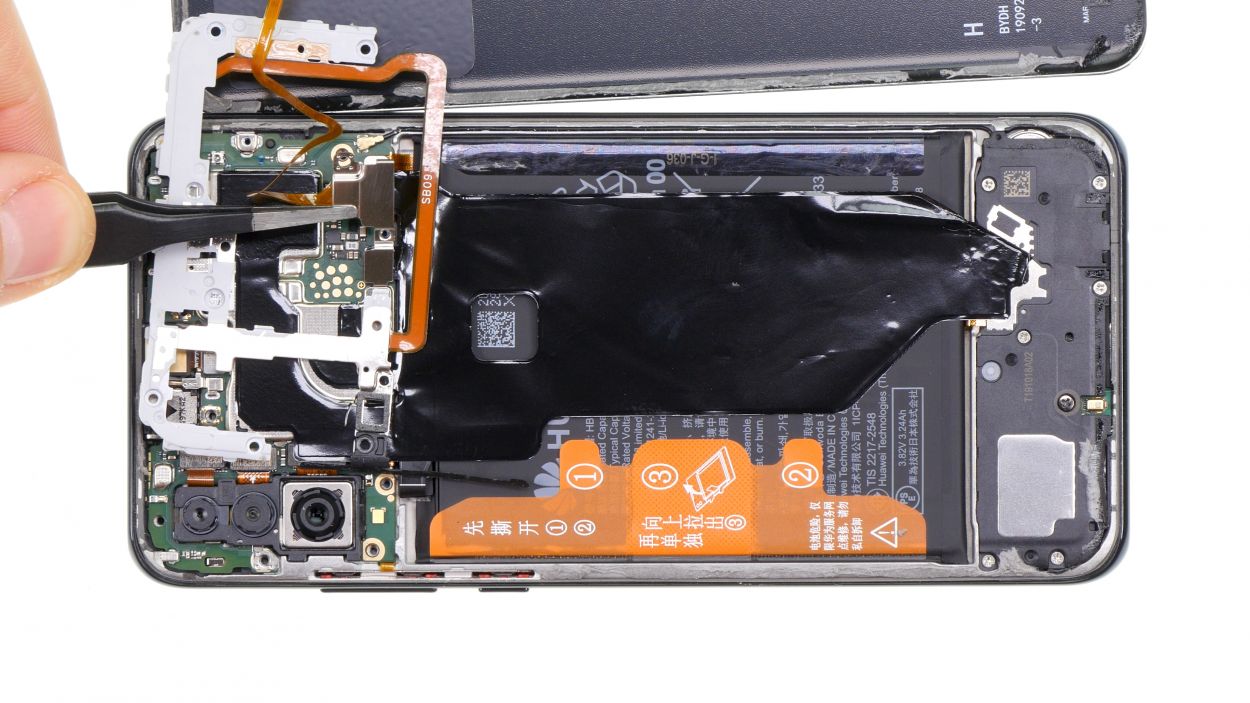
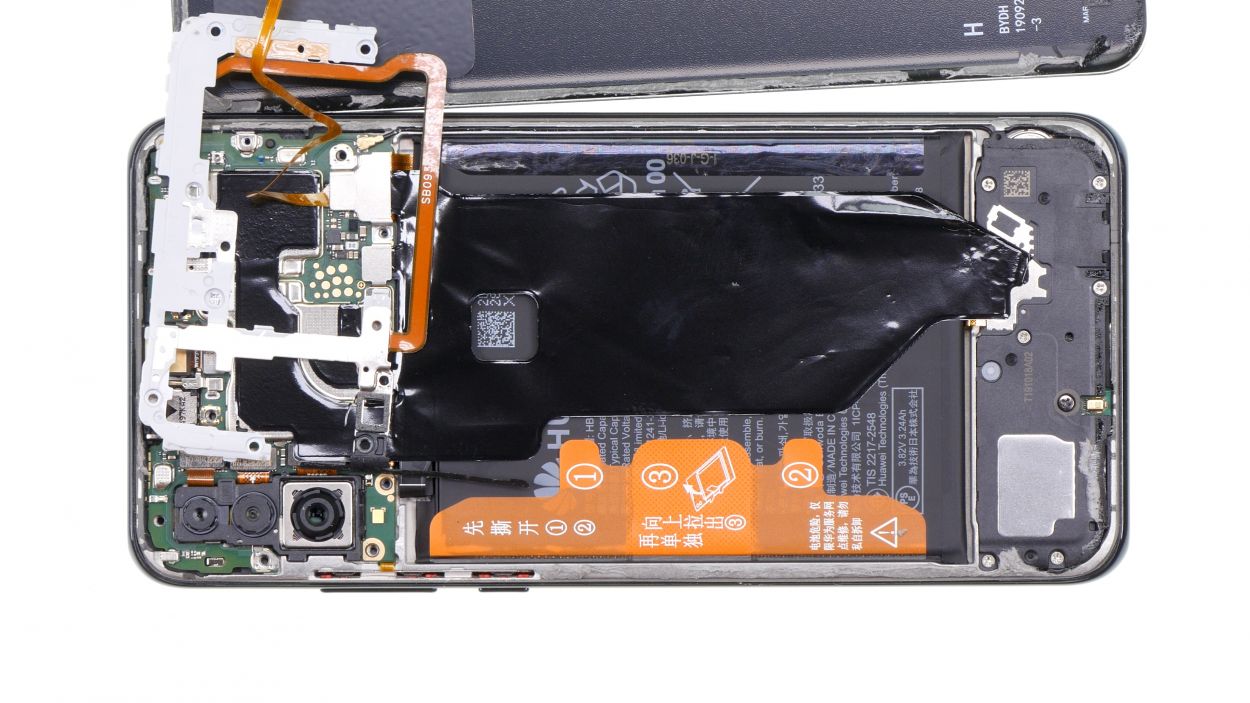
Step 7
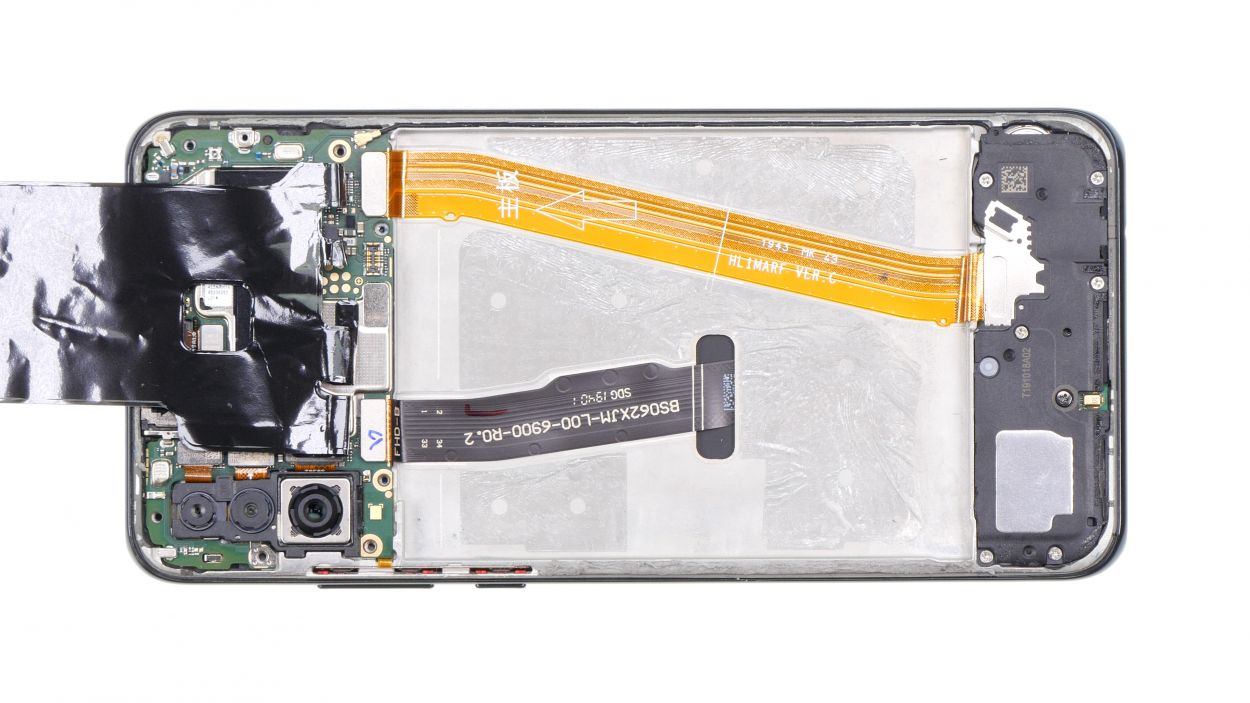
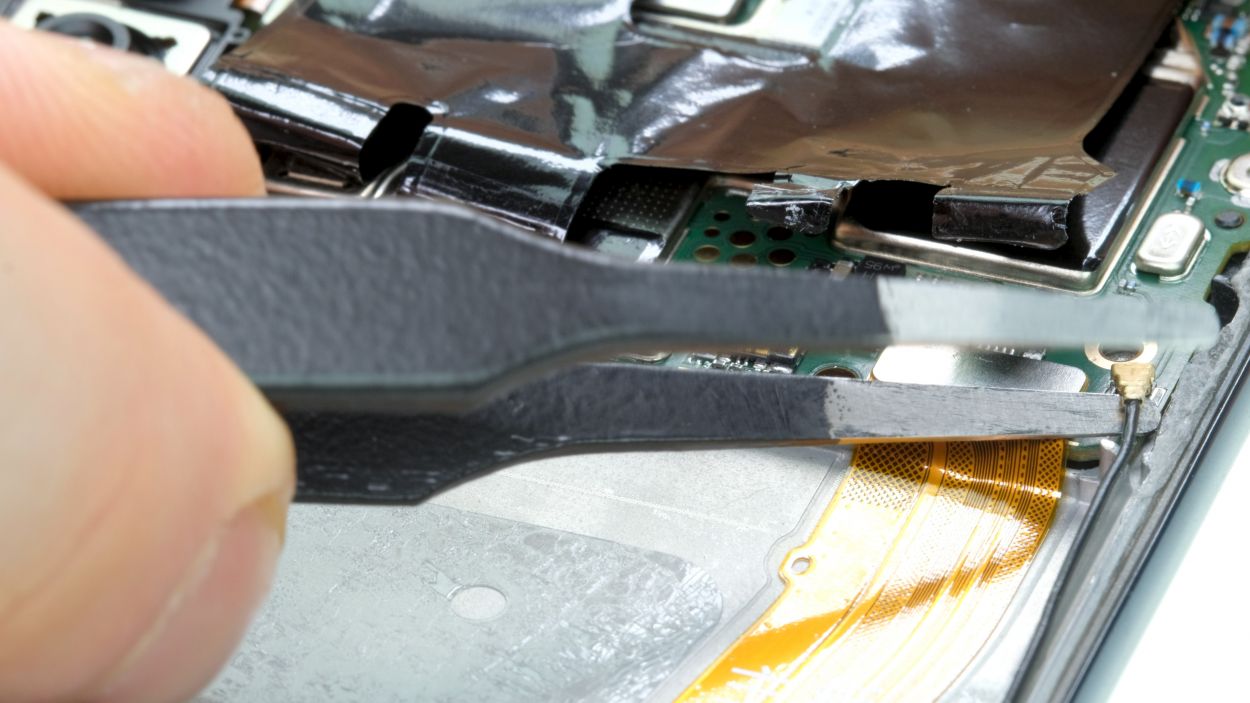
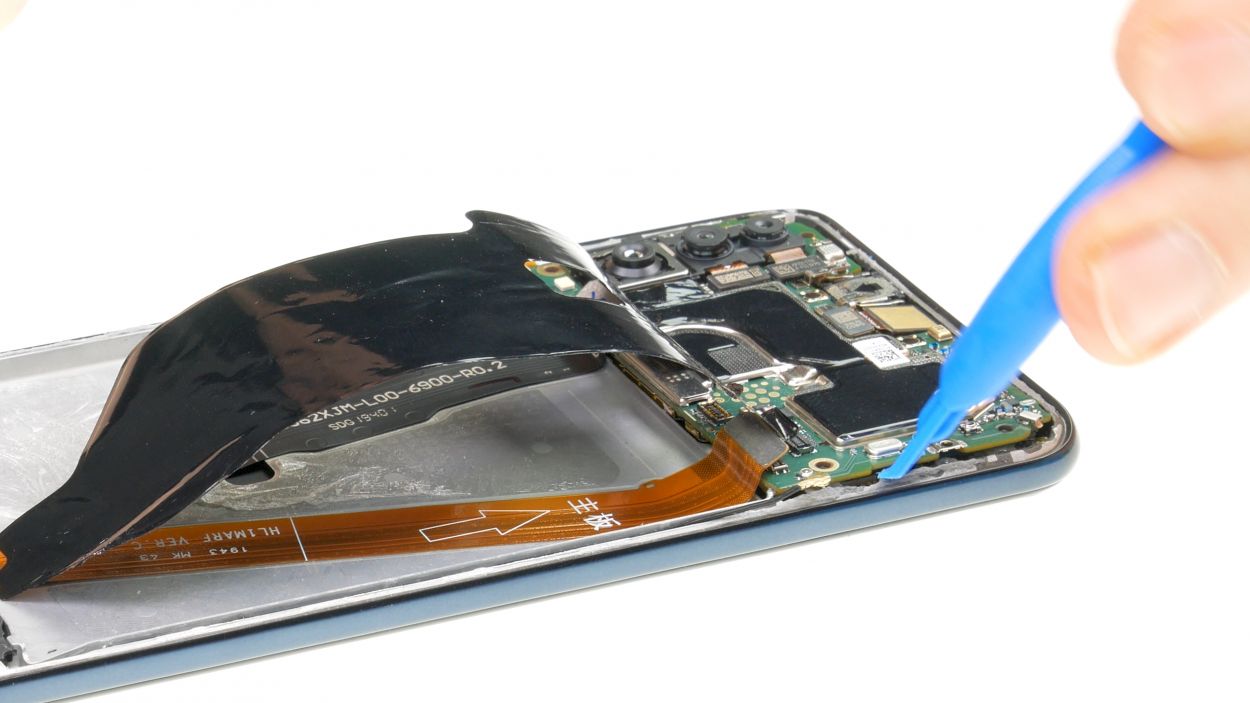
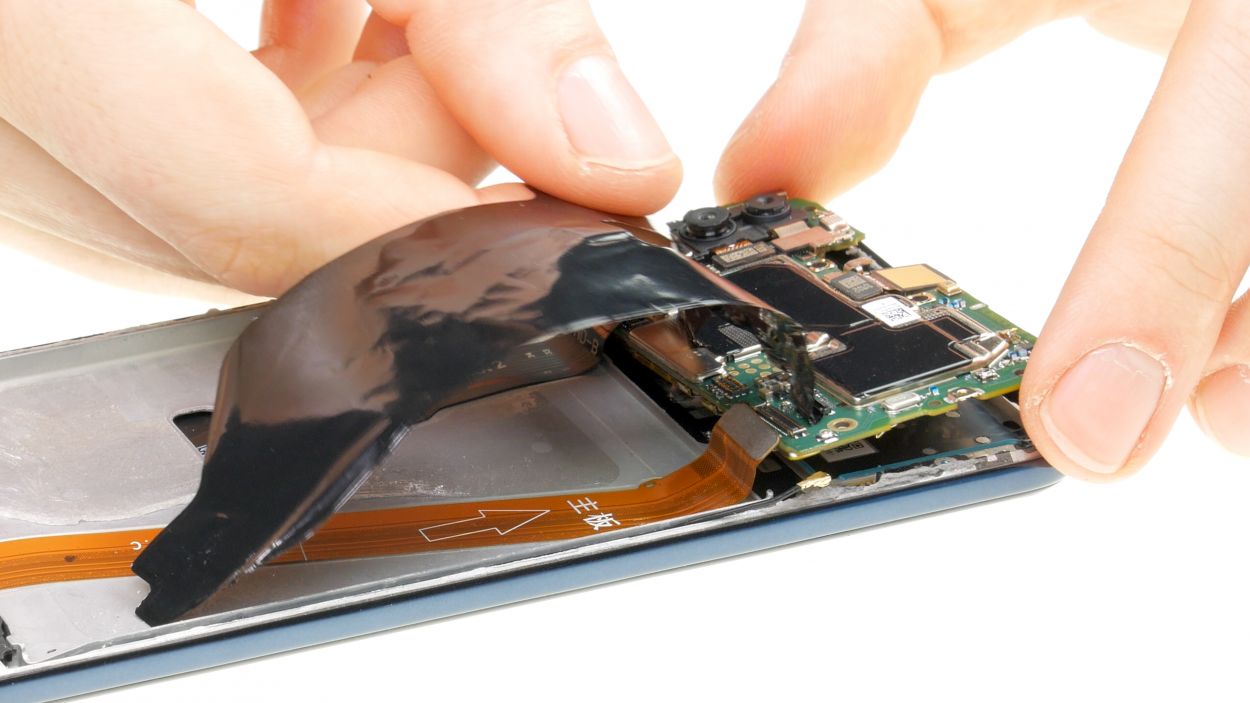
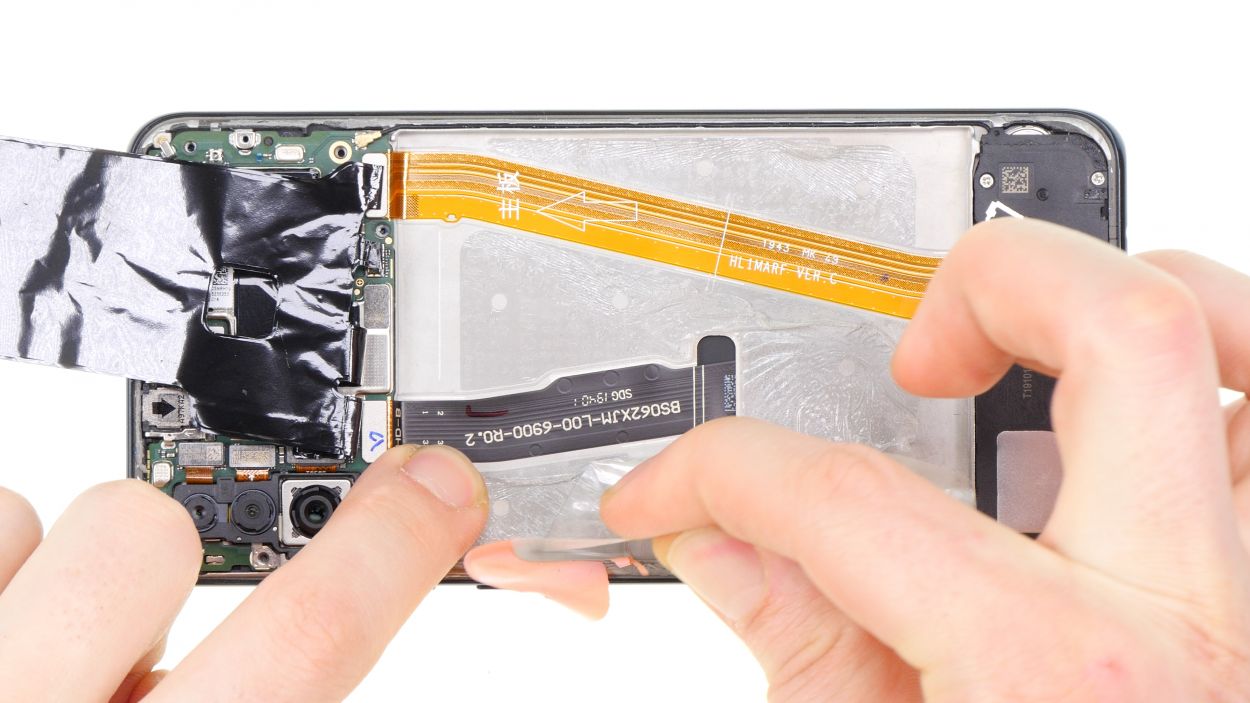
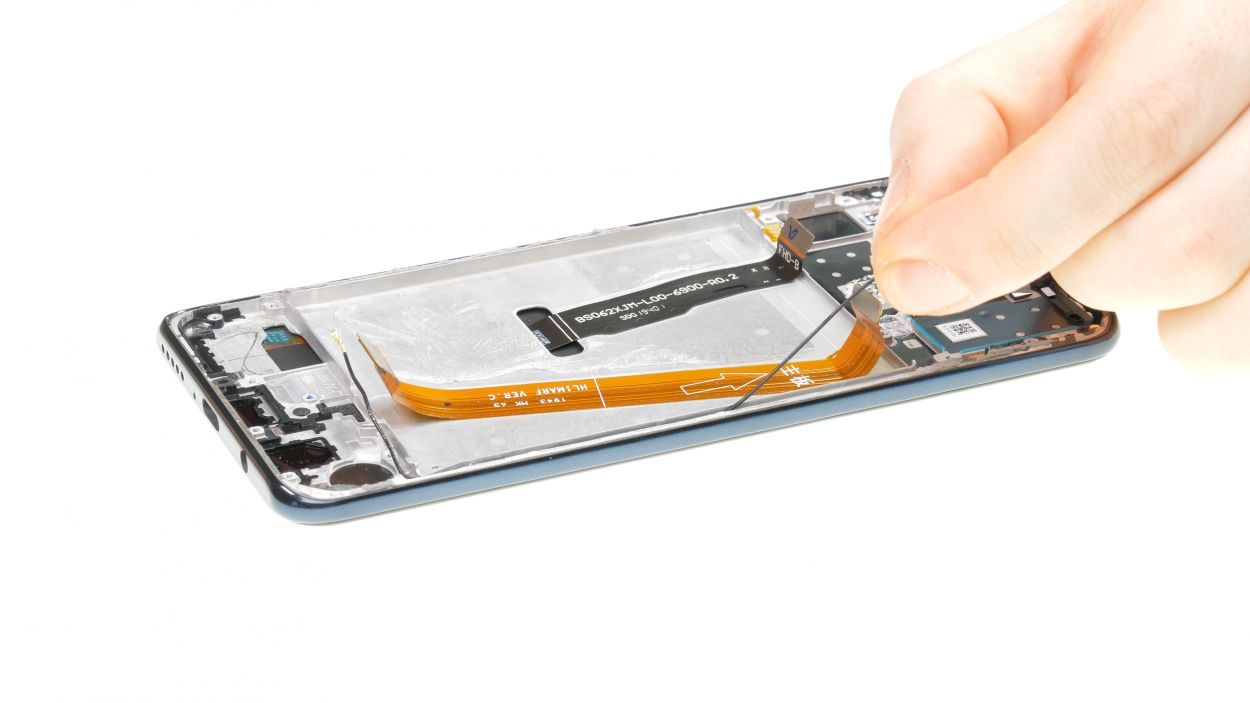
Antenna Connector
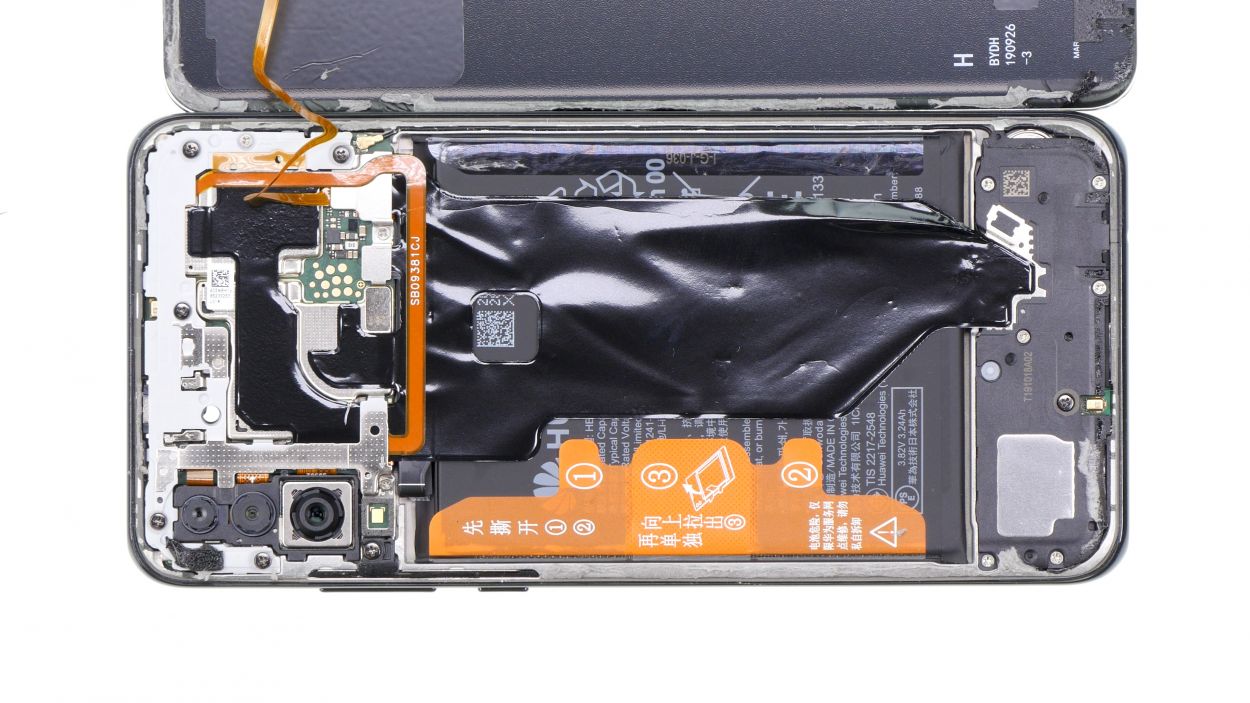
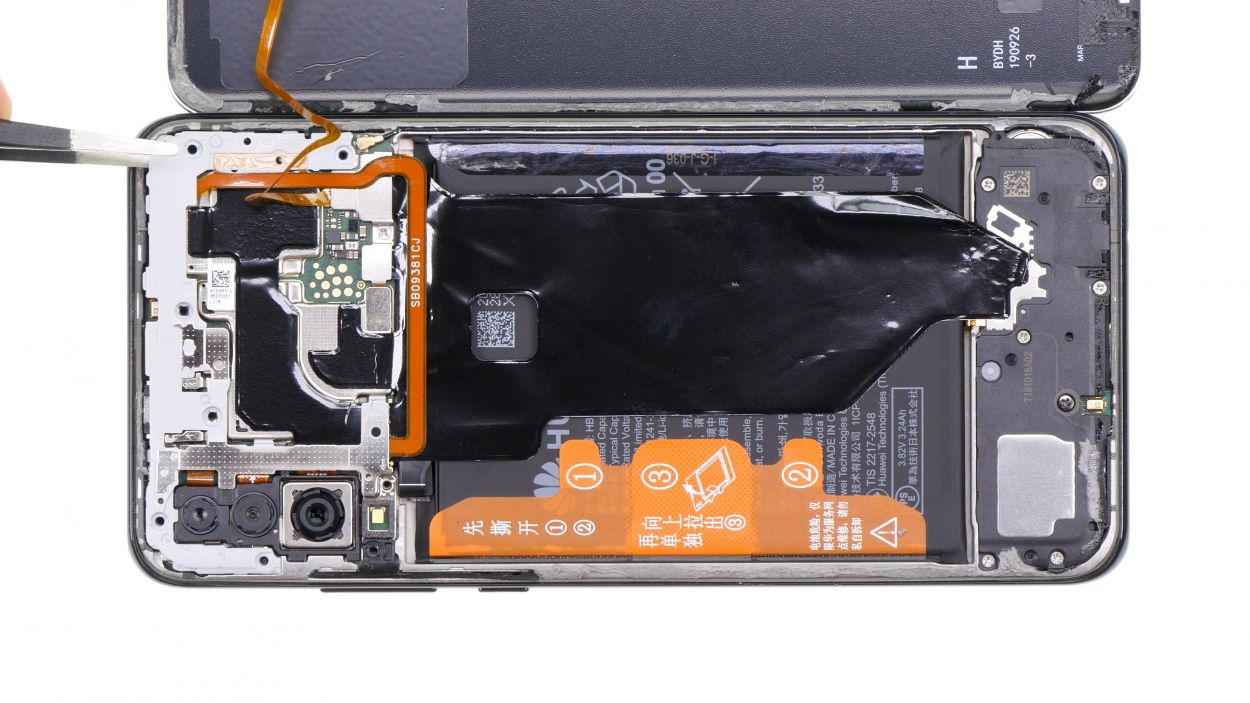
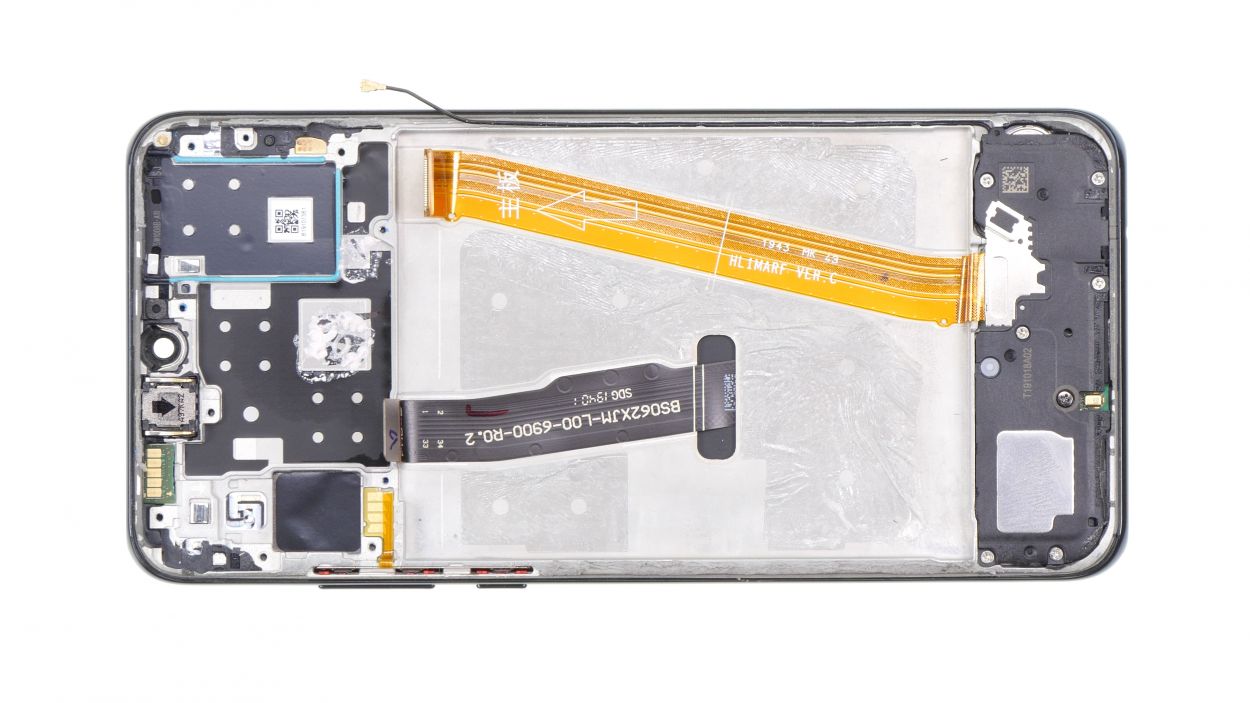
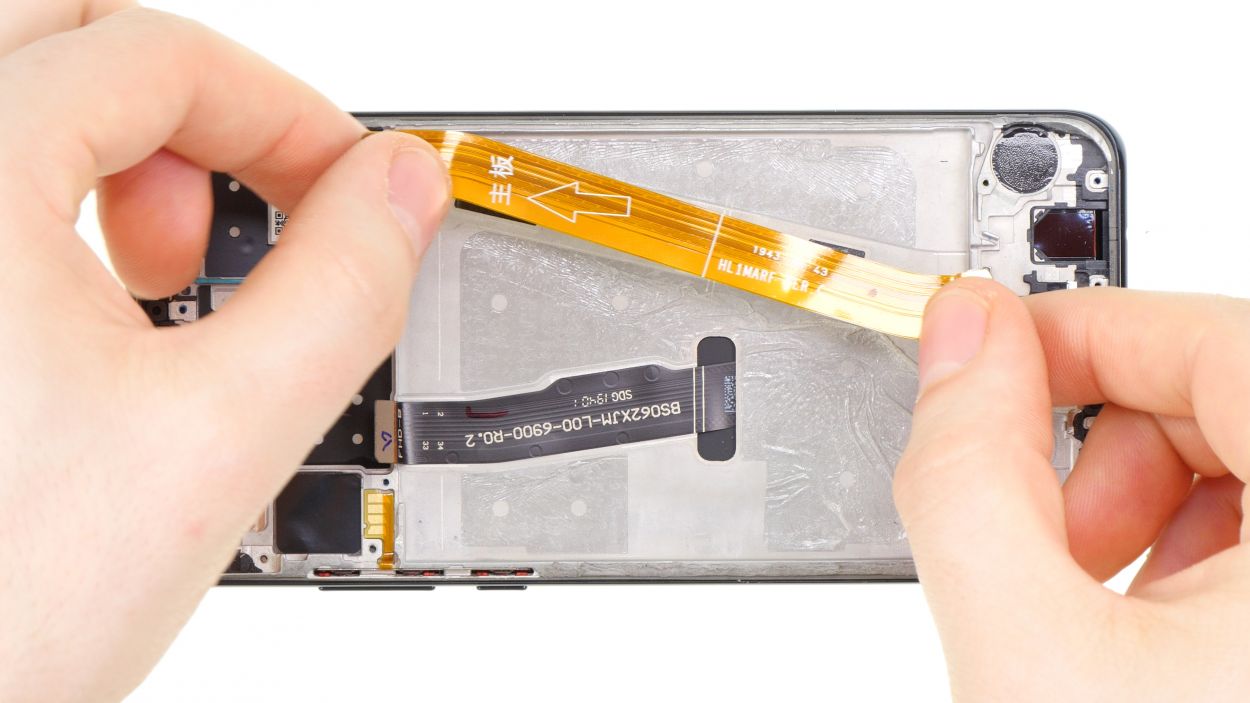
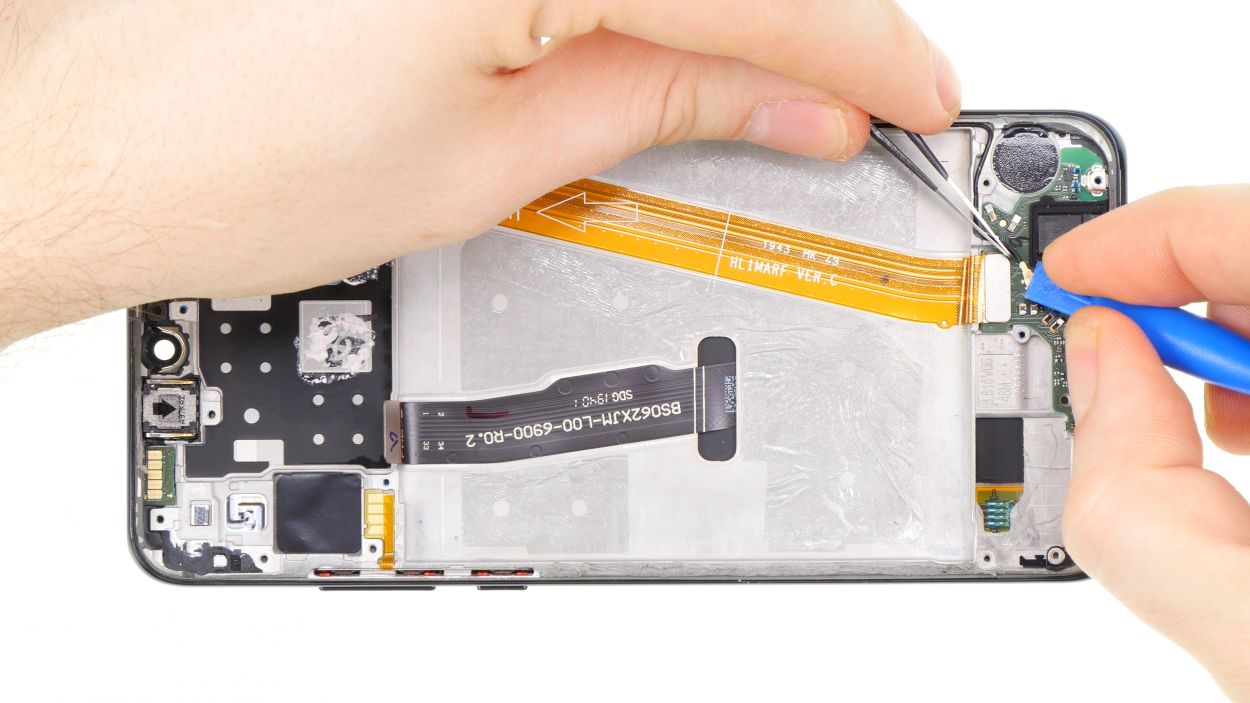
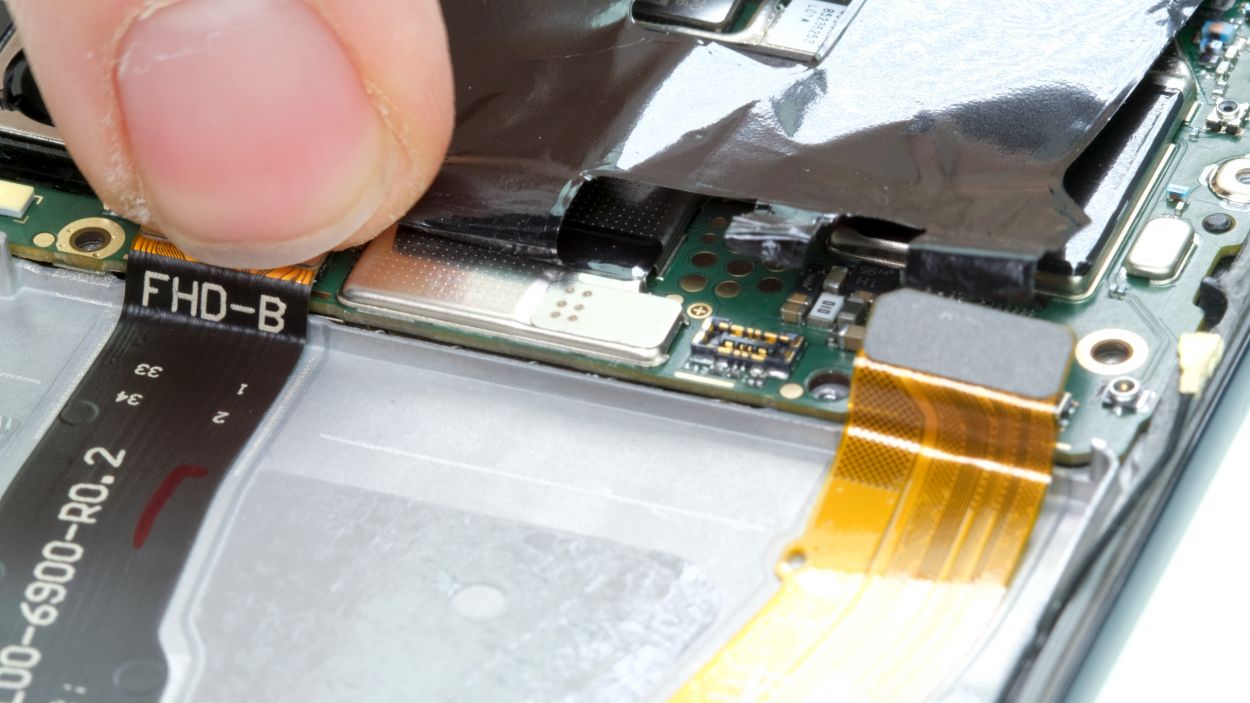
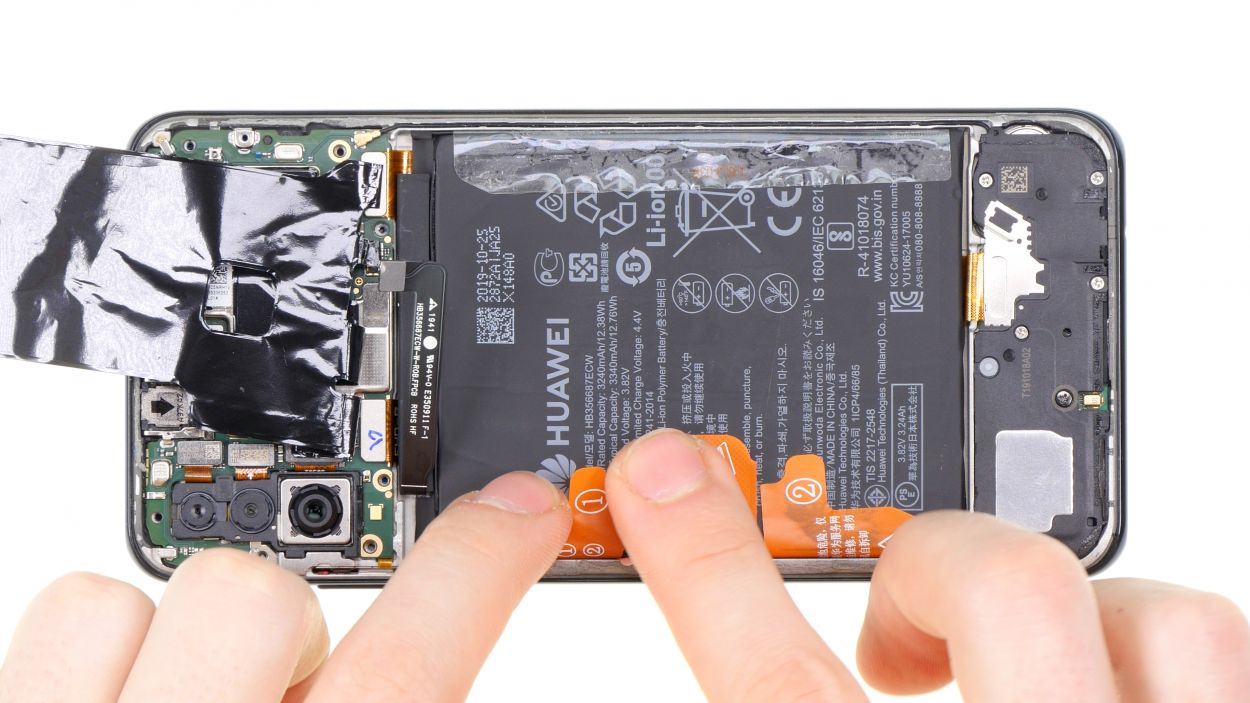
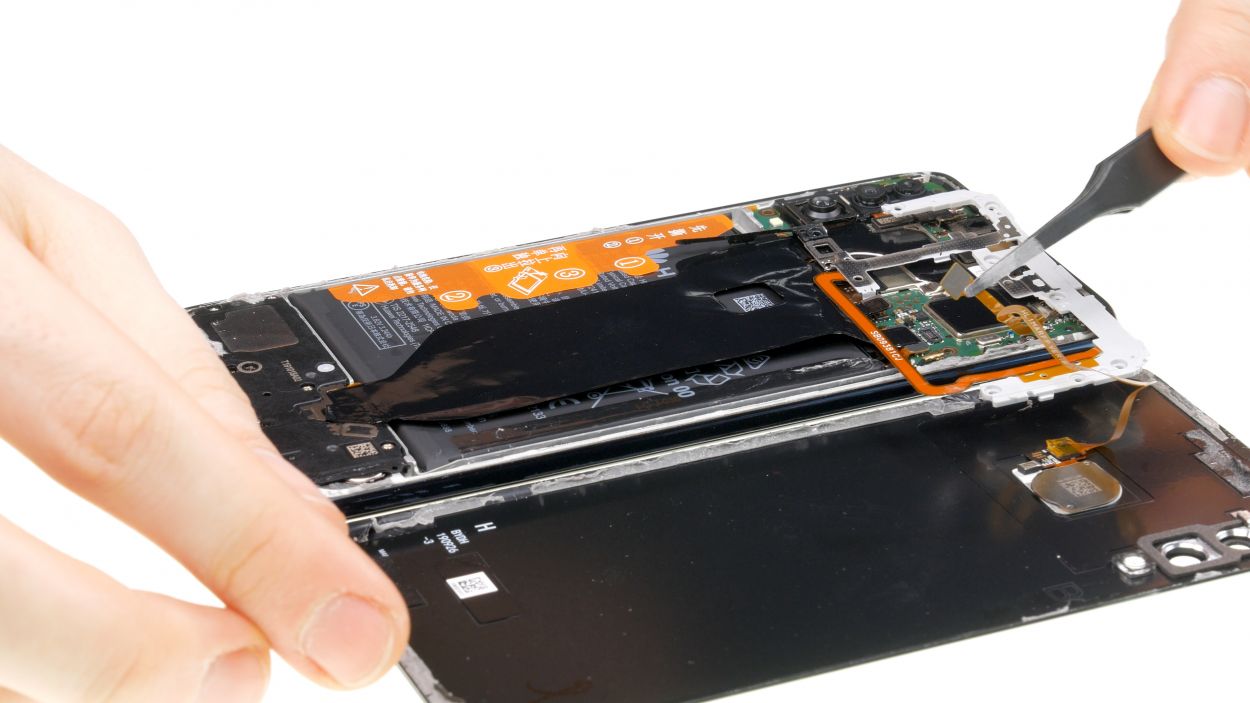
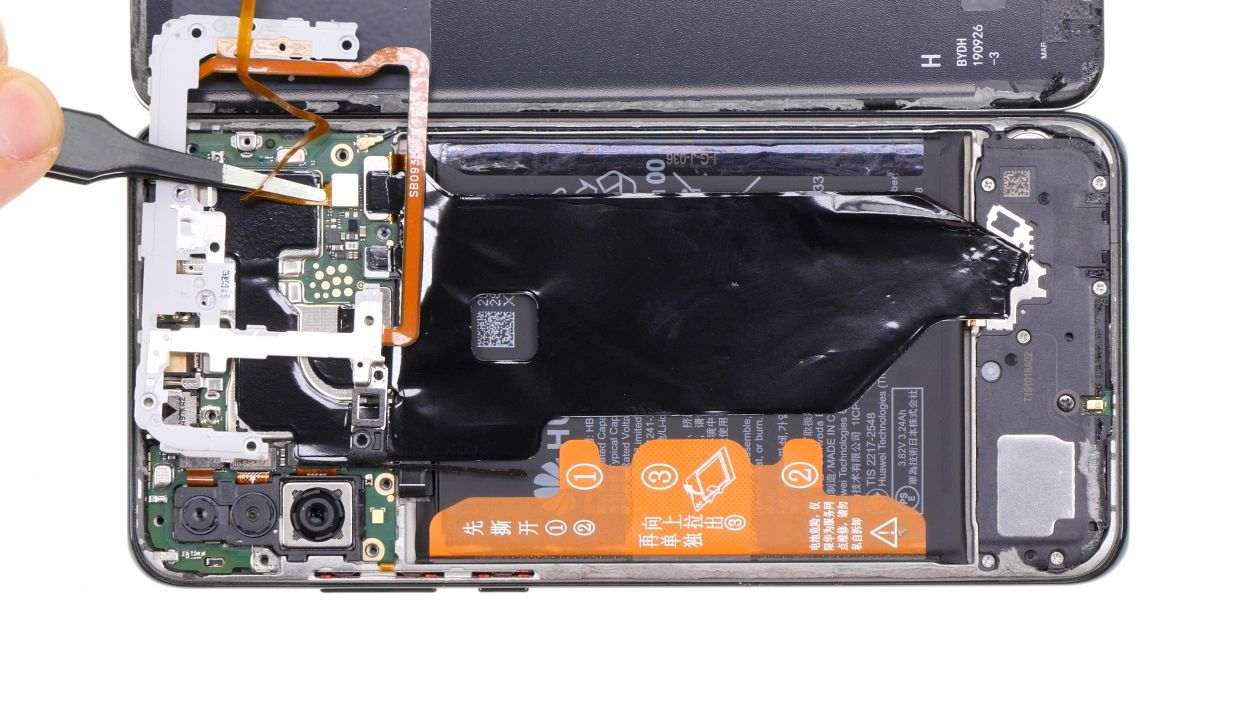
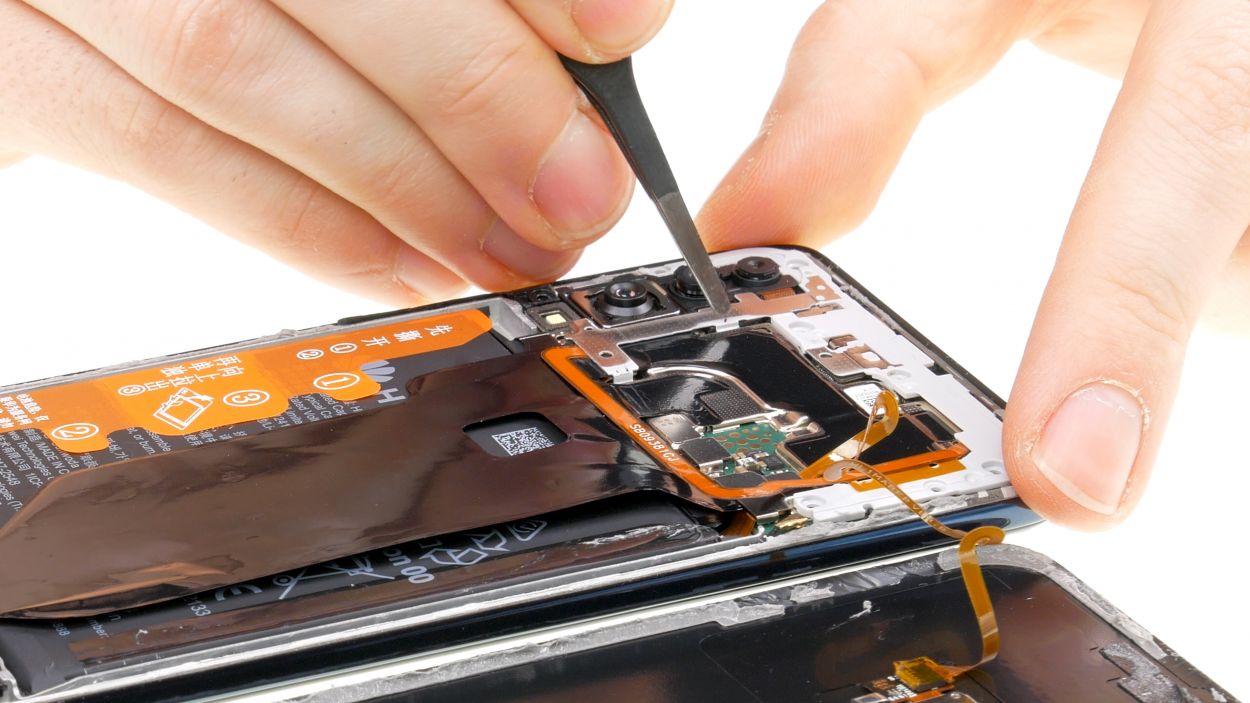
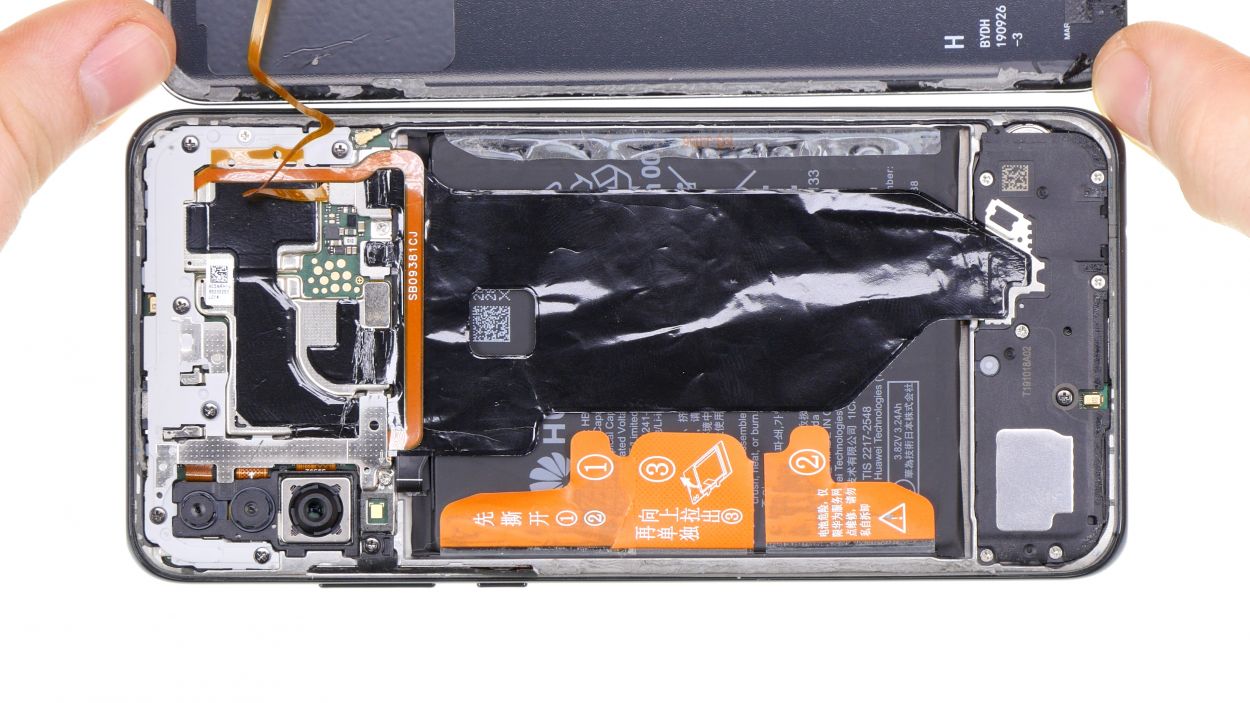
The black foil plays a crucial role in spreading heat throughout your device and can be removed along with the mainboard. Just think of it as a cozy blanket for your tech!
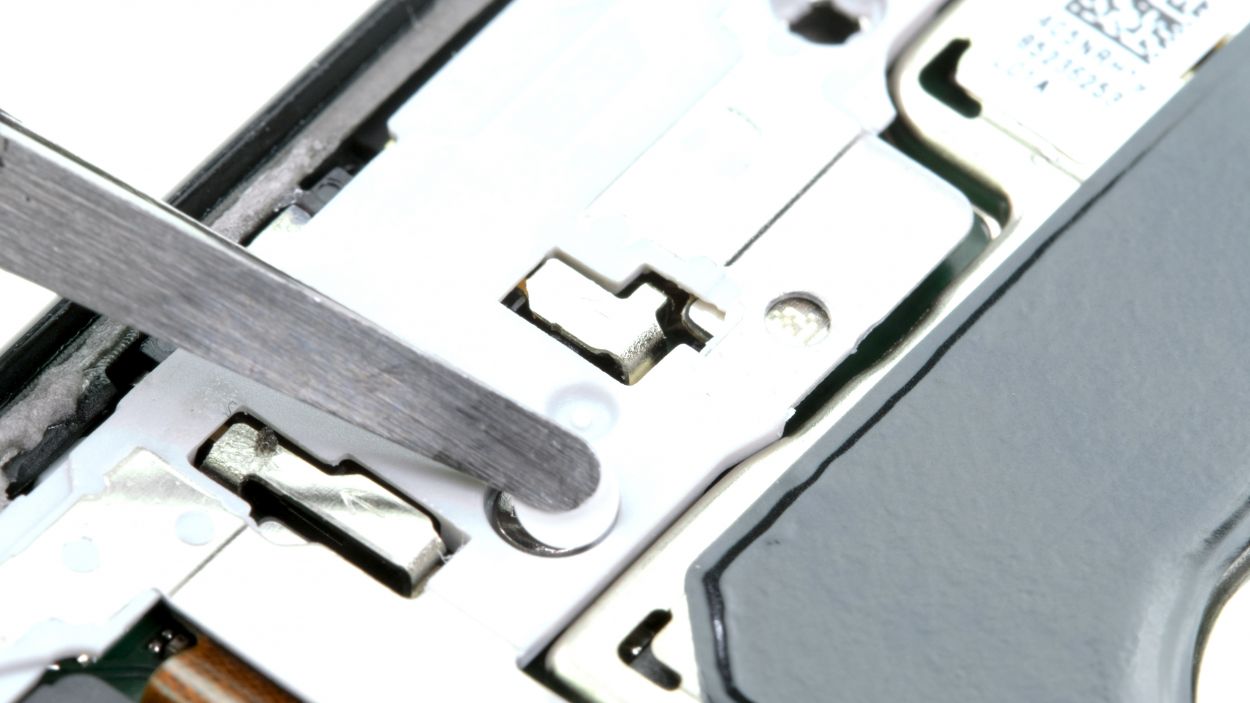
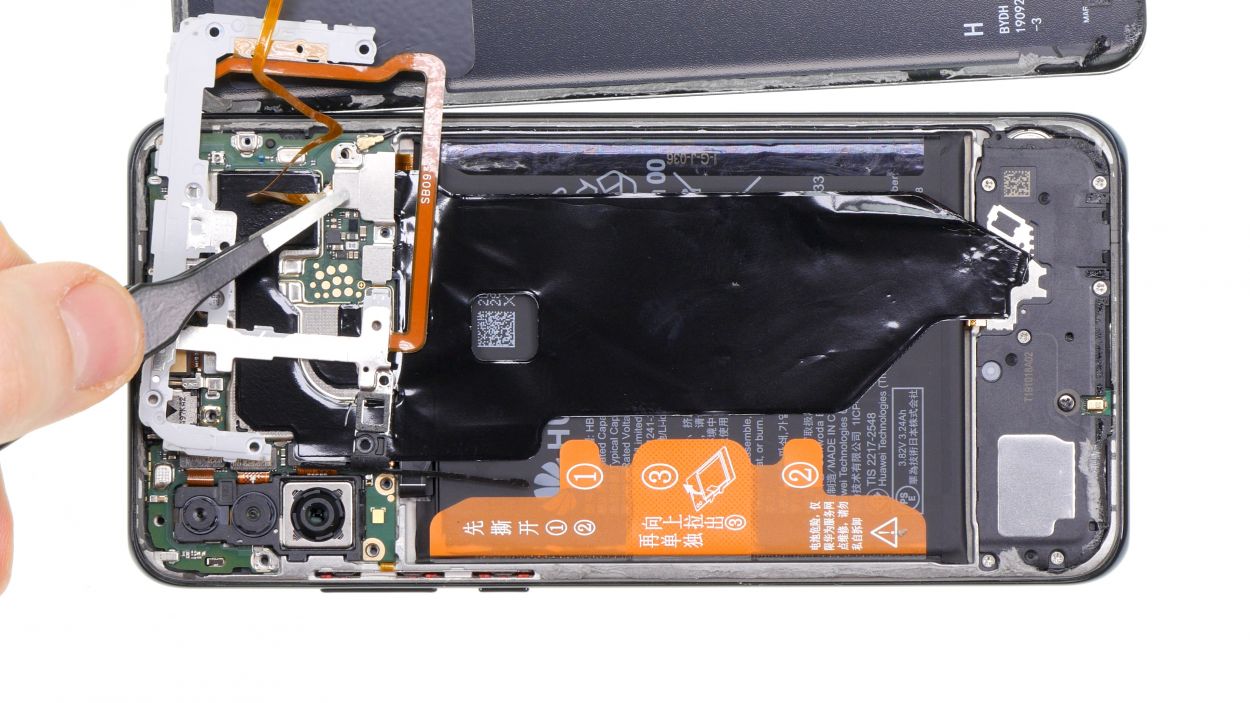
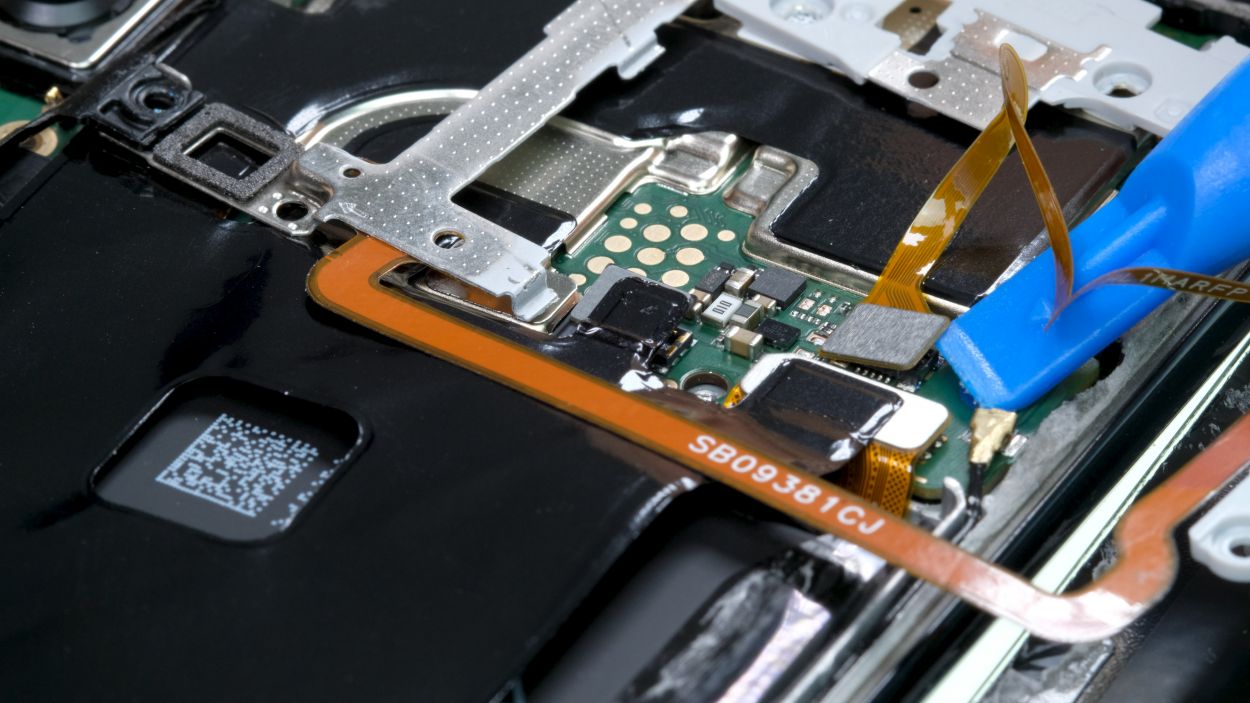
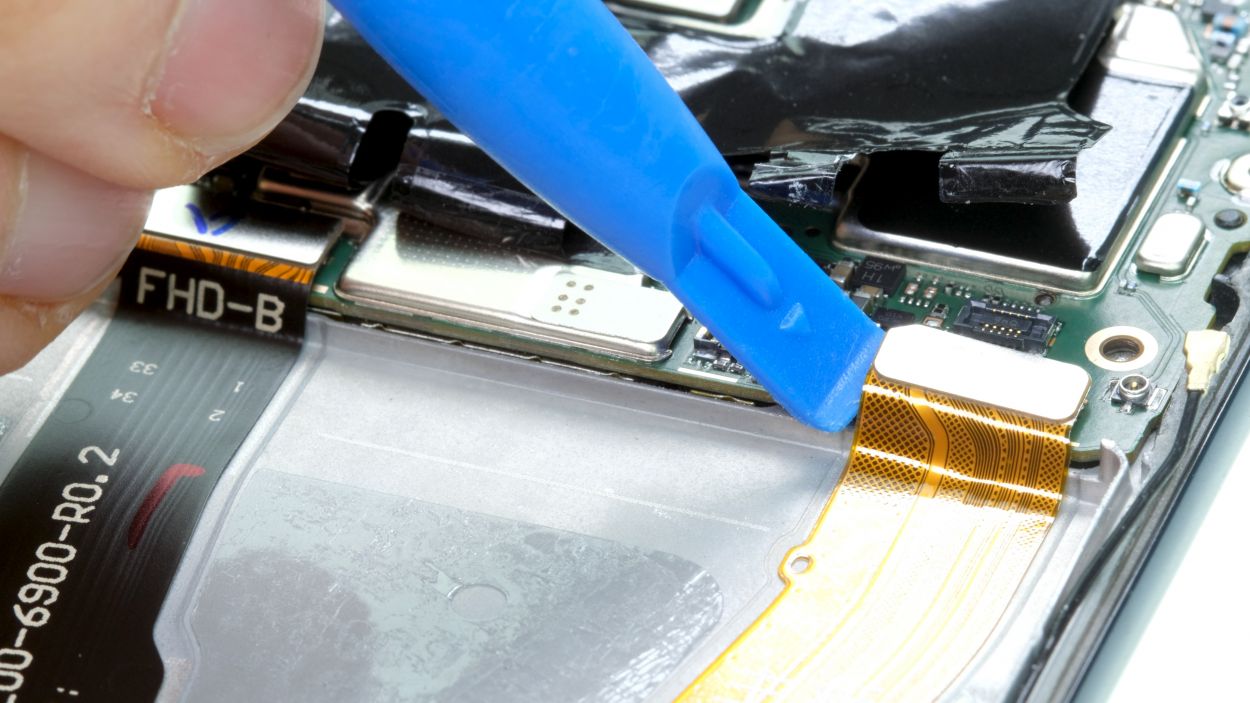
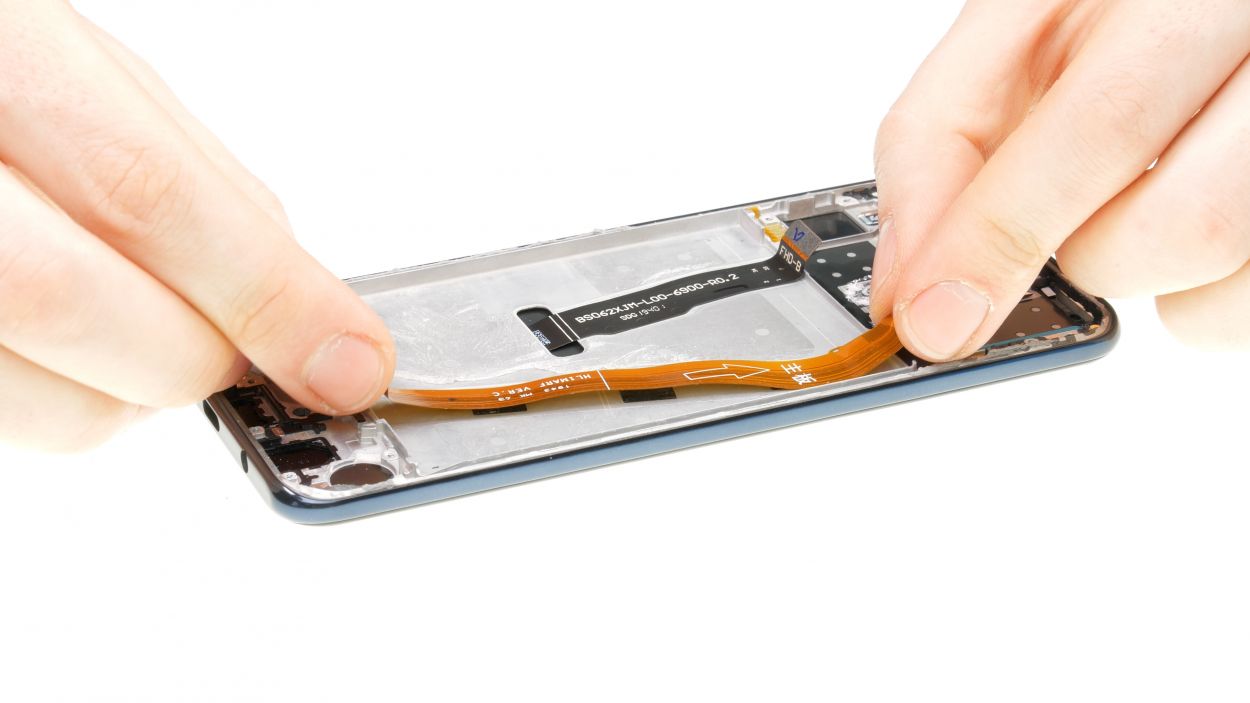
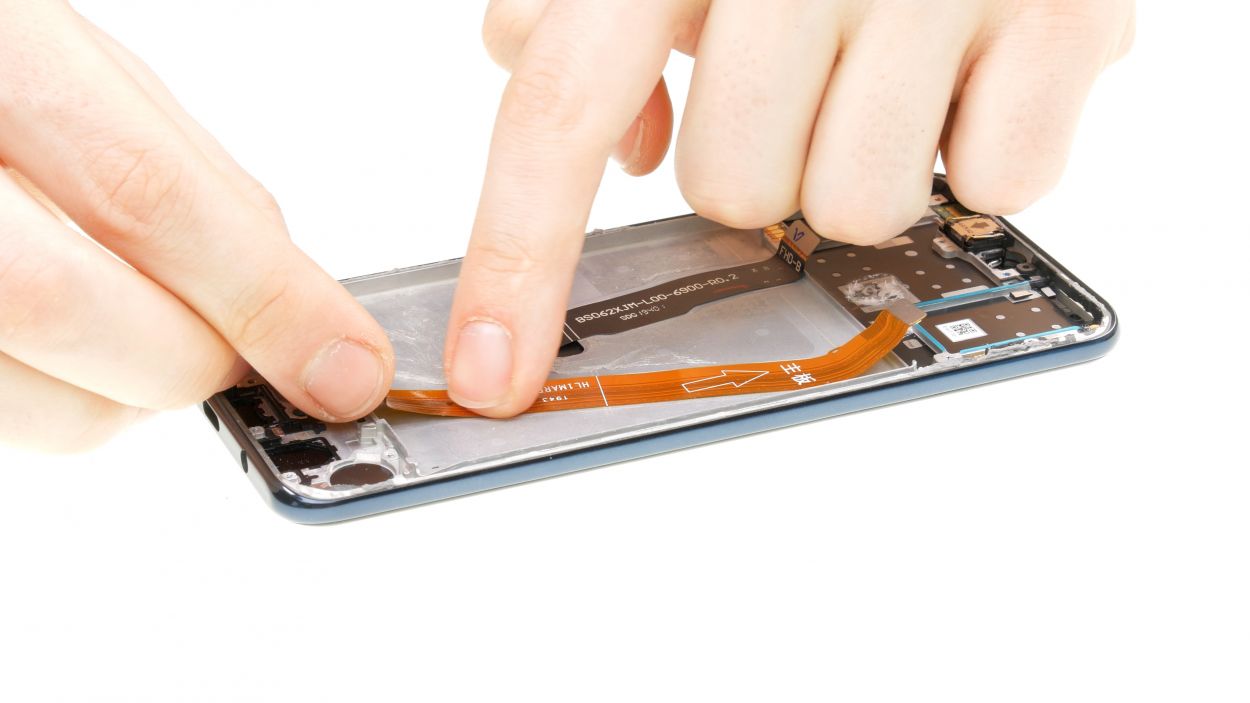
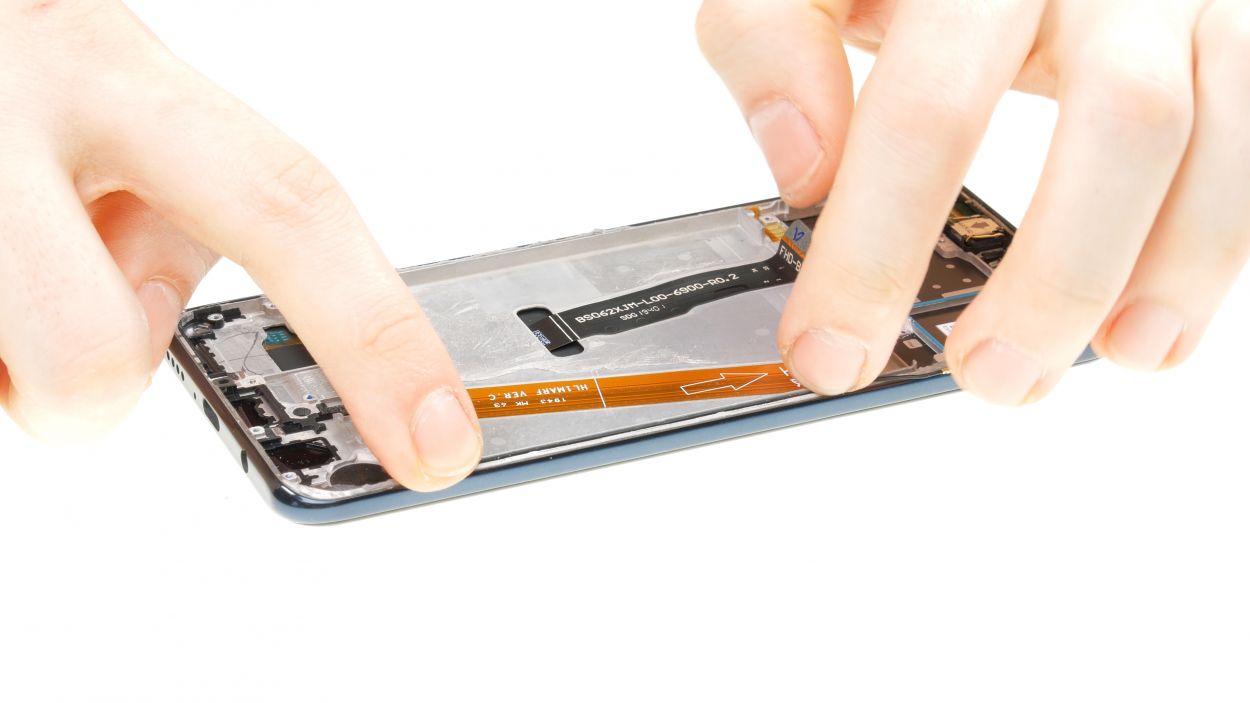
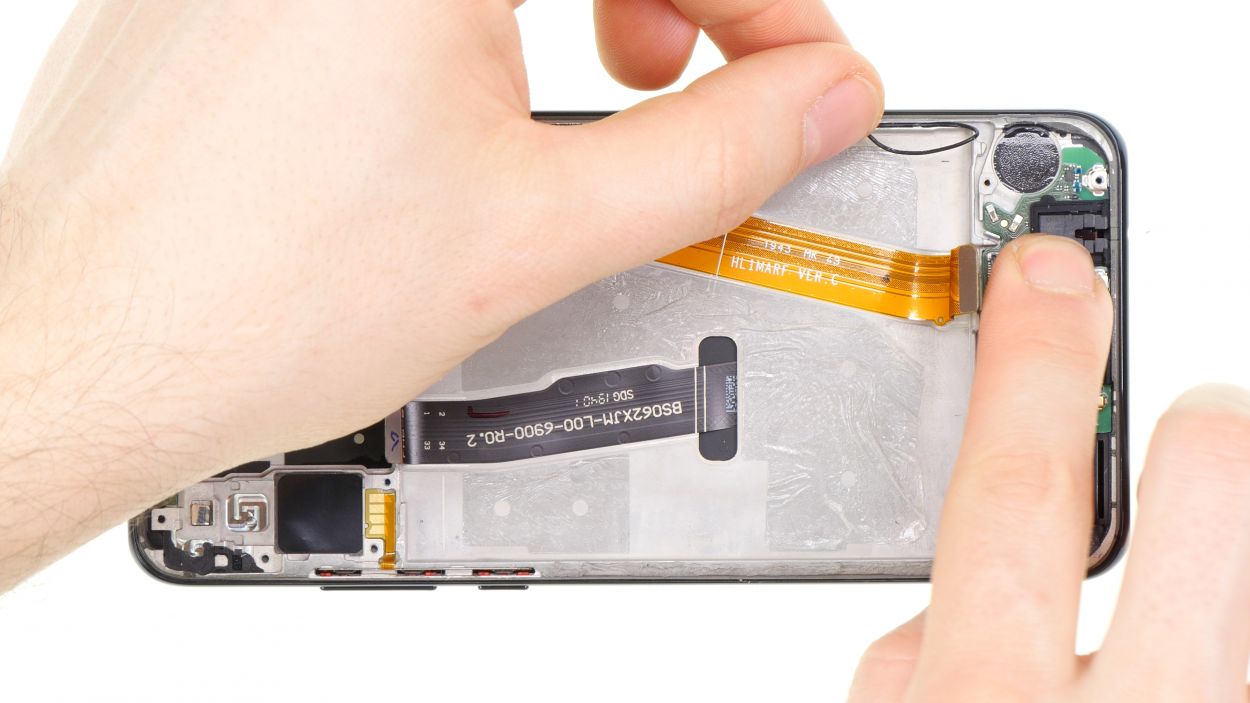
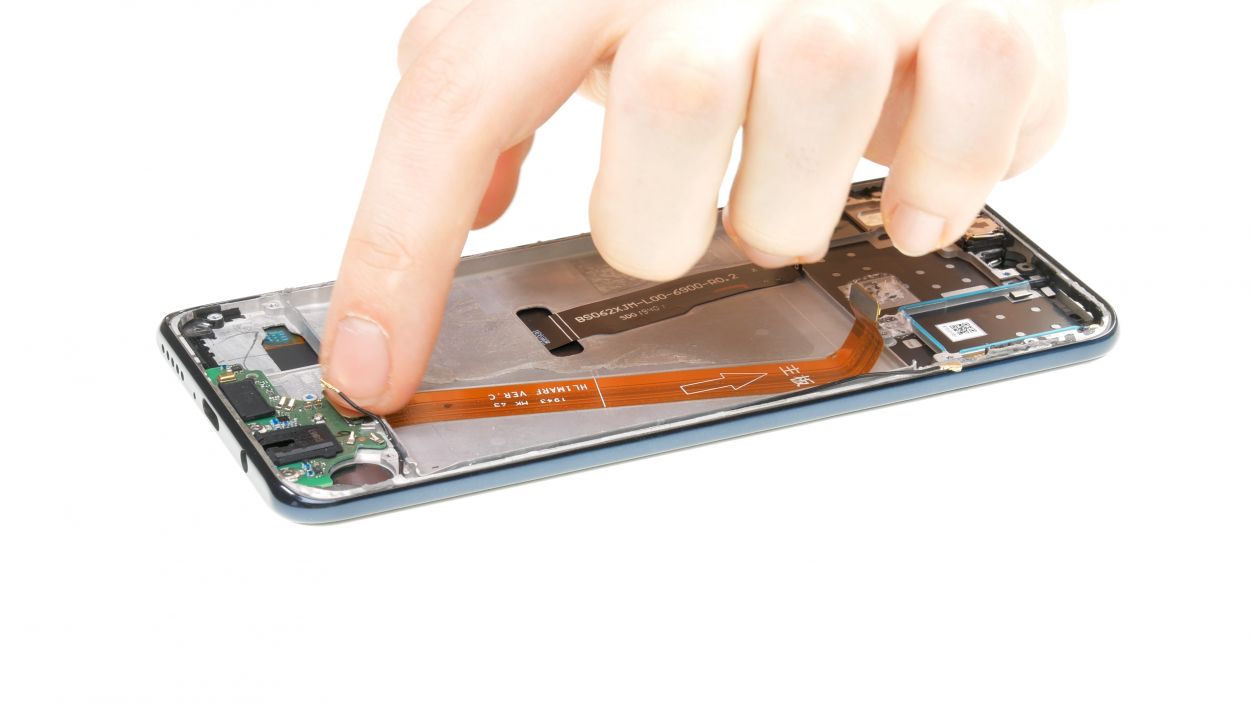
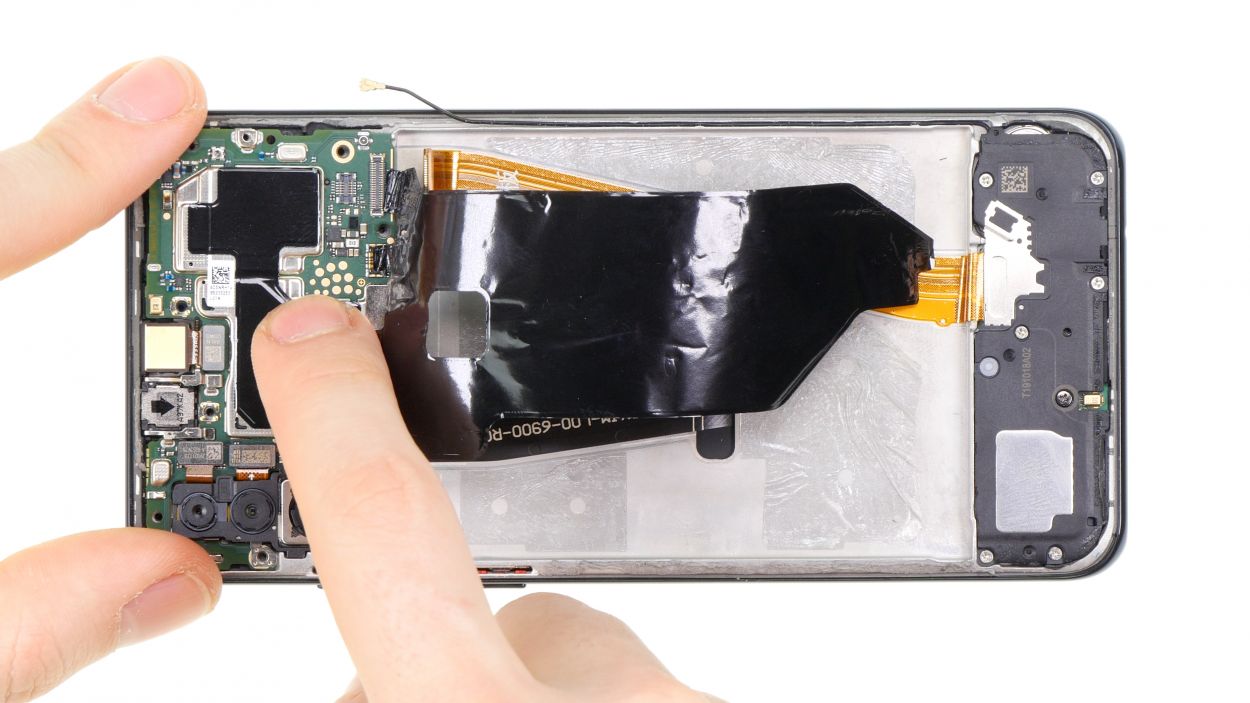
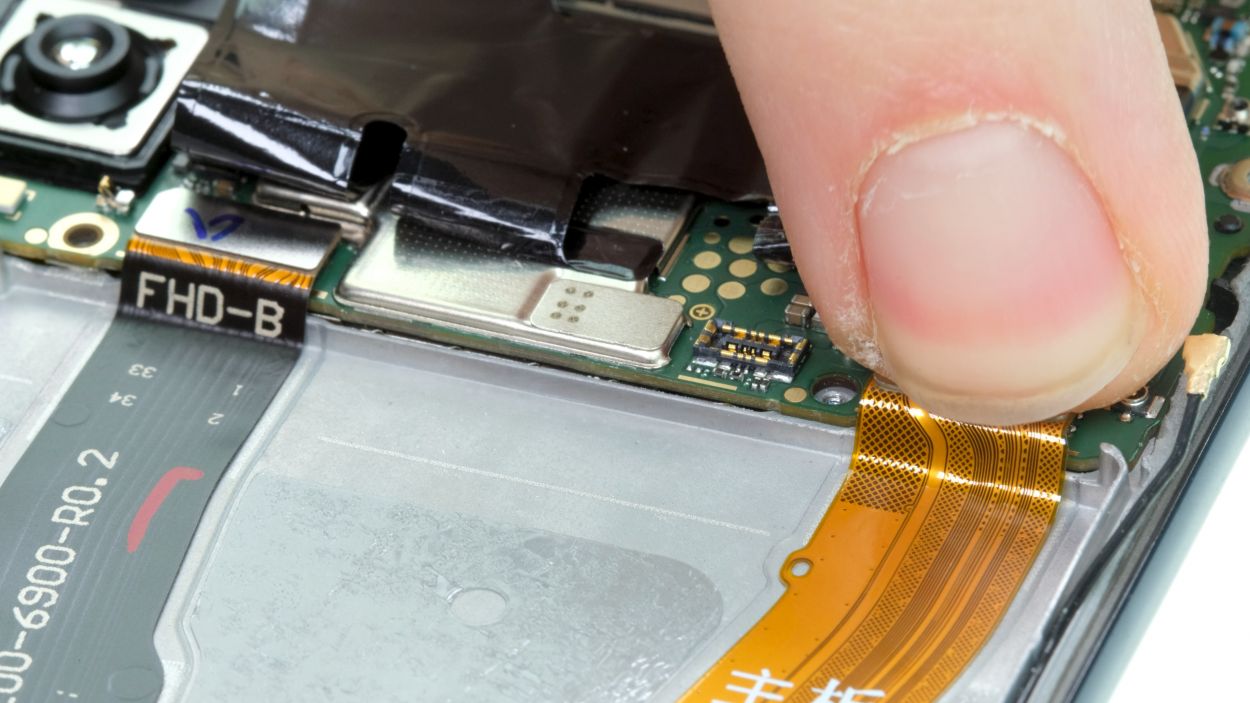
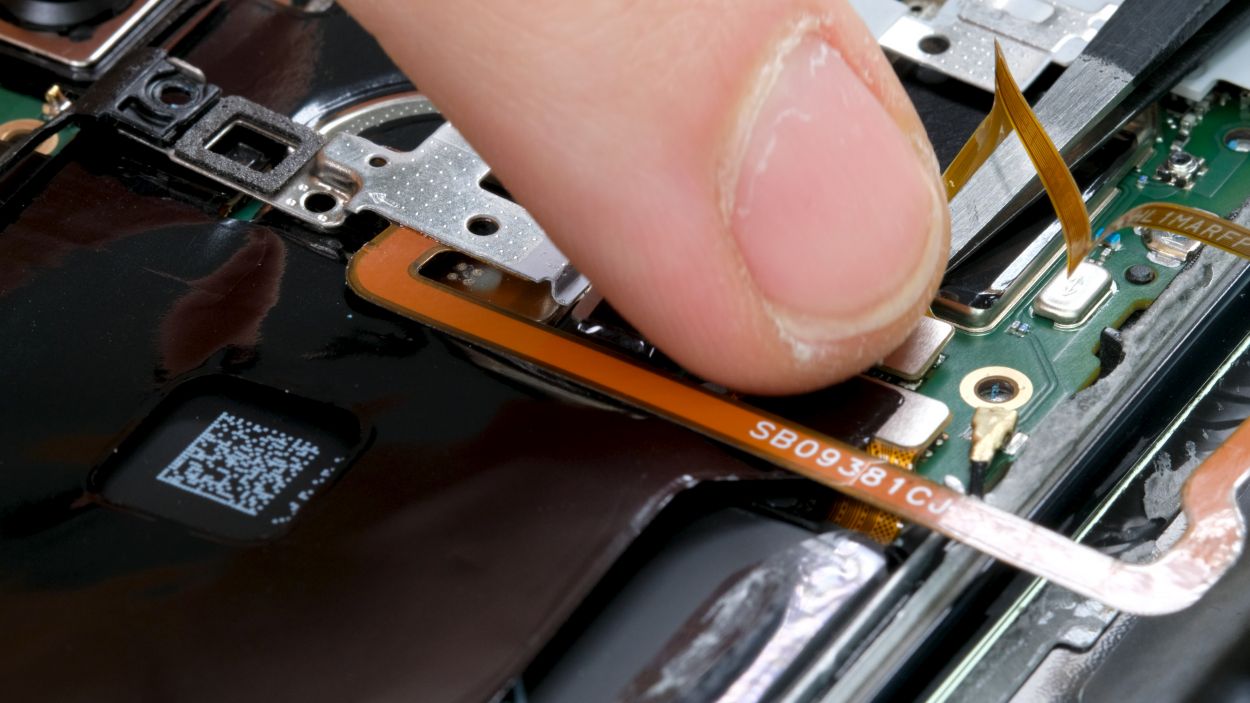
– First up, let’s disconnect those two flex cable connectors from the motherboard. Easy peasy!
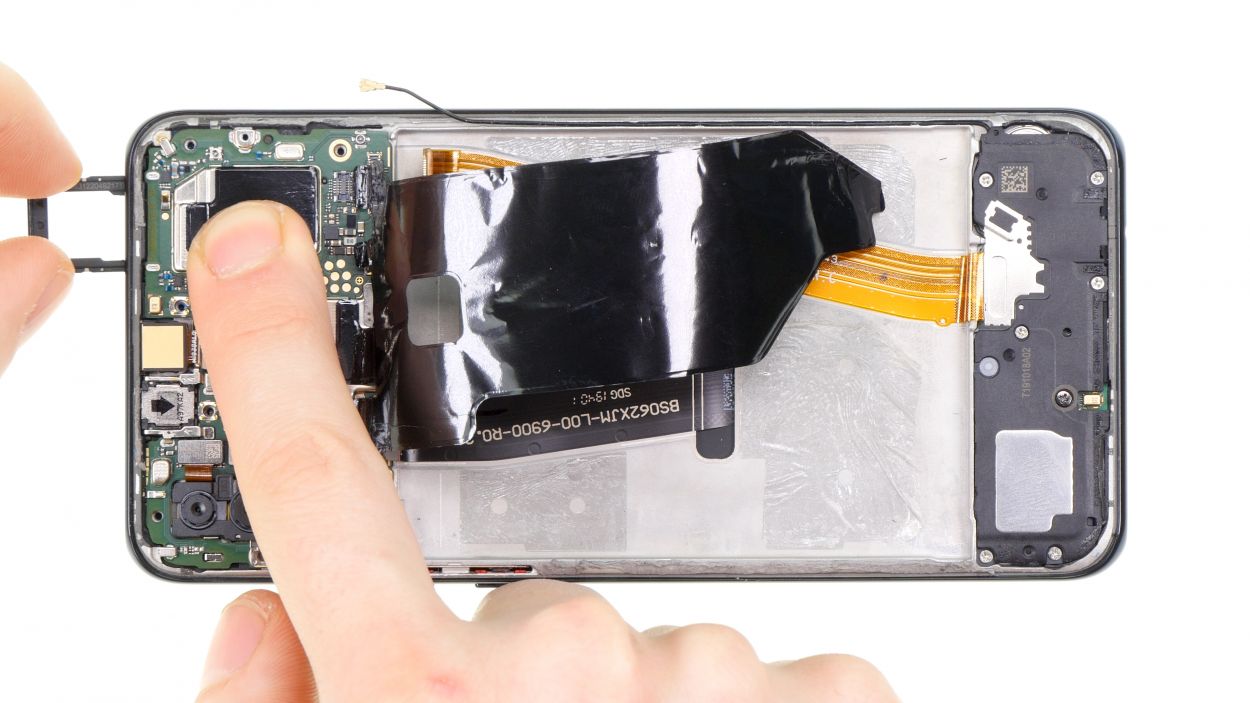
– Next, it’s time to tackle the antenna cable. Grab a pair of tweezers, slide them gently under the connector, and give it a little twist to release it. Voila!
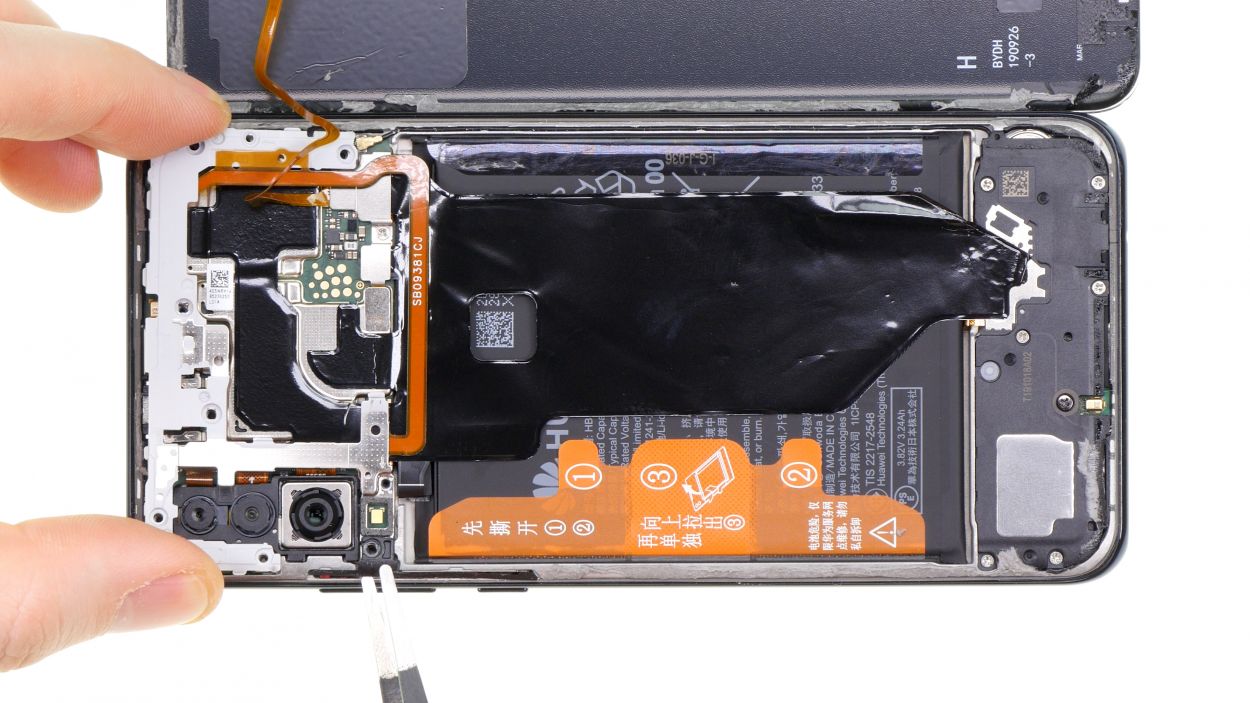
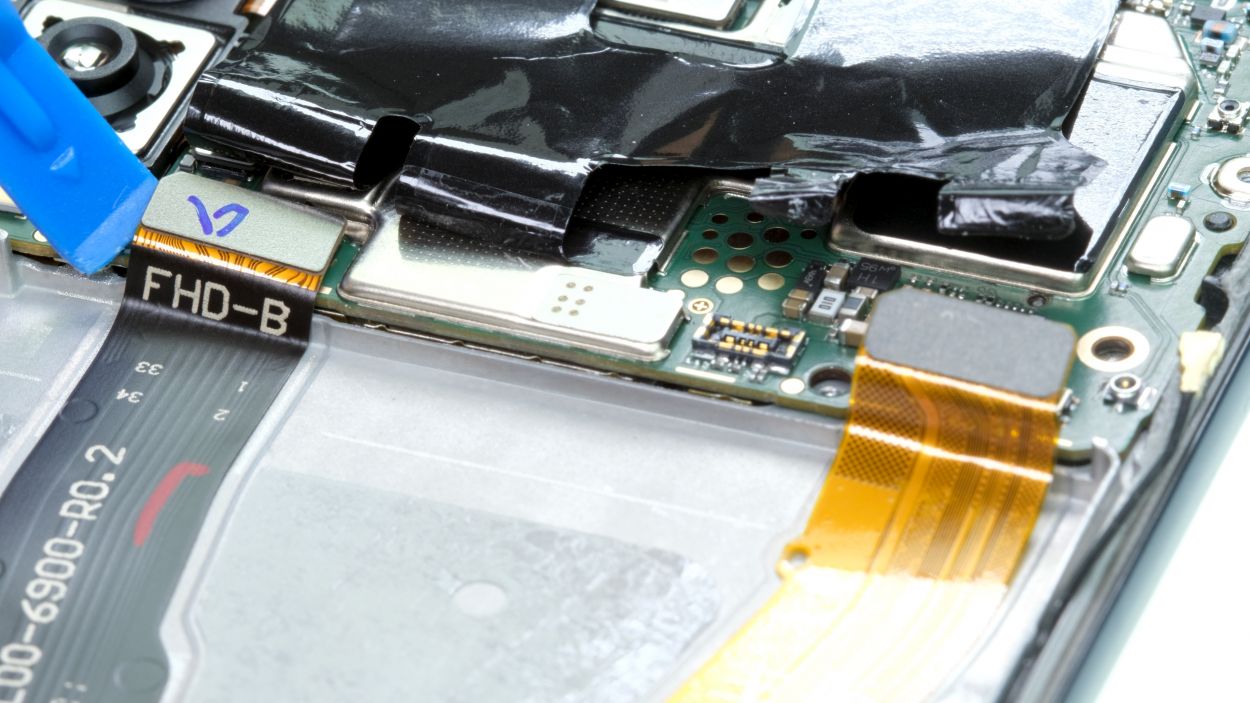
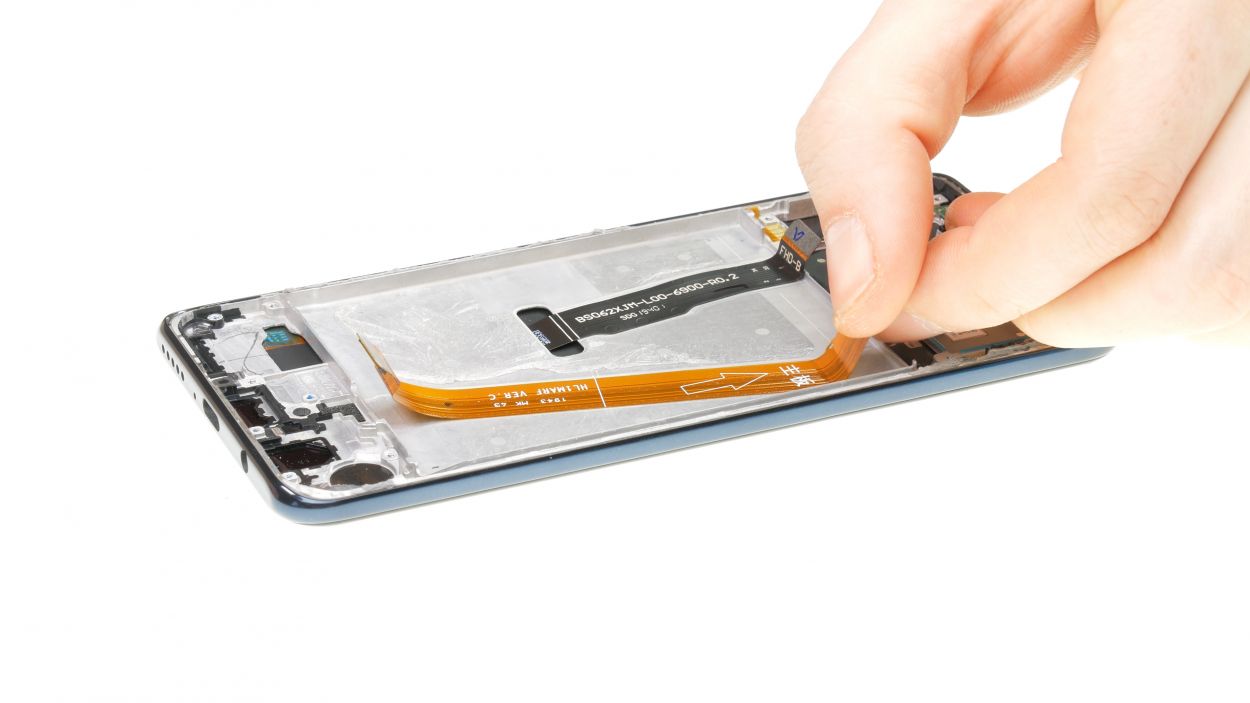
– Now, let’s remove the SIM card holder from the device. Just a quick pull and it’s out!
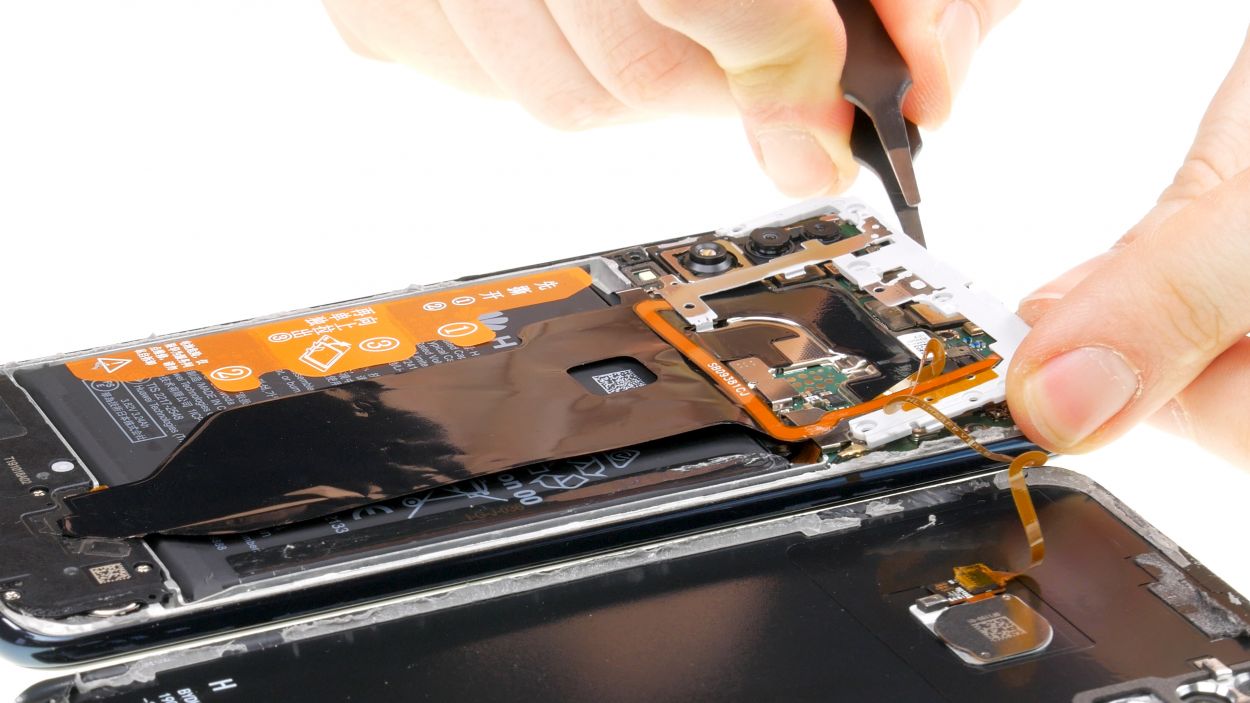
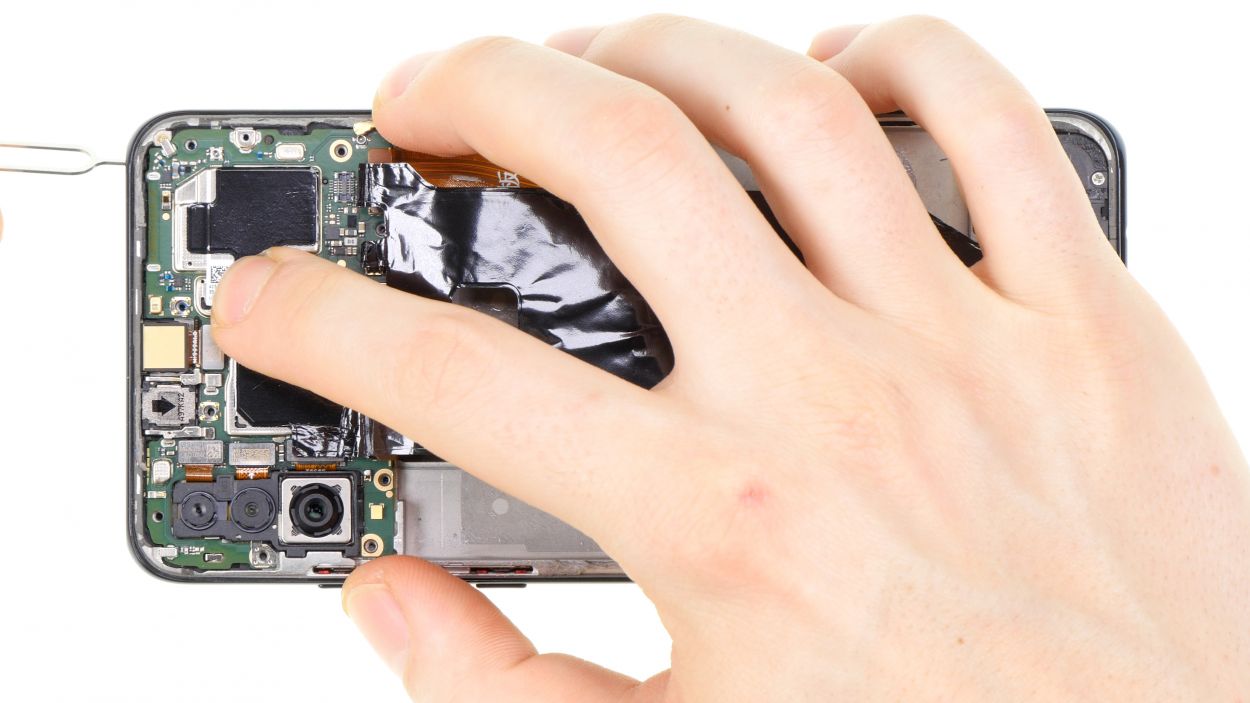
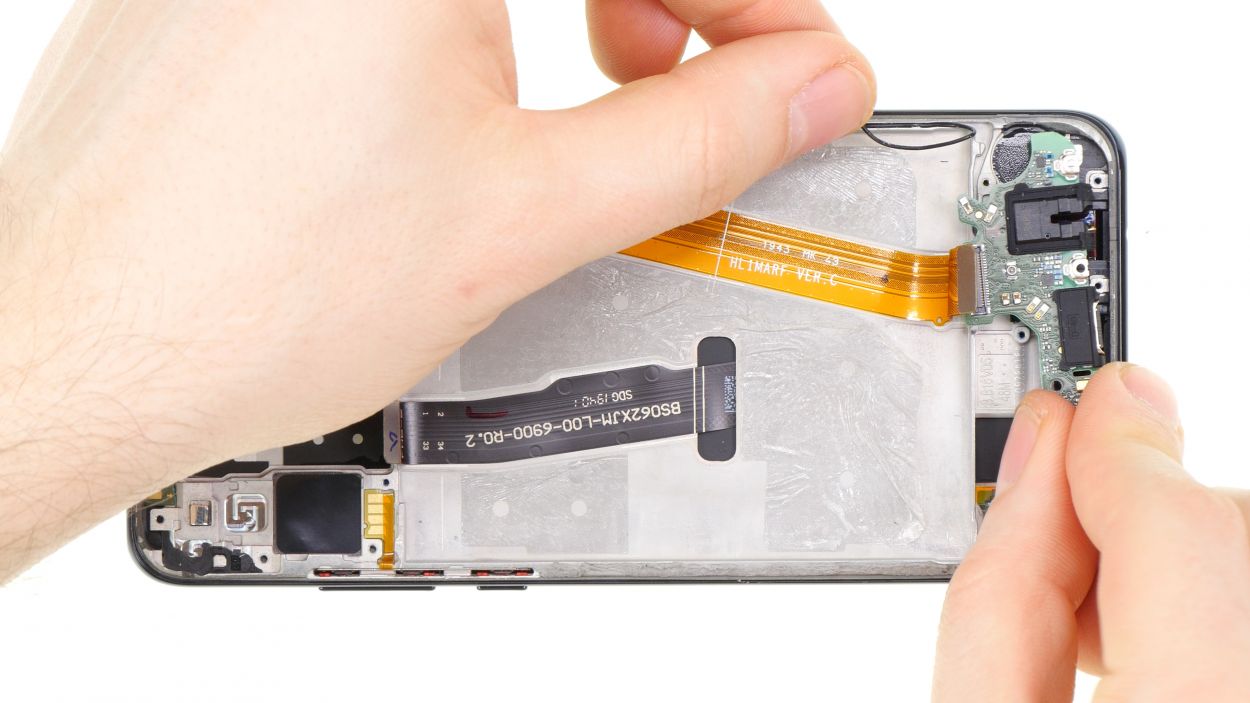
– Make sure to bend all the cables slightly to the side so they don’t get stuck when we move the mainboard.
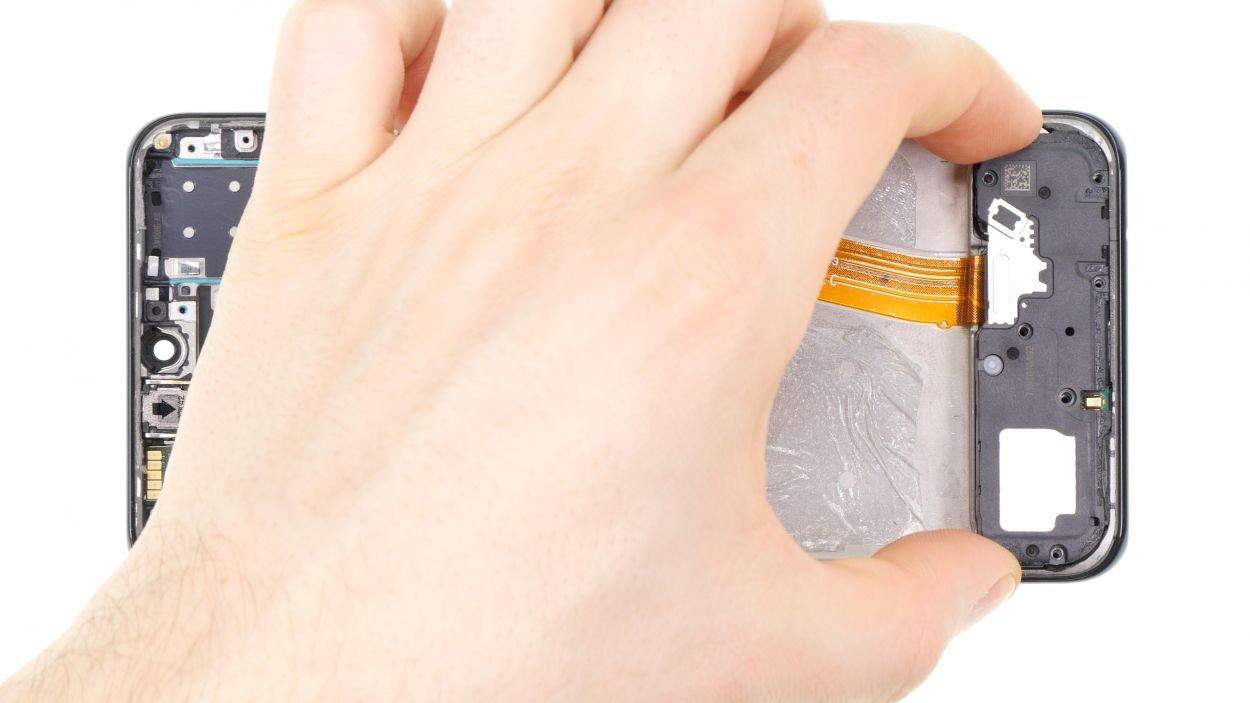
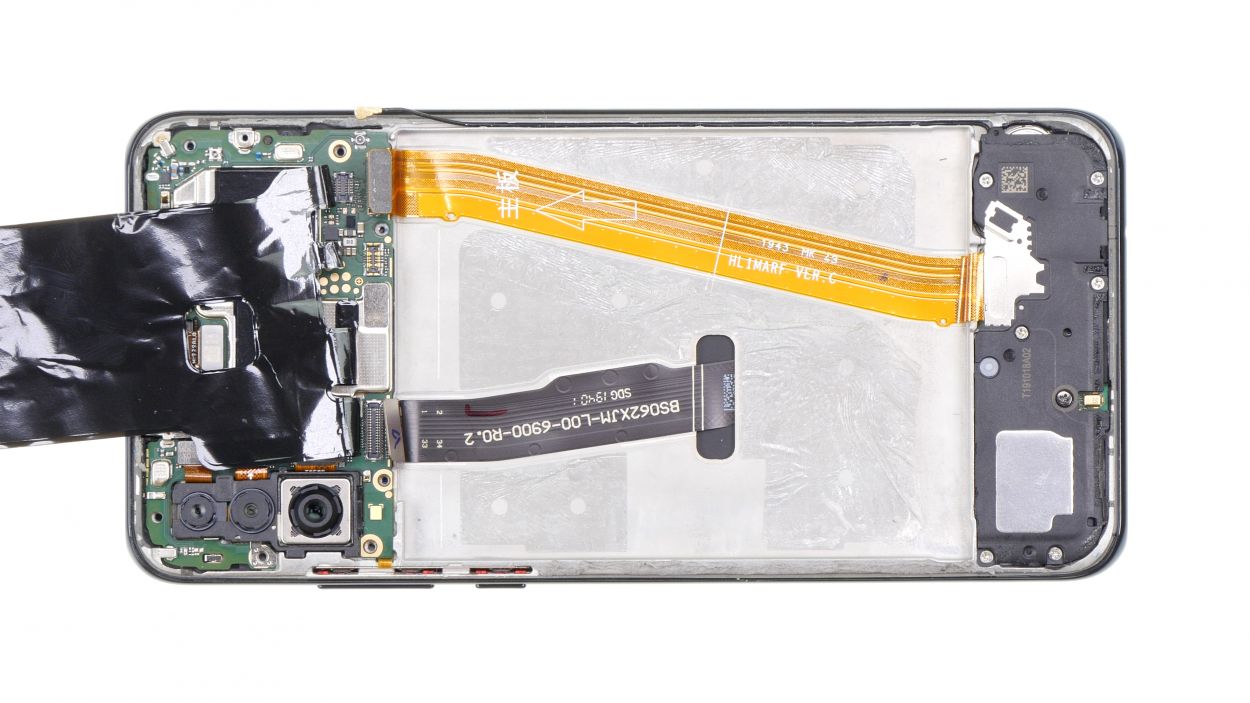
– Finally, lift the board up from different spots and carefully take it out of the device. You got this!
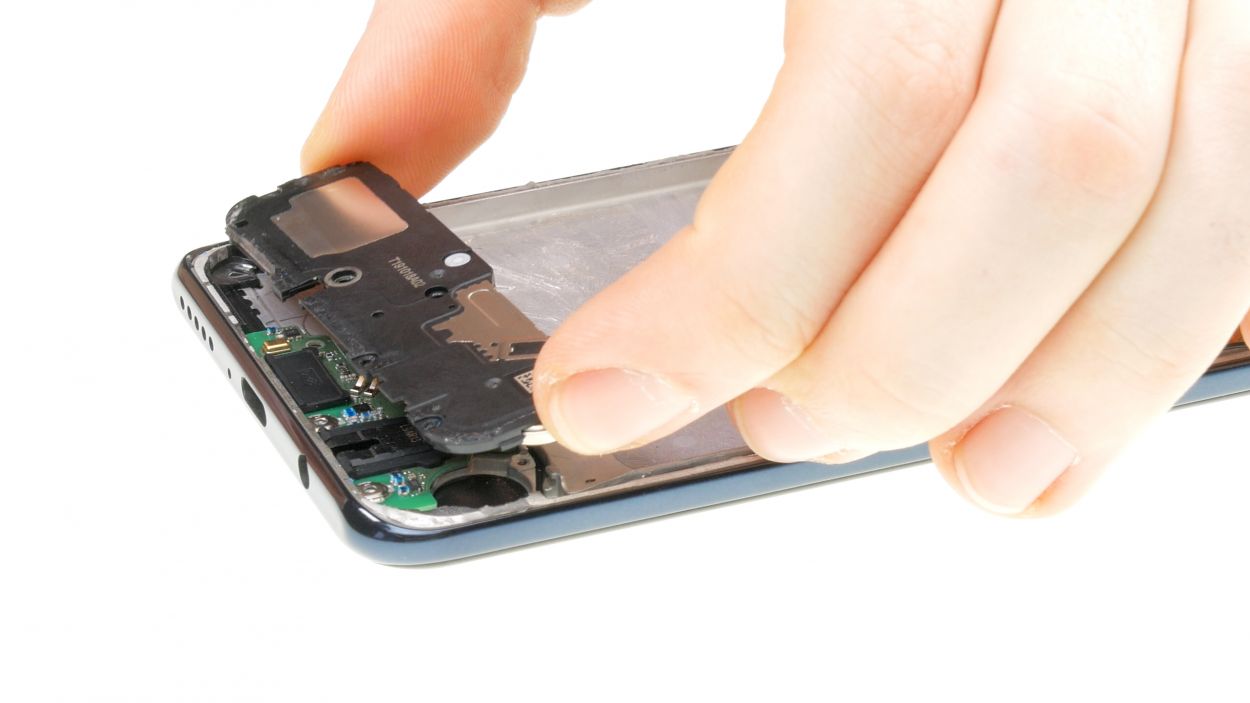
Step 8


6 × 2,7 mm Phillips
1 × 3,3 mm Phillips
– Unscrew those variously sized screws holding the speaker in place. They’re just waiting for their moment to shine!
– Once you’ve freed them, gently lift the speaker a bit and pull it out. You’ve got this!
Step 9
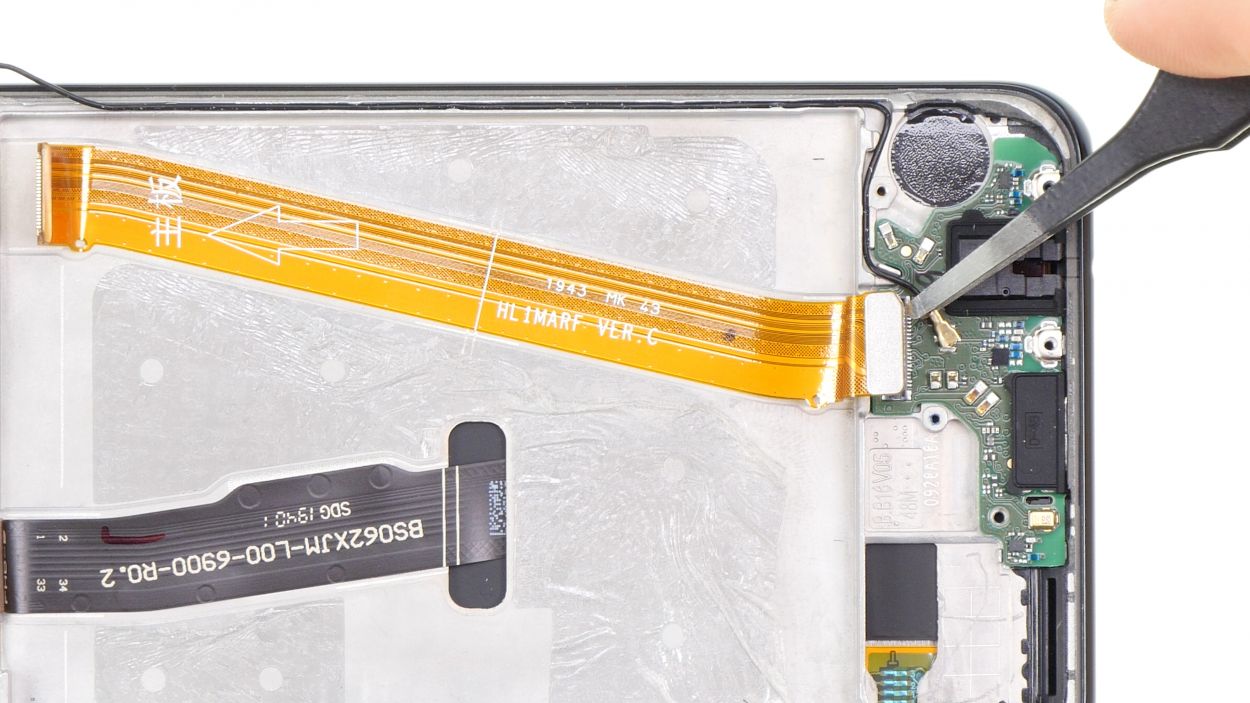
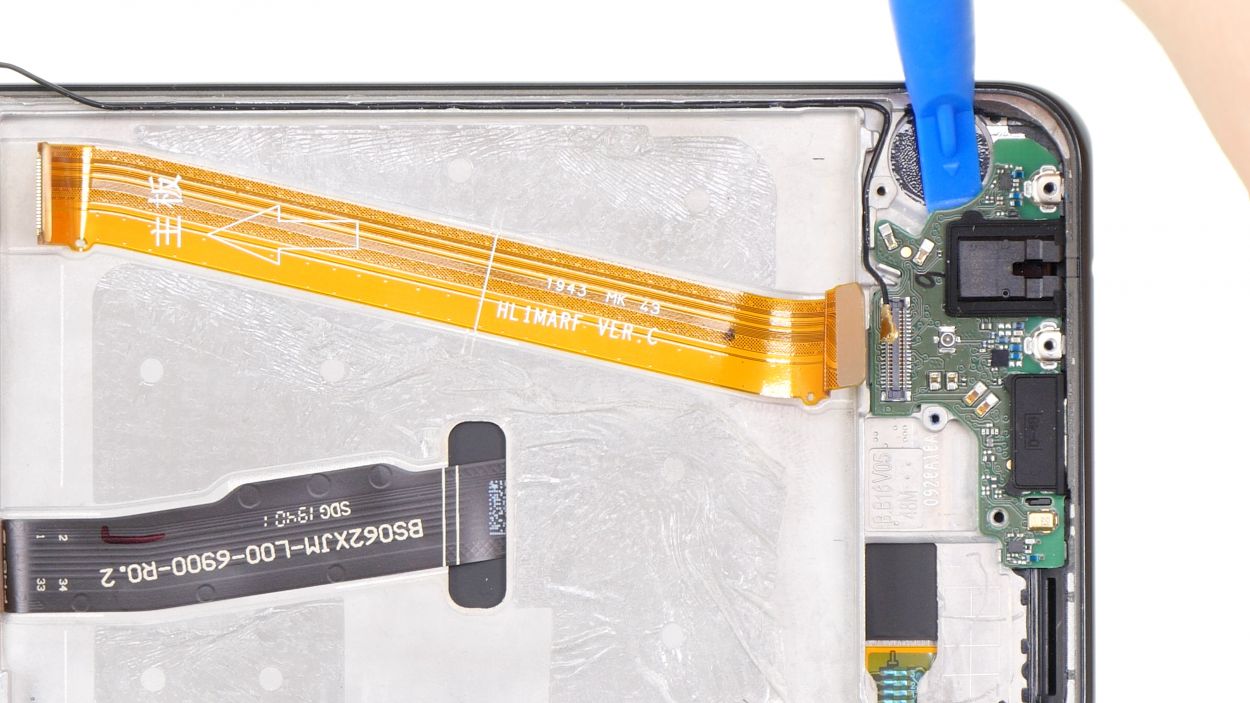
Antenna Connector
This board is home to the charging socket and the headphone jack. Let’s get to know them a little better!
– First up, gently disconnect the flexible cable and the antenna plug from the USB-C board. No need to rush, take your time!
– Next, use a plastic tool to carefully pry the board out of the device. You’ve got this!
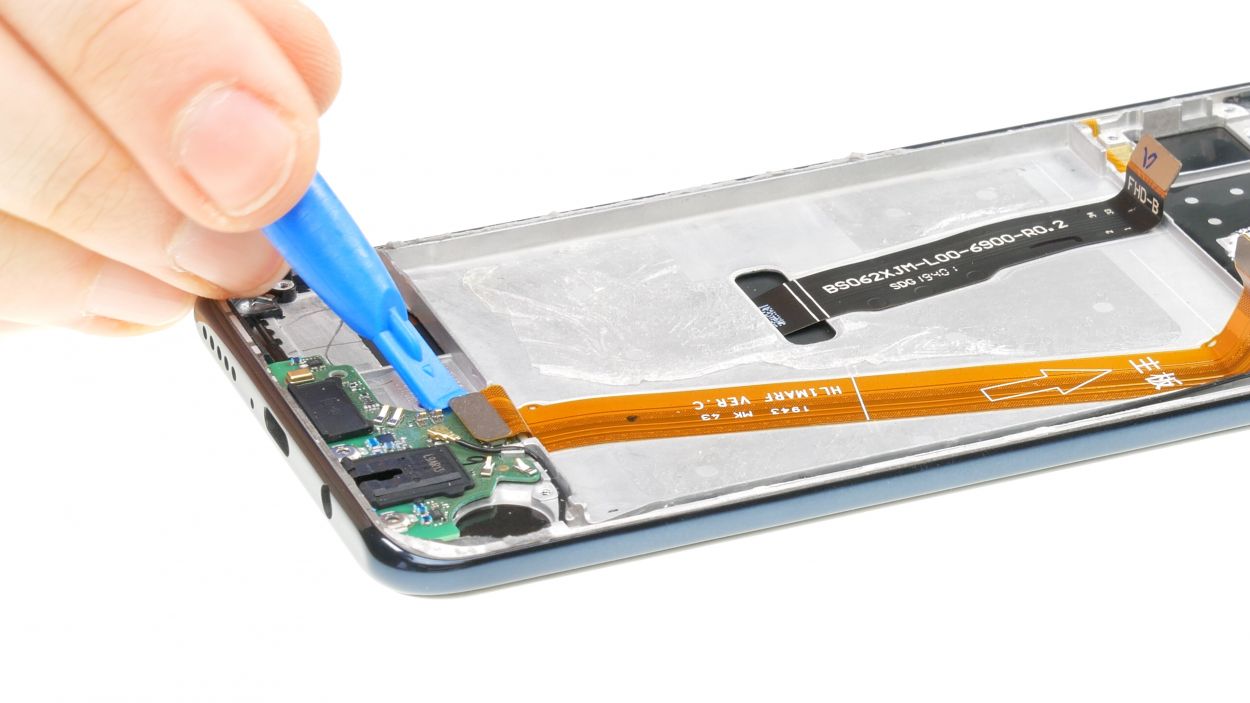
Step 10
If you’re feeling like the Terminator and you want to give that cable a heated interrogation, you’re welcome to. This will make it easier to remove.
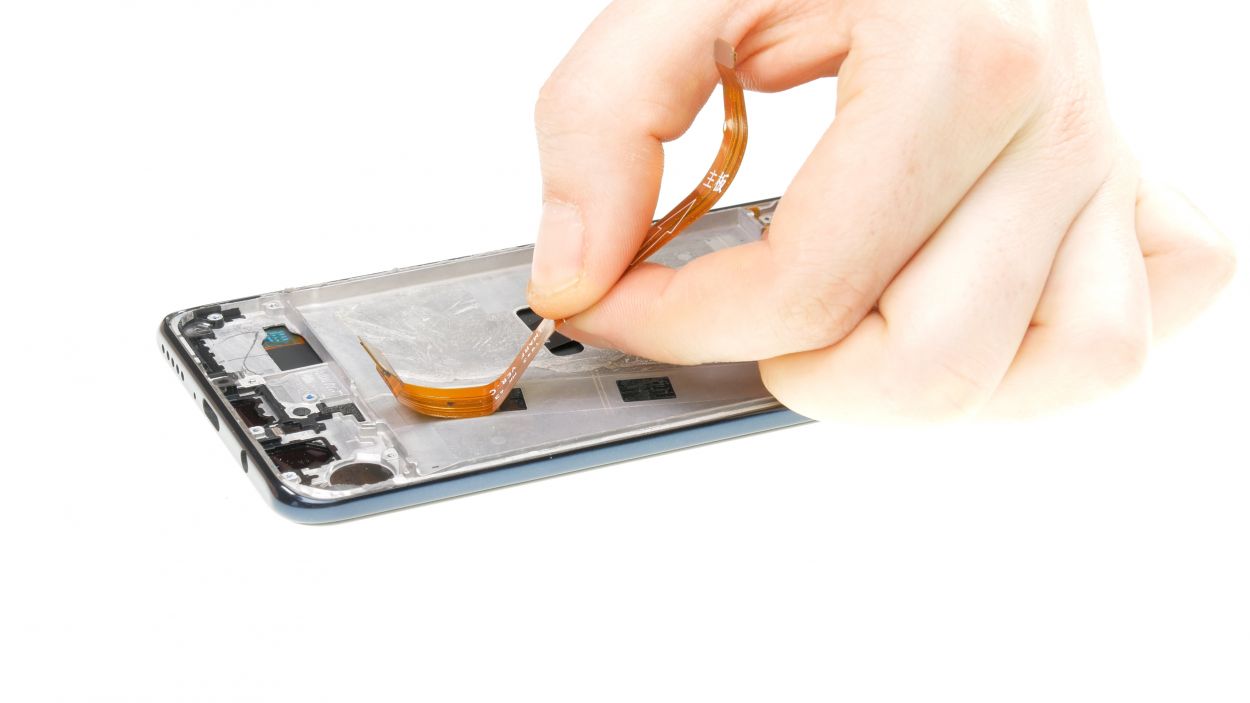
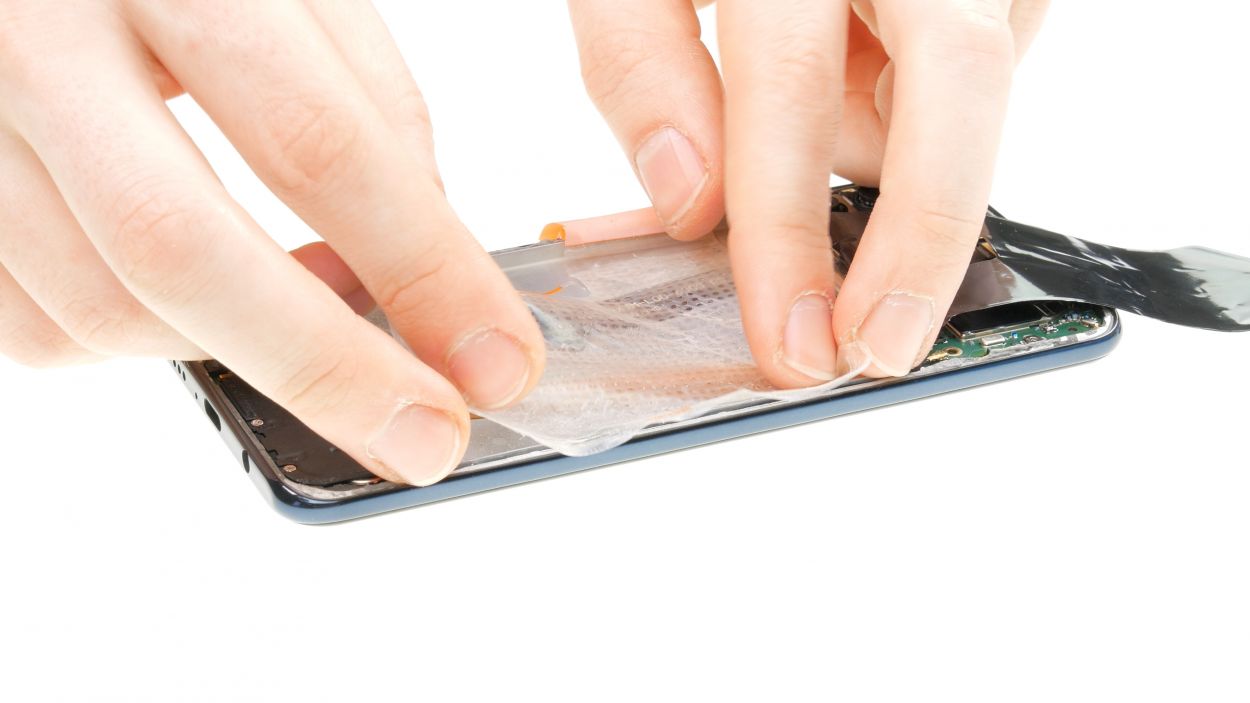
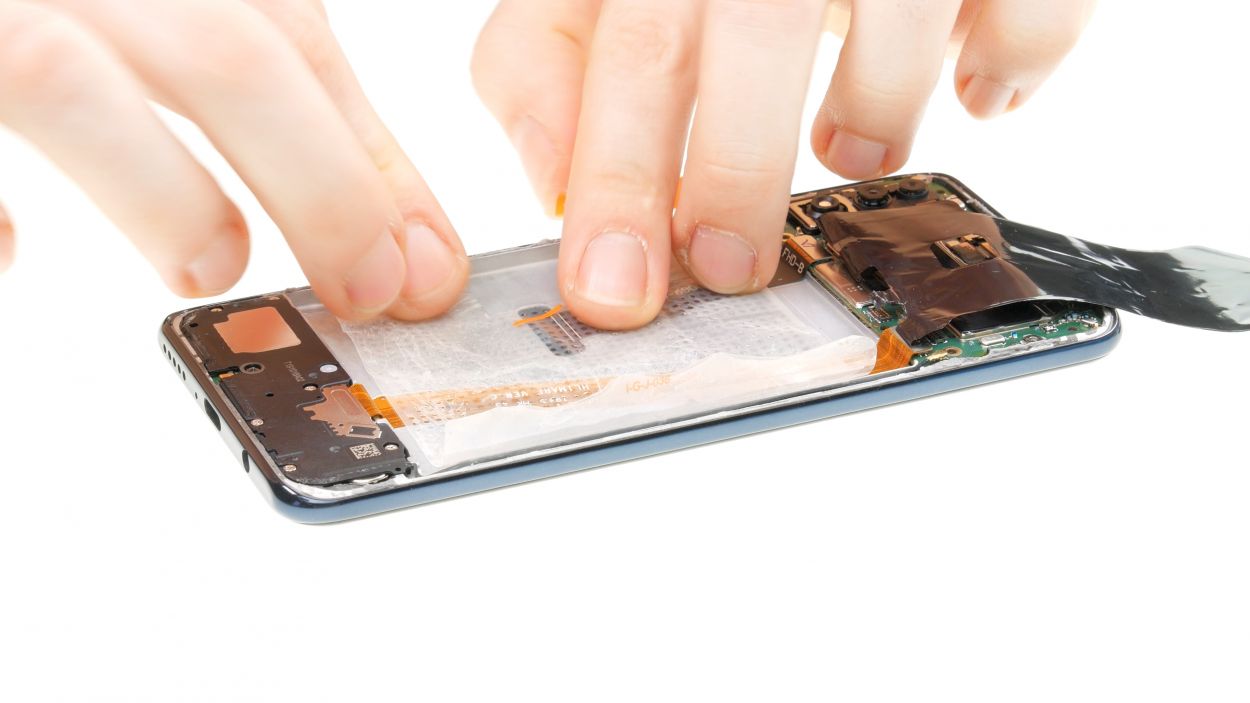
– Gently coax the antenna cable out of its snug little home along the edge of the frame.
– Next, carefully peel away the slightly sticky flex cable that links the main board to the USB-C board.
Step 11

In this guide, we’re sticking with our trusty old display because it still shines like a star! But don’t worry, if you’re working with a brand-new display, the disassembly dance is exactly the same. And hey, if your new display comes with a battery already snug inside, you can totally skip the battery insertion step. Easy peasy!
– First up, grab your shiny new display and give it a good look next to the old one. Make sure they’re ready to party together!
– Keep an eye out for any tiny parts from the old display that might want to hitch a ride to the new one. They could be essential!
– Next, peel away all those protective films covering the sticky bits and openings. Let’s clear the way for a smooth installation!
Tools Used
Step 12

– Next, let’s stick that flexible cable back into its cozy spot inside the device.
– After that, guide the antenna cable back into its little home in the frame.
Step 13

Antenna Connector
– Carefully place the USB-C board back where it belongs and give it a gentle press to secure it.
– Next, it’s time to reconnect that flex cable connector. Let’s get it snug in there!
– Using tweezers, delicately position the antenna contact right over its connector on the board, and then give it a little press down with a plastic tool to make sure it’s seated perfectly.
Step 14
6 × 2,7 mm Phillips
1 × 3,3 mm Phillips
– Gently place the speaker back into its cozy spot in the unit and secure it with screws.
– Just a friendly reminder: the screws come in different lengths, so keep an eye on that!
Step 15

Antenna Connector
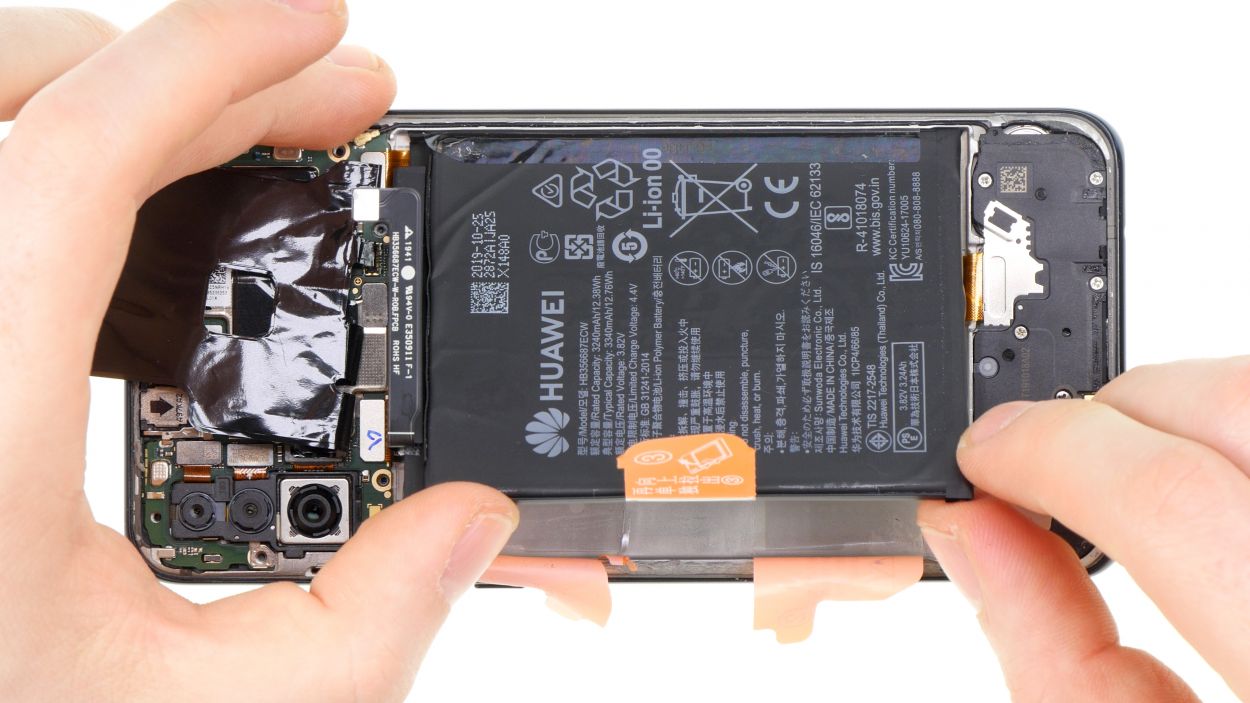
– First things first, let’s get that main board snugly back into the device along with the black foil. It’s like tucking in a cozy blanket!
– Next up, it’s time to pop the SIM card holder back in. If it’s feeling a bit stubborn and doesn’t want to slide in, no need to force it! Just double-check that the mainboard is sitting pretty.
– Now, let’s reconnect those two flex cable connectors and give a little love to the antenna cable contact. We’re almost there!
Step 17

– Ready to get that back cover back in action? You can stick with the old glue or grab a fresh adhesive frame. Just a heads up, your device won’t be fully shielded from liquids and dust until you’re done!
– Take a peek at the old glue. If it’s looking a bit wobbly, give it a little love and straighten it out.
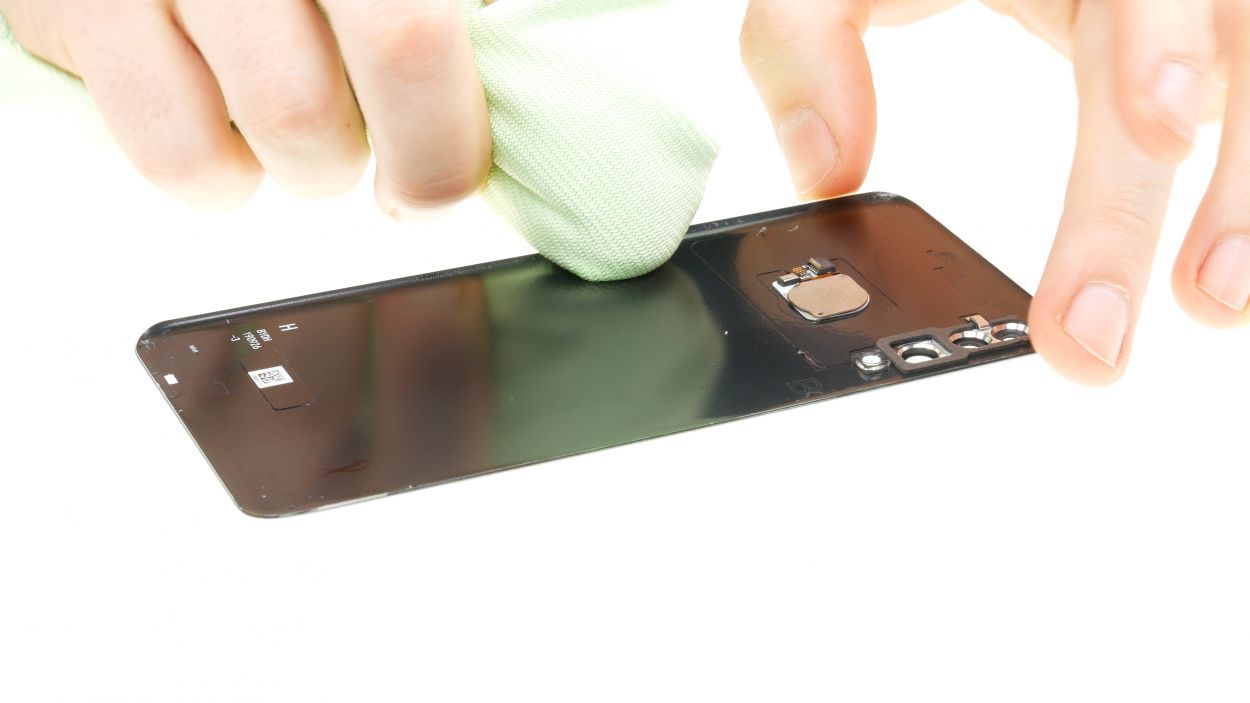
– Thinking of going with a new adhesive frame? First, let’s say goodbye to the old adhesive on the back cover and frame of your device.
– Grab some tweezers to peel off the glue, and for any stubborn bits, a plastic tool will do the trick. Rubbing alcohol and a lint-free cloth are your best pals for wiping away any leftover glue residue.
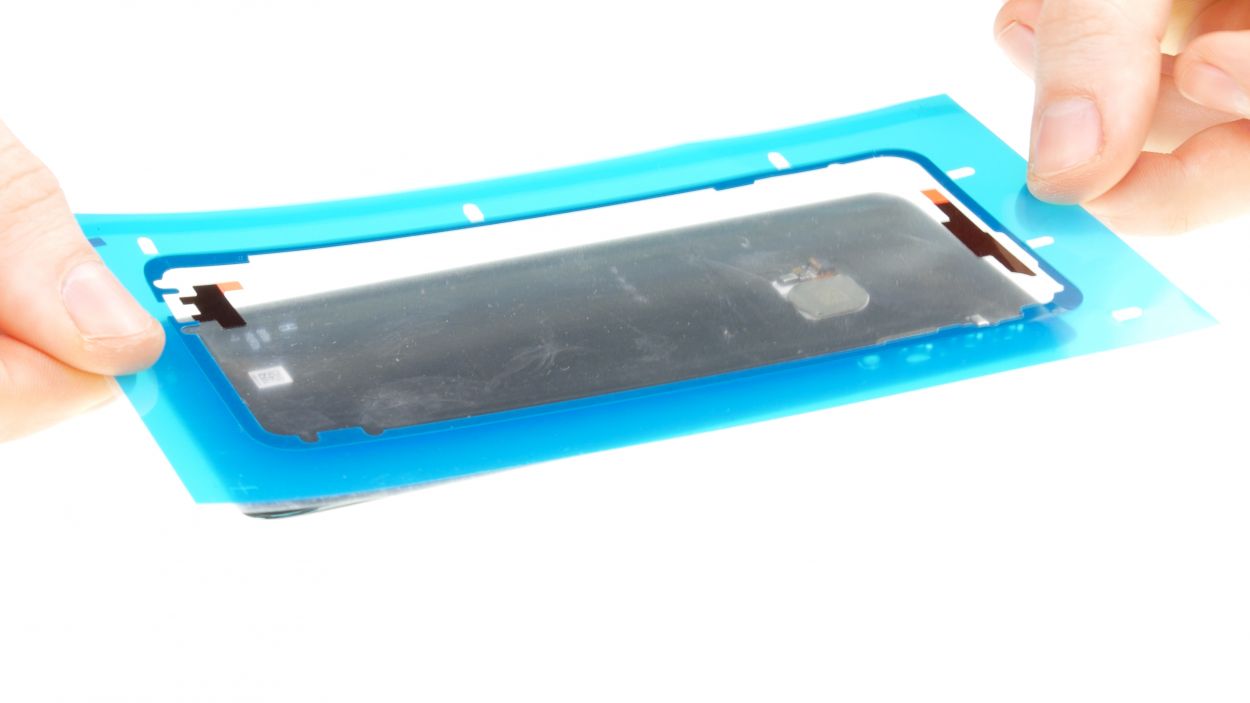
– Next, check the glue’s placement, peel off the first protective film from the adhesive frame, and carefully place it on the back cover. Make sure it’s snug and doesn’t hang over the edges.
– Don’t forget about the two smaller adhesive surfaces—they need to find their perfect spot on the back cover too!
– Give the adhesive a little press down to make sure it’s all sticking nicely.
– Finally, peel away the protective foils from the adhesive surfaces, and you’re all set!
Step 18
Fingerprint Connector
– First things first! Slide that plastic cover of the main board back into the device like a pro.
– Next, grab the back cover and set it beside your device. Line up the contact with the connector on the mainboard, and remember: keep that flex cable straight and happy!
– Now, go ahead and connect the contact. You’re doing great!
Step 19
Battery Connector
1 × 2,7 mm Phillips
– First up, let’s connect that battery contact to the main board! It’s like giving your device a little high-five.
– Next, it’s time to put the metal cover back on the unit and secure it with that trusty single Phillips screw. You’re almost there!
Step 20

2 × 2,7 mm Phillips
7 × 3,3 mm Phillips
– Time for the grand finale! Slide the mainboard cover back into place and give it a gentle nudge.
– Make sure those metal tabs on the cover are giving you a high five, and they’re all securely fastened.
– Now, let’s get fancy with the screws. Grab the different-sized ones and give them a good twist.
Step 21
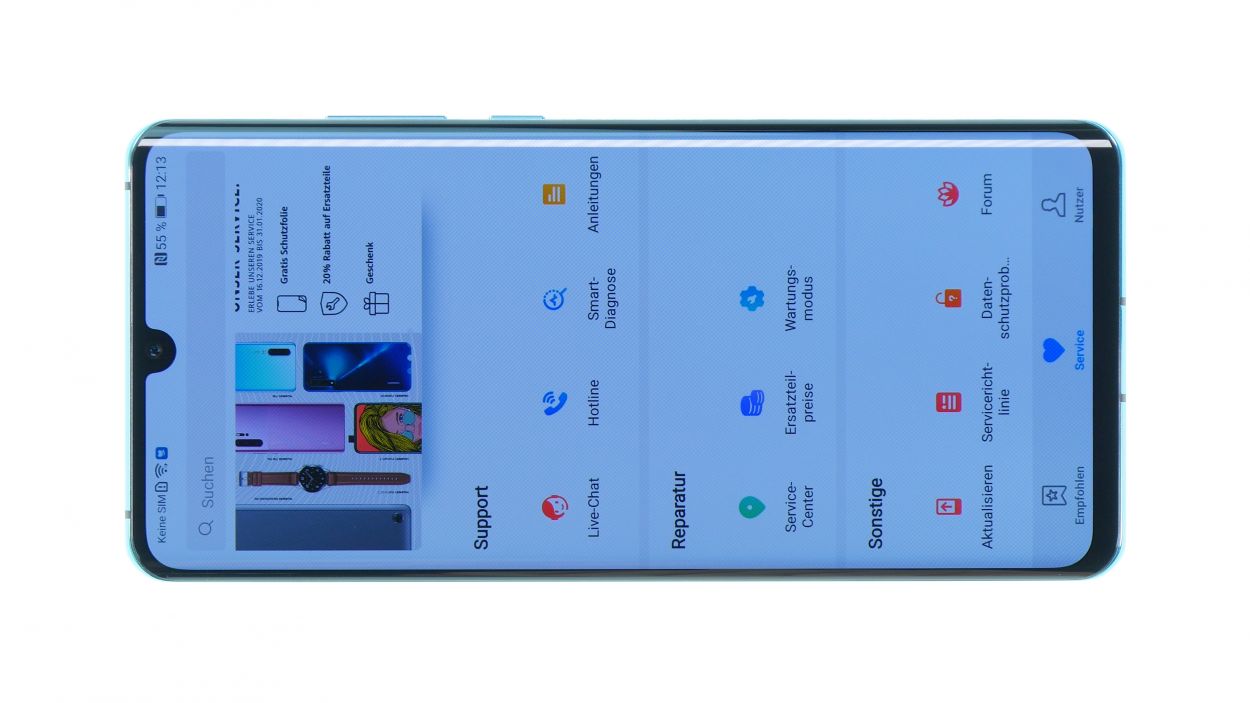
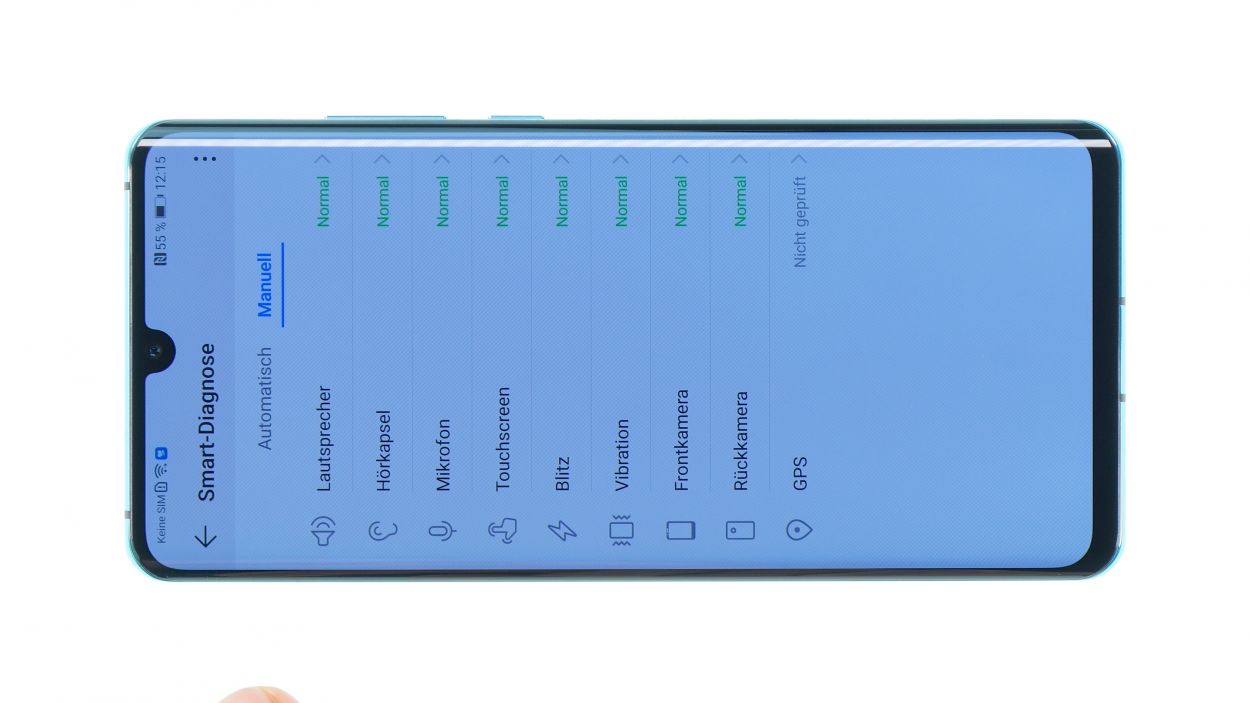
– Before sealing up your device, let’s make sure everything’s in tip-top shape!
– Fire up your smartphone and launch the “HiCare” app.
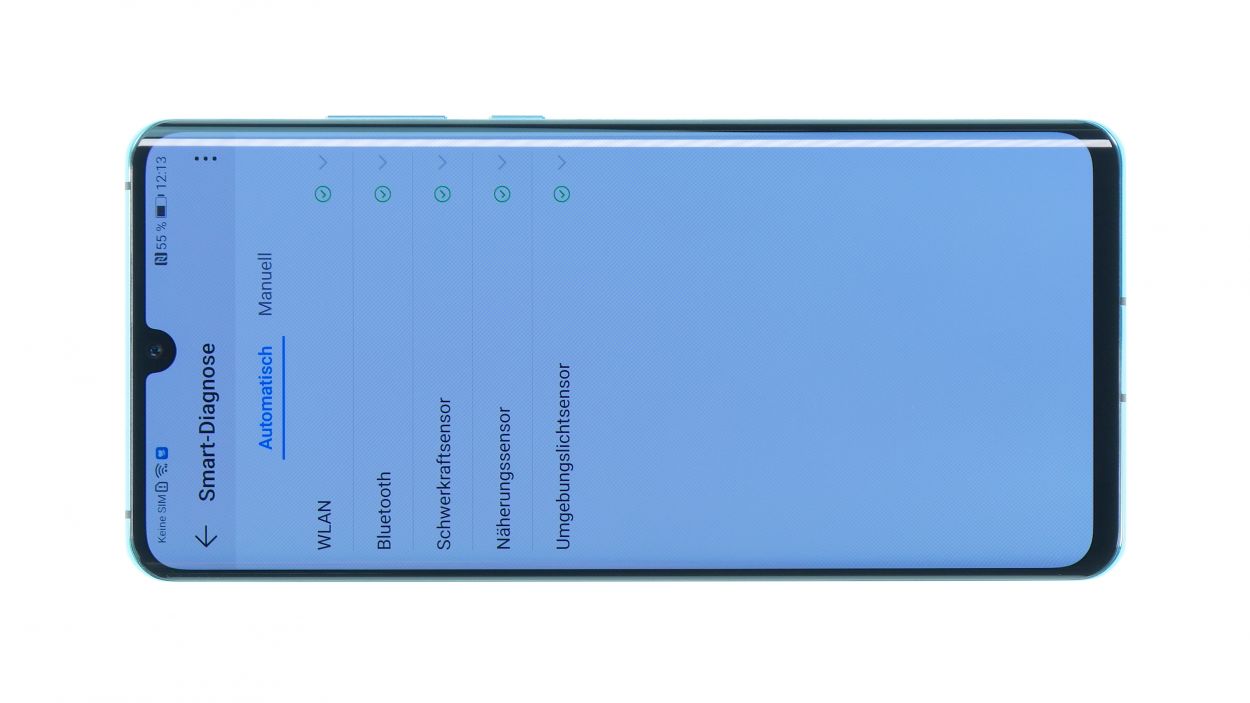
– Run the Smart Diagnostics feature. Many functions will be tested automatically, making this a breeze!
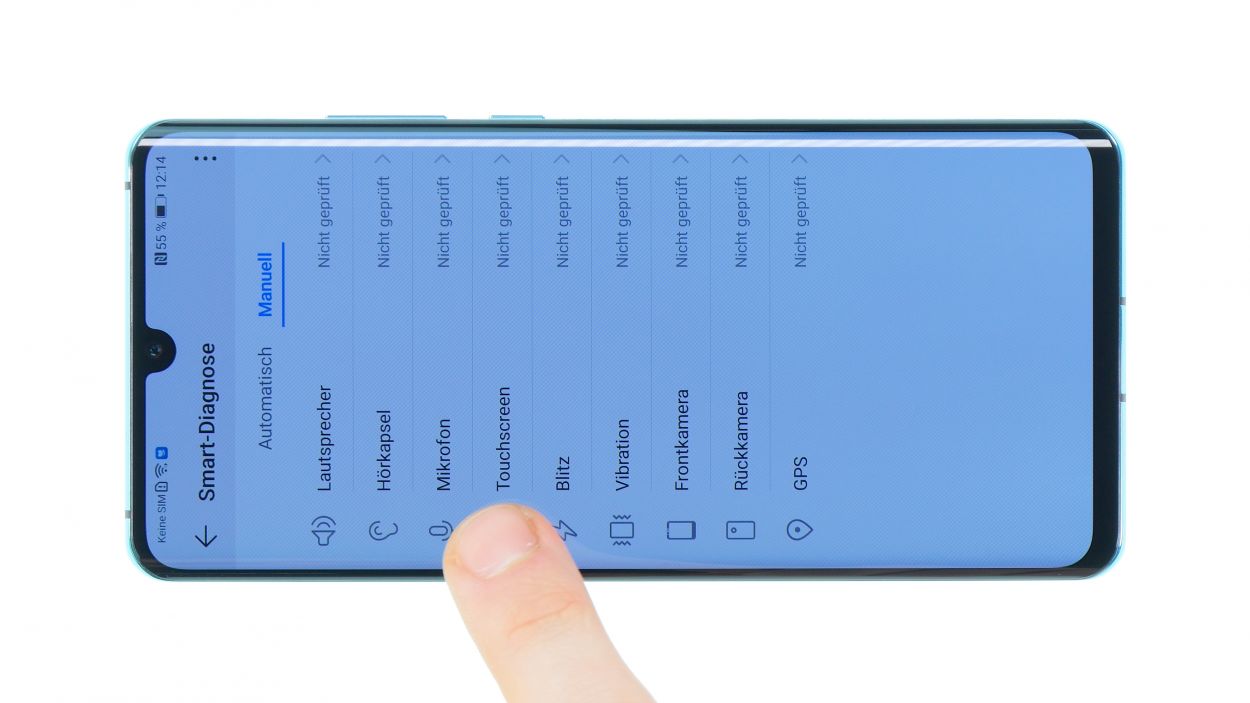
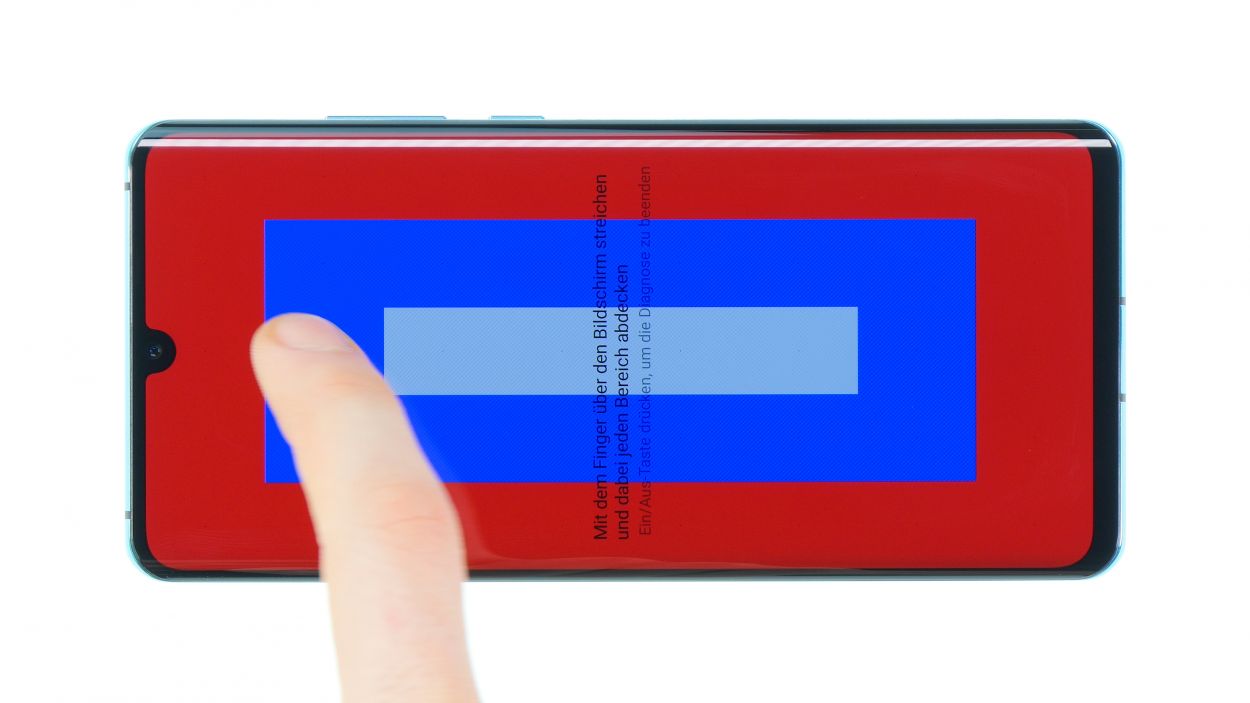
– In the “manual” section, you can test other functions on your own. Go ahead and check the touch screen, microphone, speaker, and more!
– If something seems off, take a peek at the corresponding component for any damage or loose connections.
– If all is well, you’re good to go! Close up your device and give yourself a pat on the back.
Step 22
– Now, let’s get that back cover snug on your device—just place it down and give it a gentle press.
– Next, warm up the edges of your device one more time with some hot air, then grab a couple of books to weigh down the back cover. This will help the glue bond even better and keep everything nice and secure!