DIY iPad 2 GSM Front Panel Adhesive Strips Replacement Guide
Duration: 45 minutes
Steps: 14 Steps
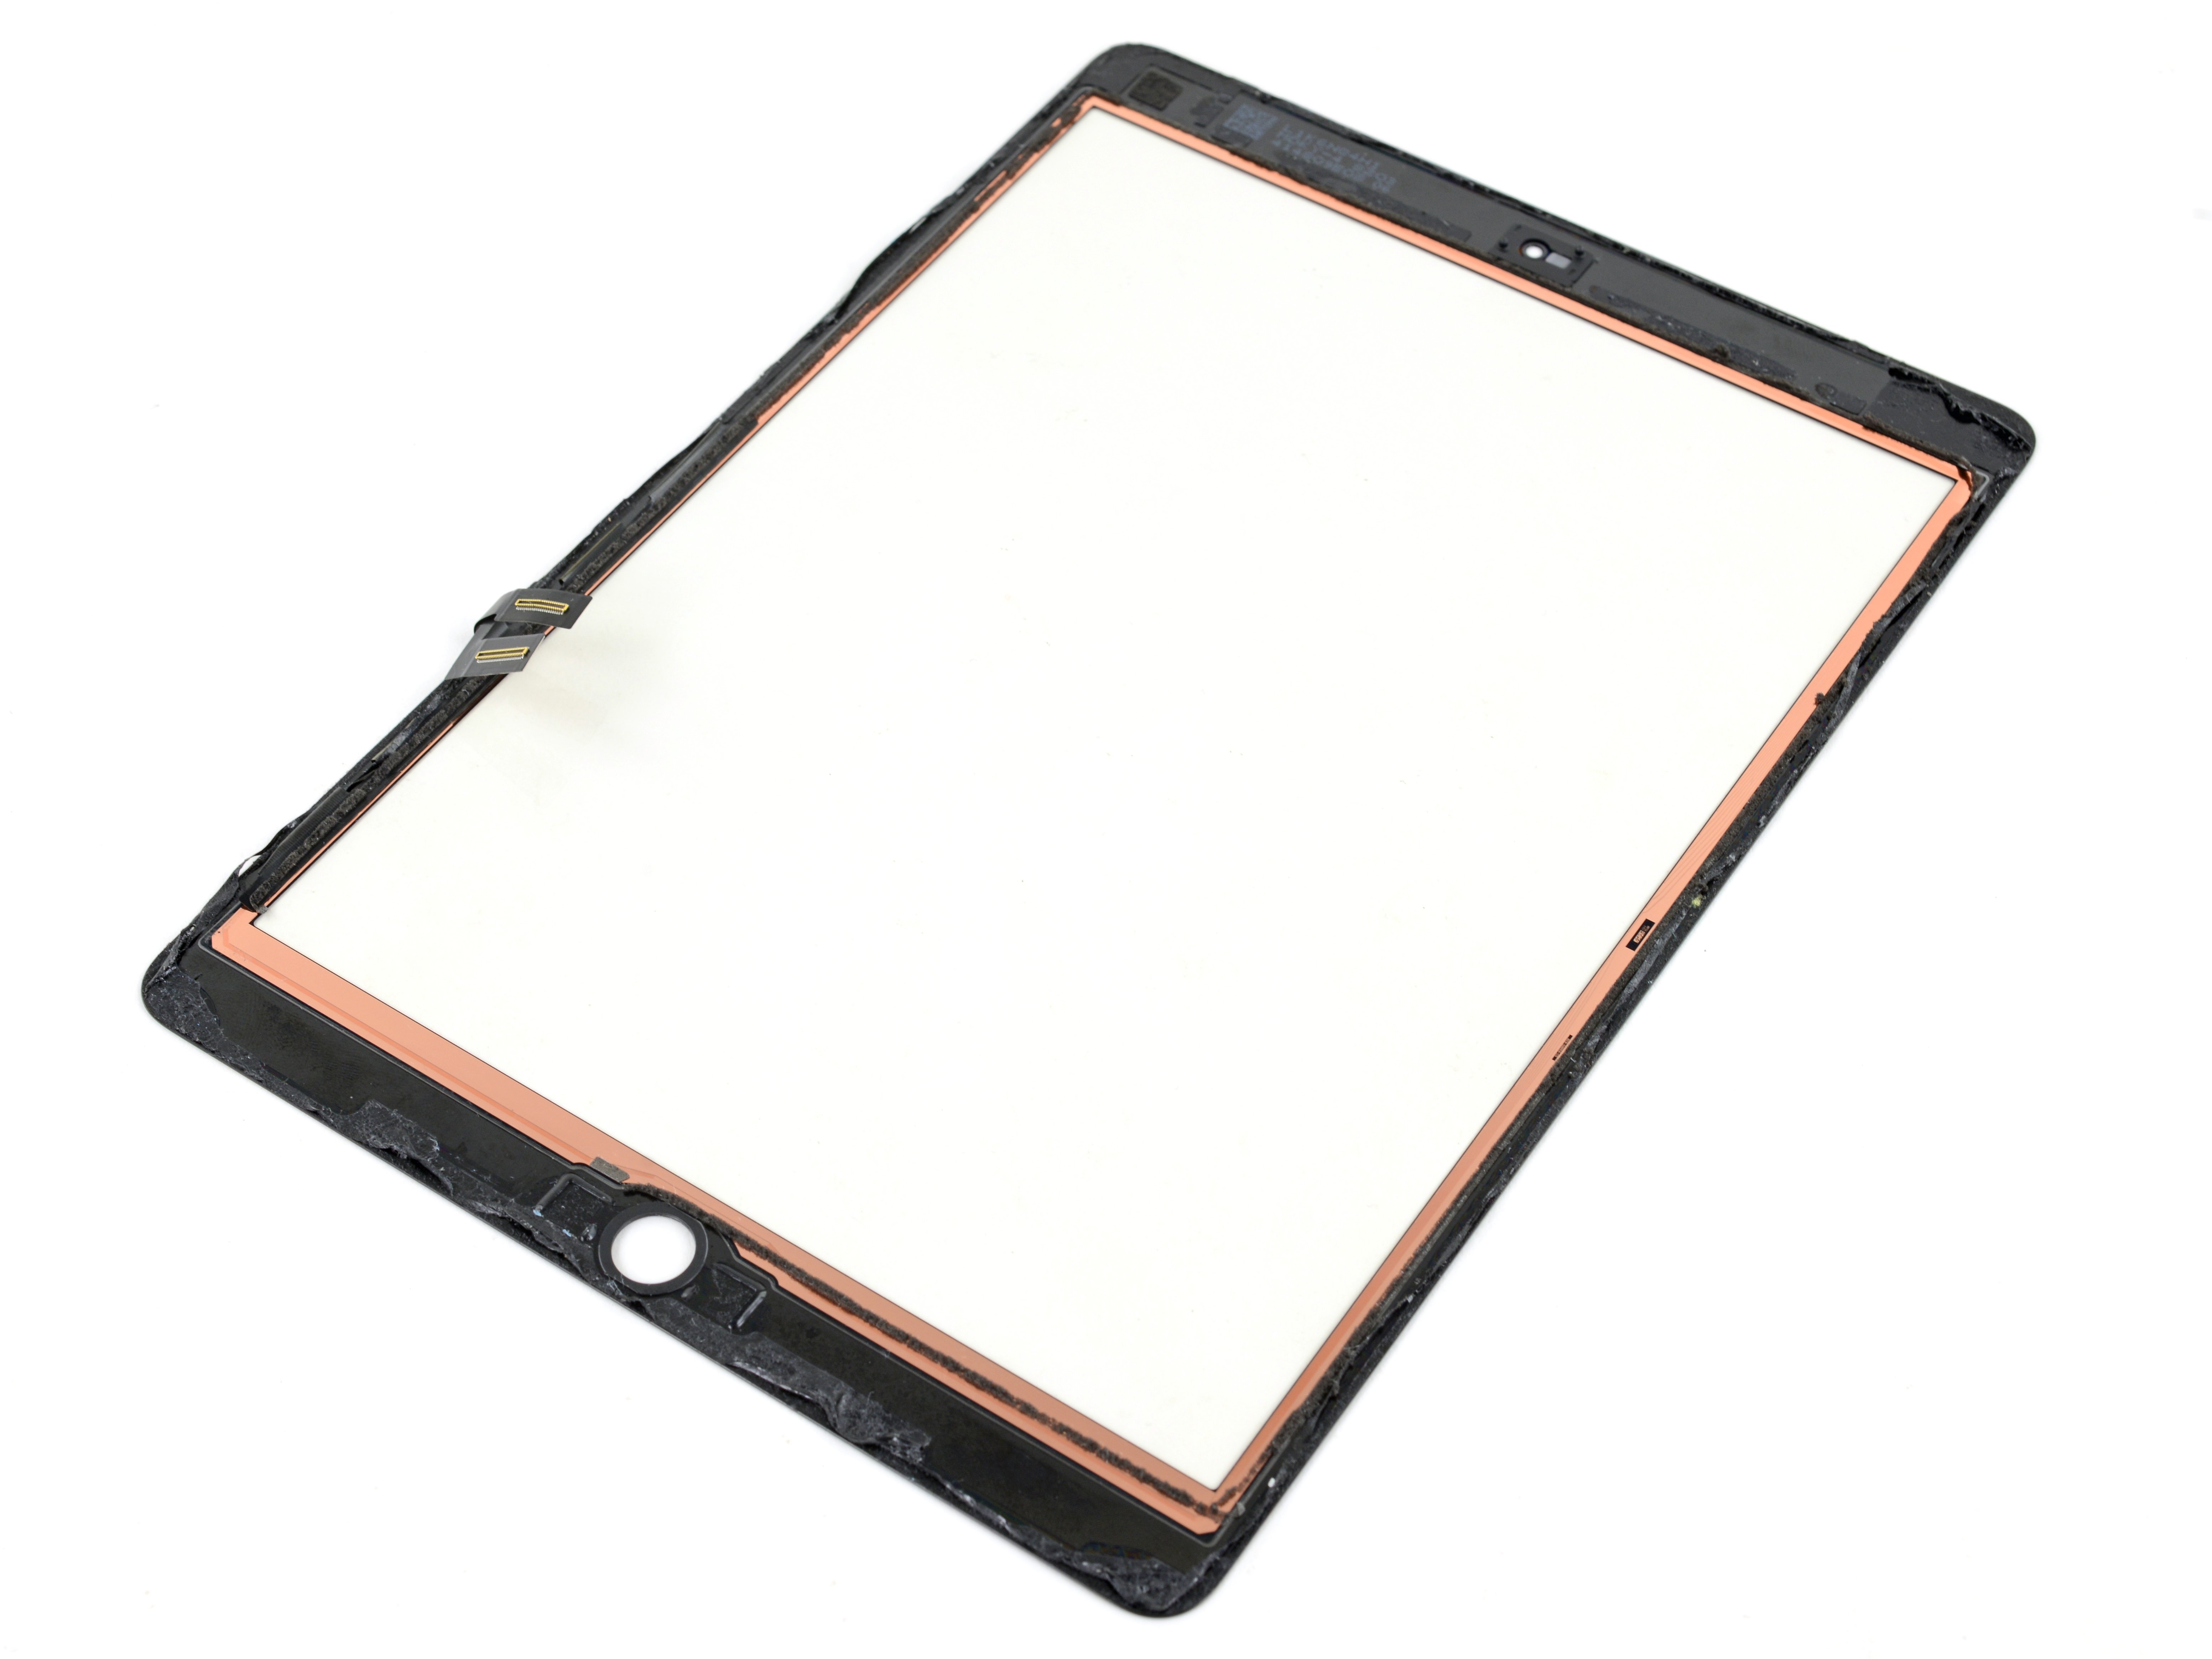
Time to swap out that sticky stuff holding the front panel to the back case of your iPad 2 GSM! Before you start peeling and applying tape, make sure you’ve got nice clean surfaces on both the front panel and the rear case. Grab a spudger and scrape off any stubborn leftover bits of the original adhesive. Then, give those gluing surfaces a good wipe down with a paper towel and some rubbing alcohol or Goof Off. And remember, as you go along, peel up each adhesive strip as you need it. If you need help, you can always schedule a repair.
Step 1


Check out the third picture for the right way to position that home button! Just remember, the back should be facing up and the flat part of the inner circle needs to point to the top of your iPad. You’re doing great!
– Grab that home button like a pro with your tweezers!
– Now, gently lower it and snugly place it into the round hole at the bottom of the front panel.
Tools Used

Step 2


Those two little notched trapezoidal strips are your buddies for securing the home button bracket to the front panel. Let’s get it done!
– Gently remove the first trapezoidal adhesive strip like a pro!
Step 3


Be sure to align the profile of the strip with the edge of the mounting bracket for a perfect fit!
– Grab your trusty tweezers and gently place the first trapezoidal adhesive strip on the home button mounting bracket, making sure it’s oriented just right. You’ve got this!
– Now, go ahead and do the same for the second trapezoidal adhesive strip. Keep up the great work!
Tools Used