DIY iPad 4G SIM Tray Replacement Guide
Duration: 45 minutes
Steps: 2 Steps
Hey there, repair superstar! Just a little heads-up: take your time with these steps. If you find yourself in a pickle or need an extra hand, don’t hesitate to schedule a repair. You’ve got this!
Get ready to tackle that SIM tray like a pro! Follow this guide to effortlessly pop it out and keep your device running smoothly. If you need help, you can always schedule a repair.
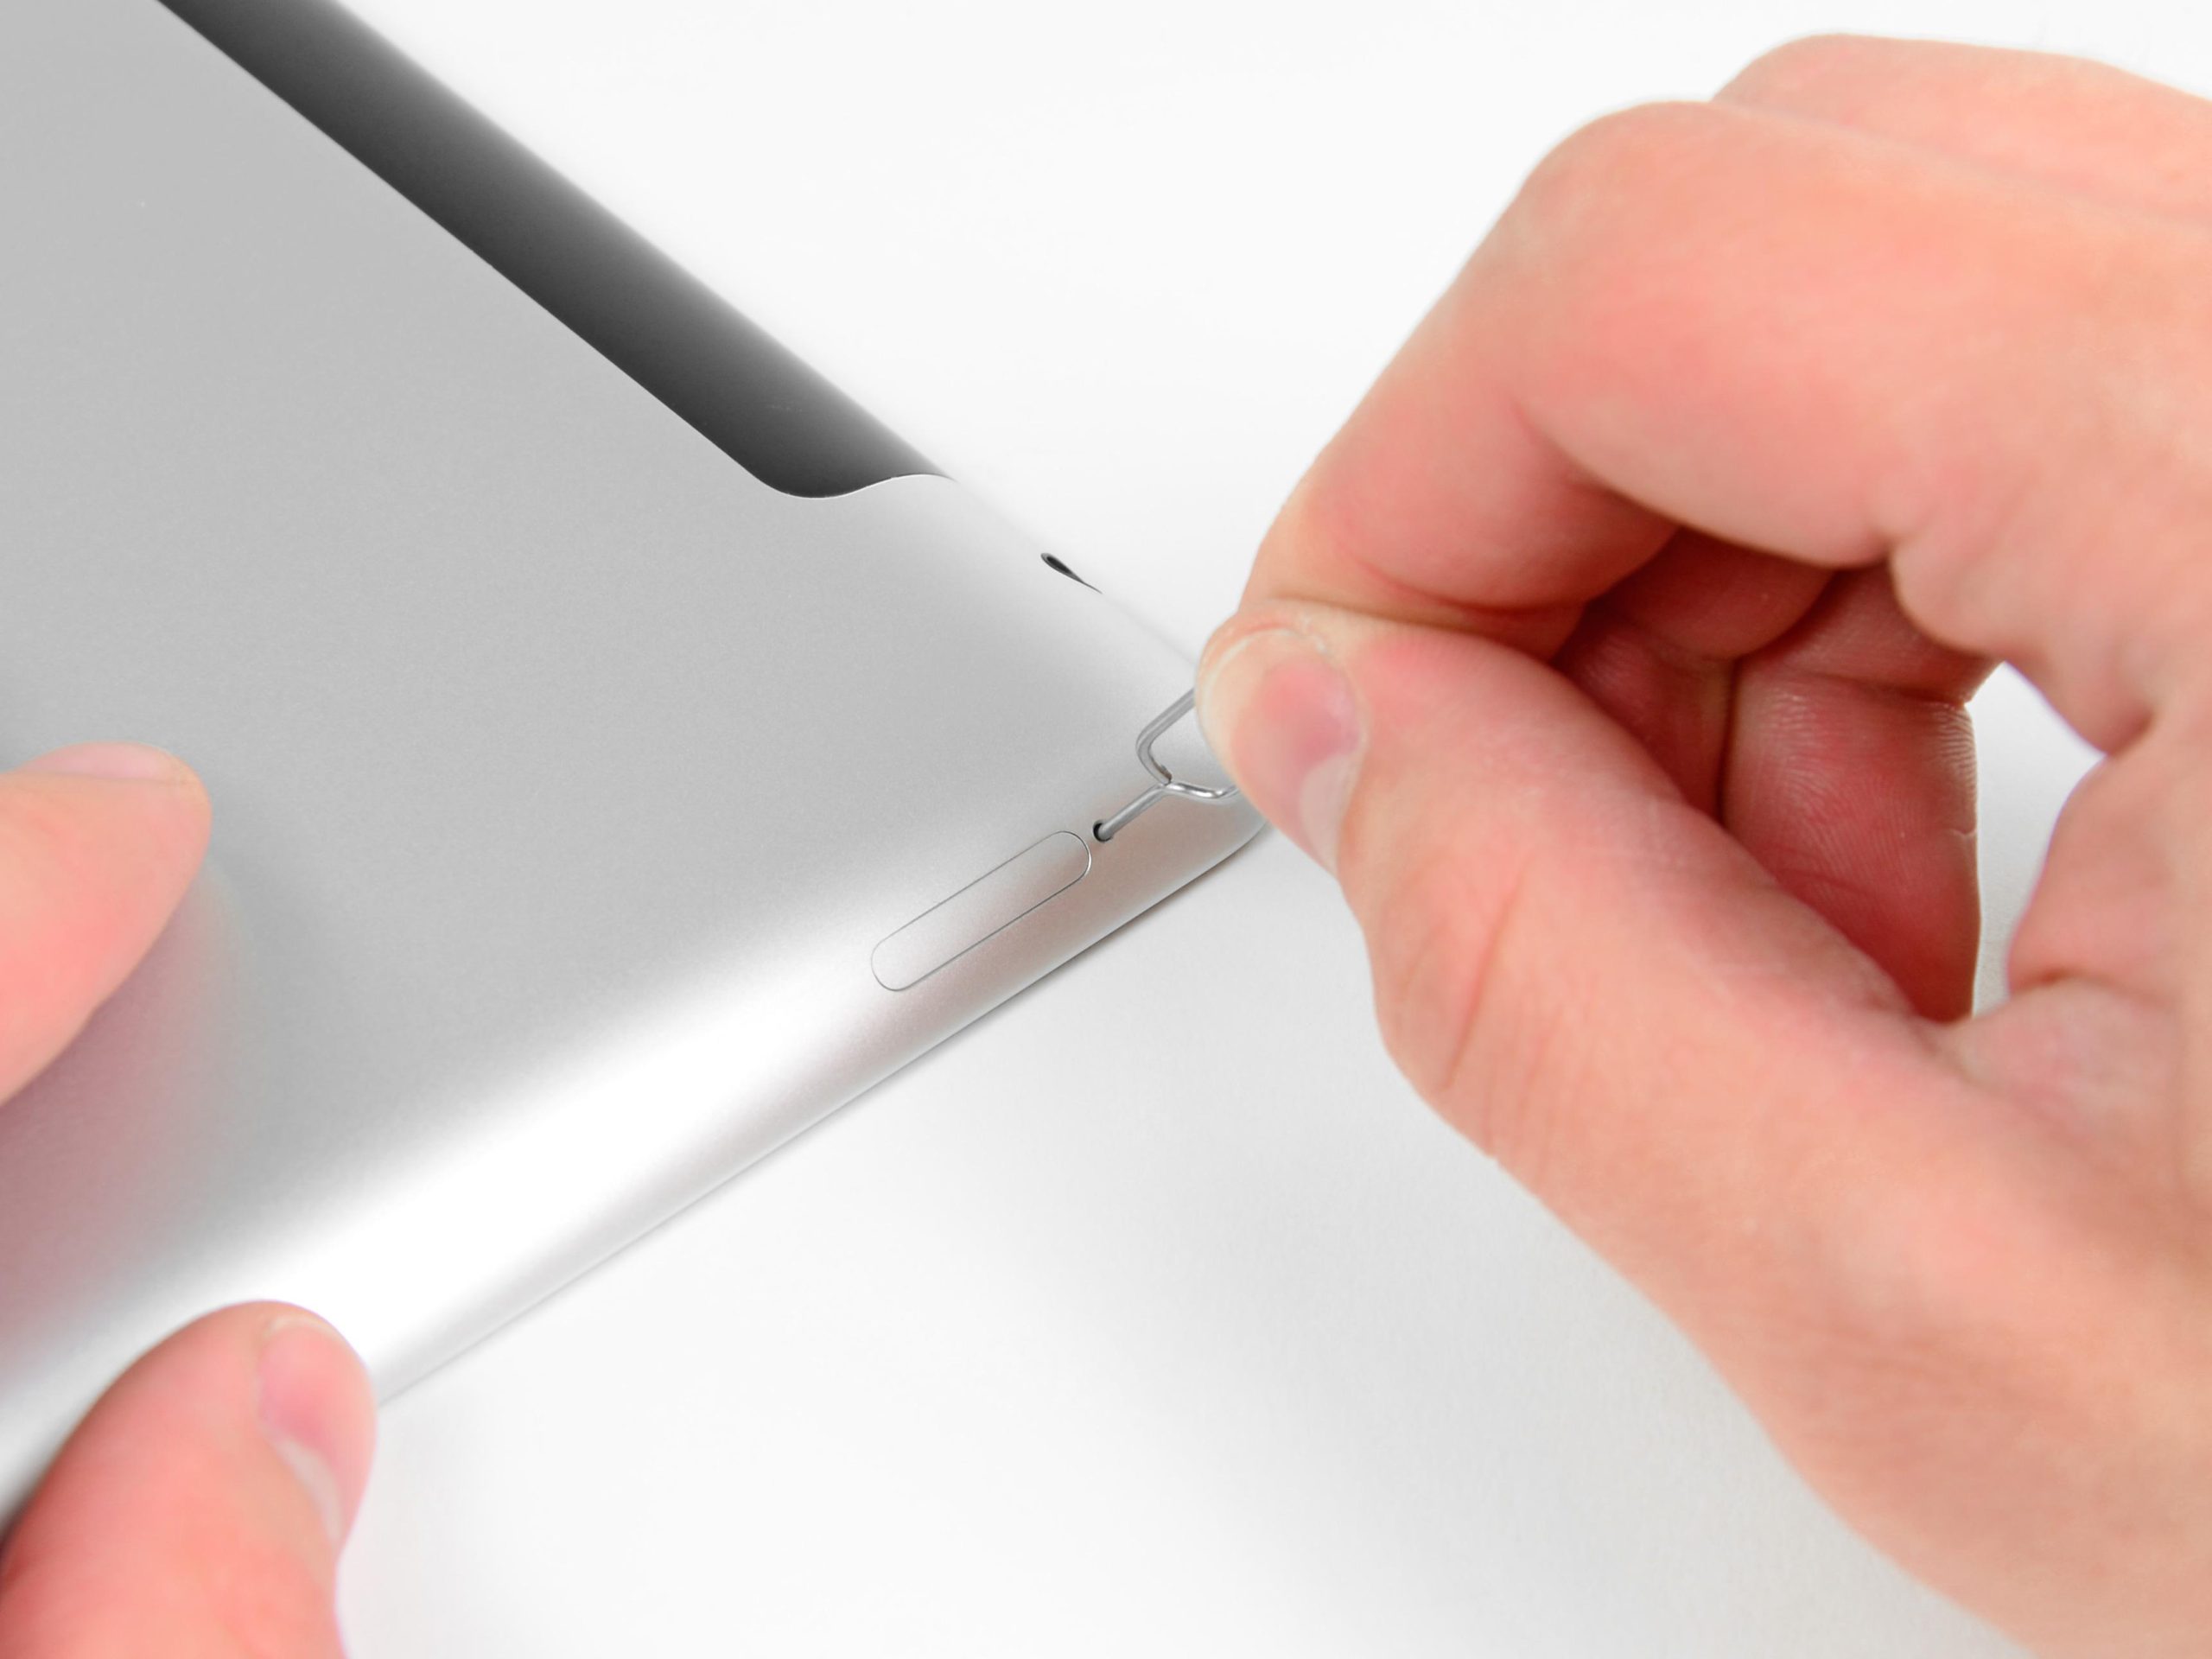
Step 1


– Grab your trusty SIM eject tool or a straightened paperclip, and gently poke that SIM tray to pop it out. You’re doing great!
Step 2


– Gently slide the SIM tray out from its cozy little spot and give it a little wiggle to free it from the iPad.
– If you’re swapping out the SIM card, just pop it out of the tray and slide in the shiny new one. You’re doing great!


