DIY iPhone 7 Lightning Connector Replacement Guide
Duration: 90 min.
Steps: 37 Steps
No need to stress! In this photo guide, we’ll walk you through the process of swapping out that troublesome Lightning connector on your iPhone step by step. This fix is also a lifesaver if your calls are sounding a bit fuzzy, since the microphone and Lightning connector share the same cable. You can snag a top-notch Lightning connector for your iPhone 7, along with the perfect toolkit, in our online store. Happy repairing!
Step 1
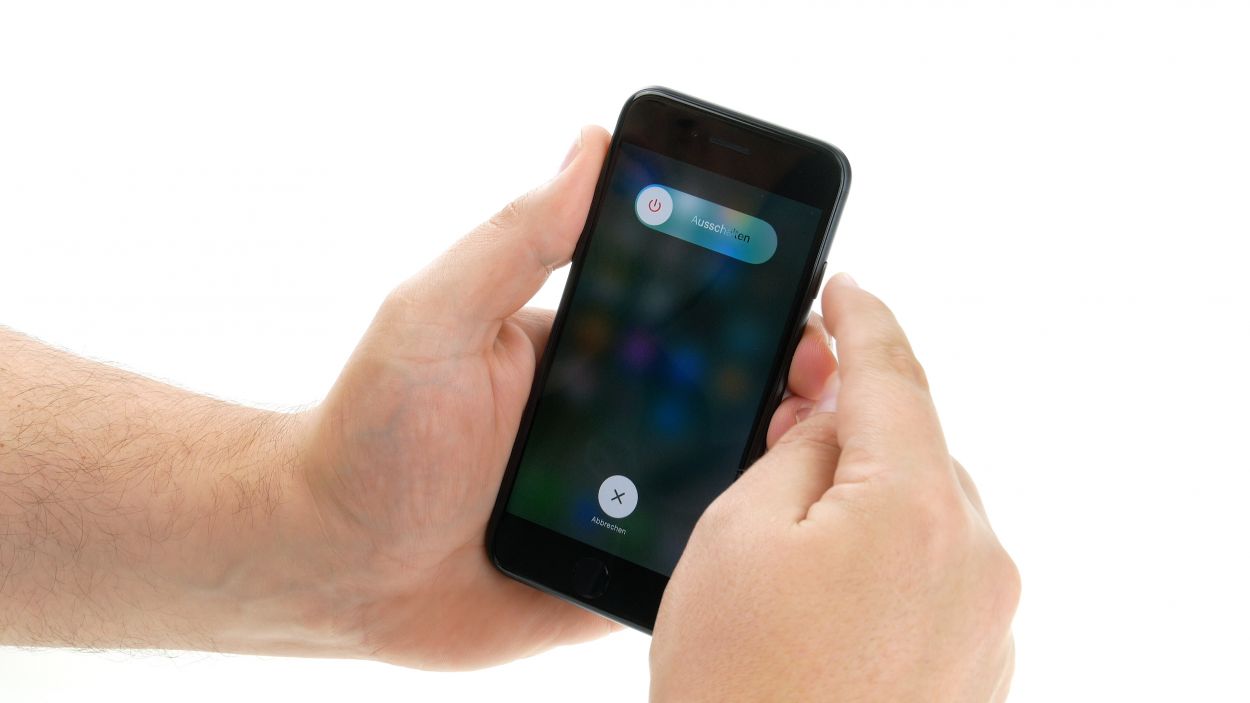

– Hey there, champ! Let’s keep your iPhone safe from any electrical mishaps. First things first: power it down completely.
– Hit that sleep/wake button until you see the ‘Slide to power off’ option.
– Swipe that slider – it’s your ticket to a safe repair!
– Your iPhone will power off in about 10 seconds. Ready to roll?
Step 2
2 × 3,3 mm Pentalobe
Keep your tiny screws and parts organized! A nifty magnetic parts tray is super helpful (Salvation Repair recommends one!), or get creative – an old sewing kit works wonders. Arrange everything neatly so you can put it all back just like you found it – easy peasy!
– Use a Pentalobe screwdriver to remove the two Pentalobe screws located to the left and right of the Lightning connector.
– Place the loosened screws in a screw storage.
Step 3
As a rule of thumb, heat your device only enough to make it comfortable to touch without burning your fingers.
– To kick things off, lay your iPhone 7 on a nice, soft surface. This will keep that back cover looking sharp and scratch-free!
– Grab your trusty hot air tool—whether it’s a heat gun or a hairdryer—and gently wave it over the edge of the screen. This will warm up the adhesive and make your life a whole lot easier.
Tools Used
- heat gun to heat parts that are glued on so they’re easier to remove.
In most cases, you can also use a hairdryer.” rel=”noopener nofollow”>Heat gun
Step 4
Opening up your iPhone 7 means saying goodbye to that sweet warranty for dust, splash protection, and waterproofing. But hey, you’re about to become a repair rockstar!
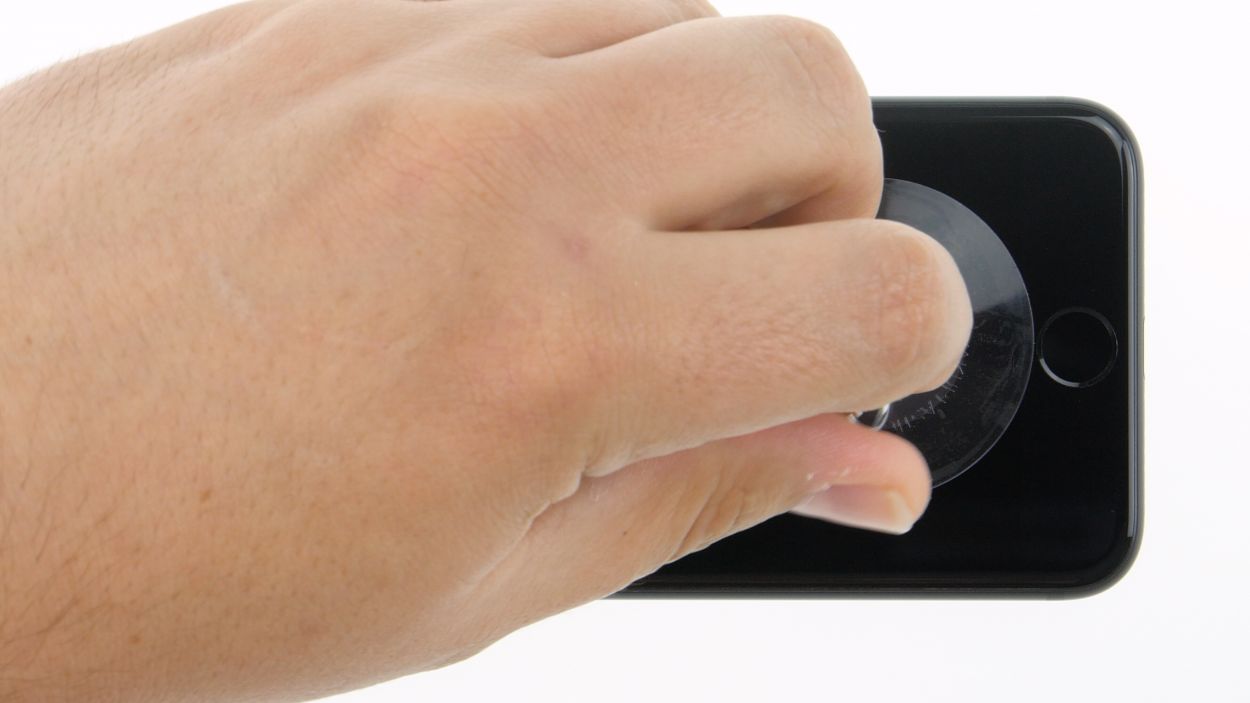
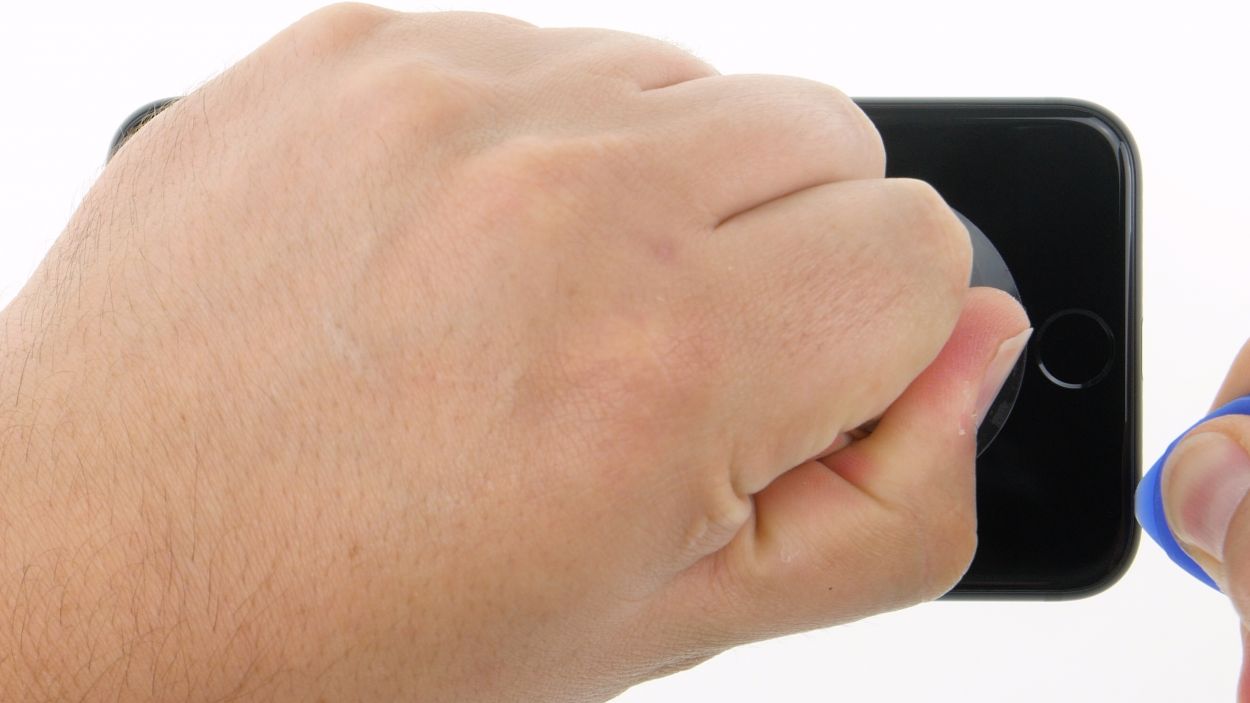
– Once the display edge is well heated, you can place a suction cup on the display at the height of the home button.
– Pull the suction cup upwards to create a narrow gap between the aluminium frame and the display.
– At the same time, insert a flat, stable tool into the resulting gap. We use a hard plastic plectrum for this purpose.
– Try to enlarge the gap by pushing the aluminium frame down with the tool.
Tools Used
Step 5
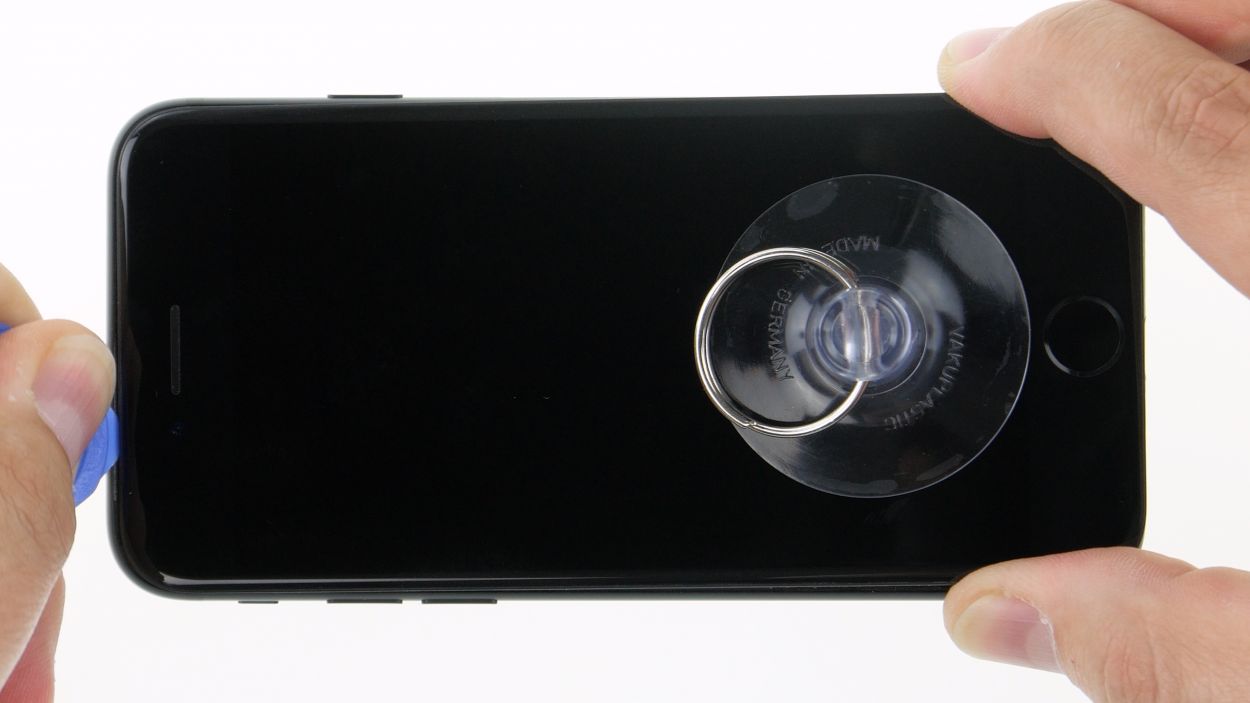
Hey there! Just a friendly reminder: when you’re using those picks, keep them a bit shy of the sleep/wake button. We want to keep that flex cable of the display safe and sound!
Keep warming up the display’s edge and pop in those flat picks to keep the glue from getting all clingy again in the spots you’ve already loosened. You’re doing great!
– Now move the pick once around the display and slightly lift the display up so that the noses come off the aluminium frame.
Tools Used
- heat gun to heat parts that are glued on so they’re easier to remove.
In most cases, you can also use a hairdryer.” rel=”noopener nofollow”>Heat gun - Pick Set
- Flat Picks
Step 6

1 × 2,4 mm Y-Type
3 × 1,0 mm Y-Type
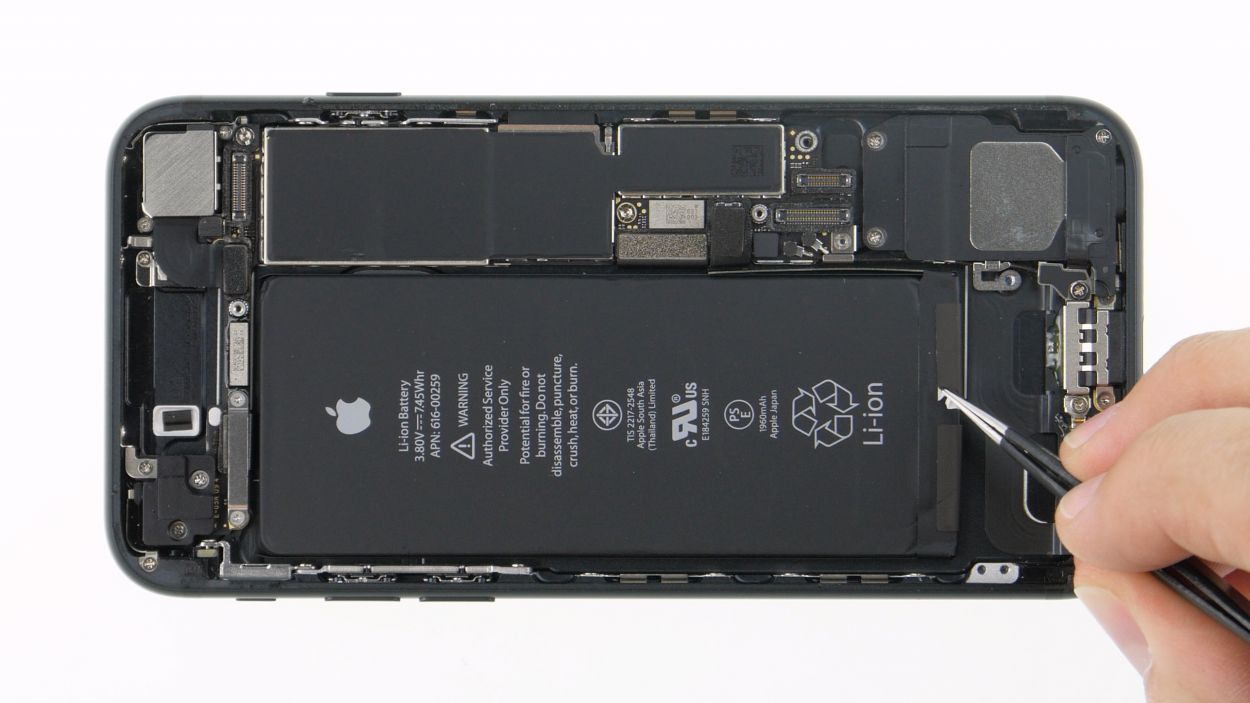
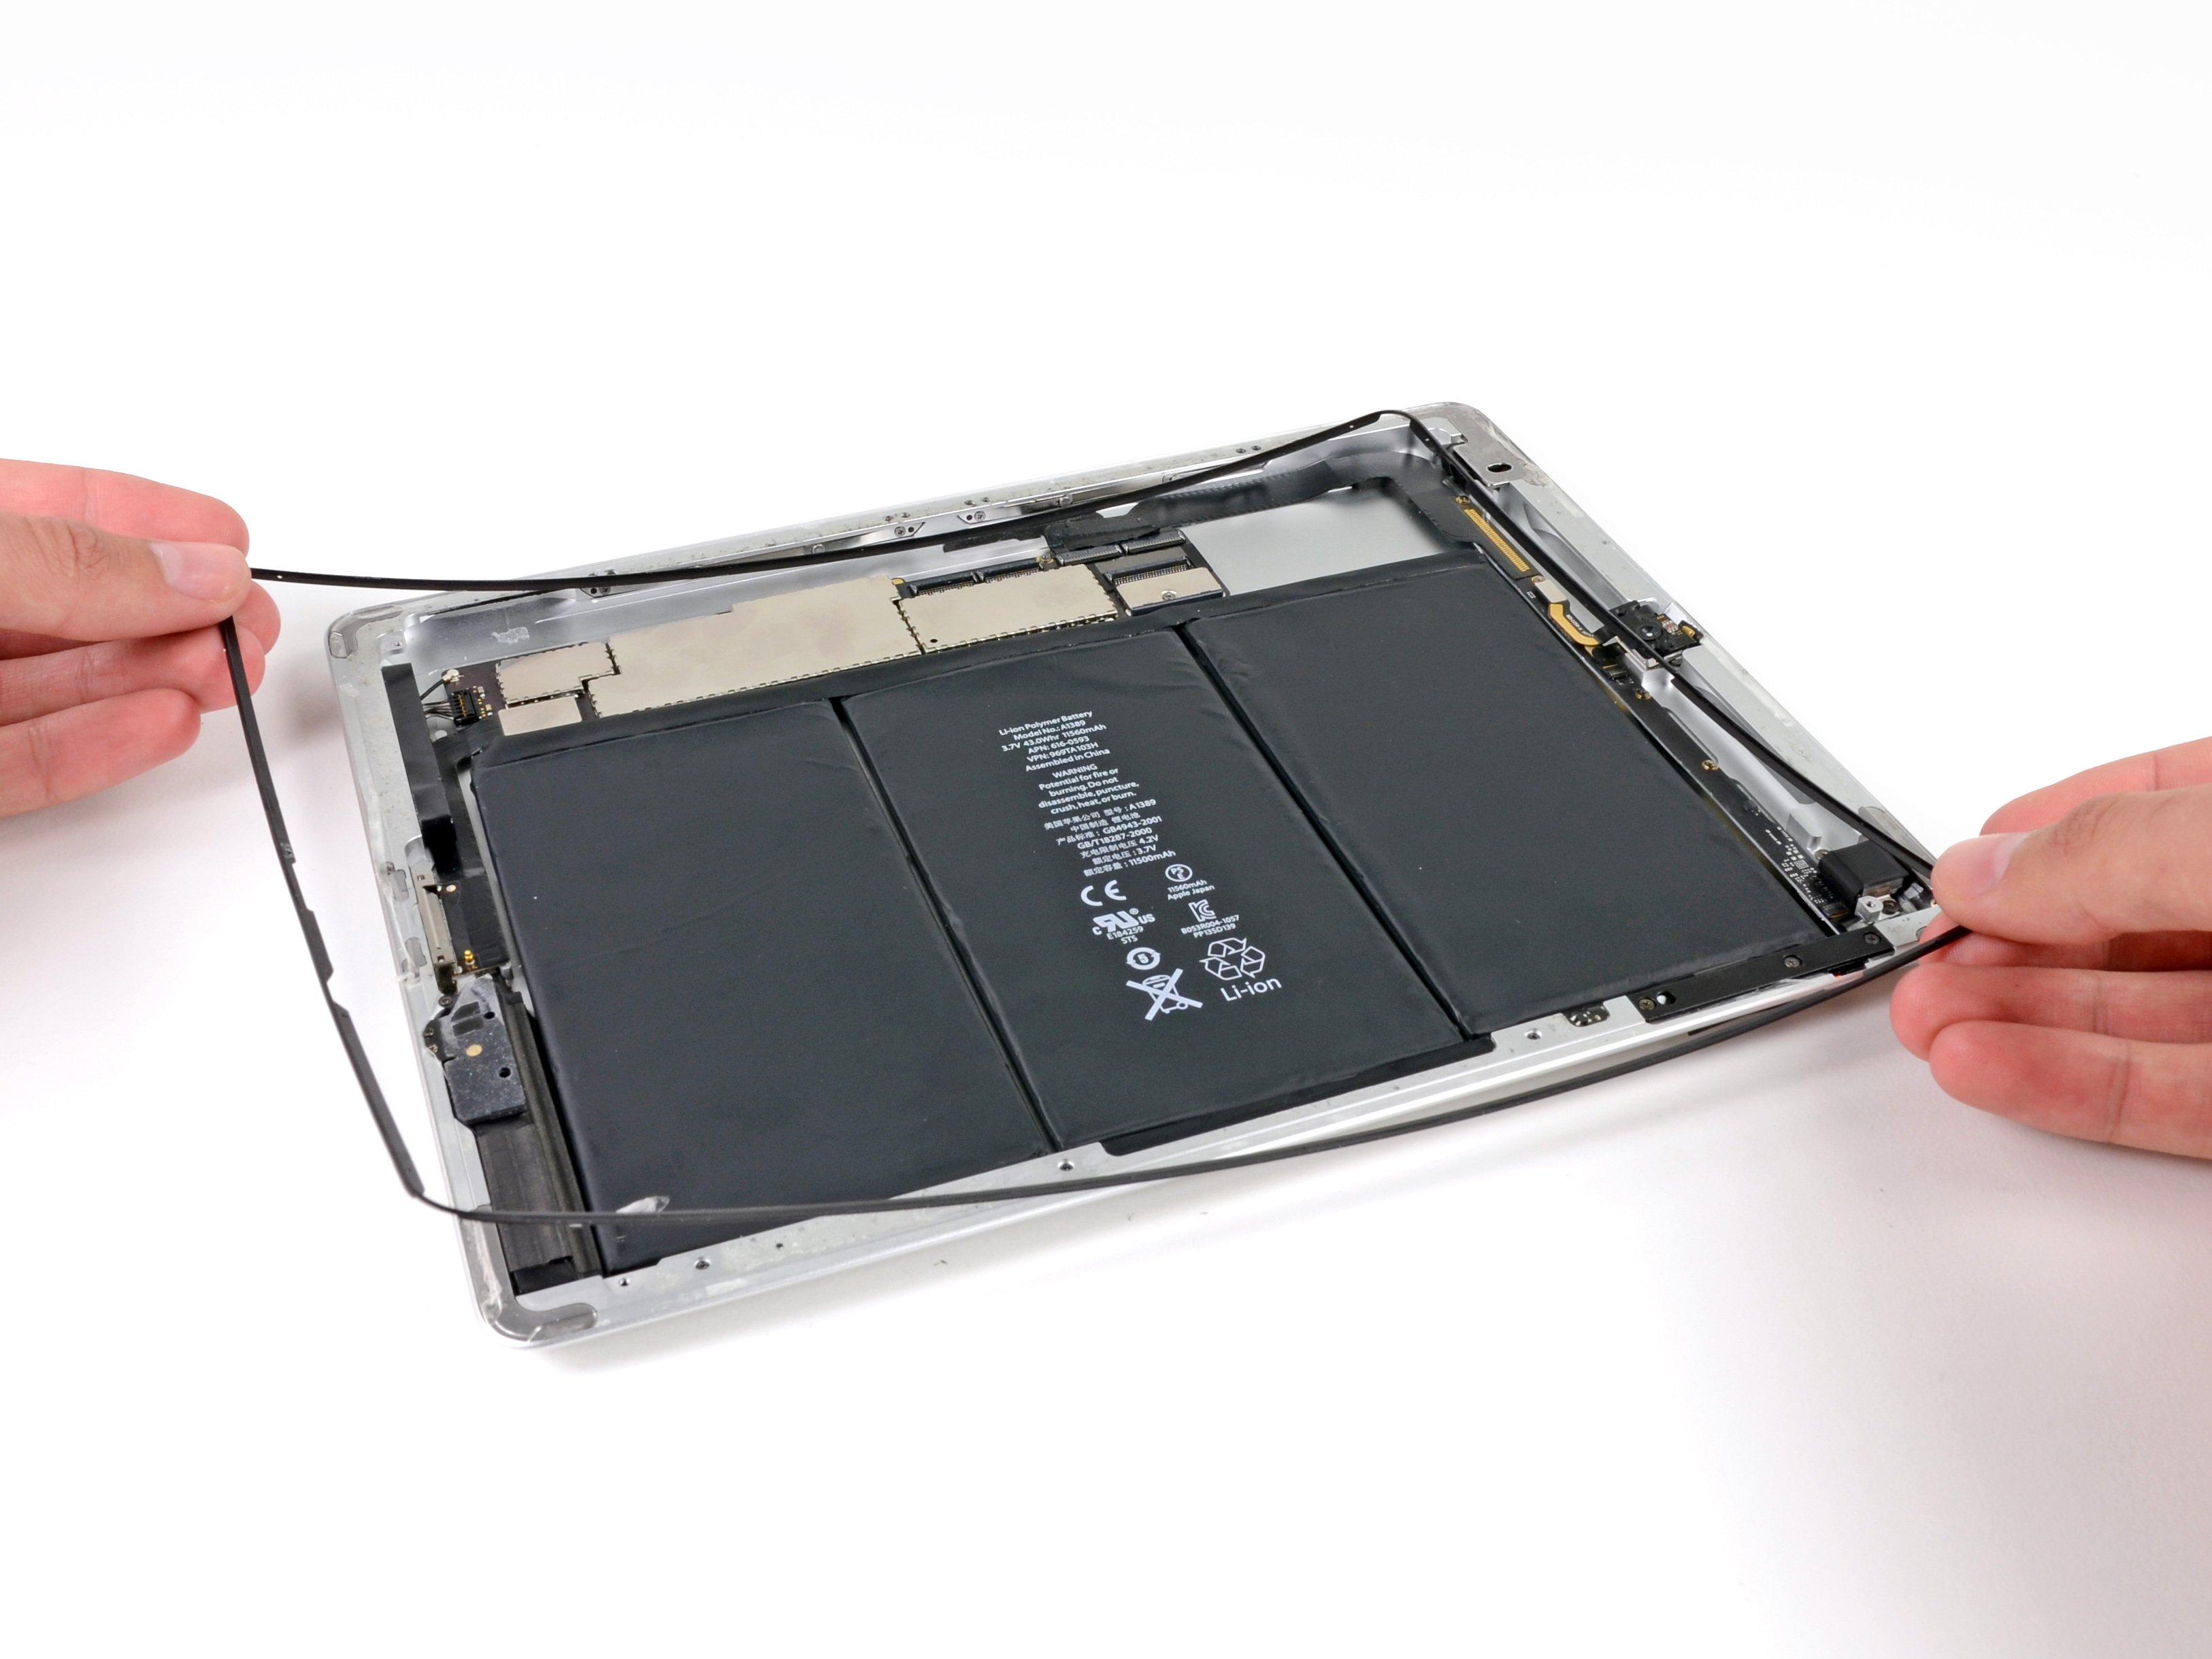
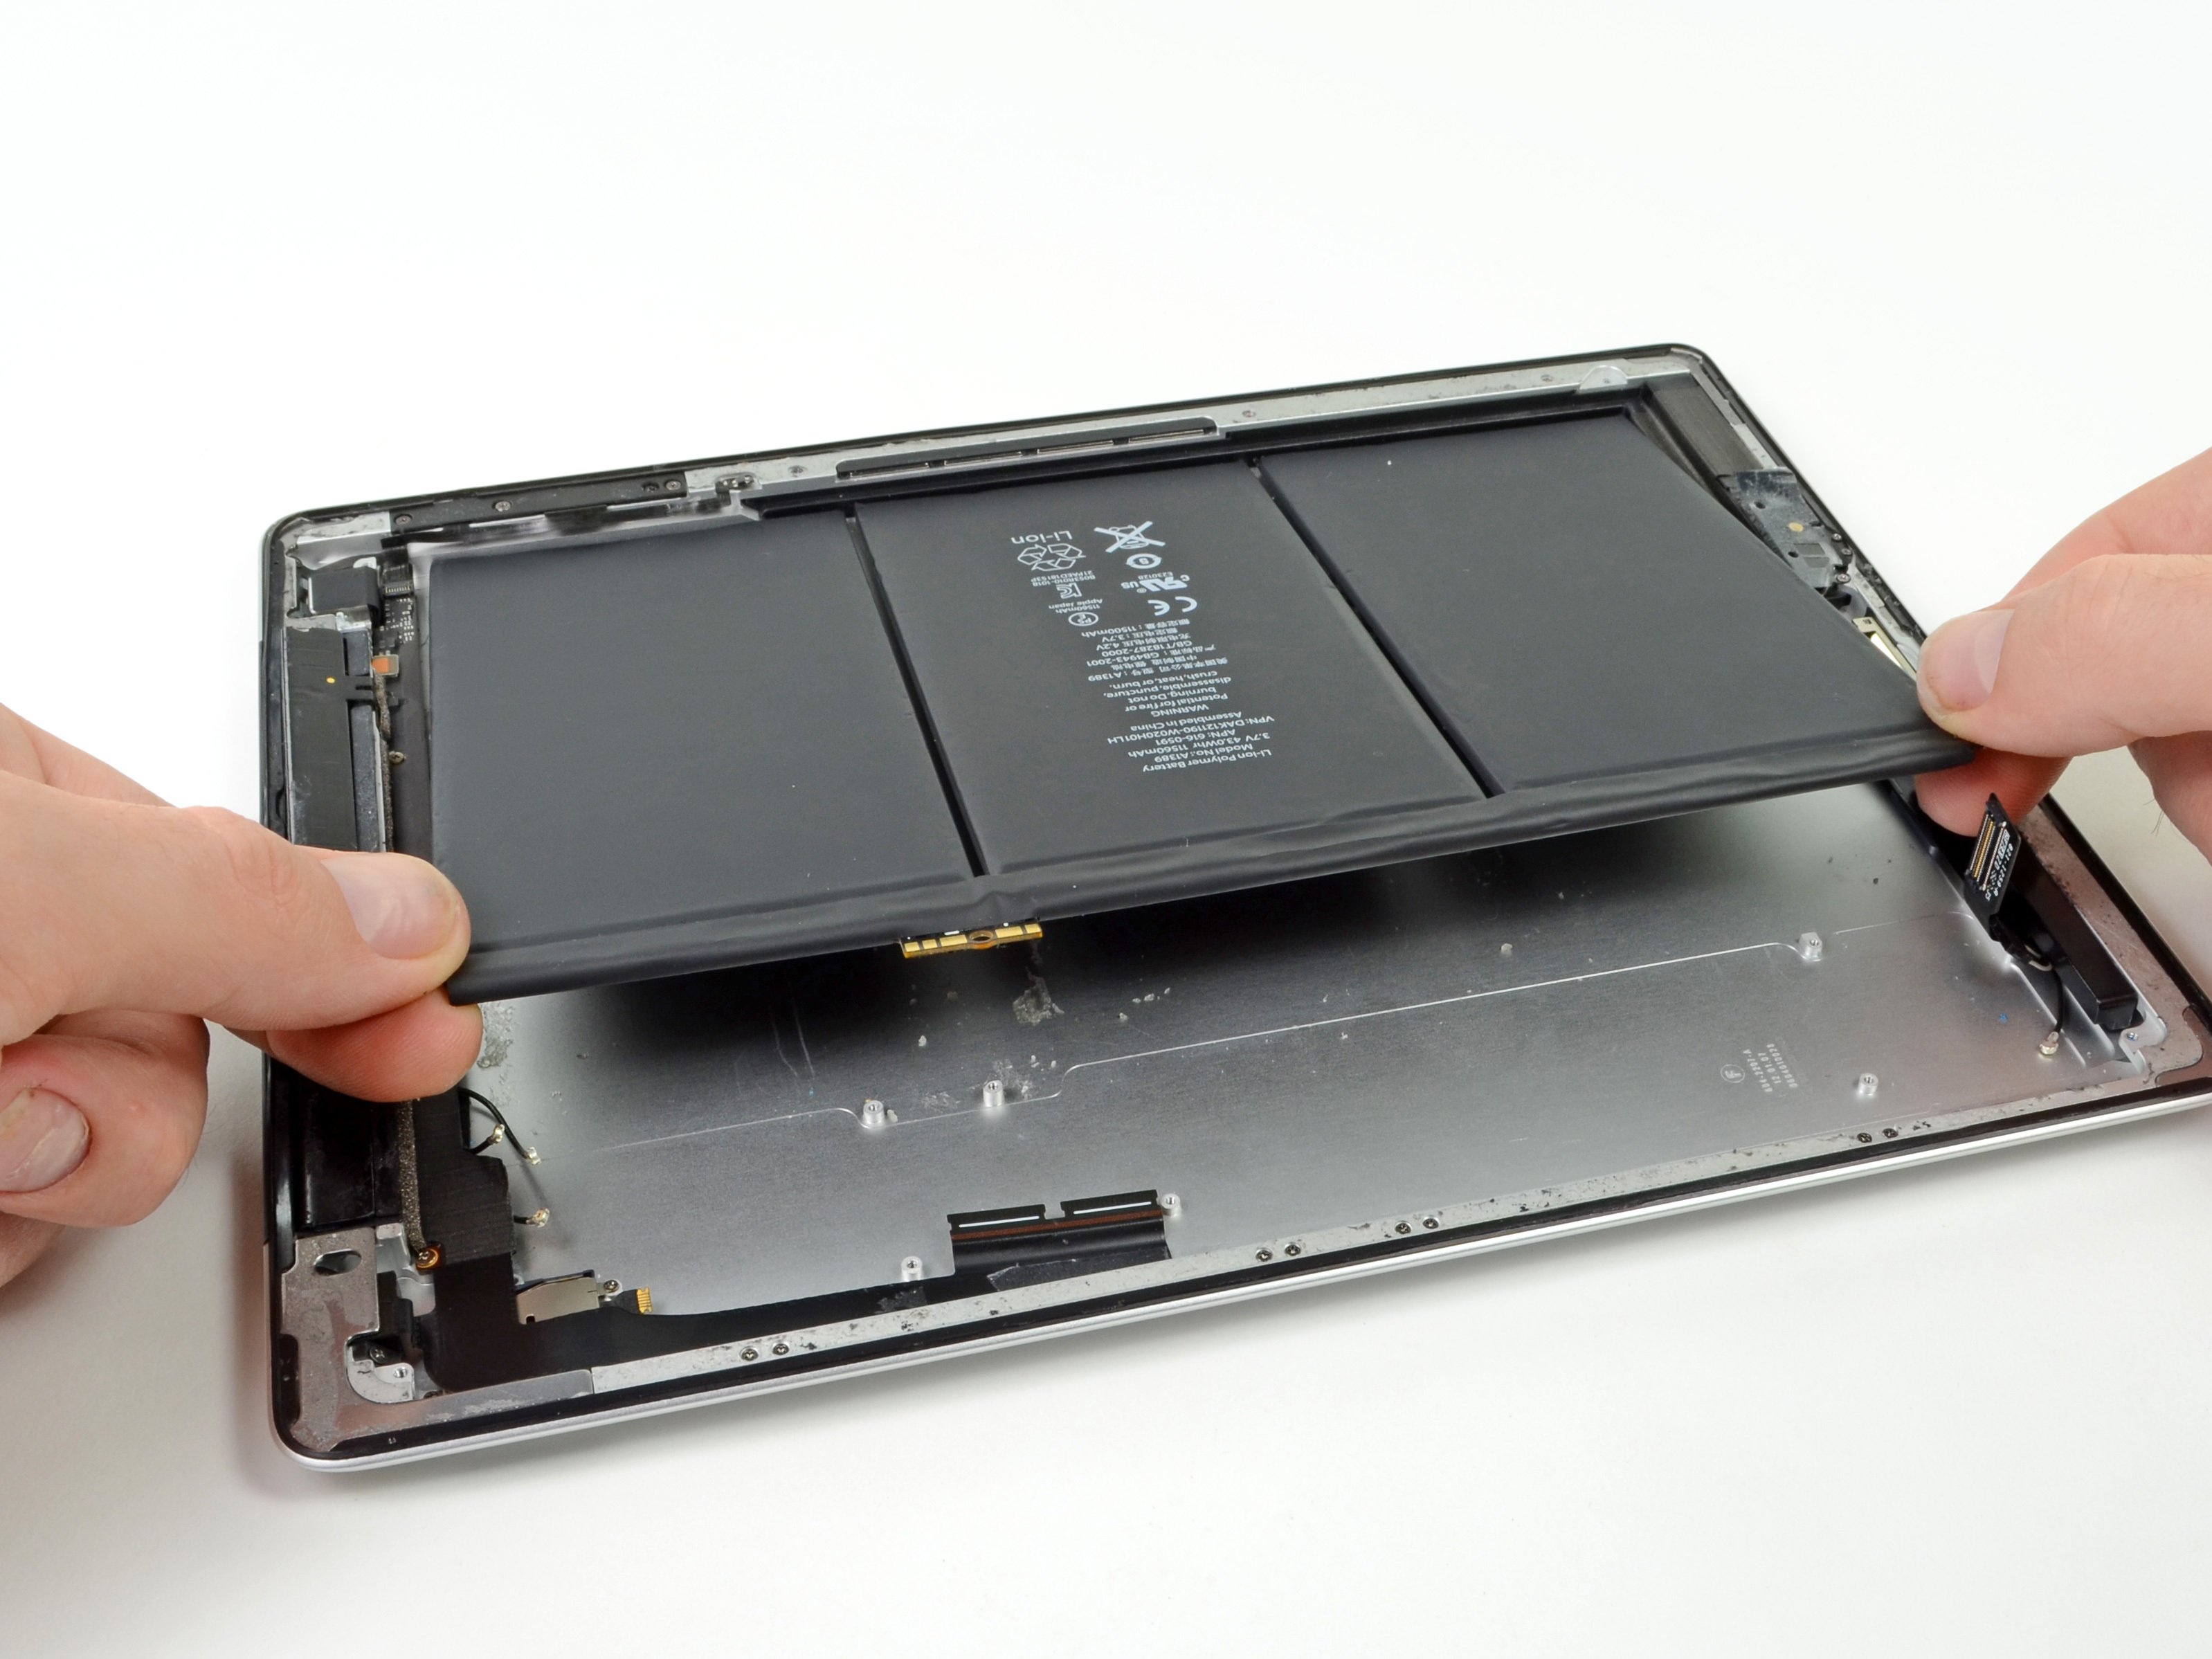
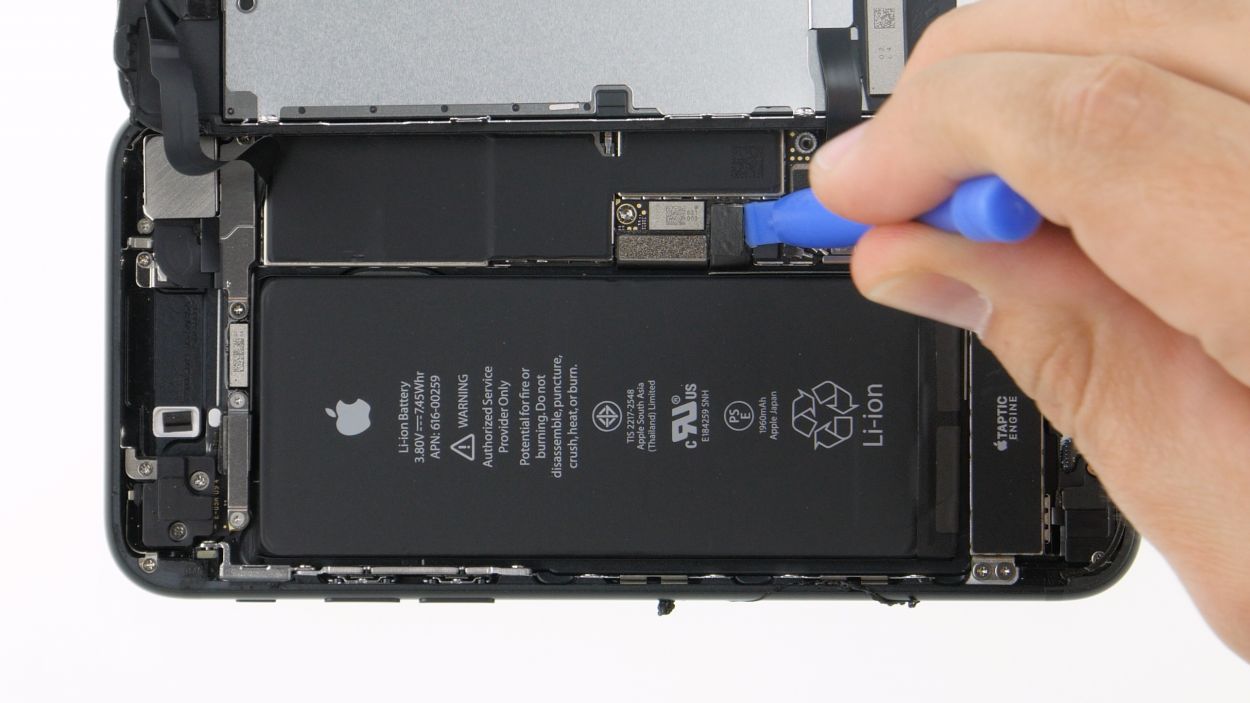
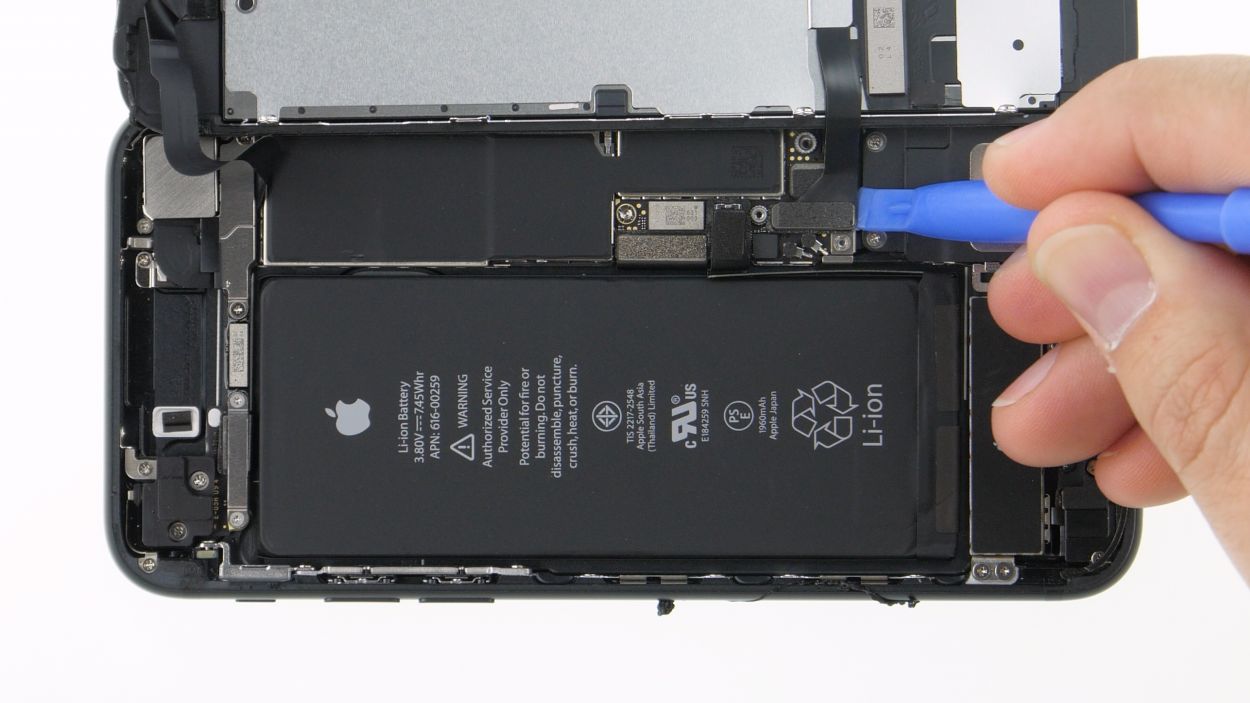
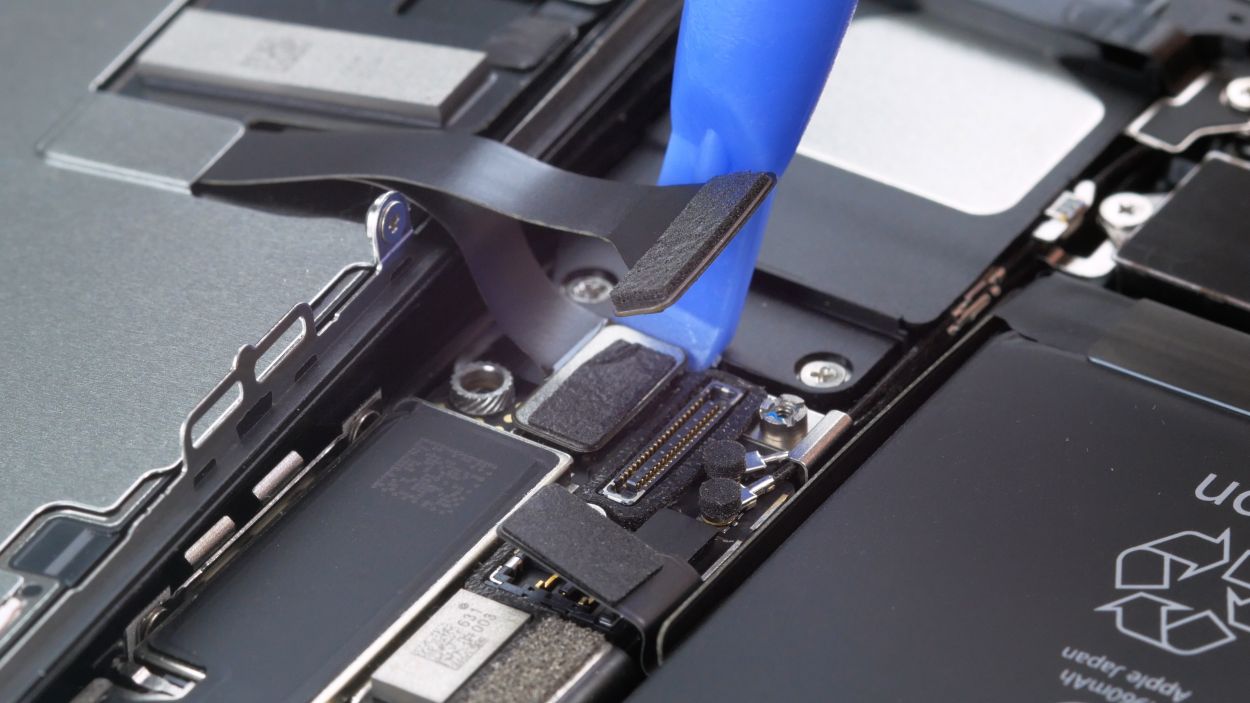
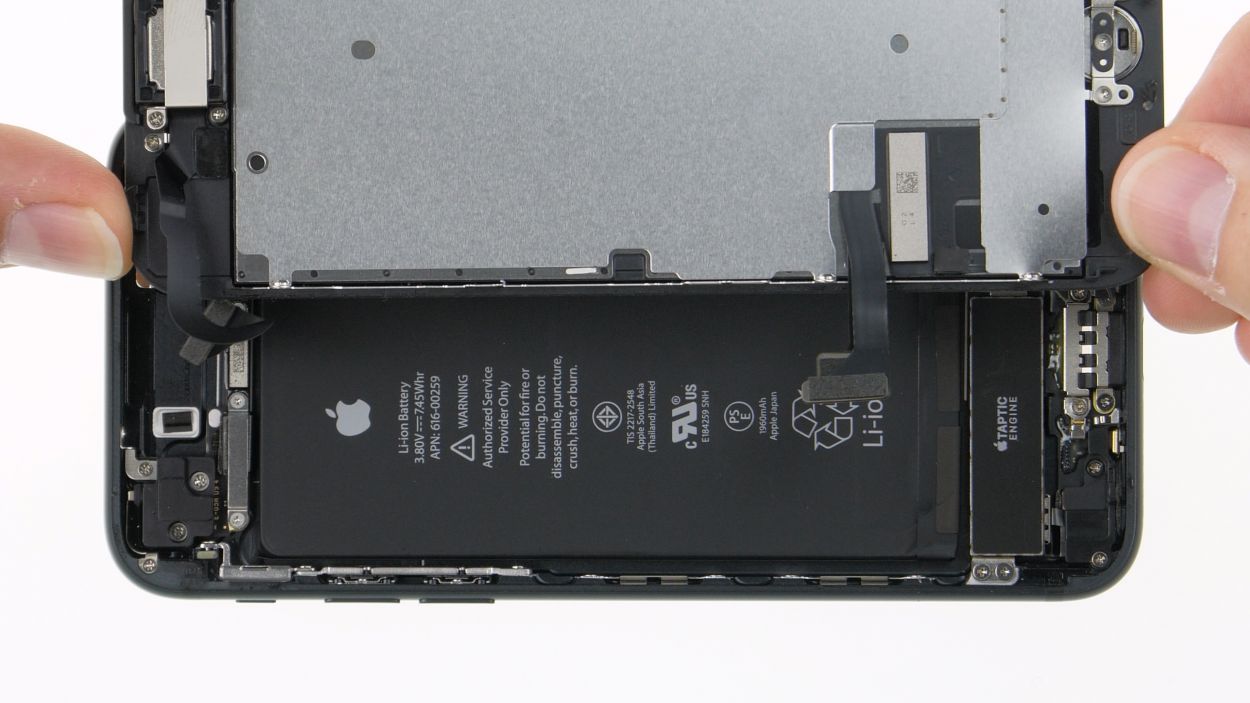
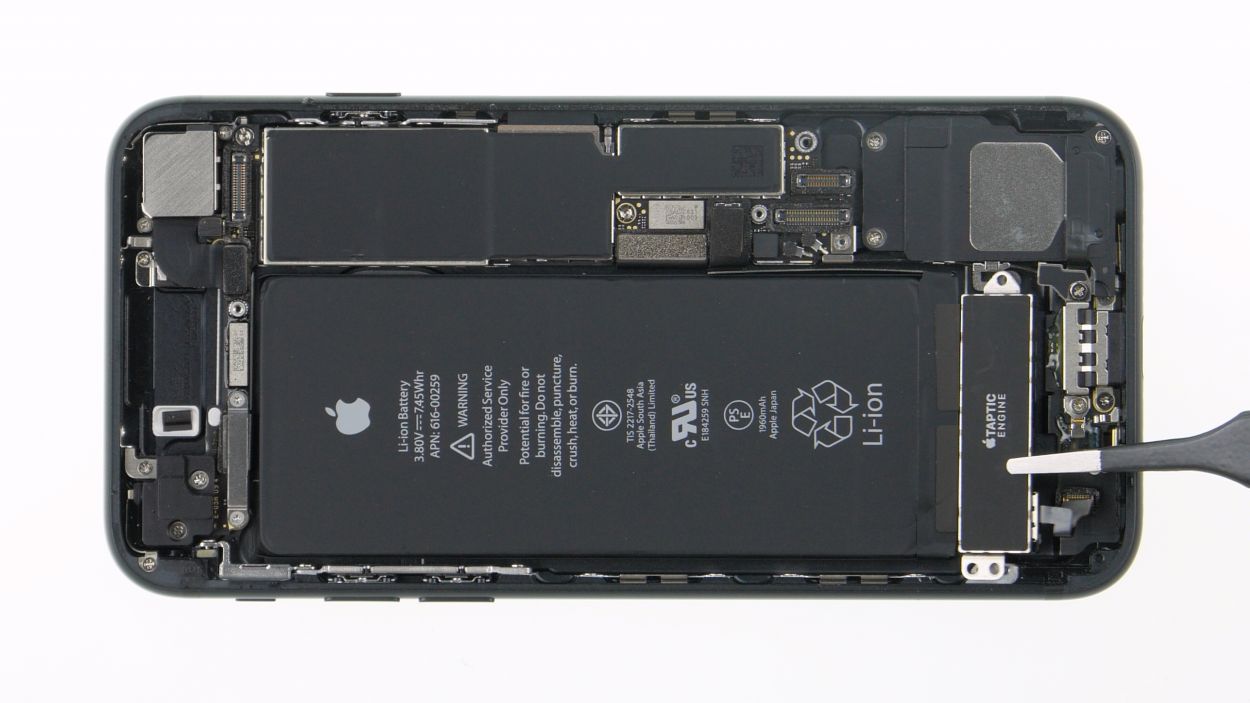
Battery connector
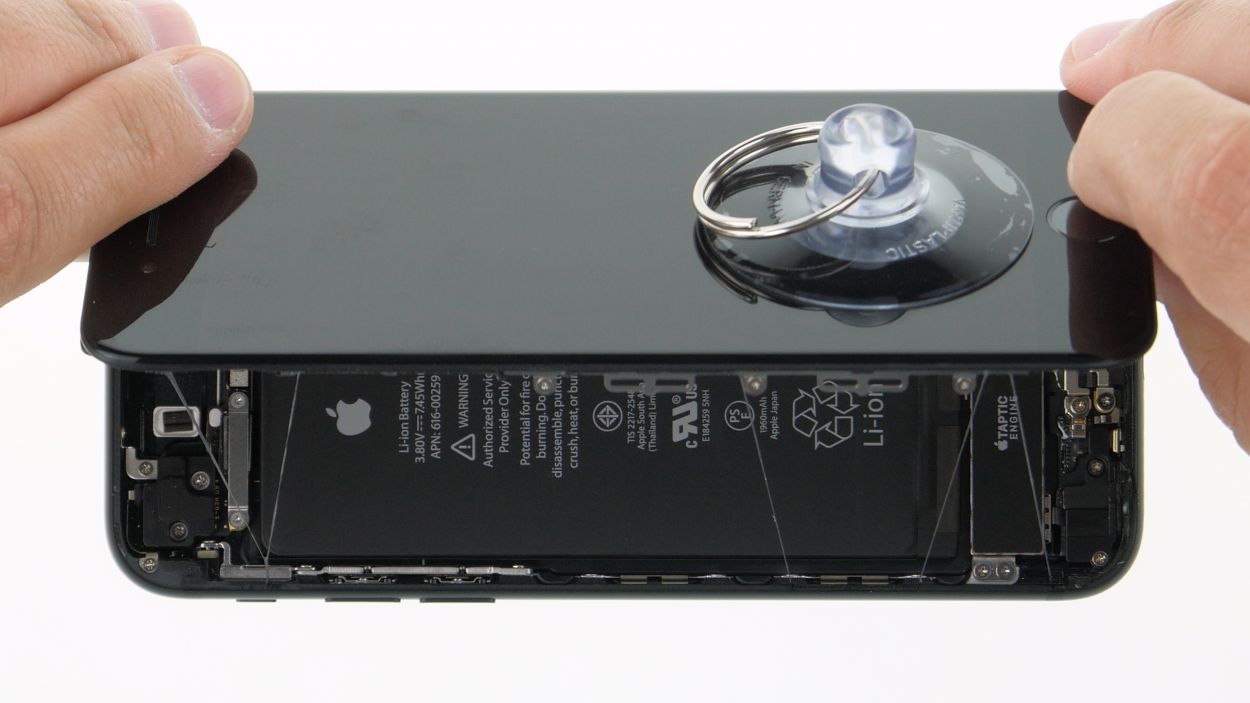
Start your repair journey by loosening the battery connector. This little step is your best buddy in avoiding any unexpected short circuits and keeping your iPhone 7 from accidentally waking up while you’re in the zone!
– Grab your Y-type screwdriver and get ready to work some magic! Loosen those four Y-type screws like a pro, and then gently lift off the bracket plate that’s cozying up to the battery connector.
Step 7
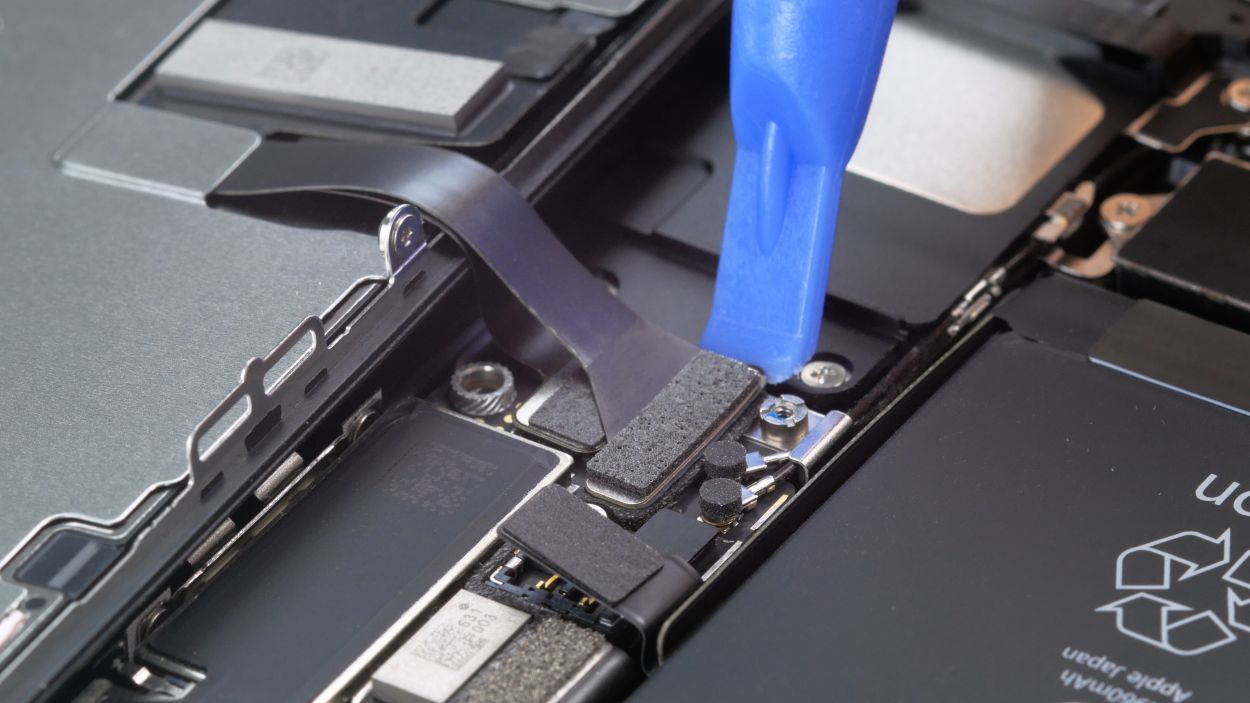
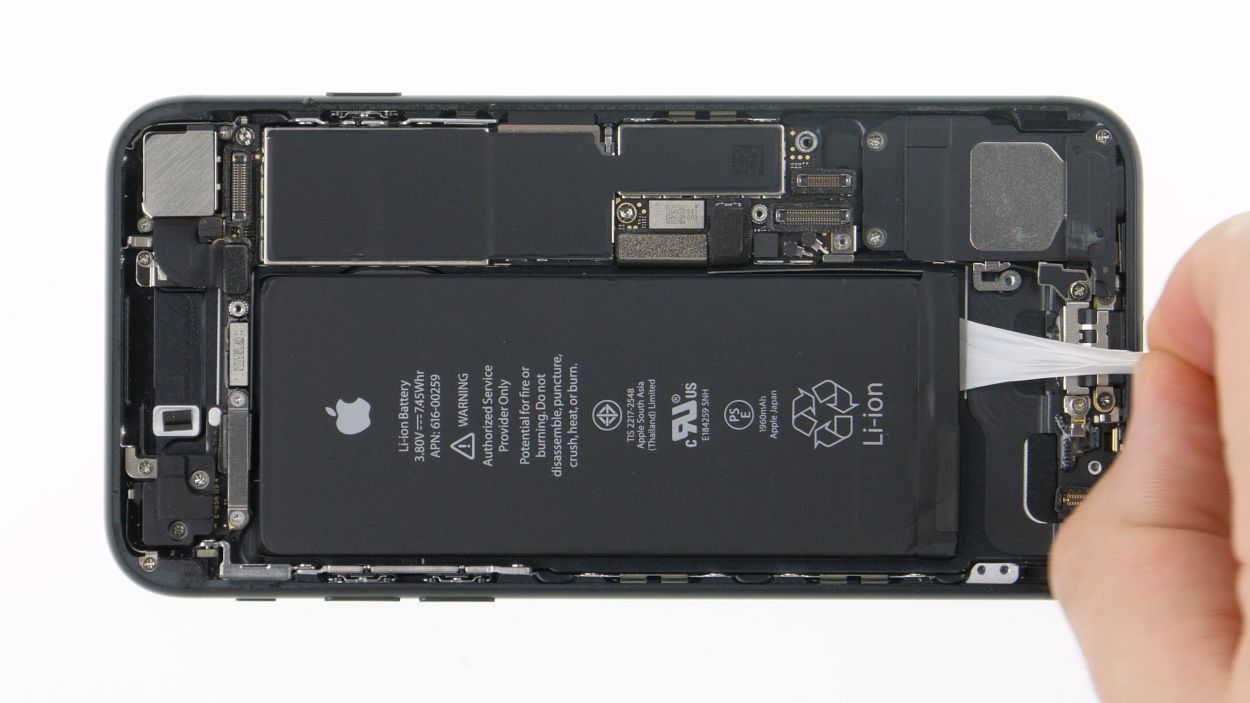
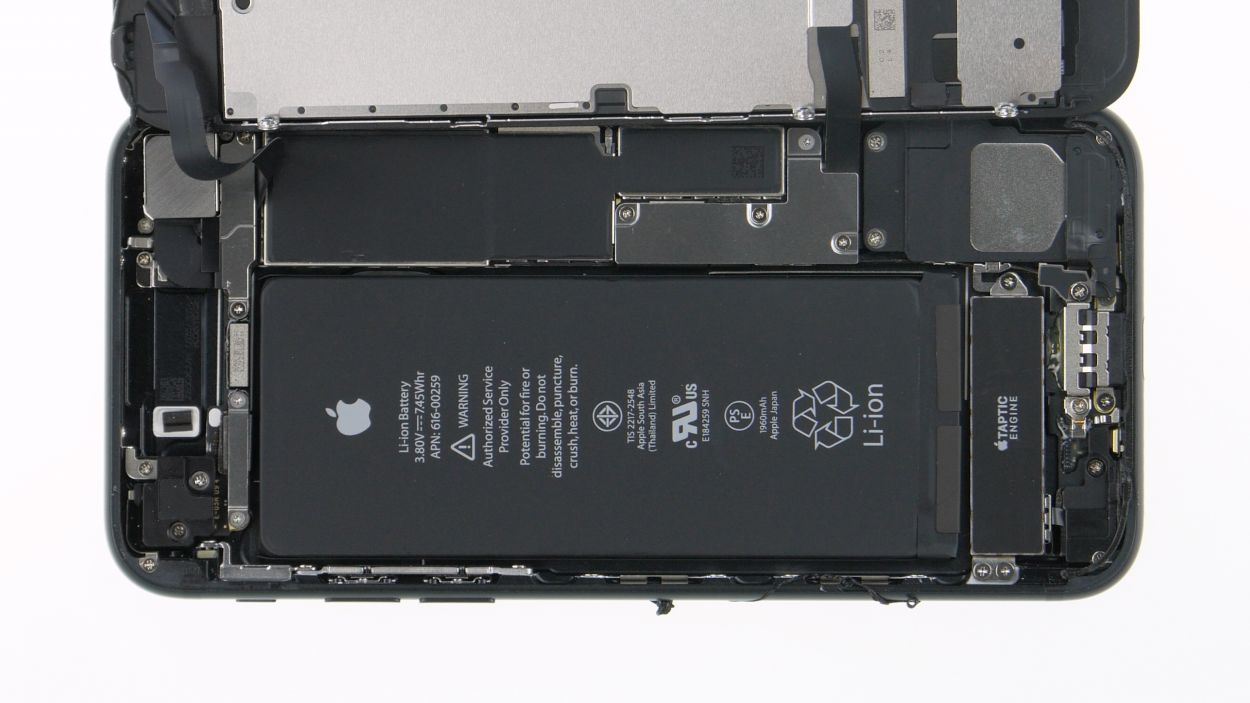
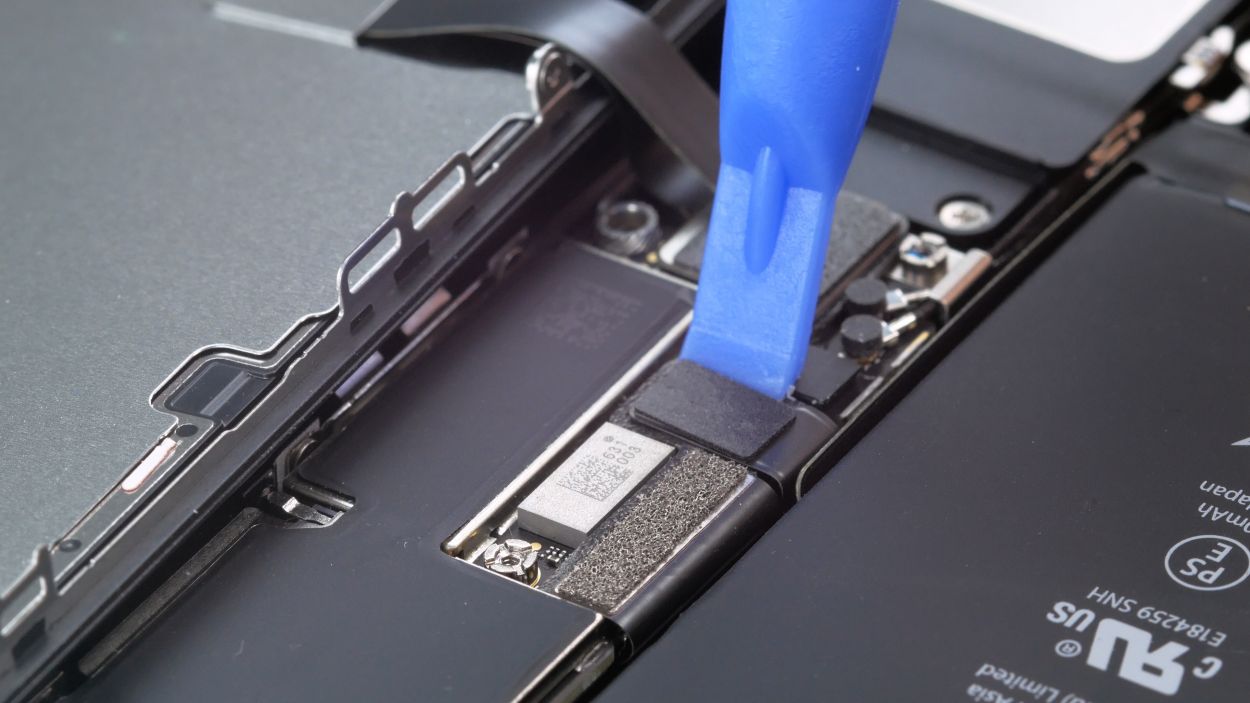
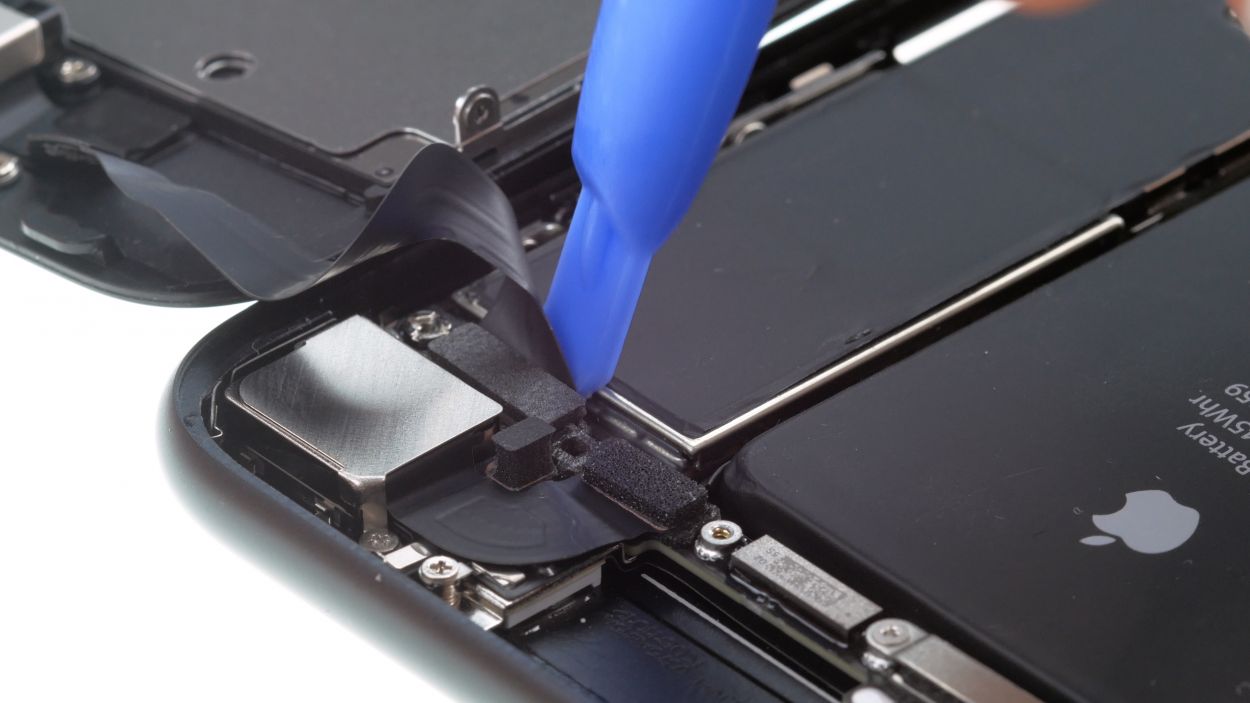
Display connector
Home button connector
When you’re popping off those display connectors, make sure to start from the side without any tiny components hanging out. This little tip helps you dodge any potential mishaps!
– Alright, let’s get those display connectors separated! Use your trusty plastic spudger to gently pry apart the display connector and the home button connector, just like you did before. You’ve got this!
Tools Used
Step 8

2 × 1,2 mm Phillips
FaceTime connector
When detaching the FaceTime connector start from the side where there are no small components on the board. This way you avoid potential damage.
– In the first step, remove the two Phillips screws fixing the bracket plate over the FaceTime connector and take it out.
Step 9


When you’re disconnecting those connectors, aim for the side that’s free from tiny parts. This little move is your secret sauce to dodging any damage – you’re on the right track!
– Unscrew the two Phillips screws from the plastic cover and remove it.