DIY iPhone 7 Plus Battery Replacement Guide: Step-by-Step Tutorial
Duration: 45 minutes
Steps: 33 Steps
Hey there, champ! Just a heads-up: make sure to take a peek at our friendly tutorial for a smooth repair ride. If you hit a snag, don’t sweat it—help is just a click away at schedule a repair.
Ready to give your iPhone 7 Plus a new lease on life with a fresh battery? If your battery looks like it’s about to pop, handle with care! This guide has you detaching the display assembly to avoid any cable catastrophes. But hey, if you’re a pro at dodging those pesky cable snags, feel free to skip the display disconnection dance. Once you’re done, don’t forget to give your battery the full VIP treatment: charge it to 100%, keep it plugged in for a couple more hours, then run it down completely before giving it one last uninterrupted charge to 100%. Keep it cool and keep it powered!
Step 1

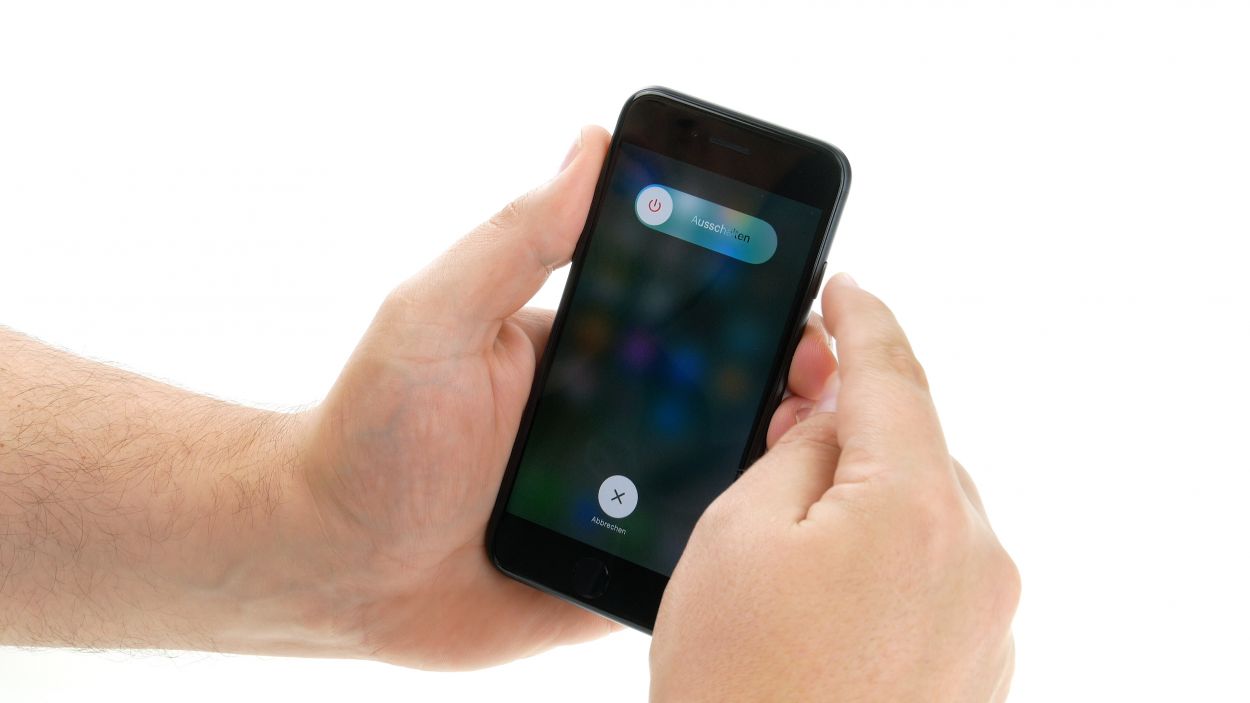
– Switch off your iPhone to get the party started safely!
– Unscrew the two 3.4 mm pentalobe screws chilling at the bottom edge of the iPhone.
Before jumping in, let’s make sure your iPhone’s battery is less than 25% charged. We wouldn’t want an energetic battery going rogue and causing a fiery spectacle if it’s accidentally punctured!
Cracking open your iPhone’s display will break its waterproof mojo. Make sure you’ve got some fresh seals on hand before moving forward, or keep it dry if you decide to snap it back together seal-free. Stay splash-free, folks!
Step 2


Be cautious not to shove the opening pick too deep, or your gizmo might protest with some unwanted damage. Use this step to mark your pick and keep your device happy and harm-free!
– Grab your marker and jazz up your opening pick by marking it 3 mm from the tip. It’s like giving your tool a mini makeover!
Step 3


The upcoming trio of steps will show you how to use the Anti-Clamp, our awesome tool designed to make the opening process a breeze. If you’re not using the Anti-Clamp, just hop down three steps for another cool way to get it done!
– Yank the blue handle back to set the Anti-Clamp’s arms free!
– Gently guide the arms to hug either the left or right side of your iPhone.
– Place the suction cups just above the home button at the bottom of the iPhone—front and back.
– Give the cups a good squeeze to get them to stick right where you need them.
Step 4


– Yank the blue handle towards you to snap those arms into place.
– Give that handle a good twist clockwise—keep going for a full 360 or until you feel the cups getting a stretch workout.
– Keep those suction cups lined up like best buddies. If they start acting up and slipping, just loosen them a tad and guide them back into a friendly alignment.
Step 5


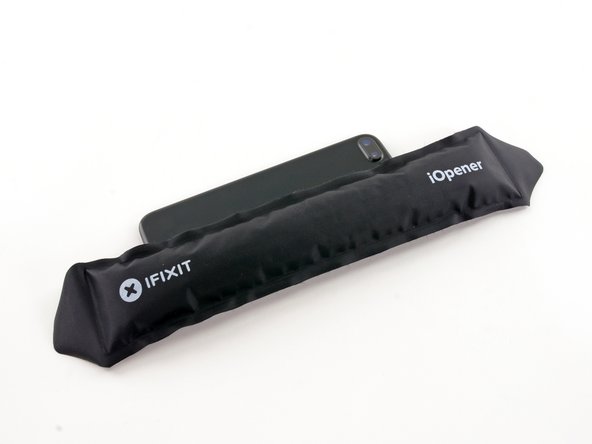
– Warm up an iOpener and slip it through the arms of the Anti-Clamp.
– Bend the iOpener so it rests on the bottom edge of the iPhone.
– Give it a minute to let the adhesive loosen up, creating a gap for you to work with.
– Pop an opening pick into the gap you’ve created.
– Go ahead and skip the next three steps.
Tools Used

Step 6

The upcoming trio of steps will guide you through the screen separation adventure using a suction cup. Get ready to lift off!
– Warming up the lower edge of your iPhone will make the adhesive less sticky, so opening it up will be a breeze!
– Grab a hairdryer or get an iOpener ready, and apply it to the bottom edge of your phone for about 90 seconds to loosen that sticky adhesive.
Tools Used


Step 8


– Give the suction cup a hearty tug upwards to initiate a small opening between the screen and its frame.
– Wedge an opening pick into that newfound gap.
Step 9


Hold up, don’t rush to pry the top edge of the display from the rear case! It’s snugly secured by plastic clips that could snap if you get too zealous. Let’s keep those clips happy and intact, shall we?
– Glide the opening pick along the left side of the phone, starting at the bottom and working your way up towards those volume buttons and the oh-so-silent switch, while you loosen up that stubborn adhesive that’s keeping the display too cozy.
– Pause your magic right before you hit the top left corner of the display.
Step 10

Watch out! There are sneaky cables hiding along the right edge of your iPhone. Avoid poking around there with your pick, or you might accidentally harm those shy little wires.
Step 11


– Pop your tool back in at the bottom right corner of your iPhone, wiggle it around the corner, and glide it up the right side to loosen that sticky adhesive. Keep it smooth and steady!
Step 12


– Carefully tug on the suction cup to pop up the bottom edge of the display like a pro.
– Yank on the tiny nub on the suction cup to release it from the front panel like magic.
Step 13


– Wiggle an opening pick under the display near the top left corner and slide it across the top edge of the phone to free up that stubborn adhesive.
Step 14


– Gently nudge the display assembly a smidge downwards (steer clear of that top edge!) to free those sneaky clips from the rear case. Let’s keep it moving!


Step 16

– Unscrew the four tri-point Y000 screws that secure the lower display cable bracket to the logic board.


Step 18


Give that connector cable a little upward bend to keep it from cozying up to the socket and powering up your phone. Keep it chill, no power surprises here!
– Grab your spudger and gently pop the battery connector out of its cozy home on the logic board.
Tools Used

Step 19


Before you jump into the next steps, remember to disconnect the battery. It’s a no-brainer to keep those cables in check when swapping them around!
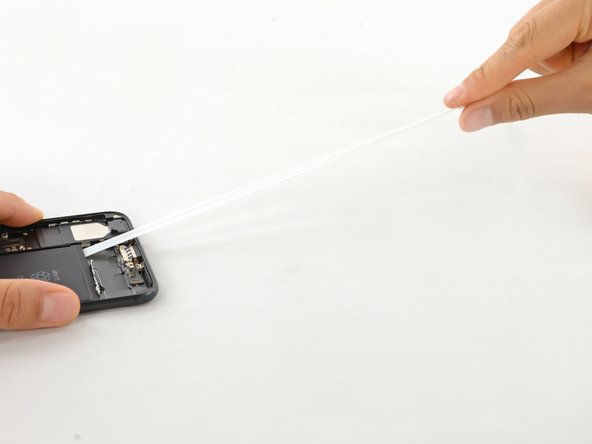
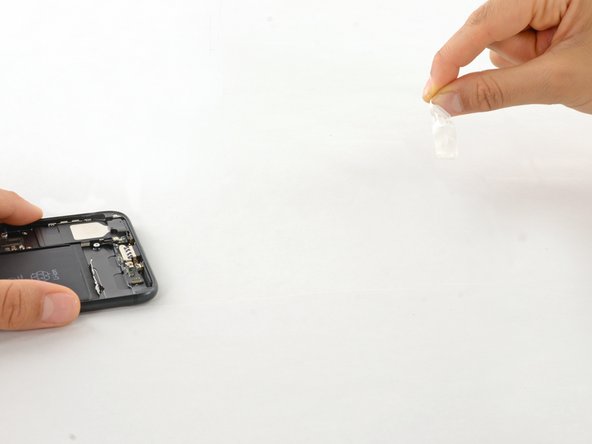
– Grab a spudger or use your trusty fingernail to gently disconnect the two lower display connectors. Just give them a little nudge straight up from their homes on the logic board.
– When snapping the connectors back into place, start by pressing down one end until you hear a satisfying click, then give the same love to the other end. Remember, middle pressing is a no-go zone! A misaligned connector can throw a tantrum and bend, and nobody wants that kind of drama.
– Got a case of the screen blues with a blank display, white lines, or a ghostly touch response after putting your phone back together? No panic! Simply give those cables another dance by disconnecting and reconnecting them, ensuring they’re snug as a bug in their sockets.
Tools Used
Step 20


– Unscrew the trio of tri-point Y000 screws holding down the bracket on top of the front panel sensor assembly connector. It’s like a mini treasure hunt!
– Lift off the bracket. Who knew such a tiny piece could be so mighty?
Step 21


– Unplug the front panel sensor assembly connector from its socket on the logic board like a boss.
– Reconnect this press connector one side at a time to keep it smooth and avoid any bending drama.

Step 23

– Unscrew the two Phillips screws holding the barometric vent to the rear case:
Step 24


– Give the barometric vent a gentle nudge towards the Taptic Engine to loosen up that sticky adhesive at the bottom edge of your iPhone. Easy does it!
Step 25

– Pop off that vent like a boss!
Step 26


– Grab the flat end of your spudger and gently pop the Taptic Engine connector off its socket on the logic board. You’ve got this!
Tools Used
Step 27

– Unscrew the trio of 1.5 mm Phillips screws that are keeping the Taptic Engine snug in its home within the rear case.


Step 30

Make sure to keep those strips smooth and chill as you work; any crinkles and they’ll cling to each other and snap instead of coming out nice and clean.
Step 31


– Do the same dance with the second and third strips—same moves, same groove!
– If you’ve already peeled off all the strips like a pro, feel free to shimmy past the next step.
Step 32


If a sneaky adhesive strip decided to break off and the battery is still clinging on for dear life, try persuading it with a few drops of isopropyl alcohol (90% or higher) right where the strip gave up. If your battery is still playing hard to get, warm it up a bit with an iOpener or a hair dryer—get it just hot enough that it’s uncomfortable to touch. Alternatively, you can grab some dental floss or an unwound 0.009 E guitar string from a 12-string set for a little extra persuasion. Slide the floss or string behind the top corners of the battery, tie the ends to a folded cloth for a good grip, and pull with even pressure to coax the battery out.
Tools Used
Step 33

Hey there! If your new battery arrived dressed in a plastic sleeve, just peel that sleeve off by tugging it away from the ribbon cable. Easy peasy!
– Pop out that battery!
– Got any leftover alcohol solution in there? Give it a gentle wipe or just let it chill out and air dry before popping in your new power pack.
– Quick tip: Hook up the battery connector back to its logic board socket before sticking the battery down for good. It’s like a little rehearsal to make sure it fits perfectly in its home.
– Heads up! If your shiny new battery is missing its sticky sidekick, check out this guide to get those