DIY iPhone Hardware Isolation Tutorial: Step-by-Step Guide
Duration: 45 minutes
Steps: 5 Steps
Heads up!
Is your iPhone suddenly playing hide and seek with its power, caught in a boot loop, or just refusing to wake up? If you’ve exhausted all your software tricks and still no luck, it might be time to look at the hardware. But don’t panic—there’s a way to pinpoint which part is causing the hassle! Just a heads-up: The images in this guide showcase an iPhone XR, but the steps can apply to any iPhone (or cell phone) out there. If you need help, you can always schedule a repair.
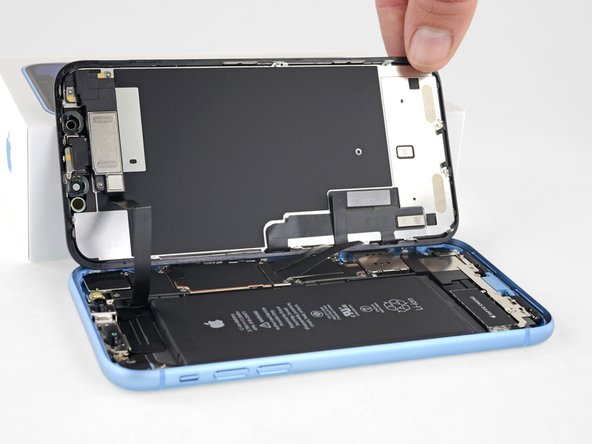
Step 1
– Time to crack open that iPhone! Check out the guide tailored for your specific model to get all the juicy details.
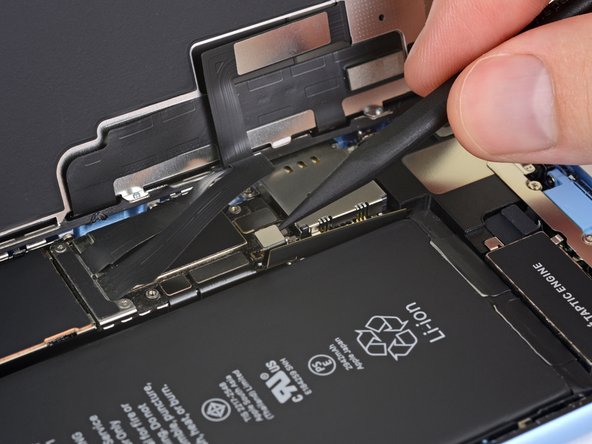
– First things first, let’s disconnect that battery before diving into the fun stuff. If you’re scratching your head wondering which connector is the battery, no worries! The battery replacement guide for your model has got your back.
Step 2


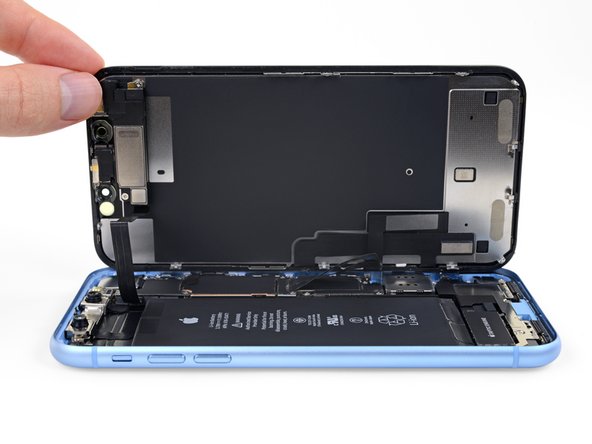
Snap a pic of how everything looks before diving in! It’s a great way to keep track of where everything belongs. You’ll definitely want to remember where those brackets are that hold the connectors in place.
– After you’ve disconnected the battery, go ahead and pop off the screen to get a good look at your iPhone’s inner workings.
Step 3
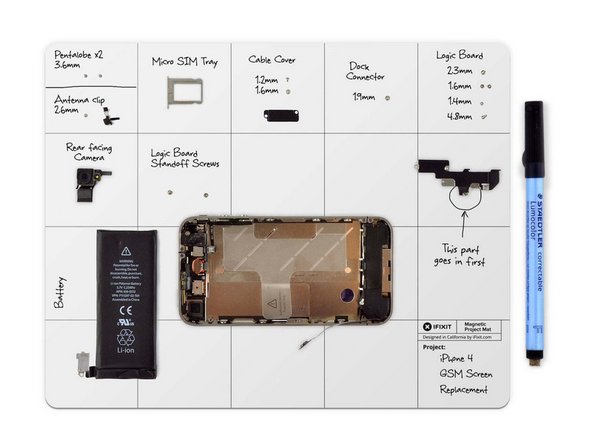

Organizing your screws and casing is a smart move to keep everything in its place and avoid losing any little bits. Trust us, it’s worth it!
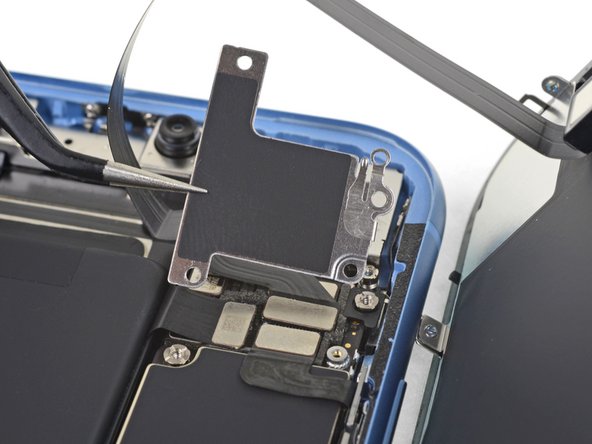
– Check out the logic board and keep an eye out for any metal brackets (those little cowlings) that are holding connectors snugly in place.
– Grab your Y000 and Philips 000 screwdrivers and carefully unscrew any brackets that are in the way.
– Using your ESD safe tweezers, gently lift those brackets off the connectors and set them aside.
Tools Used

Step 4

Feel free to take off any components you want to make accessing others a breeze! Just keep in mind that the more parts you remove, the more you’ll need to put back together later. The goal here is to keep things manageable—no need to take apart the whole device.
– Unplug all the connectors from the logic board, and give those flex cables a gentle bend to keep them away from each other. We want to avoid any accidental contact, right?
Step 5
Check out the SMC Panic Assertion failed page for a detailed model-specific list. It’s a handy resource to get you back on track!
– Alright, once you’ve disconnected everything, let’s keep it simple! Reconnect just the essentials needed to boot up your phone—think display, battery, and either the power button cable or the charge port assembly to get things moving. It’s like giving your device a little pep talk to wake it up!
– Now, if you’re rocking an iPhone past the X, there’s a little trick to keep in mind. Make sure to connect certain sensor parts to avoid any surprise reboots after 3 minutes. Grab a reliable battery, charge port assembly, and power button cable to keep things steady.
– With just the bare minimum connected, give it a shot and see if you can recreate the issue. If the problem vanishes, great! Start reconnecting the parts one by one until the issue pops back up—just remember to disconnect the battery in between each swap to keep things safe.


