DIY Lenovo Vibe Z2 Pro Ear Piece Speaker Replacement Guide
Duration: 45 minutes
Steps: 18 Steps
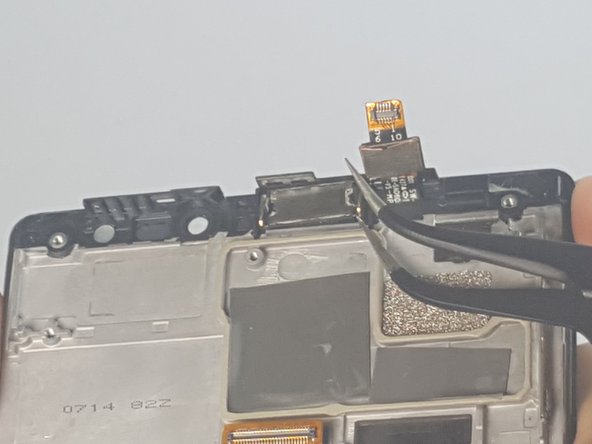
Having trouble catching every word in your phone conversations? Is your ear piece speaker sounding a bit wonky? No worries, in this guide, we’re here to help you swap out that ear piece speaker and get back to crystal-clear chats!
Step 1
– Pop out those 4.9 mm torx head screws holding the camera plate on the phone’s back
Step 2
– Let’s get started by unscrewing those pesky 3.65 mm Torx head screws located at the bottom of your phone. You’ve got this!
Step 3
– Pop out the SIM card tray by gently pushing a pin into the tiny hole on the side of your phone. You’ve got this!
Step 4
– Glide your Spudger along the gap between the phone and the backplate to gently separate them.
Tools Used
Step 5
– Gently detach the backplate from the phone, taking care to avoid any unnecessary force.
Step 6
– Gently peel back the protective film using your fingers.
Step 7
Whenever you’re working your magic on a device, reach for the trusty black nylon spudger! It’s the best buddy for the job, especially when you’re around batteries. Keep it handy and let’s get this done right!
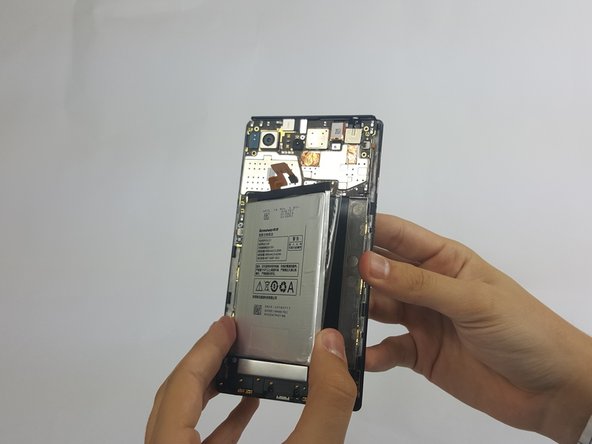
– Gently coax those pesky adhesive strips holding the battery in place with your trusty fingernail or a spudger. You’ve got this!
Tools Used
Step 8
– Carefully detach the cheerful orange battery ribbon cable by gently coaxing it up with your trusty spudger.
Tools Used
Step 10
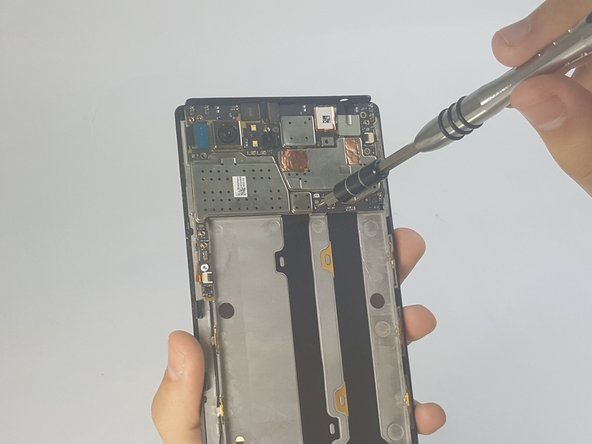
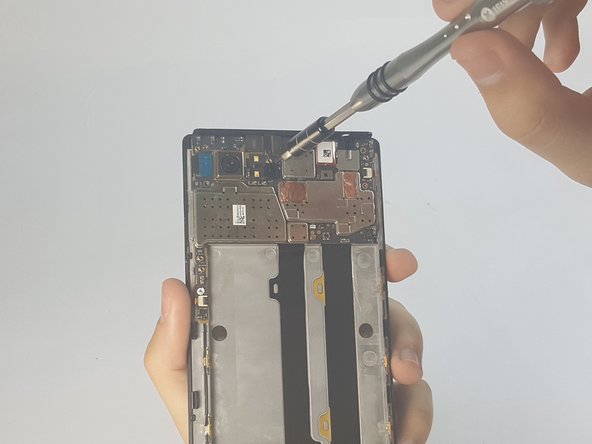
– Unscrew those 3.15mm Phillips Head #000 screws from the motherboard with style! You’ve got this!
Step 11
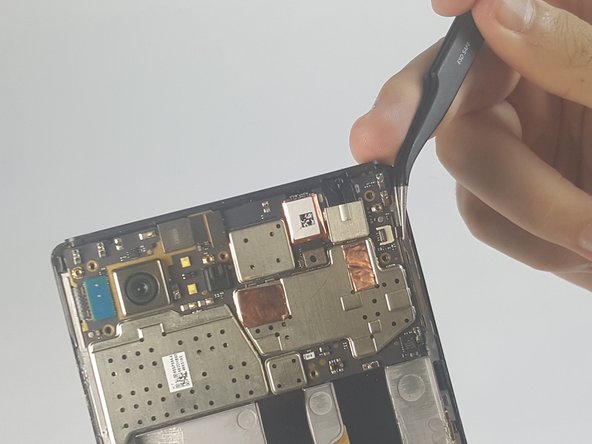
– Carefully detach the two ribbon cables by gently lifting the black hinges and using tweezers to pull them away. You’ve got this!
Tools Used
Step 12
– Carefully unplug the rear-camera connector, like a gentle handshake, to keep everything in tip-top shape!
Step 14
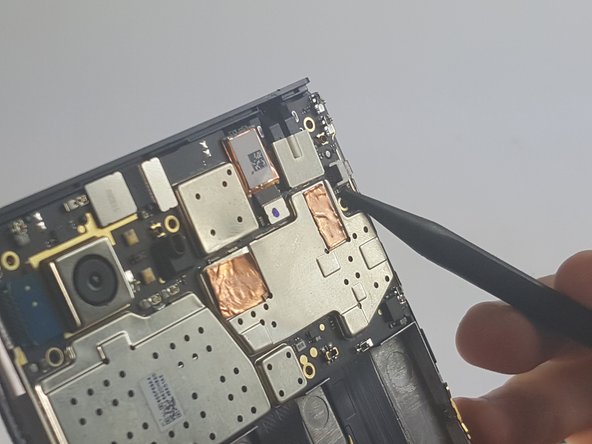
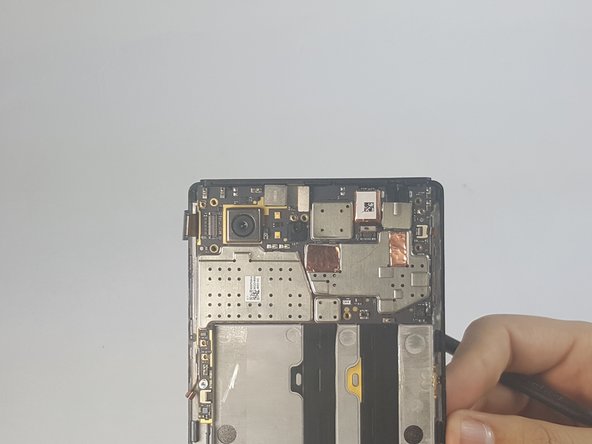
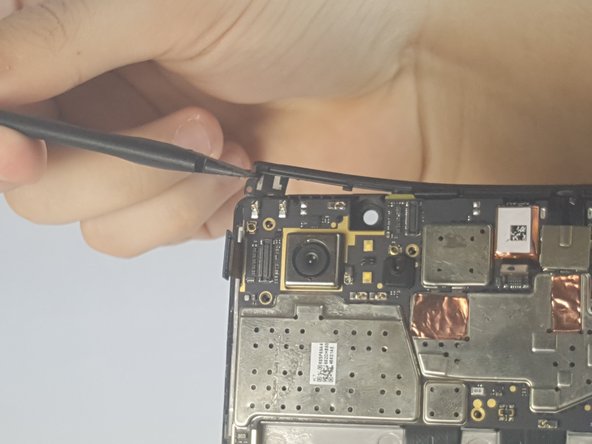
– Gently lift that plastic brace off the top edge of your phone like it’s the lid of a treasure chest waiting to be opened!
Step 15
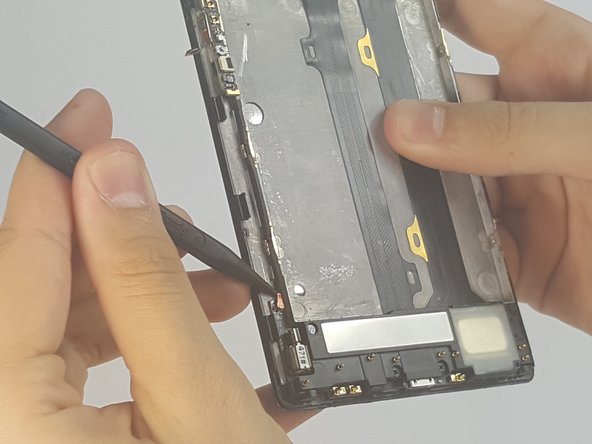
– Gently detach the antenna that’s hanging out with the bottom part of the screen plate. You’ve got this!
Step 16
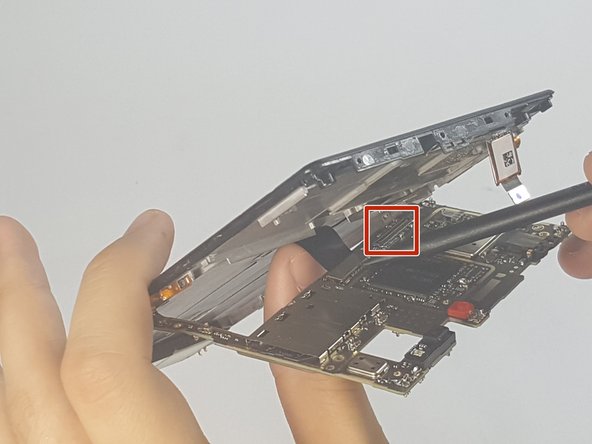
– Carefully take the motherboard off the frame, like you’re unveiling a surprise gift!
– Now, gently coax the camera out from behind the motherboard, as if it’s hiding and you’re in on the secret.
Step 17
– Time to give those cables the slip! Using a spudger, gently disconnect the charging port assembly cable and the screen connection cable.
– Alright, that motherboard is ready to party! Carefully remove it from the device.
Tools Used
Success!


