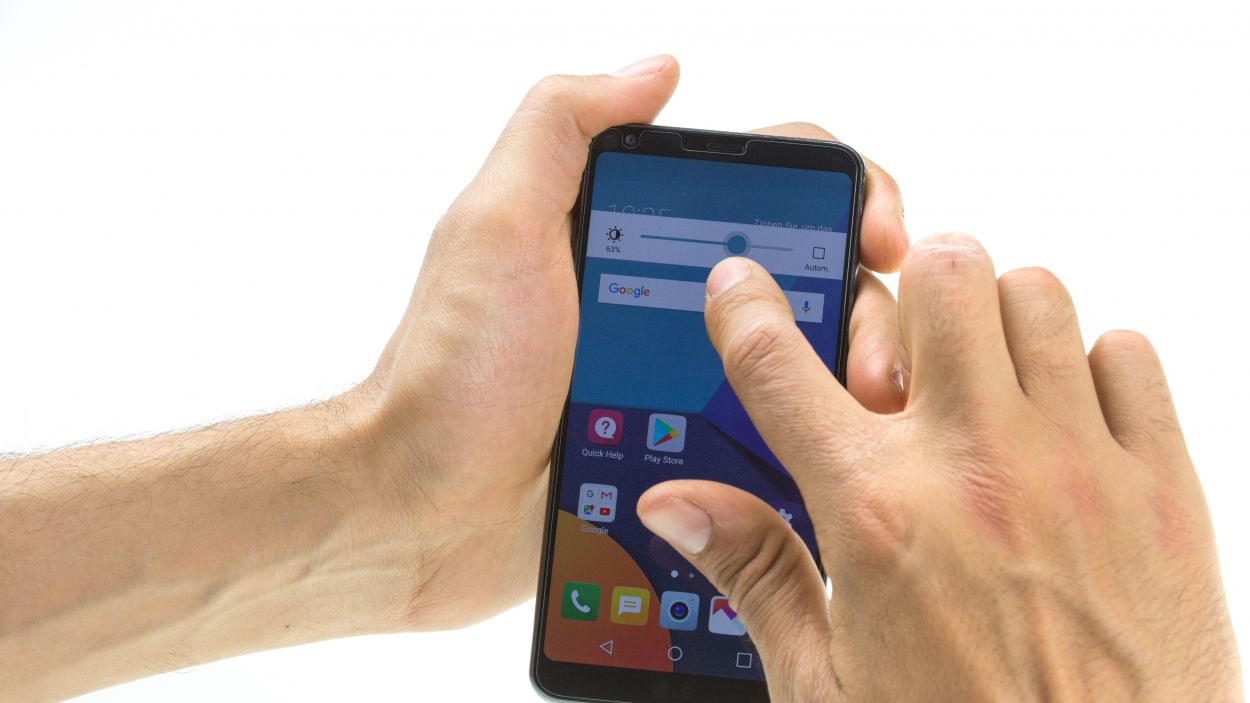
DIY LG G6 Rear Camera Replacement Guide: Step-by-Step Tutorial
Duration: 45 min.
Steps: 16 Steps
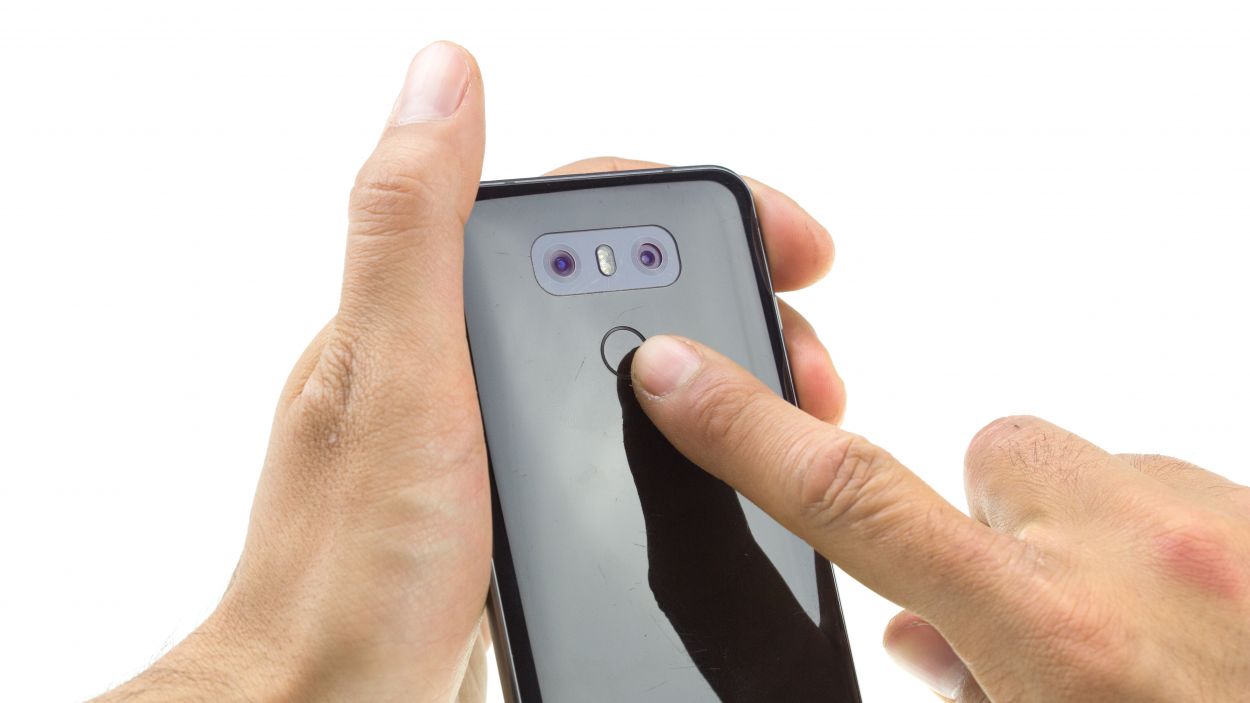
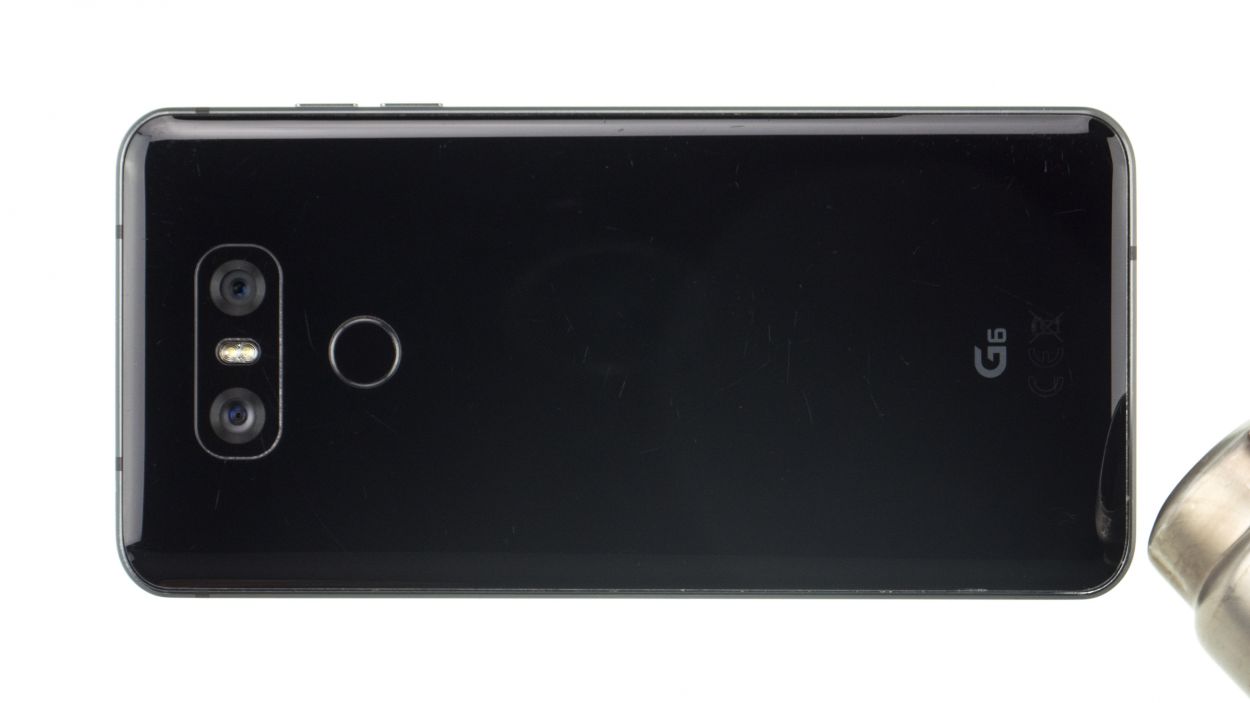
In this repair guide, we show you how to replace the defective rear camera of your LG G6. You need this repair if one of the two rear-facing cameras isn’t working, your pictures are blurry, or the camera doesn’t focus.This guide shows how to replace both cameras. If only one of the two is defective, of course you only need to replace one.
Step 1
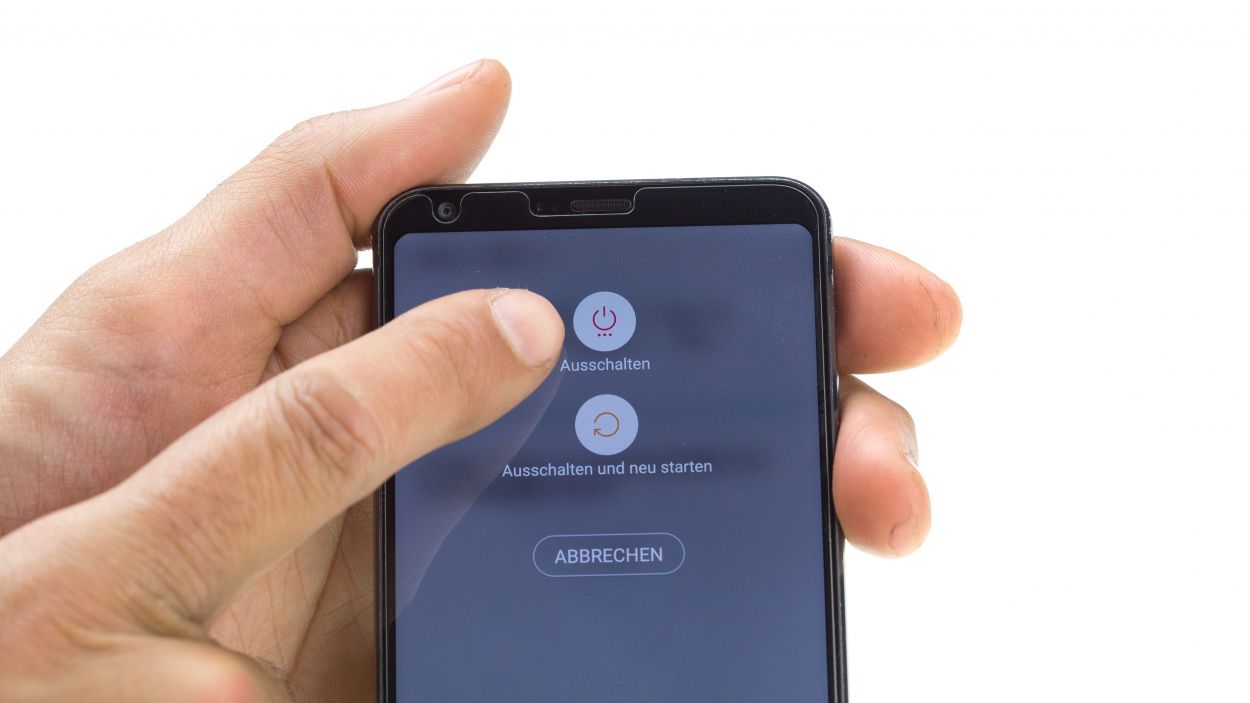
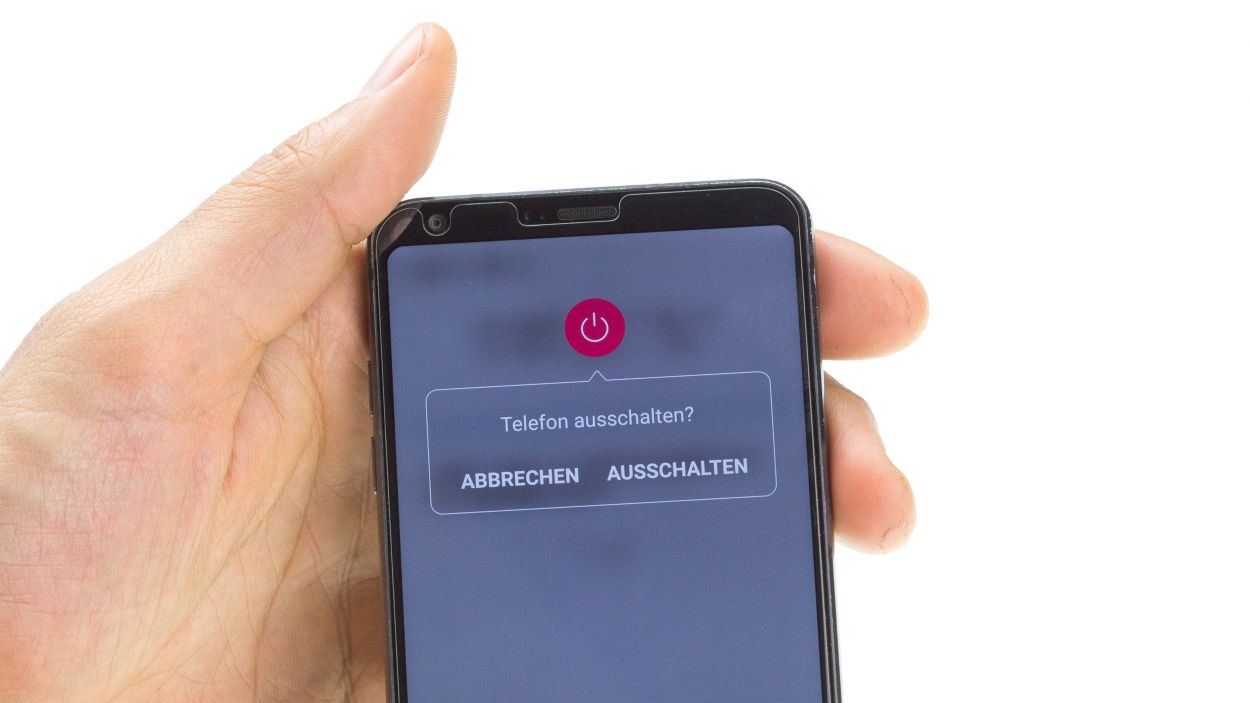
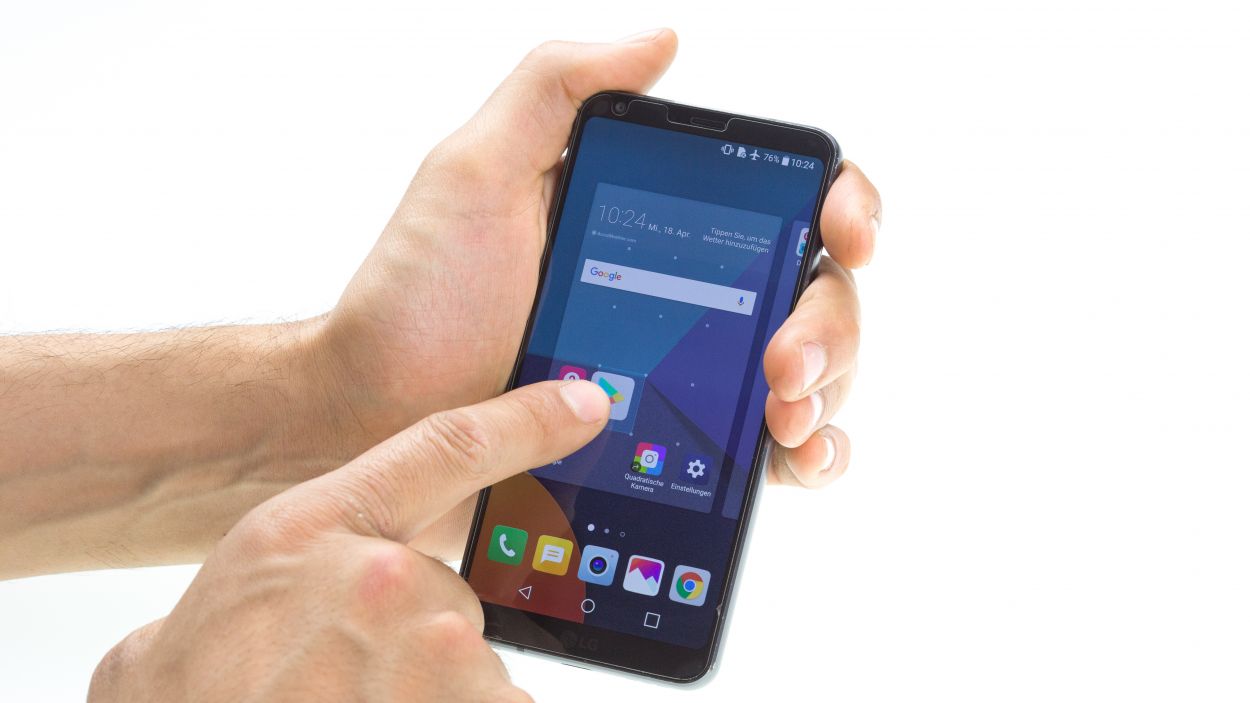
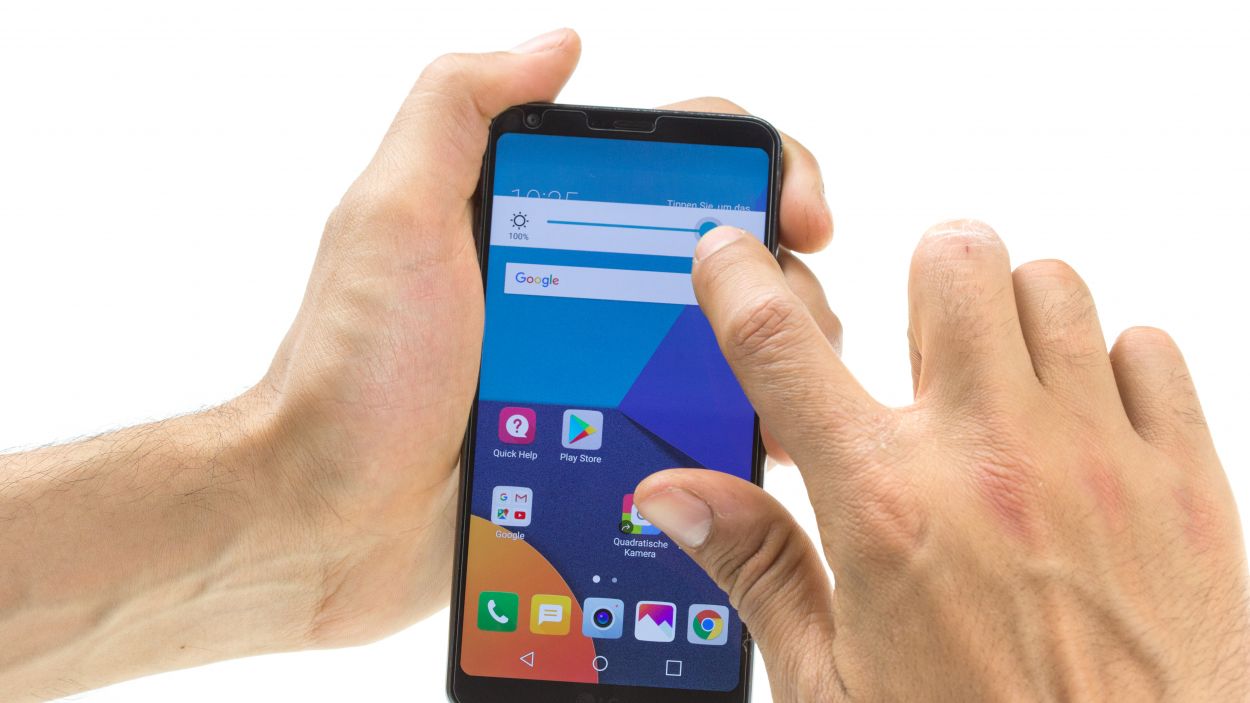
– Turn off your device by holding down the power button on the back until the “Power off” option appears.
– Tap to confirm and wait until the screen goes black.
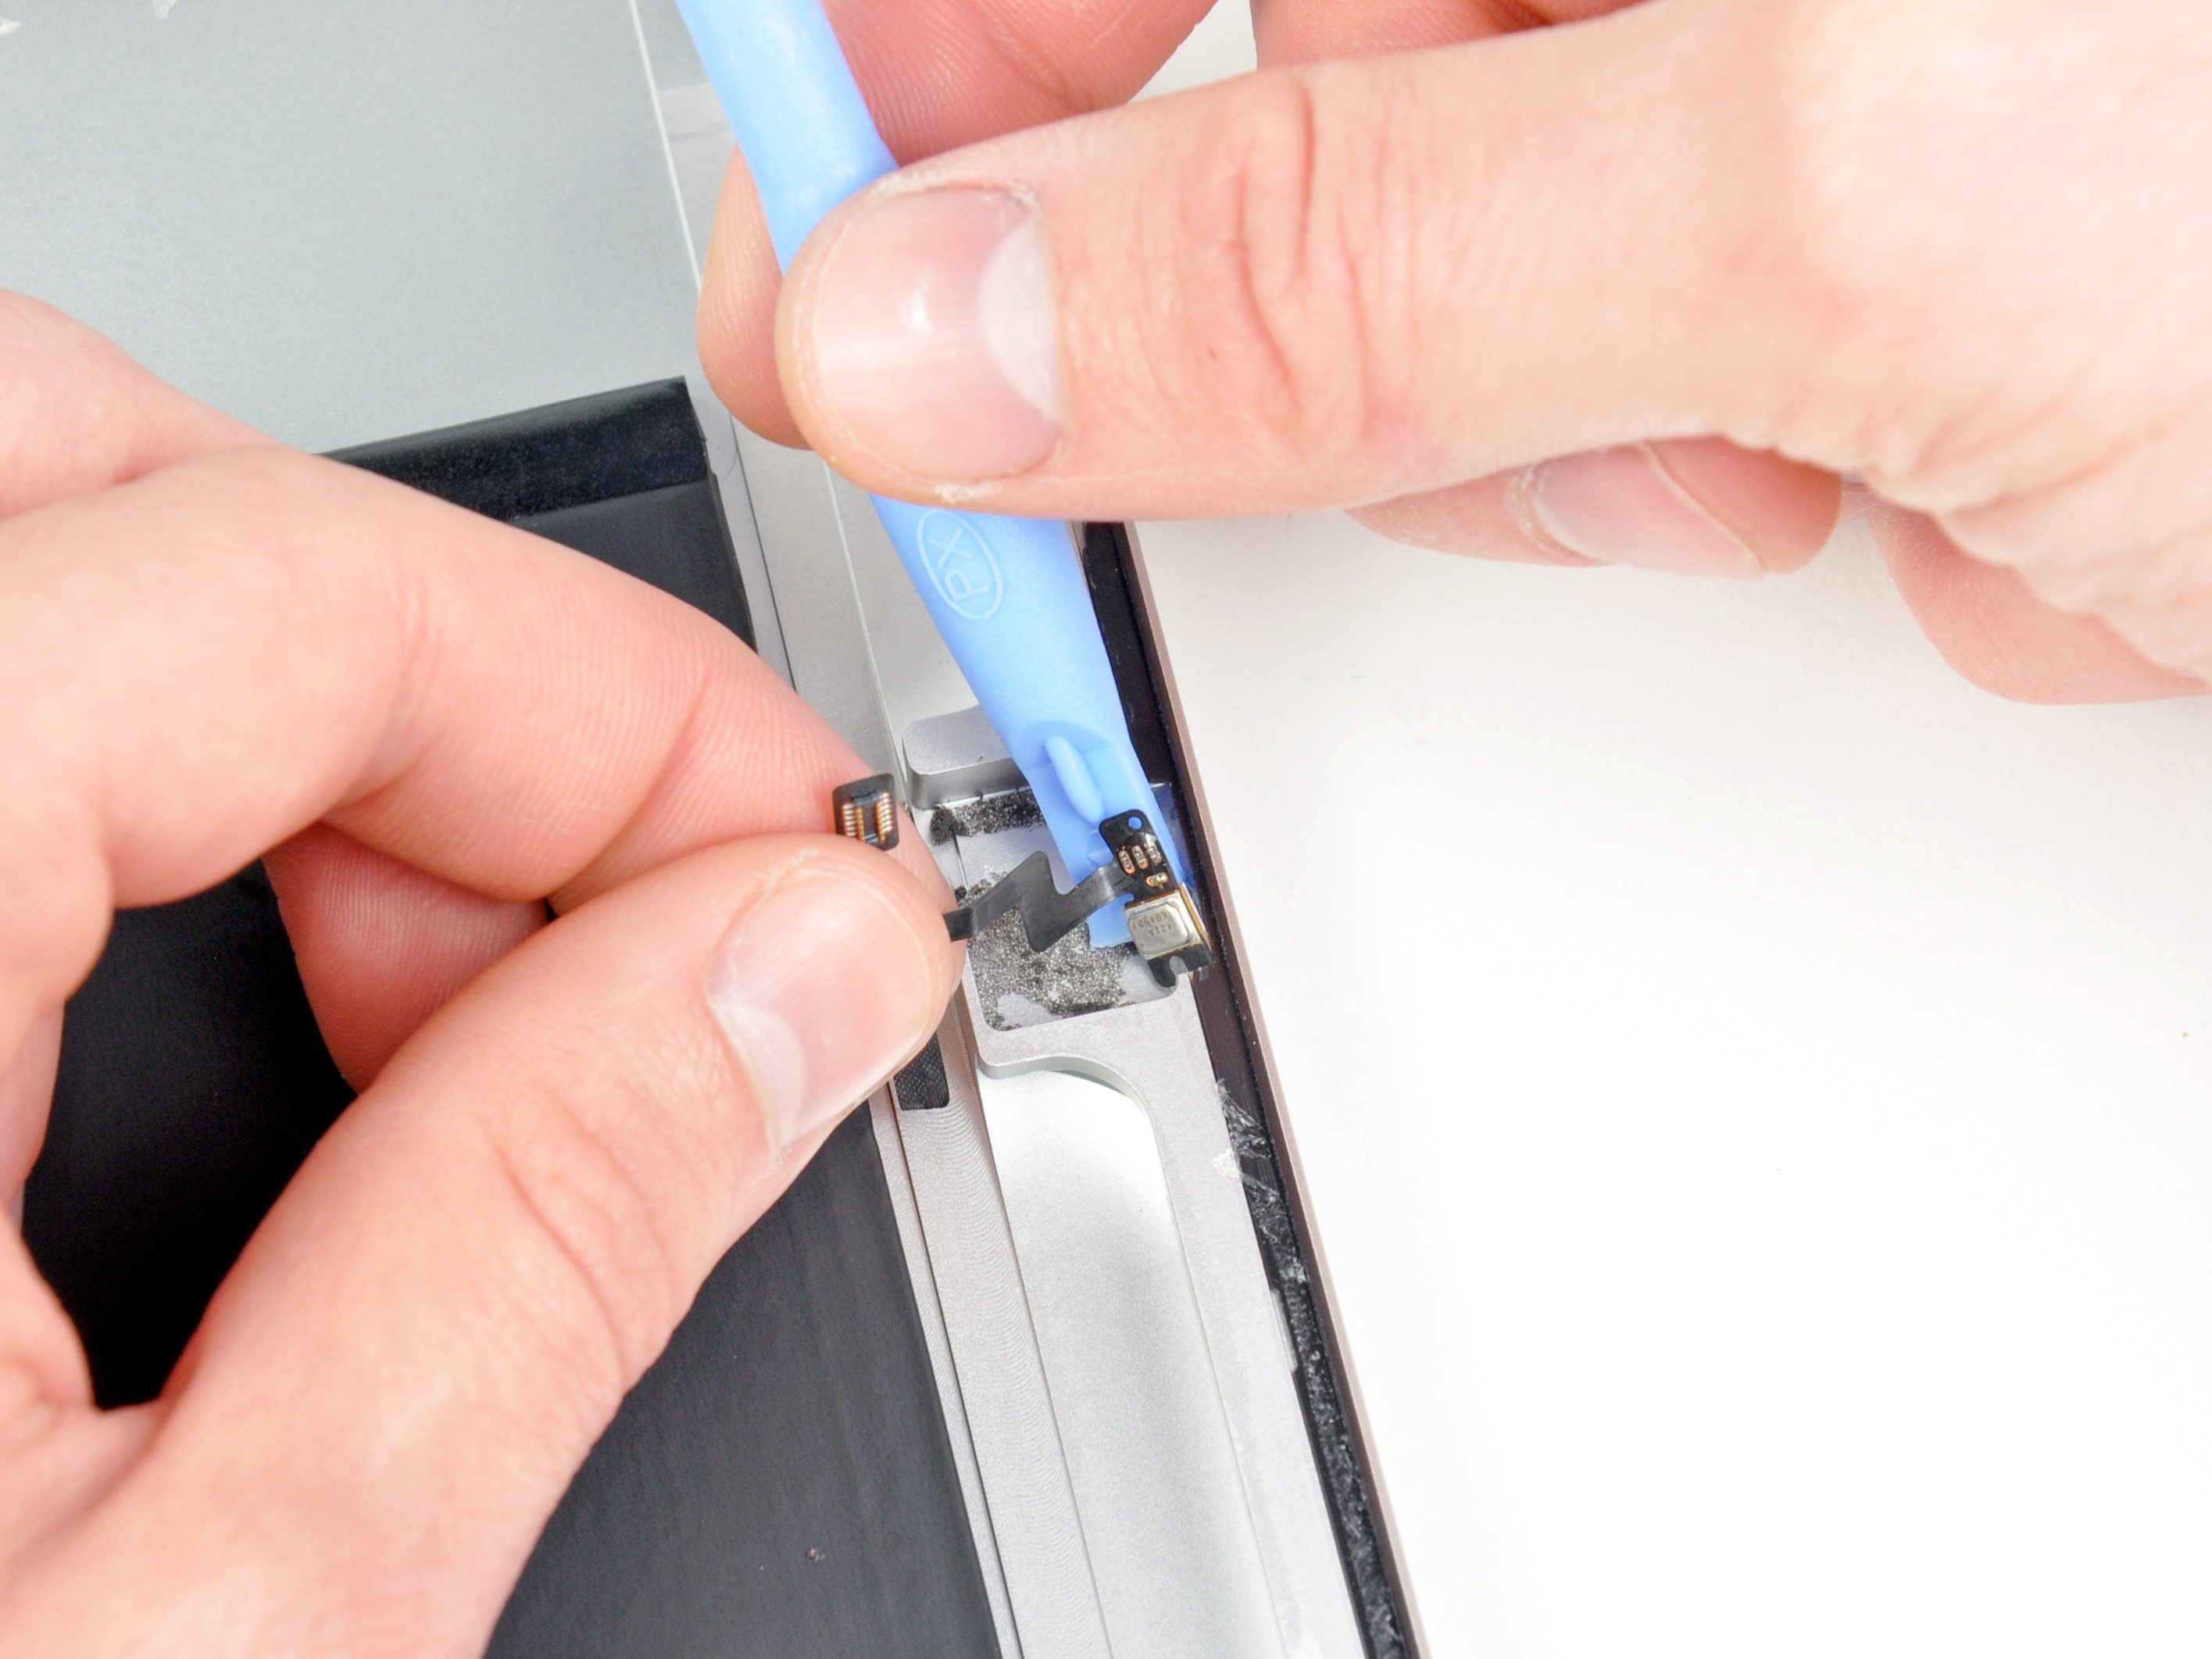
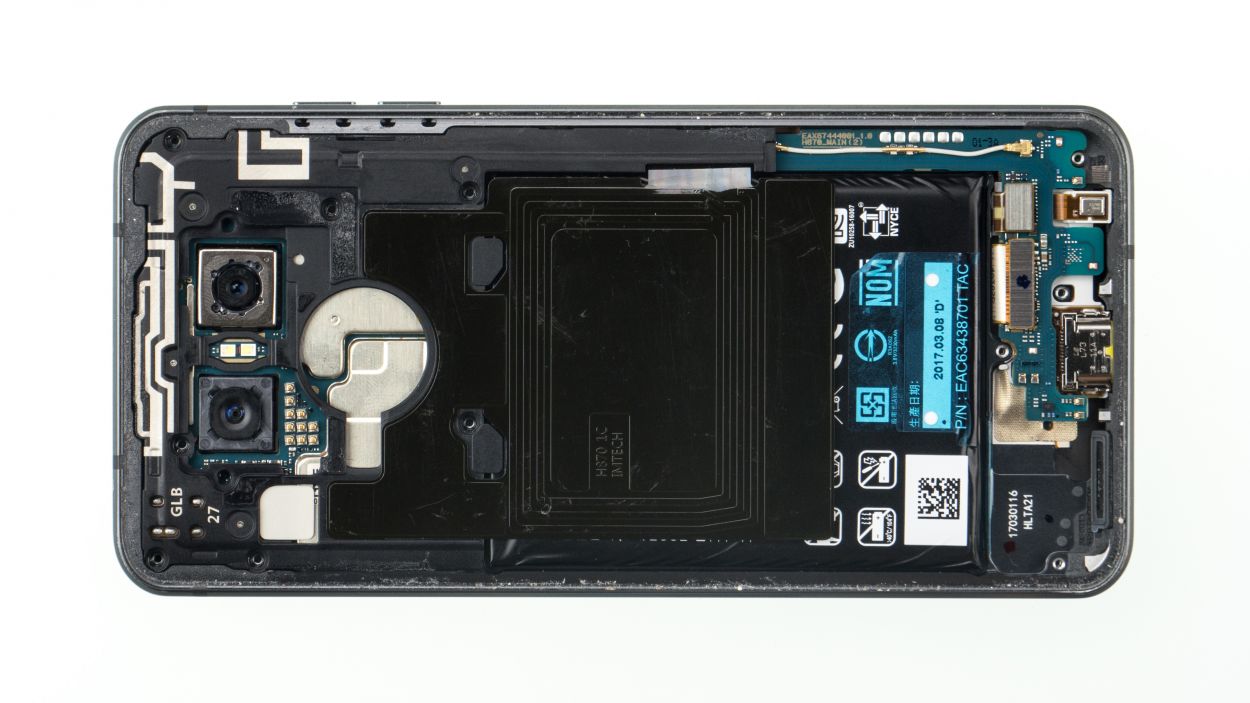
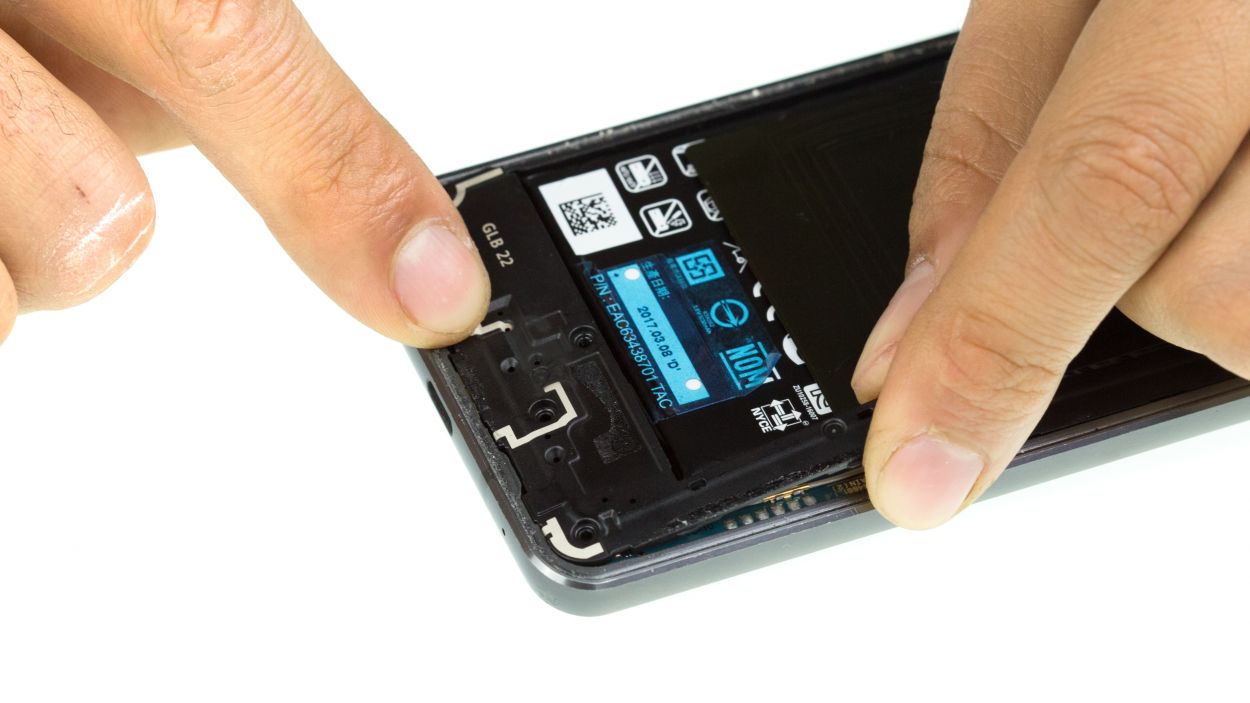
Step 2
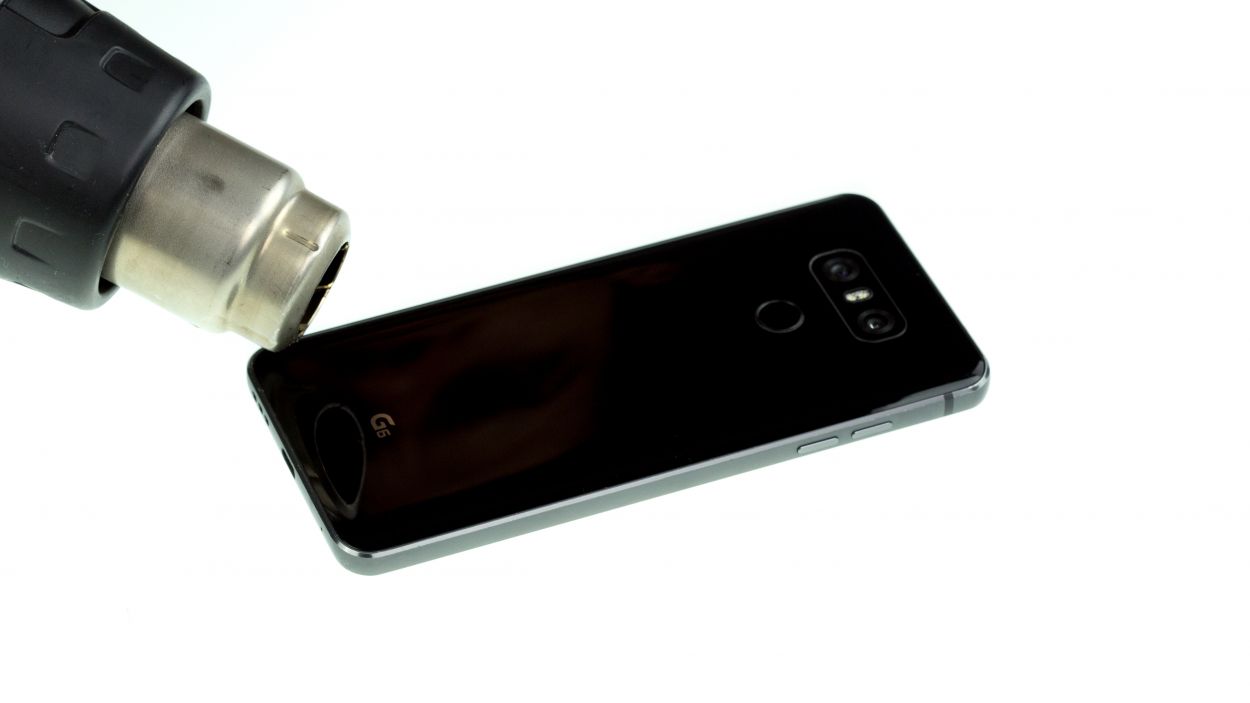
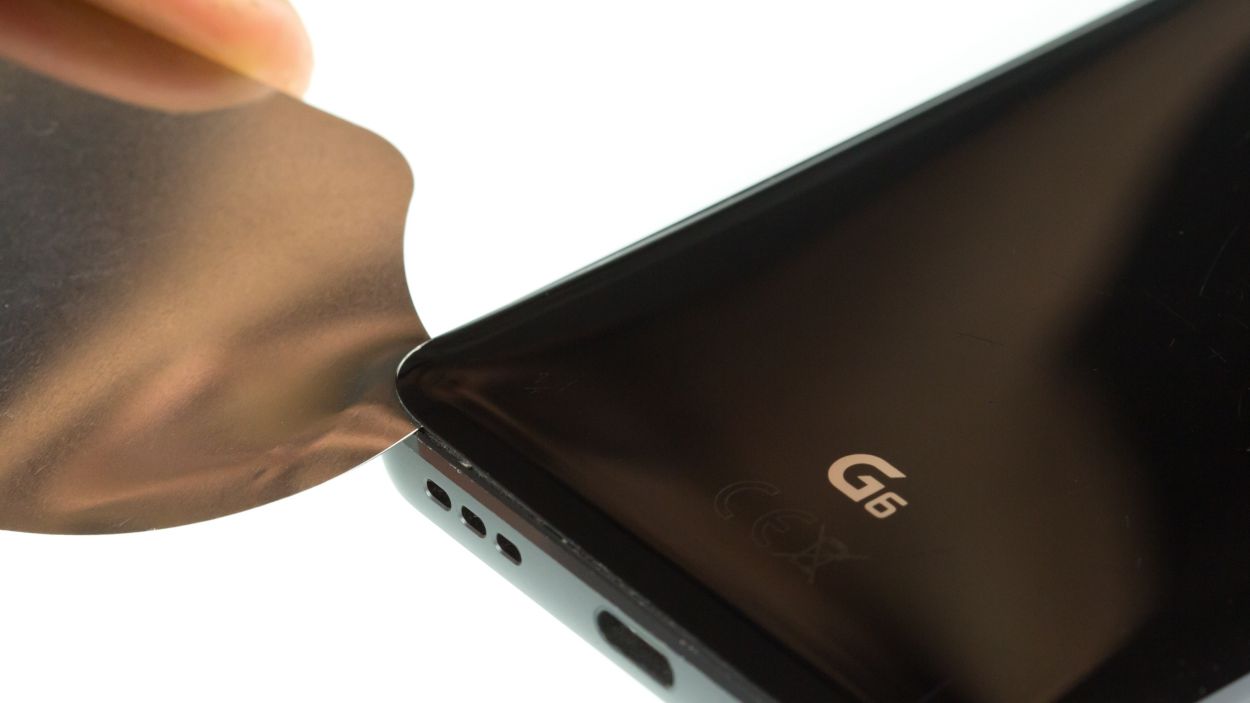
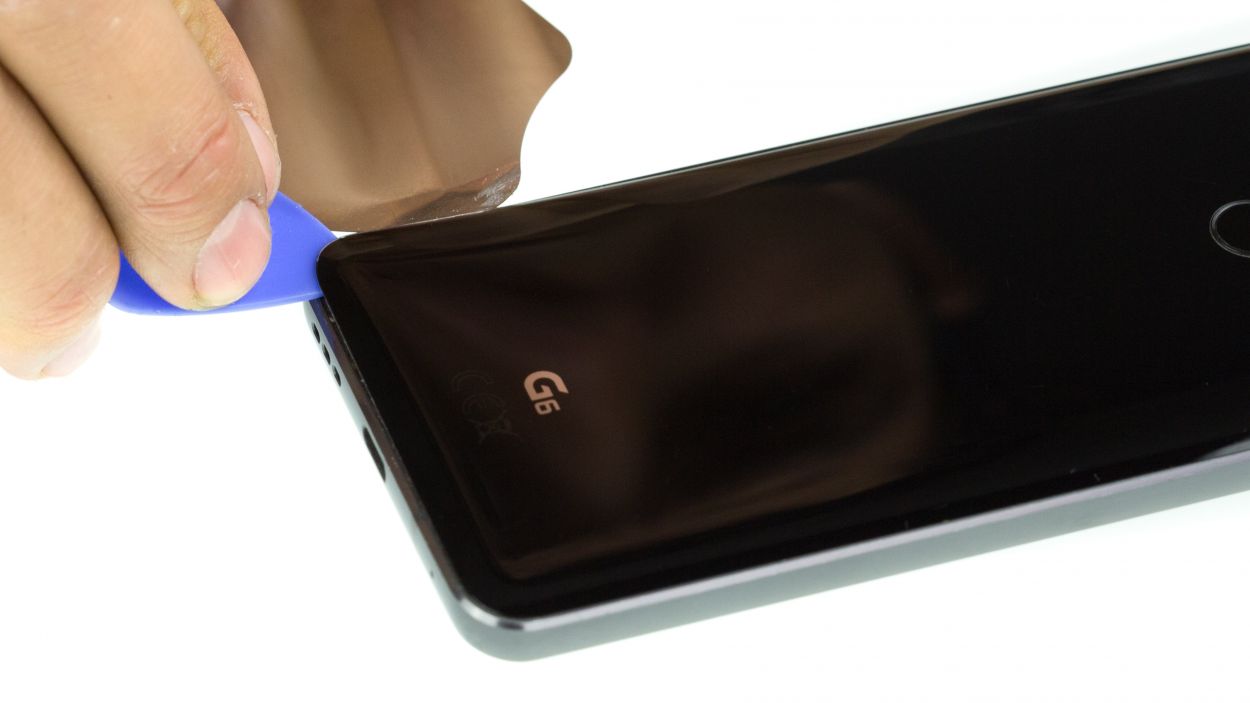
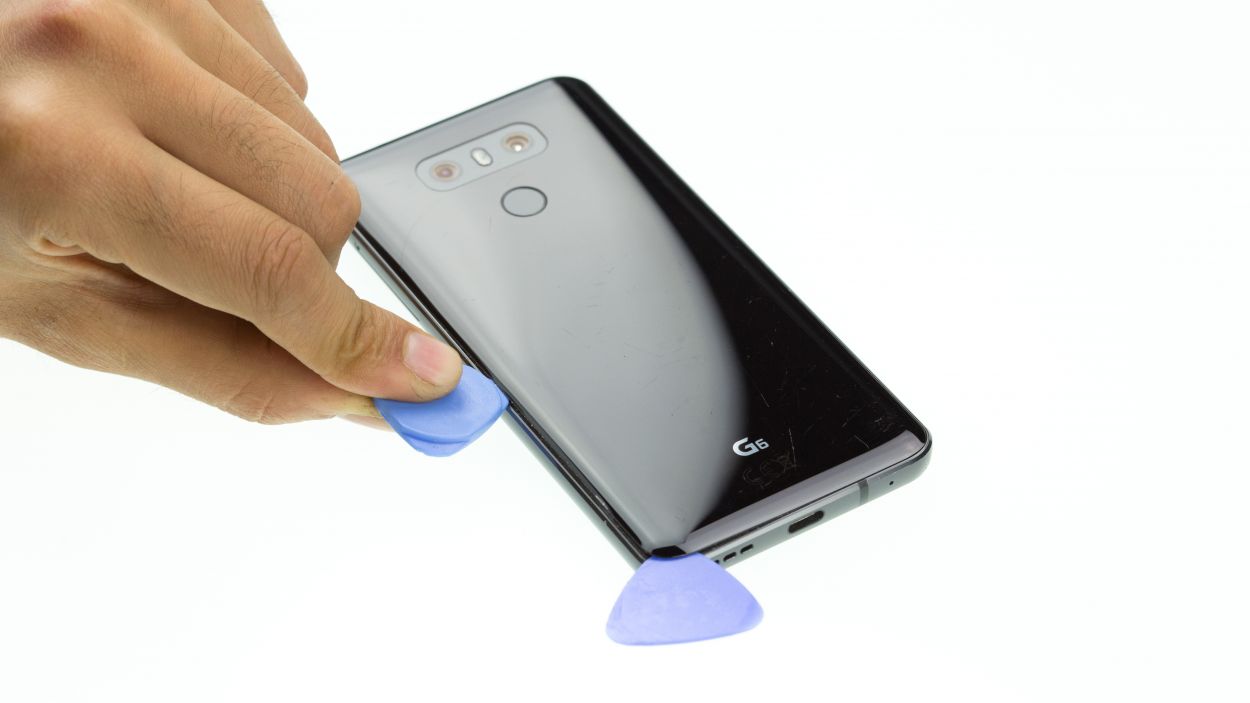

– Warm up that whole rear glass! It’s got glue holding it tight along the edges, around the home button, and over the USB port.
– Slide the iFlex into the gap between the rear glass and the frame, but be careful—don’t push it in more than 5 mm!
Hey there! Just a friendly reminder to handle that back cover with care—it’s a bit fragile! Instead of prying, gently slide your tool around the edges. If it’s being stubborn, don’t hesitate to warm it up a few times and give it another go. Patience is key here; taking your time will help you avoid any mishaps. Remember, if you need help, you can always schedule a repair!
Step 3


4 × 2.7 mm Phillips
Hey LG G6 friends! Got a single screw length to worry about – but guess what? Only the midframe and speaker are getting the screw-down treatment! If you need help, you can always schedule a repair
– First things first, grab those equal-length Phillips screws from the speaker and keep them safe for later use.
– Next up, gently pry the speaker away from the side of the battery and lift it out of the device with care.
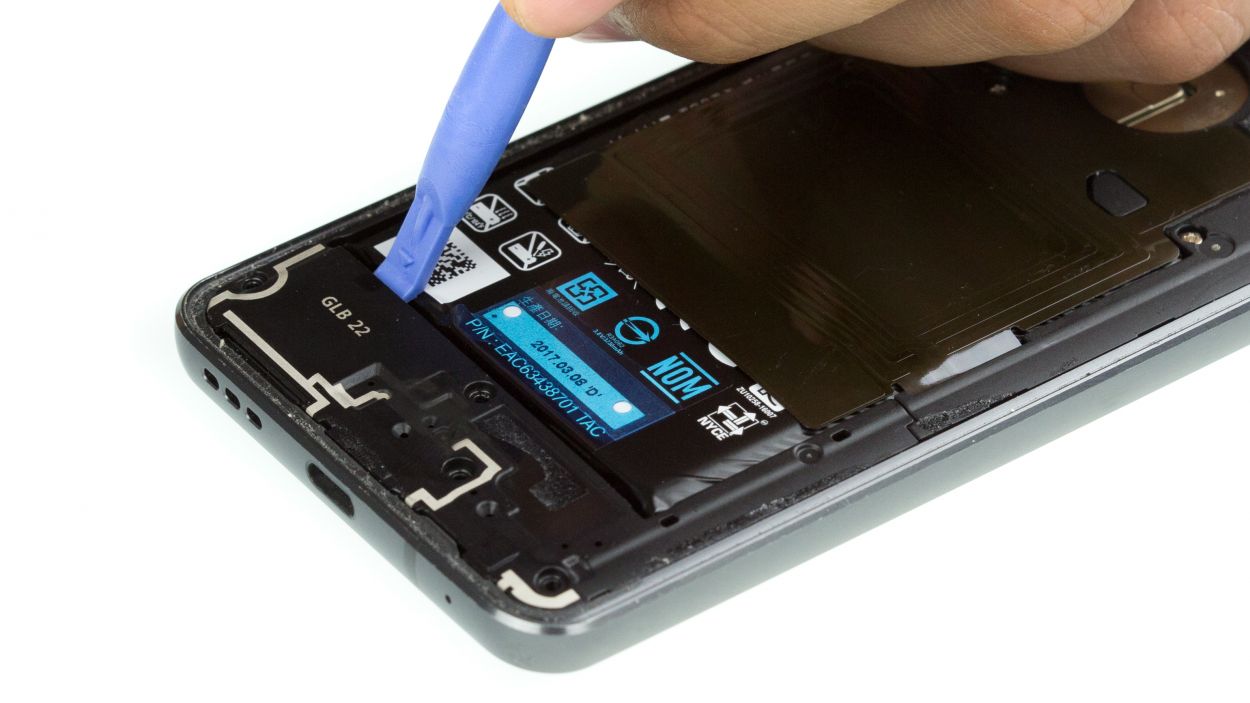
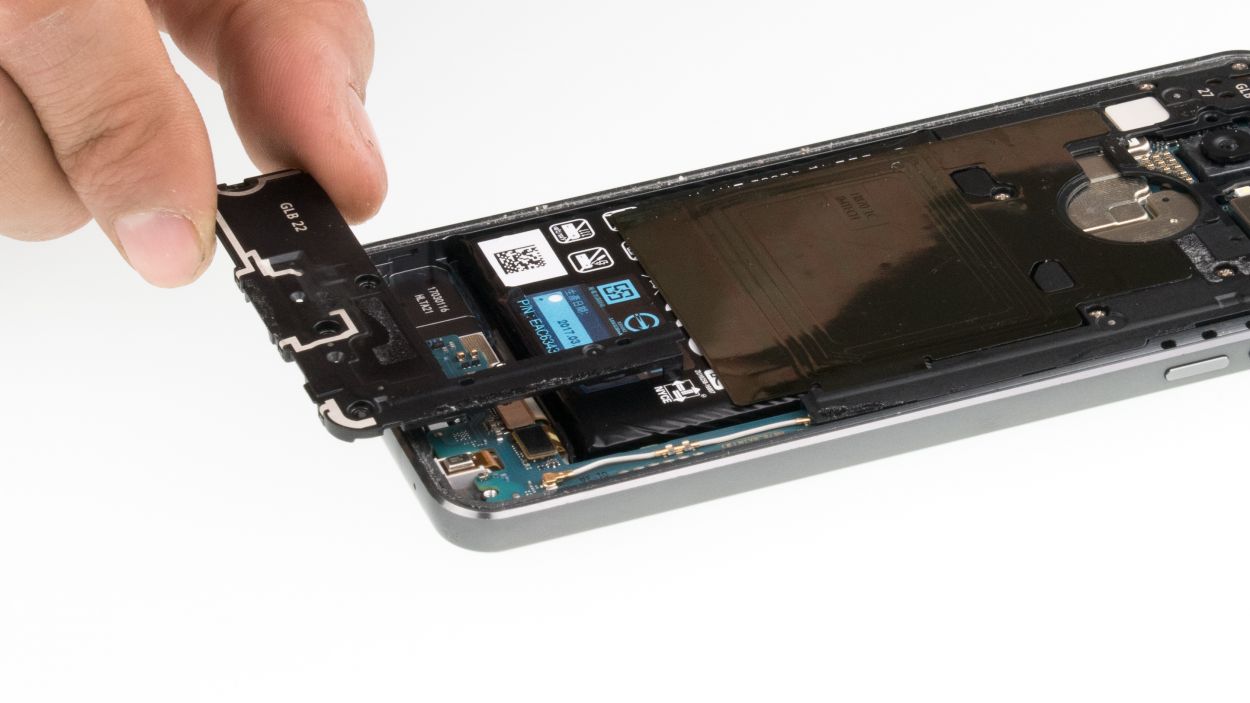
Step 4
7 × Phillips
– Let’s kick things off by removing those equal-length Phillips screws from the midframe. Make sure to stash them safely for later—trust us, you’ll want them!
– Next up, grab a flat, thin tool and slide it into the opening. Give the midframe a gentle pry and let it pop out.
– Remember, the midframe is held in place at four points. Take your time to carefully release it, and once it starts to budge, go ahead and pull it out!
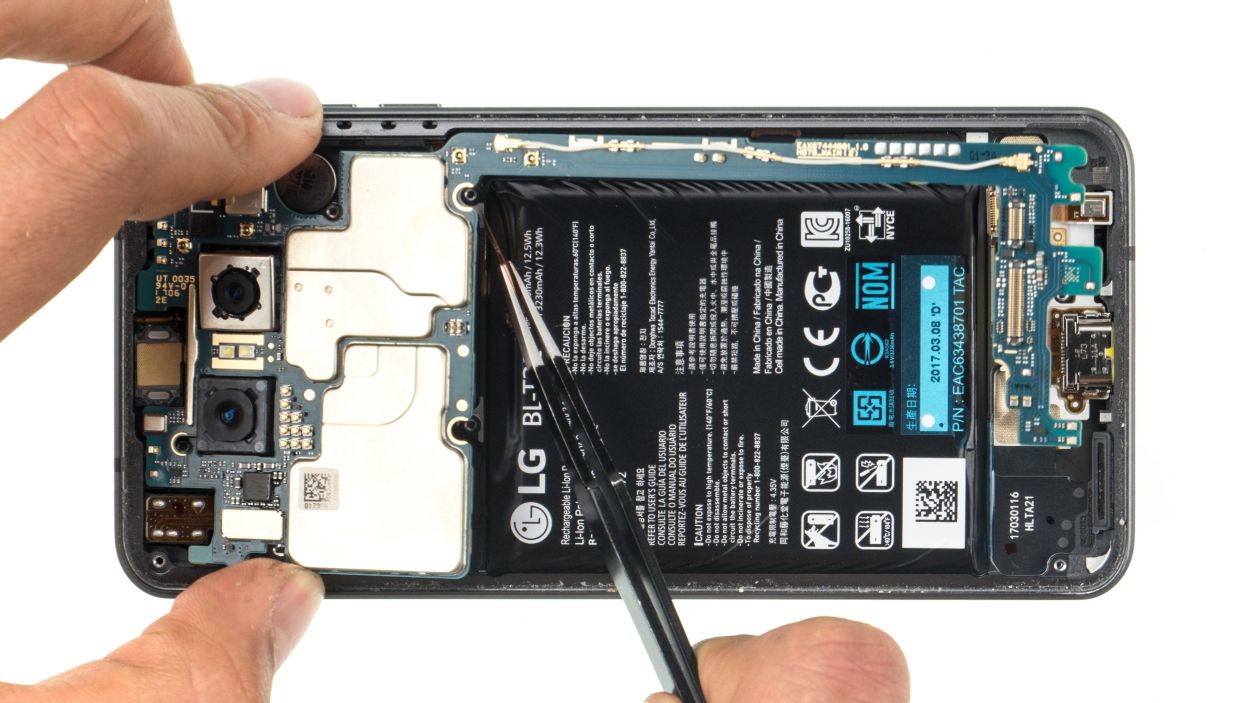
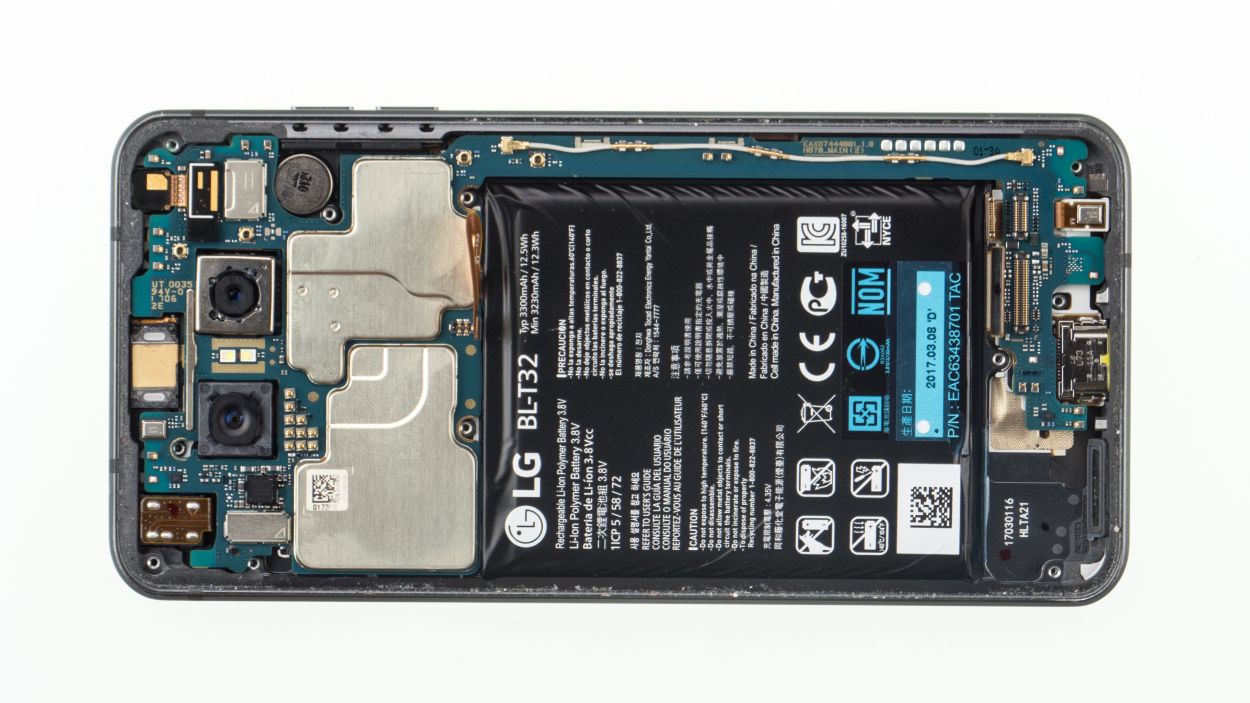
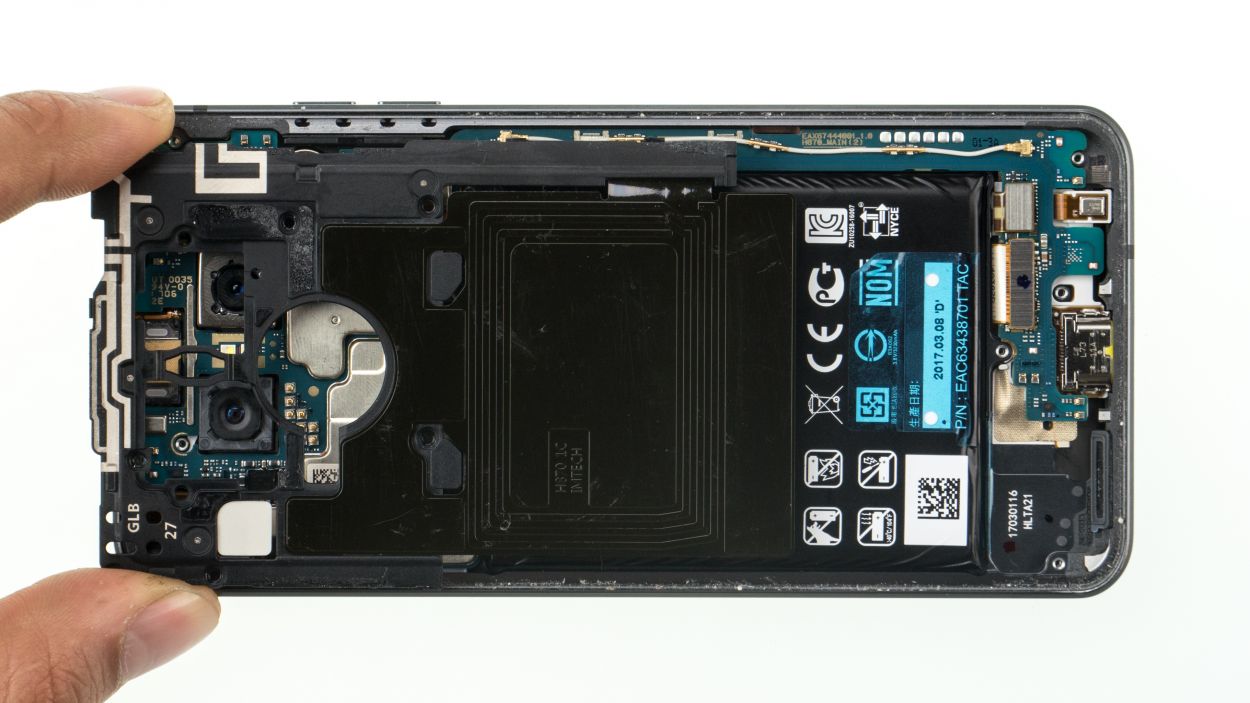
Step 6
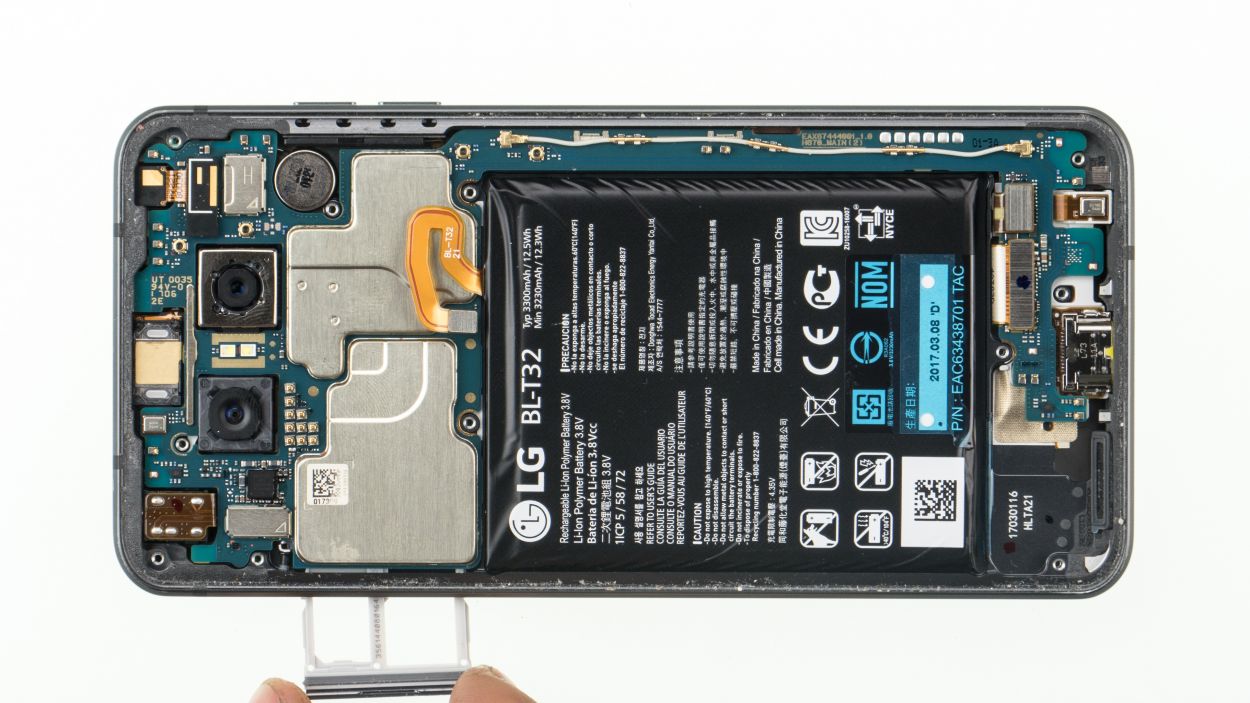
– Gently nudge your SIM tool into the SIM tray’s cozy little hole.
– Pop out that SIM slider – you got this!
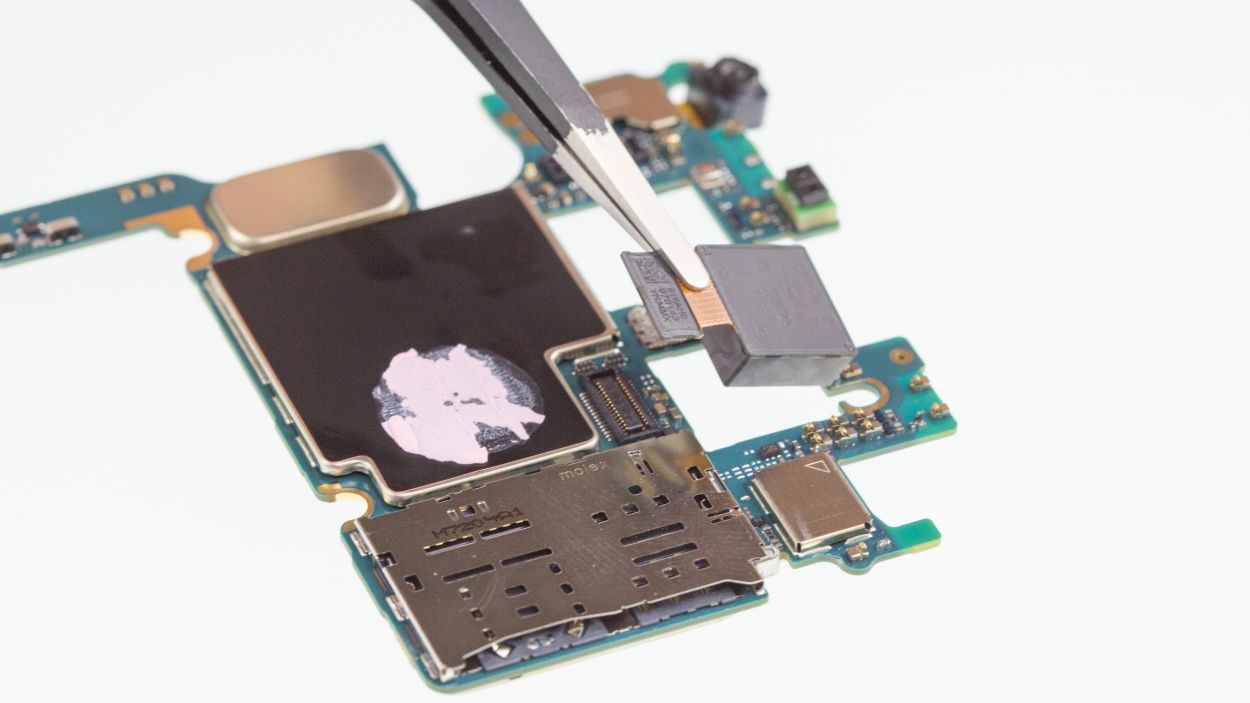
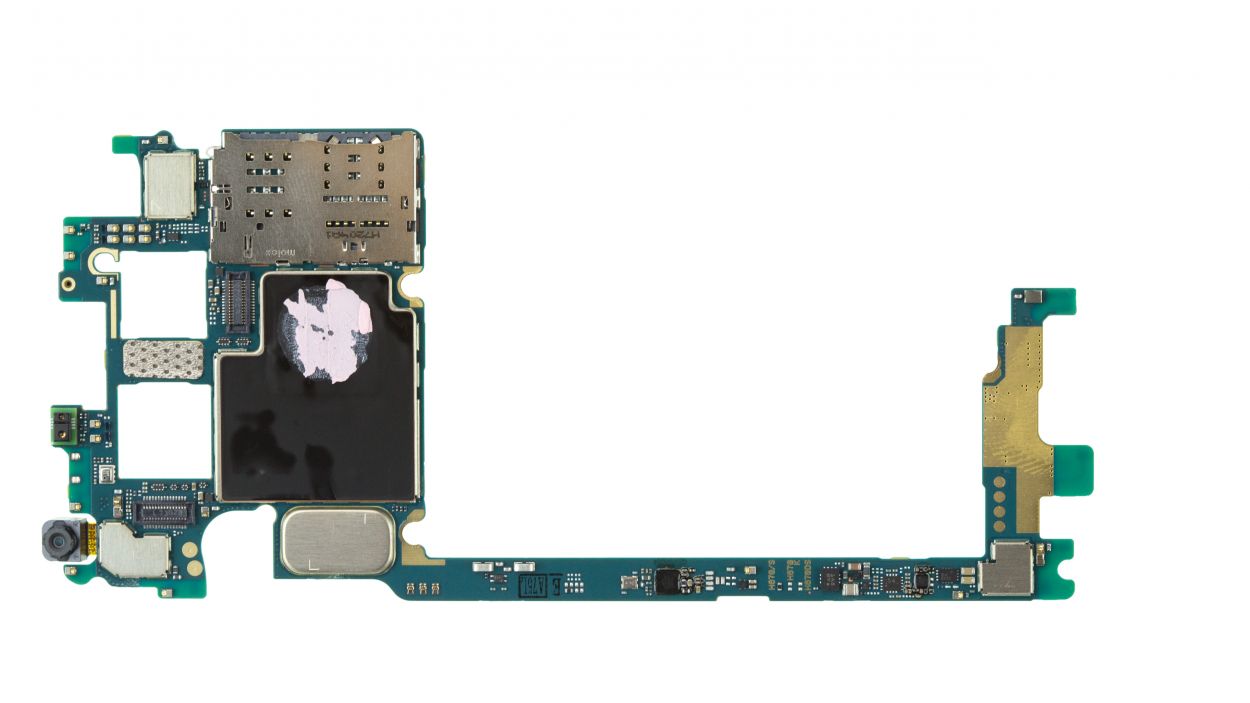
Step 7

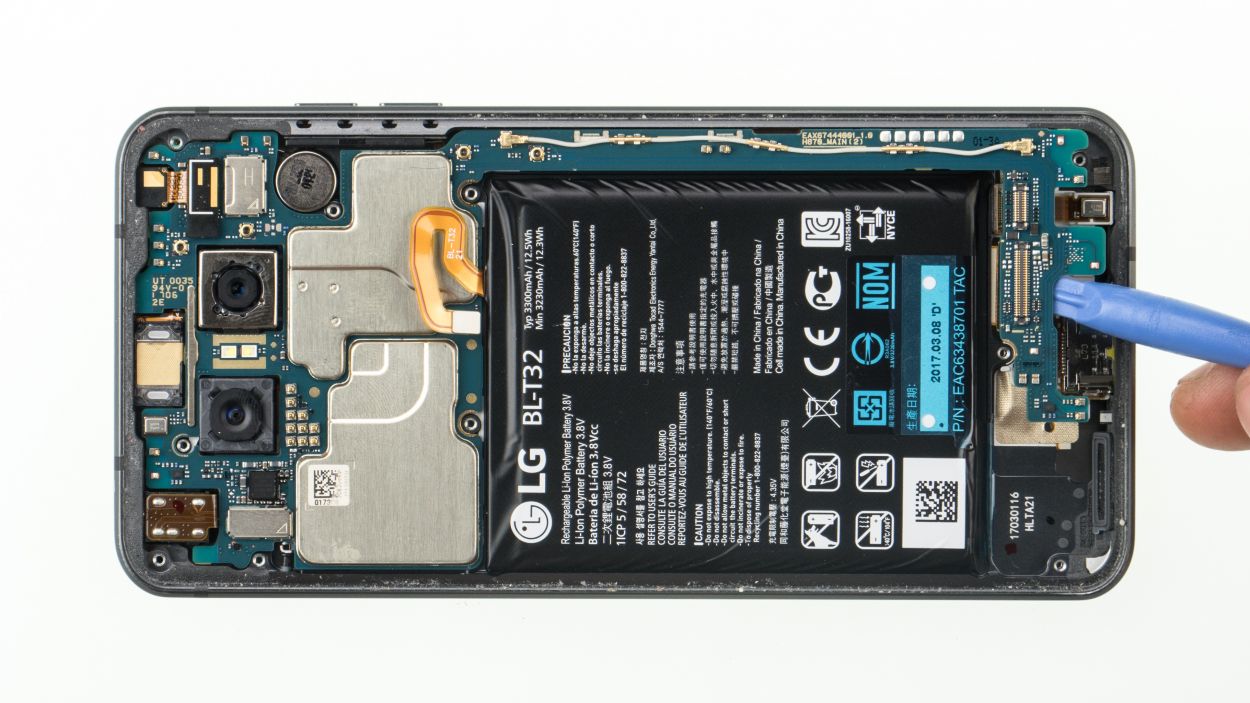
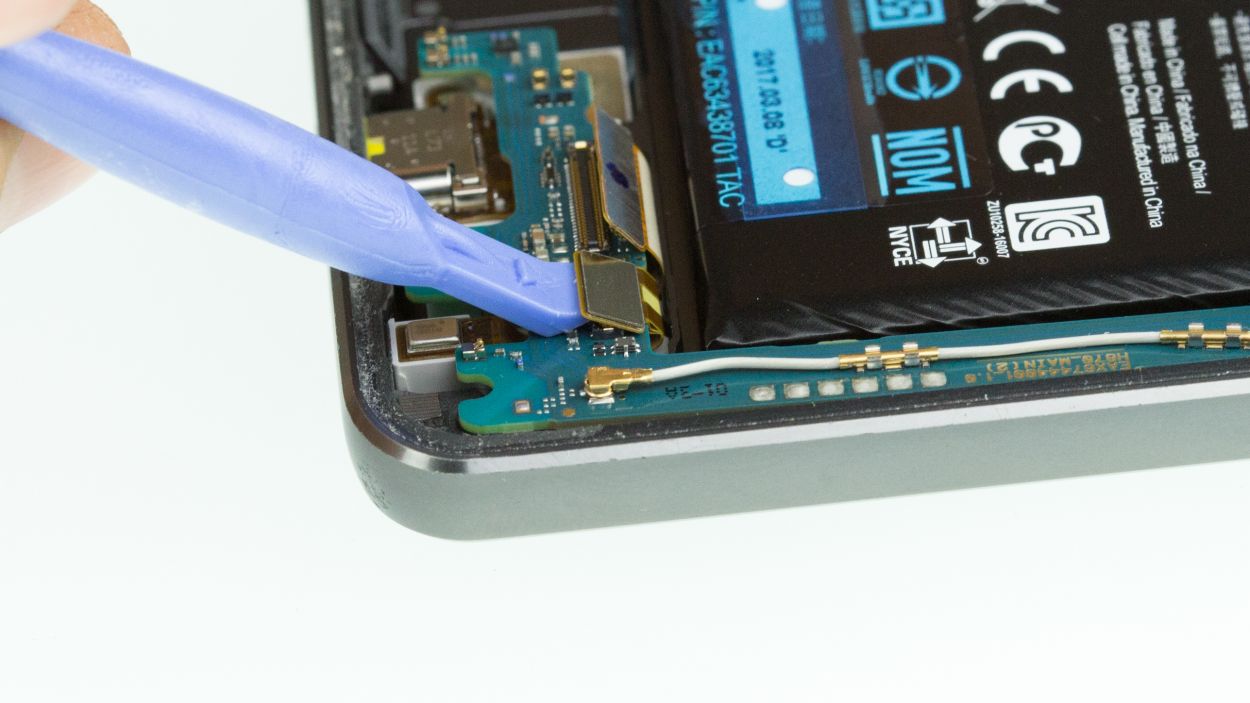
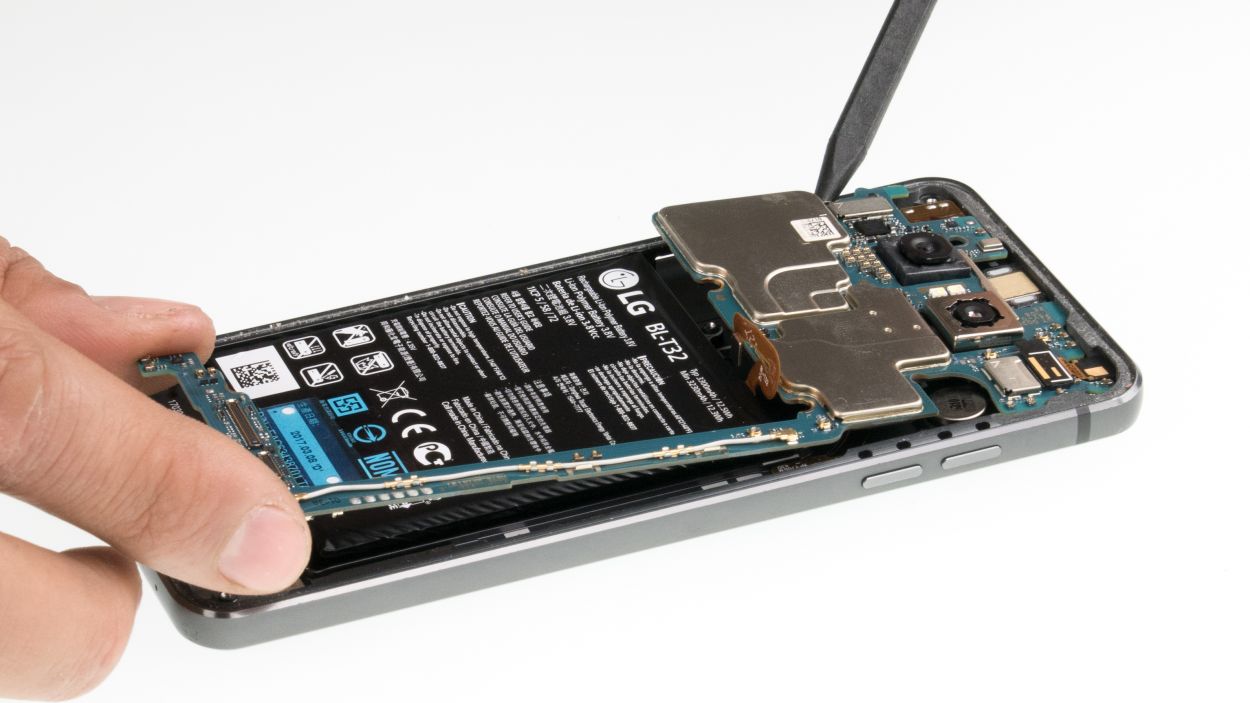
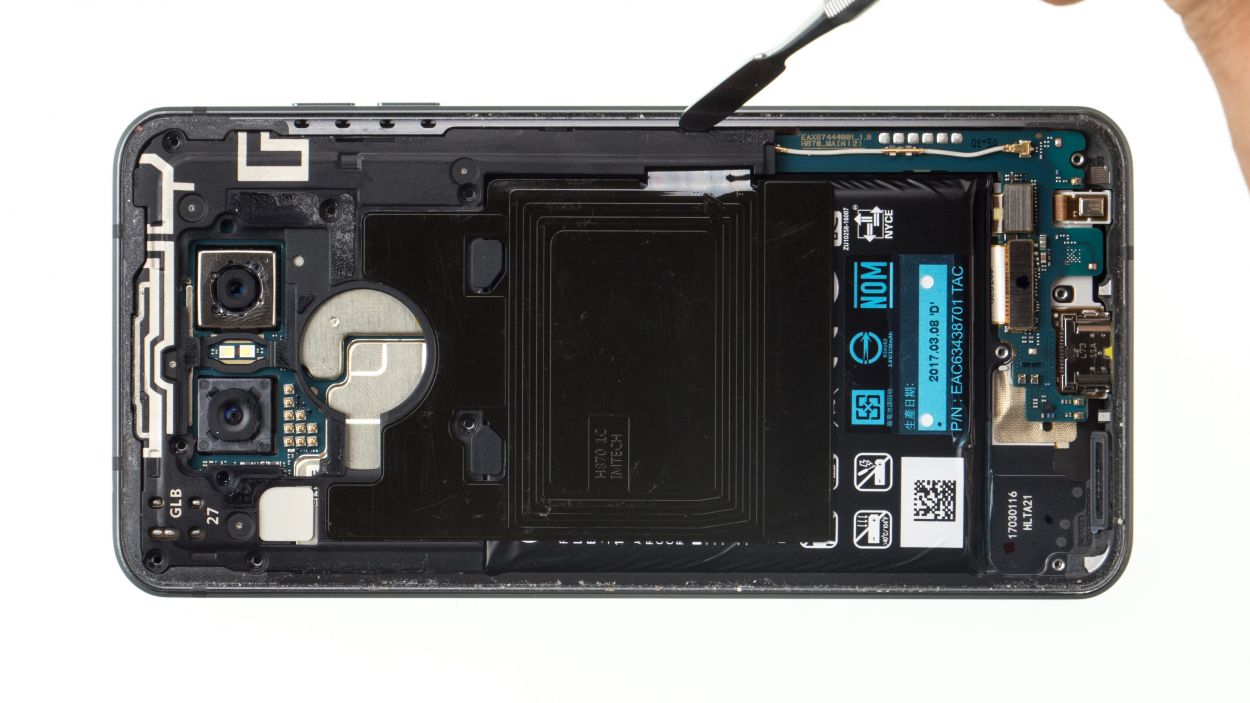
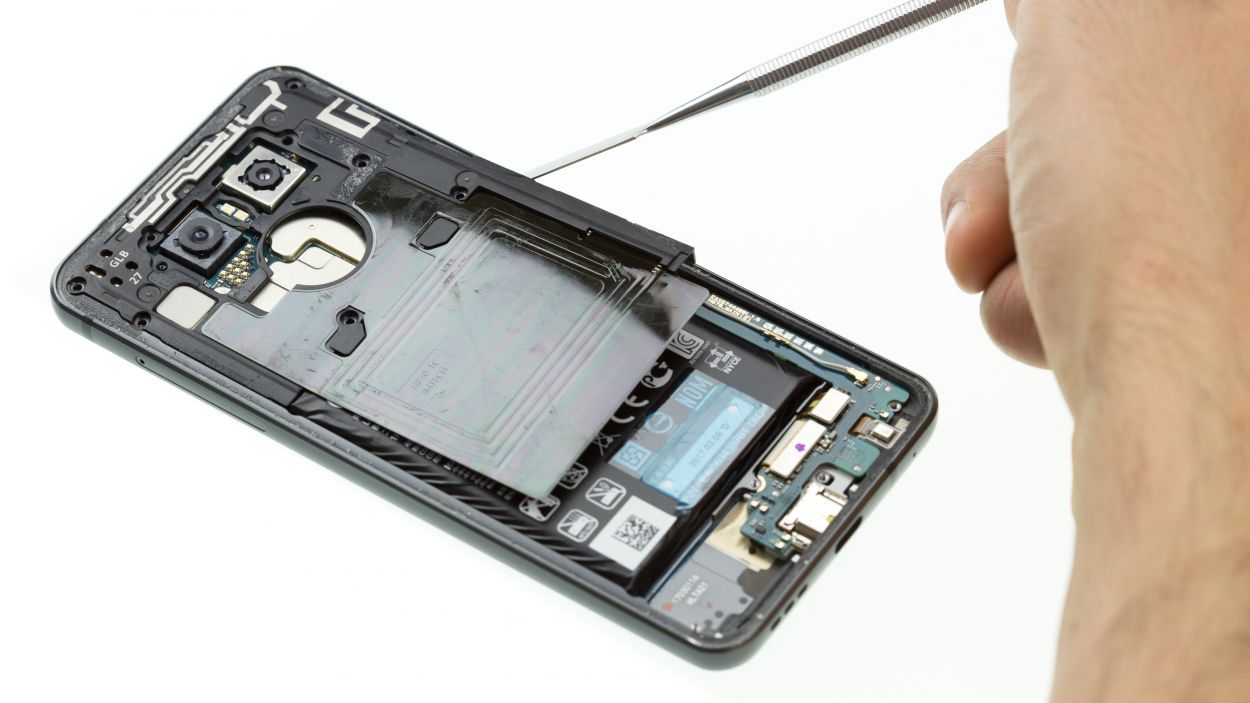
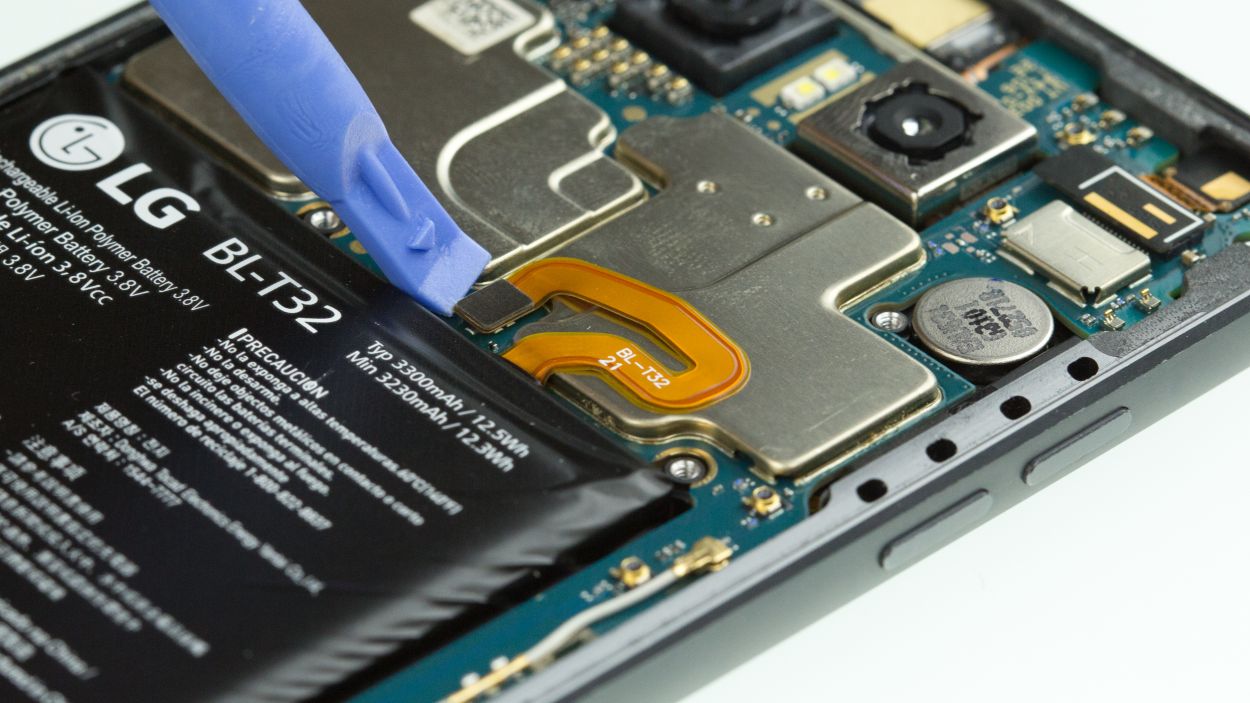
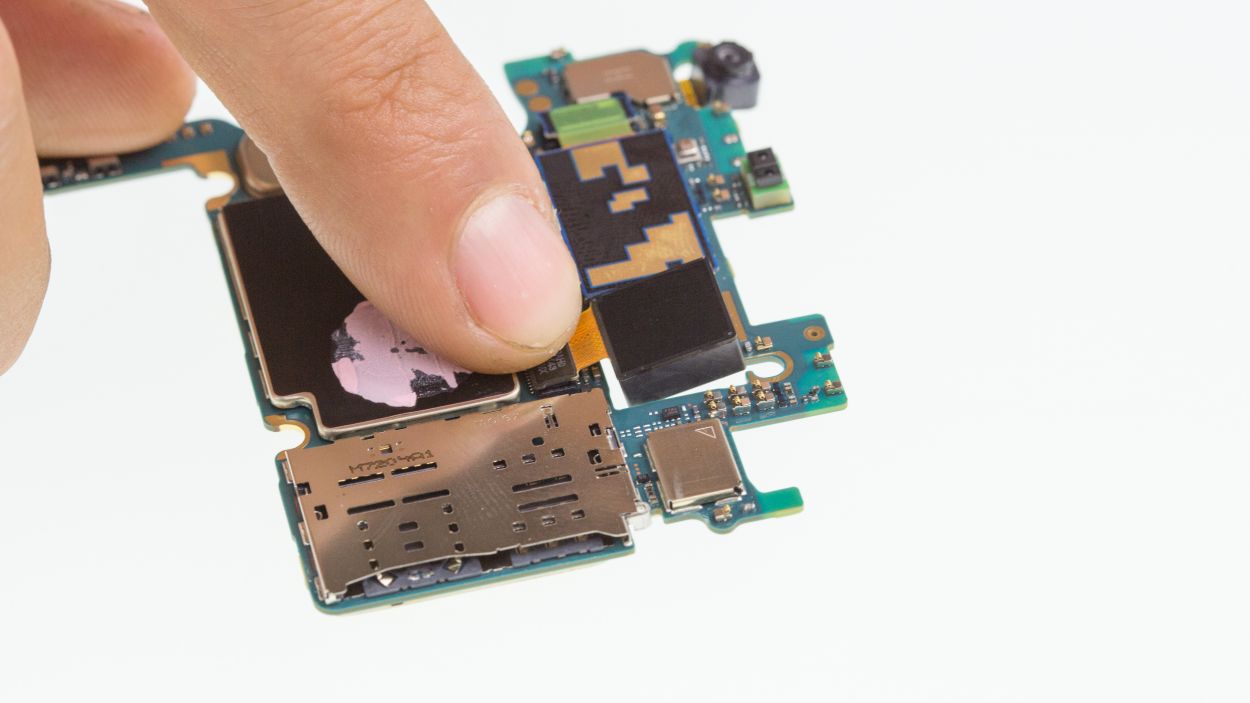
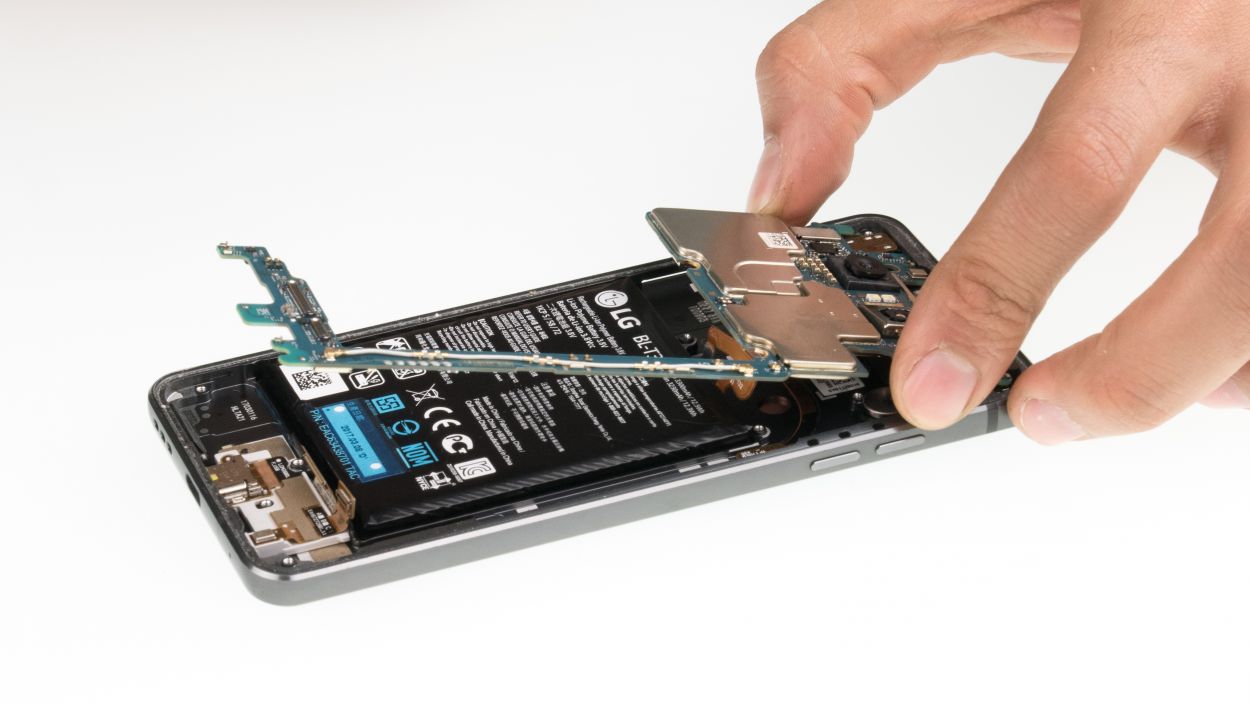
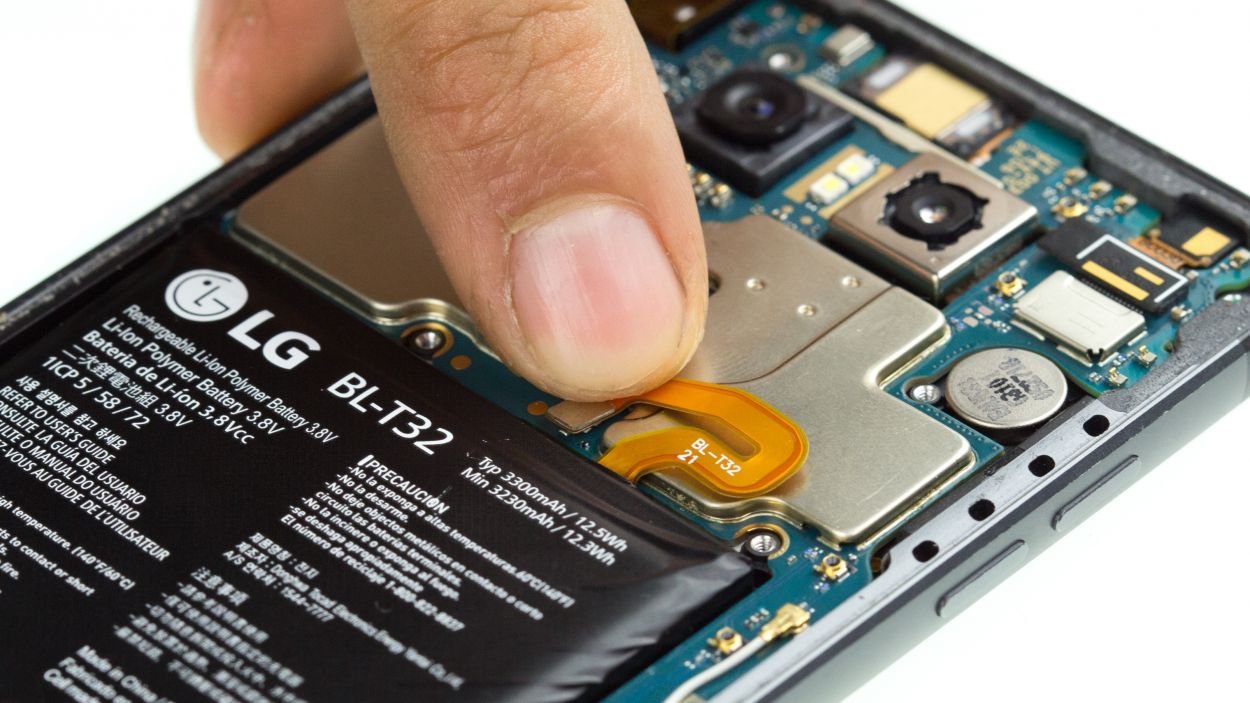
Be gentle with the logic board – it’s like a delicate flower that can snap if you’re not careful!
– Let’s disconnect those two connectors chilling on the bottom of the logic board – easy peasy!
– Now, gently persuade the logic board to release its grip from the bottom. Unclip it from any other spots holding it in place. You got this!
Step 8
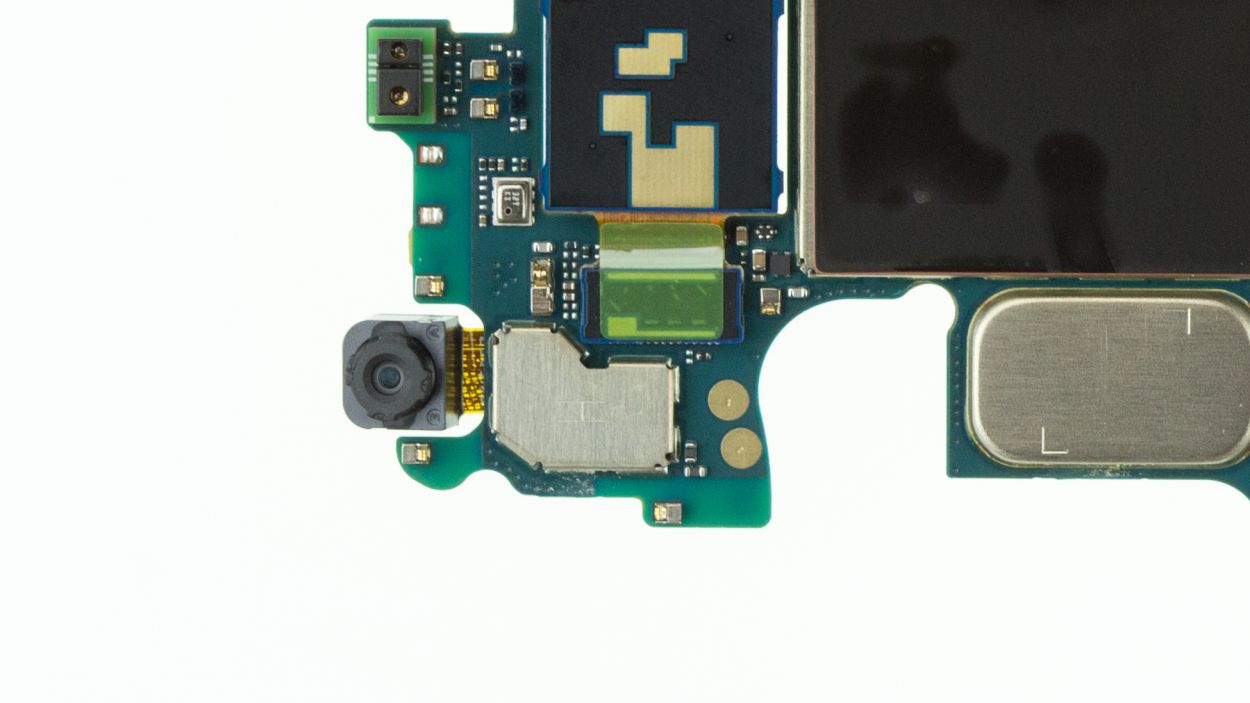
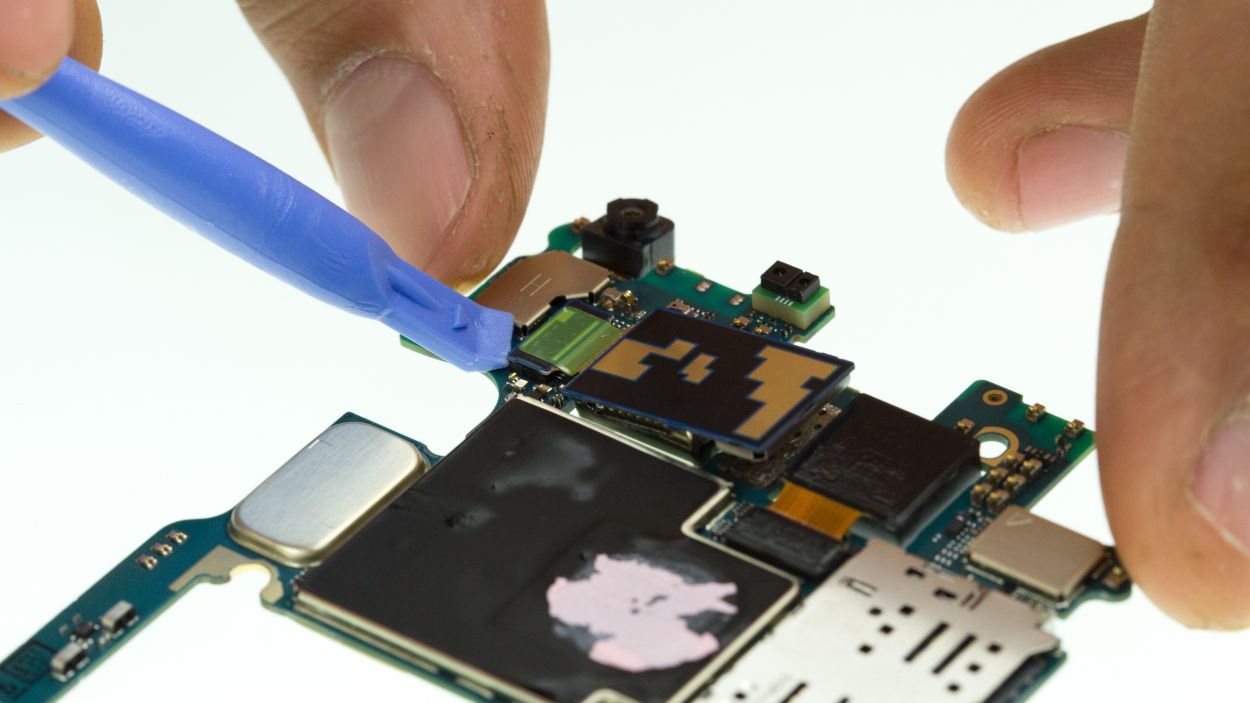
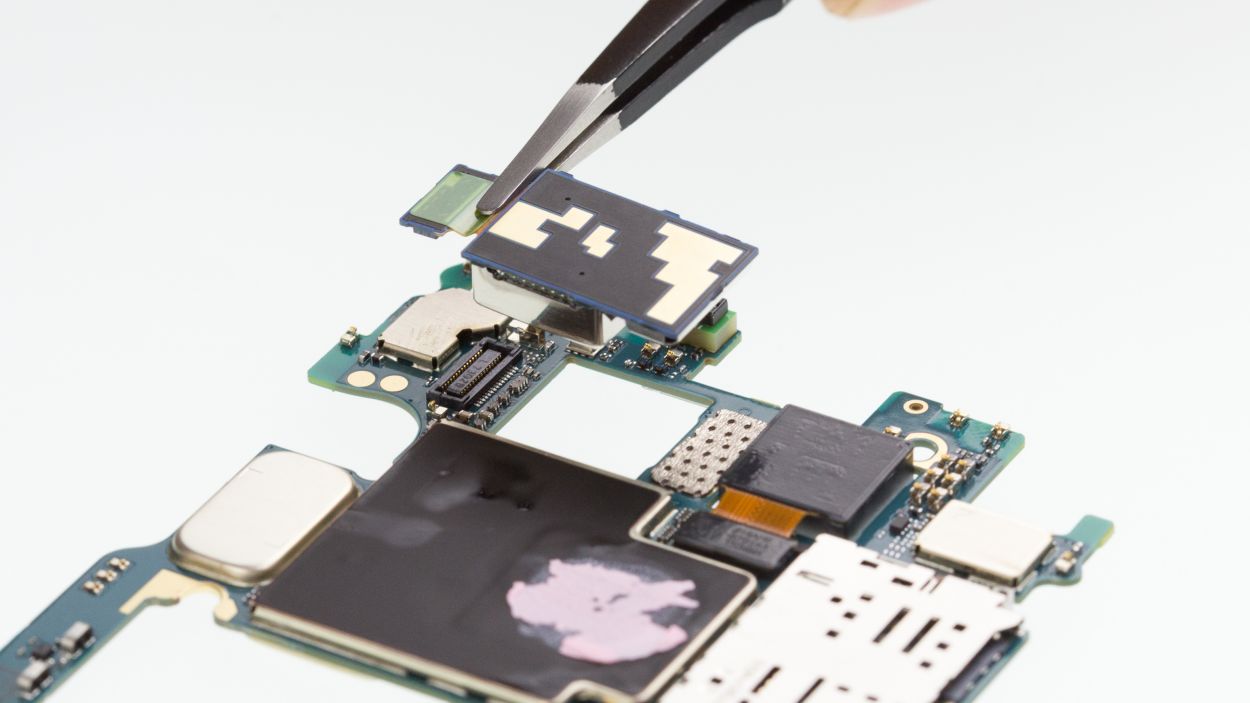

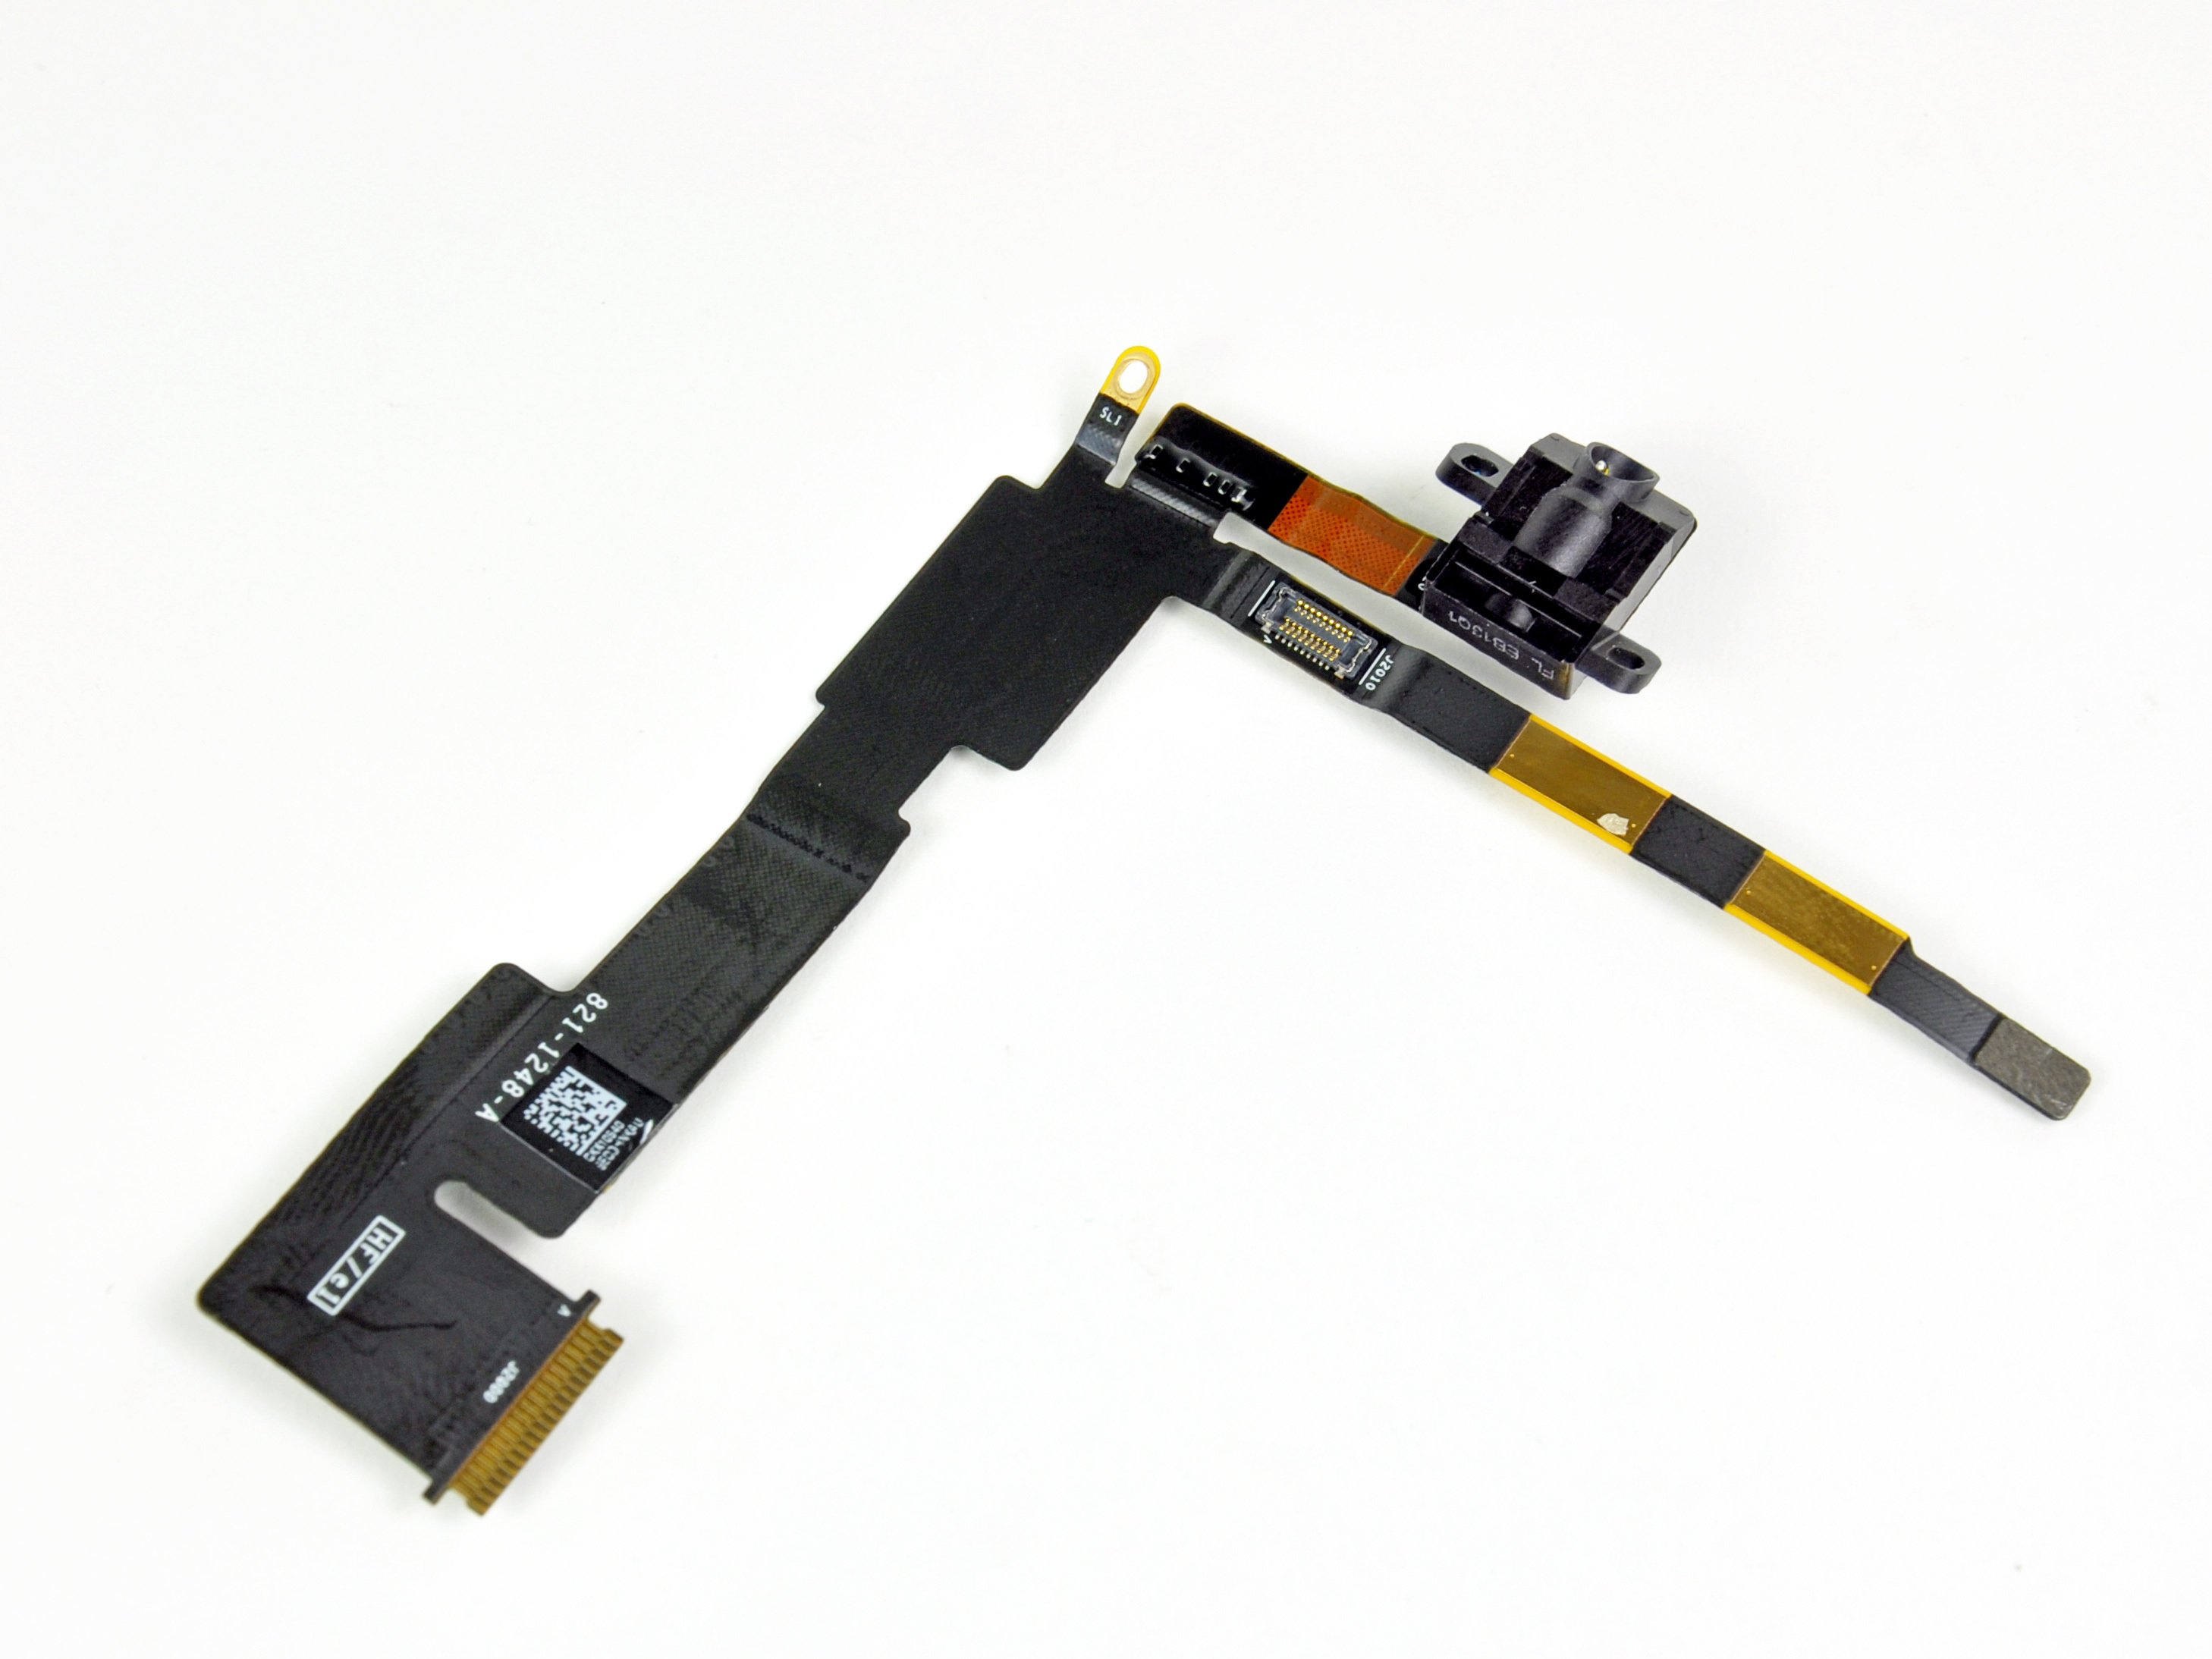
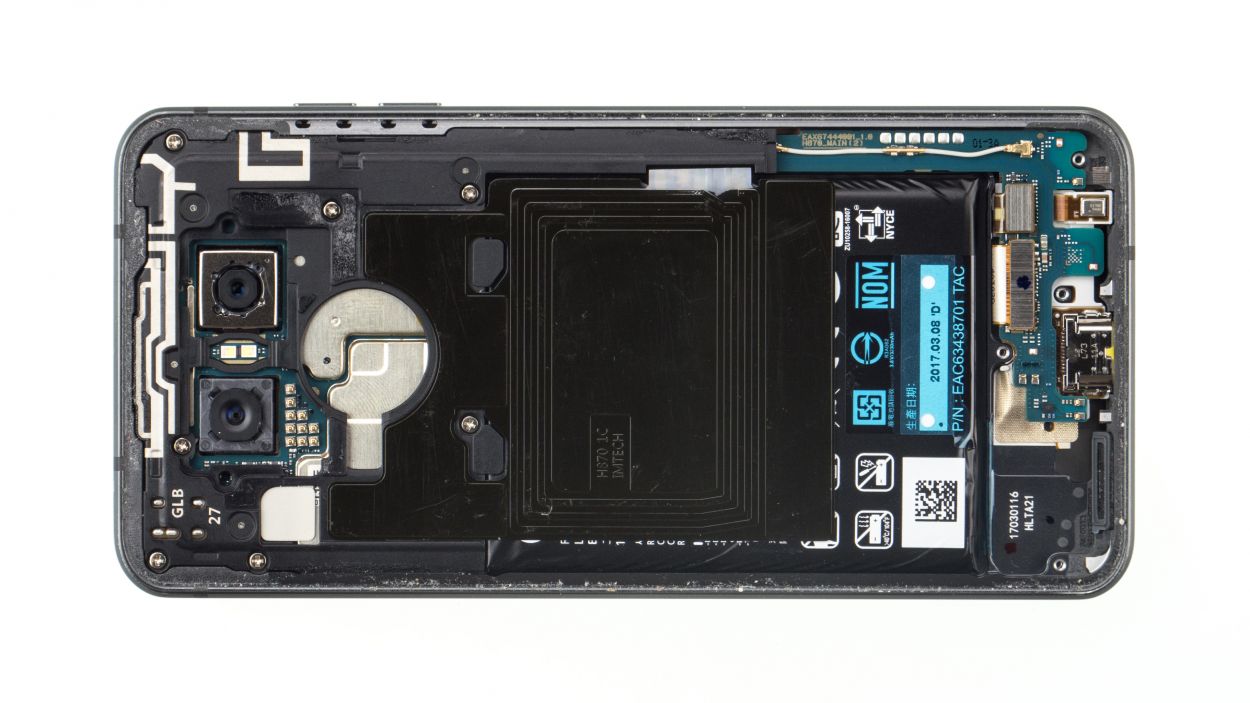
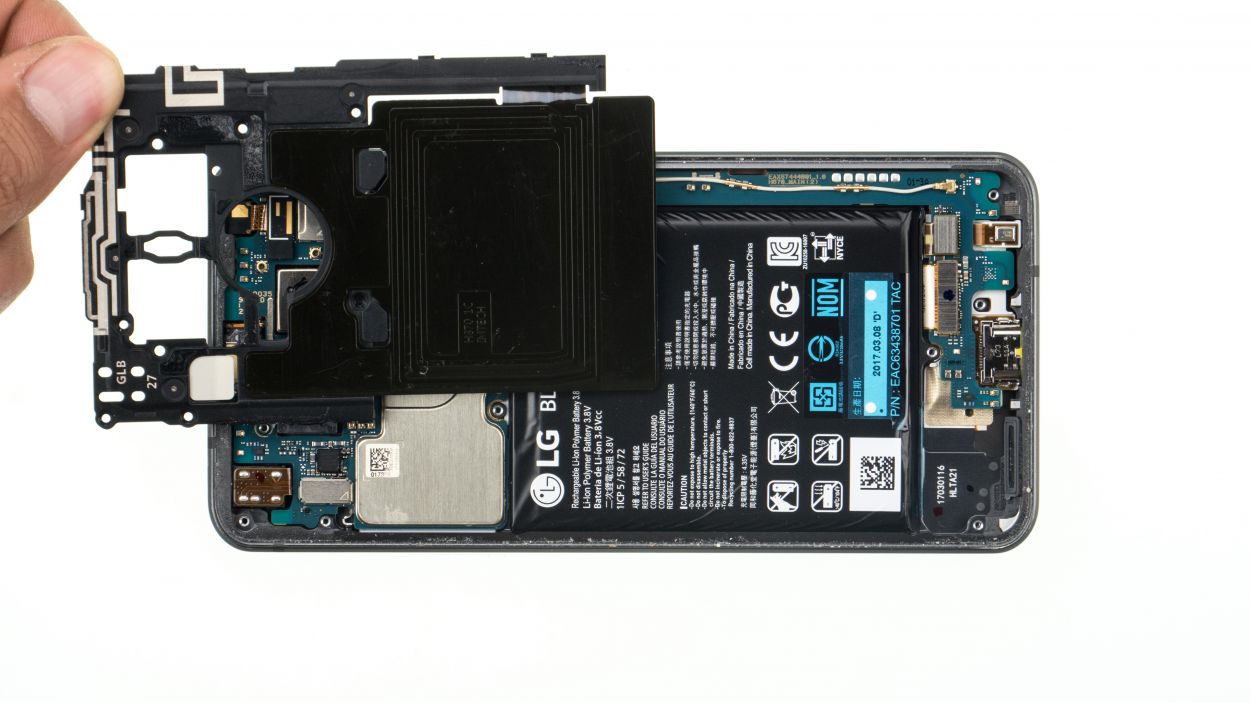
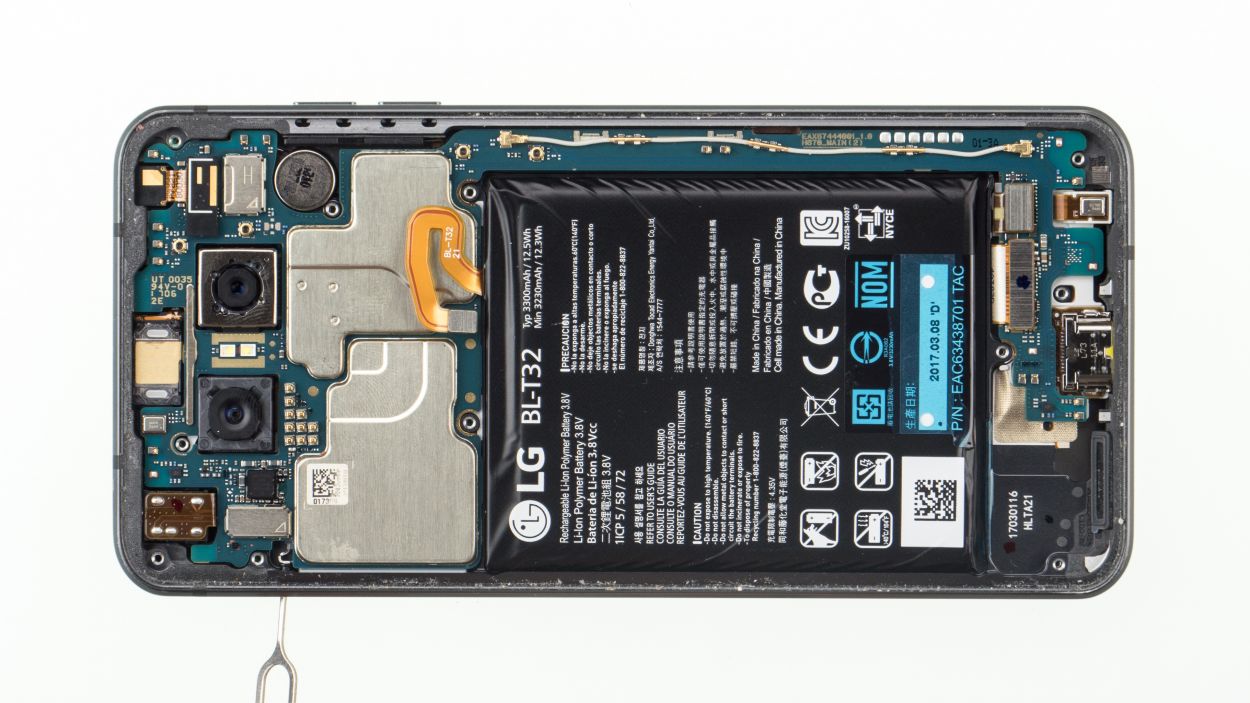
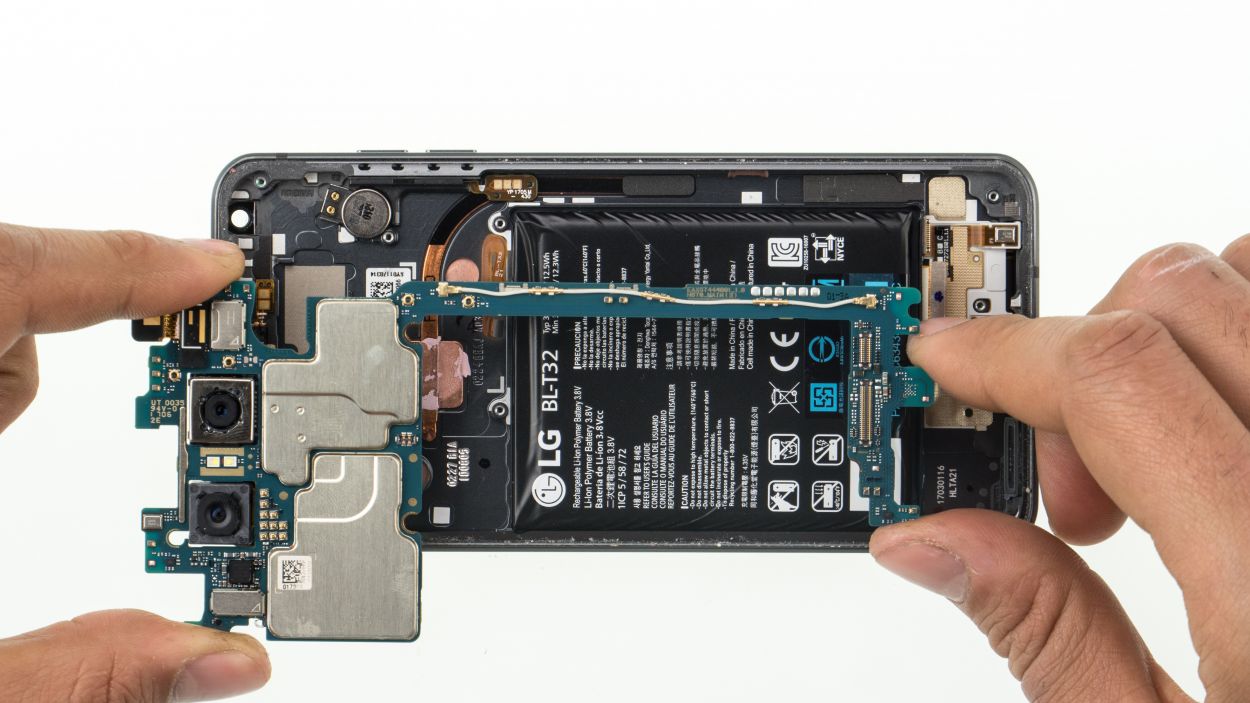
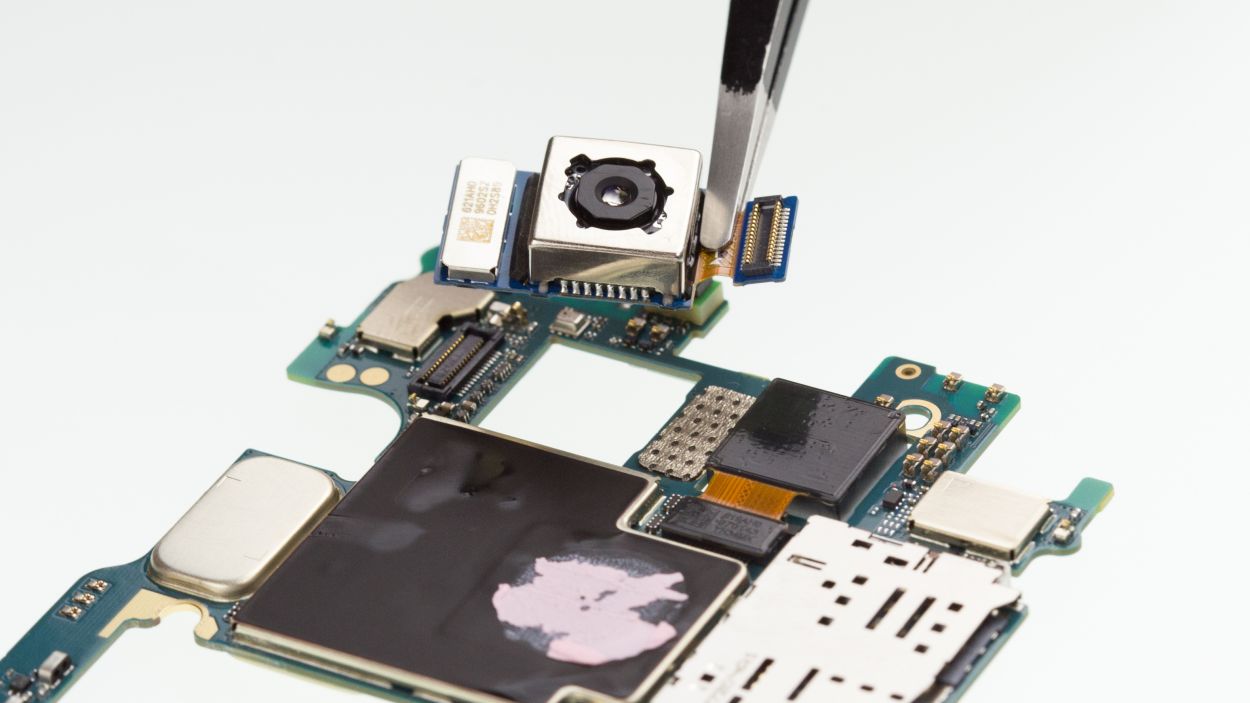
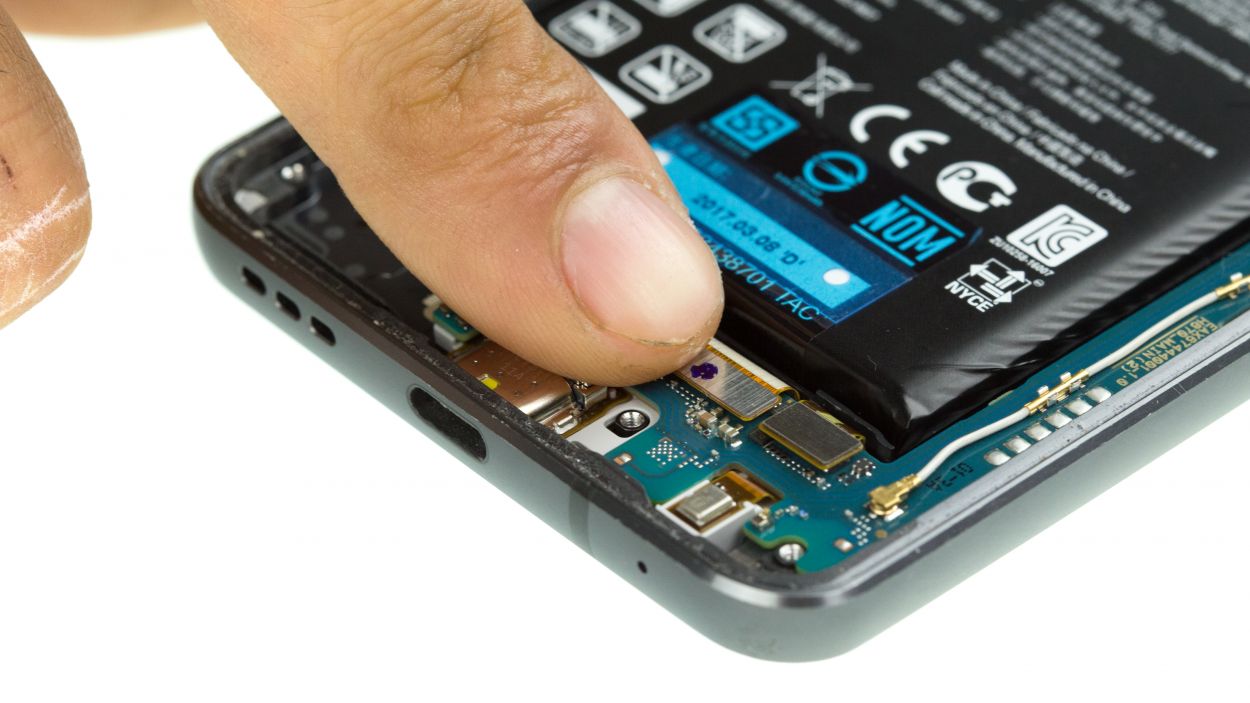
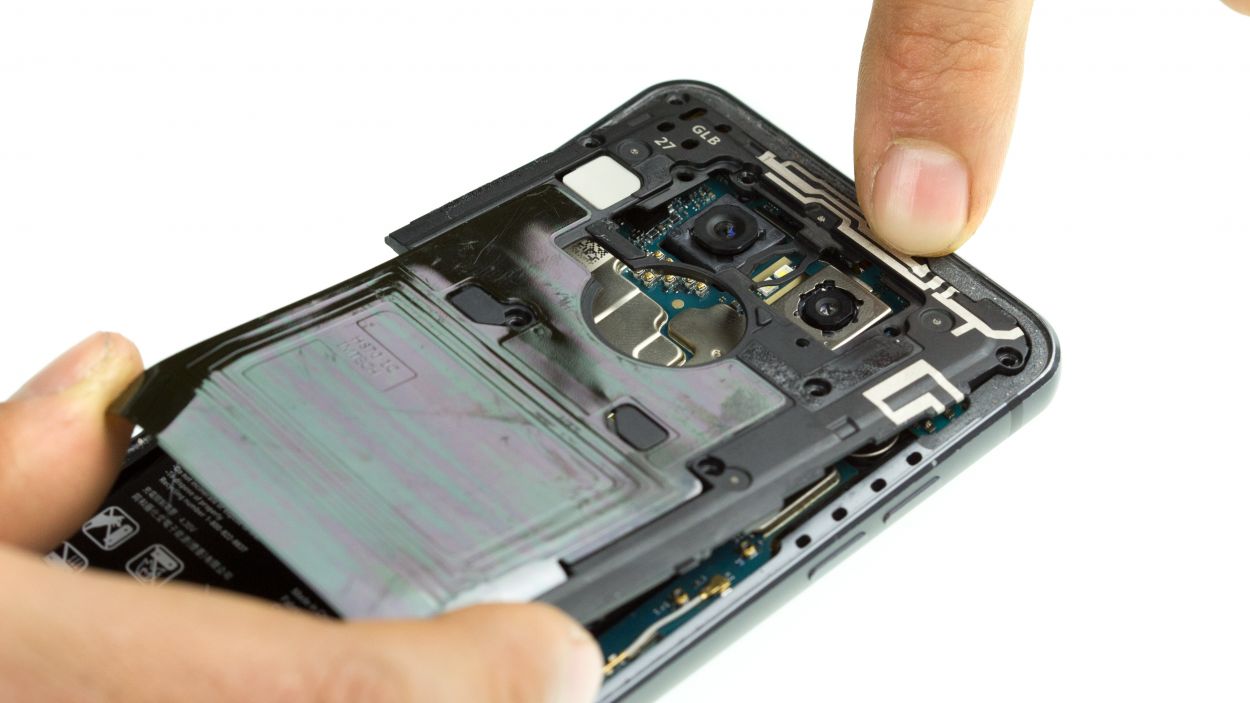
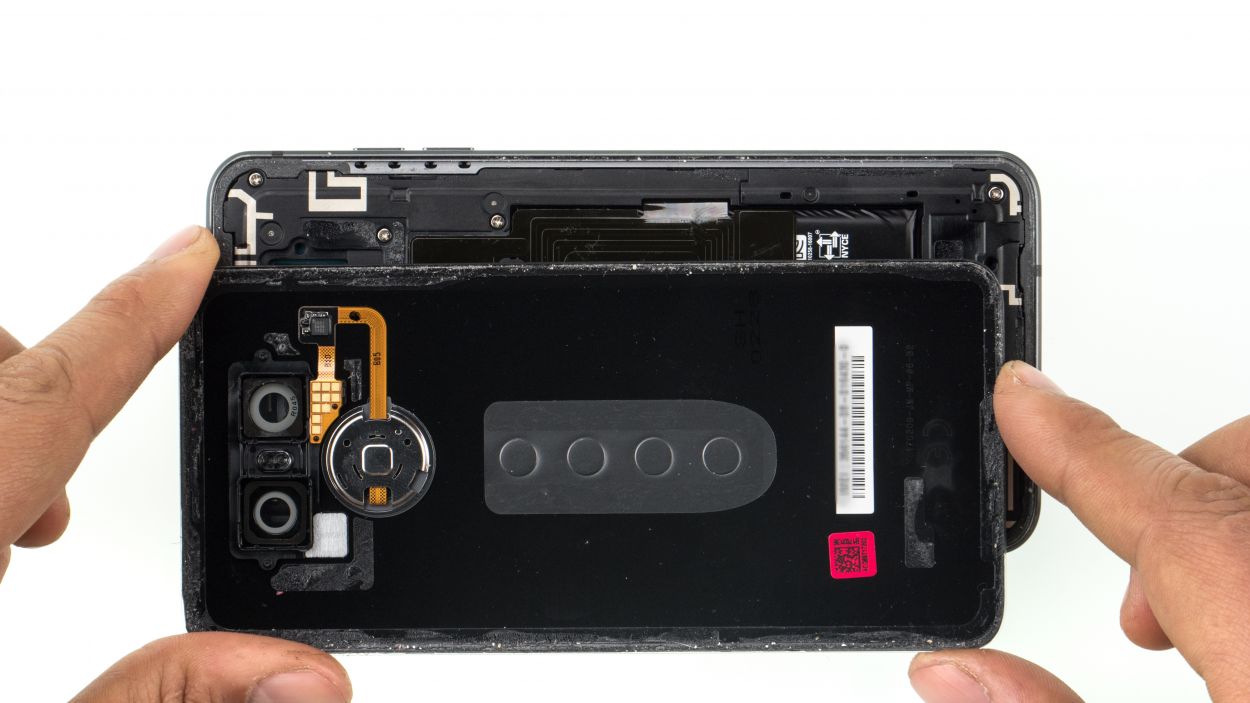
Rear camera connector
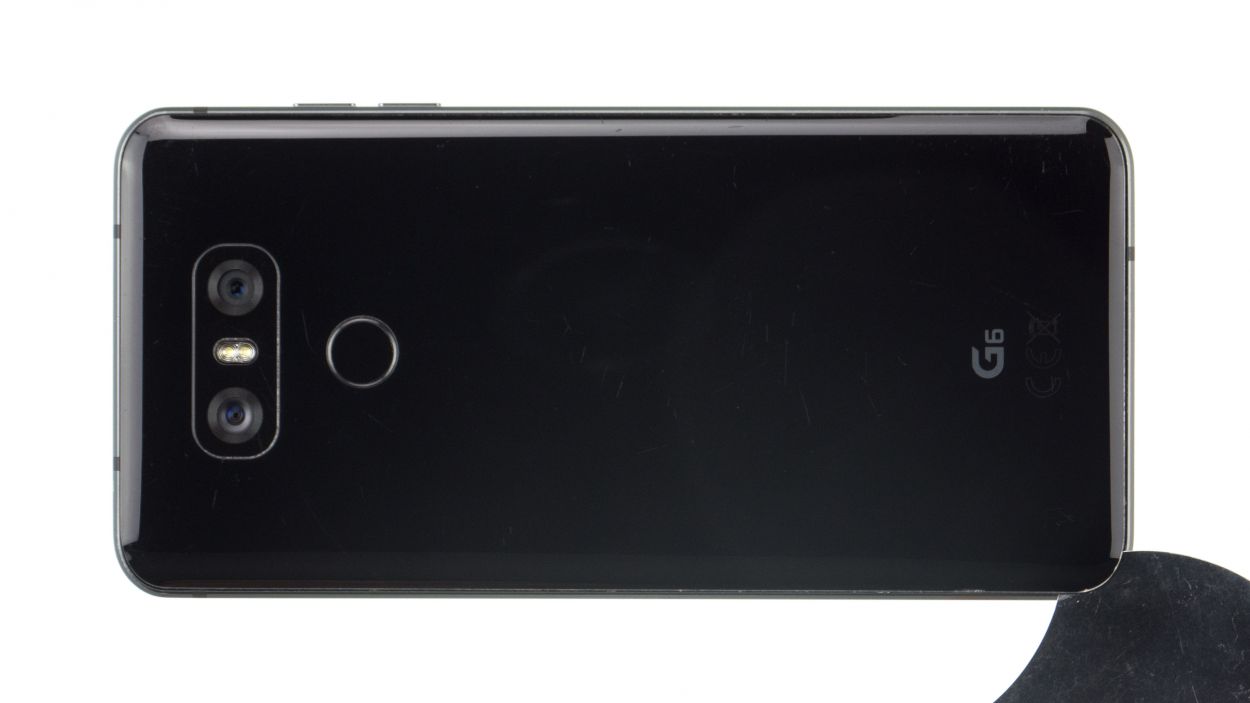
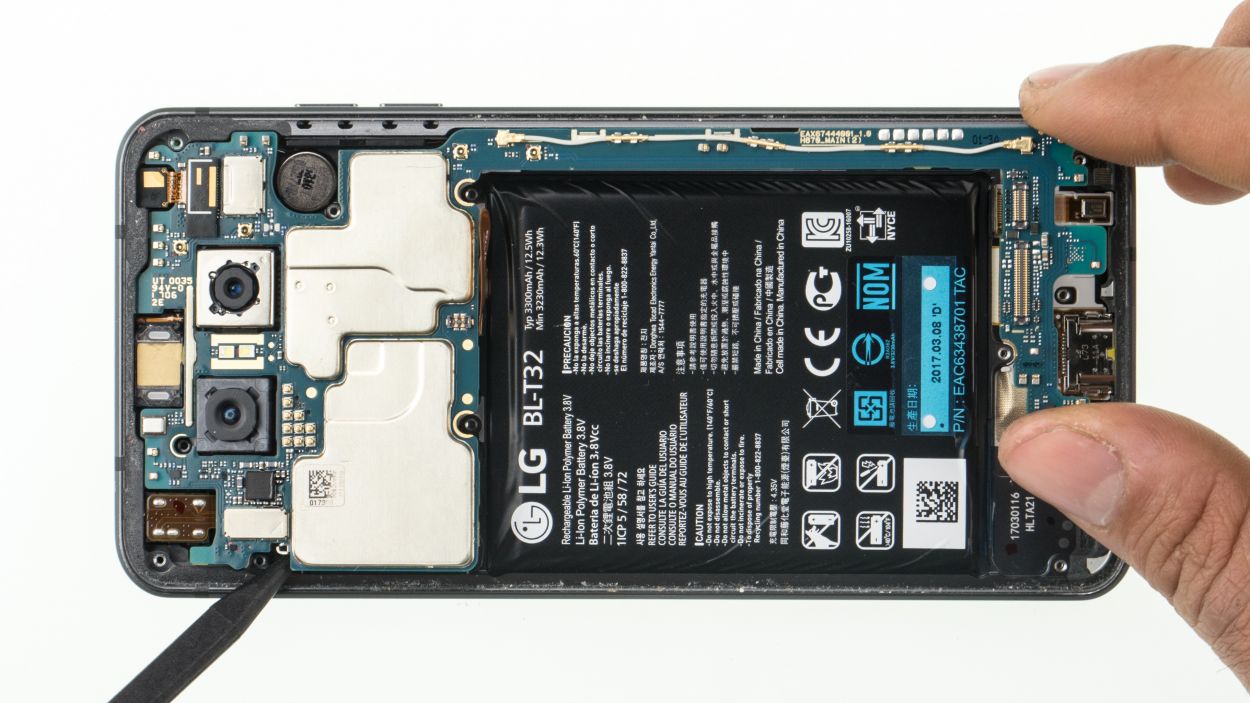
The LG G6 comes equipped with two rear cameras, making it quite the photographic powerhouse! If you’re feeling adventurous, you can tackle each camera separately for an easier fix.
– Unplug those rear camera connectors from the logic board – easy peasy!
– Now, gently pop those rear cameras right out of their spots. You got this!
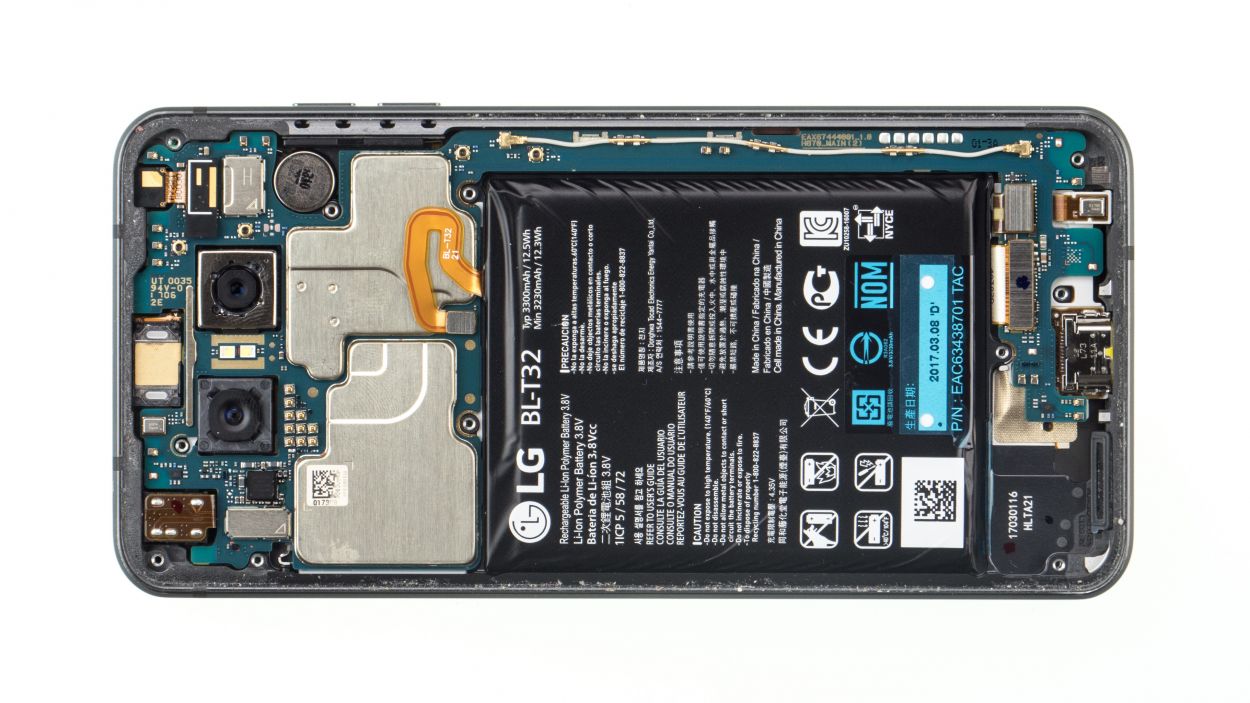
Step 9
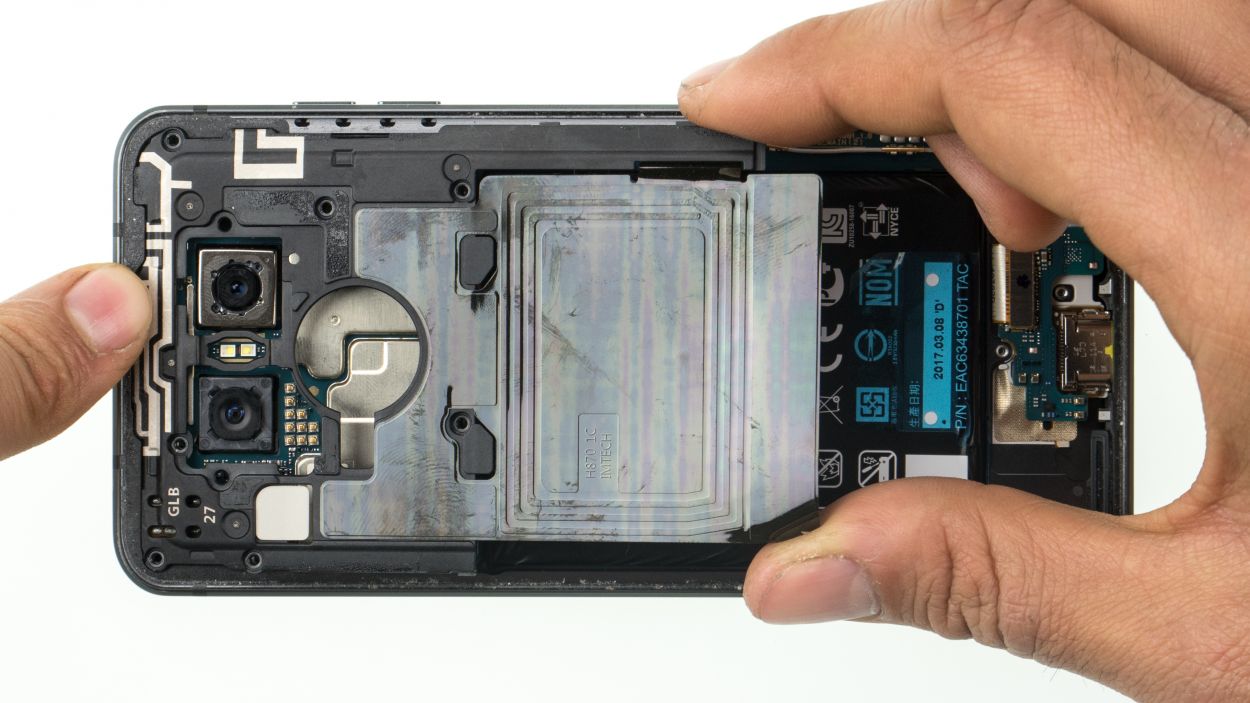
Rear camera connector
– Place the rear cameras back in their openings in the logic board.
– Very carefully plug on the connectors.
Step 10


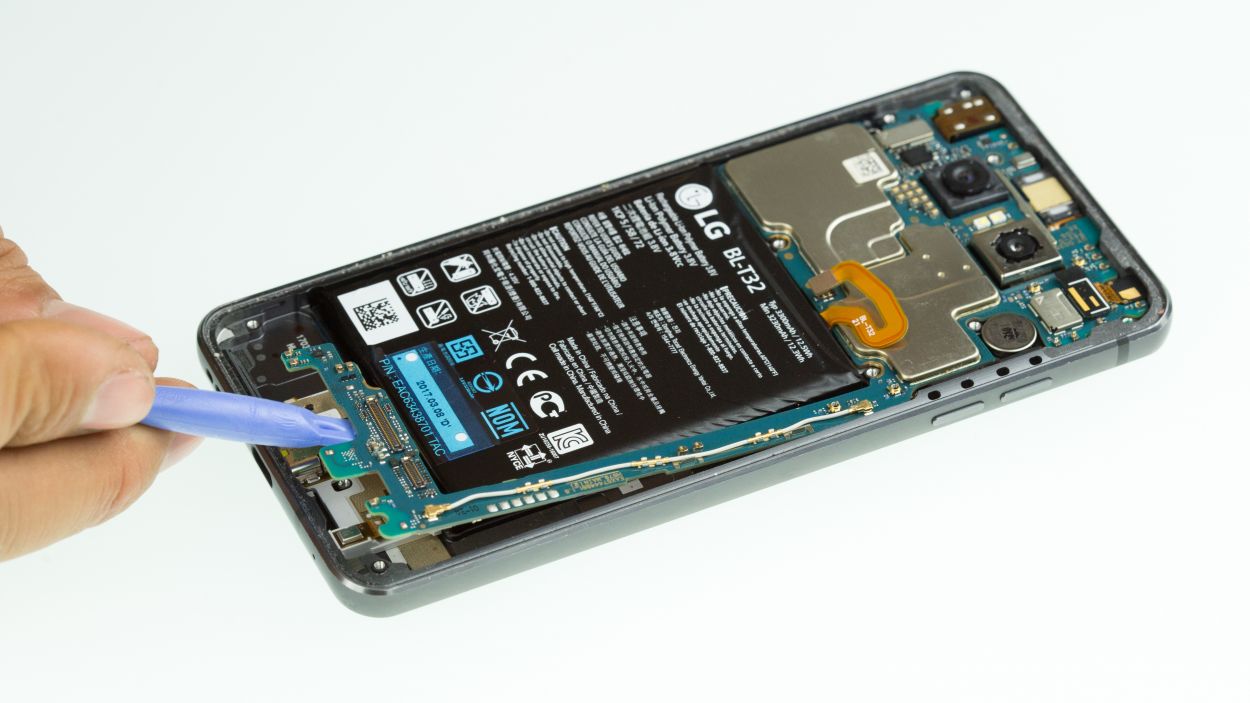
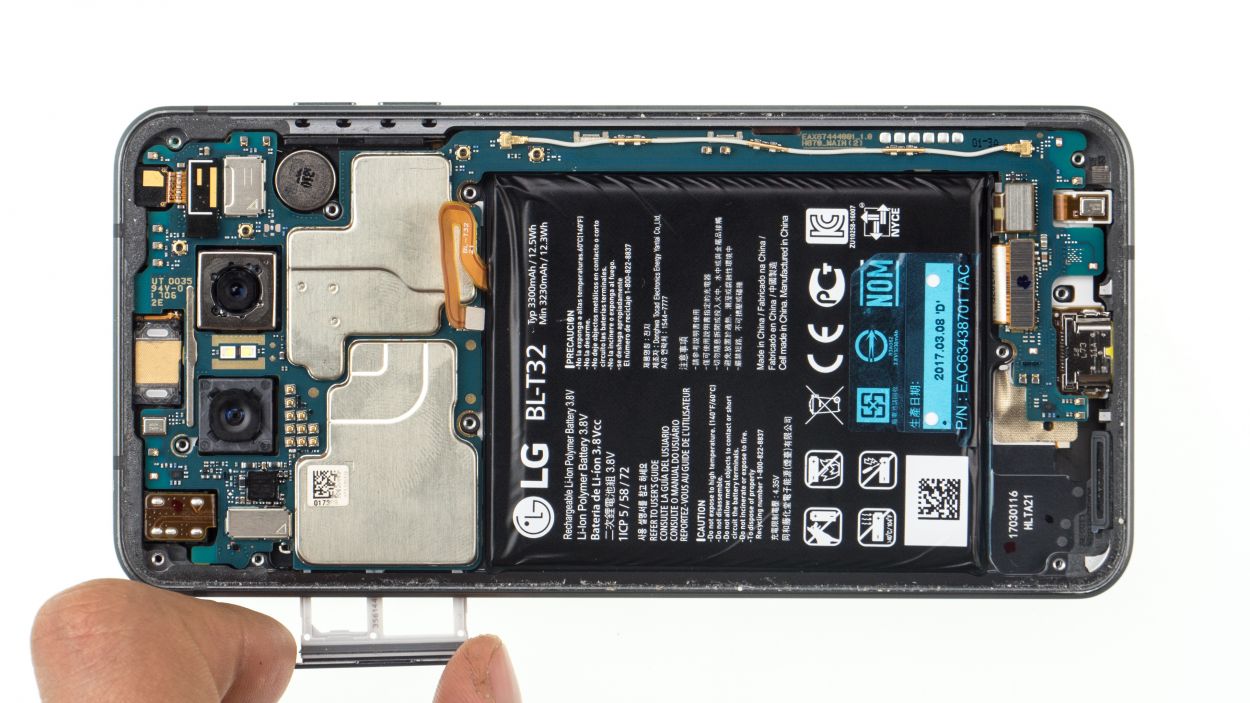
Hey there! Just a friendly reminder to keep that battery cable and the two connectors at the bottom from getting cozy under the board. Let’s keep everything in its right place!
– First, let’s make sure that the SIM tray pin is snugly in its spot. If it’s gone rogue, just pop it back where it belongs.
– Now, gently place the logic board back into the device, like tucking it in for a cozy nap.
Step 11
If you need to, go ahead and pop in those SD/SIM cards first!
– Gently slide the SIM tray back into its cozy spot in the device.
Step 13
7 × 2.7 mm Phillips
– Gently pop the midframe back into your device and give it a little press to secure it.
– Tighten it up with those trusty Phillips screws to keep everything snug and secure.
Step 14


4 × 2.7 mm Phillips
– Gently pop the speaker into the device and give it a little press to make sure it’s snug.
– Tighten those Phillips screws to keep everything in place!
Step 15
Give that rear glass a warm hug again to help the glue grab on even better!
– Place the rear glass back on the device and press it on.