DIY Lumia 435 Touch Screen Glass Replacement Guide
Duration: 45 minutes
Steps: 10 Steps
Got a Lumia 435 or 532 with a cracked touch screen? No worries! We’re here to guide you through the process of taking apart your Lumia 435 (RM-1068, RM-1069, RM-1070, RM-1071) or Lumia 532 (RM-1032, RM-1034) and replacing that broken glass. Just follow our step-by-step guide, and you’ll have your device looking sharp in no time. And remember, if you need help, you can always schedule a repair.
Step 1


– First things first, turn off your phone. Safety first, right?
– Next up, pop out the battery and take out any SIM and memory cards you’ve got in there.
– Grab your trusty Torx T6 screwdriver and let’s take out those 4 black screws like a pro!
Step 2


– There are a bunch of plastic locking clips keeping the back cover snugly attached to the frame.
– Grab a tool with a sharp edge to pop those clips open, and then use a plastic tool to gently pry the back cover away.
Step 3


– Let’s get started: Grab a plastic tool and gently lift up to free the Logic board.
– Carefully disconnect the touch screen flex cable.
– Now, it’s time to detach the LCD Display flex cable.
Step 4


– Here we have the logic board / main board, showcased from both the front and back. Take a good look!
Step 5


– The display’s metal shield is held in place by 4 locking clips. No worries, though! Grab a tool with a sharp tip and gently unlock those clips to free the shield.
Step 6


Gently tweak the frame a bit and grab a slim plastic tool to help you pop the display away from the frame. You’ve got this! If you need help, you can always schedule a repair.
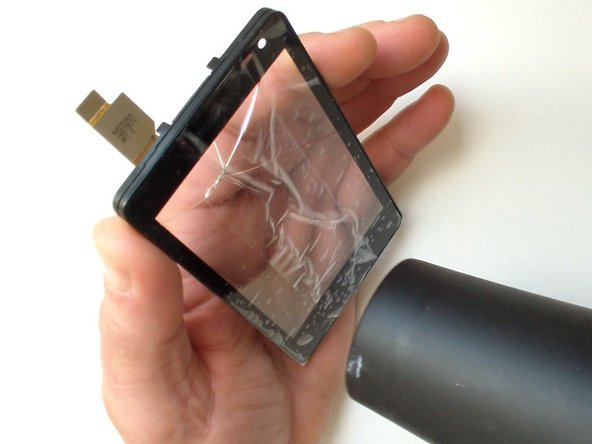
– The display is glued to the touch screen glass with some trusty double-sided tape. No worries, we can handle this!
– Grab a hair dryer or a hot air gun and warm up that glass a bit to help the adhesive loosen its grip.
Step 7

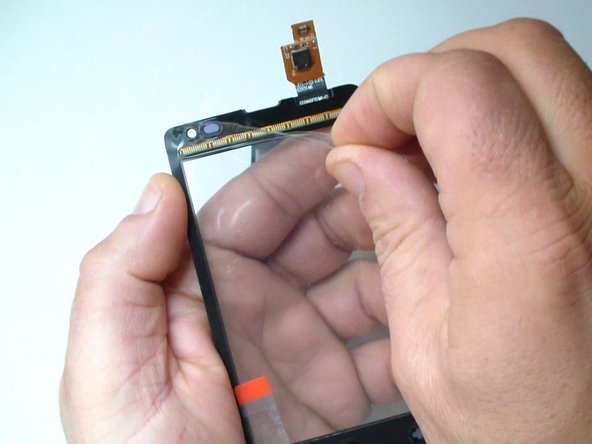
– Handle the display with care as it’s quite delicate. Take your time during the separation process and remember: slow and steady wins the race! If you need help, you can always schedule a repair.
Step 8

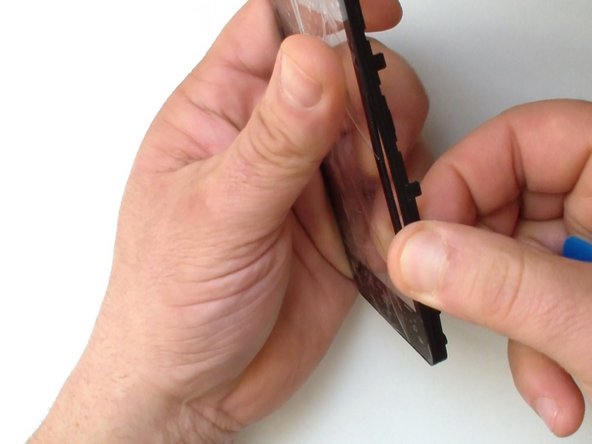
– Grab some clear scotch tape to keep that glass from going all over the place.
– Give the glass a little warmth for about a minute to help loosen that adhesive.
– Begin your separation journey from the center of the frame, where the contact area is a bit more chill.
Step 9
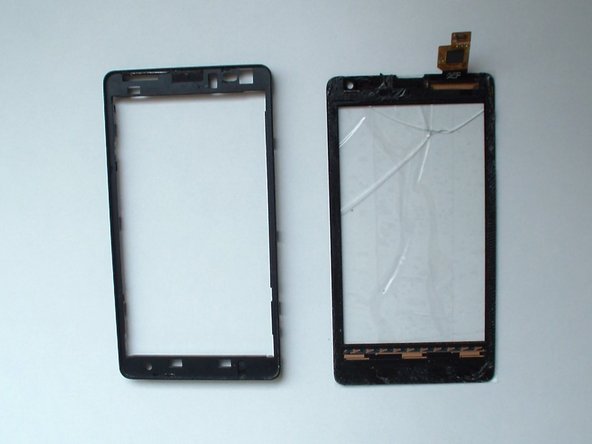

– Once you’ve successfully separated the glass, give that frame a good clean to remove any leftover adhesive.
– Now, it’s time to pop in the new touch screen and start putting your device back together!
Step 10

– And that’s a wrap!