DIY MacBook Pro 13″ Left Speaker Replacement Guide
Duration: 45 minutes
Steps: 24 Steps
Heads up, tech whiz! Make sure to double-check that your device is powered off before diving into the repair. Safety first, fun repair second!
Get your groove back by fixing up the left speaker on your laptop. It’s like giving your tunes a high-five!
Step 1
– Unscrew the 10 screws holding the lower case to the MacBook Pro 13″ Unibody. Let’s get those little rascals out!
Step 2
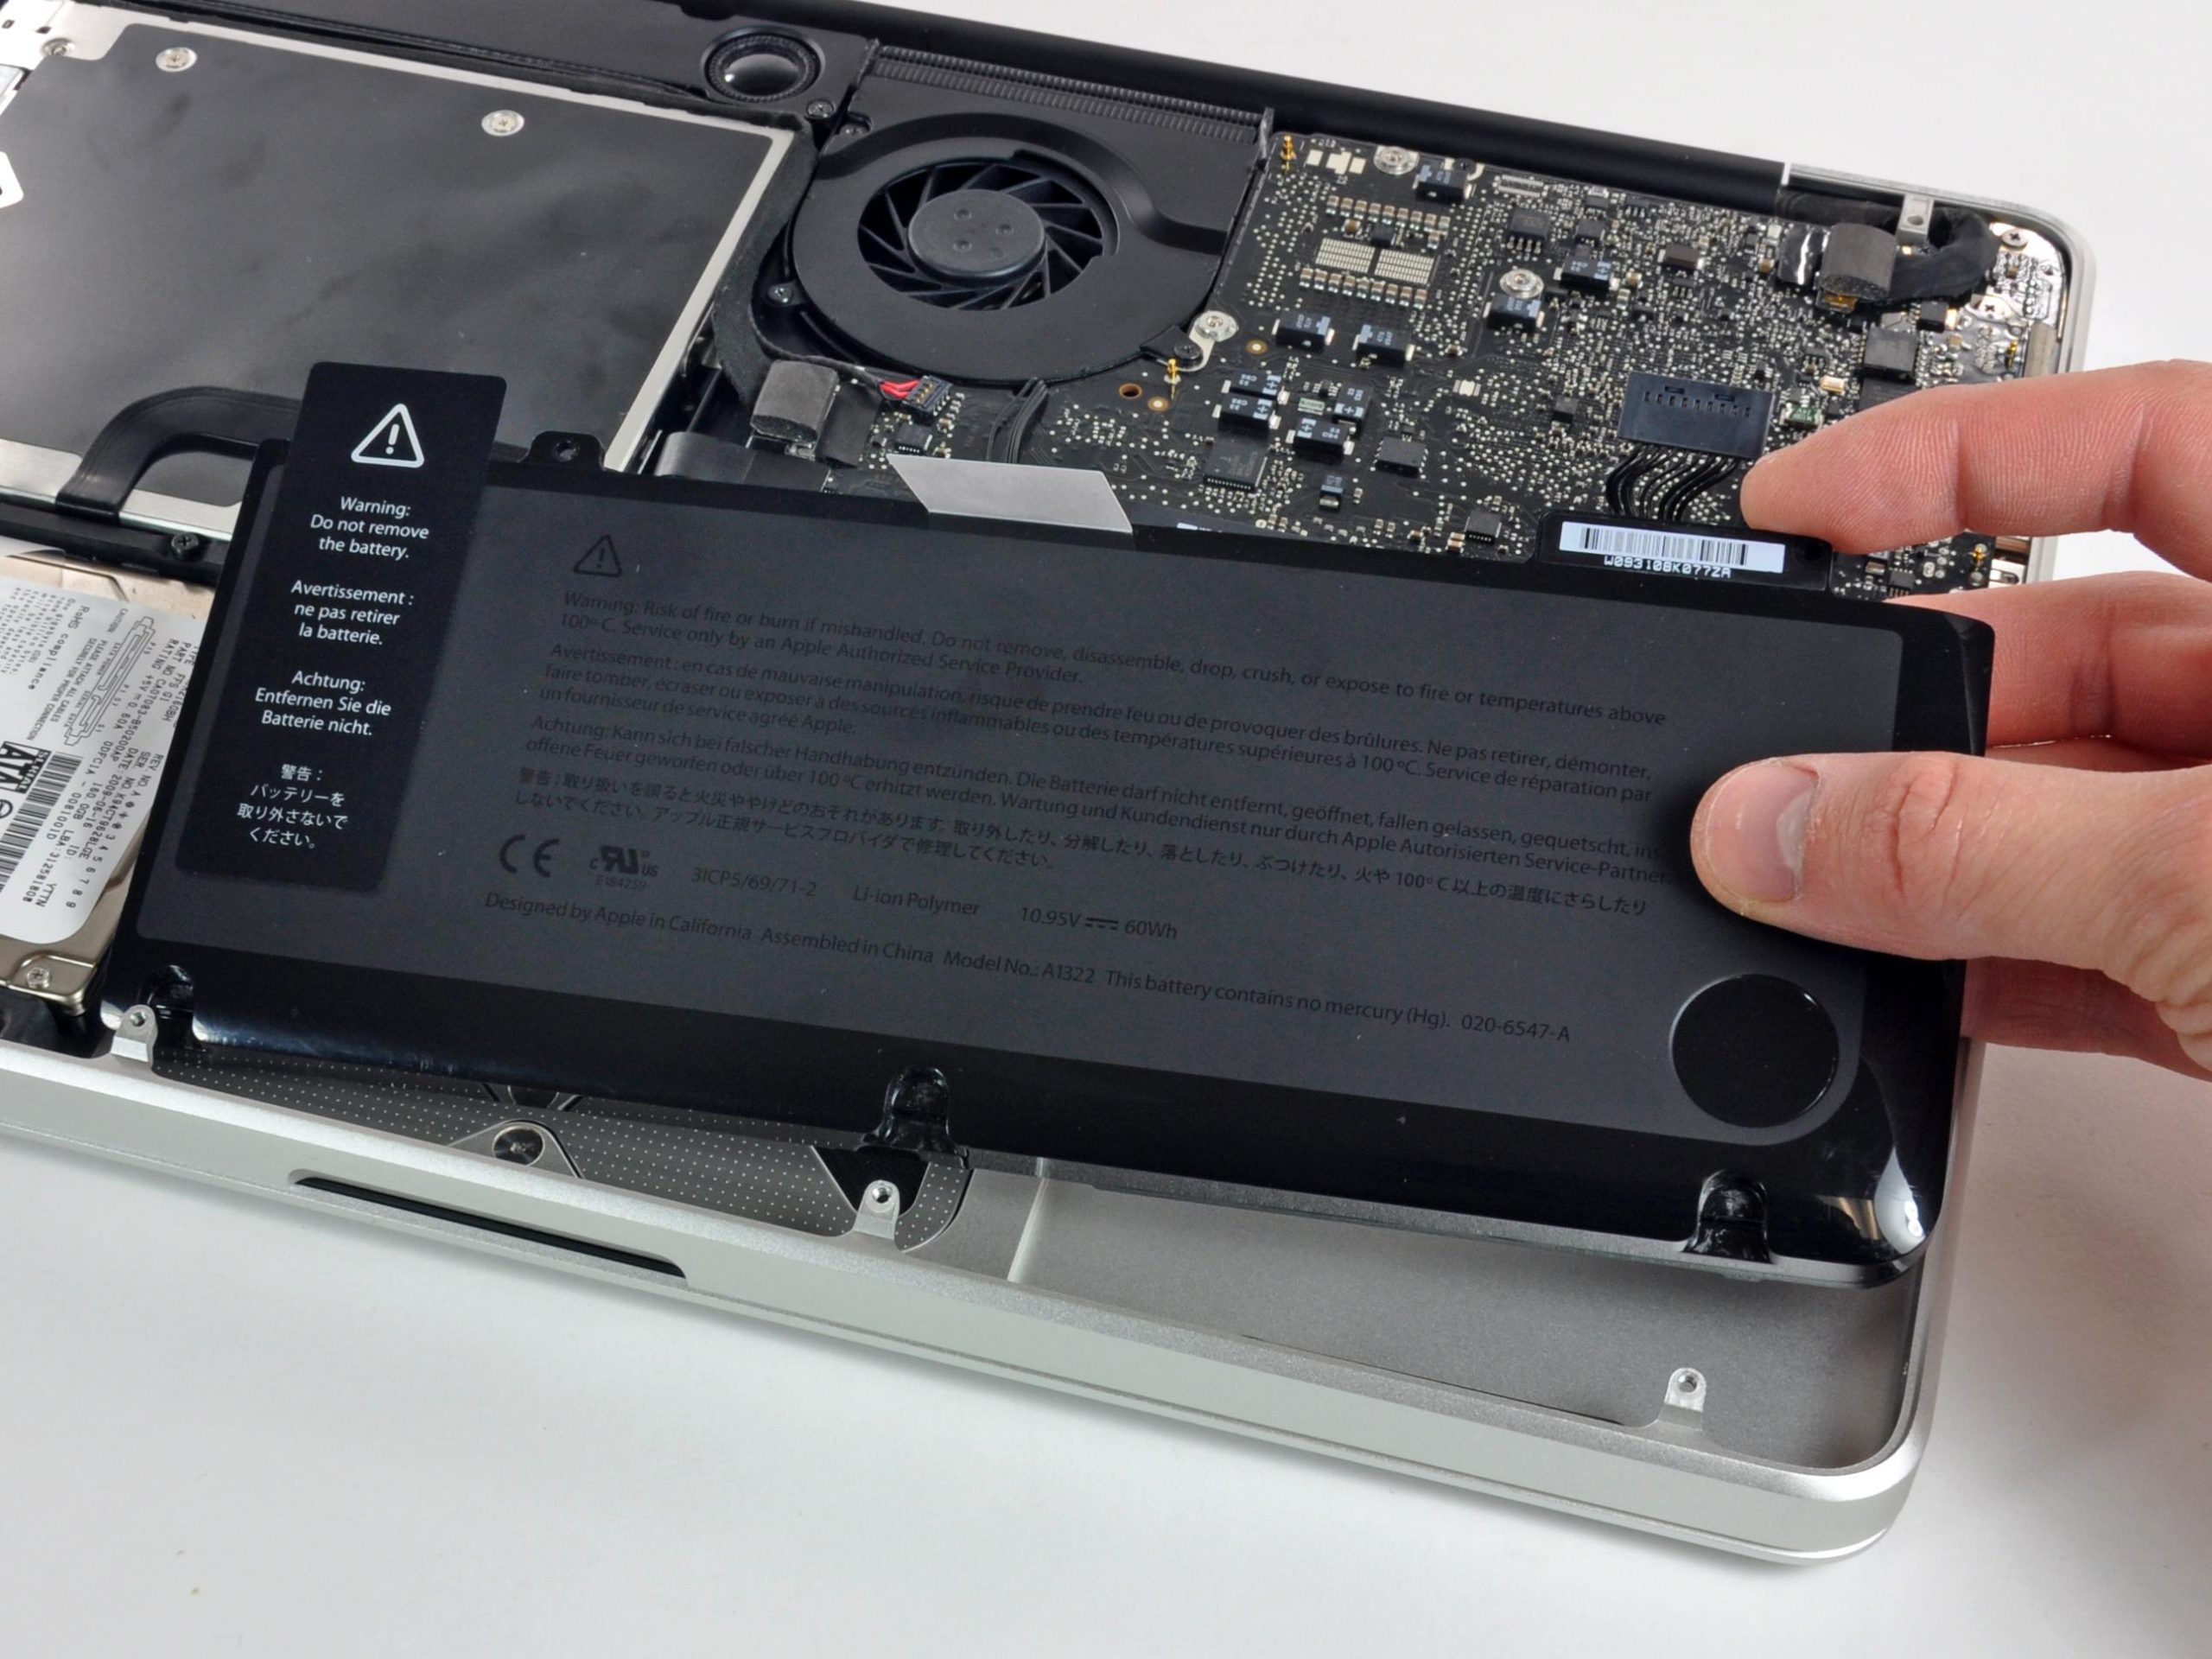
– Gently lift up the lower case just a bit and nudge it toward the back of the computer to free those pesky mounting tabs.
Step 3
Just to be safe, let’s unplug the battery connector from the logic board—it’s like hitting the pause button to avoid any unexpected zaps!
– Grab your spudger and gently pop the battery connector out of its cozy home on the logic board. It’s like lifting a little electronic hat!
Tools Used
Step 4
– Grab your spudger and gently pop the fan connector out of its comfy home, then lift it straight up away from the logic board. Easy peasy!
Check out the second and third photos to spot the fan socket and connector. Remember, the fan socket is part of the logic board, so gently use your spudger to disconnect the fan without breaking anything. Your machine might look a bit different from the one in the picture, but don’t worry, the fan socket setup is still the same.
Tools Used
Step 5
– Alright, let’s unscrew some magic! Remove these three cheeky screws holding the fan to the upper case:
Step 9
– Grab the flat end of your spudger and gently pop the subwoofer and right speaker connector off the logic board like a pro.
Tools Used
Step 10
– Gently slide the camera cable connector toward the optical drive to unplug it from the logic board—it’s like magic!
Alright, it’s time to play detective with the camera cable! Many devices sport a nifty little self-adhesive plastic buddy that hugs the logic board to keep the connector snug. Make sure to gently persuade this little keeper to step aside before you make your move on disconnecting the cable.
This socket is metallic and a real drama queen—it bends super easily! Make sure the connector and its socket on the logic board are perfectly lined up before you bring them together for their grand reunion.
Step 11
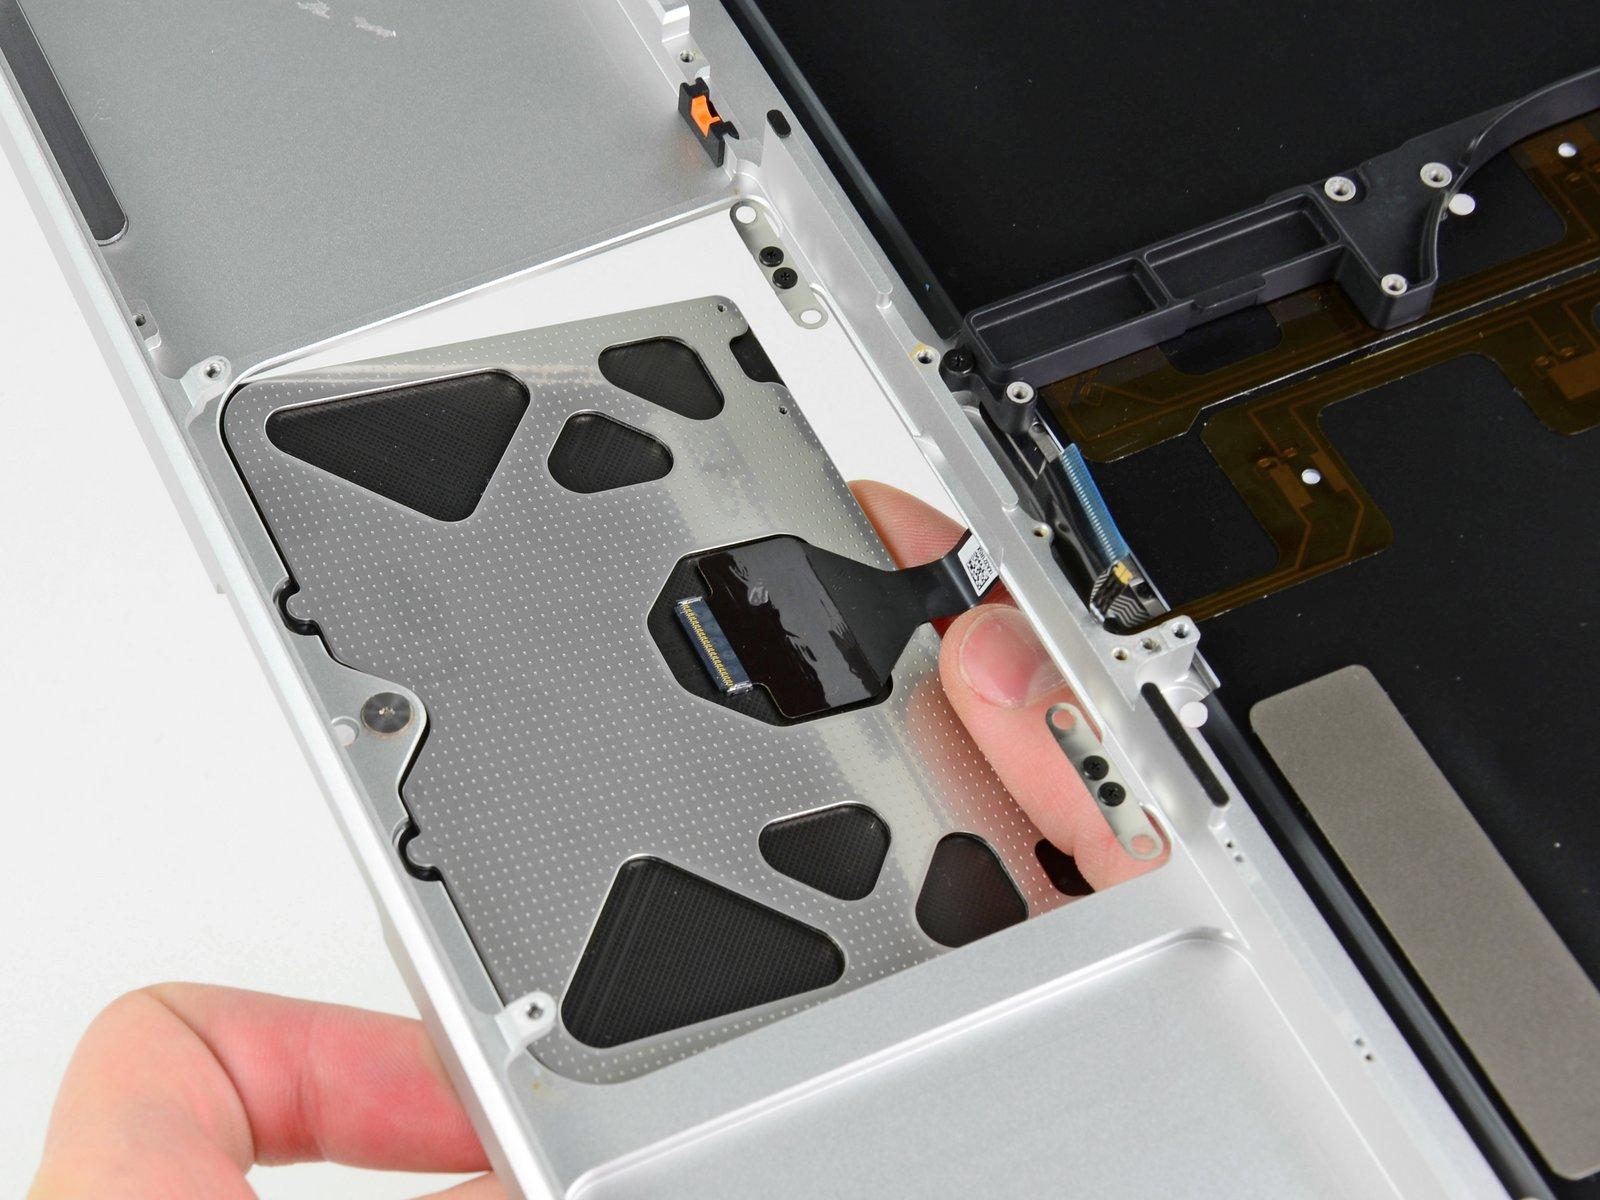
– Grab your trusty spudger and let’s make some magic happen! Gently wedge the flat end under the connectors for the optical drive, hard drive, and trackpad right on the logic board. Give them a little nudge upwards and voilà! They should pop off just like that.
Tools Used
Step 12
– Pop that cable flap open with your fingernail or a spudger like you’re opening a treasure chest. Time to free the keyboard ribbon cable!
– Gently slide the keyboard ribbon cable out of its socket with your spudger. It’s like pulling a sword from a stone!
Tools Used
Step 13
– Gently remove the slender strip of black tape from the keyboard backlight ribbon cable socket. Let’s keep it neat and tidy!
Step 14
– Grab a spudger and gently flip up the retaining flap on the ZIF socket to free the keyboard backlight ribbon cable.
– Now, nudge that keyboard backlight ribbon cable out of its cozy socket with your spudger.
Tools Used
Step 15
– Grab the flat end of your spudger and gently pop the battery indicator cable connector off the logic board like a pro!
Tools Used
Step 17
– Time to unscrew some screws:
Step 19
Watch out! Don’t accidentally yank the delicate connector plug of the microphone assembly. We wouldn’t want to upset it, now would we?
– Gently elevate the logic board from its left edge and keep lifting until those ports are free from the upper case’s embrace.
– Ease the logic board away from the upper case’s clutches and slide it out, watching out for the sneaky DC-in board that might try to tag along.
Step 20
– Gently remove the tape that’s keeping the microphone cable connector undercover.
Step 21
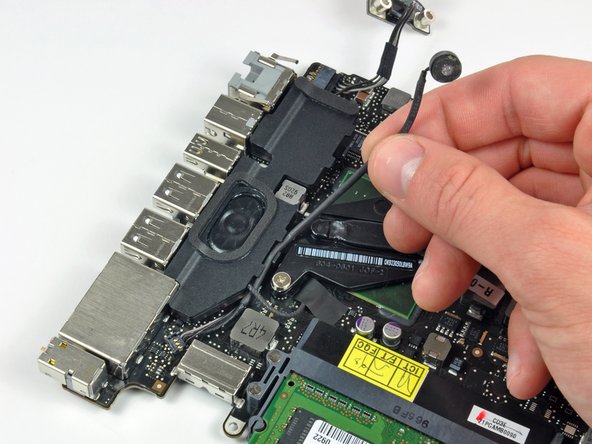
– Grab the flat end of your spudger and gently lift the microphone cable connector off the logic board.
– Slide the microphone cable out of the left speaker’s channel. Keep it smooth and easy!
Tools Used
Step 22
– Peel off that snazzy strip of tape guarding the left speaker cable connector like a champ!
Step 23
– Grab your spudger and give the left speaker connector a gentle pop-off from the logic board. It’s like magic, but you’re the wizard!
Tools Used


