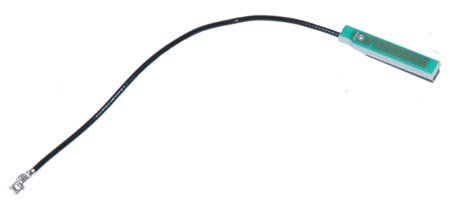
DIY MacBook Pro 15 Bluetooth Antenna Replacement Guide
Duration: 45 minutes
Steps: 12 Steps
Heads up, tech whiz! Make sure you’re grounded to avoid any static mishaps during your repair adventure. Safety first, fun always!
Bluetooth gone AWOL? Time to swap out the antenna!
Step 2
– Whip out your screwdriver and remove the trio of twin Phillips screws guarding the memory door.
– Keep a record of which screws came from which spots—it’s like a puzzle, and you’ll thank yourself later when putting it all back together!
Step 3
– Pop open the memory door just enough to get a good grip on it, then slide it your way and pull it off the casing like you’re peeling a banana!
Step 5
– Time to unscrew! Remove these 6 little rascals:
Step 6
– Unscrew the four Phillips screws chilling on the port side of your computer. Let’s keep things snappy!
Step 7
– Give your computer a little twist and turn it 90 degrees! Now, let’s get those two Phillips screws at the back out of there.
Step 8
– Give your computer a cool 90-degree twist and whip out those four Phillips screws from the side like a pro!
Step 9
Hold your horses! Don’t just whip the upper case off—it’s still hooked up to the logic board with a ribbon cable. Gently does it!
– Start by gently lifting the rear of the case and use your fingers to glide along the sides, freeing it as you go. Once the sides are free, you might need to give the case a little wiggle up and down to release the front of the upper case. This part can be a bit tricky, so take your time! Right above the DVD reader, you’ll find four tabs that need to be pulled out vertically.
– Keep an eye on those two small tongues on the left front side of the upper case; they might bend a little while you’re removing it. No worries, though! When it’s time to re-install, just bend them back to fit snugly into the grooves of the lower case.
Step 10
– Unplug the trackpad and keyboard ribbon cable from the logic board. Feel free to remove any pesky tape getting in the way!
– Wave goodbye to the upper case as you remove it.


