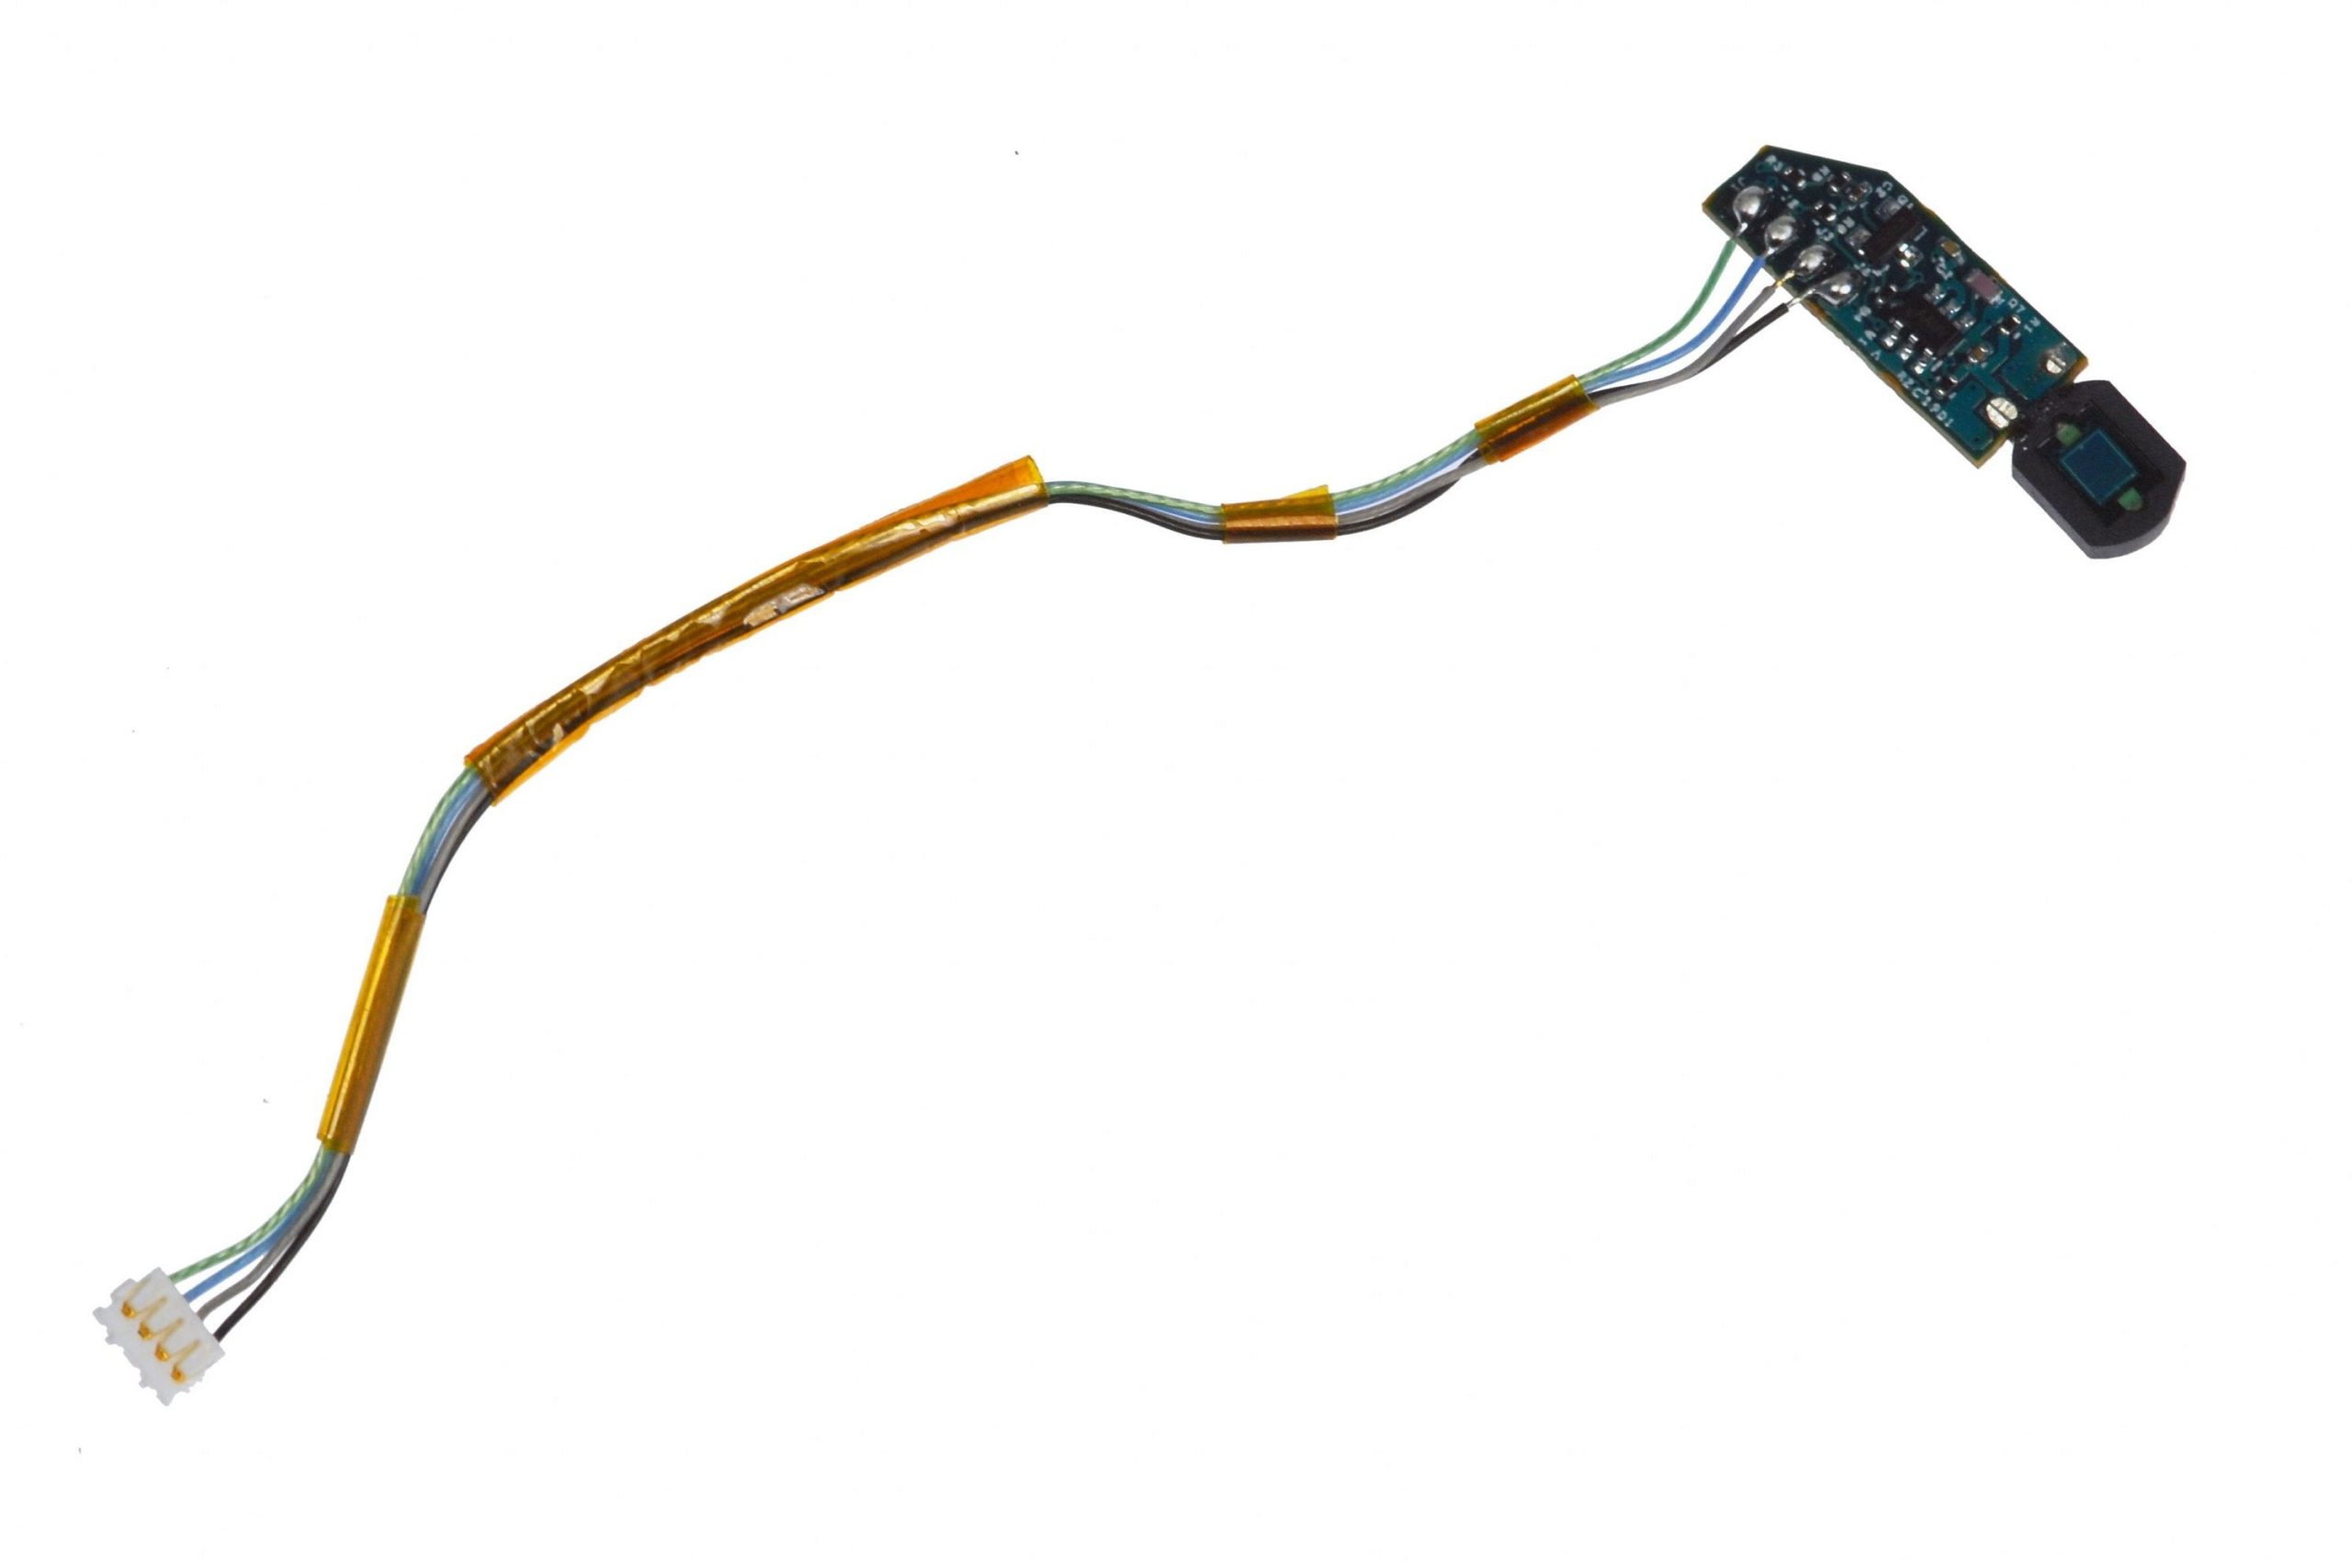
DIY MacBook Pro 15 Left Ambient Light Sensor Replacement
Duration: 45 minutes
Steps: 11 Steps
Hey there! Just a friendly reminder: if you run into any hiccups while fixing your device, don’t sweat it! You can always schedule a repair with us at Salvation Repair. We’re here to help you get back on track!
This sensor keeps tabs on the room’s light levels and adjusts the backlit keyboard accordingly. If you need help, you can always schedule a repair.


Step 2


– Unscrew the three identical 2mm Phillips screws from the memory door.
– Raise the memory door just enough to grab it and slide it towards you, pulling it away from the case.

Step 4

– Time to take action! Go ahead and unscrew the 6 screws that are holding things together:
Step 5

– Unscrew the four 3.2 mm PH00 Phillips screws chillin’ on the port side of your laptop.
Step 6

– Spin the computer around 90 degrees and unscrew the two tiny 3.2 mm Phillips screws from the back of the computer.
Step 7

– Give the computer another 90-degree spin and take out the four 3.2 mm Phillips screws on the side. If you need help, you can always schedule a repair.
Step 8


Don’t just yank that upper case off! It’s still connected to the logic board by a ribbon cable. Handle with care! If you need help, you can always schedule a repair.
– Start by lifting the back of the case and gently run your fingers along the edges to release it. Once the sides are free, give the upper case a little rock up and down to loosen the front.
– You’ll find four sneaky little plastic clips above the DVD slot, plus one sneaky clip just above and to the left of the IR sensor. These clips can be quite the challenge to disengage without some gentle prying, and they might give you a hard time when you try to snap them back in place during reassembly.
– Reassembly Tip: Give a firm press on the top case right above each clip until you hear a satisfying snap, letting you know they’re back in their cozy slots.
– Reassembly Tip: The two center DVD clips have a tendency to be a bit stubborn and won’t snap back without a little extra help. Applying downward pressure alone might just bend the frame around the DVD slot. To lend a hand, slide a plastic spudger into the DVD slot just beneath the clip location until it sits snugly, then press down until you hear that delightful snap.
Tools Used

Step 9


Heads up! You can swap out the hard drive without having to disconnect the keyboard from the chassis. Just keep it propped up so it doesn’t get in your way while you tackle that drive removal with both hands.
When you’re delicately handling the keyboard-trackpad ribbon cable, make sure the back of the upper case is free from the hinge area. It’s super easy to accidentally bend those screw receivers on either side of the keyboard, so take it slow and steady!
– Gently detach the trackpad and keyboard ribbon cable from the logic board, peeling off any tape that might be in the way.
– Carefully take off the upper case.
Step 10
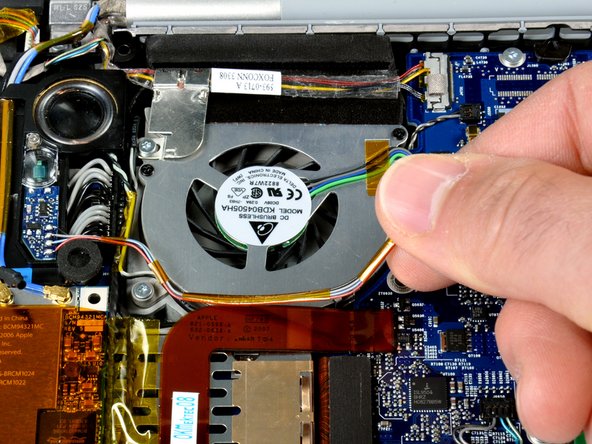

– Using your spudger, lift the left ambient light sensor cable from the logic board, no sweat!
– Carefully peel the left ambient light sensor cable from above the left fan, removing tape as needed. If you need help, you can always schedule a repair
Tools Used
Step 11

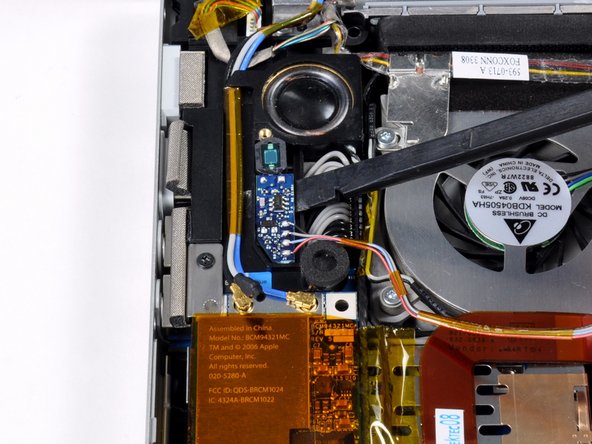
– First up, grab that shiny silver Phillips screw and remove it to free the clear plastic shield from the left ambient light sensor. You got this!
– Next, gently lift that clear plastic shield off the left ambient light sensor. Easy peasy!
– Now, take a spudger and carefully pry out the left ambient light sensor board from its cozy spot in the left speaker.
– With a little finesse, lift the left ambient light sensor board out of the computer. Nice work!
– As you put everything back together, feel free to use a lint-free cloth to wipe away any smudges or fingerprints on the plastic shield. Keep it looking sharp!
Tools Used


