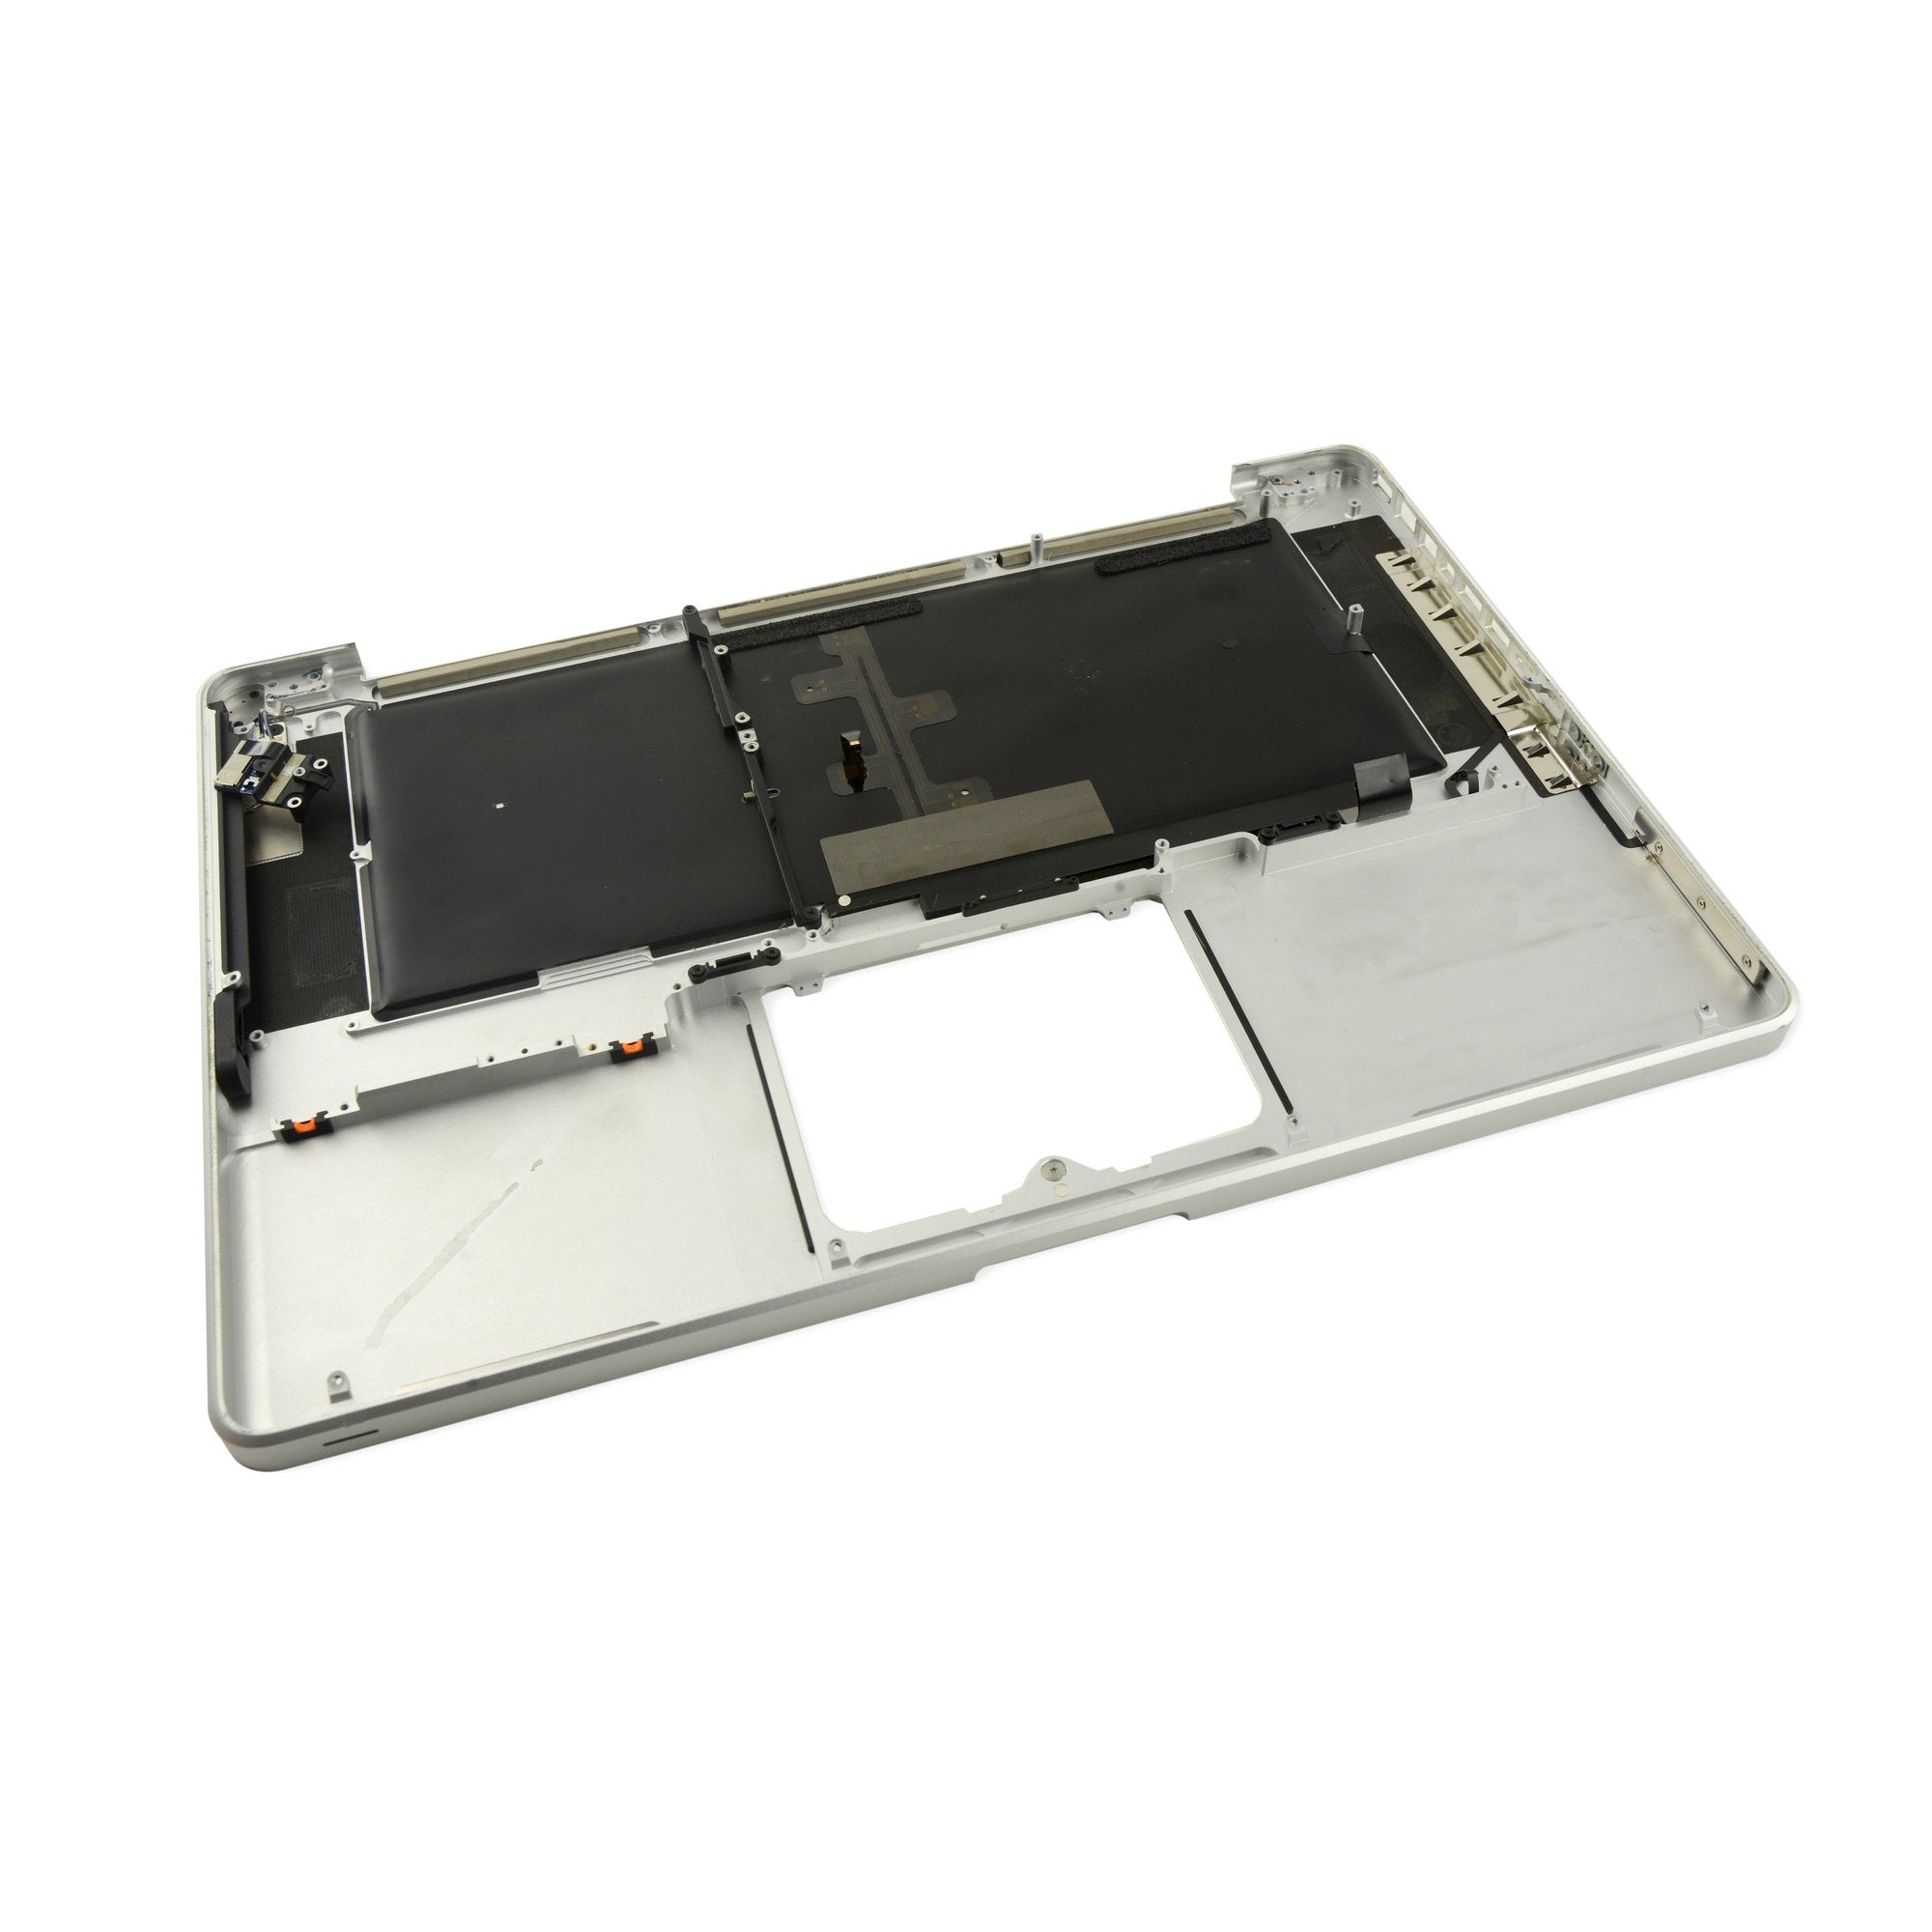
DIY MacBook Pro 15 Lower Case Replacement Guide
Duration: 45 minutes
Steps: 2 Steps
Hey there! Just a friendly reminder to take your time and follow each step carefully. If you hit a snag or need a hand, don’t hesitate to reach out and schedule a repair. You’ve got this!
Unleash the full potential of your MacBook Pro by removing the lowercase shackles to access its inner workings!
Step 1
– Time to get your screwdriver ready! Unscrew those ten screws that are holding the lower case snugly against the upper case. Let’s get this party started!
Step 2
– Hey there! With a little bit of oomph, use both of your mitts to give the lower case a gentle tug near the vent. This will help pop it off from the upper case where it’s held by a couple of clips.
– Once you’ve managed to liberate the lower case, give it a cozy spot to chill nearby.


