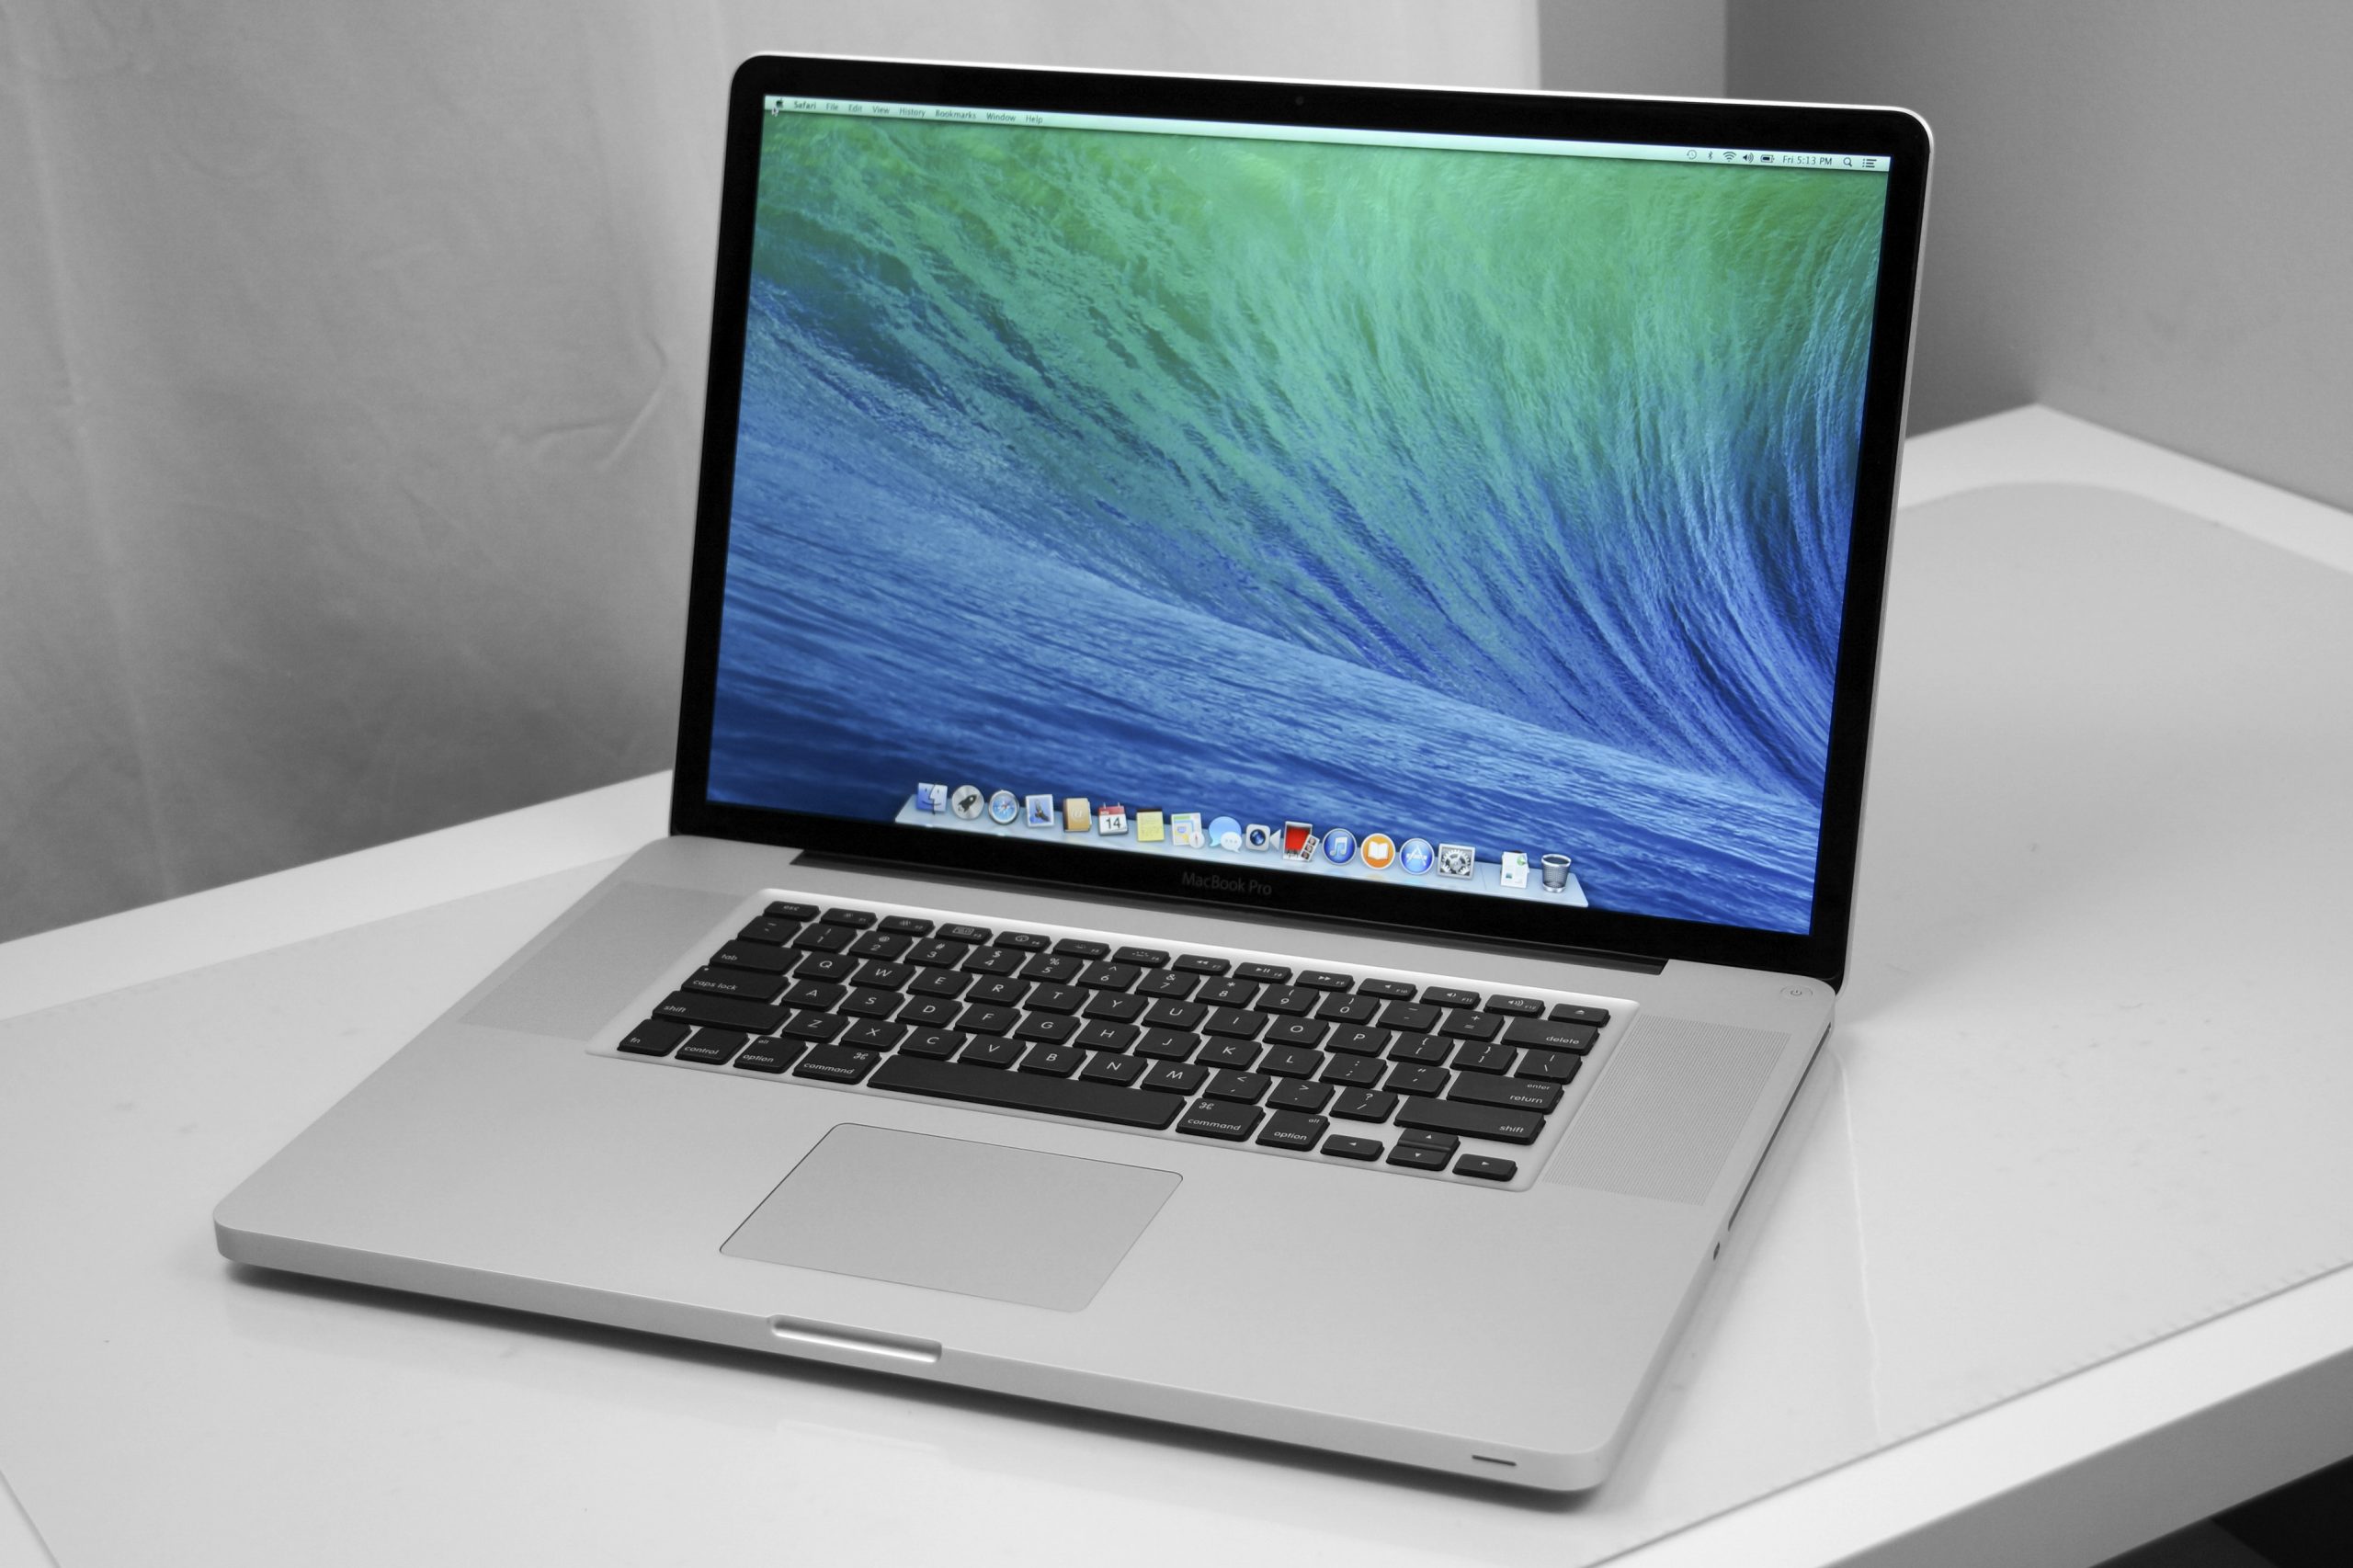
DIY MacBook Pro 15 Upper Case Replacement Guide
Duration: 45 minutes
Steps: 24 Steps
Hey there! Just a friendly reminder: if you run into any hiccups while fixing your device, don’t sweat it! You can always schedule a repair with us at Salvation Repair. We’re here to help you get back on track!
Everything you need to know to swap out your upper case.
Step 1
– Give those battery release tabs a nudge with your fingers, push them away from the battery, and then lift that battery out of your computer! If you need help, you can always schedule a repair
Step 2
– Unscrew the three matching Phillips screws from the memory door. You’ve got this!
– Don’t forget to keep track of which screws go where. It’ll make putting everything back together a breeze!
Step 3
– Give that memory door a little lift, grab hold, and give it a gentle slide towards you, easing it away from the casing.
Step 5
– Unscrew the 6 little critters:
Step 6
– Take out the four Phillips screws on the port side of the computer. If you need help, you can always schedule a repair.
Step 7
– Turn your device on its side by 90 degrees and unscrew the two Phillips screws from the back of the device.
Step 8
– Give that computer a cool 90-degree spin once more and pop out those four Phillips screws from the side of the computer.
Step 9
Take it easy when removing the upper case! It’s connected to the logic board with a ribbon cable, so give it a gentle nudge instead of a quick yank. Your device will thank you!
– Lift up at the rear of the case and work your fingers along the sides, freeing the case as you go. Once you’ve freed the sides, you might need to rock the case up and down to free the front of the upper case. This part can be a bit tricky! Over the DVD reader, there are 4 tabs set back that pull out vertically.
– Heads up: The two small tongues on the left-hand front of the upper case might bend while you’re removing it. When you’re putting it back together, you may need to bend them back to fit in the grooves in the lower case.
Step 10
– Let’s start by gracefully disconnecting the trackpad and keyboard ribbon cable from the logic board, gently removing any tape if needed.
– Next, it’s time to remove the upper case with ease.
Step 15
– Grab your trusty spudger or just use your finger to slide that keyboard backlight ribbon out of its connector. If you need help, you can always schedule a repair
Tools Used
Step 17
– Lift the black protective sheath on the right side of the upper case just a bit. No need to completely remove it—just peel it back enough to reach the screws underneath.
Step 18
– Jazz up your repair game by gently peeling back the cool black protective sheath on the left side of the upper case. No need to give it the full exit, just peel it back enough to uncover those sneaky screws below.
Step 21
– The first frame shows a tab chilling in the “locked” position, while the second frame reveals the same tab living its best life in the “unlocked” position.
– Grab your needlenose pliers or a trusty spudger, and gently coax each of the four tabs into their “unlocked” groove. You’ve got this!
Tools Used


