DIY Macintosh Powerbook 5300cs Hard Drive Replacement Guide
Duration: 45 minutes
Steps: 10 Steps
Hey there! Just a friendly reminder to keep your workspace tidy and organized while you’re diving into this repair adventure. A clear space leads to a clear mind, and we want you to have the best experience possible. If you hit a snag or need some extra hands, remember you can always schedule a repair!
Get ready to dive into some handy skills! In this guide, we’ll show you how to tackle those pesky issues with your device. Whether it’s a phone, laptop, or tablet, we’ve got you covered step by step. And hey, if you find yourself in a jam, remember, you can always schedule a repair!
Step 1

– Alrighty, let’s start with a little sleuthing! The battery compartment can be found hanging out in the front-right side of your trusty laptop. Go give it a peek!

Step 3

– Get ready to show those pesky screws who’s boss! Flip that laptop upside down, pop out the battery, and grab your trusty Torx #9 screwdriver. It’s time to bid farewell to those three stubborn .84 in. screws like a pro!


Step 6
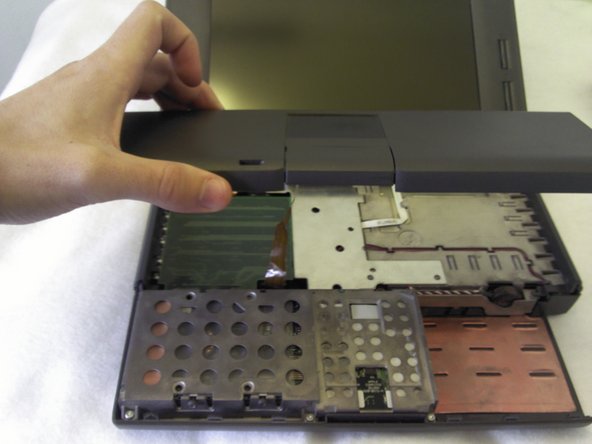

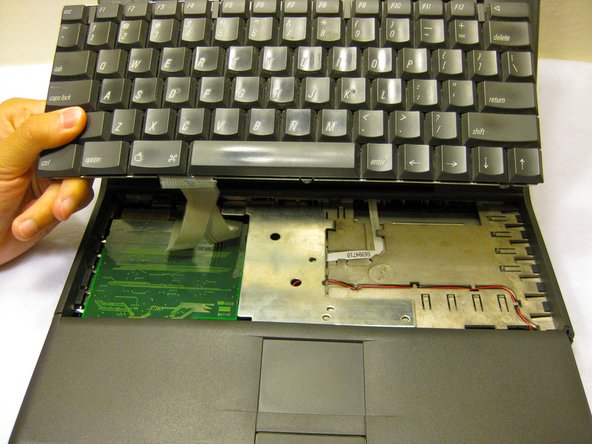
– Easily jazz up your laptop by gracefully lifting off the front plastic panel.
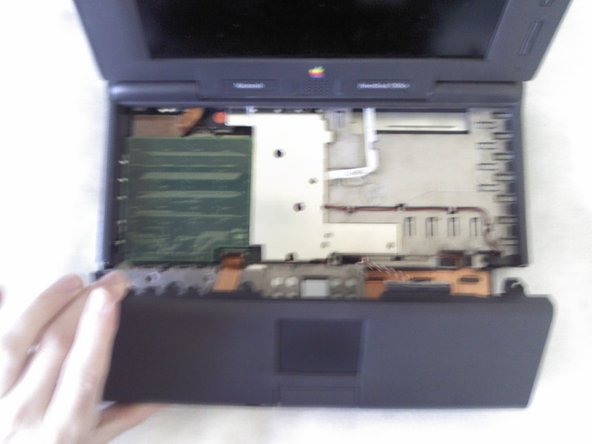
Step 7

– Grab your trusty Torx #9 screwdriver and let’s get to work! Unscrew those three .30 in. screws that are keeping the metal frame snugly in place. You’ve got this!
Step 8

– Take off the metal chassis that secures the hard drive. You’ve got this!
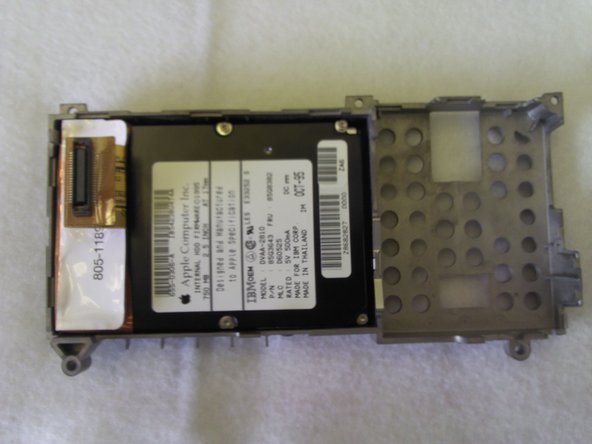
Step 9

– To get that hard drive outta there, you’ll want to grab your trusty Torx #9 screwdriver and take out those four .22 in. screws that are highlighted in red on both sides of the metal chassis. You’ve got this!
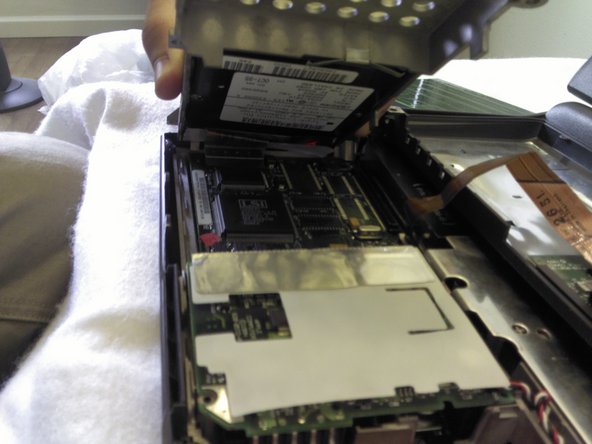
Step 10
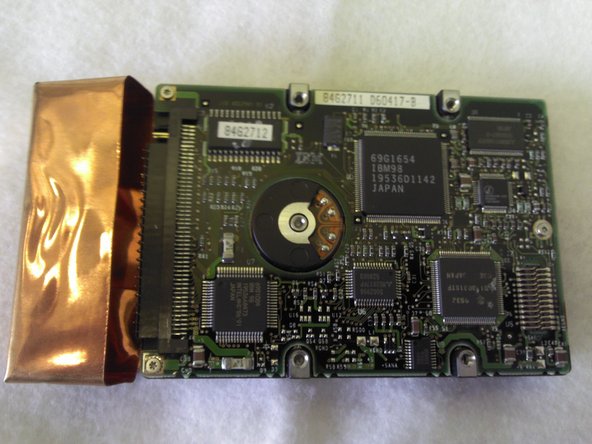

– Give that hard drive the ol’ heave-ho!