DIY Macintosh Powerbook 5300cs Trackpad Replacement Guide
Duration: 45 minutes
Steps: 9 Steps
Hey there! Just a friendly heads up: make sure to handle your device with care and keep track of all those tiny screws. They have a knack for playing hide and seek! If you need help, you can always schedule a repair.
Step 1

– The battery compartment can be found on the front-right side of your laptop. You’re getting closer to your goal!

Step 3

– Flip your laptop upside down, pop out the battery, and grab your trusty Torx #9 screwdriver. With a little finesse, remove the three .84 in. screws you see right there. You’ve got this!


Step 6

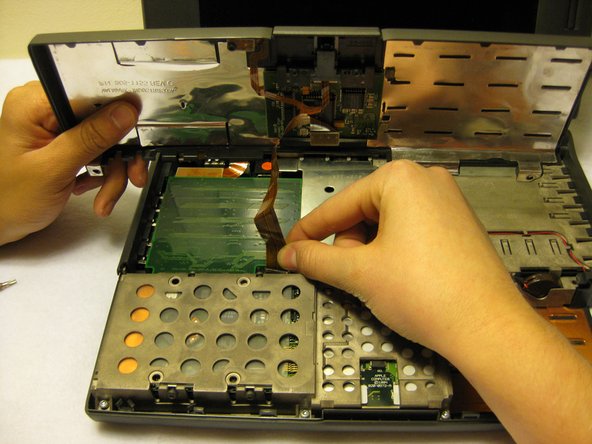

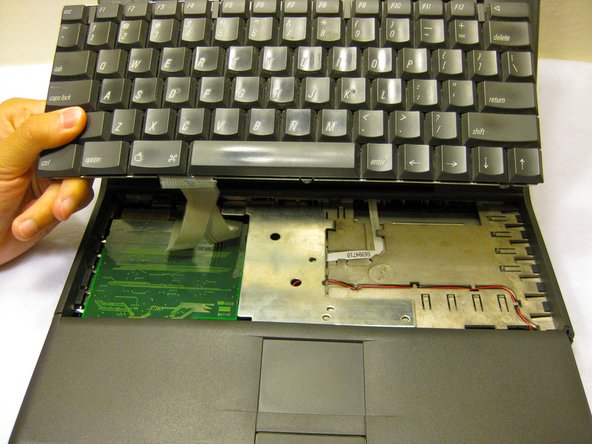
– Gently lift off the front plastic panel of your laptop like you’re unveiling a surprise gift. Easy peasy!
Step 7

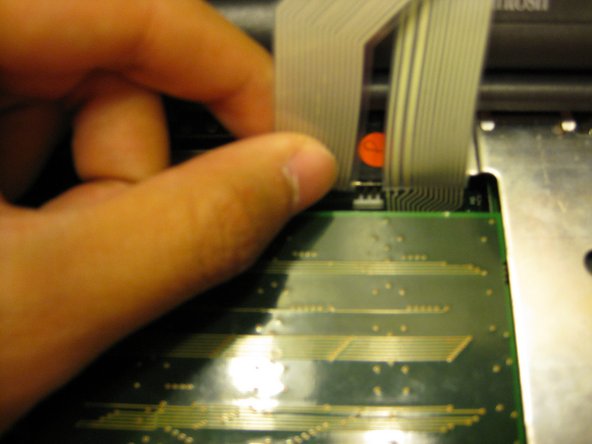
– Gently lift the orange-striped ribbon that links the trackpad to the laptop’s main body. You’ve got this!
Step 8
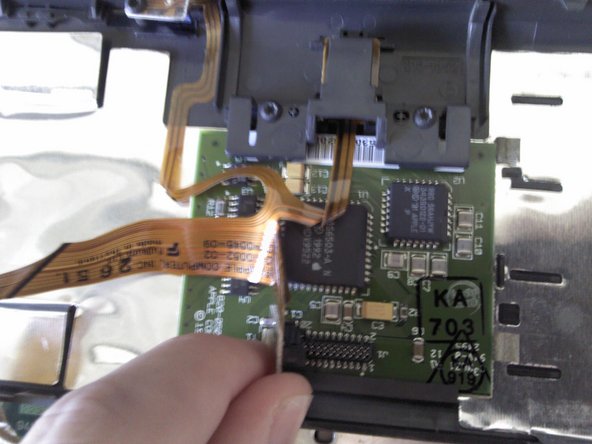

– Grab your trusty Torx #9 screwdriver and gently remove the two .20 in. screws highlighted in red that are keeping the trackpad snug and secure.
– Next, carefully disconnect the ribbon wrapped in the red rectangle that links the trackpad to the laptop. You’ve got this!