
DIY Microsoft Kinect Tilt Motor Replacement Guide
Duration: 45 minutes
Steps: 5 Steps
The tilting mechanism of the Kinect is what lets it track your moves! Thanks to a clever combination of motors and gears, it can shimmy and shake right alongside you.
Step 2


– Time to get your screwdriver out! Start by removing those four 7mm T6 Torx screws.
– Once those screws are out, gently pull off the base to uncover the inner case. You’re doing great!
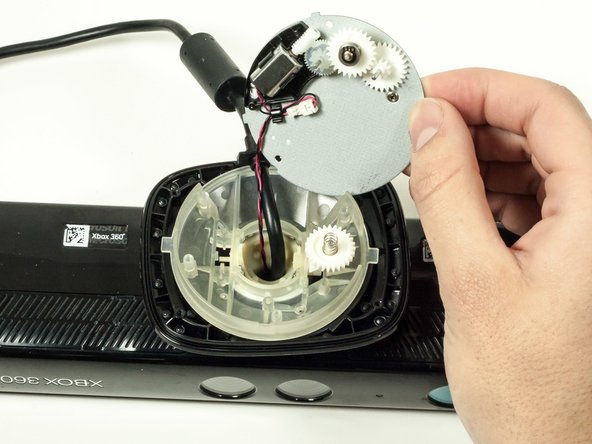
Step 3

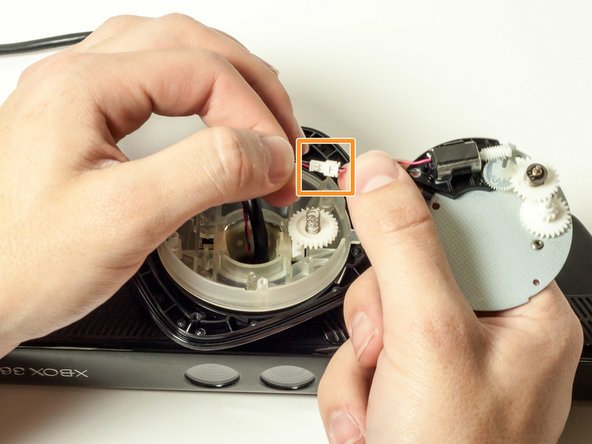
These screws can be a bit tricky, so handle them with care!
– Let’s get started by removing the four 5mm #0 Phillip screws – it’s time to take a peek inside!
– Next, carefully take out the metal plate to reveal the motor and gears. This is where the magic happens!
– Now, gently disconnect the connector to separate the plate from the Kinect. You’re making great progress!
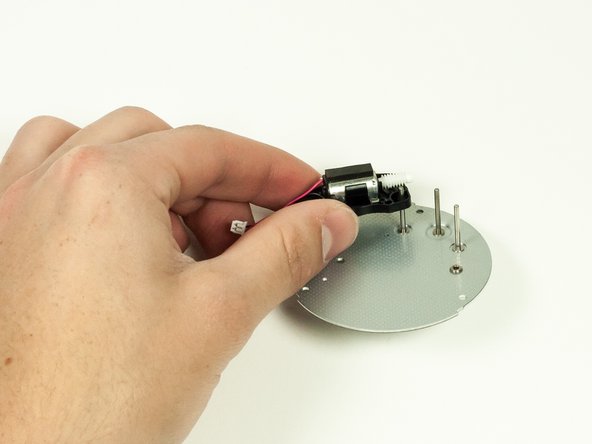
Step 4

– Let’s get those gears outta there! Start with the center gear and work your way out. Three gears down, and we’re makin’ progress!
Step 5

– To put everything back together, just follow these steps in reverse – easy peasy!
– If you didn’t quite get it done, no worries! You can always schedule a repair and let the pros handle it.
– You’re almost done! Take a deep breath, and you’ll be enjoying your freshly repaired device in no time.
Success!
