DIY Microsoft Lumia 435 LCD Display Replacement Guide
Duration: 45 minutes
Steps: 7 Steps
Ready to tackle that pesky broken LCD display on your Microsoft Lumia 435? Let’s get to it! This guide will walk you through disassembling your device and swapping out the damaged screen like a pro. Just remember, if you need help, you can always schedule a repair!
Step 1
– First things first, let’s power down that phone! Safety first, right?
– Next up, pop out the battery and any SIM or memory cards you’ve got in there. Time to clear the space!
– Grab your trusty Torx T6 screwdriver and get ready to unscrew those 4 black screws. Let’s get this party started!
Step 2
– There are a bunch of plastic locking clips keeping the back cover snugly attached to the frame.
– Grab a tool with a sharp edge to pop them open, and then use a plastic tool to gently pry the back cover away.
Step 3
– Unhook:
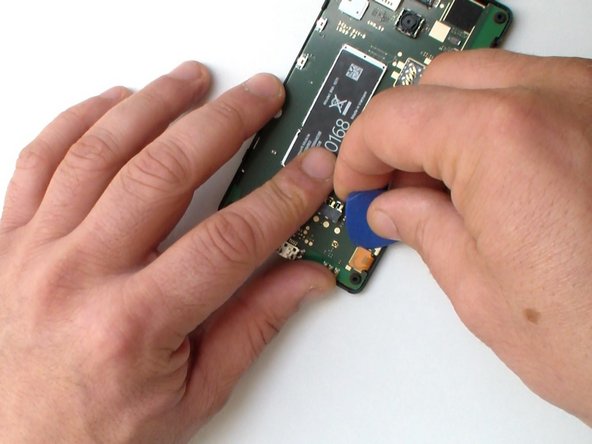
– Grab your trusty plastic tool and gently lift up to release the Logic board. It’s like a little dance—just be smooth about it!
– Carefully disconnect the touch screen flex cable, treating it like the delicate friend it is.
– Now, let’s give some love to the LCD Display flex cable and disconnect it too. You’re doing great!
Step 4
– Here’s a look at the logic board / main board – check out both the front and rear views!
Step 5
– The metal shield for the display is secured to the frame with 4 locking clips.
– Grab a tool with a sharp tip and carefully unlock those clips to free the shield. You’ve got this!
Step 6
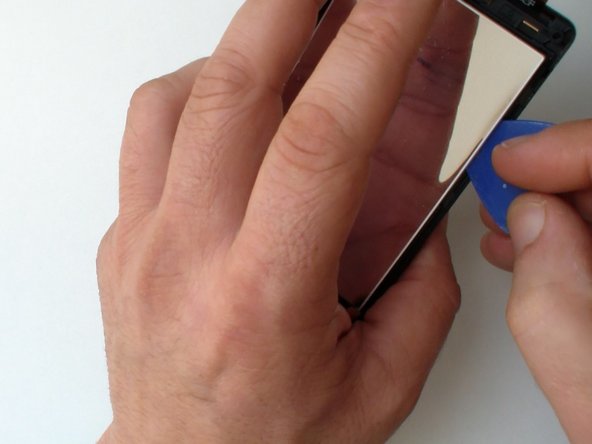
Gently bend the frame just a tad and grab a slim plastic tool to help you pop the display away from the frame. You’ve got this! If you need help, you can always schedule a repair.
– The display is glued to the touch screen glass with some trusty double-sided tape. No worries, we can handle this!
– Grab a hair dryer or a hot air gun and warm up that glass a bit to help the adhesive loosen its grip.
Step 7
– The display is super delicate, so take your time and separate it with care.


