DIY Nintendo DS Lite Lower Screen Replacement Guide
Duration: 45 minutes
Steps: 13 Steps
Heads up! We’ve given this guide a fresh update for you. Dive into the new, official version right here.
Get ready to breathe new life into your device! This step-by-step guide will walk you through the process of removing the lower screen. If you’re feeling stuck or need a little extra help, don’t worry – we’ve got you covered. Follow along and you’ll be a pro in no time. Remember, if you need help, you can always schedule a repair.
Step 1

Grab a Phillips screwdriver to carefully remove that screw. It’s the right tool for the job, so make sure you’ve got one ready to go!
Step 2

Gently pop off the cover and make sure that sneaky Phillips screw doesn’t escape—it’s essential for reassembly.
– Gently pop off the battery cover with the opening tool.
Tools Used

Step 3


For some devices, you can flip the DS over and let the battery drop right into your hand. Easy peasy!
– Grab your opening tool and gently work that battery out of its cozy spot.
– Once you’ve freed the old battery, pop in a new one, making sure it’s facing the same direction as before.
Tools Used
Step 4

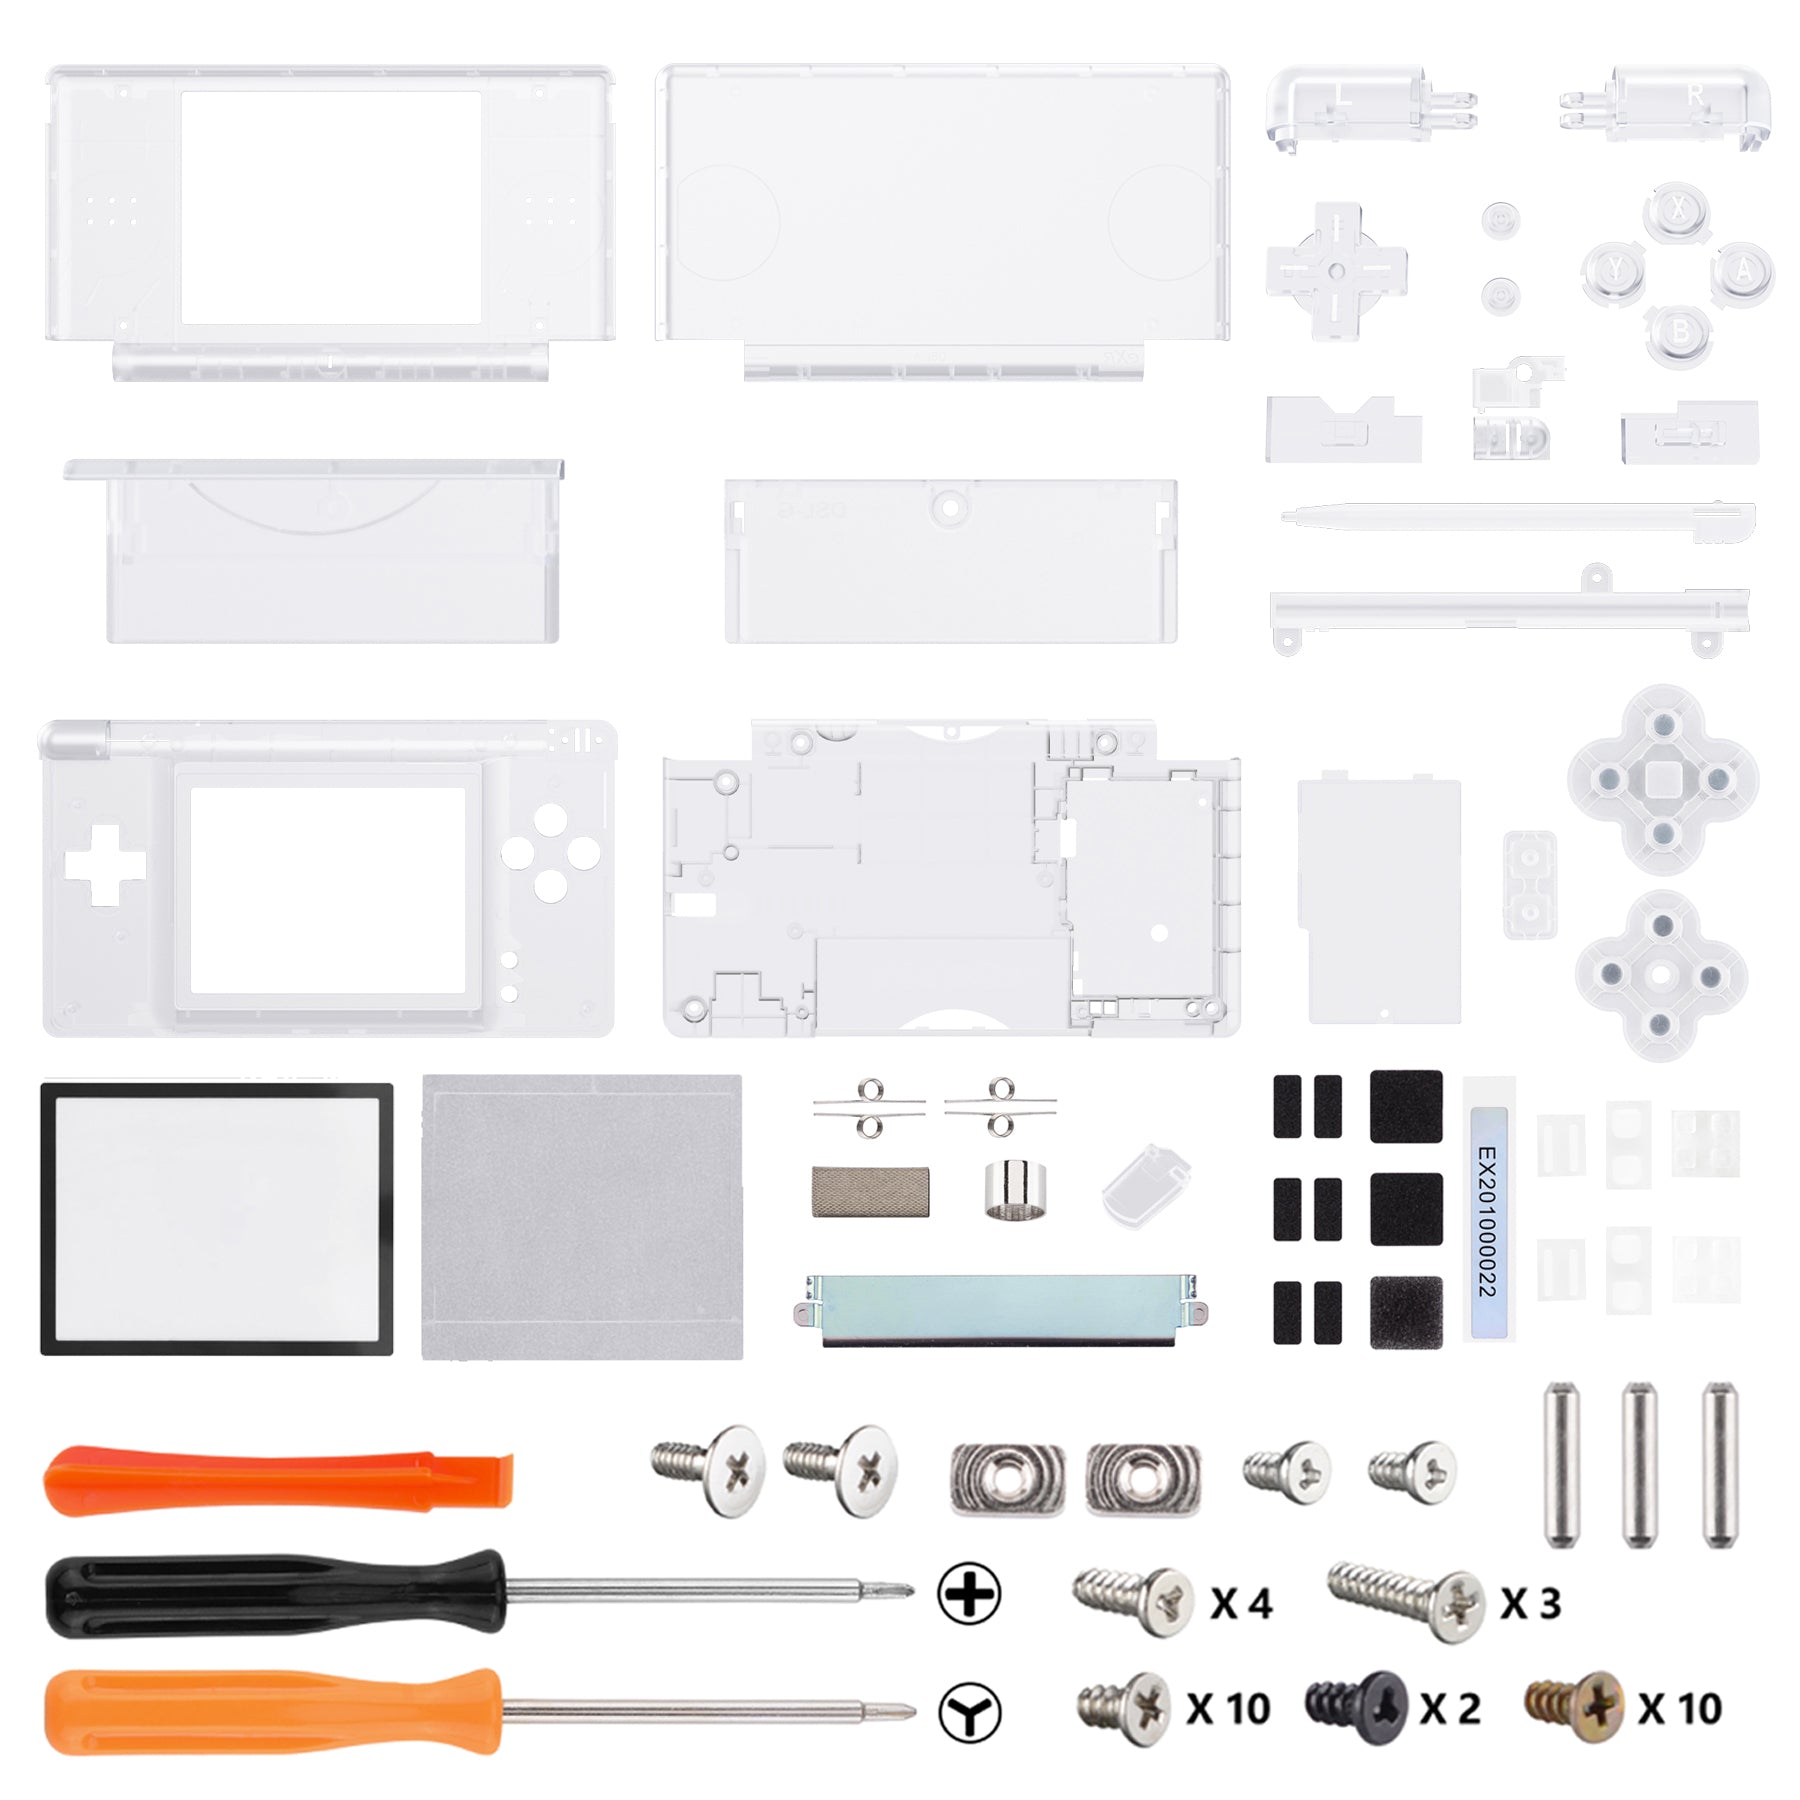
– Time to tackle those screws! You’ll need to remove seven screws that hold the lower case to the DS Lite.
– Hold off on removing the silver PH screw (3mm) in the battery compartment for now—it’s keeping the main PCB snug in place.
– Here’s the breakdown: three silver tri-wing screws (5mm long),
– One black tri-wing screw (4mm),
– Two gold Phillips screws (4mm),
– And one silver Phillips screw (3mm).
Step 5

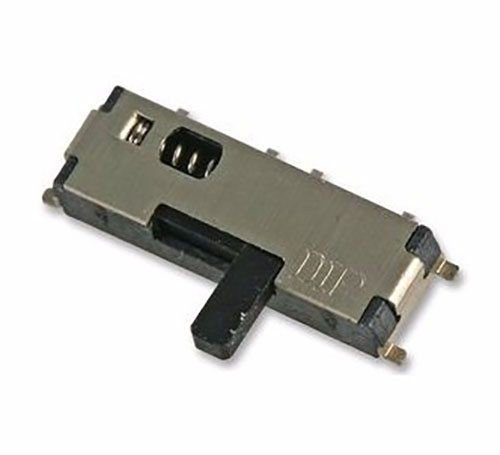
– Between the headphone jack and the volume controls on the front edge of your Nintendo DS, give that plastic insert (or cartridge) a gentle tug and remove it from the lower slot (Slot 2). You’re doing great!
Step 6


– Flip the device over so it’s chilling right-side up.
– Grab your trusty spudger and gently work it into the gap between the bottom case and the front panel. Carefully wiggle around the edges until the panel pops free.
– Hands off the L and R shoulder buttons—they’re like divas and can fall off faster than you can say ‘oops!’ Keep the bottom case nice and flat on your workspace to keep those buttons in check.
Step 7

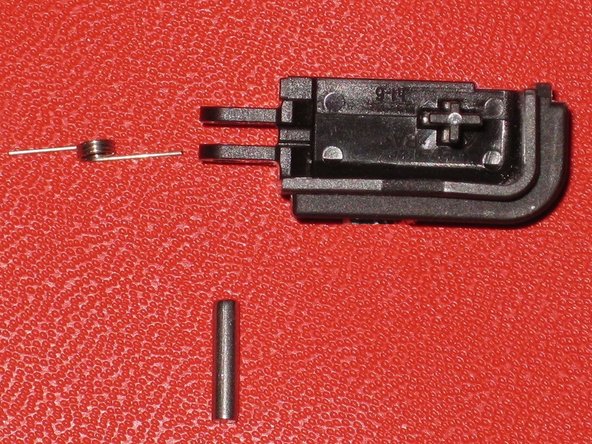
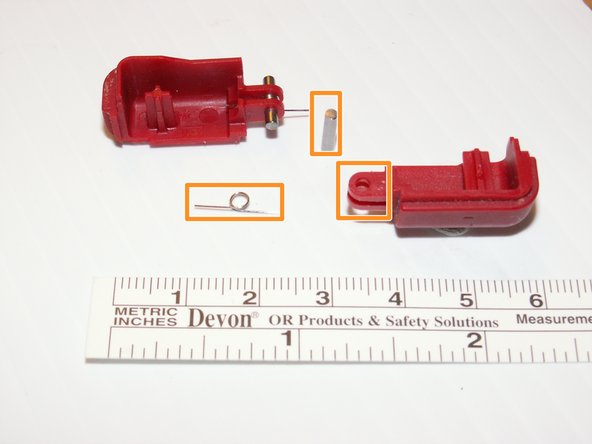
– Gently pull apart the two sections by hand.
– Each shoulder button consists of three parts: the plastic button, a pin, and a spring. If they happen to pop out while you’re working, check the picture and ensure the spring is placed correctly.
– When putting the cover back together, make sure the power switch cover on the bottom case is in the off (down) position to prevent any damage.
Step 8

– Using a Phillips #00 screwdriver, carefully take out the two screws that are keeping the motherboard snugly in place. You’ve got this!
Tools Used

Step 9

The hinges are located close to where the ribbon gets plugged in.
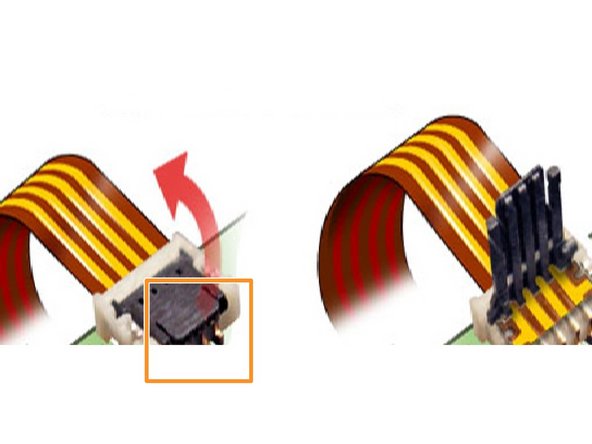
– Find that little ribbon cable connecting the touch screen to the motherboard. Remember, no tugging on this cable!
– Carefully lift the black cover on the connector like you’re unveiling a surprise.
– Once the black cover is up, the ribbon cable will pop right off without any fuss.
Step 10

Heads up! The ribbon cable and a couple of wires are still hooked to the motherboard, plus those buttons have a sneaky habit of popping out.
– Grab a plastic opening tool and carefully pry the motherboard away from the rest of the device. Easy does it!


Step 12

– No yanking on that main ribbon cable.
– Gently lift the tiny hinged cover on the connector.
– The ribbon cable will slide out smoothly.
– Disconnect the third ribbon cable the same way.

Success!