DIY PlayStation 4 Slim Disc Rollers Replacement Guide
Duration: 45 minutes
Steps: 12 Steps
Heads up! Remember to keep your workspace tidy and organized. It helps in avoiding those pesky ‘where did I put that?’ moments during the repair. If you ever feel stuck, don’t hesitate to reach out and schedule a repair for some expert assistance!
Is your game disc having a bit of a drama getting in or out of your PlayStation 4 slim? Don’t worry, I’ve got your back! In this guide, I’ll walk you through accessing your system’s disc rollers so you can give them a good clean or swap them out for a better gaming experience. Plus, I’ll share some tips on handling those tricky plastic welds if your system has them instead of the usual screws. Let’s dive in and get your console back in action! And remember, if you need help, you can always schedule a repair.
Step 1


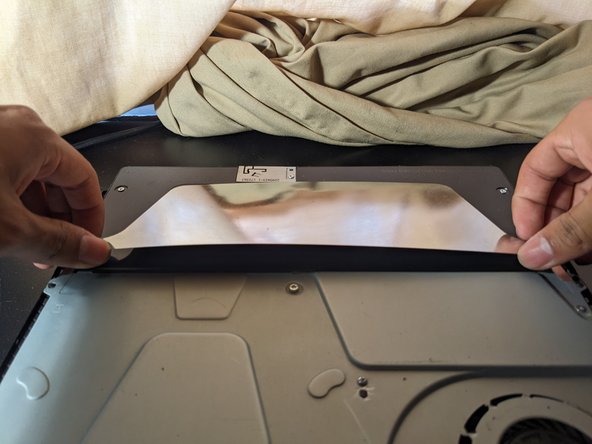
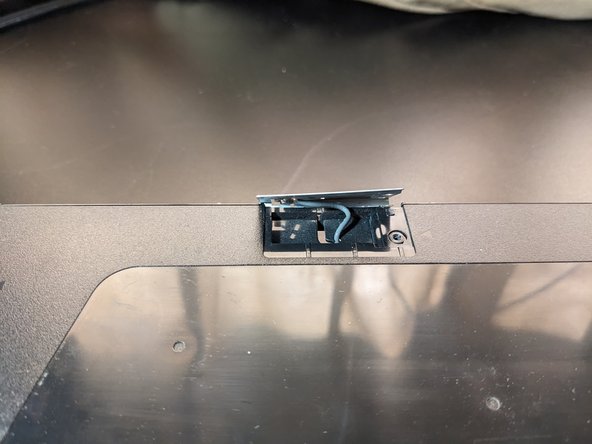
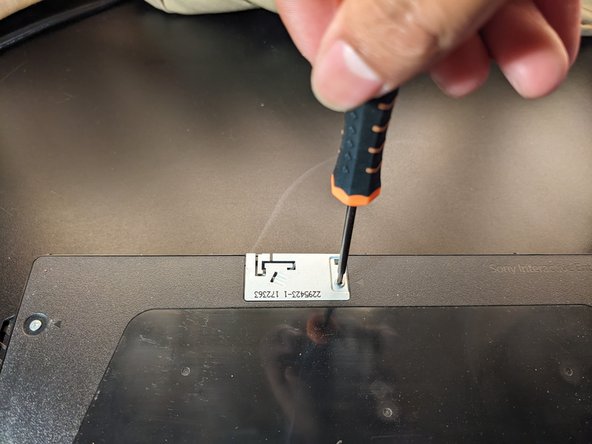
– Flip your device upside down and peel off the warranty sticker next to the three ports.
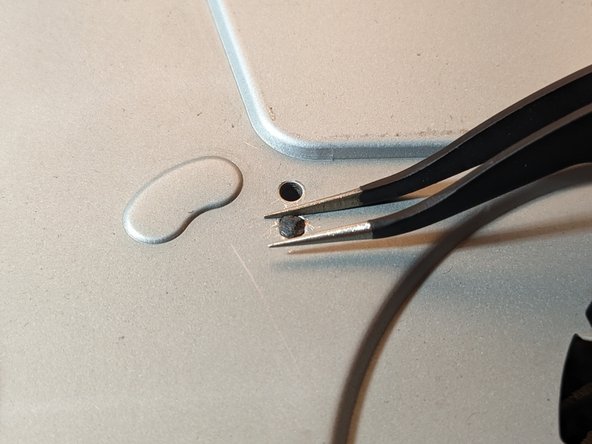
– Use a T8 security Torx screwdriver to unscrew the 5.0mm screw.
Step 2


This might take a little elbow grease, so just take your time and have fun with it!
– In the same position, carefully pop up both corners of the bottom cover until you hear that satisfying click from both sides.
– Keep going by sliding the cover towards the back and then lift it up. If you need help, you can always schedule a repair.
Step 3
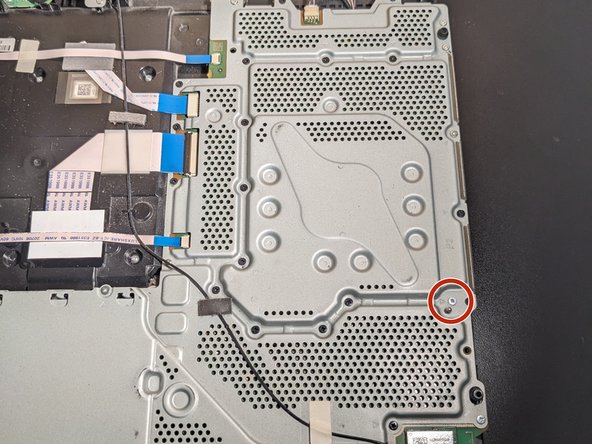

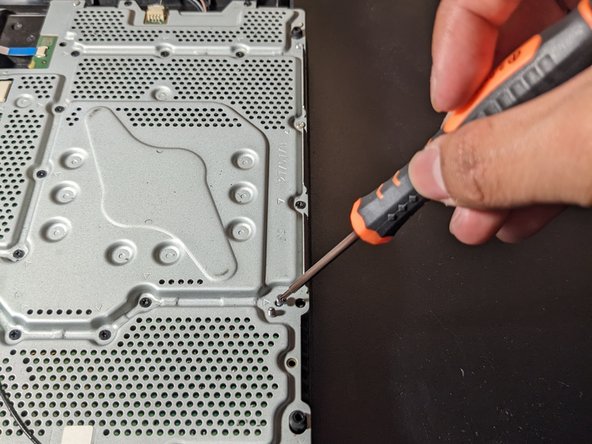
Look for the tiny arrow that’s giving you a friendly nudge towards the screw you need to tackle.
– Find the 4.0mm screw on the right side and grab your trusty Phillips #00 screwdriver to unscrew it. You’ve got this!
Tools Used

Step 4

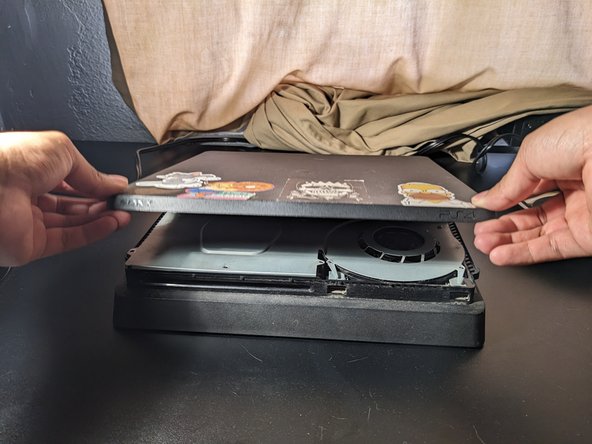
Just like taking off the bottom cover, this part might need a bit of oomph!
– Get your system all snuggled right side up, facing you.
– Gently pop up those front two corners of the top cover like a champ
– Keep the good vibes going by sliding the top cover towards the backside and giving it a lift.
Step 5

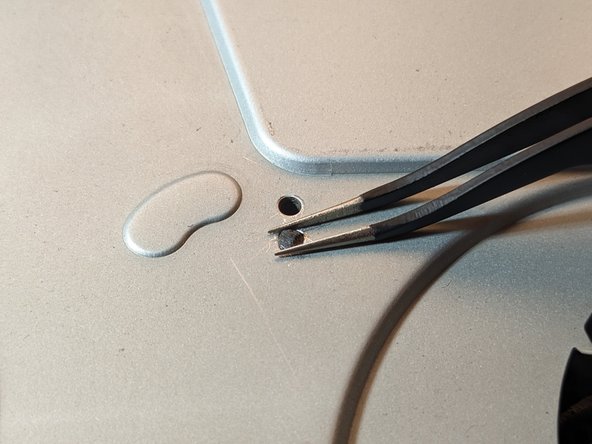
Left screw is 24 mm, right screw is 31 mm. Keep those sizes in mind!
– Grab your T8 screwdriver and get those two screws out to free the metal plate.
– Carefully lift off the metal plate.
Step 6

– Loosen up that 3.0mm screw with a jolly good Phillip #00 screwdriver.
– Give that antenna a little lift, my friend.
Step 7

– Grab your handy Phillips 00# screwdriver and spin those Phillips screws out!
– Give that 31.0mm screw a twist with your trusty T8 screwdriver.
Step 8

If you go a bit overboard with this part, those welded screws might end up too skinny to keep the cover snug. This could lead to a loose metal cover that likes to rattle. So, let’s keep it tight and right!
Using just a tweezer or a metal spludger might take a bit longer, so why not grab a nose plier? It’s likely to be the most effective and quickest tool for the job!
– For those pesky welded plastics, grab either tweezers, a nose plier, or a metal spudger and smooth out the tops until you can lift the metal cover off.
– When putting it back together, press down on the tops of the welds so they’ll hold the cover again. If you need help, you can always schedule a repair.
Tools Used

Step 9
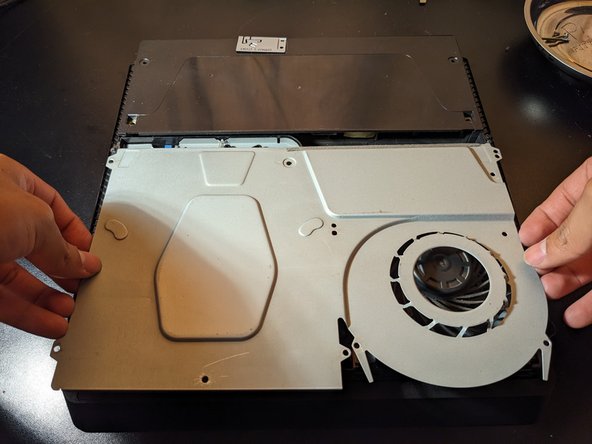

– Gently lift the power supply from its cozy spot holding the metal cover.
– Now, raise the metal cover and smoothly slide it away from the power supply.
Step 10

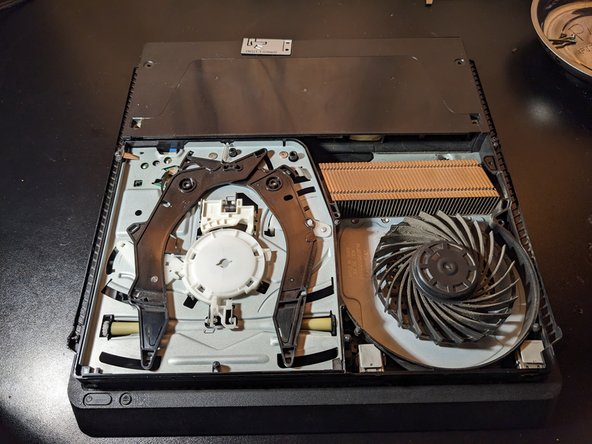
– Grab your trusty Philips 00# screwdriver and unscrew those two 3.0mm screws. You got this!
– Gently lift up that small metal piece like you’re picking up a precious treasure.
– To remove the disc drive, just lift it up from the back side and then slide it out smoothly.
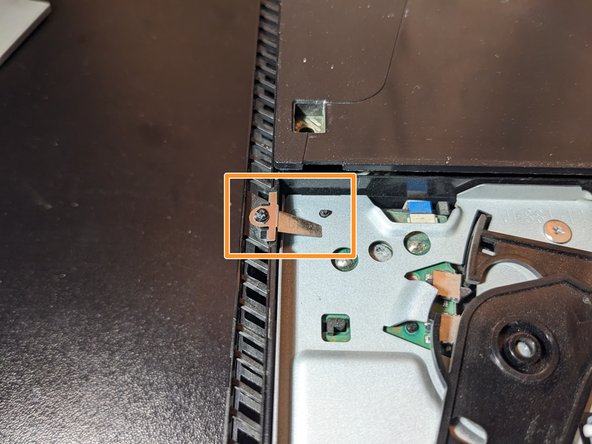
Step 11
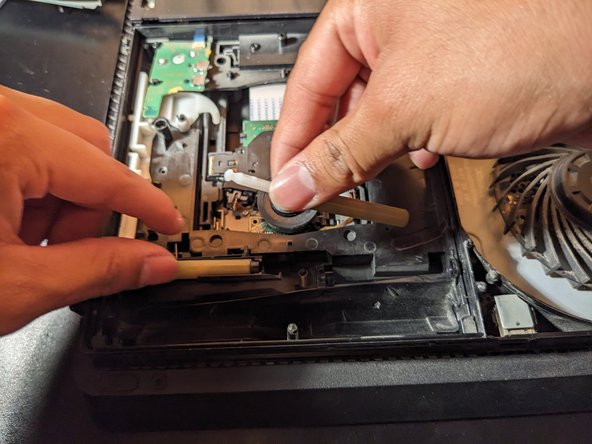

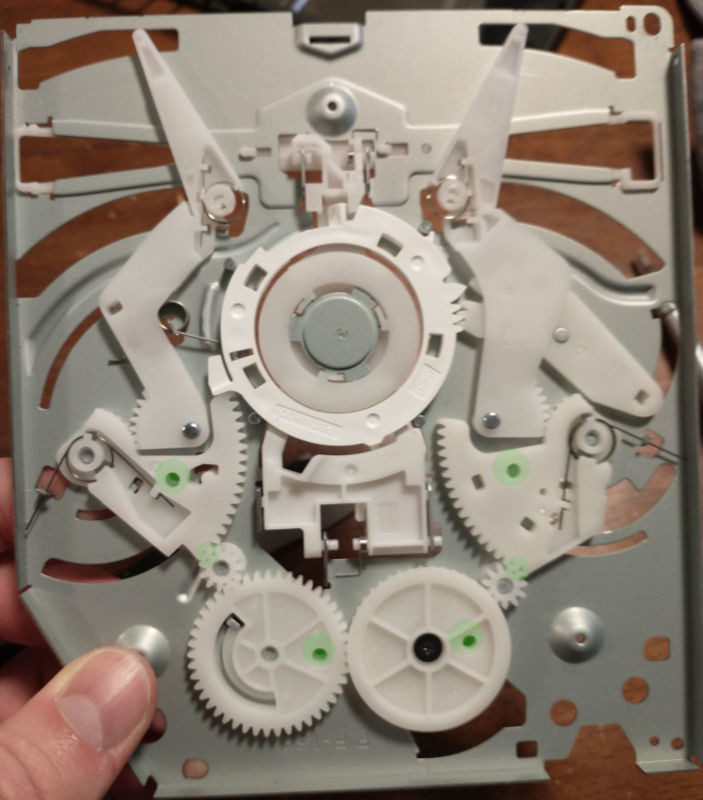
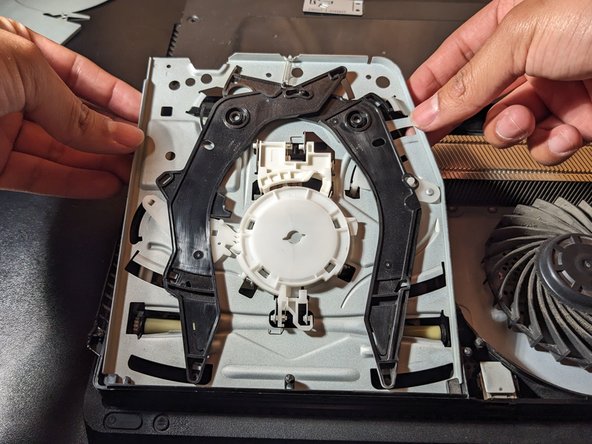
– Ready to show those rollers who’s boss? Go ahead and give that white connector rod a gentle tug upwards.
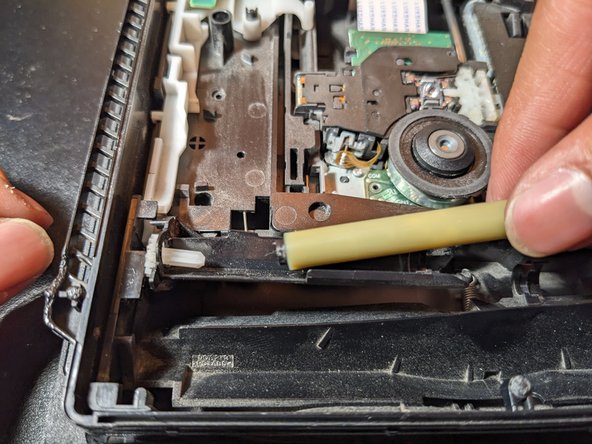
– Next up, effortlessly slide out the left roller from the white small gear. You’re on a roll!
Step 12
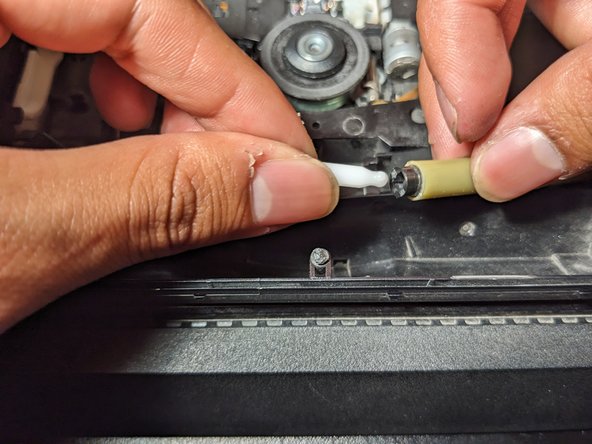


– Alright, let’s get those rollers back in place! Start by popping the left roller onto the white gear and give it a good push until it clicks into position.
– Remember, position the larger black end towards the small white connector rod for both rollers to keep things running smoothly.
– Next up, line up the white connector rod’s ends with the holes on the right roller. Lower the right side of the roller first, creating space to attach the left roller to the white connector rod.
– Press down gently between the white connector rod and the right roller until you hear that satisfying click!

