DIY PlayStation 5 Slim Disc Drive Replacement Guide
Duration: 45 minutes
Steps: 4 Steps
You’ll need to connect to the internet to get your new disc drive all set up and ready to roll. Let’s get this party started!
Ready to swap out that pesky broken disc drive in your PlayStation 5 Slim? This guide’s got your back! Not only can you replace a faulty drive, but if your console is missing one, we’ll show you how to install it too—just grab a new console cover to fit over the drive. If you’re having trouble with disc-based games, Blu-rays, or DVDs, it might be time for a new disc drive. And remember, you’ll need an internet connection to set up and pair your shiny new drive. If you need help, you can always schedule a repair.
Step 1


Hold your horses before diving into the repair adventure!
– Power off your console and unplug every cable and accessory.
– Take off any stands holding your device and set it flat.
Step 2
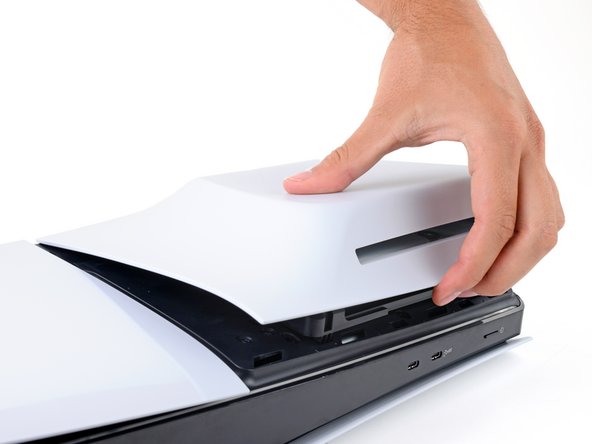

The disc drive cover is held in place by some sneaky little hooks at the back and a few clips at the front. Time to give them a gentle nudge!
As you release those clips, listen for the satisfying ‘pops’—that’s the sound of success!
– Gently lift up the front edge of the disc drive cover to release those clips!
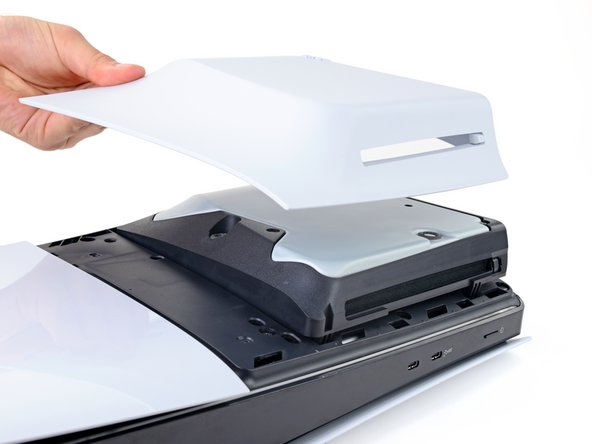
– Off goes the cover!
– When it’s cover-reinstall time, pop those hooks back into their rear cutouts and then press down firmly on the front edge to lock in those three clips.
Step 3
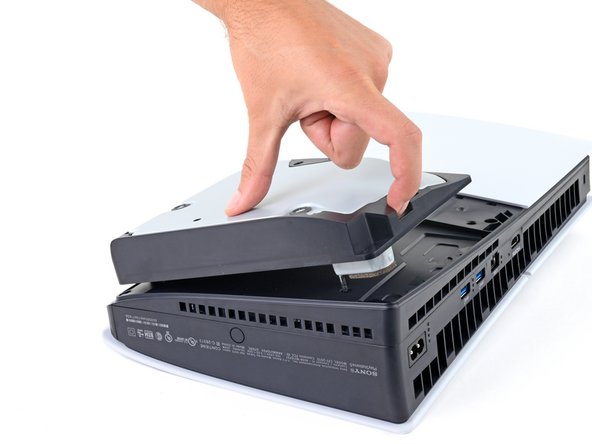

– Hey there! Time to jazz things up a bit. Locate the super cool cutout in the bottom right corner of the disc drive. Use it to lift the right edge like a boss and give it a disconnect high-five.
– Boom! Say goodbye to the disc drive as you remove it with flair.
Step 4


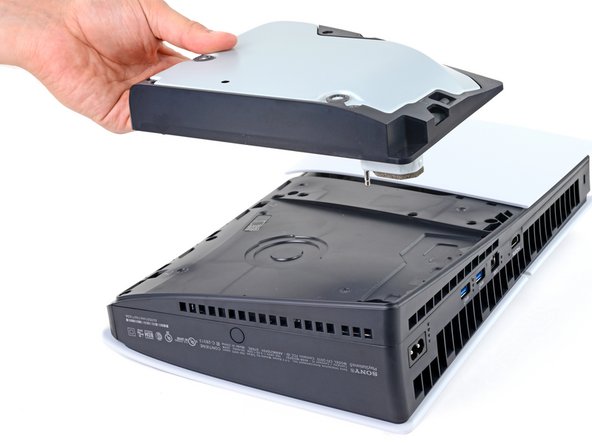
In this step, we’re going to show you how to pop in a disc drive. It’s as easy as pie—just hook it in and socket it up!
Once you’re all set, listen for that satisfying click as it locks into place.
– Slide those hooks on the left side of your drive into their cozy little cutouts on the frame, then gently set the drive down onto your PlayStation.
– Now, give that right edge a solid press so the disc drive connector snuggles nicely into its socket at the bottom right corner.

