DIY Samsung Galaxy A20e Display Assembly Replacement
Duration: 45 minutes
Steps: 12 Steps
Samsung A20e – Broken Screen Replacement: Ready to bring your device back to life? Let’s tackle that shattered screen together! With this step-by-step guide, you’ll be on your way to a fully functioning phone in no time. Remember, if you need assistance, you can always schedule a repair.
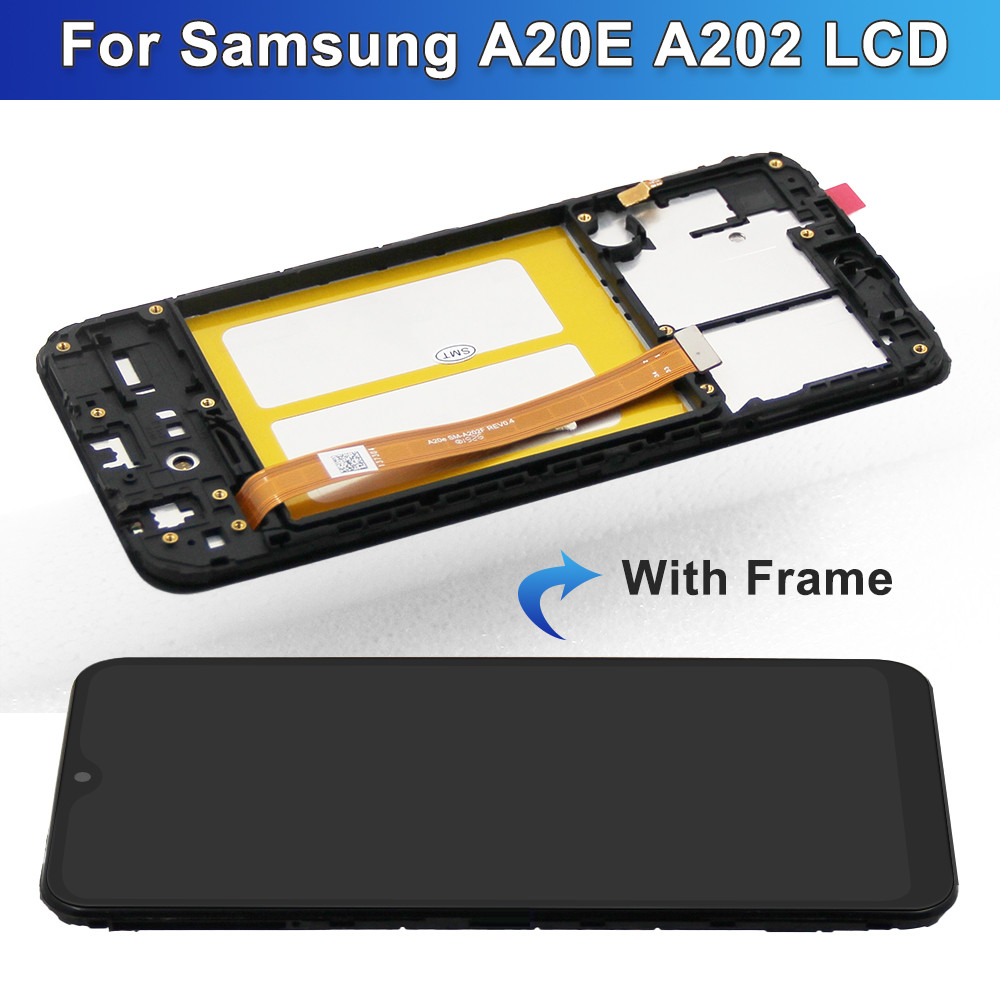
Step 1


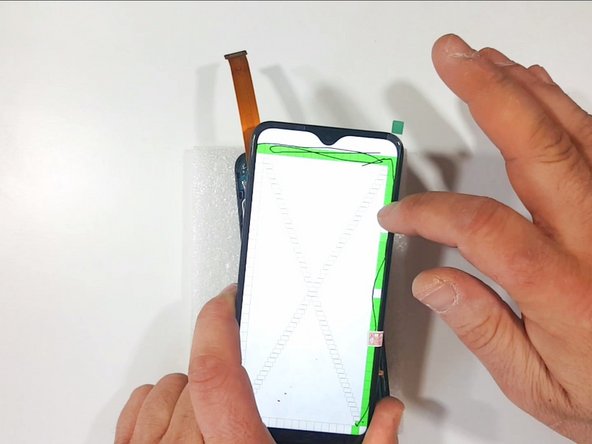
– This is the Display Touch Screen Assembly nestled in its Frame
Step 2


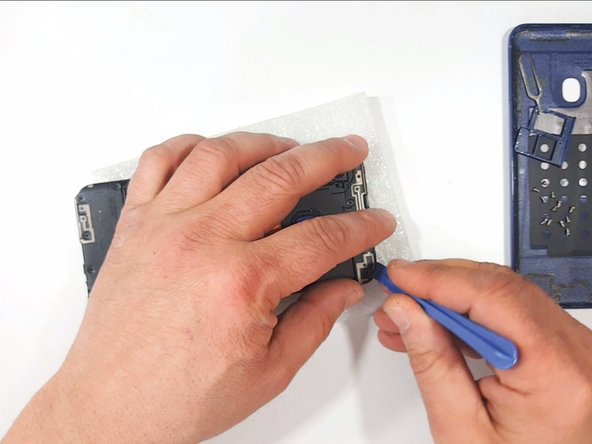
– Let’s start by popping out the SIM tray.
– Grab your trusty plastic opening tool and gently work on removing the back cover.
– As you lift off the back cover, give the Touch ID a little press to help it break free from the cover.
Step 3

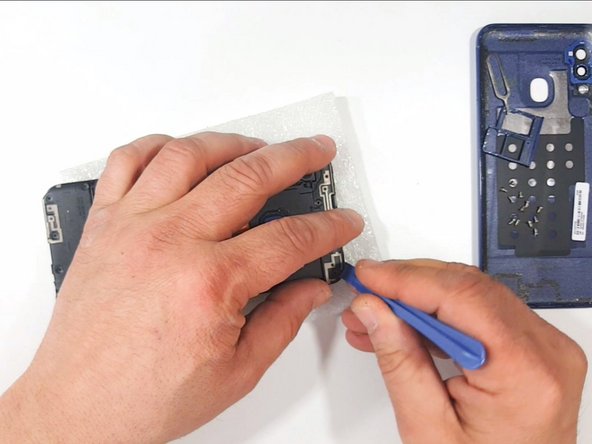
– Grab your trusty Phillips Screwdriver and unscrew all those little screws like a pro!
– Now, it’s time for the Plastic Opening Tool:
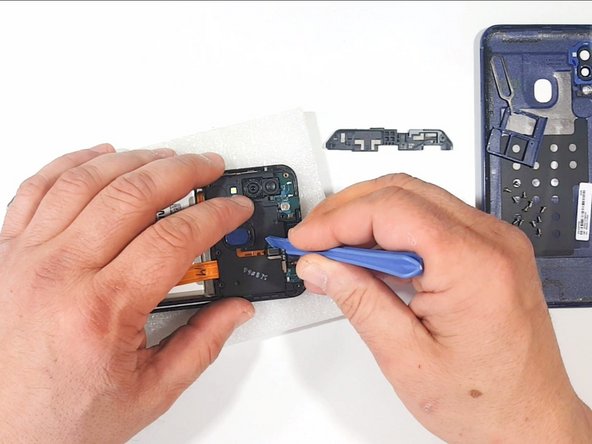
– Gently lift off the Antenna Assembly and set it aside.
– Carefully disconnect and remove the Touch ID Fingerprint Sensor, and you’re on your way!
Step 4


– Time to get that Logic Board Plastic Cover off! Let’s peel it away and see what’s inside.
– Now, let’s tackle the Sup-board Plastic Cover. Give it a gentle nudge and remove it with care!
Step 5
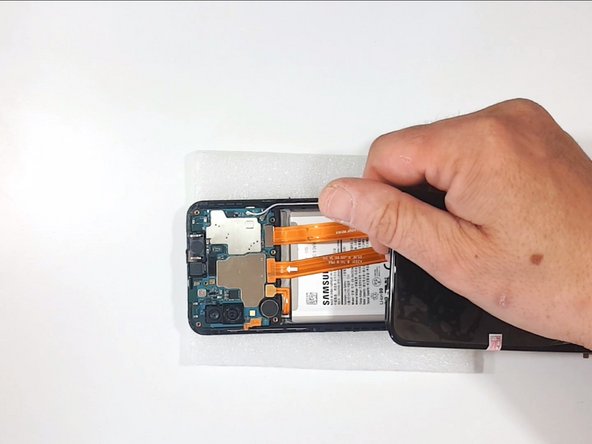

Hey there! Just a friendly reminder to unplug that battery before diving into your device. Safety first, right?
– Let’s give that new spare part a whirl and see how it performs!
Step 6

Time to give your device a little break! Unplug that battery and let’s keep things safe while we work our magic. If you need help, you can always schedule a repair.
– Unplug the Sup-board Flex Cable, easy peasy!
– Gently disconnect the Coaxial Antenna Cables. Take your time here, as they’re a bit delicate and could get damaged if you’re not careful.
Step 7

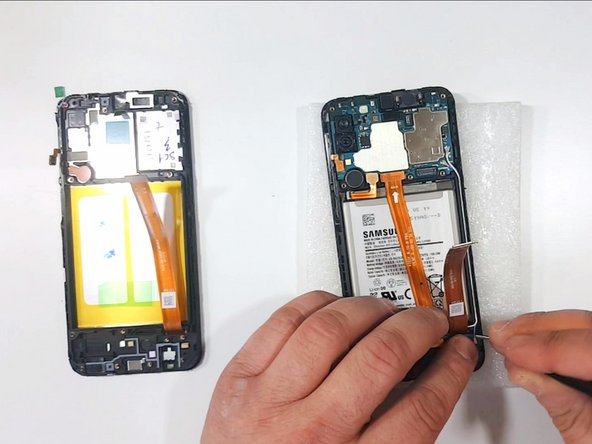
– Let’s get that Sup-board Flex Cable out of the way!
– Time to disconnect the Volume buttons Flex Cable – you got this!
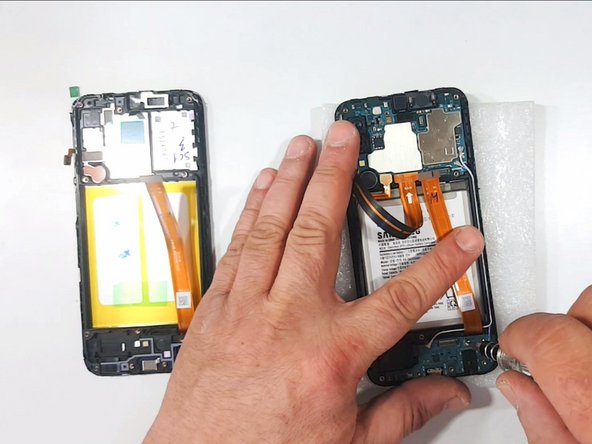
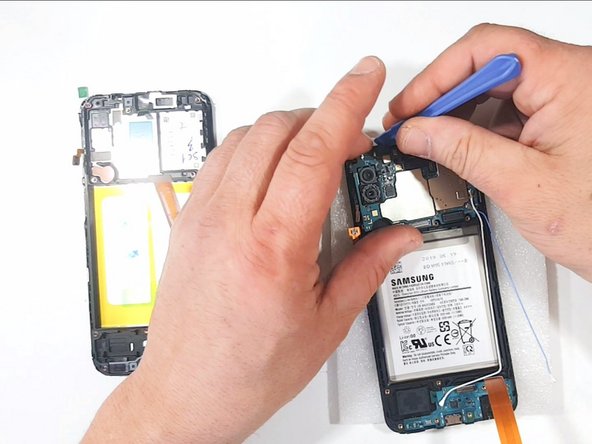
– Now, carefully lift out the Logic board. Just watch out for those little cameras; they can be sneaky!
Step 8


Using plastic tools is a wise choice!
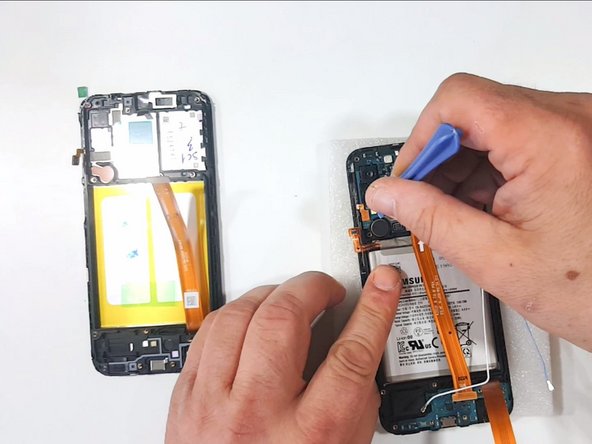
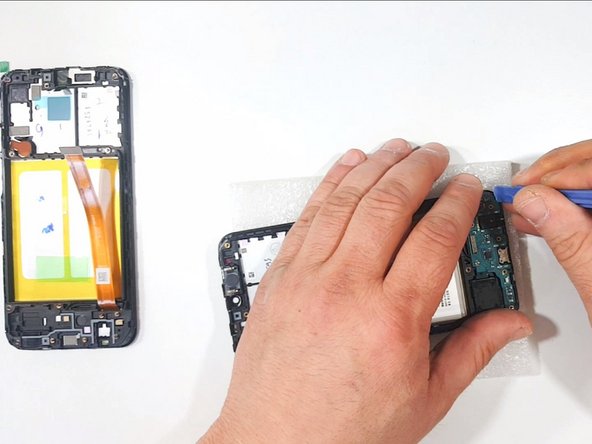
– Warm up the adhesive with some hot air, and then kindly coax the sub-board out of its cozy spot.
Step 9

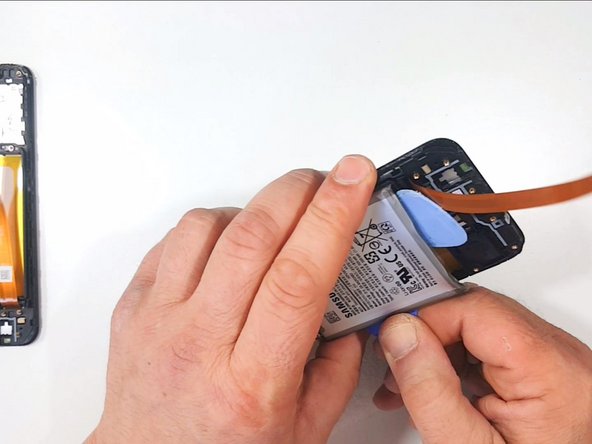
– To pop that battery out, just add a few drops of alcohol and give your device a little warmth. You’ve got this!
Step 10

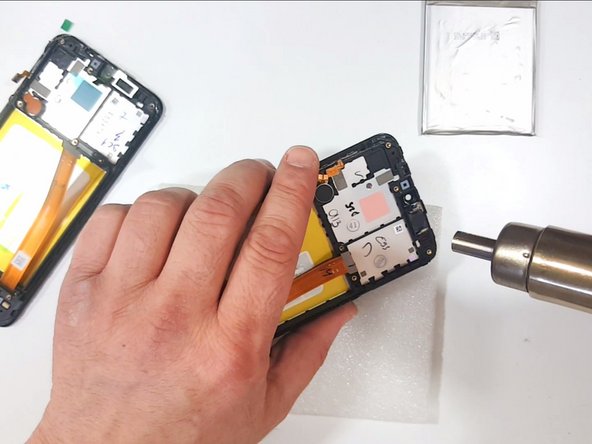
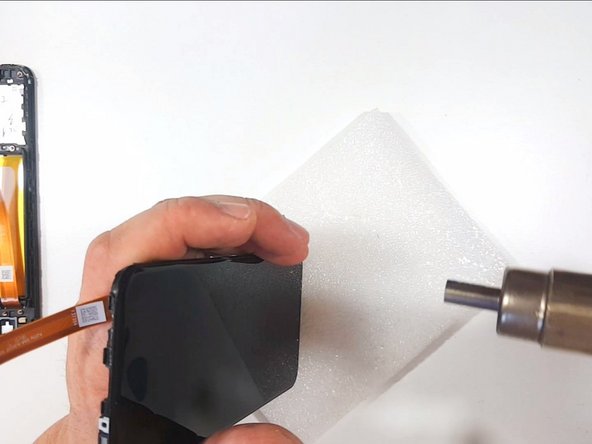
Heat things up with a little hot air for a smooth and easy fix!
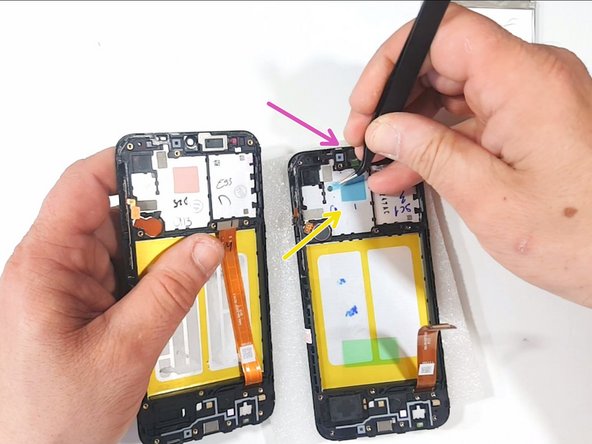
– Time to make some moves! Let’s transfer these components:
– Carefully peel off the transport tapes from:
– Receiver
– Vibromotor
– Loudspeaker
– Silicon Thermal Pad
– Front Camera Hole

Step 12

– Everything’s peachy when it wraps up nicely!