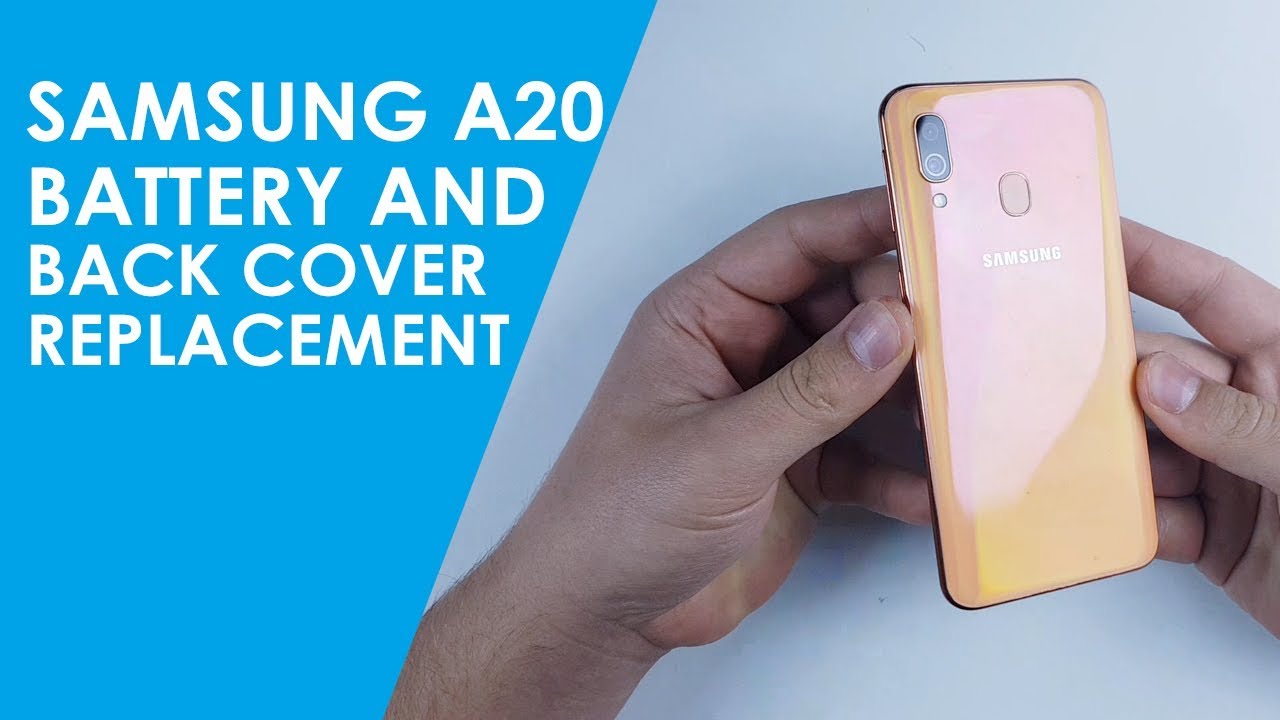
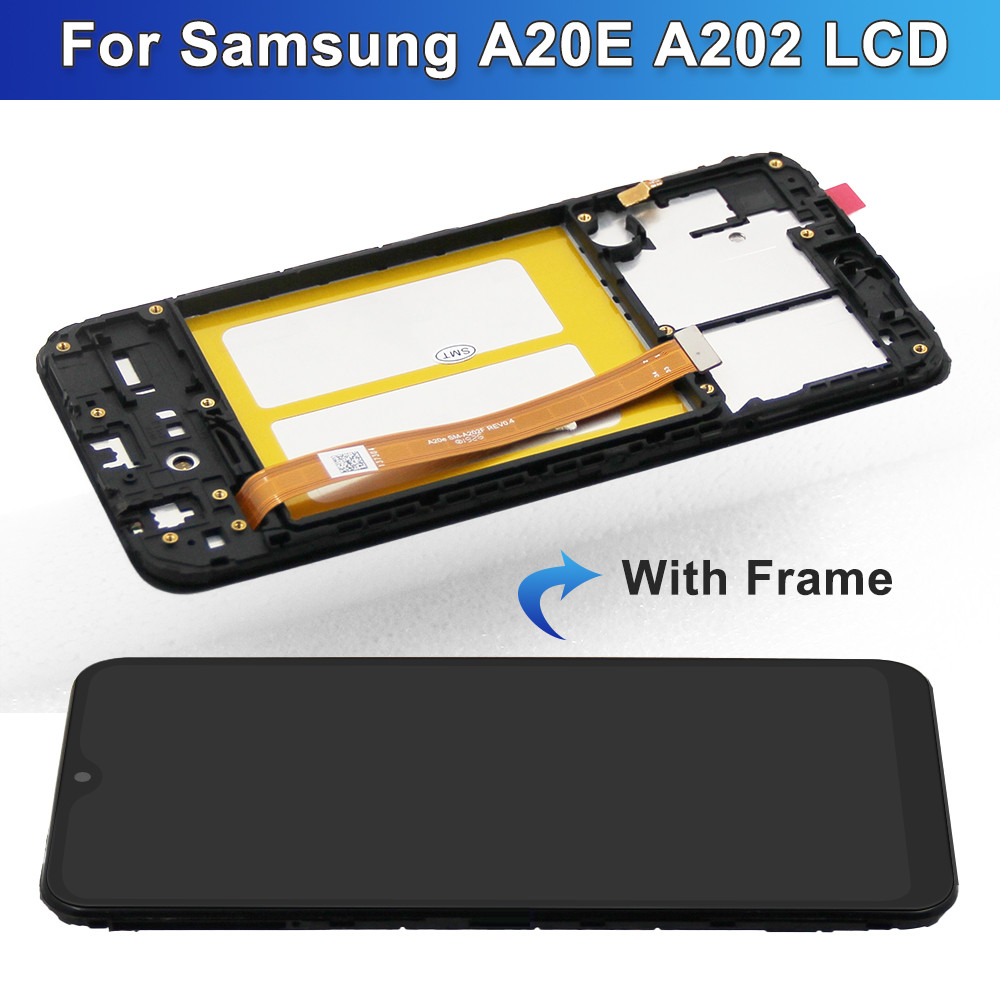
DIY Samsung Galaxy A20e Display Replacement Guide
Duration: 45 minutes
Steps: 10 Steps
Did your Galaxy A20e take a tumble, leaving the glass or LCD in pieces? No worries! This guide is here to help you swap out the display assembly and get your device back in shape. If you need help, you can always schedule a repair.
Step 1


– Pop out the SIM and MicroSD tray like a pro!
Step 2


Watch out if you’re using a Jimmy! Since they’re made of metal, they can easily break internal components. It’s a much better idea to grab a plastic utensil instead!
– Time to get that back cover off! Grab a thin blade or a Jimmy and gently wedge it between the display frame and the cover. Carefully unclip it all the way around – you’re doing great!
– Next up, slide that Jimmy right between the display frame and the side shell. Move it along the edge to fully separate those two parts. You’ve got this! And remember, if you need help, you can always schedule a repair.
Tools Used

Step 3

– Unplug the Fingerprint scanner, and let’s get this party started!
Step 4

– Grab your trusty Philips #00 screwdriver and let’s get to work! Remove the 13 screws that are holding down the inner cover, and we’ll be one step closer to the fix.
Step 5


– It’s time to gently take off the upper and lower covers—these little guys are protecting the logic board and speaker, respectively. You’ve got this!
Step 6


Before moving on to the next steps, make sure to unhook that lower logic board ribbon cable from the lower board too. Trust us, it’s important!
You’ll notice an arrow on the ribbon cable that connects the lower board to the logic board. When you’re putting it back together, just remember that arrow needs to point towards the main board. Easy peasy!
– Let’s gently lift up these four connectors, shall we?
– First up, the battery connector;
– Next, the display connector;
– Don’t forget the power / volume buttons;
– And last but not least, the lower logic board connector.
Step 7

Avoid giving your battery the squeeze or poke treatment!
If you find yourself needing to apply a bit more elbow grease than expected, and you’re worried about bending or damaging the battery, just go ahead and add a little extra alcohol.
– Gently lift the battery out by applying a few drops of alcohol underneath it and letting it chill there for about a minute. This will help loosen that pesky double-sided adhesive keeping it snug!
– When putting everything back together, don’t forget to add some fresh double-sided tape to keep the battery securely in its new home.
Step 8


– Let’s kick things off by disconnecting those two snazzy blue and white antenna wires. You’ve got this!
– Keep track of where those wires go when it’s time to put everything back together. A little memory game never hurt anyone!
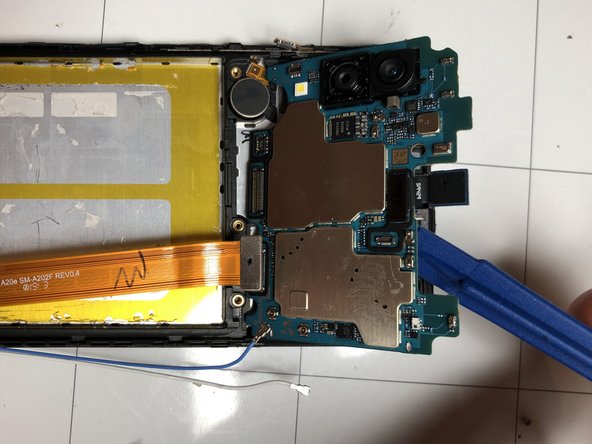
– Next up, gently lift the motherboard from the top. It’s like a delicate dance, so take your time.
– Now for the microphone – it’s a bit shy and glued in place, so be extra gentle. A little warmth can help loosen it up, making it easier to remove.
Step 9

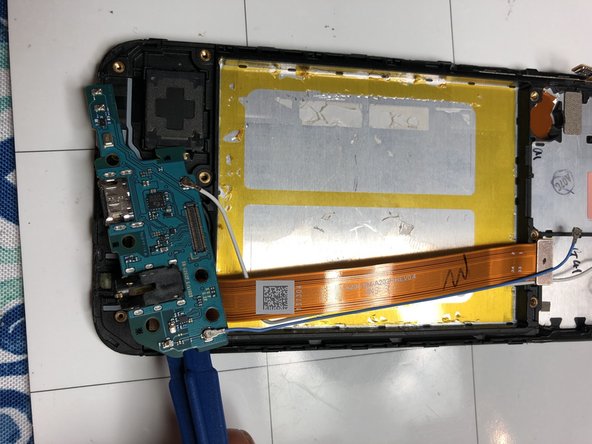

– Gently coax out the vibration motor that’s glued in there by applying a little heat – just enough to loosen it up!
– Carefully detach the lower motherboard; it’s time for it to take a little break.
– With a touch of heat, help the speaker that’s stuck on there to pop off smoothly.
Step 10


– Now that you’ve successfully removed the component, it’s time to bring everything back together! Start by carefully placing the components onto the shiny new display. You’ve got this!