DIY Samsung Galaxy A32 5G Screen Replacement Guide
Duration: 45 minutes
Steps: 27 Steps
Make sure to run that battery down to below 25% before you dive in!
Just a friendly reminder:
Ready to give your Samsung Galaxy A32 5G a new lease on life? This guide will help you swap out that cracked or broken screen like a pro! If your frame is a bit wonky, don’t forget to replace it, too—your new screen deserves a solid foundation to avoid any future drama from uneven pressure. And hey, if your battery looks like it’s been through a tough workout, handle it with care! Remember to keep that battery below 25% before diving in—safety first! A punctured battery can be a party pooper, but discharging it really reduces the risk. Just a heads up: this guide focuses on replacing just the screen while keeping the original frame and motherboard intact. Some replacement screens come with a shiny new frame (or chassis), and that’s a whole different ball game. Make sure you’ve got the right part before jumping in! And don’t forget to grab some replacement adhesives for both the rear glass and the screen before you start your repair adventure. If you need help, you can always schedule a repair.
Step 1
Feel free to use a hair dryer, heat gun, or hot plate to help out, but keep it cool! Overheating can be a bummer for your phone—both the display and internal battery can be sensitive to heat. If you need help, you can always schedule a repair.
– Grab your trusty iOpener and give it a warm hug on the back cover for at least two minutes. This will help loosen up that sticky adhesive hiding underneath, making your repair journey much smoother!
Step 2
If your back cover is looking a bit worse for wear with cracks, the suction handle might not be your best friend right now. No worries! You can give it a go with some sturdy tape, or for a stronger bond, superglue that suction handle in place and let it cure before you continue.
Having a tough time creating a gap? No sweat! Just add a little more heat to help soften the adhesive further. Remember to follow the iOpener instructions closely to keep things from getting too hot to handle.
– Grab a suction handle and attach it to the lower edge of the back cover, getting as close to the edge as you can.
– Gently pull the back cover using the suction handle to create a tiny gap between the cover and the frame.
– Slide an opening pick into that little gap you’ve just made.
– Carefully glide the opening pick towards the bottom right corner to cut through the adhesive.
– Keep the opening pick in place so the adhesive doesn’t seal back up.
Tools Used
Step 3
– Pop in a second opening pick at the bottom edge of your phone.
– Gently glide that pick over to the bottom left corner to cut through the adhesive.
– Keep those opening picks right where they are to make sure the adhesive doesn’t decide to seal itself back up.
Step 4
If the adhesive is giving you a bit of a tough time and feels hard to cut, it probably just needs a little love. Grab your iOpener and give it a gentle reheat for about one to two minutes to get things back on track.
– Pop in a third opening pick right at the bottom left corner of your phone.
– Gently glide that pick along the left edge to cut through the adhesive like a boss.
– Keep the pick snugly in the top left corner to stop that adhesive from sealing back up.
Tools Used
Step 5
– Pop a fourth opening pick right under the top left corner of your phone.
– Gently glide that opening pick along the top edge to cut through the adhesive.
– Keep the opening pick stuck in the top right corner to stop the adhesive from sticking back together.
Step 6
– Pop a fifth opening pick right under the top right corner.
– Gently glide that pick along the right side of the back cover to cut through the last bit of adhesive.
Step 7
– Start by gently popping off the back cover—it’s like peeling a banana, but for your device!
– Next up, grab some isopropyl alcohol (make sure it’s over 90%) and give those areas a good clean. Once that’s done, apply fresh adhesive wherever it’s needed. Your device will thank you!
– Now, let’s stick that new back cover on! Use some pre-cut adhesive or double-sided tape to secure it. Once it’s in place, apply firm, steady pressure for a few minutes. A stack of heavy books can help—it’s like giving your phone a cozy hug!
Step 8
– Grab a SIM card eject tool, a SIM eject bit, or even a straightened paper clip and gently slide it into the tiny hole on the SIM tray at the left edge of your phone. You’re doing great!
– Now, give that hole a little push to pop out the SIM card tray. You’ve got this!
– Carefully pull out the SIM card tray and take a moment to appreciate your handiwork.
Tools Used
Step 9
– Grab your trusty Phillips screwdriver and carefully unscrew the sixteen 4.1 mm-long screws that are holding the midframe in place. You’ve got this!
Step 10
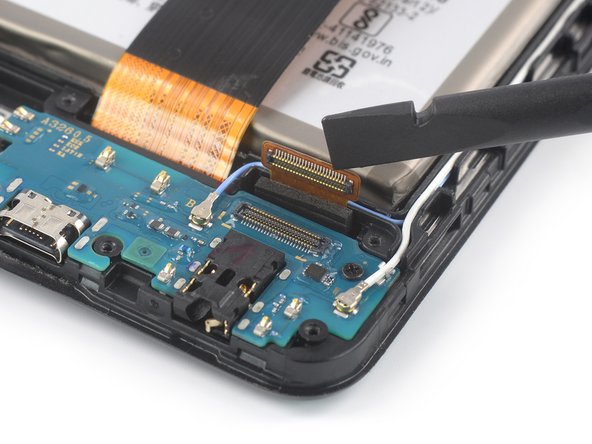
– Grab your trusty spudger and gently pop that power and volume button flex cable free by lifting the connector straight up from its cozy socket. You’ve got this!
Tools Used
Step 11
The midframe of the Samsung Galaxy A32 5G is secured with handy plastic clips, keeping everything snug and tight.
– Gently slide an opening pick into the gap between the midframe and the front panel assembly on the left side of your phone, right where the SIM tray is hanging out. You’ve got this!
Step 12
The midframe’s plastic clips are snug as a bug! Getting them to release might take a bit of elbow grease, so don’t be shy about using some muscle.
– Gently glide the opening pick down the left side of your phone to pop those pesky plastic clips loose.
Step 13
– Gently maneuver the opening pick around the bottom left corner like a pro!
– Carefully glide the opening pick along the bottom edge of your device to pop those plastic clips loose.
Step 14
– Gently glide the opening pick around the bottom right corner like you’re painting a masterpiece.
– Now, slide that pick along the right edge of the phone to pop those plastic clips free. It’s like giving your phone a little tickle!
Step 15
– Gently maneuver the opening pick around the top right corner like a pro.
– Carefully glide the opening pick along the top edge of your device to pop those stubborn plastic clips free!
Step 16
– Set your phone down gently on its face, resting comfortably on your workspace.
– Carefully take off the midframe and reveal the magic inside!
Step 20
The display adhesive on your Galaxy A32 5G has a serious grip, so you’ll probably want to give that iOpener a few rounds of reheating and reapplying before you dive into the display removal and throughout the process.
Feel free to use a hair dryer, heat gun, or hot plate, but just a friendly reminder to keep an eye on the heat so you don’t accidentally cook your device!
Step 21
Got a seriously cracked screen? No worries! Slapping on a layer of clear packing tape might just give that suction cup a fighting chance to stick. If you’re feeling adventurous, some heavy-duty tape could do the trick in place of the suction cup. And if it’s a total no-go, a little superglue on the suction cup can help it cling to your screen like a champ!
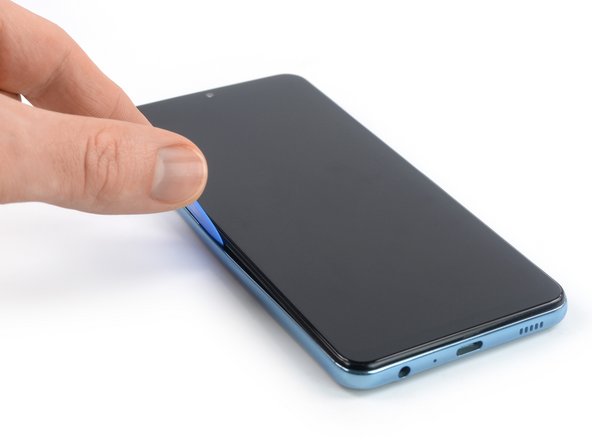
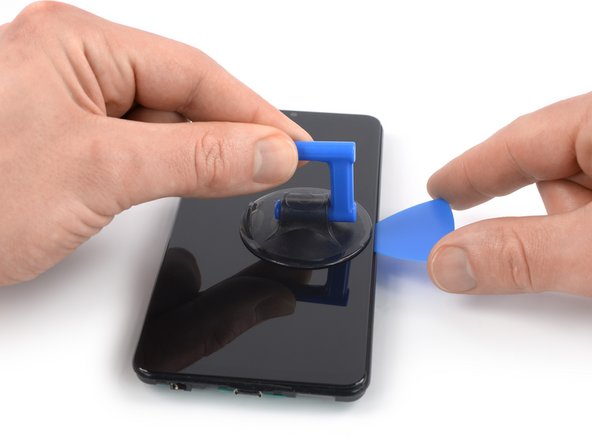
– When your screen feels warm and cozy, grab a suction cup and stick it onto the right edge of the screen.
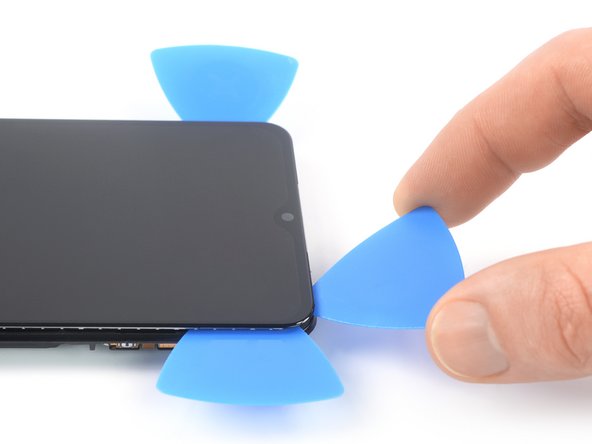
– Gently pull the screen using the suction handle to open up a tiny gap between the screen and the front panel assembly.
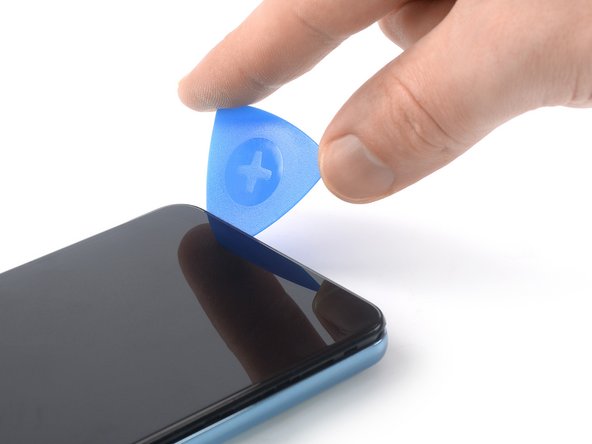
– Slide an opening pick into that gap you’ve just made between the front panel and the screen.
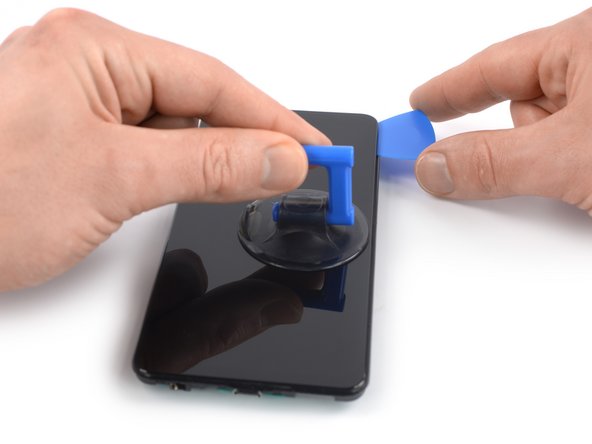
– Carefully glide the opening pick up to the top right corner of the screen to slice through the adhesive holding it in place.
– Keep that opening pick right where it is to stop the adhesive from sealing back up.
Tools Used
Step 22
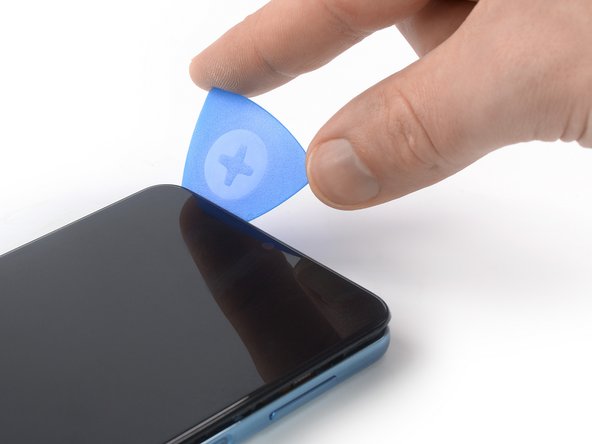
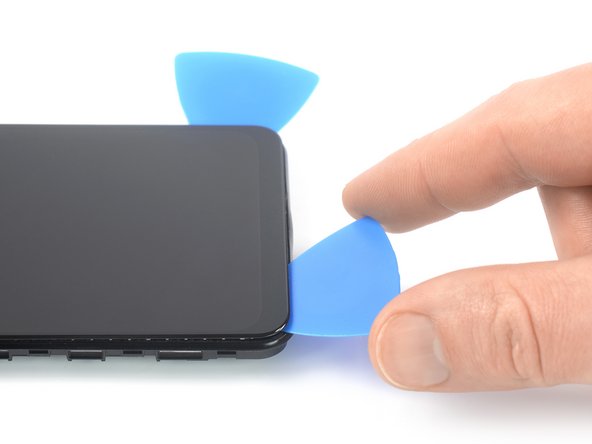
– Pop in a second opening pick right where the front panel assembly meets the screen.
– Gently glide that pick to the bottom right corner of the screen to cut through the adhesive like a pro.
– Keep the opening pick in there to stop the adhesive from playing tricks and resealing.
Step 23
– Grab a third opening pick and slip it right under the bottom right corner of the screen. You’re doing great!
– Now, gently slide that pick over to the bottom left corner to cut through the adhesive like a pro.
– Keep that opening pick in place to make sure the adhesive doesn’t get any funny ideas about resealing.
Step 24
– Grab that fourth opening pick and slide it under the bottom left corner. Now, glide it along the left edge of the phone to cut through that stubborn adhesive!
– Keep that pick right where it is to stop the adhesive from making a comeback.
Step 25
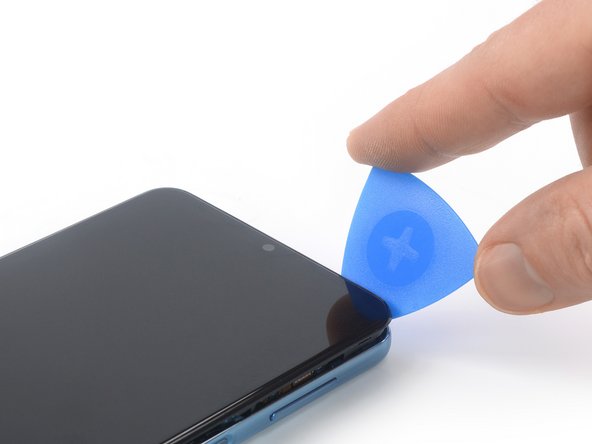
When you’re slicing close to the front-facing camera, just slide in the tip of that opening pick (about 2-3 mm) to keep the camera safe and sound.
– Pop in a fifth opening pick at the top left corner of the screen, just like a pro!
– Gently slide that pick along the top edge of your device and slice through the leftover adhesive like a boss.
Step 26
– Gently slide the screen and digitizer flex cables through the little opening in the front panel assembly. You’ve got this!
Step 27


