DIY Samsung Galaxy A51 Screen Replacement Guide: Step-by-Step
Duration: 45 minutes
Steps: 7 Steps
Hey there! Ready to tackle that Samsung Galaxy A51 screen replacement? Let’s dive in and get your device back in action. Follow these steps to disassemble your phone like a pro and swap out that broken screen. Remember, if you need help, you can always schedule a repair.
Step 1


– Get ready to swap in your shiny new spare part for the Samsung Galaxy A51!
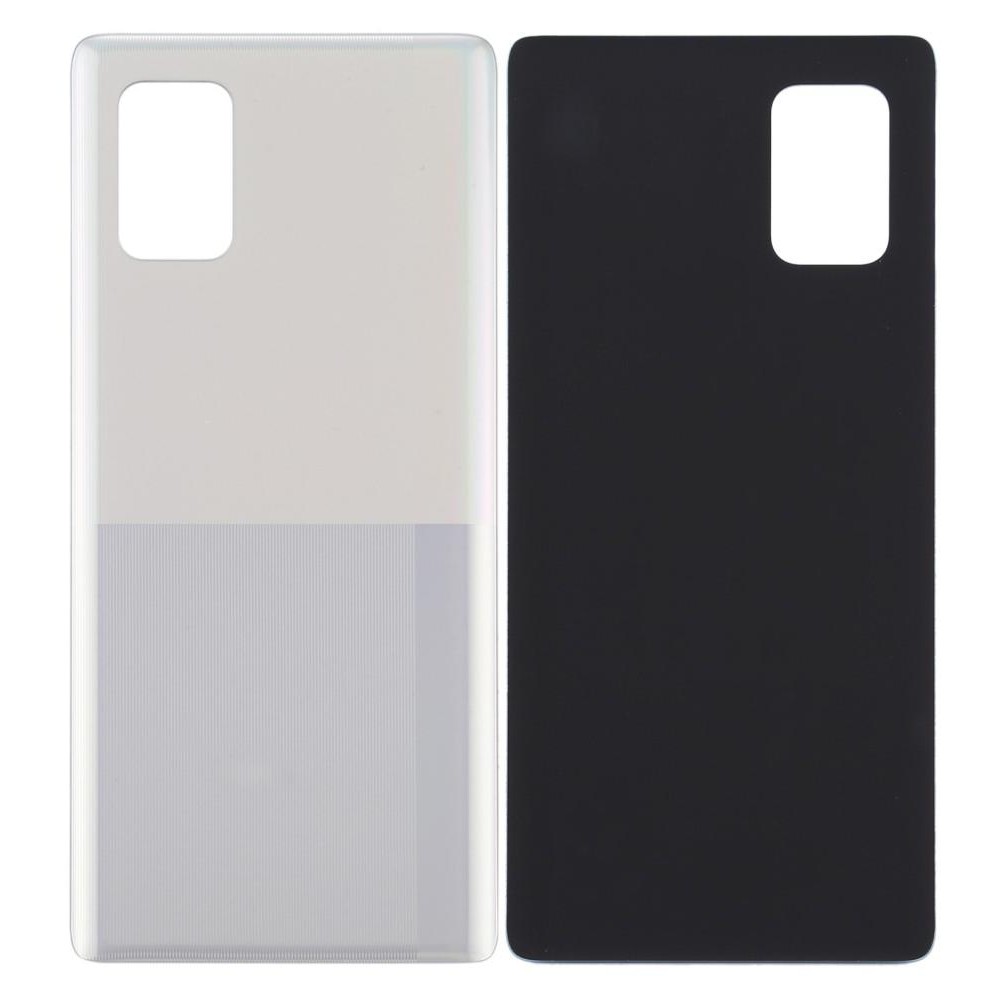
Step 2


– Give your device a little warmth to loosen that stubborn adhesive.
– Grab a suction cup and some trusty plastic tools (like playing cards) to gently pry off the back cover.
Step 3


– Pop out that SIM Tray like a pro!
– Unscrew those 13 Phillips screws with confidence!
Step 4


– Let’s be careful, yeah? We want to make sure we don’t scratch that metal frame. So grab your plastic tools and gently separate it. If you need help, you can always schedule a repair.
Step 5


– Okay, now let’s see if that new part is working like a charm! Go ahead and test it out. If you’re not sure about anything, you can always schedule a repair with us. We’re here to help!
Step 6


– Let’s get started – carefully disconnect and remove the main flex cable to begin the repair process.
– Next, to remove the fingerprint sensor, you’ll need to remove two Philips screws and then gently disconnect the flex cable – easy does it!
– Now, locate and disconnect the coaxial antenna cable to move forward with the repair. If you need help, you can always schedule a repair
Step 7


– Let’s get that sub-board and charging board out of there, shall we?
– The motherboard is held in place by a tiny black screw. Go ahead and remove it to free the board.
– And hey, don’t forget to move over the receiver to its new home!