DIY Samsung Galaxy J1 Motherboard Replacement Guide
Duration: 45 minutes
Steps: 11 Steps
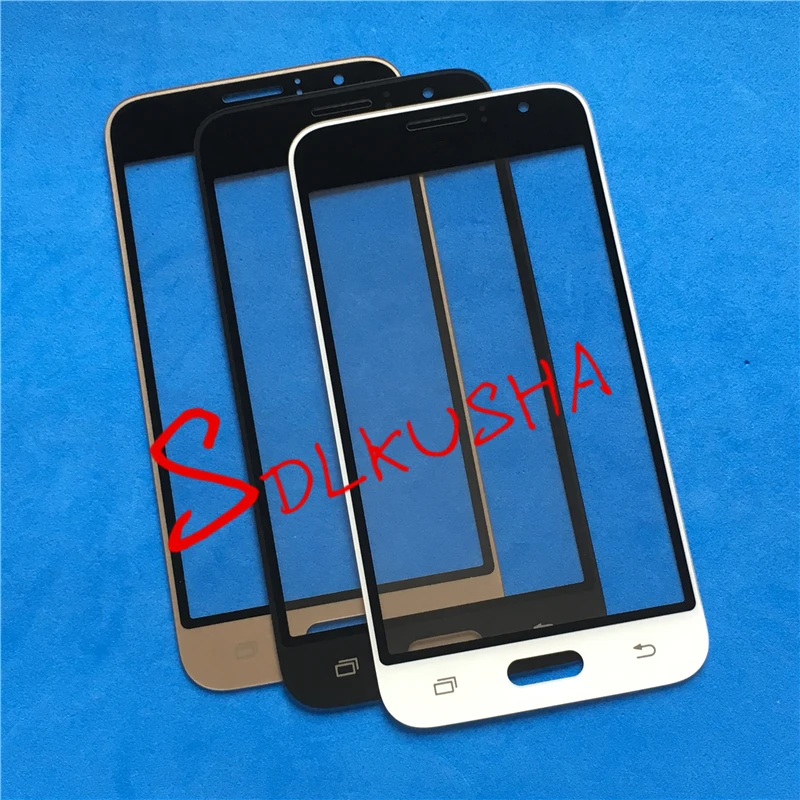
Alright, let’s swap out that motherboard! It’s like giving your device a brand new brain. Just remember, during step four, be extra careful and keep that glass screen attached to the digitizer. No need to separate them! If you need help, you can always schedule a repair.
Step 1

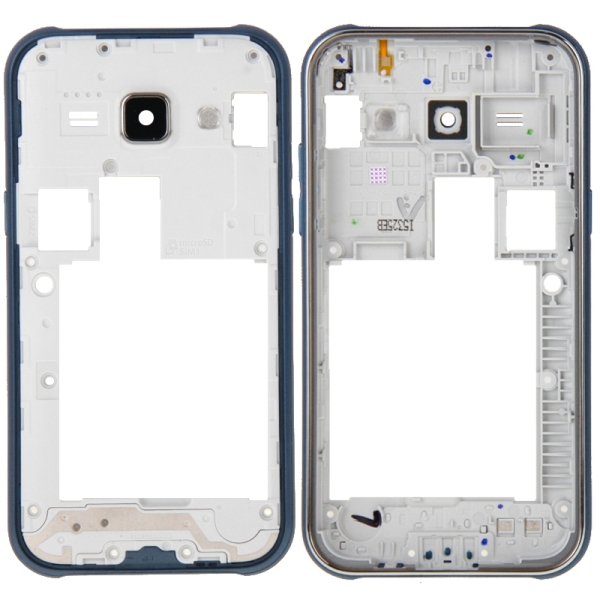
– Time to get started – carefully insert a fingernail or a trusty plastic opening tool between the back cover and your device.
– Now, gently pry that rear cover off the back of your phone. Remember, if you need help, you can always schedule a repair
Step 2


The device in the picture is currently sans SIM card and battery. Let’s get it back in action!
– Give the SIM card a gentle nudge with your finger and slide it down out of its cozy little slot.
– Now, go ahead and lift the SIM card out. You’re doing great!
Step 3

– Alright, grab your trusty Phillips #00 screwdriver and give those eleven 3 mm screws a little farewell hug. They’ll be back later!
Tools Used

Step 4


Alright, let’s get this main assembly out. Be careful, you don’t want to crack that screen! Gently pry it off, and don’t break any of the clips. We’re all about smooth sailing here. If you need help, you can always schedule a repair.
– Let’s get this party started! First, slide your trusty plastic opening tool between the screen and the back of your device.
– Now, starting at the bottom, gently wiggle that tool along the edges of the screen. Think of it like a little dance!
– With a little TLC, gently pry the main assembly from the midframe. You got this!


Step 6


– Now it’s time to get started – use the flat end of a spudger to carefully disconnect the digitizer connector. If you need help, you can always schedule a repair
Tools Used


Step 8


– Let’s get started by removing the front-facing camera. This is a crucial step, so take your time and make sure it’s done correctly. If you need help, you can always schedule a repair
Step 9


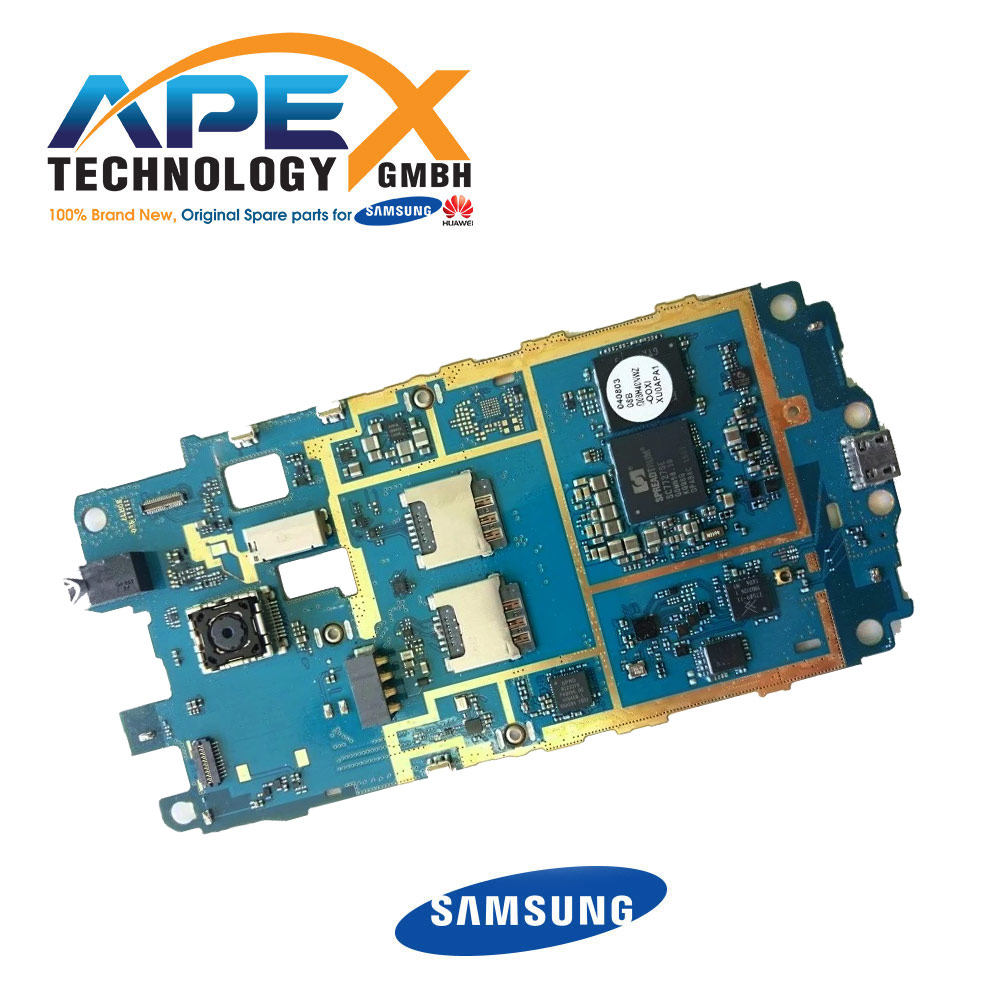
– Grab the flat end of that spudger and gently nudge it under the motherboard for a little friendly pry action.
– Now, give that motherboard a careful lift and remove it like a pro!
Tools Used
Step 10

– Grab your trusty spudger and gently slide the flat end under the rear camera cable connector to disconnect it with ease.
Tools Used