DIY Samsung Galaxy Mega USB Board Replacement Guide
Duration: 45 minutes
Steps: 7 Steps
Ready to give your device a new lease on life? This guide will show you how to swap out that busted charging port circuit board and get your device back in the game! It’s like giving your gadget a brand new heart. If you get stuck, you can always schedule a repair.
Step 1


– First, make sure your device is completely powered down before you start.
– Now, take a look at the back of your phone and find the slot at the top left corner – that’s where the magic happens.
– Gently insert a plastic opening tool or your trusty fingernail into the slot and pry the back plate open.
– With one corner released, use your finger to carefully slide around the device, loosening the connectors between the back plate and the phone. If you need help, you can always schedule a repair


Step 3


If you’ve got a metal spudger handy, you can use that to get things started. Just be careful, it might leave a little mark or two on the outside. But hey, we’re all about getting the job done! And if you need any help, you can always schedule a repair.
– Let’s get started by removing the 14 Phillips #000 screws, which are 3.45 mm in size, from the assembly – it’s an easy first step.
– Next, carefully insert a plastic opening tool into the seam above the volume buttons on your phone. If you need help, you can always schedule a repair
Tools Used

Step 4


Don’t forget to line up those volume and power buttons perfectly during reassembly! You got this! 😉
– Alright, let’s get this party started! Take your trusty plastic opening tool and gently slide it around the device. Think of it like a dance around the edges – nice and easy.
– Once you’ve made it all the way around, your device should practically pop open like a happy clam. If you’re having trouble, don’t sweat it – you can always schedule a repair with us! We’re here to help.
Step 5

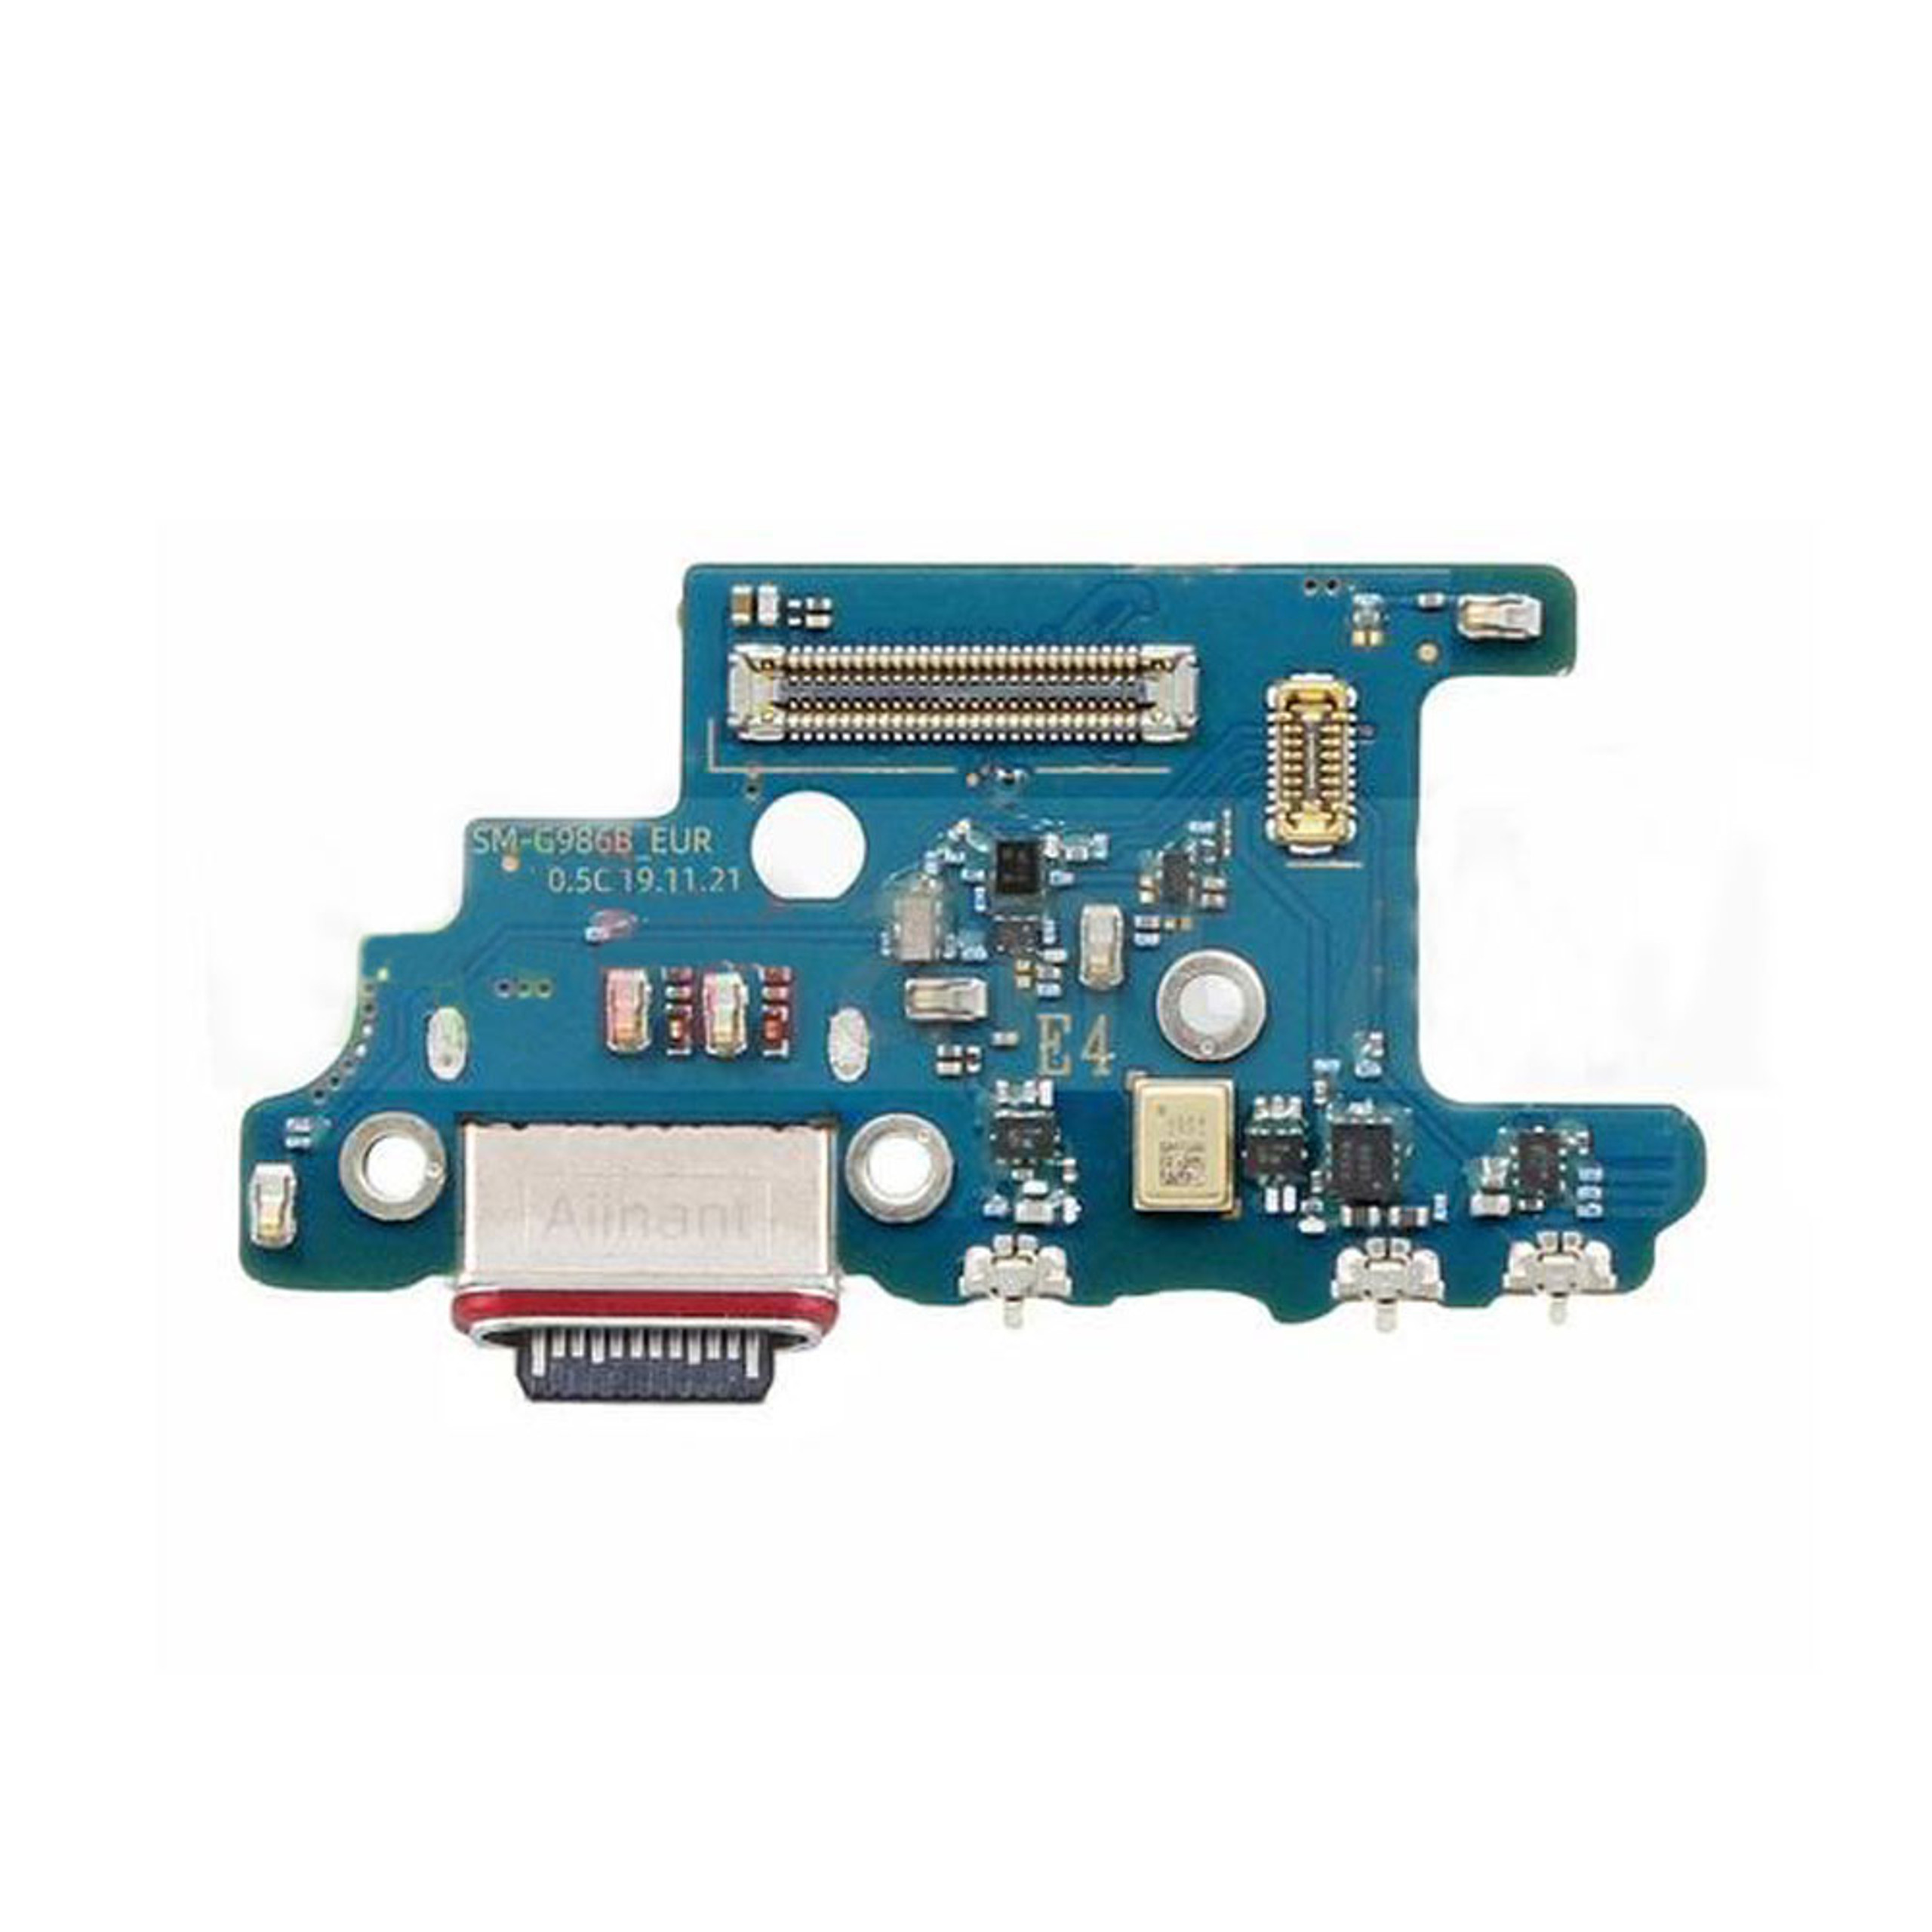
– This little gem right here is your circuit board, specifically the charging port assembly. Let’s get started on making it shine again!
Step 6
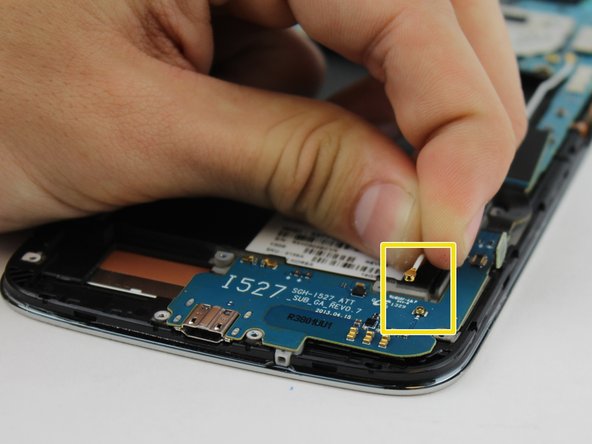


– Let’s give that connector a little lift! Use your finger to gently pop it up and release the connection.
– Time to free that motherboard connection! Use your finger to lift the clamp and give it some space.
– Got it! Grab the cable head and give it a little lift to disconnect it. You’re doing great!
Step 7


– Use your fingers to carefully pry out the charging port. If it doesn’t come out easily, don’t worry – it’s supposed to be a bit tricky. Take your time and gently work it out. If you need help, you can always schedule a repair

