DIY Samsung Galaxy Note 3 Headphone Jack Replacement – Step-by-Step Guide
Duration: 45 minutes
Steps: 11 Steps
Ready to give your phone a new lease on life? Let’s rock this headphone jack replacement! It’s all about bringing the tunes back to your ears! We’ll walk you through it, step by step. If you get stuck, don’t worry, you can always schedule a repair.
Step 1

– Alright, let’s get this party started! Gently slide a fingernail or a plastic opening tool into the gap between the back cover and the base of your phone. You’ve got this!
Step 2


– Time to get this party started! Grab your trusty fingernail or a plastic opening tool and gently slide it along the edge of the rear case.
– Now, lift that case up from the base, like you’re giving it a high five! Easy peasy.
Step 3


– Slide a fingernail or a plastic opening tool into the tiny gap between the battery and the phone’s base. You’ve got this!
– Gently lift the battery out of its cozy little spot. It’s like giving your phone a little spa day!
Step 4

– Get ready to give that stylus a little nudge! Place your fingernail in the groove of the stylus pen.
– Now, gently pull the stylus pen away from the phone. You got this!
Step 5

– Time to get your hands a little dirty! Start by unscrewing those twelve 4mm Phillips #00 screws from the back chassis. You’ve got this!
Step 6

– Time to get started – insert the plastic opening tool into the Stylus Pen placement holder, it’s going to be a breeze.
– Now, gently lift the plastic opening tool so the midframe separates from the base. If you need help, you can always schedule a repair


Step 8


– Grab those tweezers and gently pluck out both antenna clips like a pro!
– Next up, take your trusty spudger and carefully disconnect those six cable connectors. You’re doing great!


Step 9

– Gently grip the motherboard with tweezers and carefully pull it up. If you need help, you can always schedule a repair
Tools Used
Step 10

– Alright, let’s get this party started! Slide your spudger into that headphone jack like you’re opening a secret door to a world of awesome tunes.
Tools Used
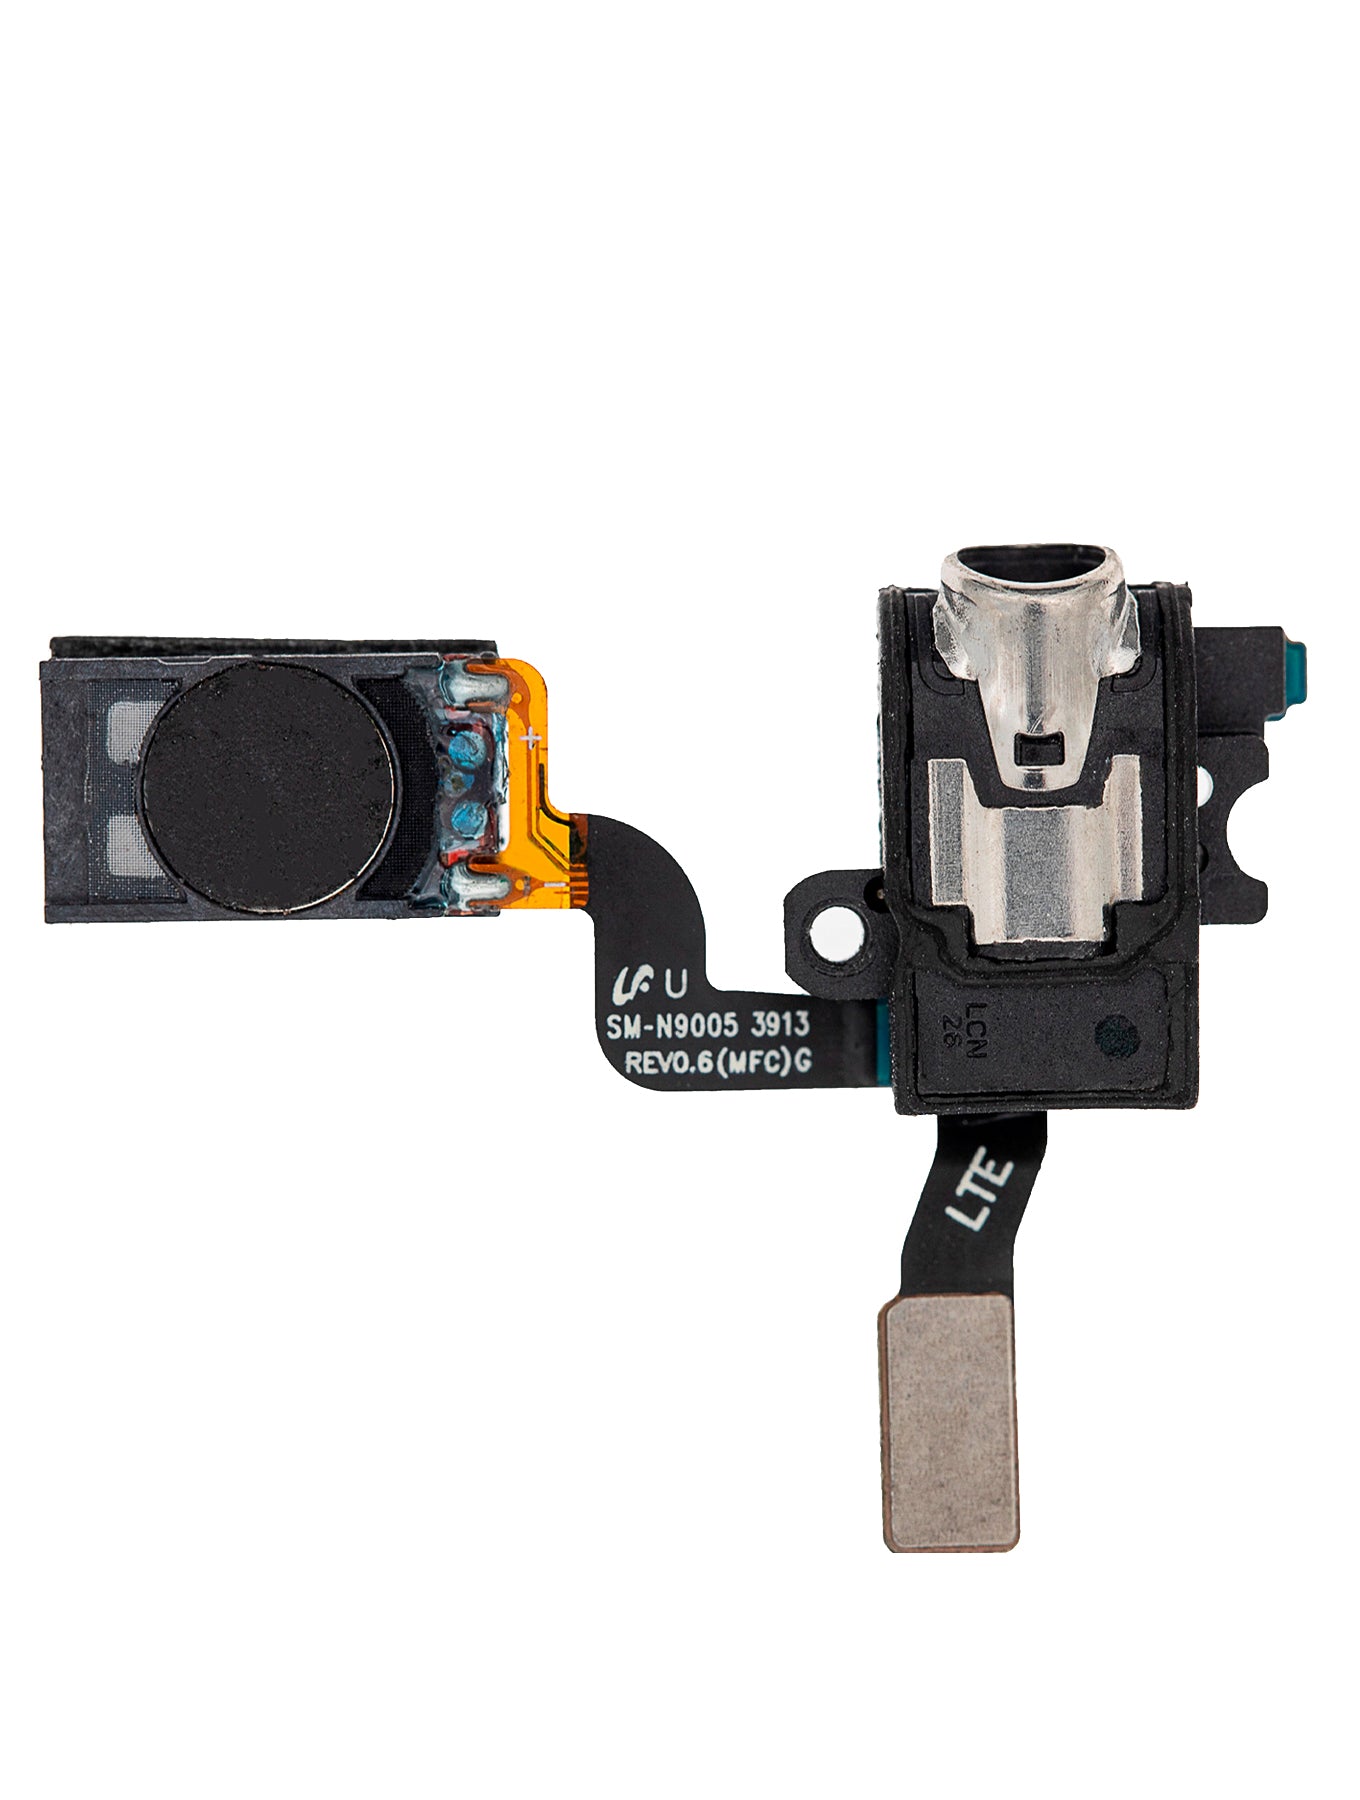
Step 11

– Time to get this repair started – gently lift the spudger to release the jack assembly from the motherboard.
– Now, carefully pull it out to remove it. If you need help, you can always schedule a repair
Tools Used