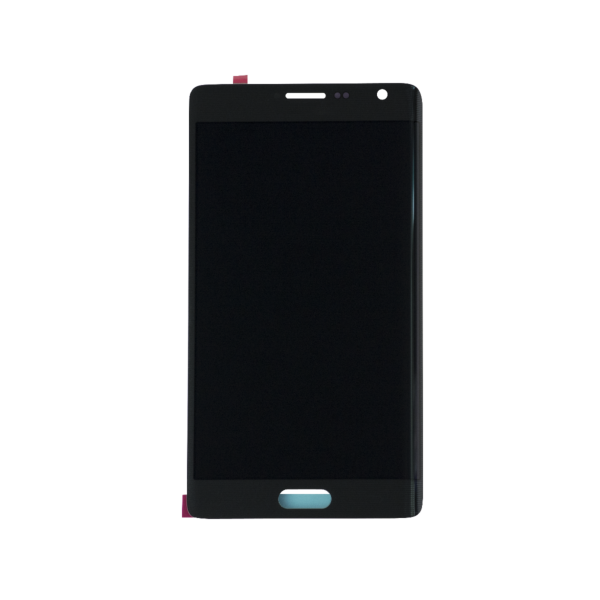
DIY Samsung Galaxy Note Edge Front Camera Replacement Guide
Duration: 45 minutes
Steps: 6 Steps
Hey there! Having trouble with your camera? Don’t worry, we’ve got your back! This guide will help you replace your front camera. If you need a little extra help, you can always schedule a repair.
Step 1


– Flip your device over so the backside is facing down on a nice, tidy surface.
– Grab a Spudger and gently pry off the back cover using the notch in the upper left corner.
Step 2

– Time to get started! Use a trusty Spudger to carefully remove the battery by inserting it into the notch located underneath – it’s like a little secret door.
– Note: We didn’t have a battery on hand when creating this guide, but don’t worry, you’ve got this! If you need help, you can always schedule a repair
Step 3

– Gently pop the stylus out of its cozy little home.
Step 4

– Grab your trusty Philips #000 Screwdriver and let’s get to work! Remove the fifteen 4mm screws like a pro.
Step 5

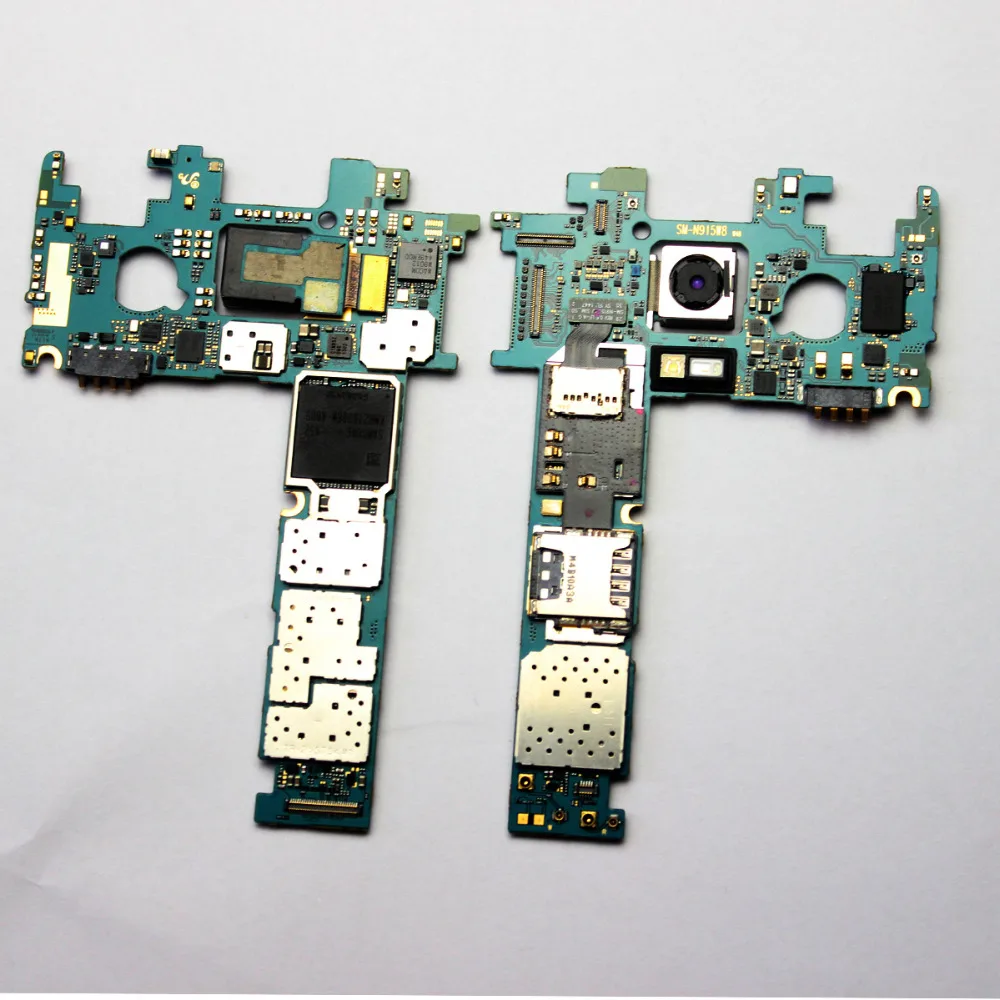
– Let’s get started by using a Spudger to carefully remove the black chassis, giving you access to the motherboard. If you need help, you can always schedule a repair
Step 6

– Use a Spudger to gently pry the camera’s connector loose.
– Carefully remove the camera from its slot using the Spudger. If you need help, you can always schedule a repair